Tools needed:
-Torx 10
-Torx 20
-Epoxy to reseal headlights
-High Temp. Spray Paint (I used rust-oleum flat black *BBQ BLACK* is what they call it)
-Alcohol (if you want to clean the surface where you want to paint)
-Masking tape and newspaper to mask off area that is left unpainted
-Carton cutter knife or sharp razor blade to trip excess tape around the lenses
Step 1: Open up the hood. Detach the center grille by pulling out the two clips from the front of the car
then pulling up on the 3 or 4 clips holding the grille in place. The lever to open the hood will still be attached.
You must detach it from the release mechanism.
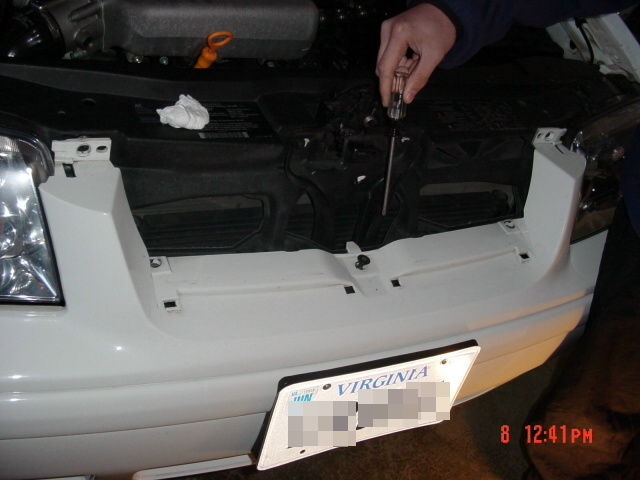
Step 2: Use the Torx 20 screwdriver to remove the 5 screws holding the bumper on shown in the picture below.
Step 3: Remove the lower-outside grille insert pieces to gain access to the final two screws keeping the bumper attached.
Use the Torx 20 screwdriver to remove the remaining two bumper screws.
Step 4: Next step is to remove the fender liners on each side. You don't actually have to remove the whole fender liner
you just have to remove the bottom 4 or 5 screws where they are attached to the bumper.
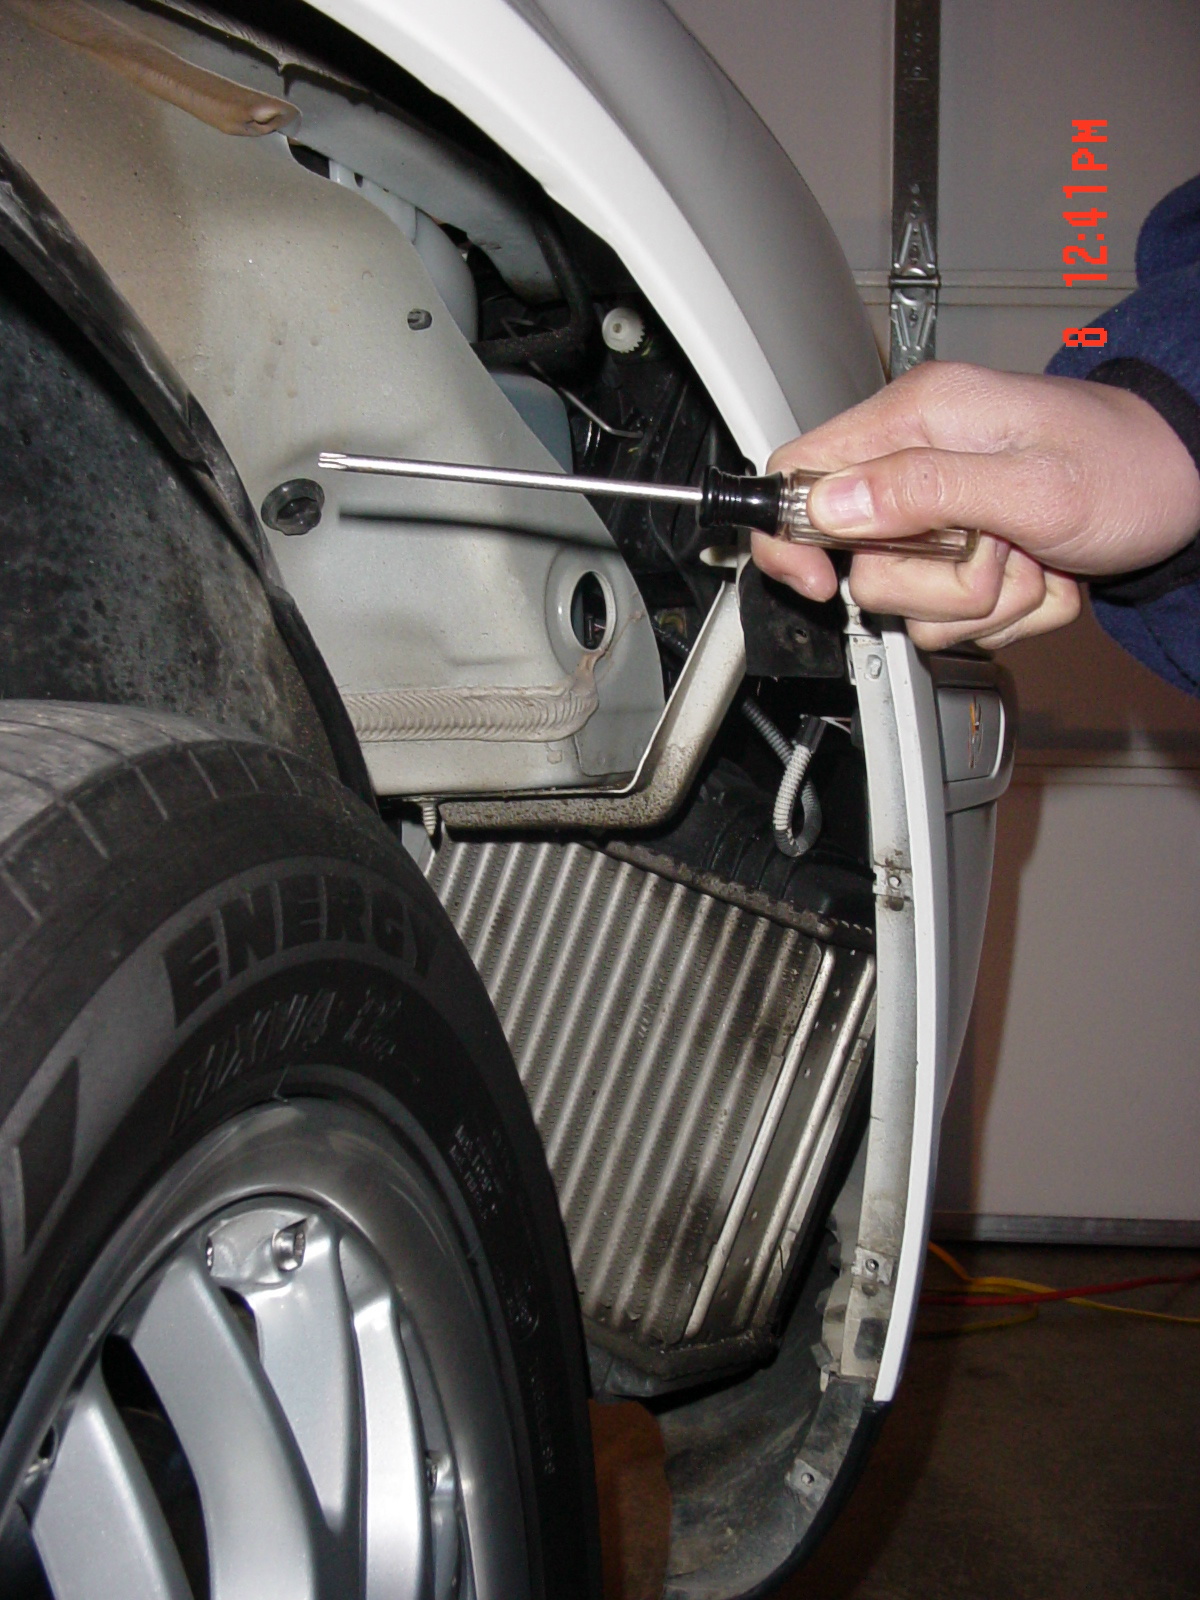
Step 5: After removing the fender liners you will then have to remove the side bumper marker as shown by pushing in on the side of the
lens that faces the front of the car and sliding it in and then removing it and seperating the light and the lens housing.
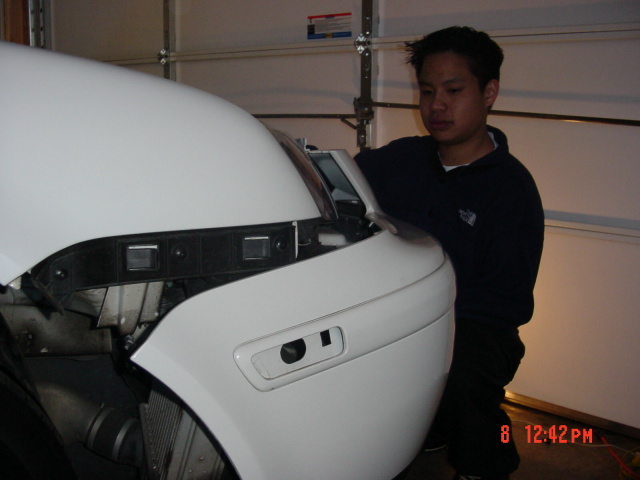
Step 6: Pull the middle of the bumper(by the license plate holder if you have one) straight out. Now you are ready to remove the headlight.
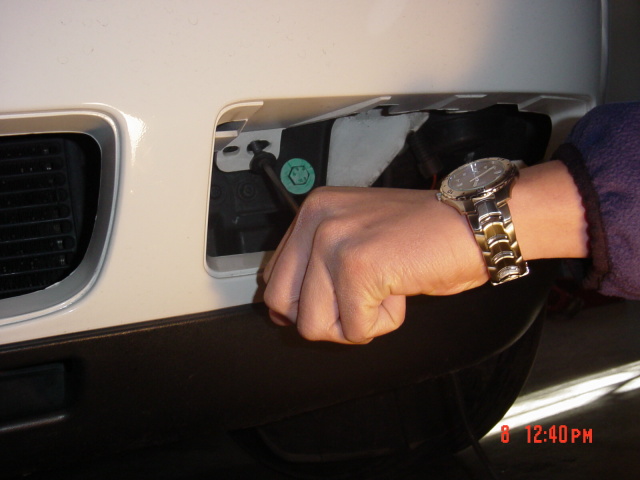
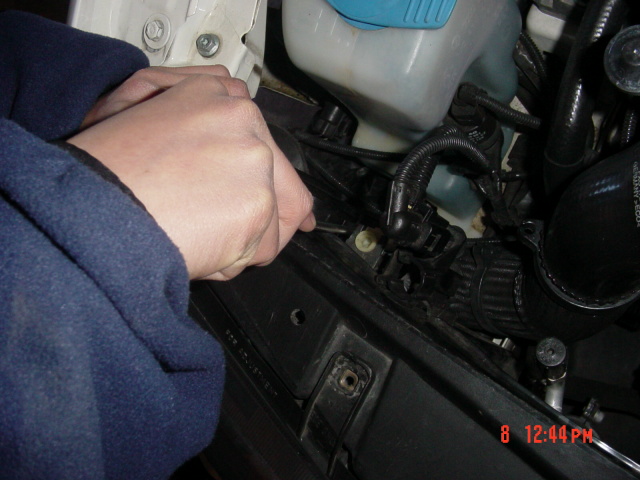
Step 7: Next you loosen the 2 screws underneath each headlight with the Torx 20 screwdriver.
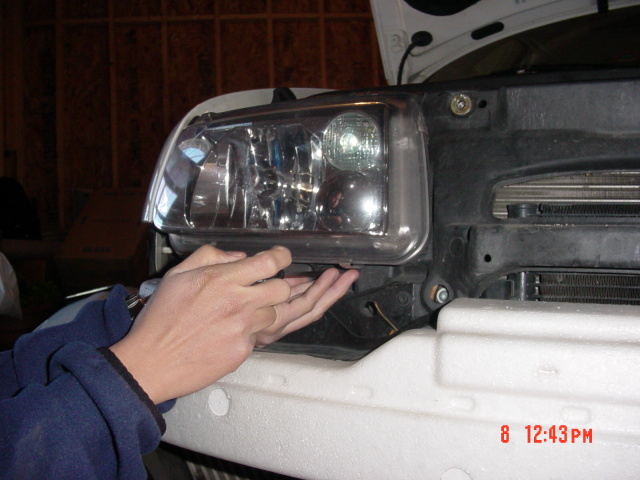
Step 8: Remove the wiring harness before removing the headlight housing from the car
Step 9: Next step is to heat up the gap between the lens and the headlight housing with a heat gun or a hair dryer.
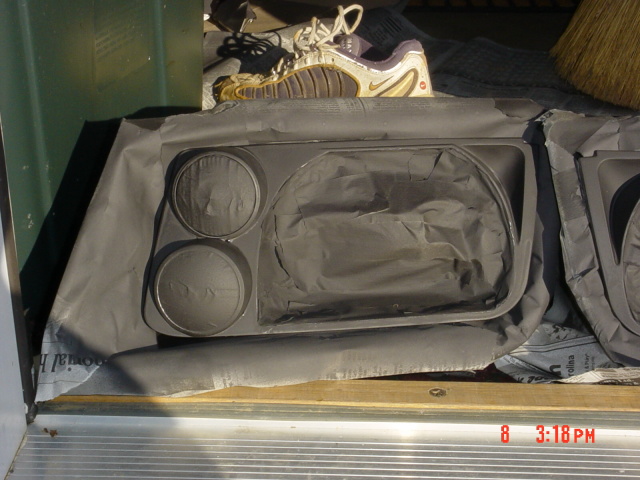
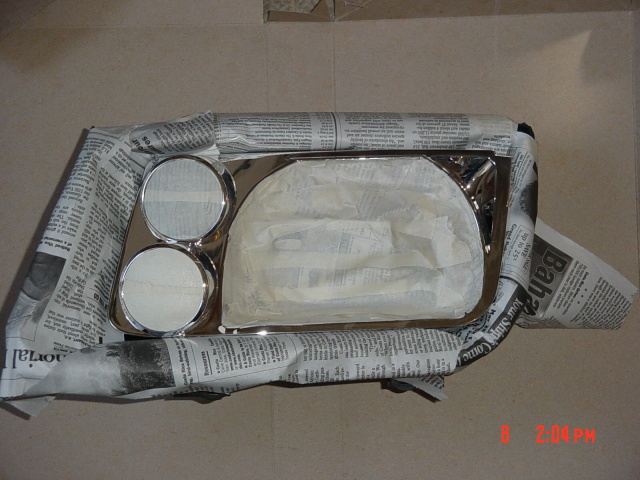
Step 10: After seperating the lens from the headlight housing you will want to mask off the reflector area and also the blinker and fog lamp lens.
Use the masking tape and newspaper to mask off the reflector area.

Step 11: When the lens is seperated from the housing you will need to unscrew the 4 Torx 10 screws that attach the reflector
to the lens on each lens. Below is a picture of what the backside of the light looks like.

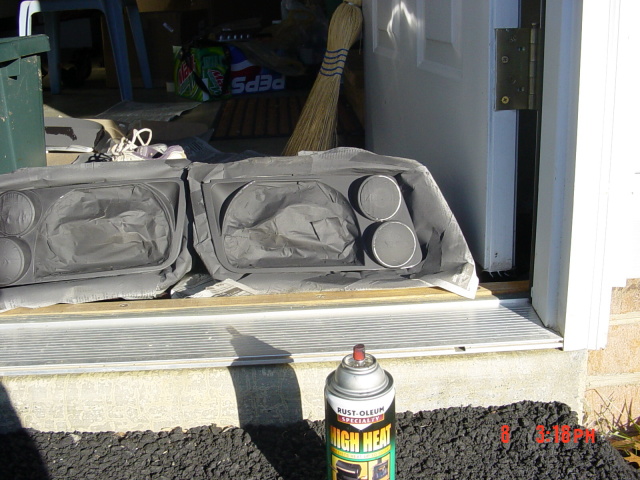
Step 12: Now you are ready to do the spraying of the headlight area after the masking. I recommend putting on about 4 or 5 coats on and letting ample time to dry.
After you finish it will look like the finished product below. Then repeat the steps in reverse order. Enjoy it!