Ballistic Mesh Sleeves for Type B Uniform
The goal of these knitted sleeves is for as accurate to Shawna Trpcic, the costume designer's "vision" as possible, as opposed to screen accuracy. It is based on the uniform Zoe wore in the flashbacks of Serenity Valley.This is an easy beginners project and all needed knitting skills can be learned here helpful videos can be found here You can get by with simply knowing how to knit and purl, though learning how to do an elongated stitch makes a smoother more finished product
The finished "sleeves" look best over a dark long sleeve shirt. Cost, and comfort were high on my mind of priorities when I was working this out, total cost ran just under $60 including leather buckles which end up being decorative and not as functional as originally planned. After creating the prototype set, I started lacing them on the underside using boot laces to make them fit snugly,and skipped the leather buckle completely (more comfortable without)
Not up to the challenge of knitting? I am taking orders on a very limited basis as they are time consuming total cost for a pair of sleeves will start at $175 if I make them.
 Materials
Tape Measure
2-6 Rolls : White Nylon braided Twine size #48
1 set- Size 13 knitting needles
Black RIT Fabric dye 2 bottles + salt, detergent, & vinegar
Foil to Textile adhesive-In a pinch you could try elmers glue but I strongly suggest this adhesive it is fantastic and will save you much frustration, also the Seller Laura Murray is incredibly fast on shipping.
SIlver Foil- I was using mylar in earlier attempts, this mylar is fantastic and sooo much better, same seller as the adhesive.
1/4" leather strap (can be stolen from a braided belt)
6 silver tone buckles for the leather straps
2 boot laces
 Knitting
Begin by taking measurements of your arm's width at your wrists, biceps (widest point) and the narrow point above your biceps. Next, Measure the length of your arm from wrist to 2" below your shoulder. Just like in the sketches of this uniform the costume designer made, the sleeve will only cover apprx. 2/3 of your arm. So take the measurements you just made and figure out what roughly 2/3's of the widths would be. Bear with me here, for every 1" you need of width cast on 3 stitches (roughly trust your eyeballs). The sleeve will be knit in one solid piece, I suggest starting at the wrist and working towards the shoulder.
Example: Wrist width measures 9" 9"/3=3" (3" is one third of the wrists width soo we double that 3x2=6) soo the knit sleeve needs to be 6" width. To figure out the number of stitches needed we know 3 stitches is one inch so we need 18 stitches for the wrist.
go ahead and do the same math for the other measurements you took earlier write it on a piece of paper and keep that handy.
ok... now the easy part BEGIN KNITTING!
knit 1 row
purl 1 row
knit 1 row
(yes its that simple) as you approach wider parts of the arm, gradually add a few stitches on If you want to make adding the buckles simpler, at the wrist, just above the elbow, and at the narrower area above the bicep you will use the Elongated stich (located under decorative stitching).
 the elongated stitches are the slightly larger looking stitches.
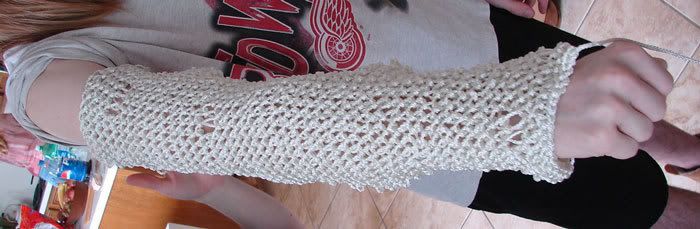
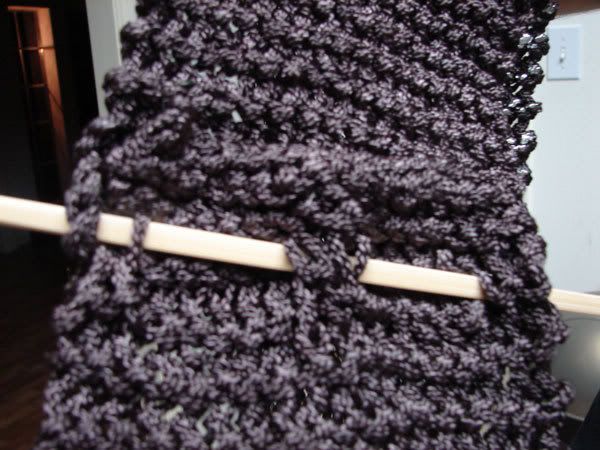 Here are the elongated stitches in action, you can see how the chopstick neatly threads through the "ballistic mesh" without warping the design. This is where the leather straps will thread through when finished.
Here is my "clever" attempt at showing the placement of those elongated stitches:
+ = Knit
* =Purl
the 1's are an elongated stitch
+++++++++
**********
+++++++++
**********
11++11++11 <--- Buckle woven through here
*********
++++++++++
**********
Two Elongated stitches placed on each end, and in the center are all that are needed to get the buckle woven through easily.
Once you have reached he desired length bind off your knitting and start the second sleeve.
 Dying
Dying
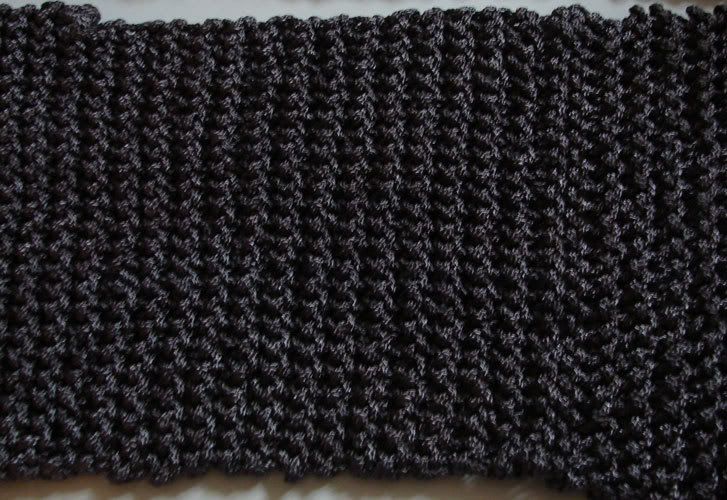
It is much easier to dye the sleeves after they are knitted. The color in this pic is what you are aiming for.
When dying, its ok to use less water than the directions call for, use gloves or your hands end up lovely shades of gray, use VERY hot water add the salt and detergent like the directions call for, also add vinegar (approx 1/2 cup), you are dying a synthetic fiber and it responds well to acid.
Let it sit for the full 30 minutes stir often ( I used a sealable container so I could shake it instead of stirring).
Rinse gently no highpower water blasts to rinse it, once the water comes off clear, run it through the washing machine by itself on delicate (no more detergent this is just a final rinse).
It is ok to toss them in the dryer but do it on a low heat delicate cycle so as not to melt all your hard work or warp it.
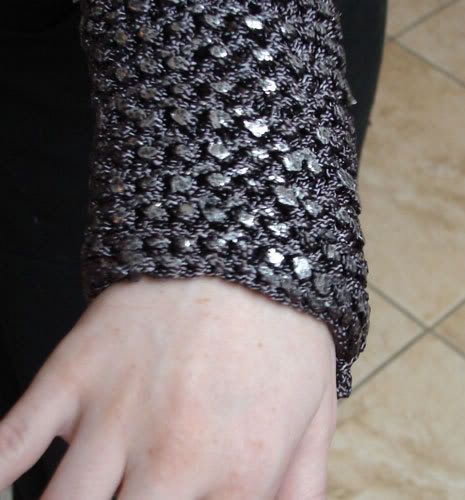 Foiling.. aka Metal Effects
Using a Sponge, Apply a light, even layer of foil adhesive to the highest points of the chainmail. Do not work it down into the cracks. Just the high points.
Wait for adhesive to dry -- about 2 hours. You can hurry this up with a hair dryer, heat gun, or simply let nature do the work. Once dry, apply foil any time -- months later, if desired.
Crank your iron up to its highest setting, DO NOT USE STEAM. Put a towel on a nice solid surface and put the project on top.
Place the foil on the project with shiny (color) side facing up -- next to your body. Color is actually underneath the cellophane, so RESIST the natural impulse to place the color next to the project.
Apply foil using a rubbing motion with the iron. The idea is to use the iron as burnishing tool, which means you need to exert some pressure for the foil application.
Allow to cool to room temperature before removing foil. (note the foil is reusable!)
 Buckles
If Necessary use a brown leather dye to darken the leather straps you are using.
Measure upper arm above the bicep, add 6 to 8 inches, & Cut desired length. Fold one end over buckle, rivet with at least one rivet.
Weave through the sleeve where it coincides over bicep area of your arm.
Punch holes in the buckle to suite.
For lower arm measure across lower arm at the wrist, again add 6 to 8 inches,cut desired length, again fold over buckle and rivet, and weave through lower sleeve.
Do the same for just above the elbow.
Repeat for the other sleeve.
 Wearing your Sleeves on your Coat
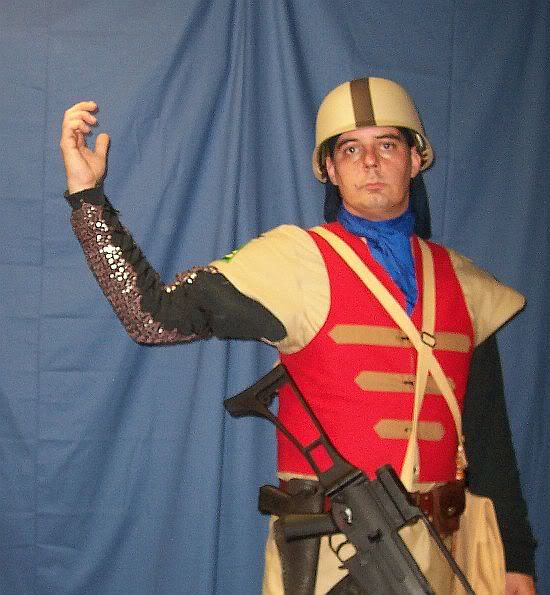
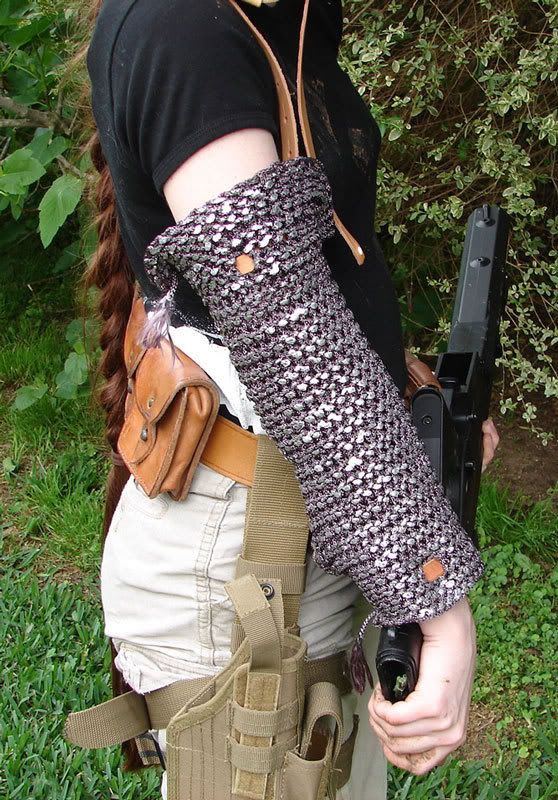
Wondering what that shoelace is for?
Well, the buckles while looking VERY COOL and accurate to Shawna's design, tend to gap funny.
Lace the boot lace through the sleeves back edges much like you would lace a shoe. It blends in very well to your dark undershirt. And gives you an incredibly well fitted sleeve with the maximum comfort level.
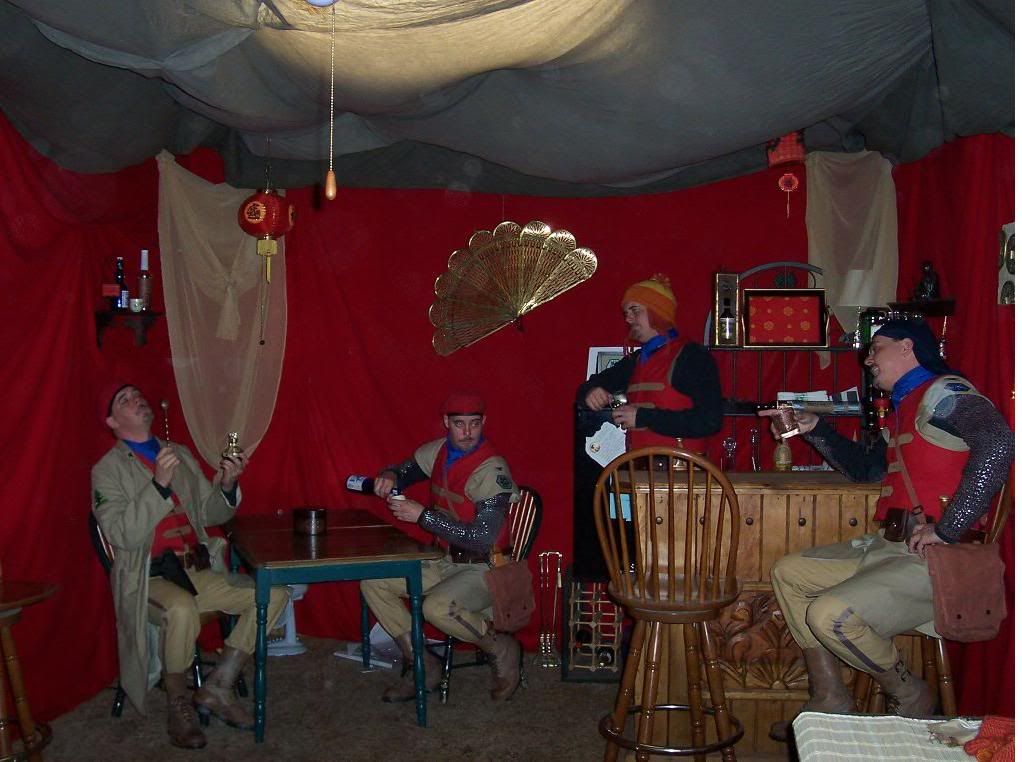
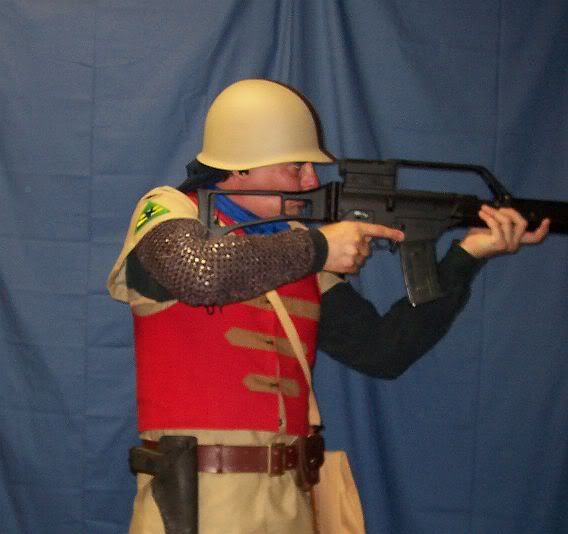
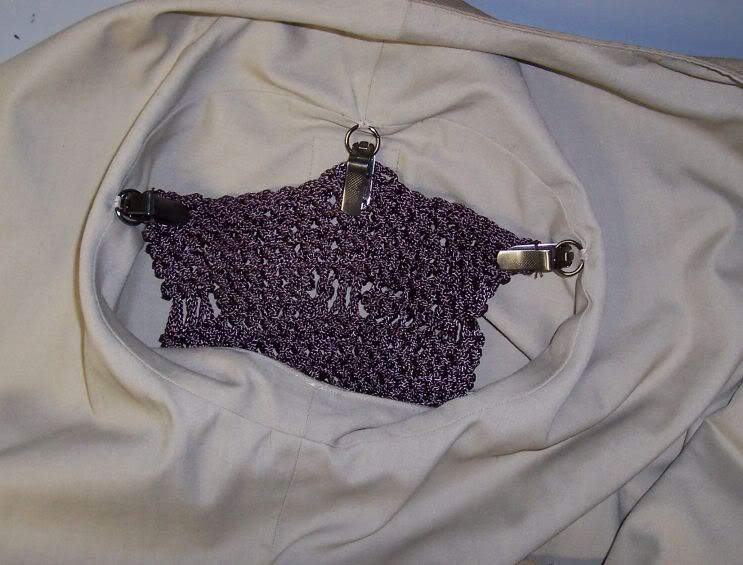
The sleeve also attaches to the inside of the Type B Smock as you can see in the pictures. This keeps it from sliding down your arm while we march.
Well now you are done there is only one thing left to do...Show off your shiny new Bling to the nearest 76th members...