
Palm m100/m105 Disassembly
|
|
|
|
This will VOID your Warranty. | |
 |
Disassembly Instructions are intended for the Palm m100 & m105 only. Probably m125 and m130 also have similar packaging |
 |
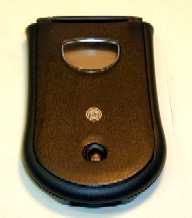
You are going to remove the flip cover. Flip the cover up and pull it out. There are two clips that hold the flip cover in place. More detailed instruction can be found in the manual! |
 |
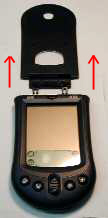
You will need to remove the faceplate. There is a tab at the top of the unit that unclips and allows you to remove the faceplate. |
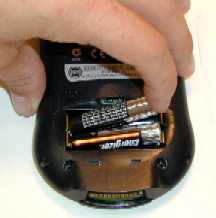 |
After you have backed up your unit or attempted to back up your unit you can now remove the batteries. |
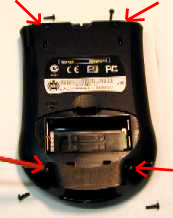 |
Using a T5 Torx you are going to remove the 4 screws. |
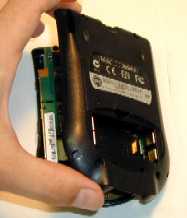 |
Once the 4 screws are removed you can lift up on the side of the unit and remove the back cover. |
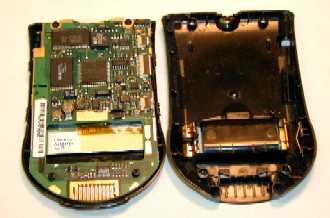 |
Now you can see the motherboard with the back cover removed. |
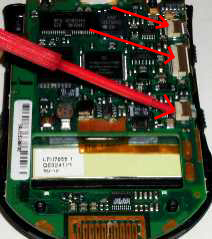 |
There are three tabs that hold the screen to the motherboard. Gently lift up on the three tabs. The tabs are hinged and stay with the main connector latch. Once all three connector tabs are lifted-up you can pull out the ribbon cable from connector and take away the LCD. |
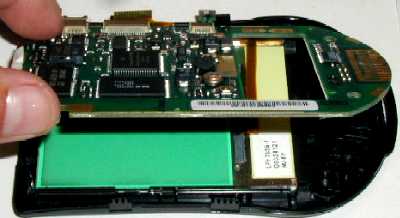 |
Now that the three ribbon cables have been detached you can remove the motherboard. |
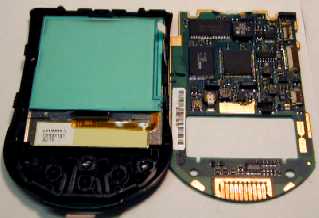 |
Here is a picture of the motherboard and the screen still in the unit. |
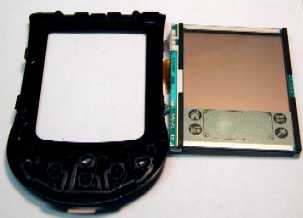 |
You can easily flip the LCD after removing the ribbon cable from the board. |
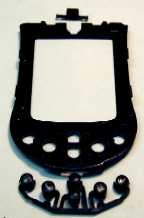 |
If you wish to
remove the buttons, you may do so. Cleaning it at this point is
adviced. To put the unit back together just follow the directions backwards. |
