|
|
TOOLS
You can click on the pictures to enlarge them, but remember that the download time might be a bit longer so be patient, please feel free to save them and distribute them as you wish, there is a zip file here for the thumbnails and the full size pictures. |
I used basic tools to do
this,
Soldering iron & stand (Cheap from Maplins) & Solder Torx Screwdriver Size T10 for case screws Precision screwdriver for Philips Head screws and small levers Pliers, scissors & Insulation tape Superglue Cotton Buds, Tissue paper & diluted multisurface cleaner to degrease contacts and clean the screen Torch for power cuts and finding stuff I dropped on the floor!
|
|
Step 1
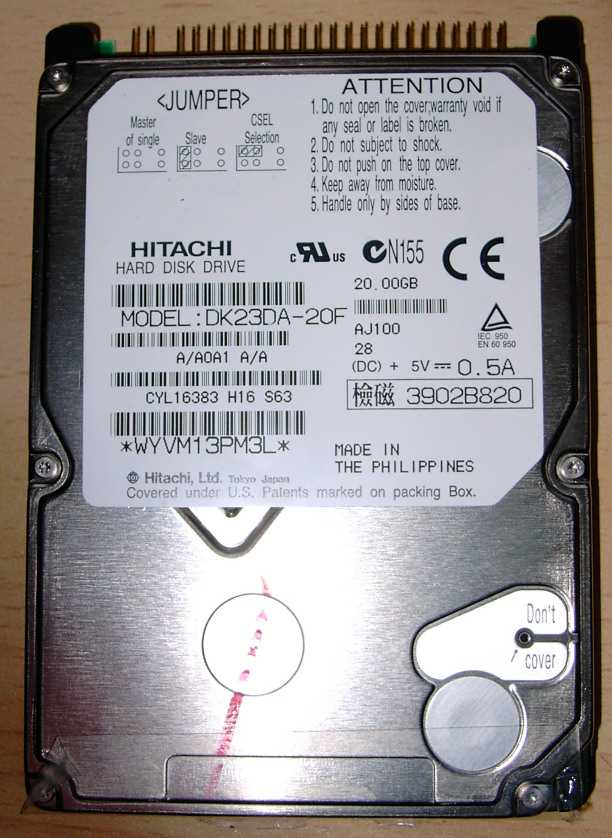
Remove the battery cover & battery, use a small flat head screwdriver inserted in the notch to lever the cover up (Gently) Use the same small screwdriver to push the battery contacts upwards so you can get them past the rubber bumpers when pulling the cover towards you. The cover should come off now if you slide & wiggle it towards you, notice how the 3 spring contacts slide under the metal casing for when you come to reassemble the JBMM Getting the battery out isn't usually too difficult (not with mine anyway but some people have had trouble) What I do is grab the jukebox with the opening towards the floor, put my hand under the compartment and give it a good shake downwards (Like a tomato sauce bottle) once or twice. If this doesn't work then use a small flat screwdriver or the pliers if you can to lever & pull the battery out. Be careful of the circuit board when doing this, lever behind the batteries between them and the metal casing/hard drive at the back.
Notice the small Philips head screw holding the front plastic case to the circuit board? I assume this might be loose and restrict the battery removal in some cases so have a look for this, we'll be removing this next anyway. |
|
|
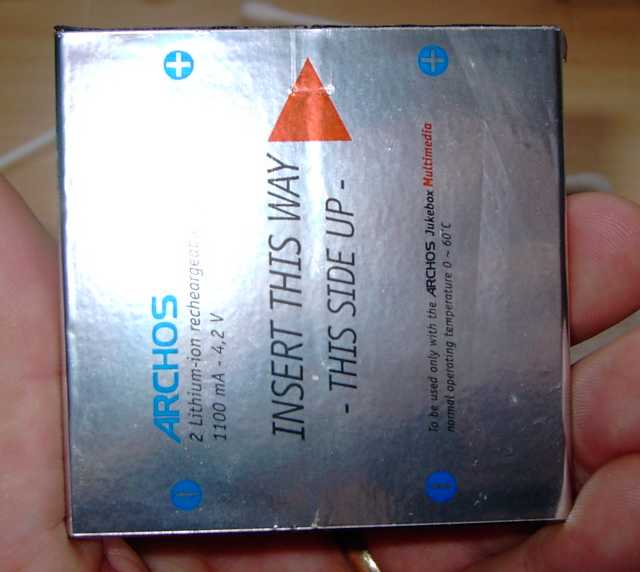
Voila!
One battery (or is it two?) the battery is 2 cells wrapped together in a foil, notice the +ve & -ve orientation of the battery for later. They are 1100mA, 4.2V Lithium Ion rechargeables (and you can't buy them from anyone, as I have tried!)
|
|

|
Step 2
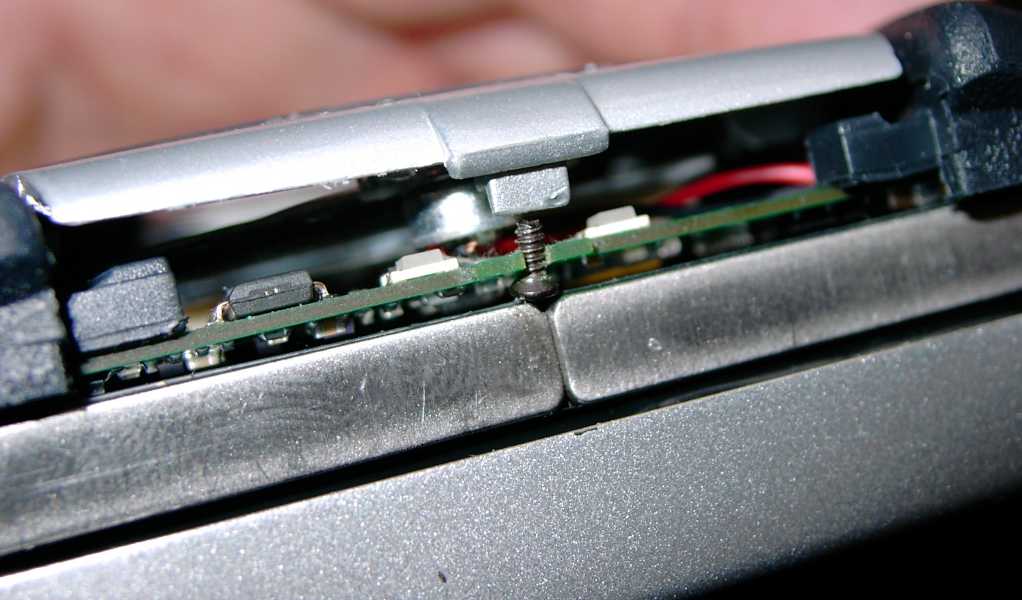
Unscrew the small screw holding the plastic front cover in place (near the battery) using a philips head screwdriver, mine stayed wedged in the circuit board so I left it there, but be careful and have somewhere to keep screws and small bits Step 3 Use the T10 Torx (Star) driver bit and remove the screws in the sides of the jukebox which go through the rubber bumpers (there are 4)
|
|
|
Step 4
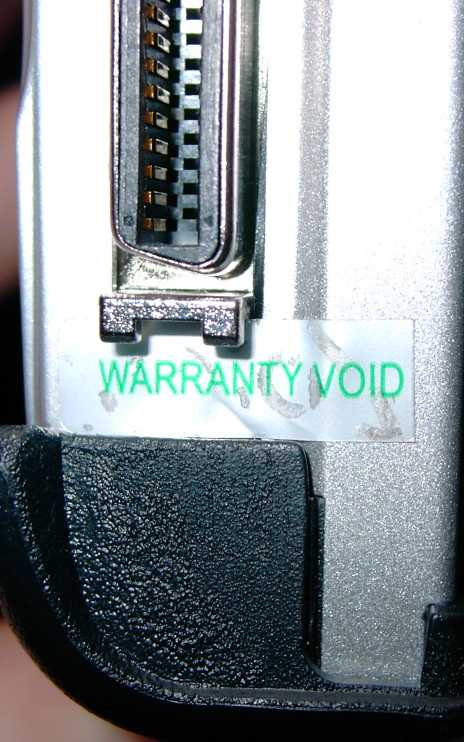
Remove the rubber cover on the bottom of your JB and then the Warranty Sticker Note this is your choice to do this and going any further should be only as a last resort OK? Remove the 2 Philips Head screws in the bottom of the case next to the module-plug. |
|
|
Step 5
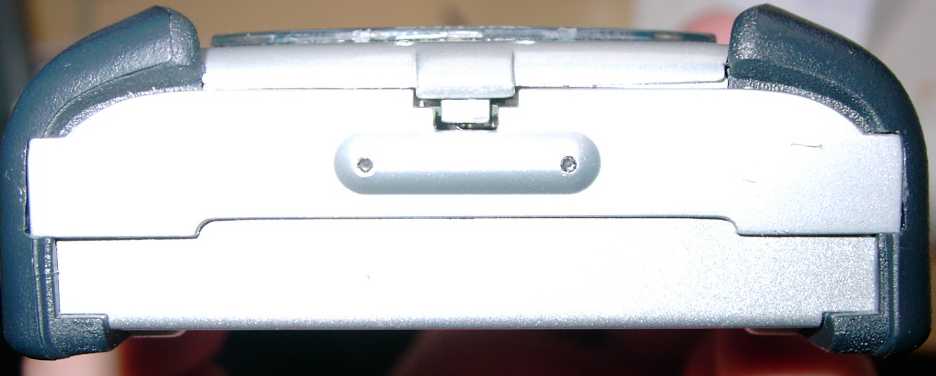
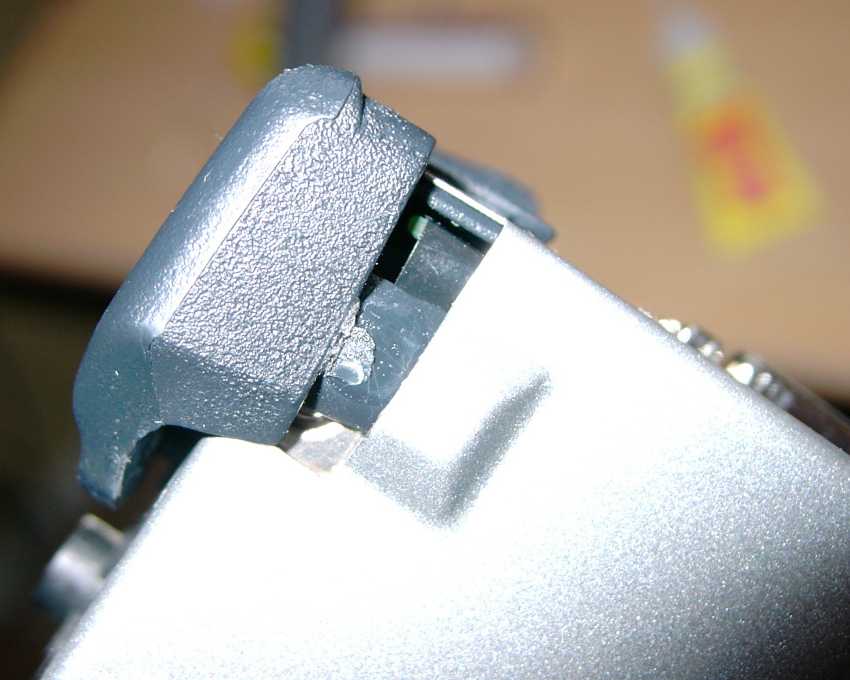
Very gently remove the 4 bumpers, notice that there is a small amount of glue here holding the bumpers in place, it should come out quite easily though you might need to use a small flat screwdriver to help. It might not be possible to remove the bumpers completely, if not it isn't essential at this stage and can be done once the plastic front cover is off. |
|
|
Step 6
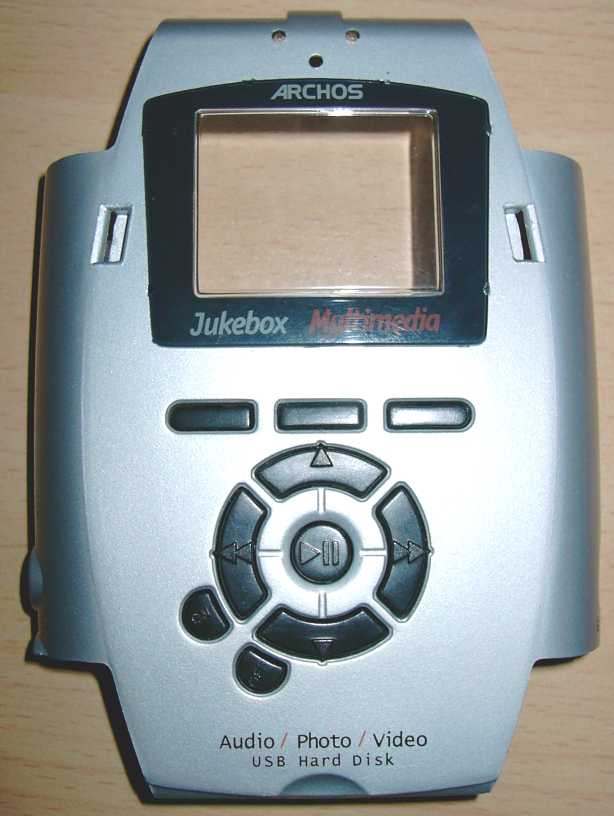
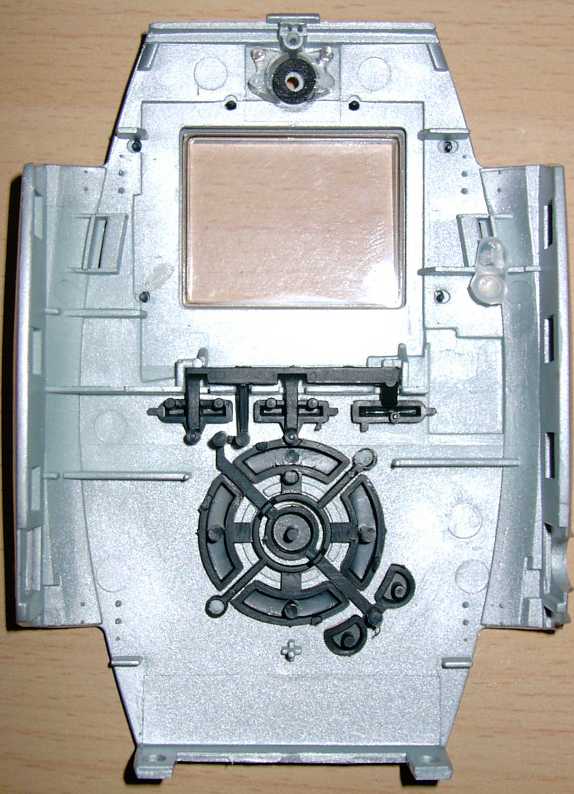
Remove the cover (Sounds easy) this is a bit scary to do and requires some bravery to lever the plastic cover away from the metal casing at the sides, There are 3 metal tabs which clip into 3 plastic notches on the inside edge of each side of the plastic case. Watch out for the little screw holding the plastic cover to the circuit board (we removed in step 2) and make sure it is fully undone Be very careful of the condenser microphone which sits inside the small round hole at the top of the case, and of course the screen which is loose and floppy now. Congratulations you now have one violated Jukebox! |
|
 
|
It looks like this
(Hopefully)
There isn't much you can do here except check your button contacts and look for any obvious problems like a broken screen, disconnected wires or components for example. I had to go to the next step to solve my problems.
|
|
|
Step 7
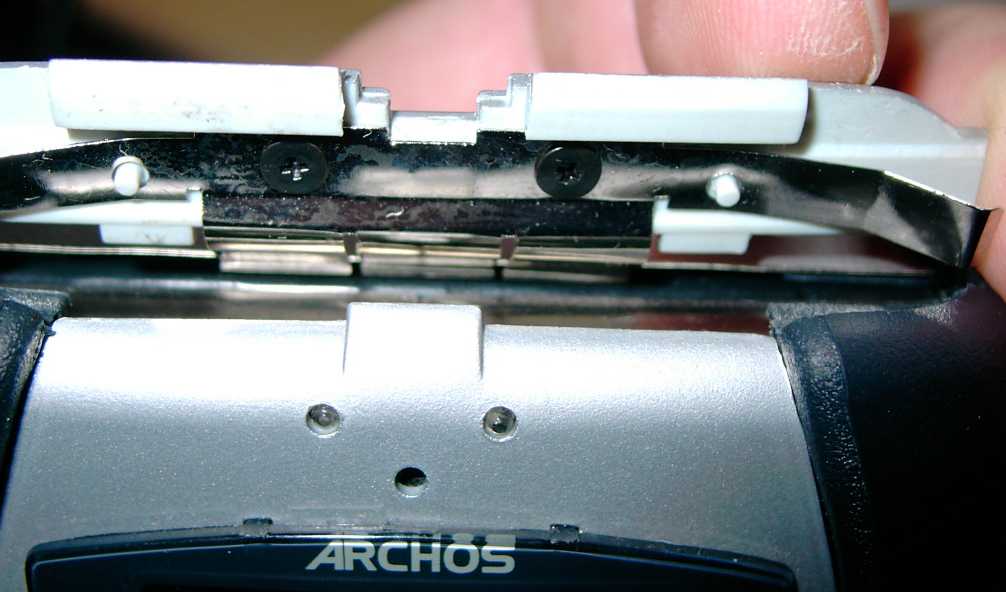
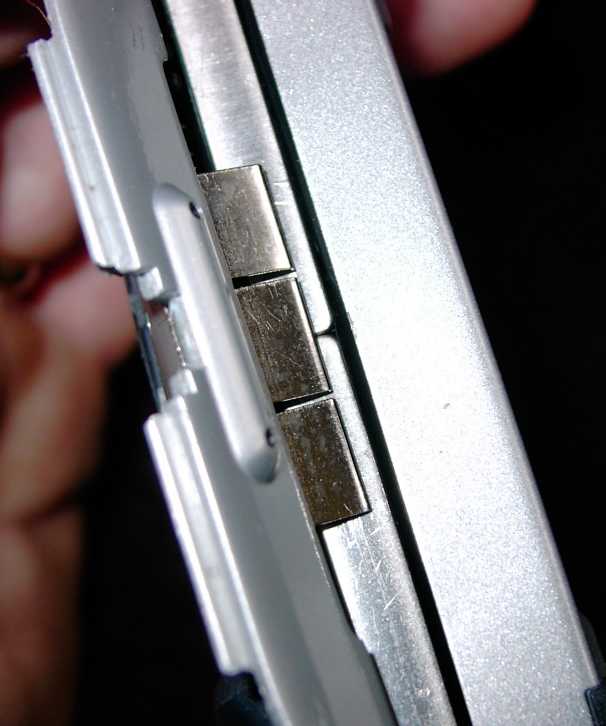
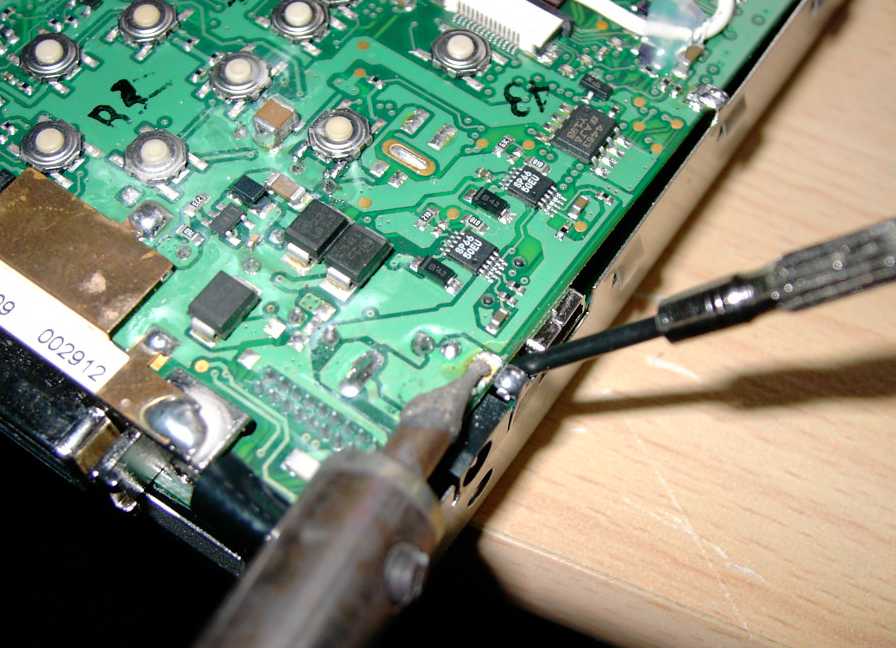
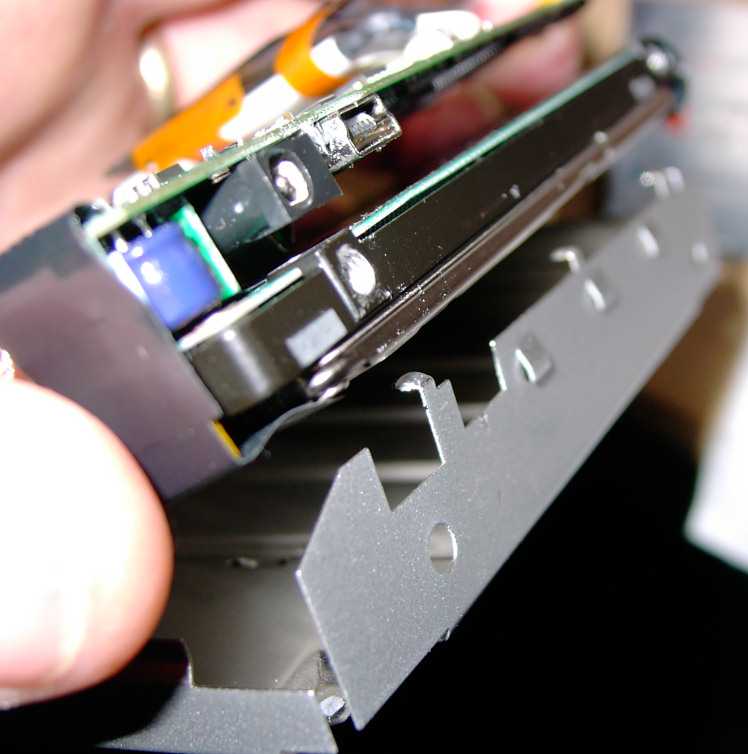
You will notice that around the edge of the circuit board there are 7 metal "lugs" soldered to the circuit board. These hold the metal backing case onto the board. The only way to get at the hard drive or the battery contacts is to de-solder these lugs. I used a small flat screwdriver as a lever and heated the solder until the lug came away (scary stuff) Desolder all 7 tabs then move on to step 8.
|
|
|
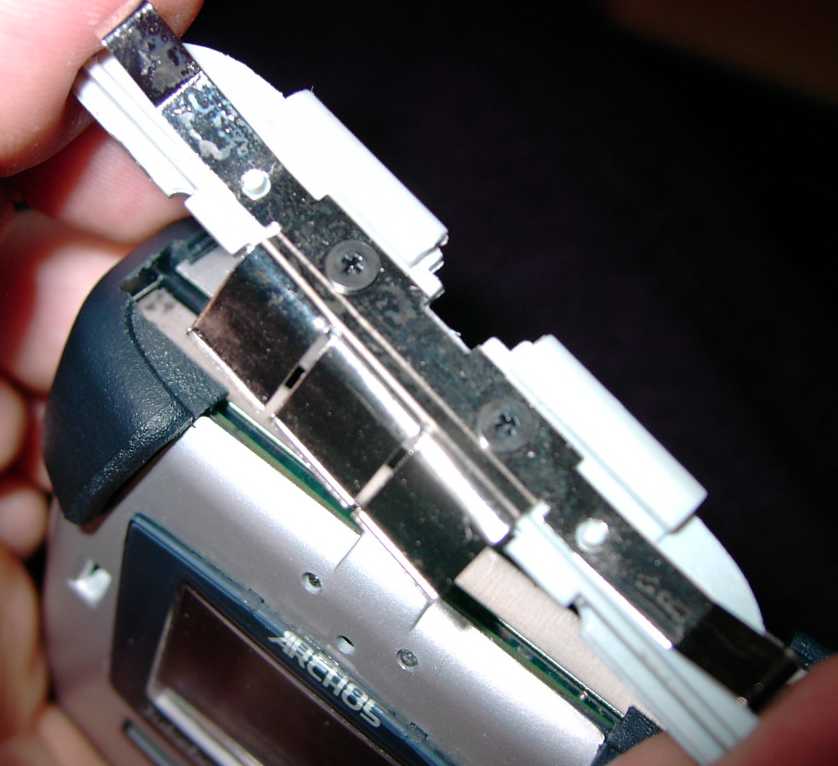
Step 8
Remove the Metal backing cover, This might mean you having to bend it out gently using our old friend the flat head screwdriver. But be gentle and you will end up with this.
|
|
 |
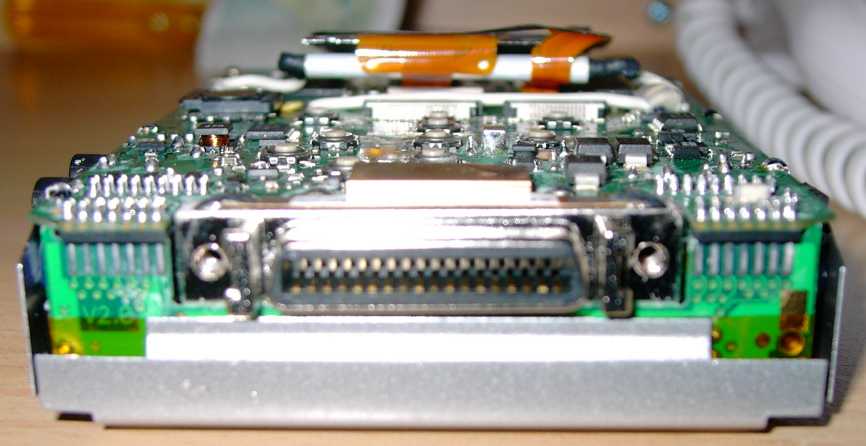
Step 9
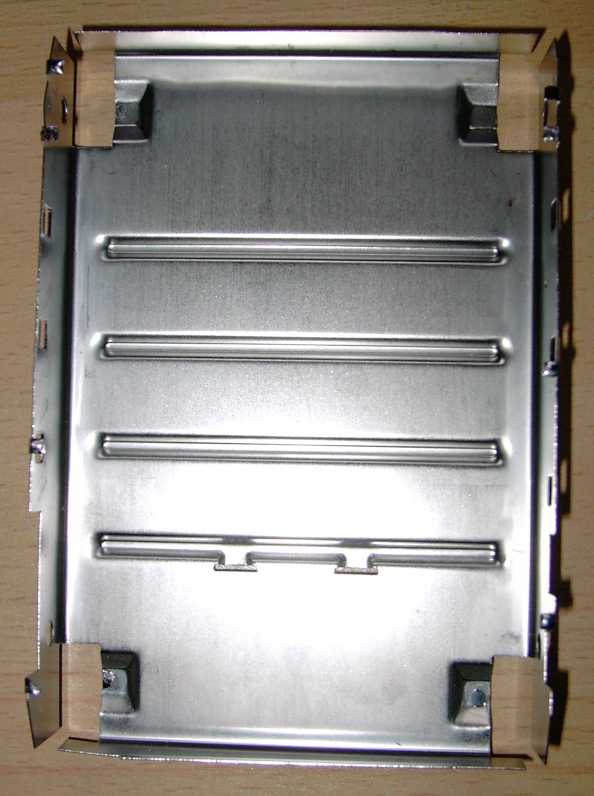
Remove the hard drive, this is easy, it just slots into the connector on the circuit board, this picture is to remind you how to plug it back in again later (it can be inserted incorrectly!) |
|

|
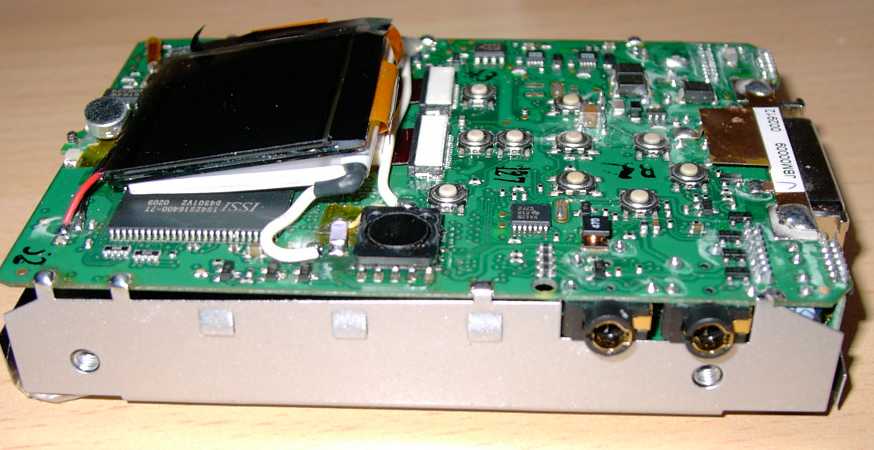
This is what we have now
and a few close ups of the hard drive for those who need to know the
specs should you wish to pop in a 40 or 60Gb model (I think this is
possible but haven't tried it).
I've put the battery in place so you can see all the major components. You now have one completely disassembled Multimedia Jukebox! Congratulations!I can now show you what was wrong with mine. |