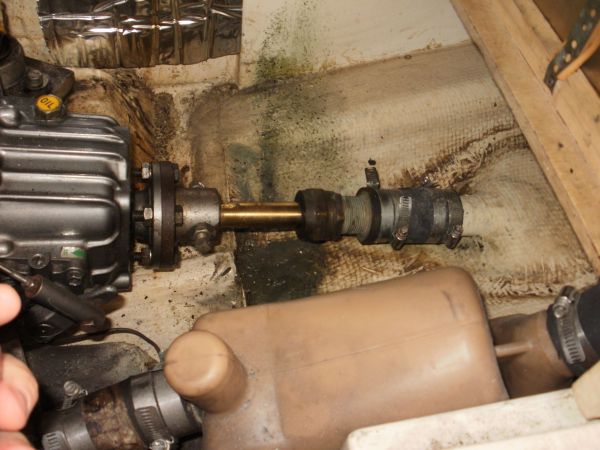
Above photo from (http://www.richardandjudybell.com/c27/systems.html)
After reading info from many sites, I decided on the GFO packing. I like two facts about it , carbon fiber and teflon. Teflon has high temperature characteristics, degrading around 600f, and has a low coefficient of friction. Carbon fibers do not degrade until hi temp and are thermally stable. Put the two together and you have hi-temp materials that have better temperature coefficient of thermal expansion, do not absorbe water and don't have high rotational friction. I just did not know the correct packing size. The Calforums leaned towards the 1/4 inch size. To be sure, I bought both 3/16 and 1/4 inch size. I did measure the prop shaft to be 1.020" but had to guess on the stuffing box size.
I would assume why it went so smooth was I had everything ready.
The steps taken were :
PREPERATION
1) Pre polish the prop shaft with find grit where you can, I used 600 and oil lubricant.
2) Precut the packing at a 45 degree angle over a 1" aluminum rod, was an 1" shaft.
3) Verify fully charged battery bank and working bilge pump.
4) Gather packing removal picks of multiple shapes, and packing wrenches.
5) Buy a wax toilet seal donut for a couple bucks.
6) Program your best friends phone number in your cell phone, make sure it works from the boat.
THE JOB
7) Place the wax around the hull to prop opening trying to fill the crack.
8) Back off the retaining lock nut.
9) Remove the packing nut and slide down the polished shaft.
10) With the fine sand paper buff the packing area that you could not reach before.
11) Pick out the packings, I found 3, 3/16".
12) Start restuffing, use a blunt object to push the packing back in the cavity.
13) Thread the packing nut back on and use it to compress the packing.
14) Back it off and place in the next layer of packing, 120 to 180 degress rotation from the last one.
15) Thread the packing nut back on and use it to compress the packing.
16) Back it off and check to see if there is enough room to place another packing.
17) When done packing, tighten the packing nut hand tight and then just a little tighter with the wrench to compress the packings.
18) Back off and the hand tighten, then only a little extra with the wrench.
19) Tighten the locking nut.
20) Remove the wax from the hull and propshaft to ensure water flow for coolant.
21) Fire her up and check for leaks in forward and reverse, take her out for an hour and verify leak rate and if it gets warm.
22) Check the leak rate as it breaks in, may need a little adjustment.