
|
Not alot of stuff on this site at the moment, but I will try to add as much info as possible.
I will put (or at least try to) only correct information on this site. Most of this stuff is, and will be,
things that my father, brother or me did on one of our zookis.
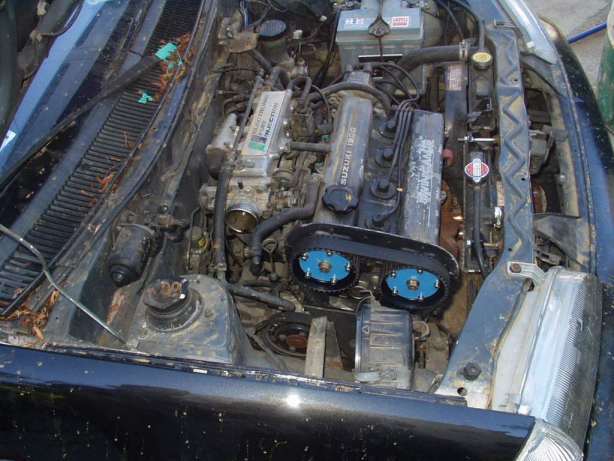
Just a few pics about ignition coils and spark plugs... Coils part 1 Coils part 2 Coils part 3 Coils part 4 spark plugs 1 spark plugs 2 spark plugs 3 spark plugs 4 spark plugs 5 spark plugs 6 spark plugs 7 Pics are from GTIcouple's homepage Here are the pics of a working twin engined swift. At the time I am writting this it's not complete yet, but I will update when it will be. Pics are not photoshopped or fake. twin1 twin2 twin3 twin4 twin5 twin6 twin7 twin8 twin9 twin10 twin11 twin12 twin13 twin14 twin15 twin16 twin17 twin18 twin19 twin20 twin21 I hope that maker of this swift won't be mad on me for putting this pics on the site. I couldn't contact him but I've put them here anyway... I've had some free time so I've weighted some suzuki swift body parts that I had laying around. This is not everything I have, and I'll put some more info in a next few days.
As you can see I've weighted body parts of Mk2 GTi and GL and Mk3 GLX. All three cars are three door versions, GL is 1.3 SOHC and GLX is 1.0 GLX. I've added some new stuff to the weight table. Now it features some sedan parts too. It's still not complete and I'll update it when I'll have time. I should also point out that measurment accuracy was +/- 0.5 kg. All of the values were taken as an arithmetic average value of a few measurments. And the last thing that you should know about is that the GTi seat was measured in different circumstances then everything else, so there's a possibility that it is even a bit heavier then in this table. I've got this strange feeling that my site will get really chaotic really soon, but never mind that :-) Many people asked about the 1994 Subaru Justy, that is actually rebadged suzuki swift, and asked for the tech data for that car, especially the gearbox. Not so long ago I found a Justy catalog that was in one box in my basement for years (!), so now I've scaned some pages from it, and here they are:
These are only two pages, the first and the one with the tech data. If you want more you'll have to ask :-) Update: Here's a little how-to on bullet-proof removal of dials from the instrument cluster... I did this on a Mk2 euro 1.3 SOHC swift, but it's applicable to every Mk2 Suzuki swift. So here it goes:
As you can see, this how-to covers the removal of the central dials only. The reason for this is that temp and fual gauge are much more fragile. You can try to remove them too, but I can't guarantee that they won't break... So you have your dials off the cluster, and now what?? You have three possibilites. You can put the dials back in the cluster :-) , you can buy an aftermarket white dial or similar kit, or, you can make your own white dial kit or whatever you like. I made some dials with a fantasy pic just for fun (and to see if I can do it). You can check it out here Last update: 08.04.2004. |


