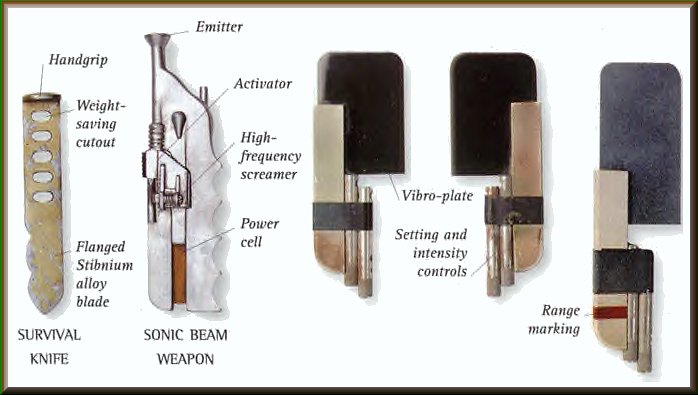
Sonic Beam Weapon
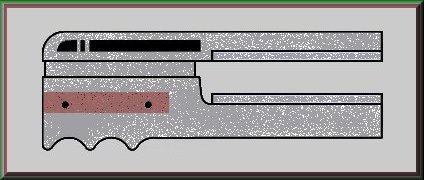
This piece is created from a Paterson RC print squeegee,
These can be purchased from several places, including:
Paterson photo - Photoco - BH photo - EMS photo
As well as many other retailers.
A quick search online, for 'Paterson RC print squeegee'
should result in numerous sources.
The Paterson squeegee is a tool used to wipe the chemical solution, from the
finished print, In photo developing.
The squeegee blades will need to be removed and the entire piece cut nearly in half.
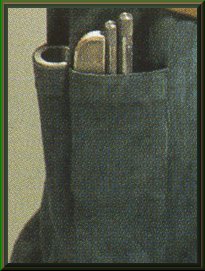
When cutting the squeege, you'll want to make sure it is long enough to rest on the bottom of the shin pocket and still be long enough for the hand grip to be exposed, above the top of the pocket.
Do not discard the remaining cut section of the squeegee.
This piece will be needed to create the Anti-Security Blade.
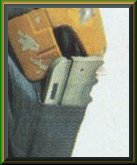
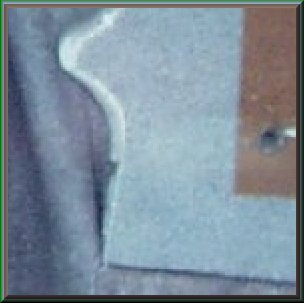
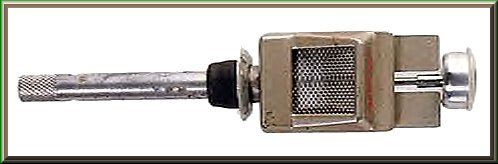
 The V shape between the two halves of the tool, is formed because the squeegee is slightly larger than the leg pocket. |
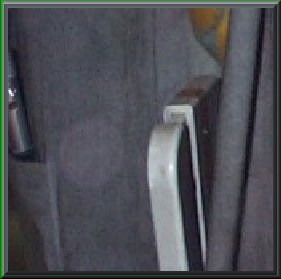
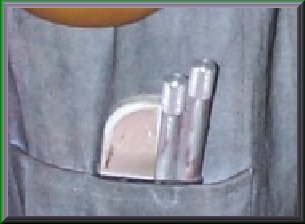
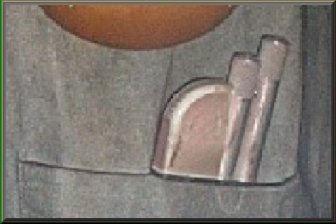
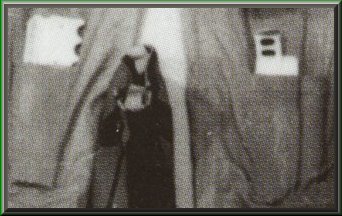
Sonic Weapon from the Art of the UK Exhibit 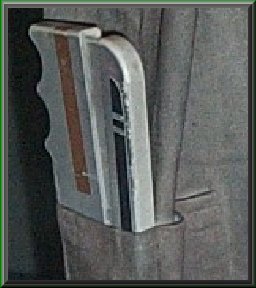 The spring loaded arm was depressed and then the tool was placed into the pocket. The tension of the spring appears to keep the pocket stretched and the tool more secure. |
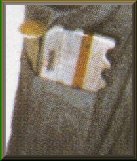
 Profile of the top and hinge area. |
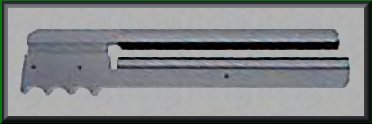
The reverse side of the sonic weapon reveals only a partial black stripe.
|
|
|
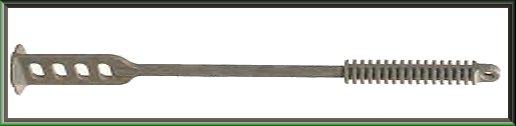
When looking at reference pics of the Sonic Beam Weapon, you will notice
that the fourth
protrusion on the hand grip, has been cut away.
If you choose, you may smooth this area with
epoxy putty, after removal.
Don't be too concerned about the finished appearence of the cut area,
as the
original appears to have been cut in a crude fashion.
 |
|
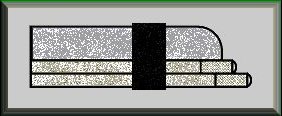
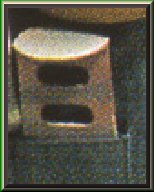
The blade tool is created from the remaining section of the Paterson squeegee.
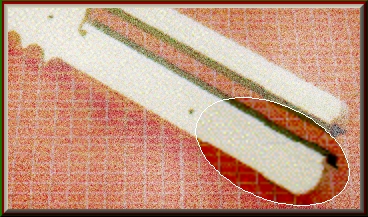
Two metal rods were taped to this piece with cloth or possibly electrical tape.
Each rod is at least 3 inches long & are knurled at the top end.
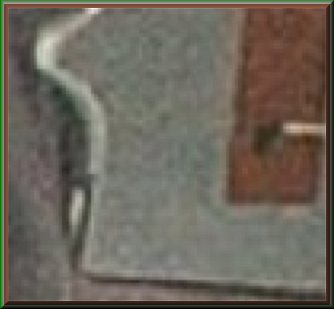
 The Anti-Security Blade |
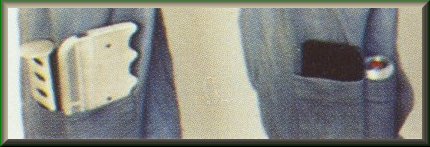
 Both pics show the tape exposed, just above the pocket. |
There are three holes that appear to go completely through.
Two small holes near the top and one large hole very close to the bottom.
Because of the knurled edge & the holes on each rod, these pieces look to be
older existing items.
Although these appear to be solid rods, Exacto knife blade handles,
are a very decent alternative.
The metal rod(s) appears to be the same item as used on Lando's comlink.
Survival Knife -

The knife is made from a
Paterson chemical stir stick, used to mix photo developing chemicals.
Most sources for the Squeegee will also carry the chemical stir stick.
The final version was painted and weathered.
From Pre Pro Suit #2
Jet Pack Adjustment Tool -
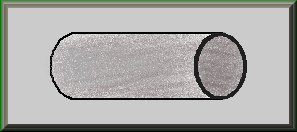
This simple looking tube/pipe shaped prop (left) is still unidentified.
From Prepro suit #2
*At this point it is important to note the reference photos, from the SW Visual Dictionary.
Because of the shapes (from actual reference) of the Paterson Squeegee & stir stick,
it would appear that the tools depicted in the Visual Dictionary
(like several other items in the book) are false interpretations,
created for the book only.
One exception may be the Anti-Security Blade.
The SW Chronicles book, contains a few reference shots, of the early costume prototype.
Some of these shots show a slightly different set of tools.
Including a flat black piece, in place of the Blade tool.
If this is in fact the Blade tool, placed upside down, the item may closer resemble the tool from the Visual Dictionary.
1st pre-production costume ~(SW Chronicles).
White, flat tool piece (above)
The painted alternative (below)
This lower pic also reveals, the other white tool pieces.
The painted stripe, on the Sonic Beam weapon would indicate that
the pieces were (at the time) considered finished.
Possibly remaining from the early (all white) costume.
Also, notice the red center piece, of the 'Adjustment tool' (far right)
absent in later suit progression.
|
|

Return Home |