BABailey's Rebel 250 Project #4
Baggage and Seat Pad Page


MATERIALS :
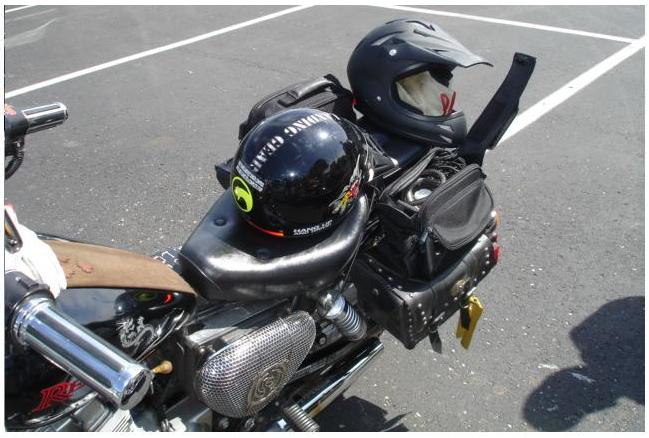
- Two Plano 'Guide' packs @ $9 each
- 18" velcro cinch straps @ $5 pkg/2
- Bike mapcase/handlebar (CD player) bag @ $10
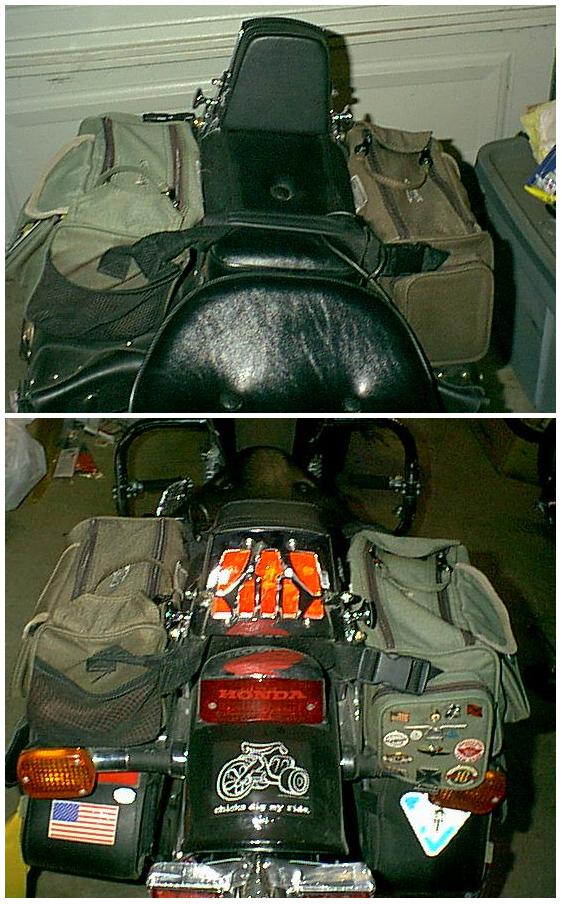
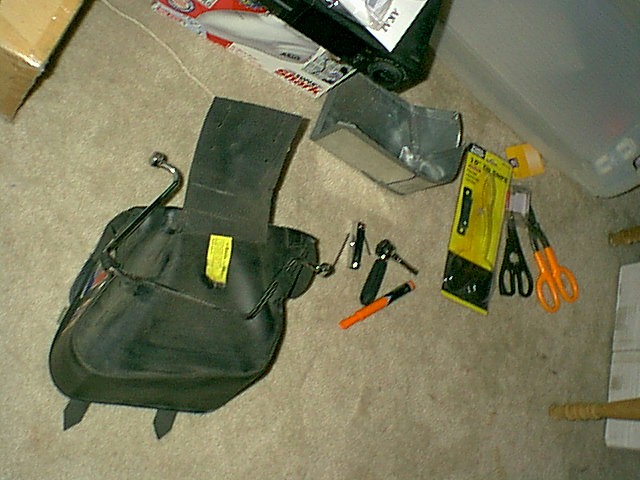
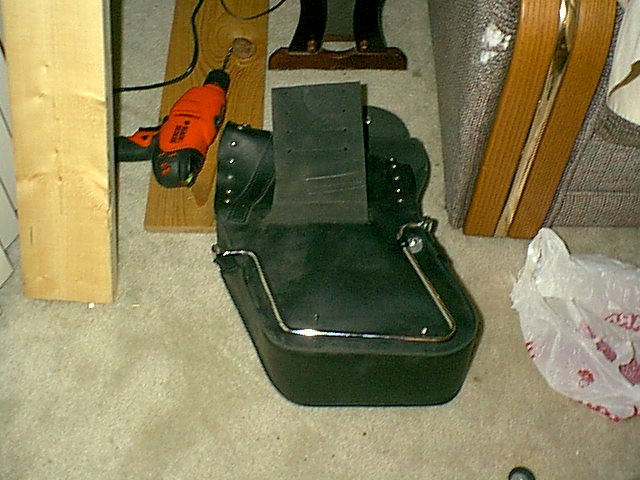
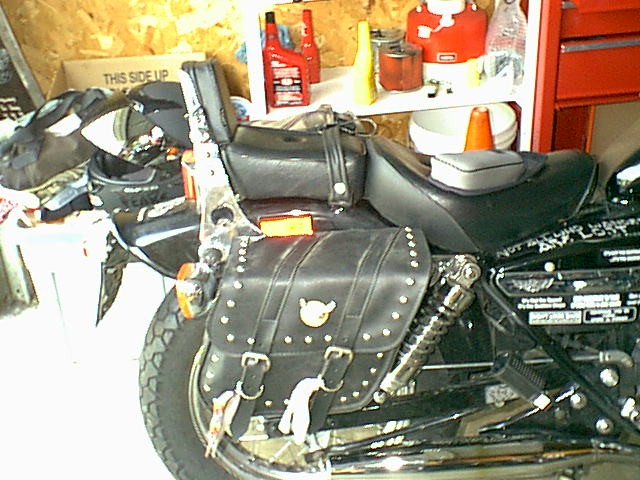
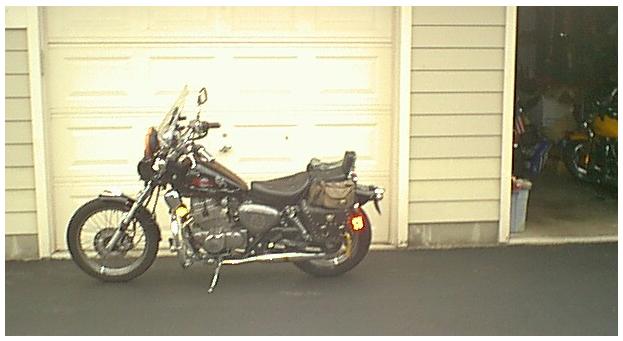
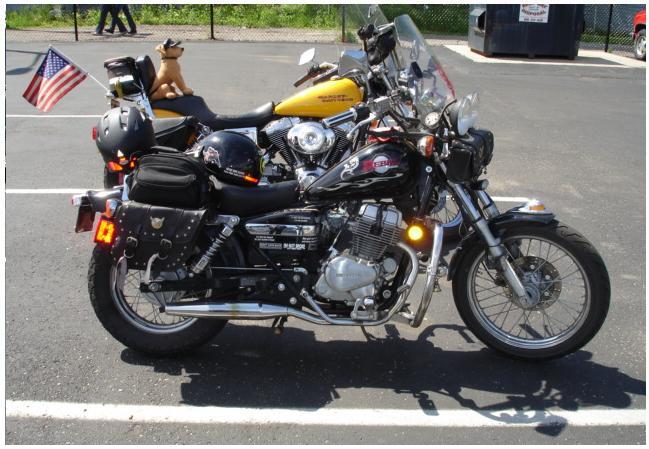
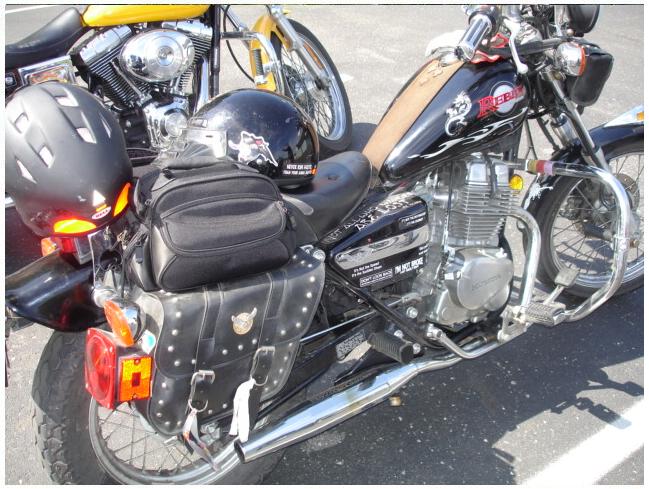
- willie and max studded compact slant saddlebags
- willie and max tool pouch (both from dealer)
i have the willie and max studded compact slant saddlebags - and the
matching front end 'tool' bag (no tools in it yet tho) ... and i recently
went to meijer and got another plano 'guide' series trail bag (already had one) to make a
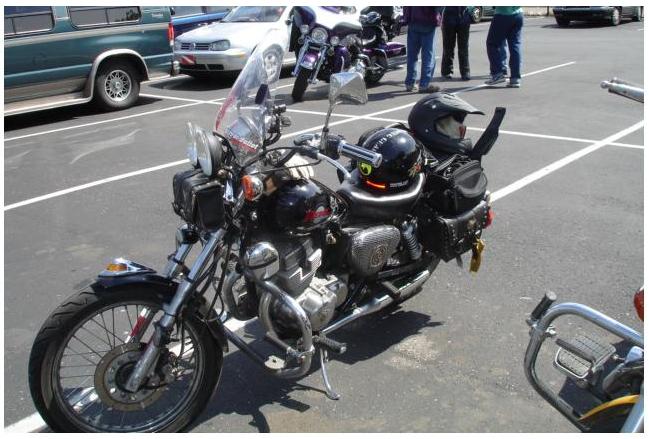
set of two and they fit perfectly on top of the saddlebags ... and wal-mart had a bicycle mapcase/handlebar bag that fits nicely on the
section of handlebarbar between the clamps under the dash) - the bag has a rear zippered pocket for holding a CD player - a smaller front pocket for wallet/keys/etc.. and the center section opens up for a map case ... this will only be on the bike when i am on longer trips to unfamiliar areas where may need it


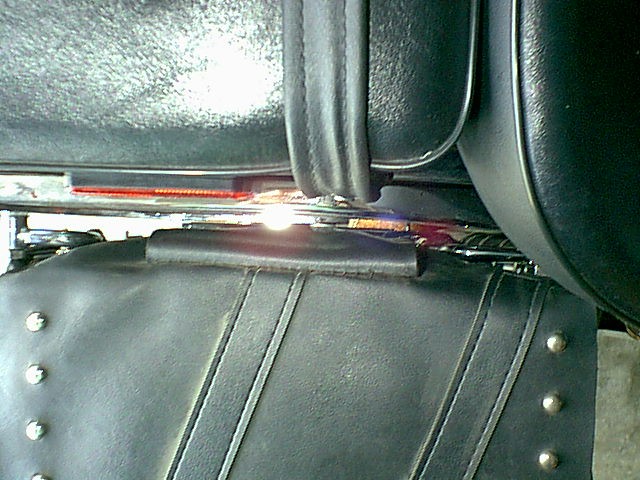
I am sure some of you have the same complaint about the stock rebel saddle being a pain in the butt - literally ..... i have found that on longer rides the rear two buttons dig and tenderize ... to overcome this i have added a fleece pad with a gel insert ... i only use this when needed on longer rides - most of the time it remains in my saddlebag with my rain suit


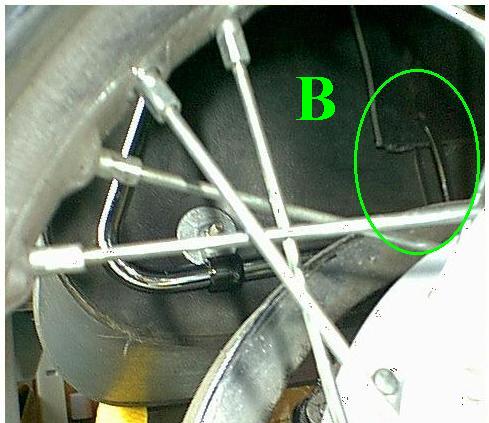
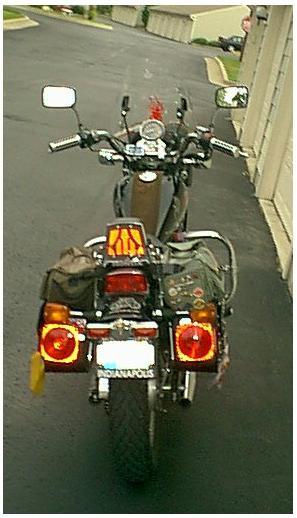
I also snapped some overdue pics of the bicycle 'seat-keeper' mini cable i use for the helmet lock ... i leave it under the strap but pull the long end completely out of the wide loop - sit the helmet backwards on the seat - and thread the cable through the right side helmet chin strap 'V' (you can also thread it through the chin piece of a full face helmet) ... then i re-thread the cable through the wide loop and down to the cable lock ... click the lock bar closed on the small loop and the cable is secured to the bike ... running it under the seat strap not only lets me be sure the helmet doesn't fall off the seat (again *cough*) but it also acts as 'self storage' to keep the cable out of the way and in place when i'm riding ... i keep the small loop locked to the lock bar even when not in use - as seen in the pics below ...


My latest addition to the Rebel is a pair of chrome pull knobs for bathroom drawers ($1.79 each) mounted on the side of the sissy bar uprights to serve as anchor points for the bungee net - they can be seen below ...
Saddle Bag Re-Mounting
w/ Tail/Brake Light Units
always have considered it a minor annoying problem that the dealer threaded the loops through the bags when they mounted them
idn't like the concept of having to unbolt the rails to take the bags off - and eventually i had bag sag
worse, it was messing with the lay of my panniers on top the bags
soooo ... the bag sag (combined with other factors) finally i got fed up enough and 'fixed' it
MATERIALS :
- Sheet metal
- tin snips
- magic marker
- duct tape
- 'p'clamps, washers, nut & bolts, etc ...
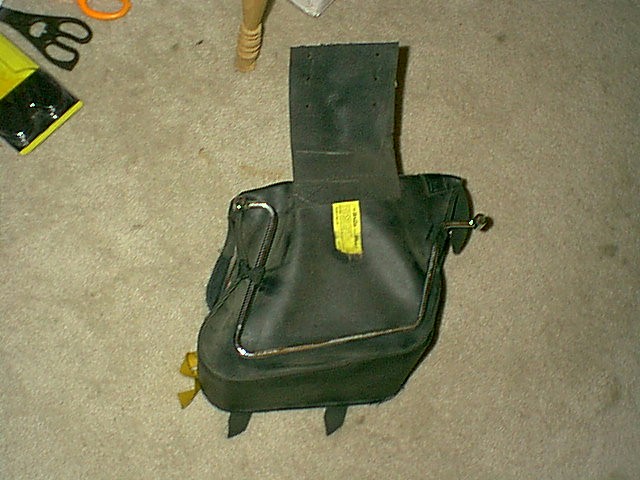
- willie and max compact slant saddlebags {studded}
zip ties through the loops would have been a good alternate - but i had an even better method in mind - sheet metal cut and formed into an insert - rubber coated 'p'clamps used to attach bags to guard bracket rails
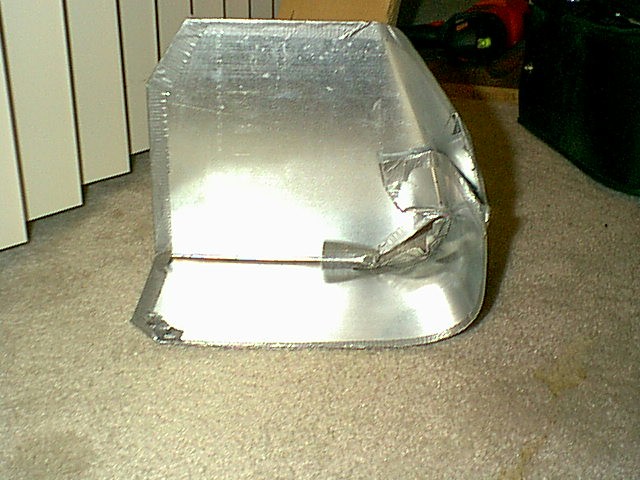
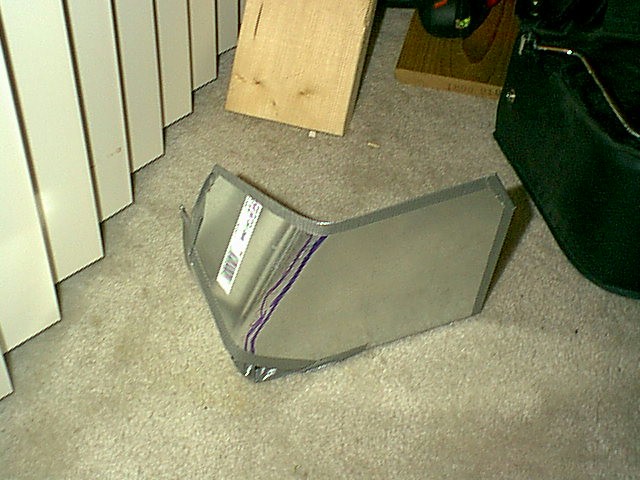
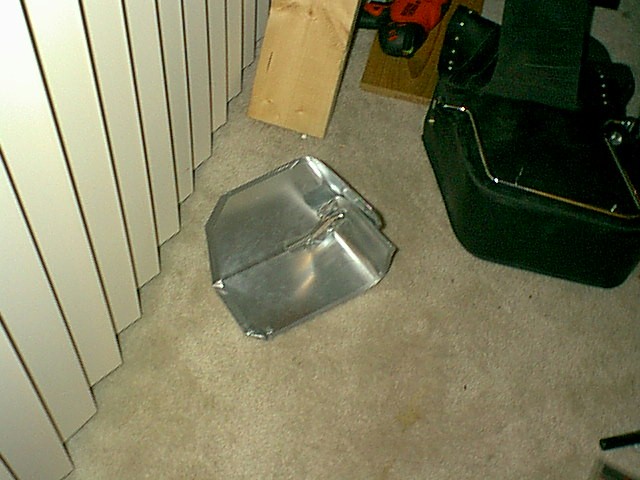
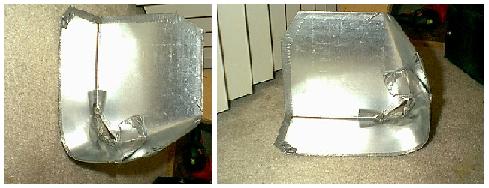
originally planned to insert the metal 'tall' side up for full bag depth coverage of the back half of the bag
but an accidential mis-insert of the 'wrong' one resulted in a short side up that covered most of the back
and let me put the lower forward mounting bolt through the metal also

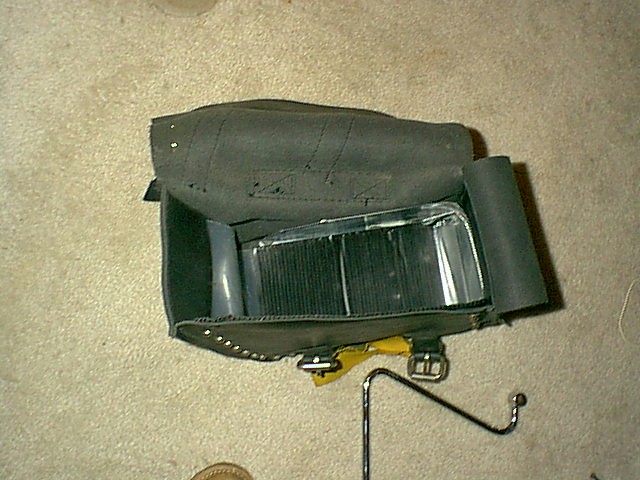
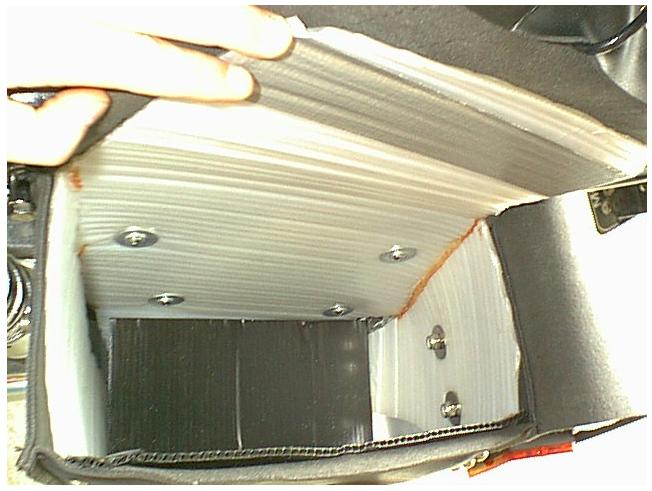
allen head bolt + small washer + large fender washer + corrugated plastic bag stiffener + metal insert
/ back of bag /
large neoprene rubber washer + large fender washer + p-clamp + small washer + nylon insert lock nut
(4 sets per bag = 8 sets)
used a pair of zip ties through the yoke holes to secure the yoke flap to the bottom guard rail
down behind the back of the bags
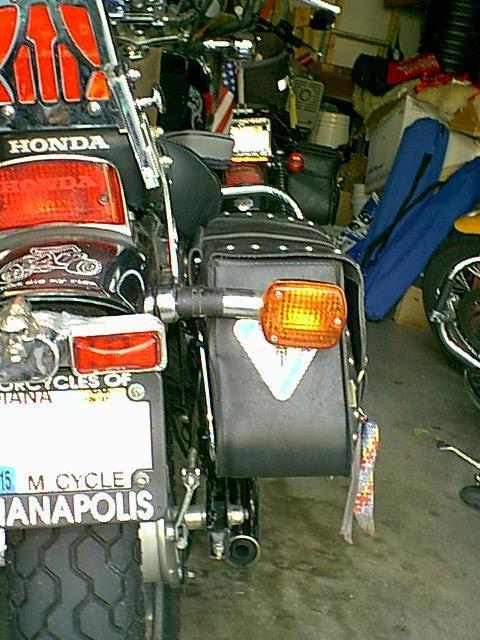
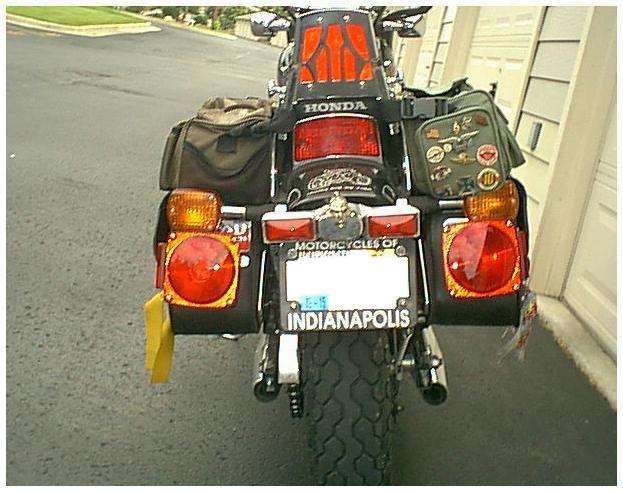
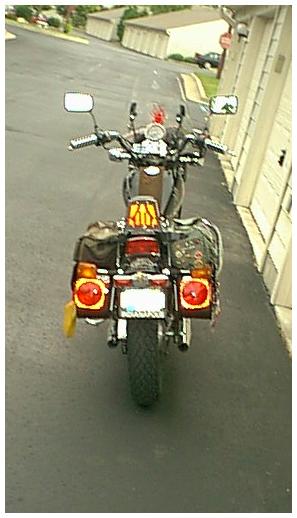
Bag-Mounted Tail/Brake Units
MATERIALS :
- pair of trailer/utility tail light units (left and right)
(left unit has lic plate illum window on bottom)
- black plastic tubing
- magic marker
- electrical tape
- wire, terminals, washers, nuts, etc ...
brake light units attached to back of bags - and is why i used the sheet metal inserts to also stiffen the rear as well as back side and bottom - put the mounting bolts through the back of the bag and secured them through the bag and metal insert to support their weight

New Pannier Bags
( ... T O - B E - C O N T I N U E D ... )
Click on this icon logo to RETURN to BAILEY Motorcycle MAINpage


Please contact BABailey at MillenniumRebel@yahoo.com about information on this page