|
|
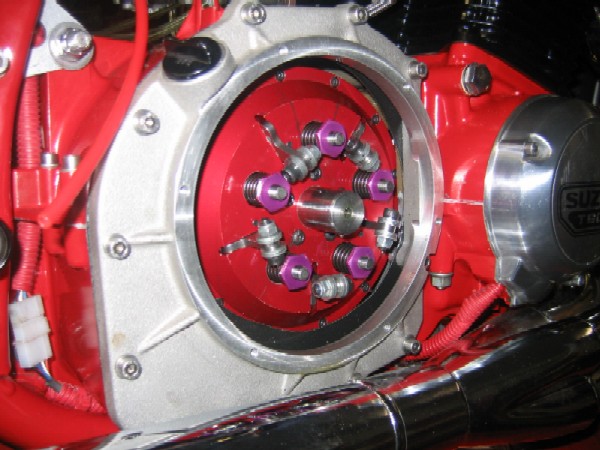
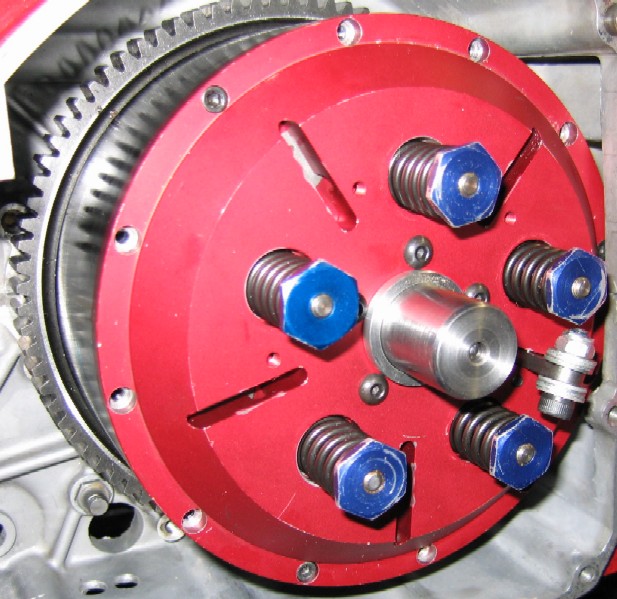
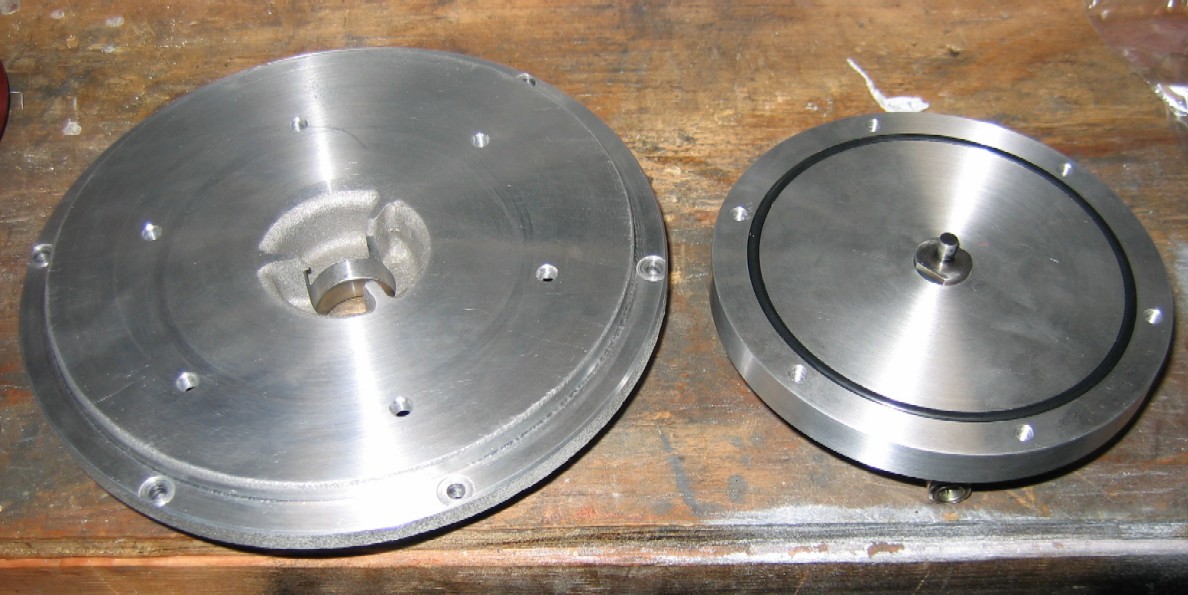
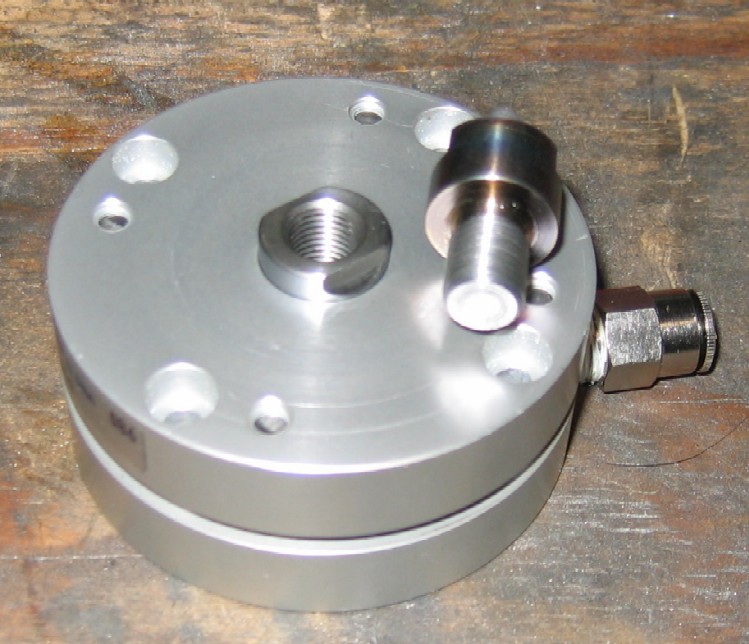
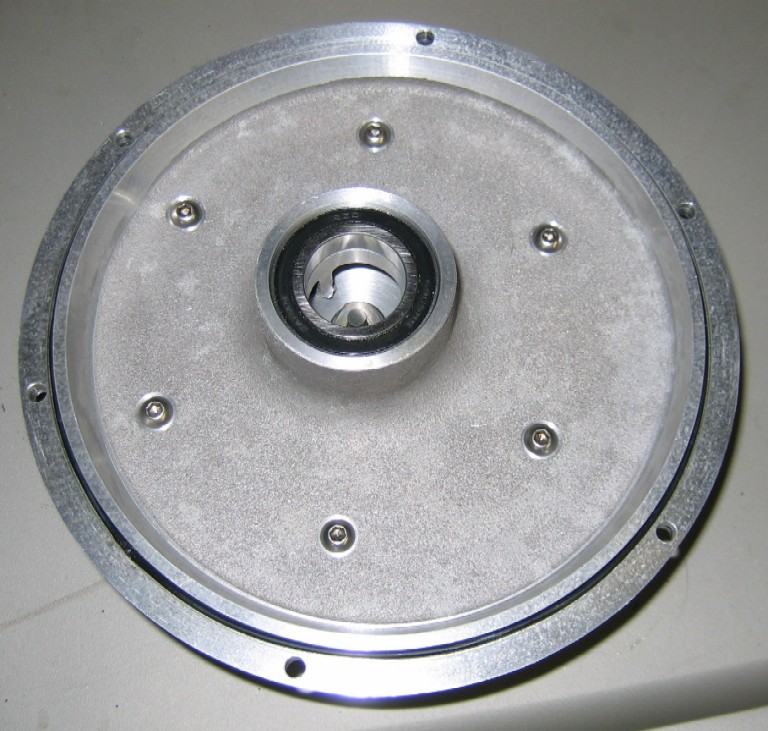
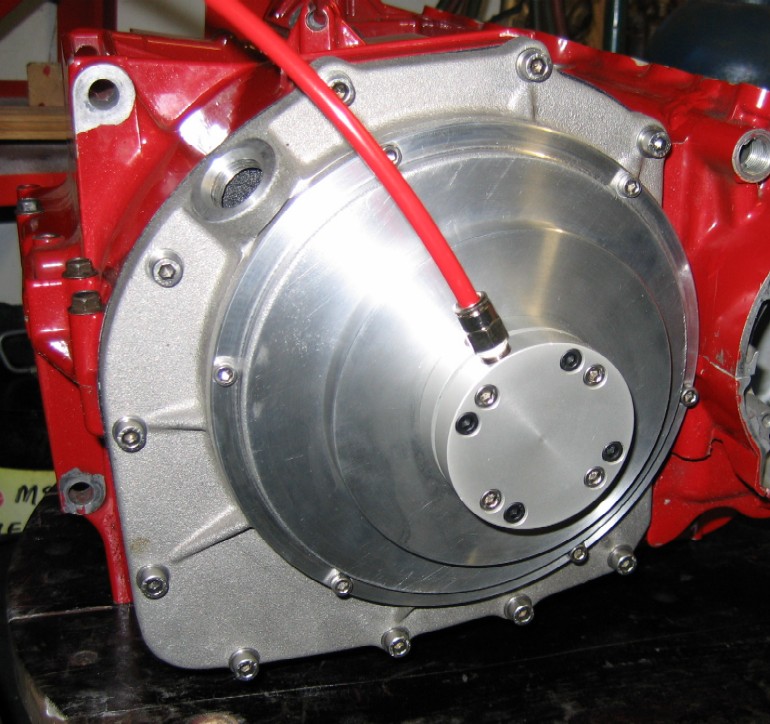
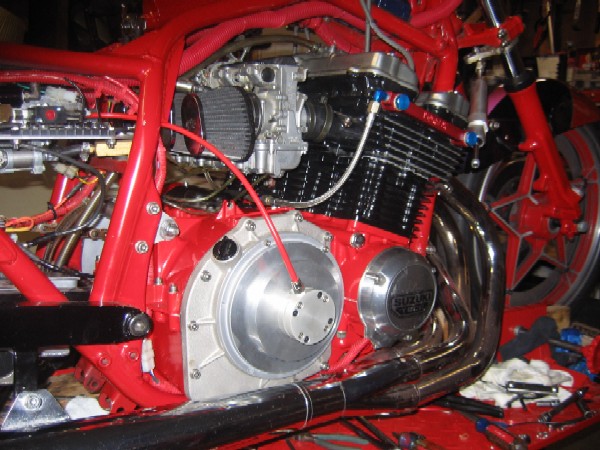
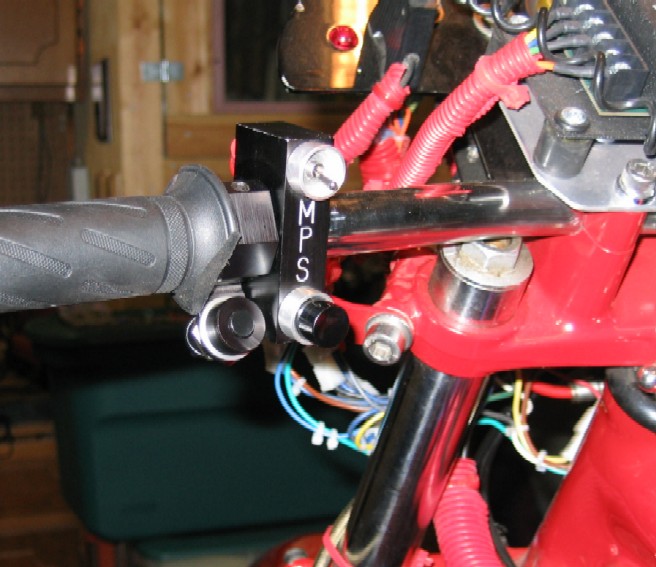
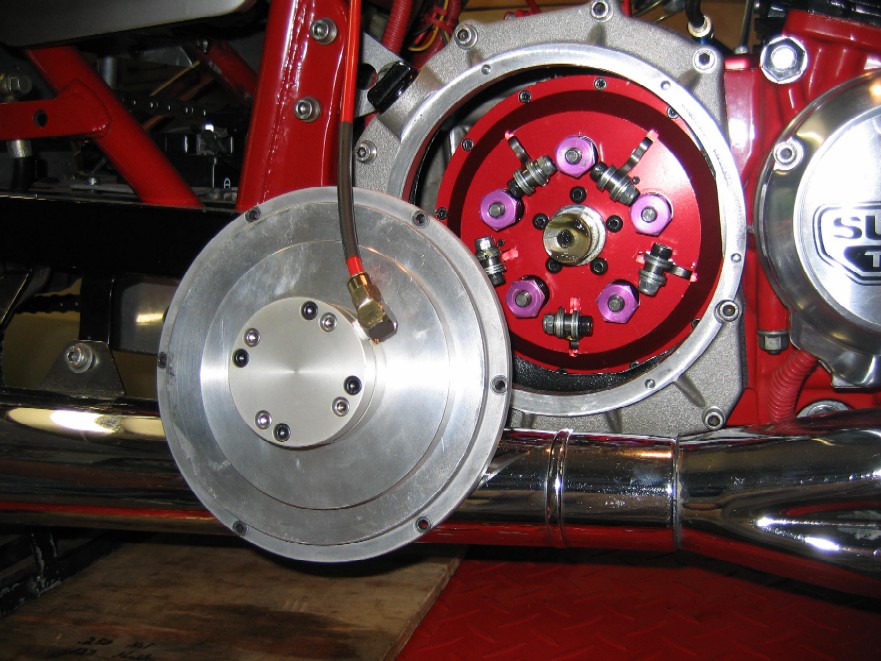
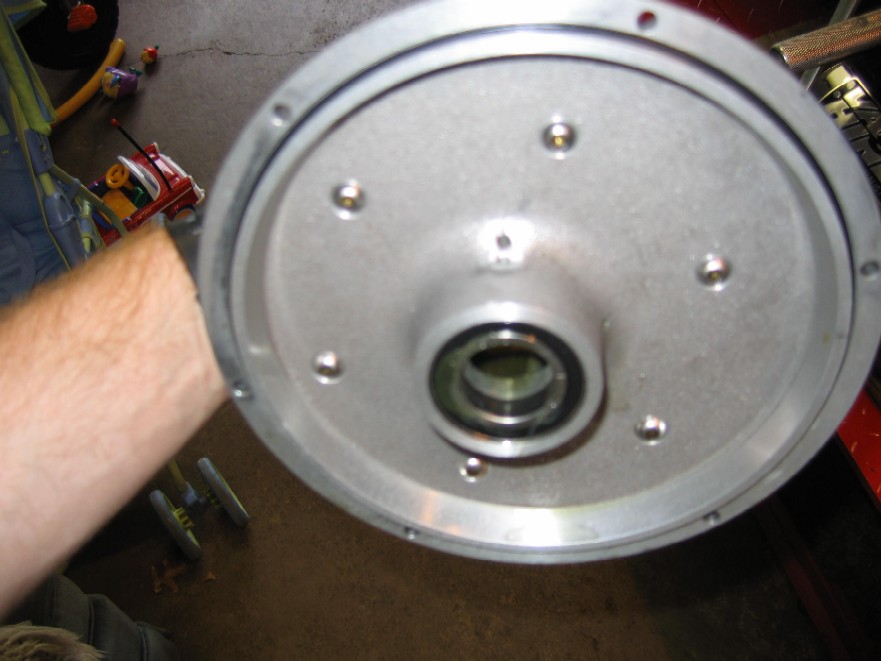
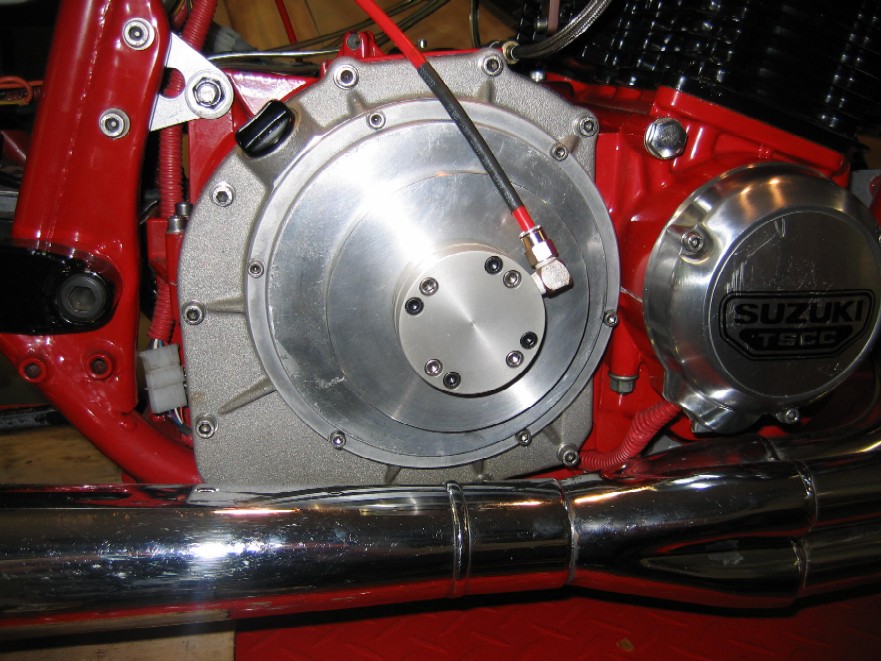
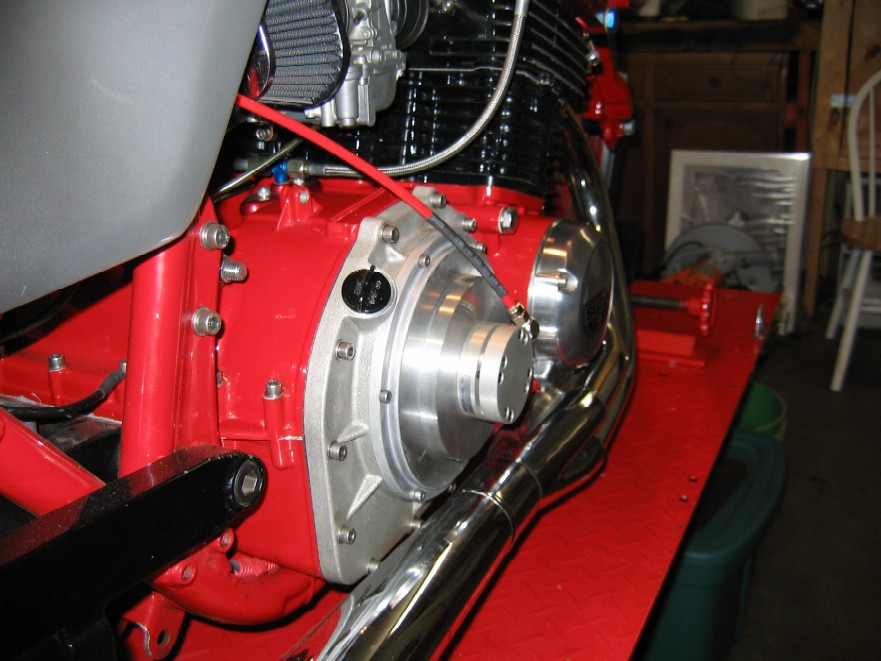
Air Ride Slider I've been racing a mid 9 second dragbike for a couple years. I've always been unhappy with the lockup clutch I've been running. When it's cold the bike wants to bog. Later when they start hot lapping us the clutch starts slipping and the 60' drops off. I even noticed my lights vary. When the clutch was cold it would pop the tire out of the beam and cut a good light. Later on the clutch would get hot and I didn't get that initial hit. This resulted in slower lights. I've lost many a race due to this inconsistency. In talking with guys that run sliders I've always been impressed by how consistent their 60' and reactions times are. I've wanted to run a slider, but always go to the track myself. I have no one to tow me back to my pits. I wasn't comfortable with the wack the throttle open and coast back method. Our return road is not a straight shot. It has several turns in it. I finally heard about a racer that was using an air cylinder on the outside of the clutch cover to push on the pressure plate. So I knew something could be done. I was later able to get some input from him on the air cylinder and pressure he was using. I sat down and came up with a design and showed it to some friends. Thanks Mark, Tom, and TDM Machine. With their input I made some design changes and eventually came up with my final design. The problem I faced with my design was the need to still support the Hat with the cover and push on the center of the pressure plate at the same time. The final design machines out the center of the hat. I created a new center section that houses a pusher and a ball bearing. This new center section also serves to support the hat. The new center is machined out of a high grade steel and is bolted to the slider hat. The pusher is a valve tappet from a 2HP Briggs and Stratton lawn mower engine. The ball bearing idea came from studying how an H2 clutch functions. I picked up a quick access slider cover and had it machined flat on the outside. The support on the inside of the cover was machined for a larger bearing that would fit and support the center section I added to the hat. Bolted to the outside of the cover is an aluminum sub plate. Bolted to the outside of the sub plate is a pancake style air cylinder. There is a custom heat treated pusher that bolts to the air cylinder shaft and pushes on the ball bearing. The ball bearing pushes on my pusher. The pusher pushes on the pressure plate. I put a switch on the left handlebar to activate an air valve located under the seat. There is currently no direct oiling. I did put a couple oil holes in the top of the support in the cover to allow oil in. I've been shooting a little oil in behind the cover bearing. The rest of the oil is gravity fed from what splashes around behind the clutch cover. I also have a good supply of grease on the ball bearing and push rod inside the new snout. When you first activate the cylinder it doesn't kick in until you give it some rpm. I have no tach, but I would guess around 2500 to get it locked up. Then maybe 1600 or so to keep it locked up. It seems like once you get the arms to help you get it locked up the cylinder keeps it there. I had one of the guys work the camera in the pits. As I go past it's locked up and I've got it just above idle. That's about how I bring it back up the return road except I use 2nd and 3rd gear. In the video the air pressure was about 92 psi compared to the 100 psi I'm using on the return road. The slider itself has medium springs. At 5000 rpm the bike sits still. At 5200 it creeps forward. The 2-step is set at 4800. I'm guessing with standard springs I wouldn't need as much air pressure. I'm in testing mode with this right now. So far it works great. I'm very happy with it. I've read people on the net saying it could be done, but never heard how it could be done. I thought others may be interested in the idea. Now I'm no engineer. I'm sure someone much smarter than I could improve on my design. I've posted up my final drawing, pictures, and a parts list. I'll try to keep this page updated with passes and any design changes.
6/17/07 Only changes I've made to the system were to back the springs out a tad and go up to 17.5g from 16.5g on each arm with the med springs. My stall is around 5000 now launching at 4600. With this change the bike wants to start forward as soon as I activate the air cylinder at 100 psi. I now get the bike moving with my feet before activating the air ride. My 60' is the same. I wanted to make sure I'm not getting any slippage on the way back. TOTAL RETURN TRIPS (99) in 2007 Approx. 62.68 miles I'm halfway thru the 2008 season with no issues. I did change the ball bearing prior to the start of the season.
Video This First video shows me riding the bike around the pits using the air ride system when it was first installed. http://media.putfile.com/air-ride-slider This is a video of the bike leaving the line. I made 3 passes this night. Ran 9.63 @133 60' seems to be within .014 of each other on a normal race day
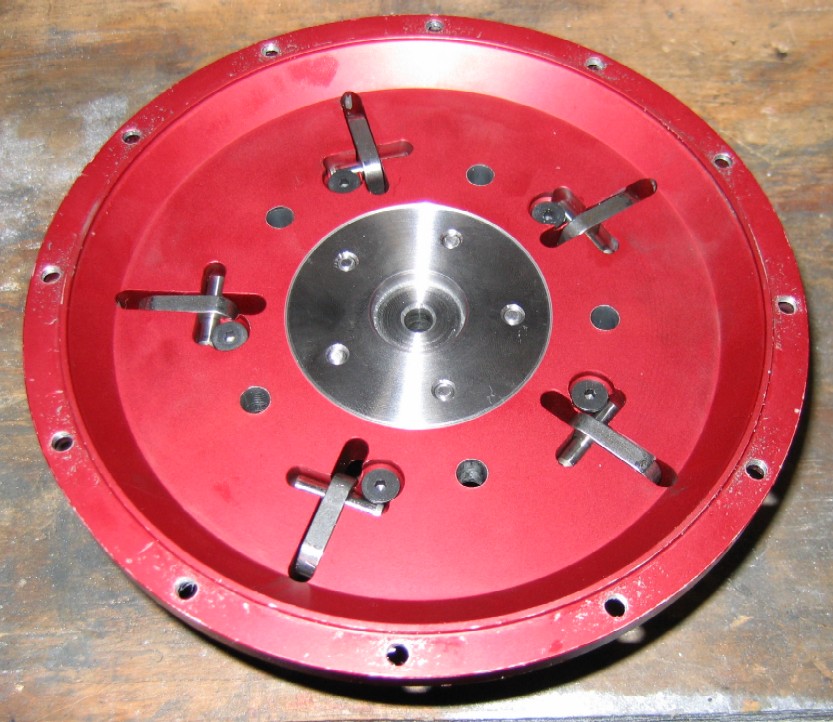
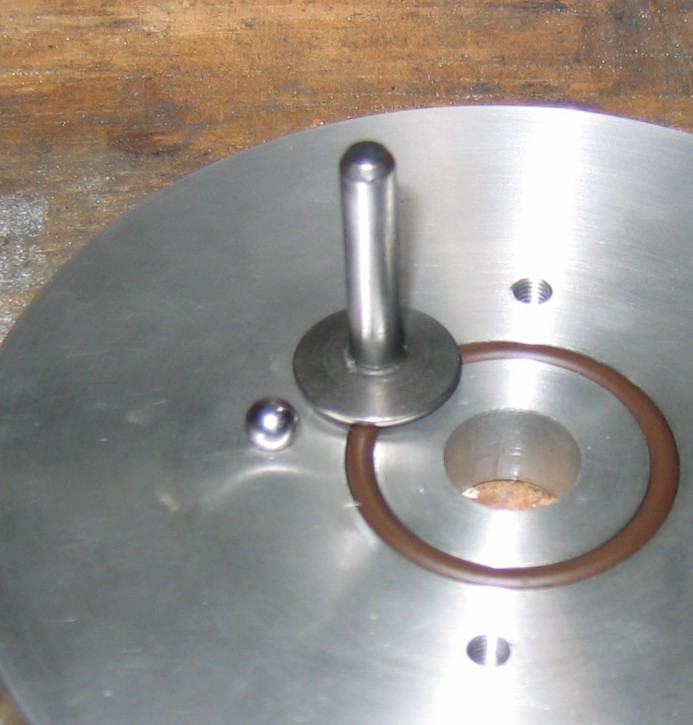
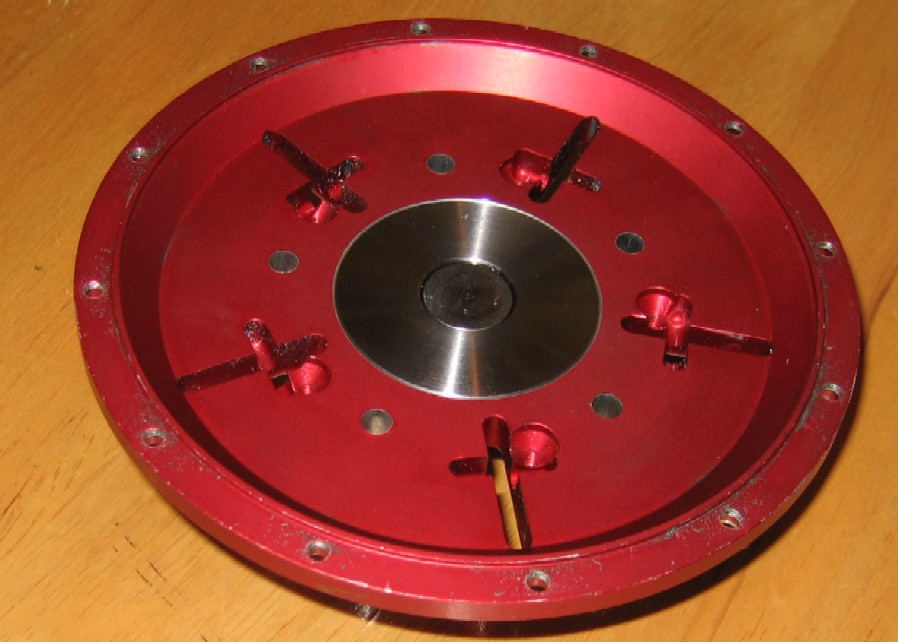
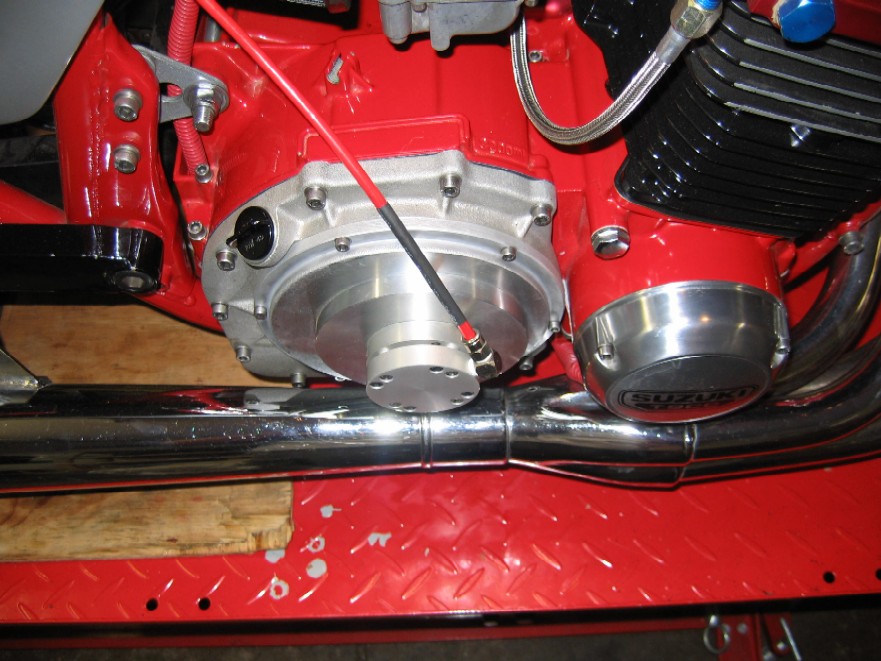
Pictures
|
|||||||||||||||||||||||||||||||||||||||||||||||||||||||||||||||||||||