|
-Articles-
KWC K99 field strip guide
Comment on this article
Here is the guide that I made that shows the step-by-step disassembly of the KWC K99. If this in any shape or form breaks/destroys your gun, I'm not responsible.
How to:
-Lock the slide back
-Remove the magazine
-Pull the back tab down and off
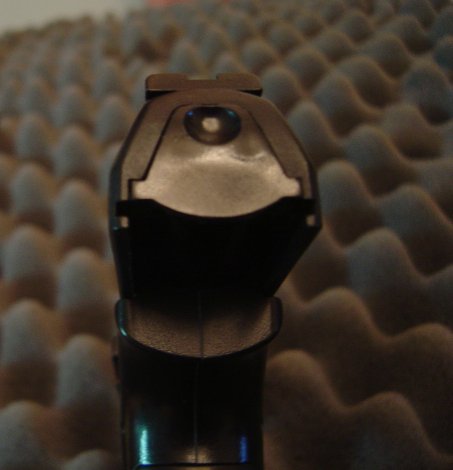
Back tab on the back of the slide
-Release the slide
-Fire the weapon
-Punch out the front pin from the right side (I used a nail set the first time, it gets eaiser the more you do it)
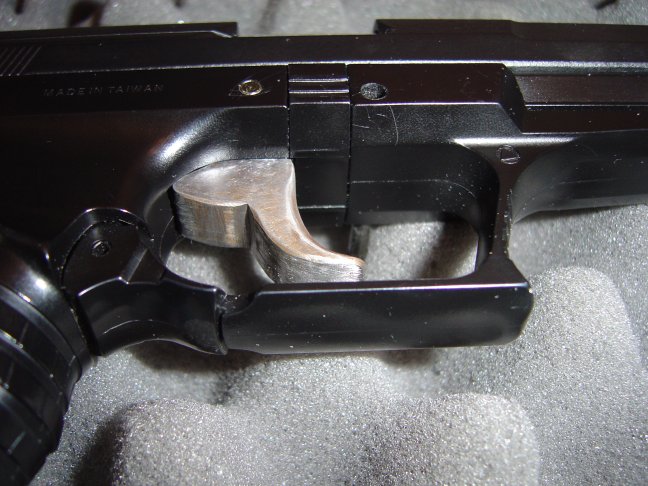
Front pin that holds slide on
-Pull the slide foward and off the frame
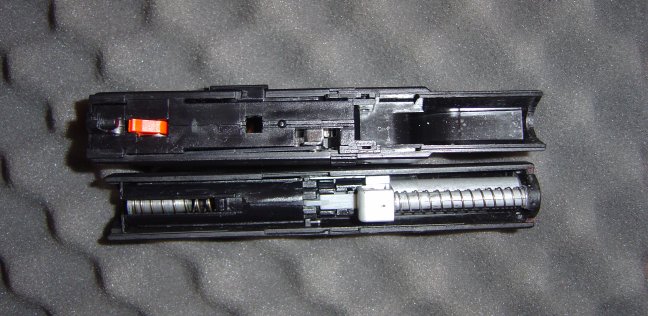
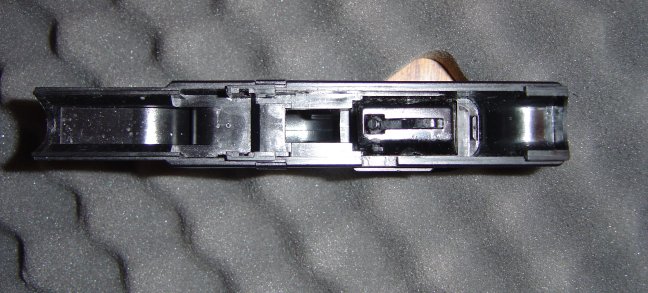
Slide internals
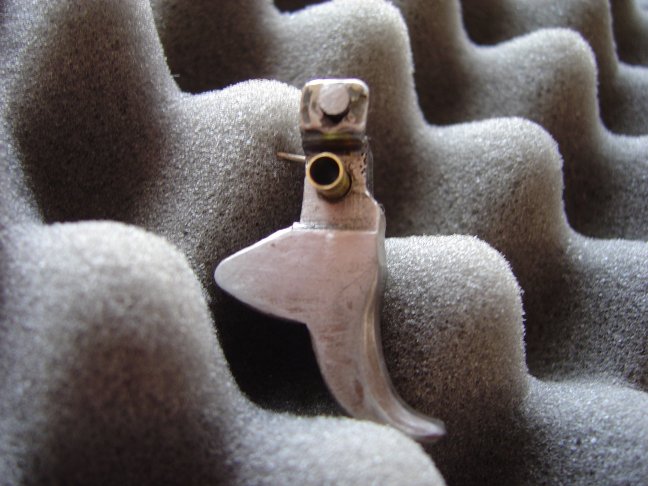
-Hold the barrel assembly foward and push down through the ejection port

How to remove the cylinder
-Pull the cylinder assembly out through the back
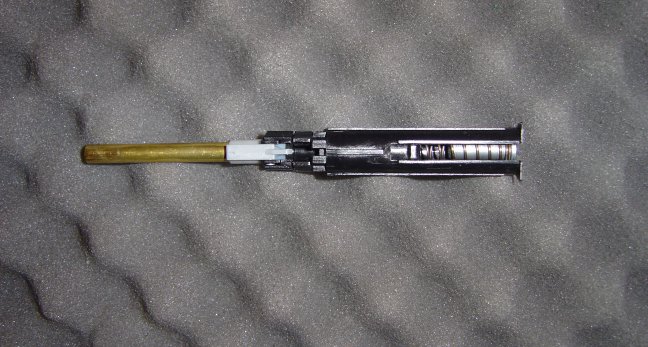
The cylinder/piston/spring/and barrel
-Release the barrel assembly
-Push on the ejector port cover and pull out the barrel/recoil-guide and spring
-Pry off both rings
-Pull out the pin
-Slide barrel out
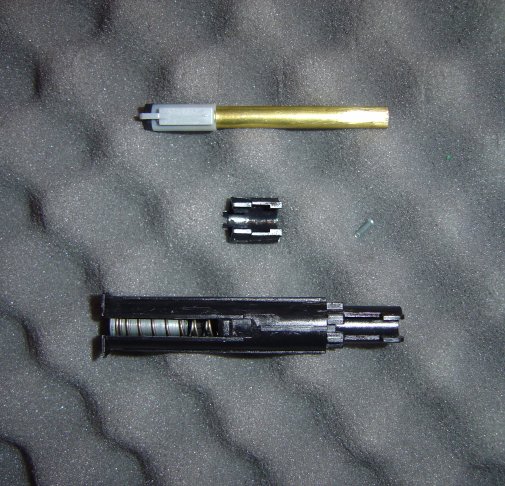
Cylinder apart
-Punch out both pins (I used a coat hanger tip)
Pins that hold in the trigger box
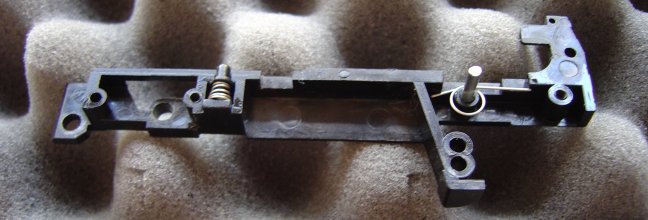
-Hold rear of trigger box and slide it out

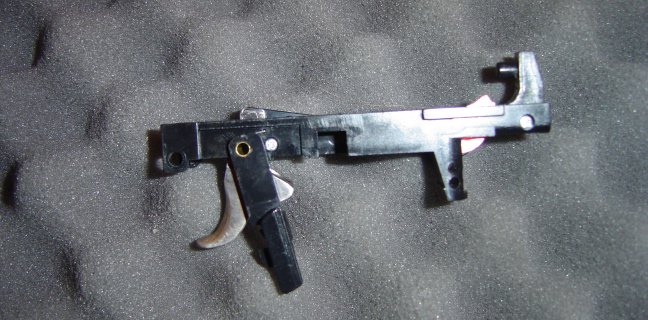
Right side of the trigger box
Left side of the trigger box
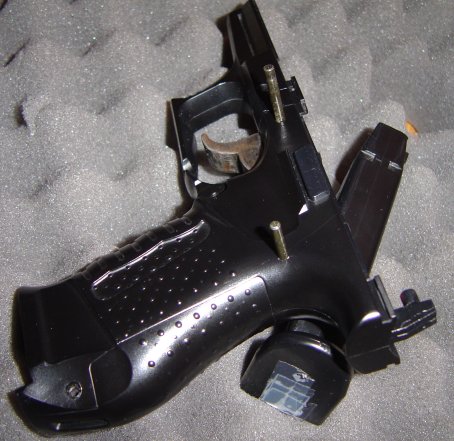
Empty lower frame with magazine
Trigger box instructions:
-Lay the trigger box left side up
-Remove both screws
- Gently pull the halves apart (the piston sear will probably pop out when it comes apart)
Thats how you take it apart. Quite easy, it's just hard to get the piston sear seated properly. You can tinker with all the parts inside if you wish.
Right side of the trigger box
The trigger, same as stock, except this is metal
The trigger box opened

The proper position of the piston sear and spring
As far as I have gone
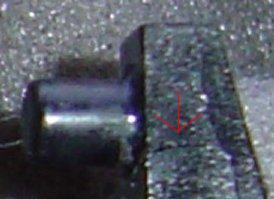
When I was taking it apart today to get the pics, I noticed a small crack on the rear of the trigger box that held the spring guide in place:
This is how my dad and I figured out how to fix it. We took a small drill bit and drilled down the side that was cracked. We took a screw that was slightly larger, took the head off with a die grinder, and pressed it in. That baby didn't move at all after.
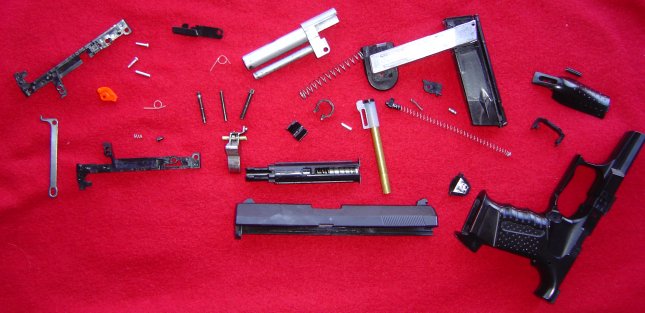
The guide is pretty much complete now, anything else you want me to add, you can post below or any suggestions/questions. I have a huge pic of the parts layout (2.13mb 2592x1944) if anyone needs to see alot of detail on it I can send it to you.
~HEATLoE
Comment on this article
|


