Whip and tongue Grafting.
Grafting a pear tree
There are many methods of grafting. Here's a very popular method used specially when the rootstock and the scion wood are about the same size. This method can be used on all fruit trees.
This technique is commonly used when both the rootstock and the scion are of matching size.
In these photos I'm grafting Pears variety "Flemish beauty". The rootstock I'm using is OHxF 333 which is a semi dwarfing. It is resistant to fire blight, collar rot, woolly pear aphids and pear decline which makes this a very healthy stock.
The rootstock is still dormant and it's bare rooted. You can also graft on a rootstock that's in a pot or in ground. Grafting has to be done at a certain time of year. This was done on March 17th. Whip and tongue grafting can still be done when the rootstock first breaks dormancy, but the scions have to still be dormant for a successful graft.
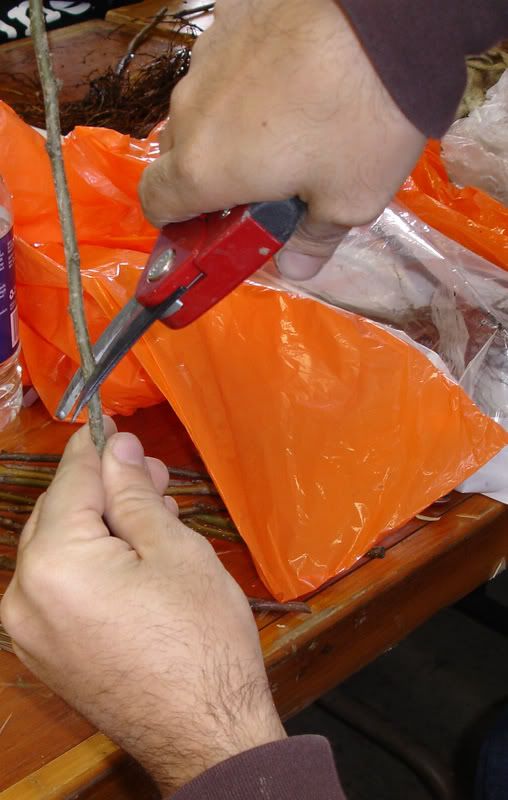
- Make a cut where you want the graft to be, usually a foot above the soil. If the graft was at the soil line, the scion will eventually send root and the rootstock will lose the dwarfing and disease resistance affects.
Cut the rootstock.
-
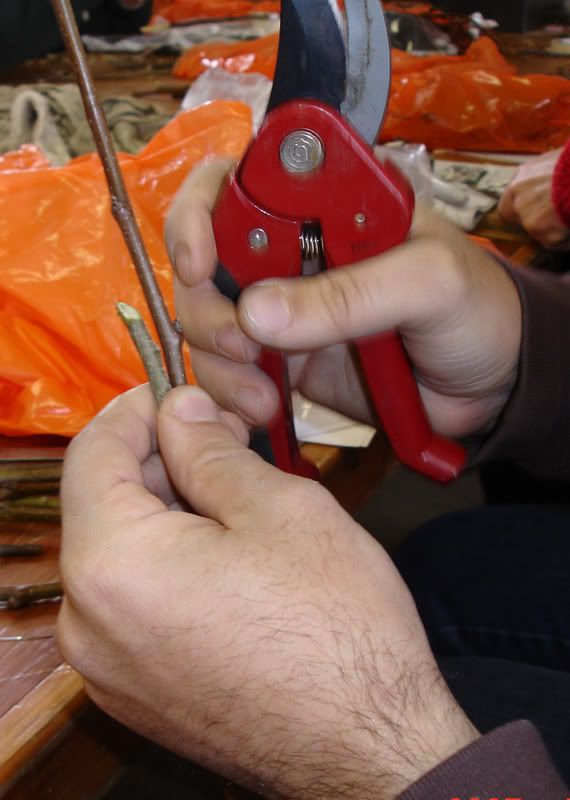
Next, find a scion that would be the same thickness as the rootstock.
-
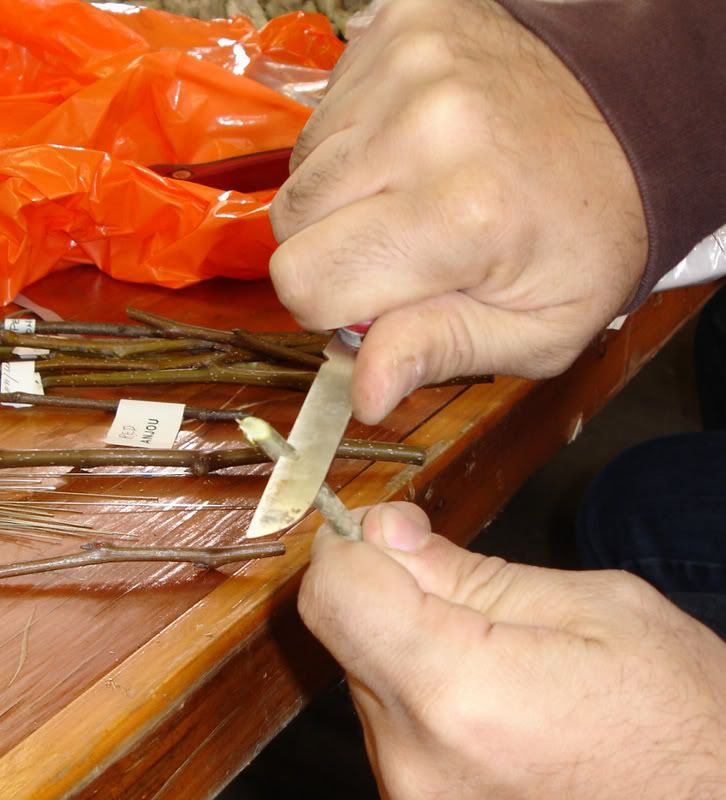
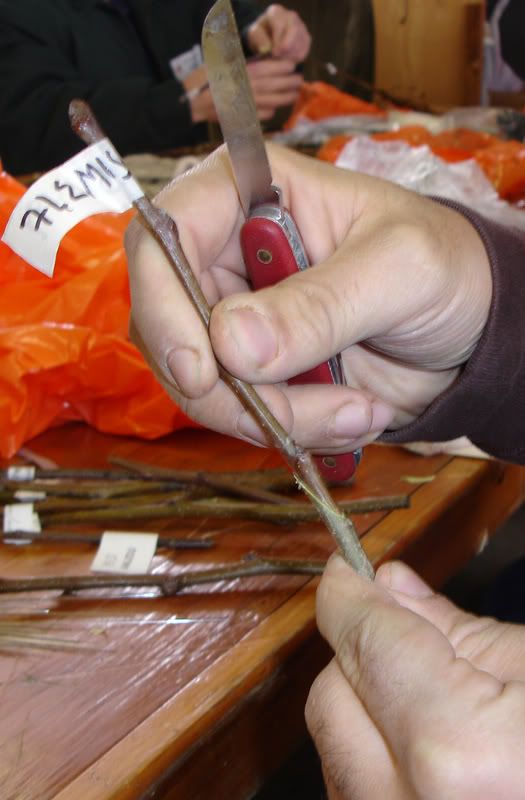
Next make an angled cut using a grafting knife. Be extra careful, I already cut my finger badly the first time I grafted.
Then make the same angled cut on the scion wood, leaving 2 to 3 buds on the scion wood.
-
Both the rootstock and the scion will have matching cuts.
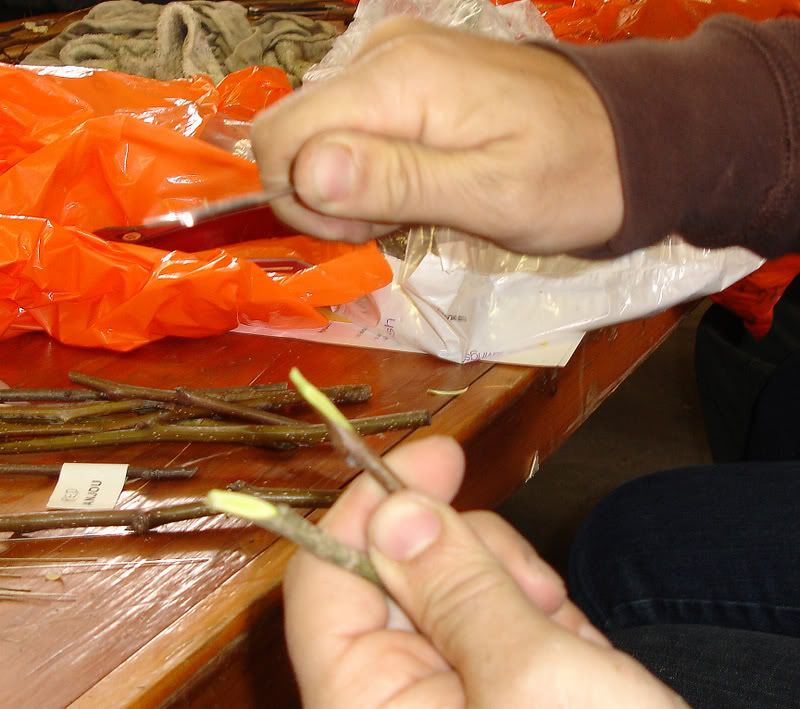
- By placing them close together, they should look like that.
- Next, make a vertical cut through the middle of rootstock and do the same on the scion wood.
After the cuts have been made, they should connect
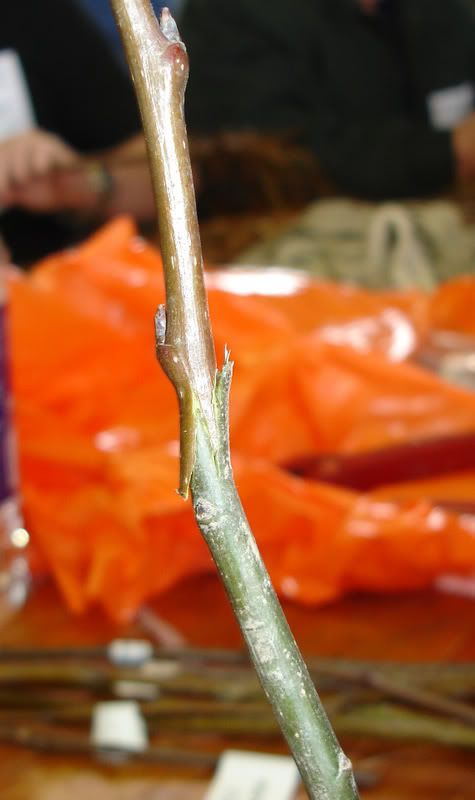
- Make sure that the cambiums which is the green layer below the bark are matching. If the scions was a little smaller and the cambiums are not matching on both sides, make sure they match at one side at least.
- Afterwards wrap the graft union with grafting rubber or grafting tape. I normally use grafting rubber, then I apply grafting wax to the grafting union covering up the rubber and the entire scion with wax to keep it from drying.
Don't take the grafting rubber off after the leaves start pushing and the graft takes, but leave it on and it will degrade on its on.
- Place your grafted rootstock in a pot and use a potting mix that will provides good drainage. Don't use the regular dirt from the field, it lacks drainage and can contain insects and diseases.
- After care is very important to insure you have a successful graft. Check on daily basis for any leaves growing below the graft union. Make sure to rub off any growth if you noticed any buds that may have pushed leaves below the graft. What will happen is the sap will be directed directly into this growth and the scion would dry and won't callus.
After 2 weeks you should start seeing growth from the scion wood, and that doesn't mean that the graft has been successful as yet.
Water it regularly, don't let the soil stay too wet and not too dry. If the sun is too sharp, keep the potted grafted trees in the semi shade, otherwise sunlight is beneficial for the growth of any tree.
Don't be discouraged if your graft fails the first time you attempt this. Even professional grafters don't have a 100% success. Keep trying till you get it right.
Method and technique used here is my own experience. There are various grafting techniques used, and they vary with each grafter.
Bass
Back to main page

