How to make traditional Japanese Hina dolls for Girls' Day
Return to the How To page.
This is a slight adaptation of a pattern I learned thirty-some years ago from a book that was volume 4 in a series of pocket-sized origami books by Sanrio Gifts. This volume was by Toshio Chino, and the series was edited by Kunihiko Kasahara. The author calls this fold "Traditional Japanese Dolls", but whether the fold is traditional or invented by Toshio Chino, I don't know. Since he calls them traditional, I'm assuming it's OK to share the pattern. I've been looking to see if I can find instructions for these dolls in a book anywhere in print or anywhere online, and haven't been able to. I have seen several patterns for hina dolls on the Internet, but none I like as well as these. (Update: But see my photo of Jun Maekawa's dolls at the end of this page.) They're three-dimensional, so they stand up easily, and they have three colors so they look ornate, but they're relatively easy to fold, so that an origami novice like me can manage them. It seems a shame for them to be lost, so I present my adaptation of them here.
I'll begin by describing a simplified version in two colors, which only uses one square of paper. The folds are the same for the more ornate version. The simplified version is folded exactly as in Chino's book, except that he uses two sheets of paper. In the simplified version, the head is the same color as the robe, whereas in most versions of hina dolls I've seen online the face is white. I'll fix that in the more ornate version.
Simplifed Hina Doll
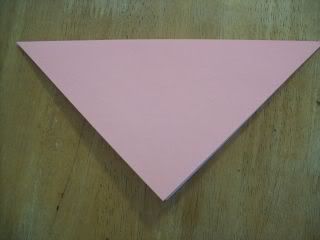
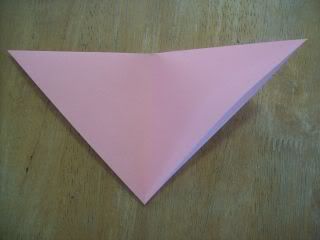
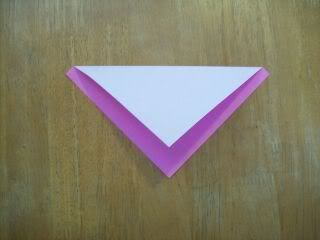
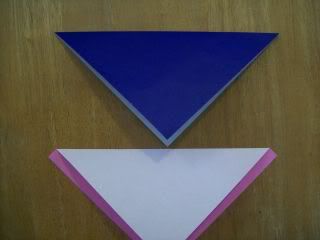
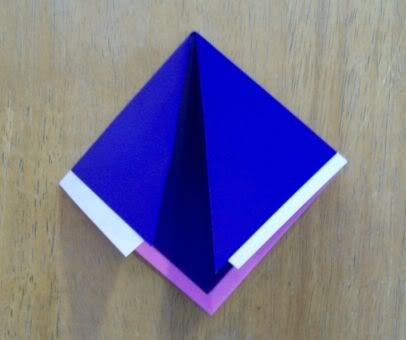
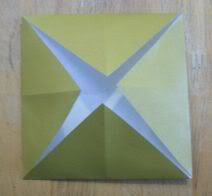
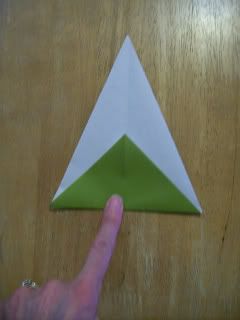
Begin by folding the paper in half diagonally
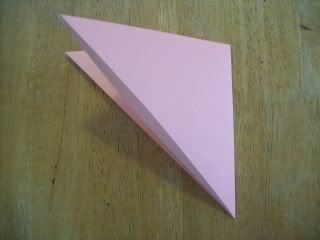
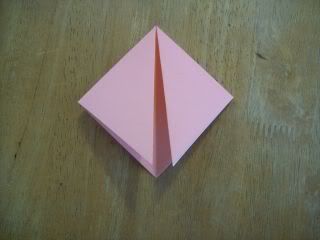
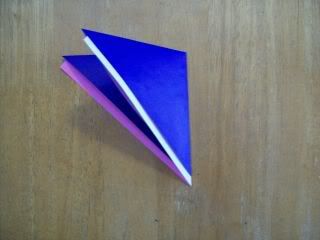
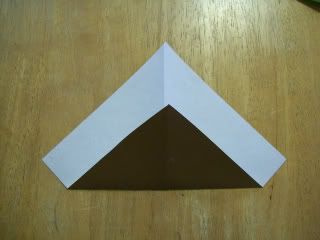
Fold the right side over to the left and open back up, to make a central crease.
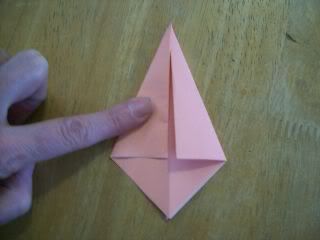
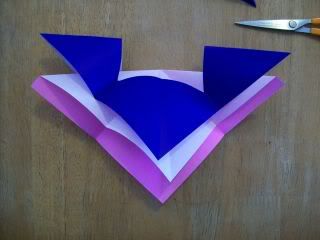
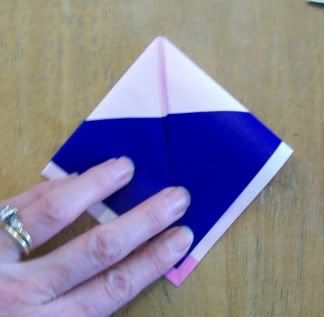
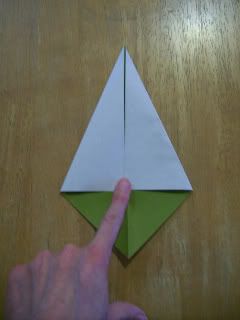
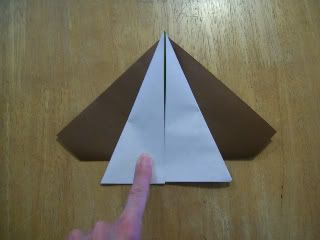
Fold the top corners down along the central crease.
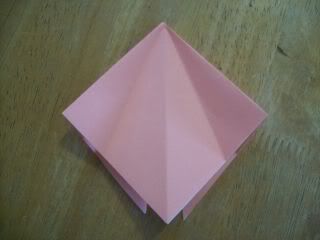
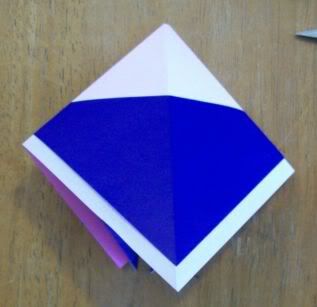
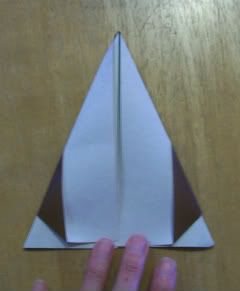
Turn the paper over, and fold the outer corners down along the central crease.
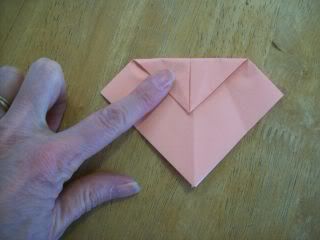
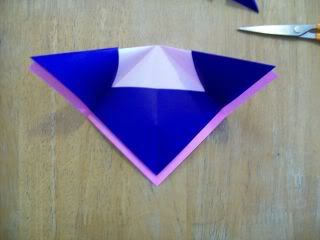
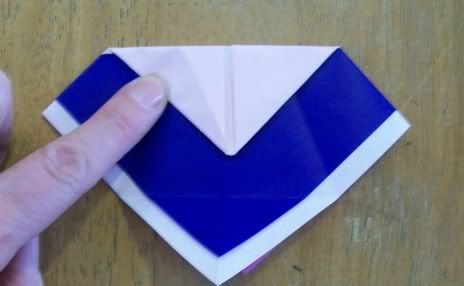
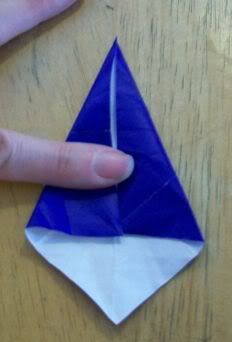
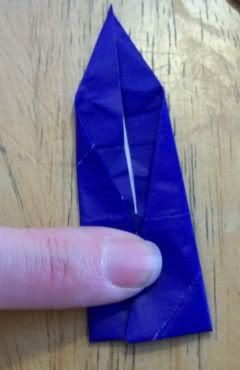
Open back up, and fold the top corner down a little past halfway. The exact distance is arbitrary.
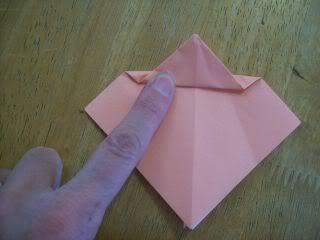
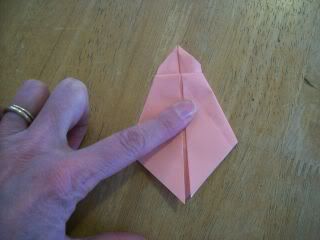
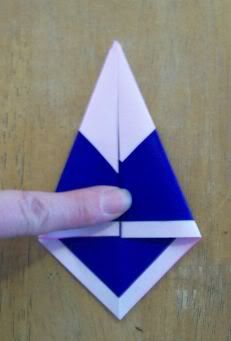
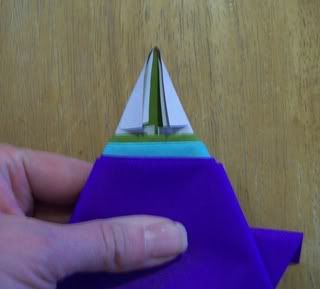
Fold the corner in the center back up, but not quite as far. This will form a little pleat that will become the collar of the robe. The part sticking up will be the head.
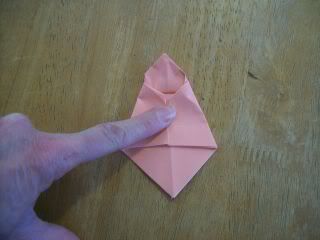
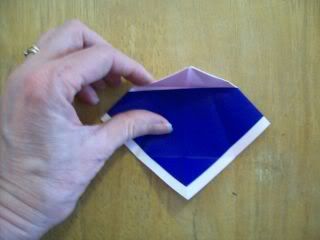
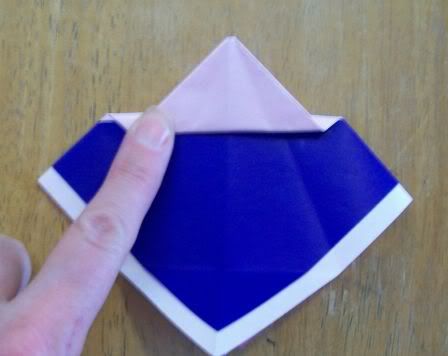
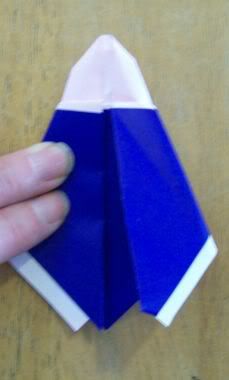
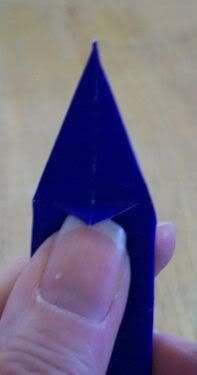
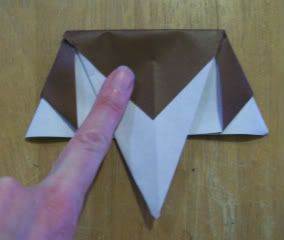
Fold the two sides down along the central crease again. This is a little tricky, and you have to crumple the sides of the head a bit. Fold the bottom corner up.
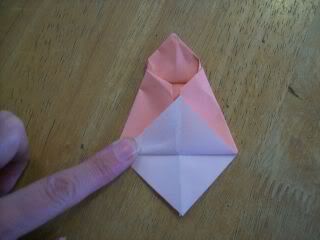
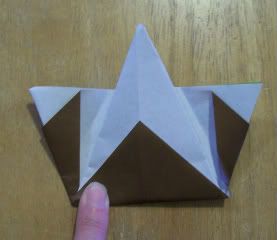
Turn the figure over.
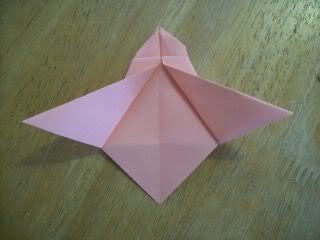
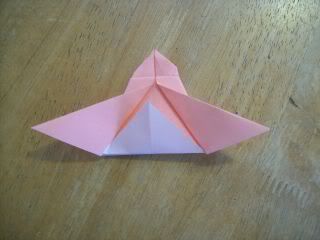
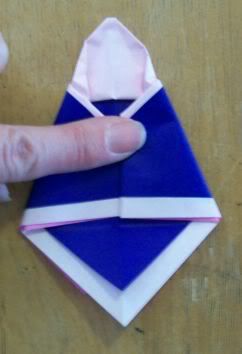
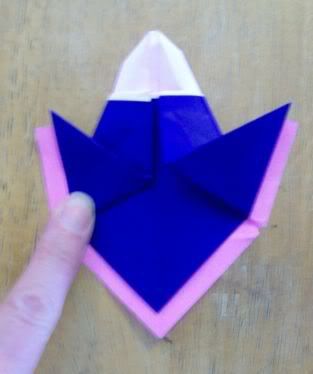
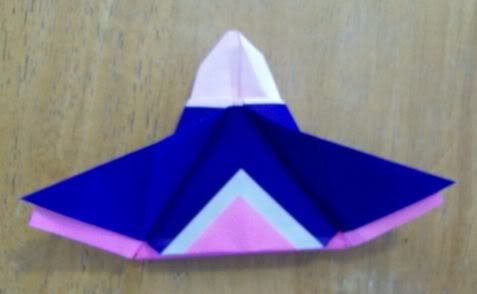
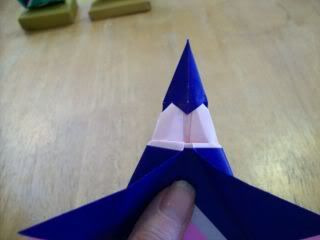
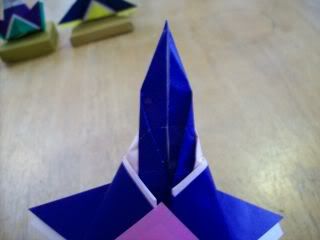
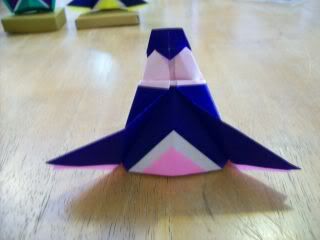
Fold the two front flaps out to the sides. I've angled them down a bit to make the Empress. When you make the Emperor, angle them up a bit more. Fold the bottom corner up. This completes the simplified hina doll.
In Chino's instructions, he layered two pieces of paper together so that there was a border of color around the base of the cloak, as I'm going to do in my instructions. He tore out the center of the inner paper so there wouldn't be too many layers in the head. However, his head was the same color as the robe, whereas in most Hina dolls the face is white. I realized I could fix this by making the central hole in the outer layer, rather than the inner layer. In my adaptation, the outer layer becomes the robe, and the inner layer becomes the head and the lining of the robe. I then use the part I cut out to form hair, or possibly a headress.
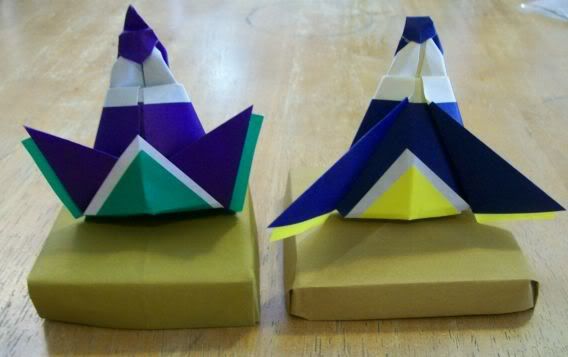
More Ornate Hina Doll
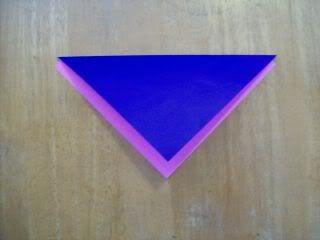
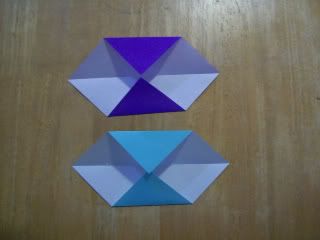
Fold the inner paper in half diagonally, white side out, but fold slightly off center to make a colored lining.
Fold the outer paper exactly in half diagonally, and slip over the first piece of paper to enclose it. There will be a colored lining on the front, and a white lining on the back.

Fold the right side over to the left and open back up, to make a central crease.
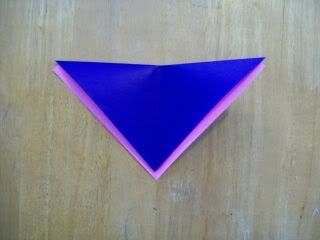
Fold the top corners down along the central crease.
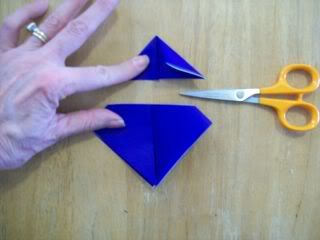
Take the two papers apart. Refold the outer paper, and cut off a section, about where you folded down the top in the simplified version. This will make the neck of the robe. Put the robe back on the body, and refold.
Turn the paper over, and fold the outer corners down along the central crease.
Open back up, and fold the top corner down along the collar of the robe.
Fold the corner in the center back up, but not quite as far. This will form a little pleat that will become the collar of the robe. The part sticking up will be the head.
[Note: See the update at the end of this page for instructions on how to make a figure with more realistic arms. Start from here if you are following those instructions.]
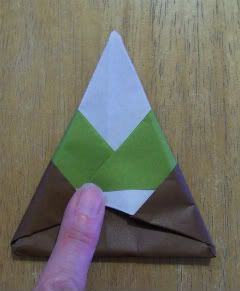
Fold the two sides down along the central crease again. This is a little tricky, and you have to crumple the sides of the head a bit. Fold the bottom corner up.
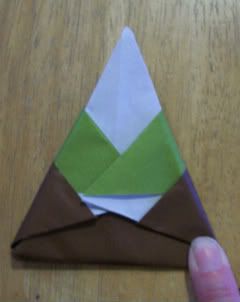
Turn the figure over.
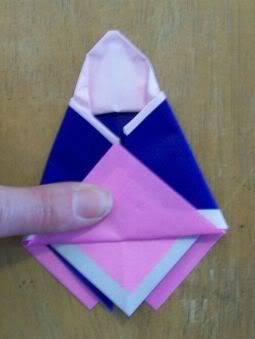
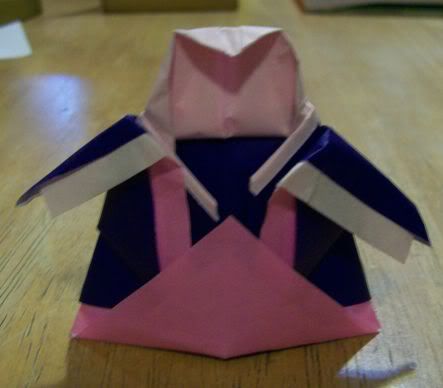
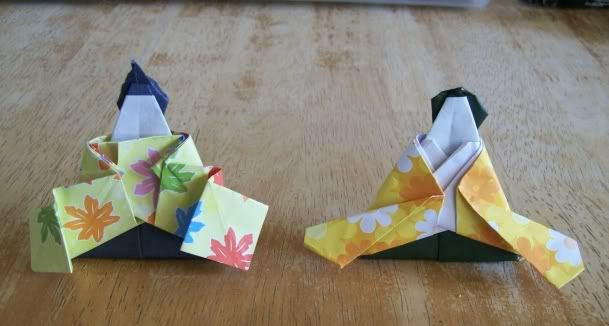
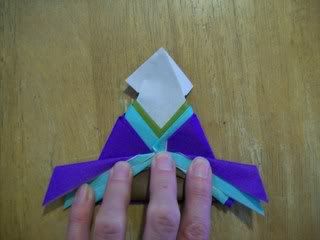
Fold the two front flaps out to the sides. Angle them down a bit to make the Empress. When you make the Emperor, angle them up a bit more. Fold the bottom corner up.

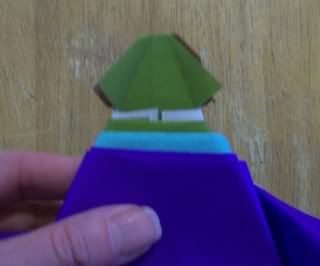
At this point you could stop, or draw hair on the figure. I decided to use the little square I had cut out. I folded it into a Kite Base by folding the two sides to the center crease.
Fold the bottom corner up, and then fold the sides in to the center. They don't have to line up exactly.

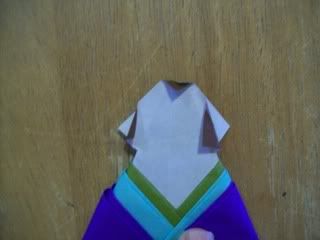
Turn the figure over, and cut a V-shaped slit in the front to form the hairline.
Slip this onto the top of the head, and poke the back of the headdress down the back collar of the robe.
For the Empress, fold the top point of the hair back.
For the Emperor, fold the top point of the hair back, then make a little pleat and fold the tip back up.
This completes the dolls. However, in his book, Toshio Chino suggests making stands for the dolls using a traditional Japanese pattern for making a box. So I'll include instructions for the stands as well.
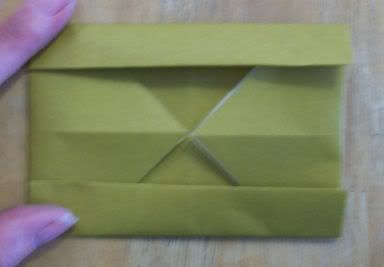
Fold the square of paper into a Blintz Base by bringing all four corners to the center.
Fold the sides toward the center. The distance is arbitrary; it will be the height of the finished box. In the traditional model, you fold them to the center, but I folded them about halfway to the center. Repeat on the other two sides.
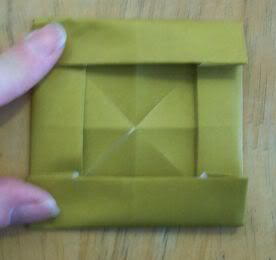
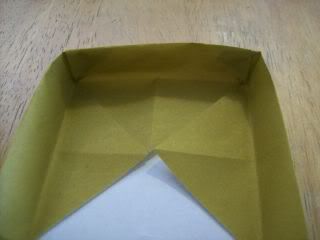
Open out the two ends.
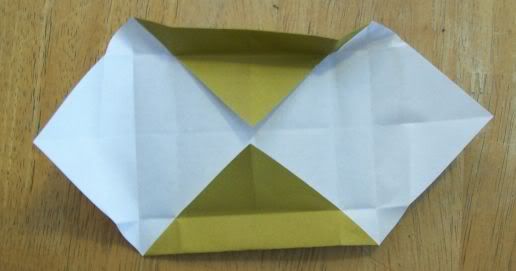
The next part is tricky, and I'm not sure how to describe it. You fold the flaps from the top and bottom in so that when you fold the ends back in, they lock in the flaps.
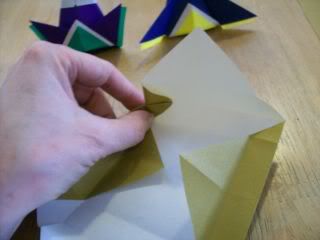
Repeat on the other end, to complete the box.
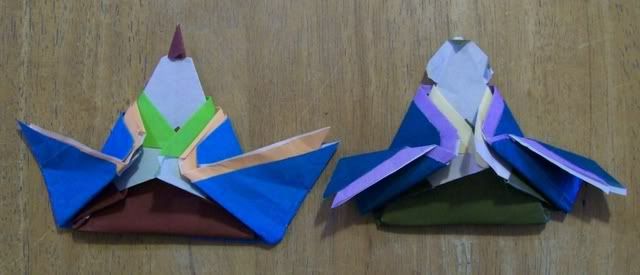
You can make slightly more realistic arms on this doll by using some folds based on the "Samurai Helmet" traditional origami (a web search should turn up several places where you can find instructions.) When I realized this I unfolded one of the dolls in the photos above, and redid it as follows. If I get a chance, I'll take better photos sometime.
Go back to the step where you folded the head down and then up in a pleat, (where the note is) but do not fold the two sides in yet. Turn the figure over.
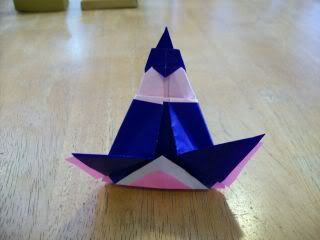
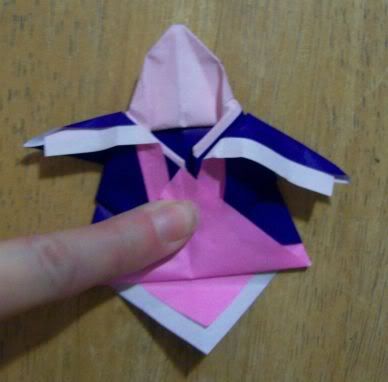
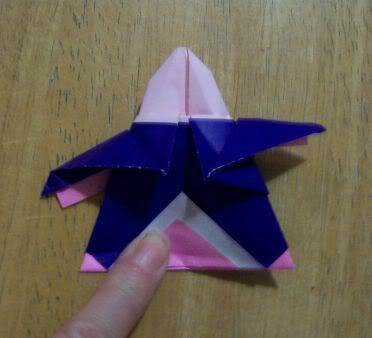
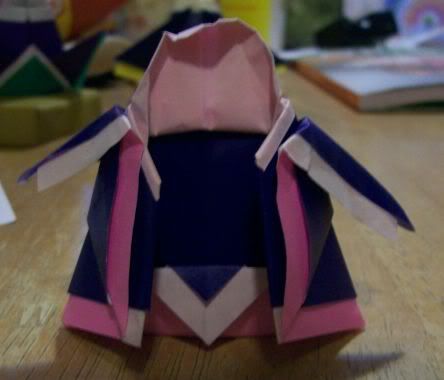
Fold the two bottom corners up to the top, and then out to the sides, as in the Samurai Helmet.
Turn the figure over again. Now fold the two edges in to the center, as in the original instructions. The two arms will automatically swing out. Press them into place at an angle that looks good to you.
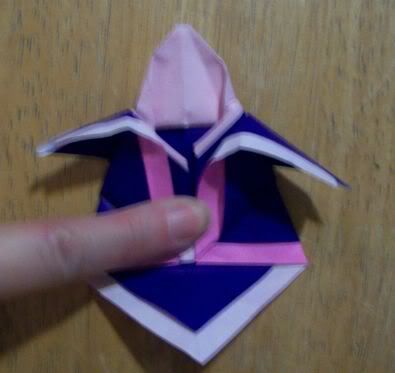
Fold the bottom corner up. Turn the figure over and fold that bottom corner up as well.
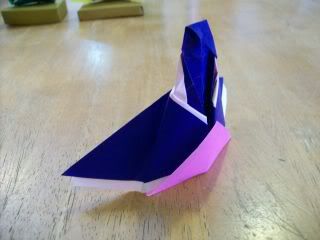
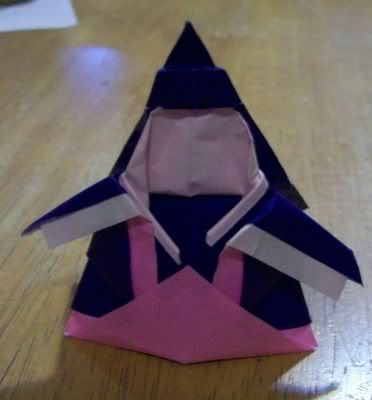
For this version, the side that was the back of the original figure looks more like the front, though you could use either side. With a hat, it looks like a little wizard. You could also make a mortarboard to make it look like a figure in academic robes. You can untuck the sides of the robe and let them hang loose if you like. You can also fold the tip of the front triangle down for a more decorative look.
Update: Since putting up this page, I found a pattern I like a lot, though it's more difficult. It's from the book "Genuine Origami" by Jun Maekawa. I bought the book just to get this pattern. You can see a peek here.
And here's my first attempt at making them. My later attempts were better:
The fun thing about these dolls is that the outfits are separate from the dolls, and they latch very cleverly in the front like real robes. I still like Chino's pattern because it's so easy to fold and to remember, but I think it was worth it learning to make Maekawa's pattern.
Another update:
I love Maekawa's design, but it is rather complicated. I've been thinking about how to approximate it with a much simpler design. The basic doll in what follows is based on a very simple design that I've seen several places on the Internet. I added an extra sheet to make the "trousers" and then made a simple robe of two sheets. The robe doesn't latch like Maekawa's, so it's not as elegant, but if you press it under a pile of books for a day or so, it will stay pretty well. You could also glue it down.
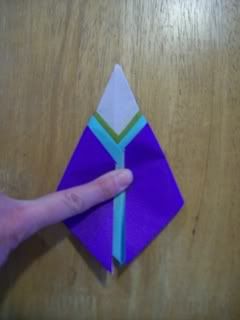
Fold the innermost paper into a "kite base".
Turn it over, and bold the bottom corner up.
Take the second paper, which will form the trousers, and fold the bottom corner up past the middle. The corner should come to where you want the bottom of the face to be.
Turn that paper over, and lay the first paper on top of it as shown.
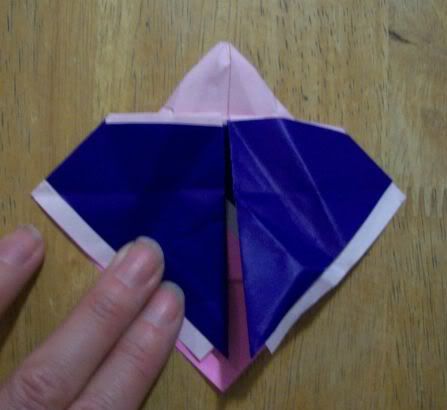
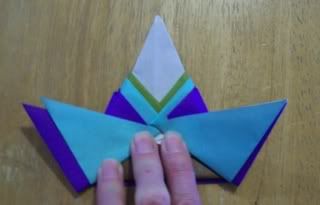
Fold the two outer "wings" down over the other paper to the center line.
Fold the top corner down past the bottom edge as shown. The point sticking past the edge will form the head.
Rotate the model so that the head is pointing up.
Fold the two arms down across the chest. Except for the second paper, this is the same model I've seen several places. You could stop here, or continue on with the outer robe.
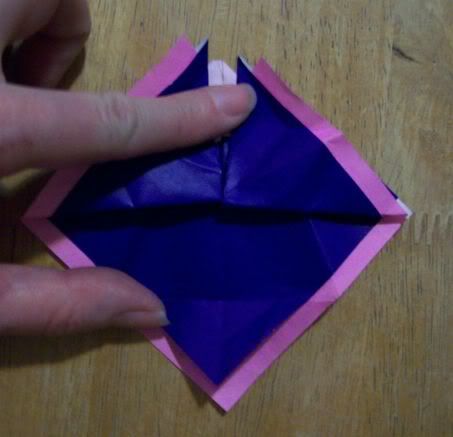
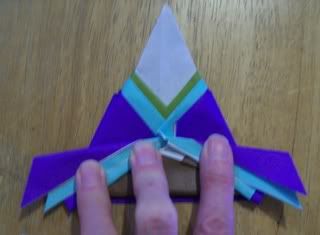
To make the robe, fold the other two papers in half diagonally. Then open them up, and fold the two corners to the center as shown.
Refold each of them along the center line, with the corners inside. Lay one on top of the other, and put the body of the doll on top of them.

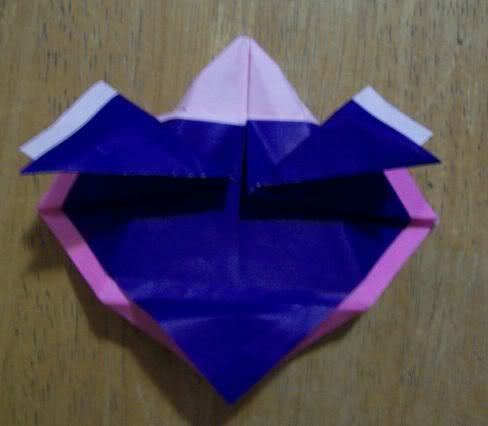
Fold the arms of the robe down around the shoulders.
Fold the two sleeves back out. For the emperor, leave the sleeves like this.
For the empress, fold the top edge of the sleeves back down as shown.
Turn the figure over. For the empress, cut two layers of the back of the head along the neckline. This will form the hair. For the emperor, cut higher to form the crown.
Open the "hair" out and turn the figure back over.
Fold the corners of the top layer of hair down to add color. For the emperor, cut a little farther and fold one side over the other to make a crown.
Return to the How To page.

copyright 2010 by Karen Deal Robinson
Click on the mountaintop to see my other pages.

| 
