XM install photos
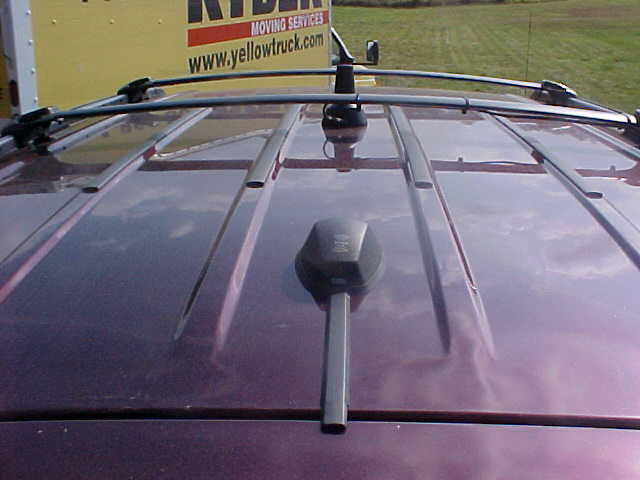
Well here are the photos of my XM install. I did install myself. In the first photo you will see that I do indeed have 2 antennas, the one most forward is the Pioneer magnetic mount antenna. The one closest is the Terk Xm antenna. You ask what does anyone need 2 antennas for?? Here is the reason, I had the Terk antenna first in my old car. After the second month of Glorious XM the antenna wire broke so I bought the magnetic mount one while I waited for Terk to replace the broken one. That is why I have two antennas.
This picture is of how the wires were routed through the roof to the inside of the van.
This is where I mounted the receiver. It actually fits there perfectly without the seat rubbing or even touching it at all. All the wires were run under the carpet then over to the receiver.
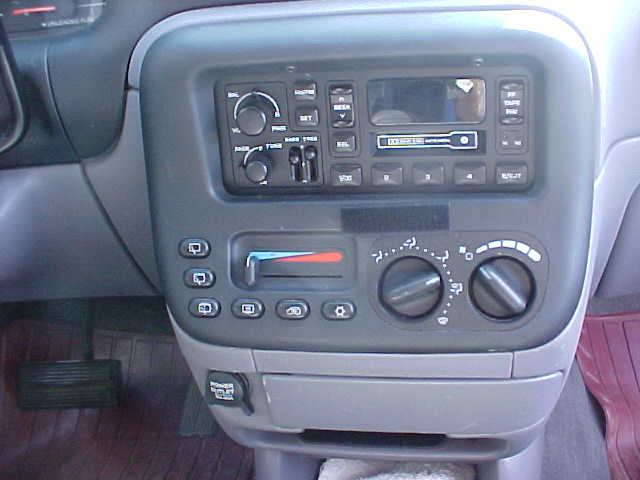
This is where I first put the controller it is now just to the left of this position. I just like it there better is all, more easy to use.
This is what it looks like when I am not in the van. It is in the middle of the cup holder.
I am not a professional installer, but I did enjoy putting this in. I almost forgot to tell you I installed it at 1am. It took me just 2 hours to do, not bad for an amature if I do say so myself.
I plan to get the Delphi unit soon. When I do I will have many more install photos for here.
Email: ges_64@go.com