Animated Signature Tutorial
Download Feathered pen here Feather Pen Tube.
All right, your ready to try your hand at an
Animated Signature?
Well this one is a bit more advanced...hope your ready!
OK first off doing an animated signature really
isn't hard..if you know how to animate something you can do an animated signature.
You already understand how to work your animation program if you followed my "Animation Tutorial".
Doing an animated signature really requires a bit more detail work before you head to psp.
Below you will see a series of pictures.
With each picture I will walk you through doing your own animated signature.
I will try my best to describe the steps in detail for you.
Lets begin
Begin by opening your psp and opening a new image
300x140. Now here is the trick. Once you have put in your image dimensions don't
close that window. I want you to slide down to where it says,"Background Color"
click the arrow and choose,"Transparent" then click OK.
You should now be looking at your image in a checkerboard pattern,which means it is transparent now.
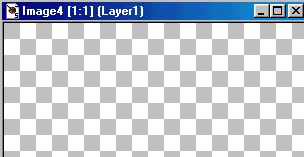
Hmm that doesn't look like much right now does it?
Well we can fix that ASAP.
If you have psp tubes you can add a tube to that empty image.
Try to pick a tube that you can use as a paint pallet..flowers are wonderful to use they have color which you can pull for the color of your text.
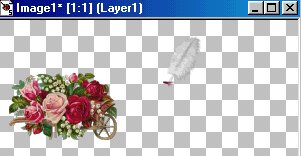
For this tutorial I am going to use a simple flower.
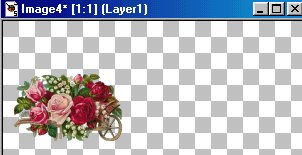
OK now on your image you should have a flower on a checkerboard background.
Still doesn't look like much though does it.
Well the next step we will add a pen.
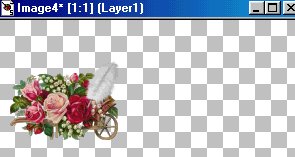
OK now one thing about this pen or anything you use as a "pen" to write with.
Make sure it is not going to be too big(**Note..be sure to copy that pen image
alone so you can copy and paste it for later use. If you don't do this you will
loose the exact size of the pen in the first image and it will not match for
later use).After all when you go to write the name you don't want to have the
pen's end hanging out of the picture..it won't show up in the end result.
So using a tube to put your pen in place you are now going to save this image.
HOLD IS FAST FINGERS!!
When saving this you have got to save it as "Image1.psp" and make sure you save it to a new folder!!!

OO your so smart LOL.
Once you have saved "Image1.psp" in a new file here is where we get rid of the pen.
I want you to go to "Edit" and slide down to"Undo history"
Once you have removed the pen you are now ready to duplicate that picture. Once
again you should be staring at this image with a checkerboard background..remember
pen is now removed.
*******************
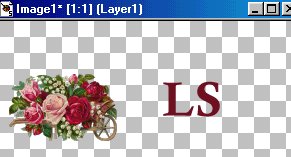
Alrighty now you have noticed I wrote in the name "LS" now we need to duplicate this image and how do we duplicate this exact image?
Press your "shift" button on your keyboard and then hold it down while pressing "D"
Click until you have duplicated this image at least 25x's (you may need more
later but it depends on the text)
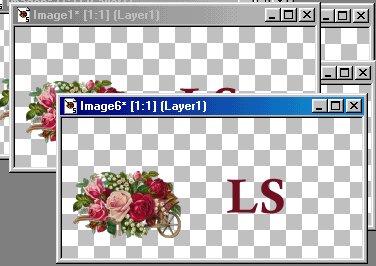
Now minimize all the extra picture..we are working on one at a time now.
Now comes the work part of this tutorial. This
is where you are going to take one image at a time and start working on them.
You should have one image in front of you with the rest of them minimized on the bottom of psp.
Now with the "Eraser"tool![]()
Now erase the whole name you have...ALL EXCEPT THE STARTING POINT OF THE FIRST LETTER!!
This is where your pen will start.
Now save that like you did with Image1 only name it Image2.psp...remember to keep saving in "psp" format!!
Now since this is a beginners tutorial I suggest the next image you place the pen at the end of the letter.

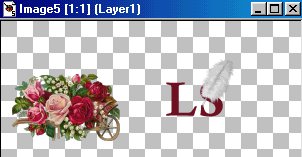
Once you have gotten the idea of this animation you can position your pen in
different spots on the letter to make it look more flowing.
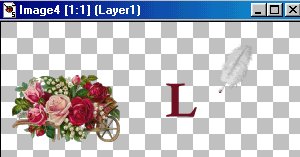
Remember to always erase the other letters with each new image you start again.For
example if the word we were working on was "Lady" you would start by erasing
all the letters up until the starting point of the "L" this is where you would
position your pen,once this is done you will save that image. Next image you
will erase all text except the L and position your pen at the end of the letter,and
save it. Next you will erase all text except the letter L and the starting point
of the "a" position your pen at the beginning of the "a" and save it. Next image
you erase all the text except the L and the a and position your pen at the end
of the "a" and save it...and the rest of the word you continue this pattern.
You should now have all your letters done and saved in psp format..its time to go to animation and put it all together.
**************
Upon opening psp animation you will need to click
this button![]()
Or you can go to "File" and click on "Wizard"
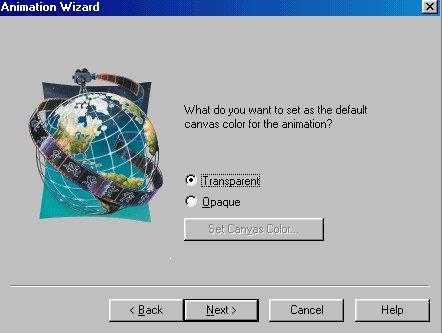
Once you have done that this window will pop up,make sure the settings are the same as what is in this image

Click Next
The next screen will be
Like before make sure your settings are the same,then click next.
Third screen shot make sure again your settings are the same
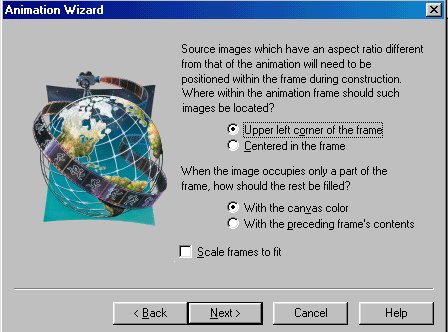
Click next
Fourth screen shot same instructions

Click next
Now the fifth window that pops up you will start adding your images.
Start with Image1.psp and keep adding till you have them all in the window

Next window you are almost done!!
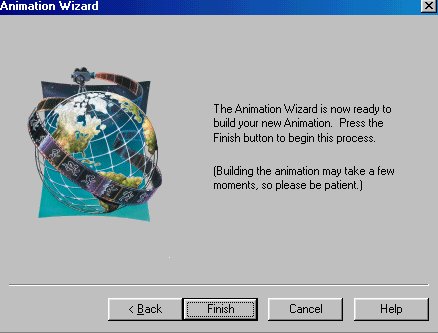
Click Finish
Once you have done that you will be faced with this image
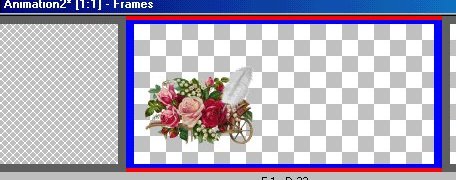
This is where you are going to preview your animation before saving it!!Click
on the button to the left shown in this picture![]()
Now the next thing you will do is go to "File" and "save" and make sure you save the image to a folder where you won't loose it.
Also when saving this image you will take note that it will be saved in gif format!!
Follow what comes next by simply clicking next and not changing anything..POOF YOUR DONE!!
Long tutorial I know but the finished product is worth it.
Once you have done that your image should look something like this.

And with a bit more practice and some imagination yours could look like this