TITAN CAI INSTALL - Vehicle (ATX 2001)
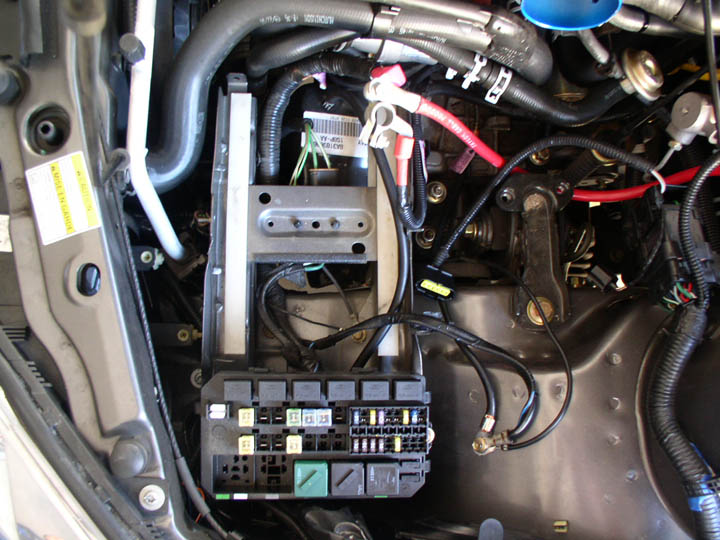
Step 1: Remove Battery/ Remove Top of the Fuse Box. Once you have removed both of those you can plainly see all of the screws holding in both. There is only one bolt holding in the fuse box, remove that first. This will allow you to adjust the fuse box at will. Now move on to removing all the screws holding in the battery bracket.
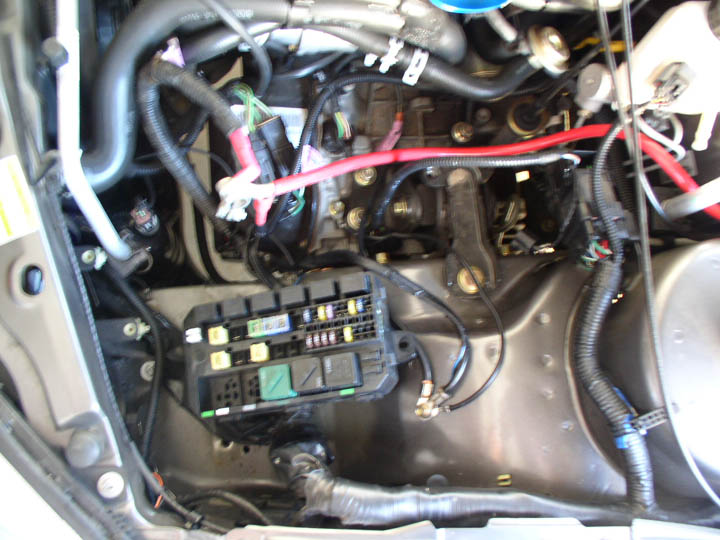
Step 2:Once you have gutted everything out pull the fuse box cables and all the extra stuff around it. You will have to now begin drilling the hole.
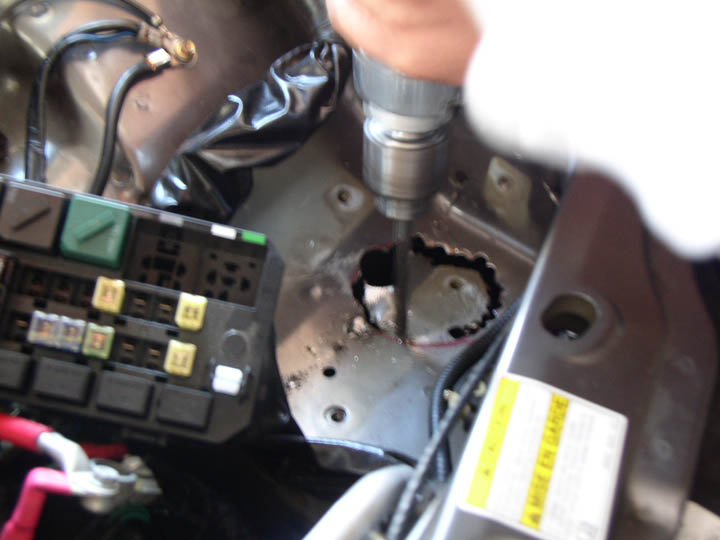
Step 3: Outline a 3 1/2 inch circle around the area you are going to cut. Once complete use a powerful electric (non cordless) drill and drill holes around the circle. After getting enough holes you can pretty much punch through it.
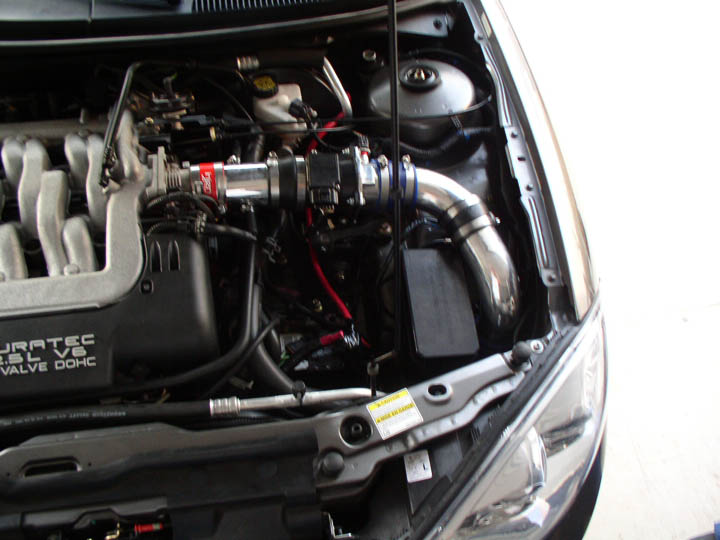
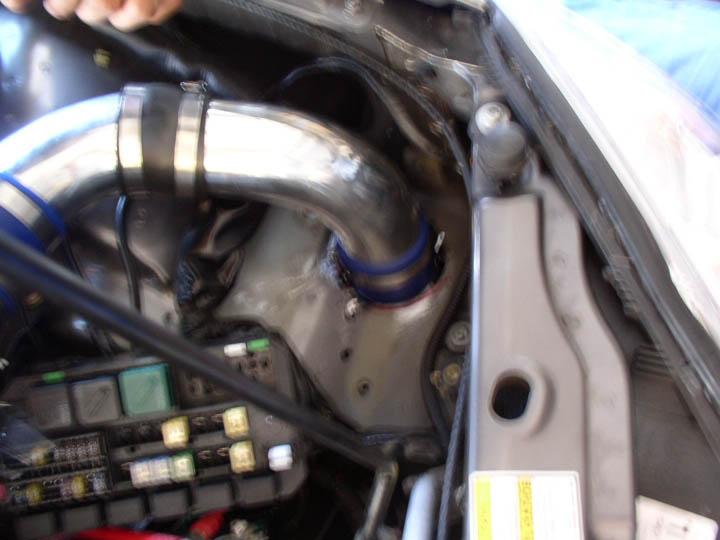
Step 4: Install Piping. Be sure to attach all couplers and connect everything up semi-tightly. Be sure to have a little room to move around since you will now have to proceed to installing the filter.
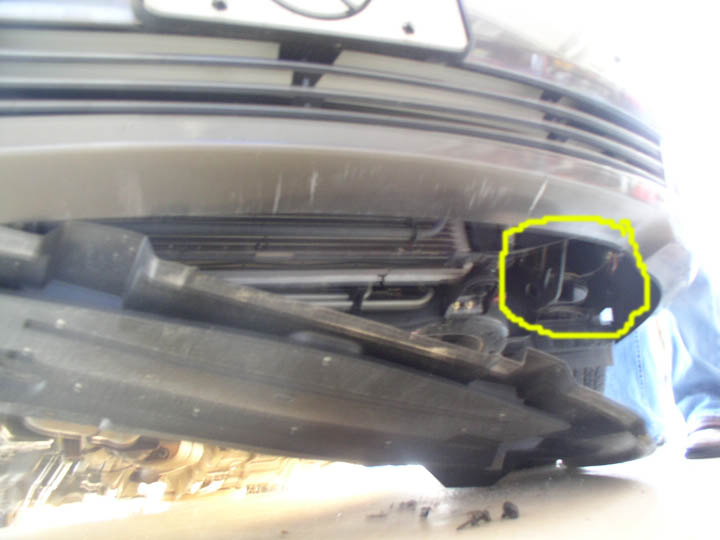
Step 5: Remove the underbody splash guard. You will see the piping come through the area highlighted in yellow. Proceed to install the filter. You will have to jiggle and work at this part. After you complete this part reinstall the splash guard.
Step 6: Once complete you will see plenty of room to reinstall the battery. Make sure everything is nice and tight in the engine bay. Be sure to reconnect all grounds , reinstall battery bracket, and NOW YOU ARE DONE and ready for an awesome test drive. Congratulations.