
Hello and welcome to my tutorial on doing your own CO2 system for your aquarium. Below I wil try to show in simplest terms how you can build your own system for around 10.00 USD. While there are various methods of doing this, I prefer this one as it was a breeze to do. All you will need is atwo 2liter soda bottles, one 20oz soda bottle(if wanted), some air line, 100% clear silicone(with no additives)and a few air line nipples.
All of the supplies that I used was purchased at Lowe's Home Improvement Center which are very popular in the United States. You should be able to find all of these items at about any home improvement store.
You are also going to need some everyday kitchen items to make you CO2 work. You are going to need sugar and yeast. If you dont have any yeast you can find it at any grocery store and it is fairly cheap. So without any further delay lets learn to make our own CO2 system.
The Bottles
The first thing you are going to need to do is get two empty 2 liter bottles form you favorite soda. Soda bottles are ideal for this application as this is what there were made for. I would recommend using soda bottles because your mixture will be under some pressure and you dont want the bottle to burst and leak(Not a pleasant oder,trust me). Rinse the bottles out and set them to dry. Take the lids and dry them out and with that we are ready to begin.
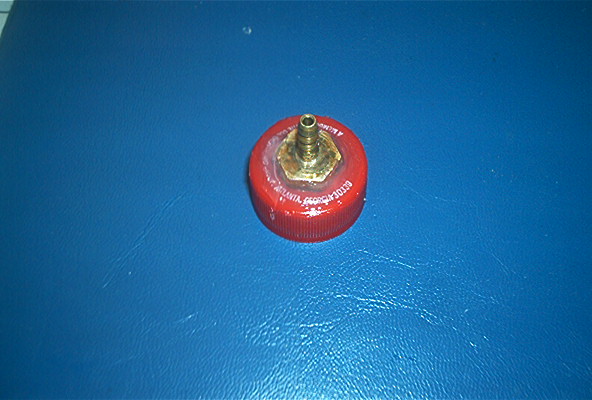
Depending on what air line nipples you purchase, is going to dictate the size of hole you make in your lid. There are DIYs out there that say you can just drill a hole in the lid and stick the air line in the cap and seal it. Personally I prefer to have the air line nipples as it makes taking my system a part easier not to mention I feel that just the air line in the cap will cause problems as there is only silicone to hold it under pressure.
Here are some pictures of the caps after I put the holes in them
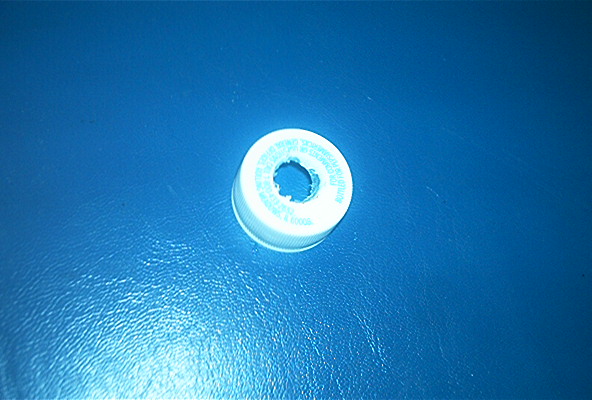
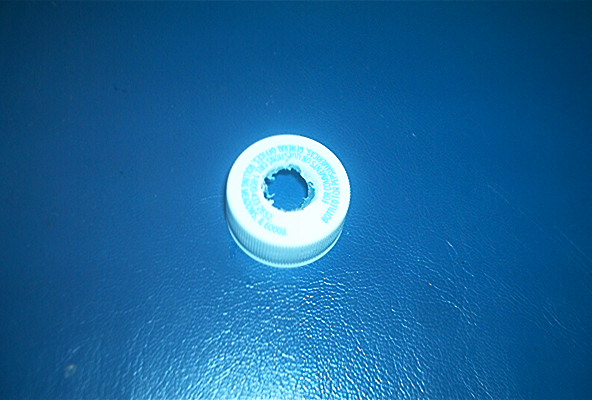
As you can see, I just cut the hole out of my caps. I didnt have a drill bit large enough so I just took a Stanley utility knife and cut it out. This way takes a little time so if you have a drill by all means use it.
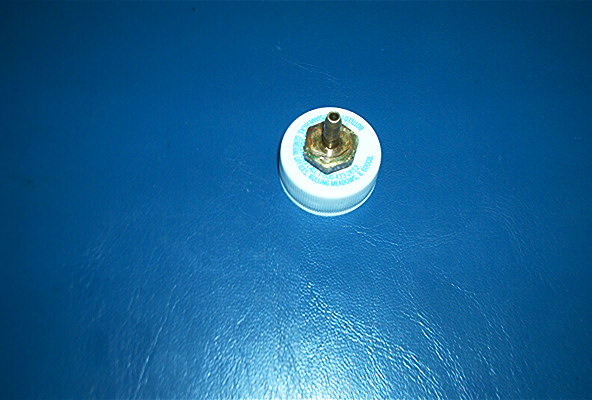
The next step is to put in your airline nipple, again I wanted to go a little better so I used brass nipples so that I could seal good. If you decide to not use the nipple and just go with the air line then you will want to skip this part
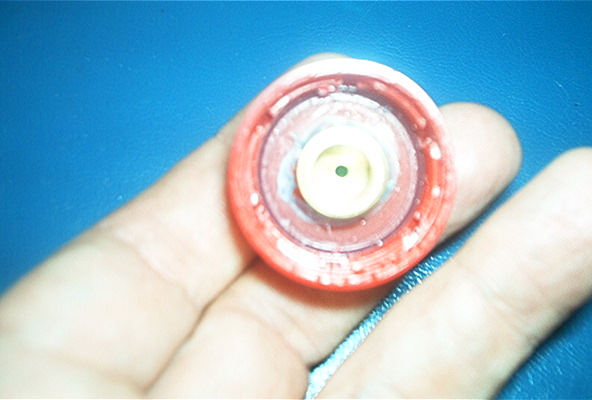
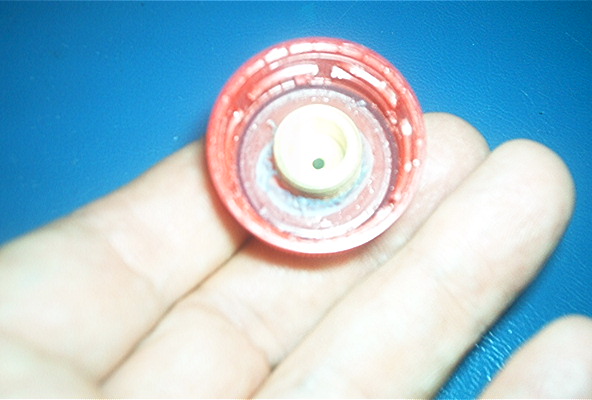
Below are pics of the brass nipples in the caps.

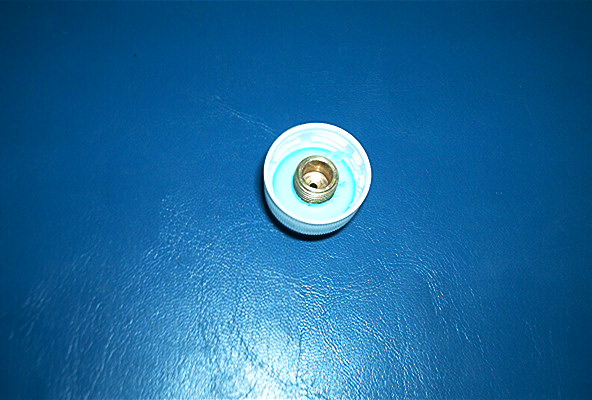
Next in this process you are going to want to seal both the inside and outside of the cap around your fittings, the better you seal here the fewer problems you are going to have with the cap leaking. Here are some pics of the caps with the silicone, granted they arent the best as the clear silicone doesnt allow you to see it real well.
Now that the hard part is over you need to leave these sit over night at least to give the silicone a chance to dry and cure some, I leave mine for a couple of days to make sure its dry.
After the caps cure you are ready to continue, so we are off to the
