
 |
Kynnabaria |
Here is a collection of notes about some shoes that Dirk made. Rollo's shoes are cooler, and for very good information on period shoe patterns visit Marc Carlson's very complete shoe site. For the shoe I make (Oseberg 172) the period pattern I show is more accurate than Mr Carlson's, however.
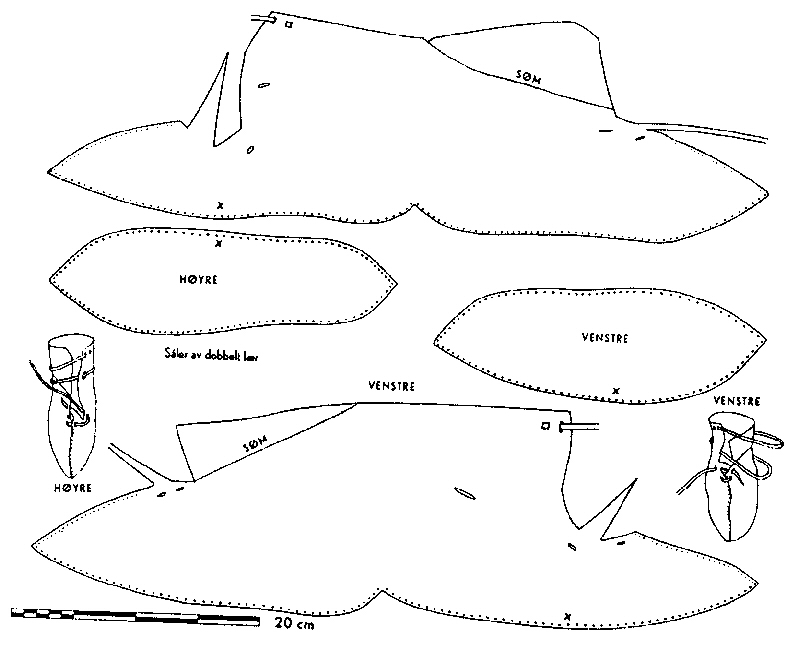
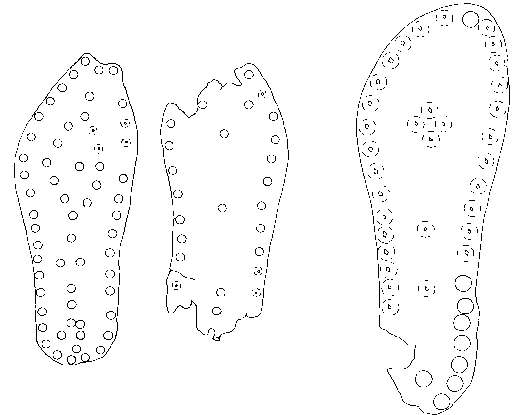
This is the pattern I use for my shoes. The upper was too large to scan in one piece, so there's two halves to the upper (sorry!). I sew starting from the point of the toe, and when I add the heel-stiffener triangle off the back of the sole (a detail that makes shoes look very viking), I do it freehand. This has not been an issue because typically you don't walk on those seams.

I usually use an interpretation of
the Oseberg 172 shoes, which have a seam running from the point of the toe up
the top of the arch of the foot. The advantages of this design are
- since several seams meet at the point of the toe it's easier to make a roomy
'toe box,'
- there's distinct left and right shoes,
- and, of course, that it's documentably viking age (c850).
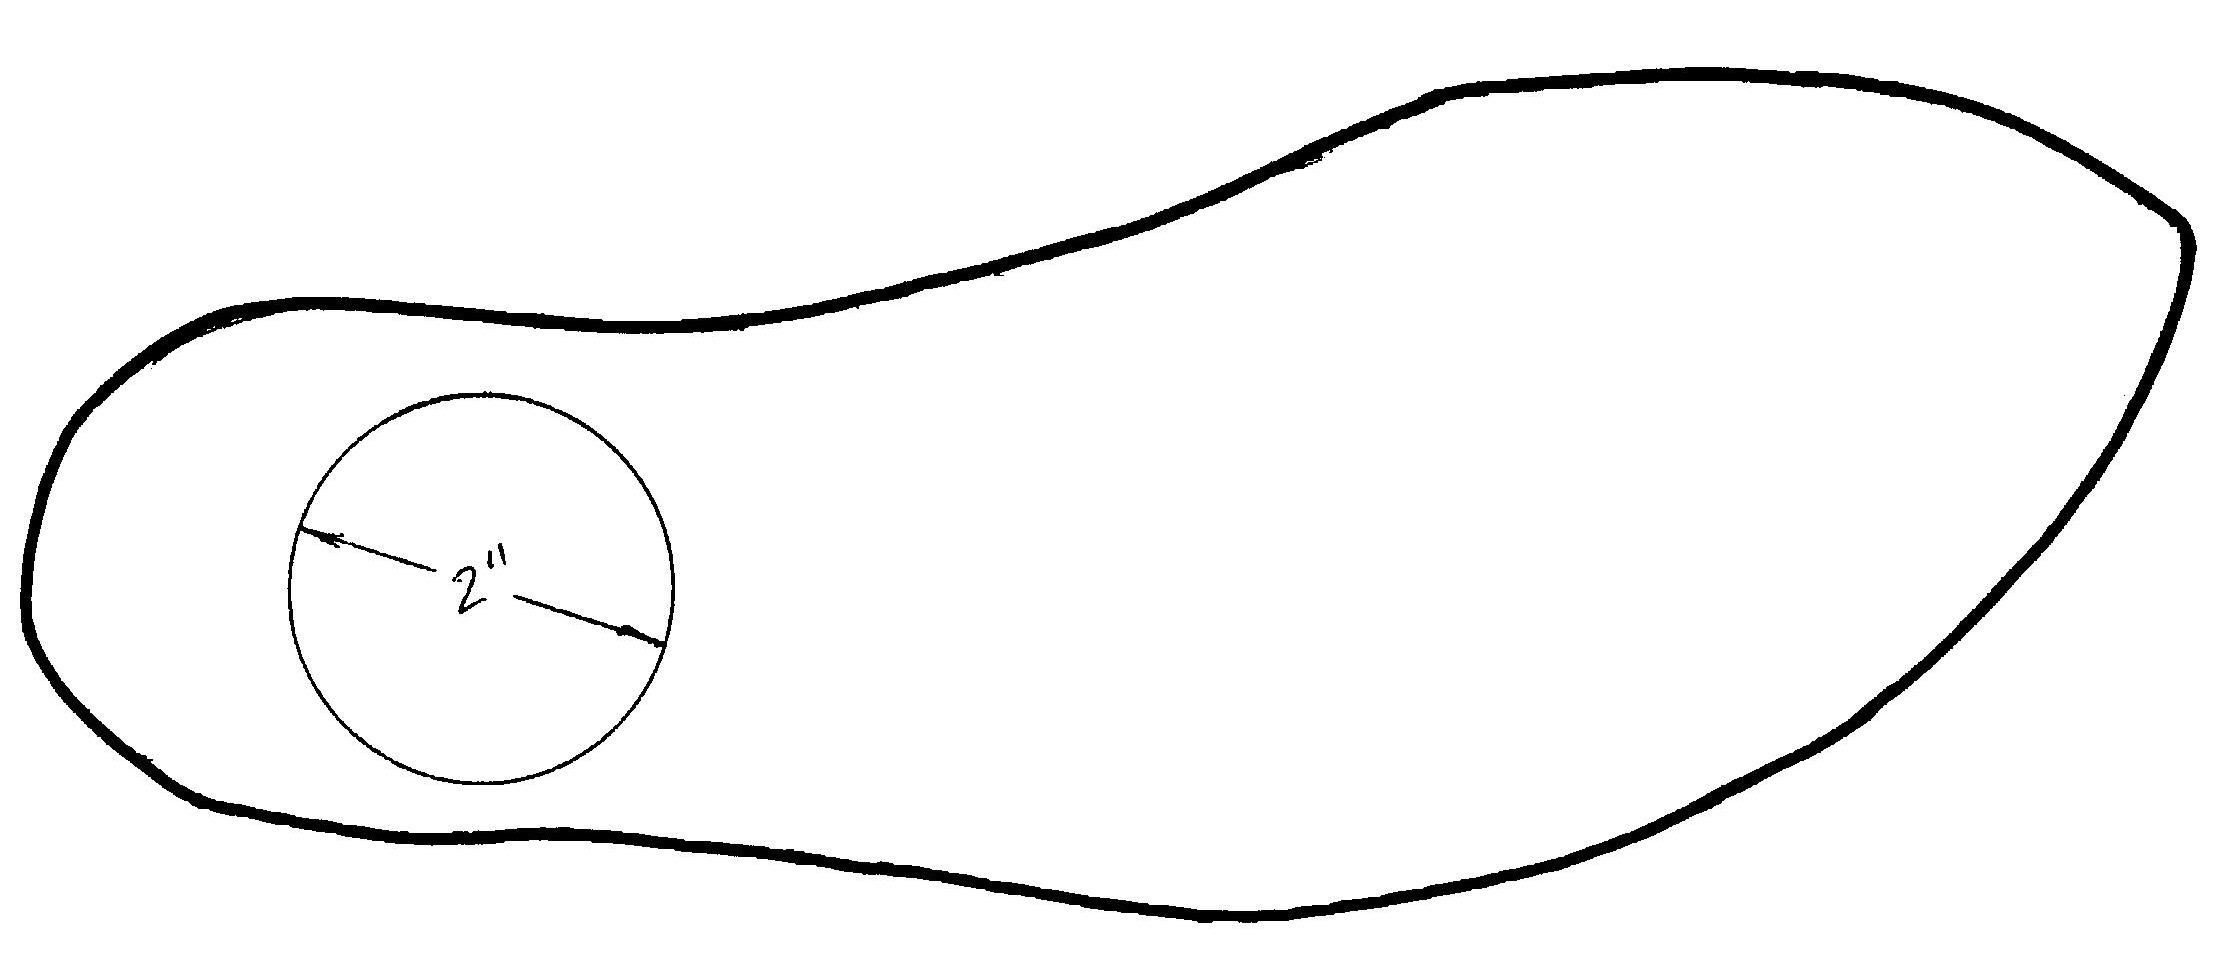
Many sources oversimplify this shoe pattern with far too much symmetry along the heel line and usually only one pattern is shown (the left and right were a little bit different in the originals); here's a more accurate pattern of the original shoes:
Note the pattern is smaller on the instep side of the shoe. This helps center the seam on top of your foot. Differentiation between right and left shoes was recognized in pre-historic Scandinavia, as shown on this rock carving (c1500-500BC):

The straps across the instep correspond to later bronze age designs.
The original oseberg shoes appear to have closed with laces or ties, but shoe buckles have been found (I'm still trying to remember my source... give me time...)
The Romans nailed on clump soles, but I've seen no evidence this was a common practice in the viking age. Roman shoes, like modern shoes, had to deal with paved walkways and roads that were relatively harsh compared to ships decks or the farmyards of Scandinavia. Here's some drawings of Roman shoe soles:
If there's any doubt the pattern will fit the person's foot, I make sure the pattern will fit before I cut any leather. I use heavy cardboard for the sole and lighter paper or muslin for the upper, and a lot of tape. If you're doing this, make sure not only does the mockup fit over heavy socks, but that it can be put on and taken off as well.
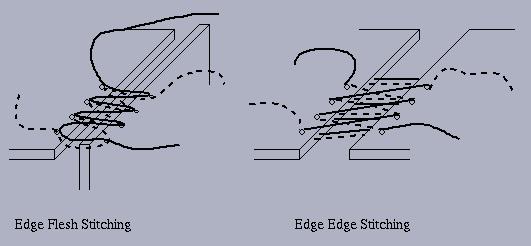
I double stitch everything I sew with heavy duty coat thread, and I do not turn the shoes. Edge:edge tunnel stitches for the top seam and grain:edge at the sole (also a lighter thread) would be more period. I use non-period chrome-tanned leather because it's far more forgiving, and unforgiving shoes are very uncomfortable. In addition, I nail on clump soles. From what I've seen, norse shoes did not have nailed-on clump soles. All of these techniques are intended to make the shoes last longer, and they work quite well in that respect- my wife wears a pair of shoes I made, literally, 20 years ago! Unfortunately the result is not very historically accurate.
How the stitching should look:
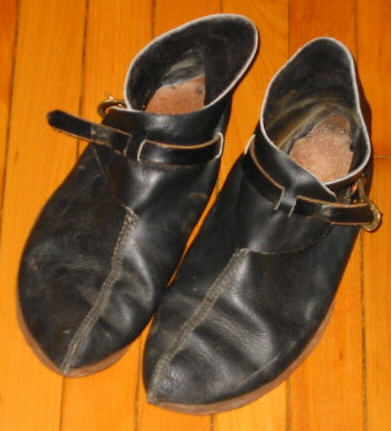
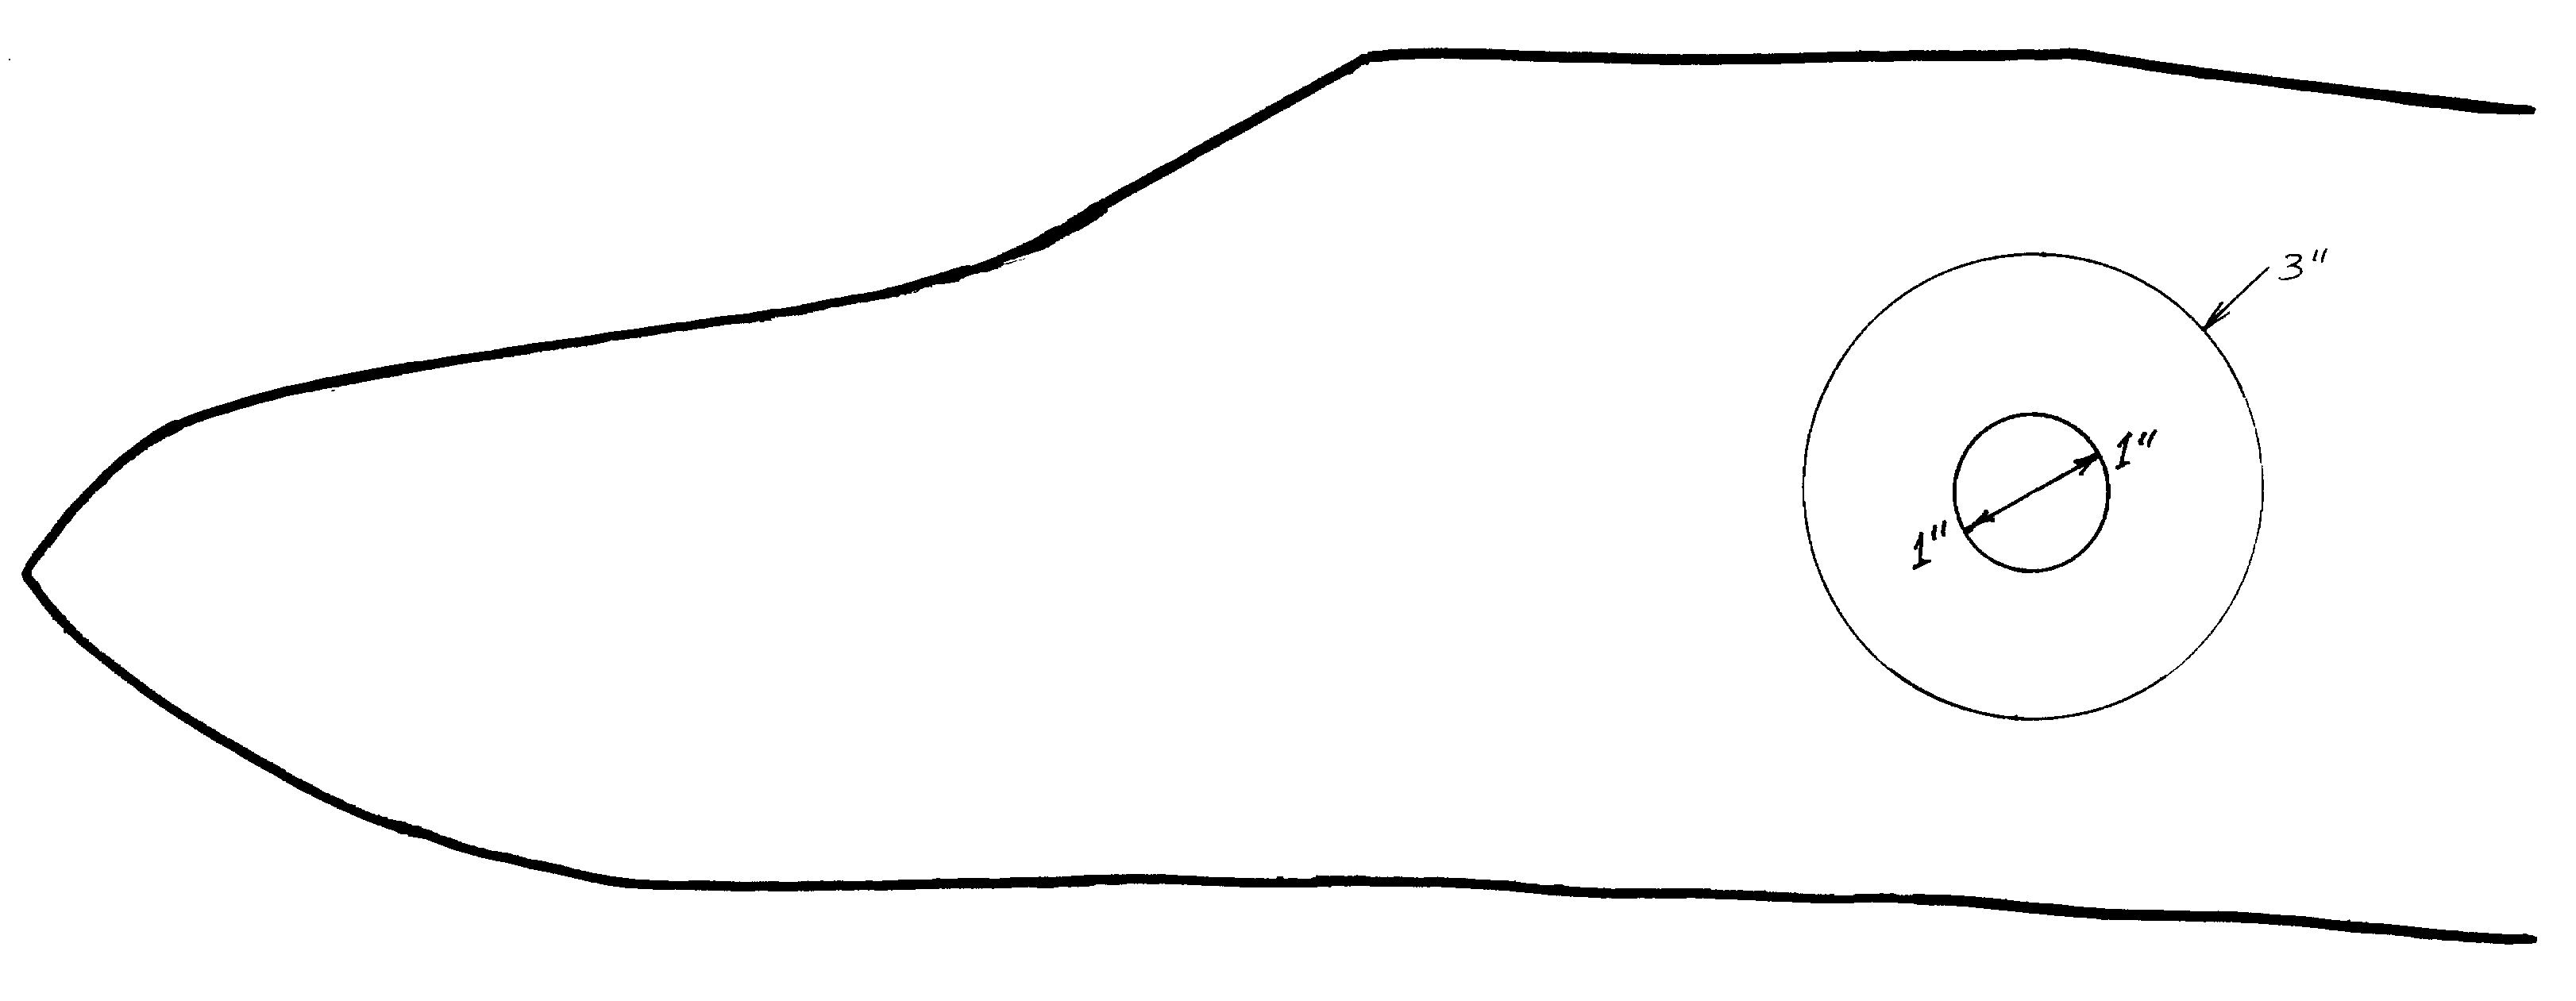
Here's a rough sketch showing how a rivit can be put through two layers of a shoe and still not be uncomfortable- the rivet head is level with the leather:
![]()
[1] The History of Footwear in Norway, Sweden and Finland by June Swann. Almqvist & Wiksell International, 2001.
[2] Leather and Fur edited by Esther Cameron. Archetype Publications, 1998.
