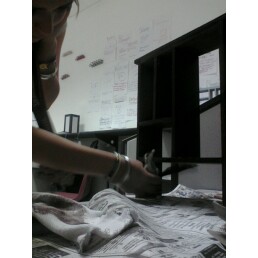
Planning: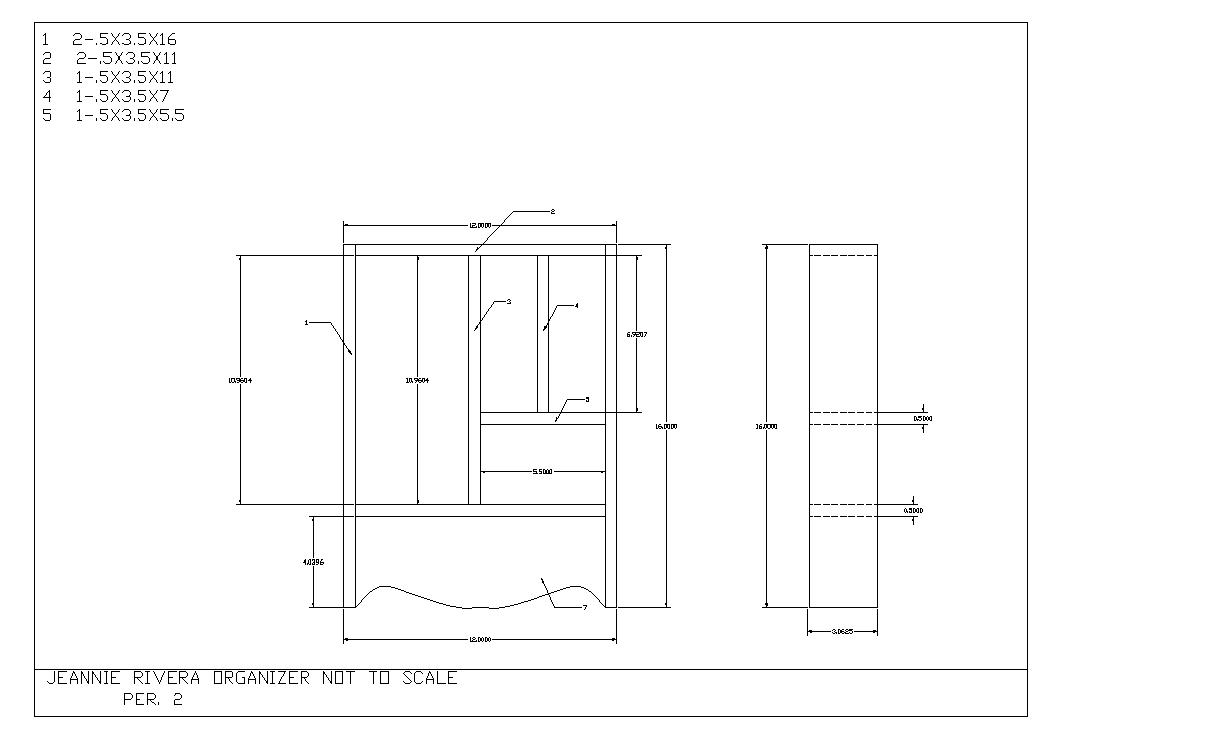
Planning to make an
organizer takes many steps. First you must picture how you want it to look.
Next take your vision and draw it out form it's different views. Next you
must fix mistakes and find all measurements of your drawing and make any
minor details you want to add.
Cutting:
The next step in making
the organizer is cutting the wood of the organizer to its proper size and
shape. We use a band saw in order to cut our wood at the exact length we
need it to be. When using this you must wear safety goggles in order to
keep the wood shavings form coming into you eyes.

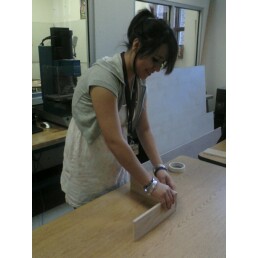
Edge Banding:
The next step after
cutting is edge banding which helps one side of the organizer become really
smooth in order for it to have a front side that wont have any mistakes.
When putting an edge band, one you must place the edge band on one side
and make sure it is straight. The next step is to get a hot iron and place
it on top of the edge band and run it though once or twice. By doing this
the glue on the edge band will melt and stick. After this step you get
your box cutter and cut the parts of the edge band that are sticking out.

Sanding:
After you are done
cutting all your parts out and you are done putting your edge band on your
piece of wood, you must sand all sides down especially the side where you
cut off the remaining parts of the edge band so you can have a smooth surface.
This step is very important because it will prevent you from getting splinters.

Assembly: the assembly of the organizer is the next step. when assembling the first step is setting up all your pieces of wood. the next step is to get a nail gun and nail all your pieces of wood together.
Finishing: The
last step is finishing. in other words putting the finishing touches. for
instance painting the organizer and letting it dry. The last step its attaching
the key holder to the organizer.