|
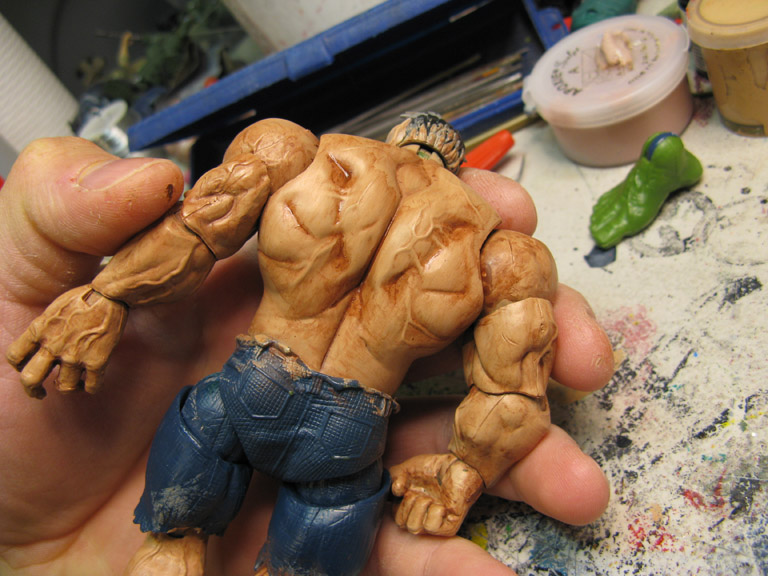
The Paint Wipe technique is a great way of shading your figure while giving it a realistic tone. Here I'll show you the basics of the Paint Wash and how to apply it to your custom. Keep in mind this is only a guide and just outlines the steps and techniques I use. Your results may be different depending on the paints/tools you use and your level of skill. Study these steps and practice until you achieve the result you’re looking for. If you're new to painting I suggest you first check out my Basic Figure Painting Guide before you start an advanced technique like this. This Splatterhouse Rick custom's paint wipe is almost done. You can see the difference between the right leg and the rest of the body? The basecoat is a basic flesh color and the paint wipe is a brick red. Once applied the paint wipe will darken his flesh tone and bring out the detail of the muscles 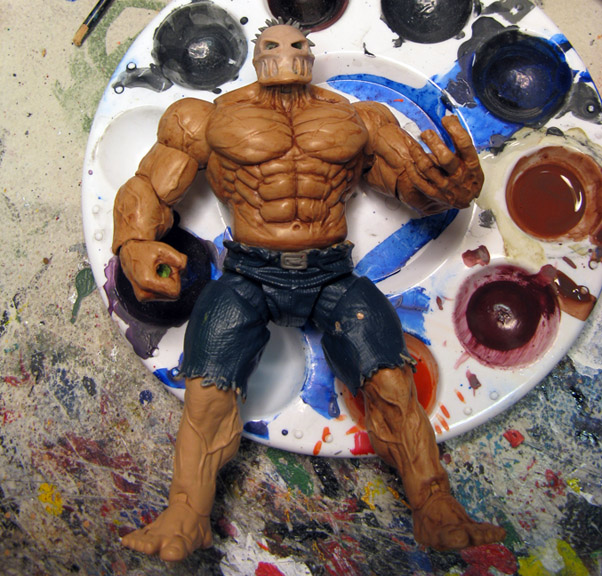 STEP 1:
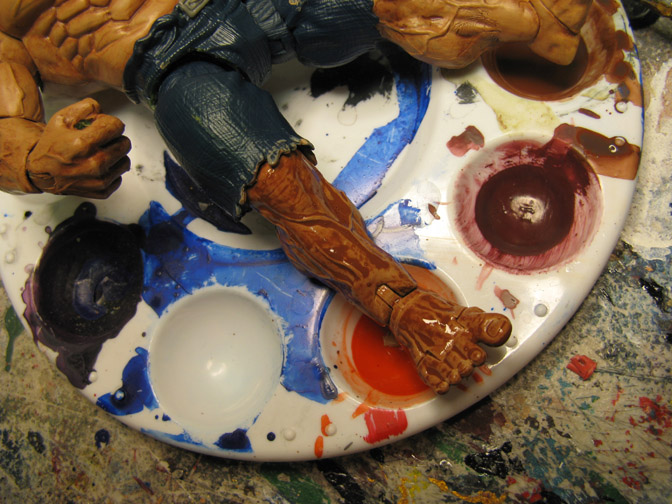 STEP 2:
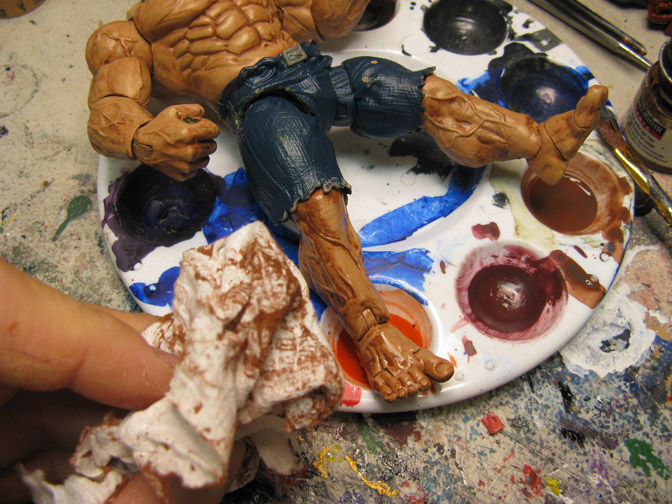 STEP 3:
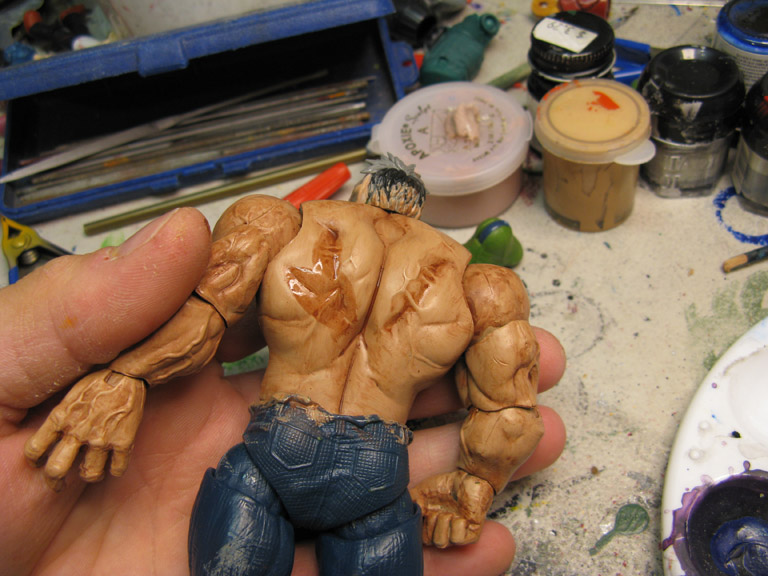 STEP 4:
 Once the paint wipe is dry you can lightly drybrush the original base color over the section. This helps blend the tones together and you can even add highlights at this point. Here's the finished figure of Rick from Splatterhouse. After all the other details and effects are added, the whole figure comes together. 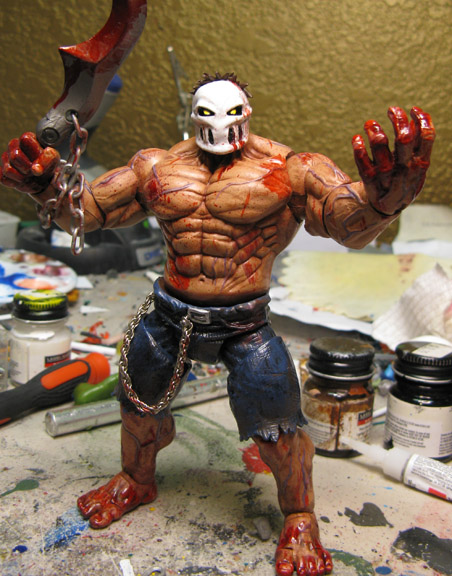 Looking for other custom action figures made by awesome customizers around the world? Click your favorite series below to be taken to this week's offerings!
|

