
Section 1 - Taking the Stereo apart and removing the defective CD mechanism
Section 2 - Reinstalling the new mechanism and putting it all back together
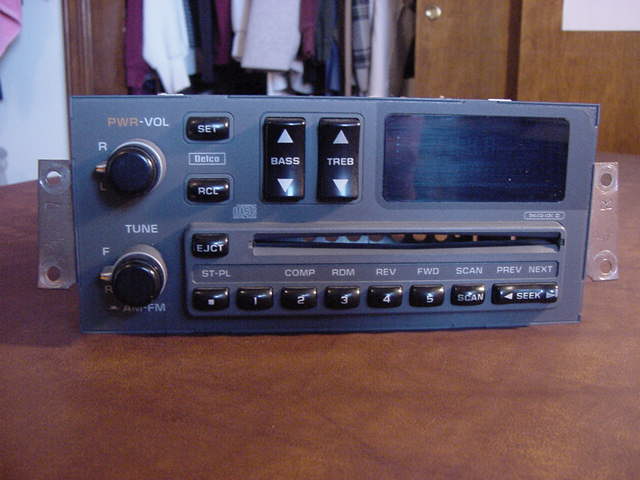
This is what my cd player looks like. I'll try to make these instructions as easy to follow as possible. The pictures will not be Thumbnails.. so the load time may be a bit long. This repair will fix many problems you may be having. My problem was that the CD player wouldn't work when it was cold, the unit had to be HOT for it to play a CD. Some will insert a CD and get ERR on the display and then the CD spits itself back out. Email me if you have and questions about your Delco CD player.
Taking the stereo apart --
Tools needed-
Socket set w/ 3/16" (or a 5mm) socket a 9mm socket, small flathead screwdriver, a Coke or beverage of choice.. and a piece of chocolate pie! =) And maybe a hammer if you get pissed! hehe
The chocolate pie will show up in the pictures every now and then!
Alright.. we'll start by disassembling the head unit. There are
2 main parts to the Delco cd players. The Tuner/reciever (top), and the
mechanism section (bottom). 
By looking at the picture you can see the 2 parts, the radio is split in the middle.
Step 1 - Remove the 3 screws that hold the top section in place. These are SILVER colored 3/16" bolts. One is on on top, one on the right side (see pic below, it's the bolt in the center of the pic) and the last one is on the back (in the pic above notice the screw hole above the black peg, mine is missing the screw since i removed the mechanism already.). Also remove the 2 mounting brackets for the radio. There is 1 9mm bolt on each side. THe brackets are the brown, rusty ones in the pics. They are what mount the radio in the car.

Step 2 - With the 3 bolts removed the top unit will slide right off the bottom. It is seated in a small wiring harness. grasp each side of the top section and pull it STRAIGHT back and out of the harness. See pic below.

You will see this after removing the top section:

Step 3 - Now that the top section is removed you can clearly see the CD mechanism. This is the unit that is giving you all the troubles. To get to it you must first remove 2 bolts holding on the faceplate. This is where is gets a BIT ugly. See the 2 pics below to see which bolts to remove.


Now Tilt the faceplate forward. If it doesn't tilt easily, there are 2.. I'll call them "dents" (for lack of a better name) holding the bracket in place. There is one above each screw that was removed just a second ago. See pic below.

Once the face plate is tilted slightly, you need to remove a wire harness off the board, see the pic below for the one to remove.

You should look like this now...

Now turn the radio over, and look at the bottom, there are 2 clips that need to be released. Shove the flat head screw driver under each clip and get them to unhook the faceplate from the chassis of the radio. After that turn the radio back over and the faceplate should be free, kinda. Watch out for the wires, don't stretch them too much. Now carefully take the faceplate and fold it behind the radio.. See the pics below.. If any wires come unplugged just plug them back in.


Now.. for removing that pesky mechanism. You should have only 2 screws left to remove the mechanism from the chassis. One on the back of the radio:

And one on the inside if the radio, grab an extension bit for your socket set:

With those removed you can lift the mechanism out...

and disconnect the 2 sets of wires on the bottom of the mechanism..

Now you have this.. minus the nice Compaq Armada laptop =)

Now... get the part number off the mechanism. It's on the left side of the mechanism. Mine was 78481. It should be a 5 digit number. Email Michael at www.mnrelectronics.com @ mnrmichael@ameritech.net . Give him the part number and tell him that you would like to exchange it for a new one. He'll give you the final price. Mine was $133. Box the mechanism up and ship it to them. Their address can be found on their website. It took a week to get mine back... pretty good turn around time! The mechanism's come with a 1 year warranty too!
You CAN put the radio back into the car while your waiting. If your like me, that was a requirement.. I HAVE to have a radio or i go nuts! If you wanna put it back the car in then proceed to section 2 and just skip the part where you reinstall the mechanism. The radio will work just fine without the mechanism. Don't worry about any of the wires that you had to unplug, they only serve the mechanism so it won't matter that they are unplugged.
