

In this tutorial I am going to explain how to make
a simple left-bordered background, which is so easy:o)))
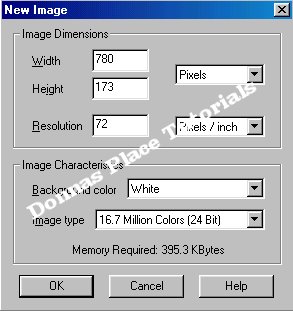
1. Go to FILE>NEW
2. In your Image Dimensions pop-up box, set the HEIGHT
to 173, WIDTH to 780, BACKGROUND COLOR to WHITE, with
16.7 million colours. Click OK.
3. You should then have the new image of your background
shown on your PSP screen. Next we choose an image that we
would like to use to place onto our background. I chose the
one below:o))). You can use this image if you wish.

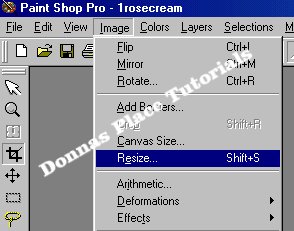
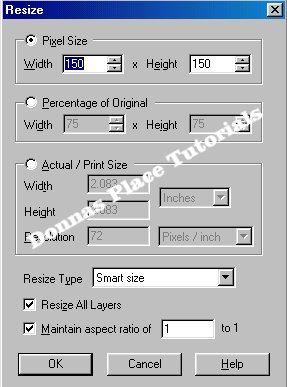
4. If your graphic is too large, it will need resizing.
To resize an image go to IMAGE/RESIZE. A pop-up box will
then appear. Resize the image to HEIGHT 150 and WIDTH 150.
Then click OK. Your image should now be resized.
5. Next we have to transfer our flower graphic onto our
white background. If you have followed my tutorial Creating
A New Graphic, you should already be familiar with how this
is done, if not, follow the next steps carefully.
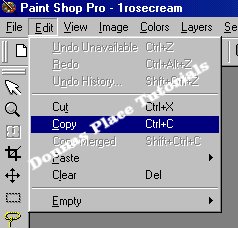
6. Click on your flower graphic so that it is highlighted,
then go to EDIT>COPY.
7. Next click on your background image so that it is
highlighted, then go to EDIT>PASTE AS NEW LAYER.
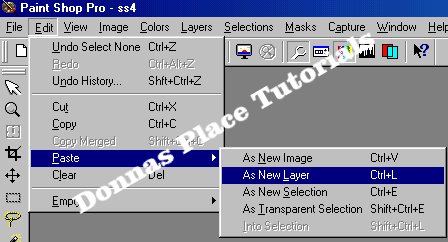
Hey presto, you now have your flower graphic on your
background image.
8. Place your mouse over your flower graphic
and click down and posistion your flower graphic to the left-
hand side of the background. It should look something like this.

To see how this looks as a background, click HERE
PRETTY NEAT HUH!!!
If you are feeling somewhat adventurous, then you can repeat
the procedure of copying and pasting your image onto your
background and placing it to the right of your background,
which will then make it a double bordered background:o))
You can now save your background as a jpg. There you have it.
Your first left-bordered background. CONGRATULATIONS!!
This tutorial was written by me and should not be copied or
claimed as your own.
Copyright 2000-2001 Donnas Designs UK
All Rights Reserved
