
With these advantages come a few challenges. The plastic does not hold paint well. The molding process requires grease between the plastic and the mold so that the figure can be cleanly removed. This grease causes paint to shed from the figures even more quickly. Any slender extending pieces that are easily bent quickly revert to their original color after being handled.
By using a few simple conversion and painting techniques, the modeler can create armies of plastic 22mm figures for the wargaming table or dioramas.
Often in molding a tiny gap is left
between the two plates. Plastic seeps into this gap, creating "flash."
The second step in the painting process involves cutting away the remaining
sprue and any flash from the figures. Use a very sharp Exacto blade
along with a great deal of caution! I've given my fingers some very
nasty cuts that could have been prevented had I been a little more careful.
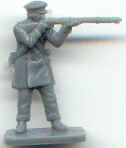
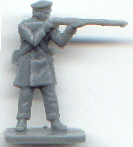
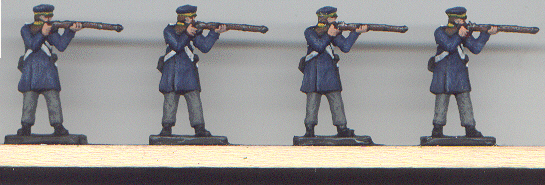
Here is our starting figure with flash on his face and cartridge box (left)
and without (right).
 |
 |
At this point the figures are still covered with a thin layer of grease. They've also accumulated a great deal of oil from your nasty fingers. All this will keep paint from sticking to the plastic. Put the figures in a large collander with small holes and run hot water over them. Pour a little liquid dishwashing soap in. It's specifically designed to remove grease. Rinse the figures thoroughly and lay them out on paper towels to dry.
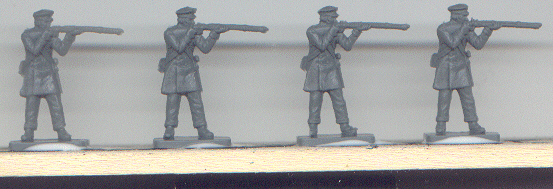
Once dry the figures are ready to
be mounted for painting. Any long, flat piece of wood will do.
I use 6" rulers from Michaels craft store that I buy for $.29 apiece.
Use Elmer's school glue to attach the figures to the wood. Leave
enough space between figures for the paintbrush to reach all surfaces.
 |
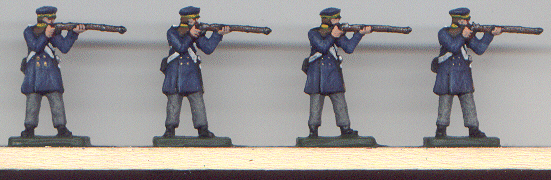
For most modelers, the key is speed. This means painting in quantity. As many figures of the same pose as possible must be painted in batches. As you paint, your hand will quickly learn the movements required for that particular pose. The techniques described here will allow you to crank out a high volume of figures. If you're looking for absolute quality, this is not for you. There are plenty of better looking figures than those done here -- check around this website for some much better examples -- but this will help you field 100 figures at a time.
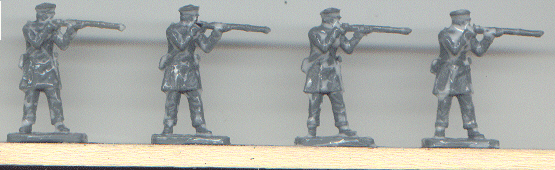
Once the glue is dry the figures
must be sealed. Modeling paints are brittle, and will crack and shed
very easily. The sealing coat must allow for some flexibility.
Elmer's school glue must be completely applied to the figure. Use
a very thin coat so as not to obscure the detail. Take the paint
brush and remove glue from hollows as it gets tacky. Here is a scan
with the glue still wet.
 |
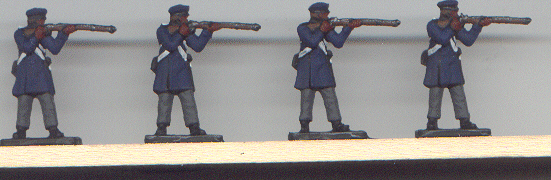
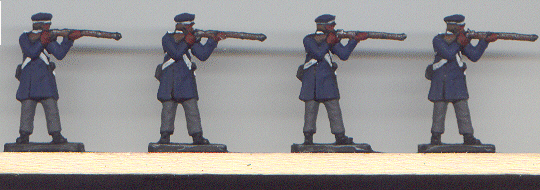
Now you're ready to paint! There are a great number of different techniques used, producing various results.
The most common is the "block painting" technique. It enhances raised detail and contrasts the different colors of the uniform. A thin black line is left between colors to heighten the difference in color. Most of the figures on this site are painted using the block painting technique.
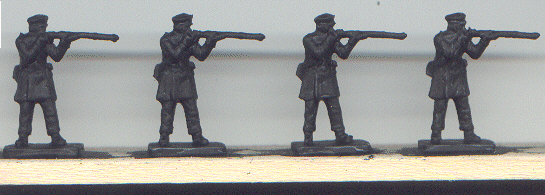
The base coat of black paint is applied
to all of the figures. Many modelers use an enamel spray paint for
this step, but it can prove messy, smelly, and brittle. I use black
paint applied with a thick brush.
 |
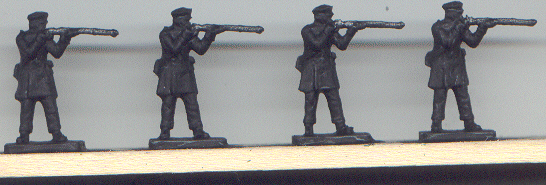
I like to use a drybrush on all of
the steel on the figure next. Load your brush with silver paint,
then brush most of it off on paper. Stroke the brush over the steel
bits of the figures. The raised surfaces will receive a coat of the
paint, while the hollows will remain black. A regular coat of silver
goes over the polished steel.
 |
Next the exposed skin is painted
with a red-brown. This will remain in the hollows of the flesh, producing
a shaded effect.
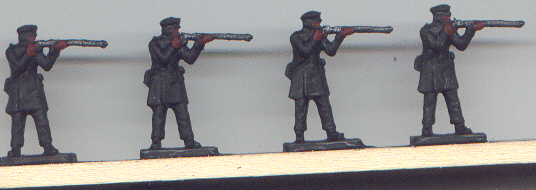 |
Most people use the "inside
out" sequence in applying color. This allows you to make small mistakes
with the brush that later coats will cover. In this way the recessed
surfaces are painted first and the raised surfaces last. I usually
paint the trousers and coat next.
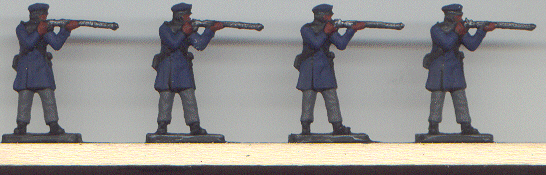 |
I break with the inside out sequence
in painting all of the white bits next. Napoleonic figures usually
have quite a bit of white on them, and it must be carefully applied.
 |
The figure begins to take shape!
Next I paint all of the brown parts; hair, musket, knapsack, anything that
might be brown.
 |
Next I paint any blanket rolls, accoutrements,
shoudler rolls, collar, cuffs, lapels, and turnbacks that are not white.
If the facings are a bright primary color, they should first be painted
white. Once the white dries, apply the brighter pigment.
 |
 |
We're nearly done! Flesh comes
next. Use a very fine brush, and apply the flesh paint to the face
and hands. Leave thin lines of red brown at the sides and bottom
of the nose, within the ears, at the mouth, at the eyes, and between the
figures. This scale will not allow you to paint eyes on your figures
without them looking ridiculous.
 |
An optional step, but one which greatly
enhances the look of your figures, is the drybrush. Use a paint of
the same hue but several shades lighter on all cloth. The technique
is the same as with the steel drybrush coat already applied. Apply
this coat sparingly: it's very easily overdone!
 |
Apply all gold and brass next.
The gold should be drybrushed on epaulettes and sword knots. Also
paint the base of the figure in whatever color you prefer.
 |
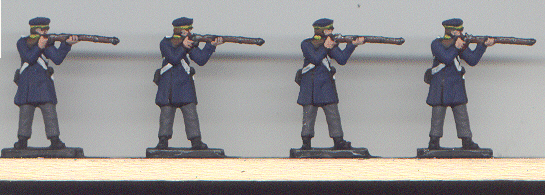
The painting is finished! Now we repeat an earlier step. To prevent the paint from flaking off we must apply another seal of Elmer's school glue. Paint it on generously, then carefully remove the congealing glue with a wet brush so that it does not collect in the hollows of the painted figure and ruin it.
Once the glue is dry, carefully remove
the figures from their painting base and mount them. Use Elmer's
wood glue to make a fairly permanent bond. As soon as the wood glue
has dried, paint your base in the same ground color you used on the
bases of the figures. You now have beautiful wargaming or diorama
figures that will endure handling without resuming their original color.
 |
 |
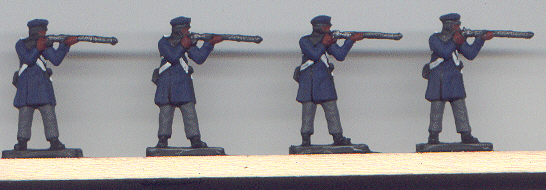
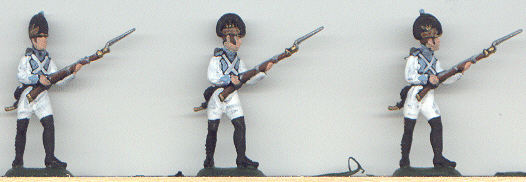
I converted some Italeri French infantry
of the First Empire to French infantry of the Revolutionary Wars by adding
heads from Esci British horse artillery set. The results, as you
can see, were not all that was promised. It's not bad, but the detail
definitely needs to be added to faces!
 |
 |
This page last updated on 09 June,
2001
This page created using Netscape
Composer
