
I recieved my Christmas present early this year. I ordered a roll cage kit from Four Wheel Drive Hardware, made by Kentrol. I had considered the kit offered by Rosser, by M.O.R.E. Offroad, but some serious logistics problems surfaced. I spoke with a guy at Rosser, ready to place my order, until informaed of the $100 truck frieght for the kit. And I wanted an extra pair of spreader bars, too.
After my intial scare, I readied myself and called Four Wheel Drive Hardware. I had called them the same day I called Rosser, but they couldn't offer an extra set of spreader bars, so that was a turn-off. Anyway, I called, and to my surprise, It was $158 delivered by FED-EX! WOW! NOW I can have Christmas!!
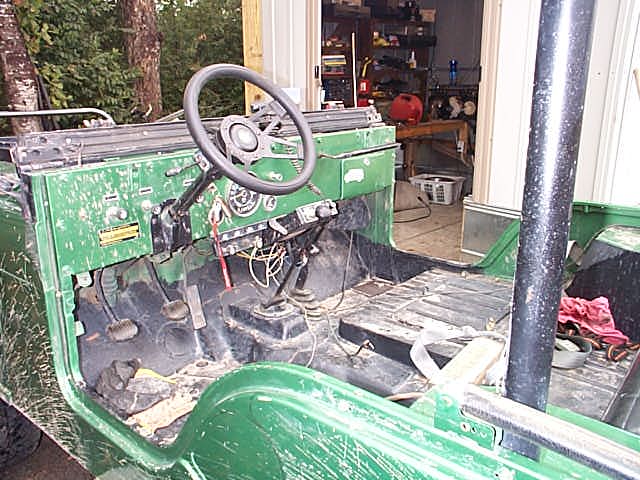
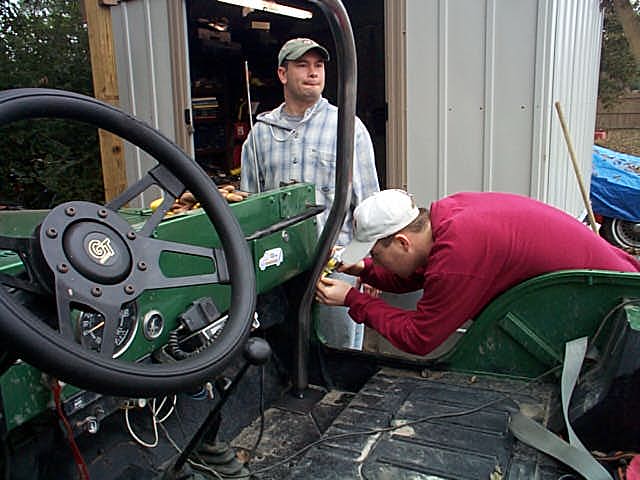
So, I checked with a couple of buds. Hitman came through, and so did TJ... that's what good neigbors are for! So, with Chris(Hitman) and TJ over, I started getting things together. After almost an hour of searching, one of the plates which go on the front floorboard was MISSING!!! Well, no need to waste time. I gingerly cut a piece of aluminum I had in the shop to serve as a temporary spacer 'till I get a new plate in.
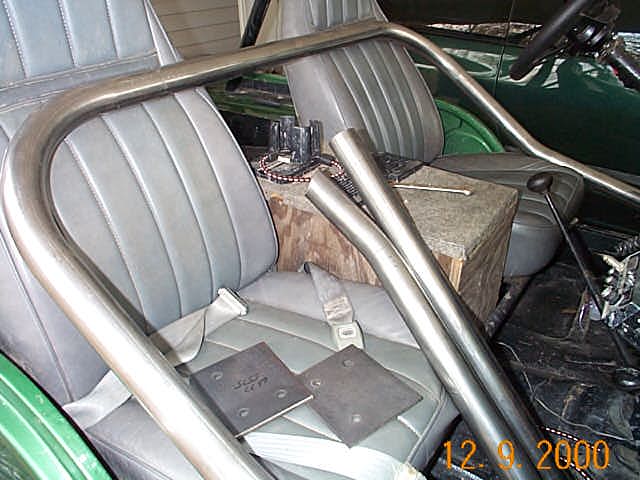
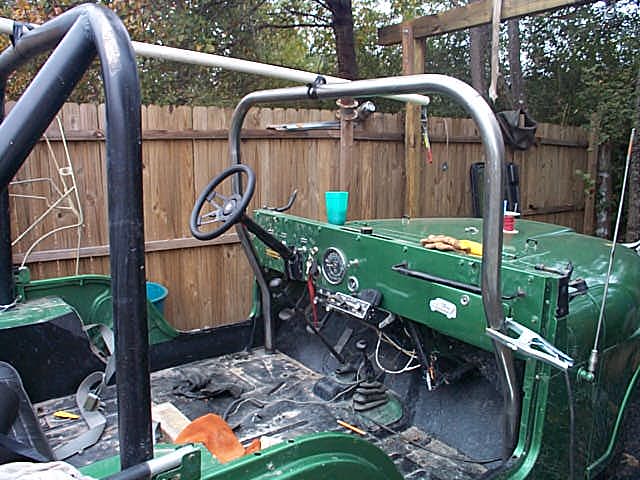
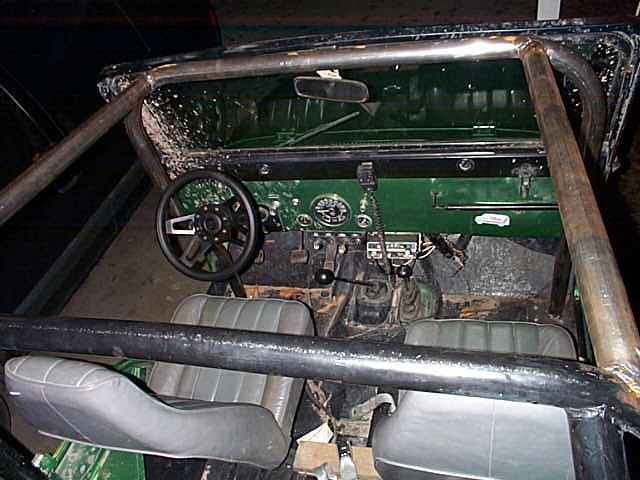
Upon full inspection of the Kentrol kit, we found the tubing fairly thick. Very good. The front hoop had a minor angle to them, I presume for earlier CJ's (kit fits '55-'75), which had to be cut / ground flat. The hoop went strait to flat floor on mine. The spreader bars were grooved at the back behind a slight bend, I assume is for head clearance. They were not grooved at the front because the tubes are cut to fit the application.
As I said, first we cut and ground the bottom of the front hoop and set it in, making final measurements to center it. Also, I had taken measurements with the windshield up, giving 3/4" behind the mount for the rearview mirror, which came out to about 33/4" at the top of the dash. With the PLATE (and temp plate) in it was tacked down and supported with a nearby piece of 2" PVC. Again, measurements were made to make sure that thing was straight. The spreader bars were positioned one at a time and carefully measured and then torched to the appropriate length, then ground as close as possible, which turned out to be anywhere within 1/2 an inch. :)
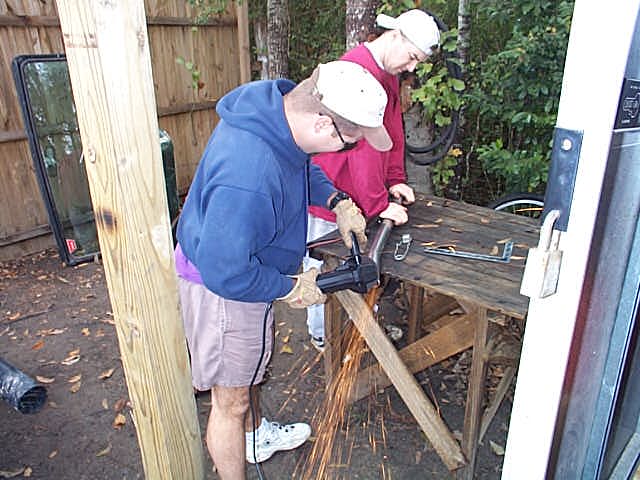
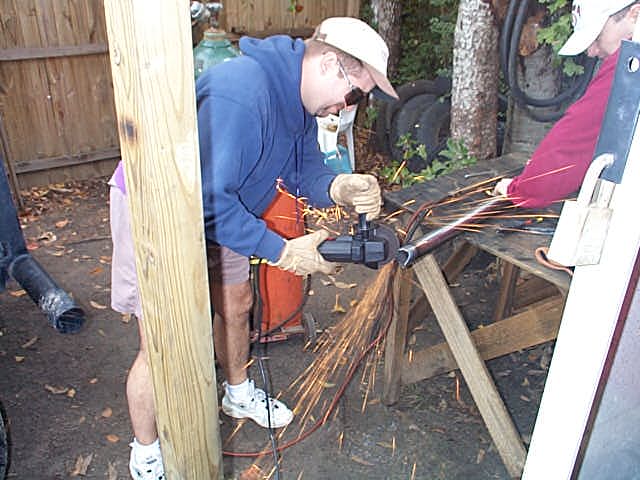
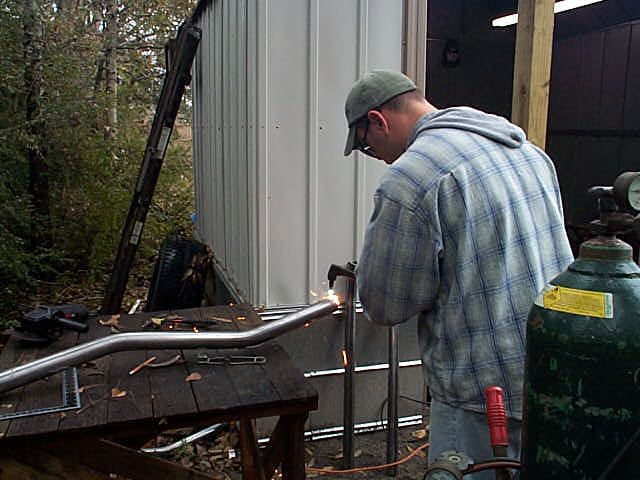
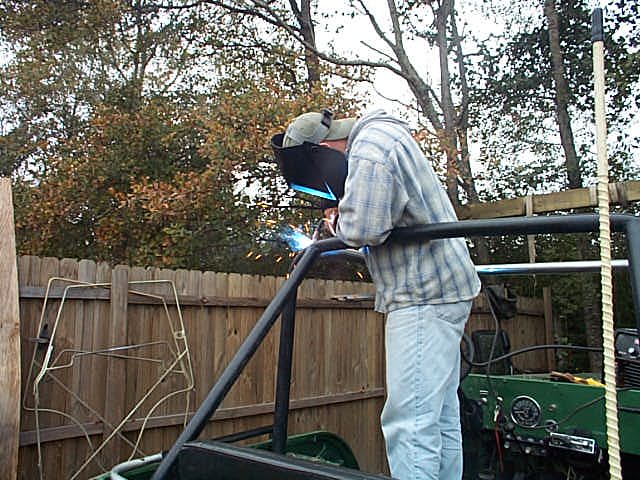
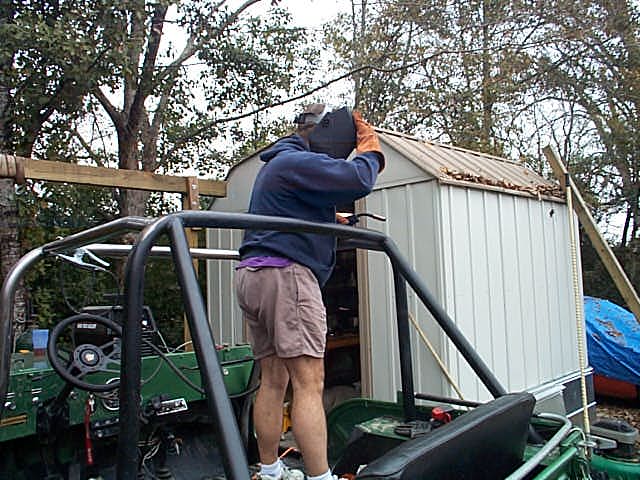
Chris was the major force on the grinder, doing pretty well. TJ made himself a temporary bench vise, holding all stock as it was cut, graffted and hammered to a (almost) precise fit. The welder, a SEARS 90 amp MIG, was fired up and put to the test. I did a majority of the welds. Chris gave it a shot, as did TJ. All in all, It took about 4 hours from the time the CJ was moved to the shop, seats removed, until Chris left with 75% of the welding done. All in a days work? Final checks on the welds and finishing work will be completed, and when final, a pic will be posted.
At this point, I'll thank Chris (Hitman- on JU!) and my trusty bud, TJ for some awesome help.
PARTS / TOOLS LIST
Total cost involved? The kit came delivered From 4WDH at $158.00. 6 bolts and 6 lock nuts were a little under $5. I'm not taking into account here that I had to go get a ($10) roll of .030" MIG wire and a ($65) bottle of Argon.
To see the rest of the pics taken while working on the cage and some of the other finished shots, go here.
