

I tell you that dealing with a cracked and leaking ehaust manifold is a pain in the butt. After living with the noise for almost a year, 2 studs broke off while trying to tighten up the manifold. I decided it was time to replace it. A new manifold runs near $200, while a low cost hedder runs $160 or $170. I found a Hedman hedder from Four Wheel Drive Hardware. This will be a summary of the install and the headaches contained therein. :)
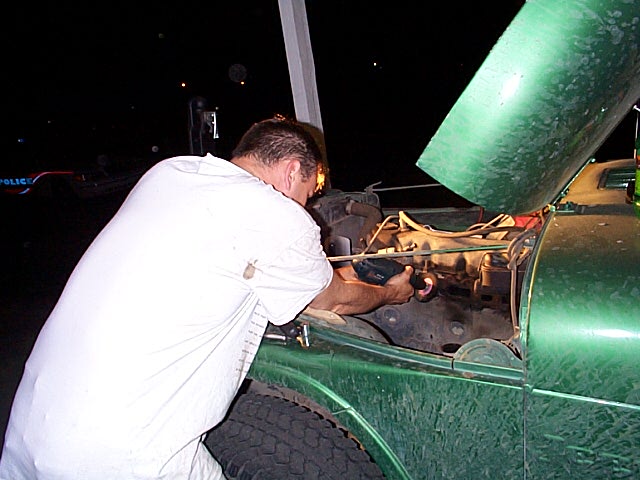
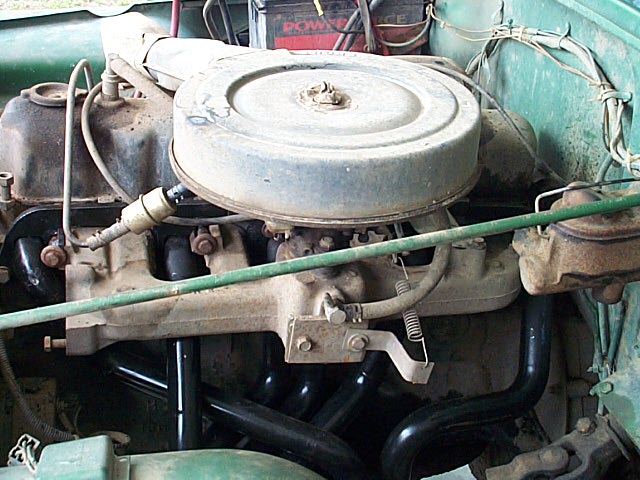
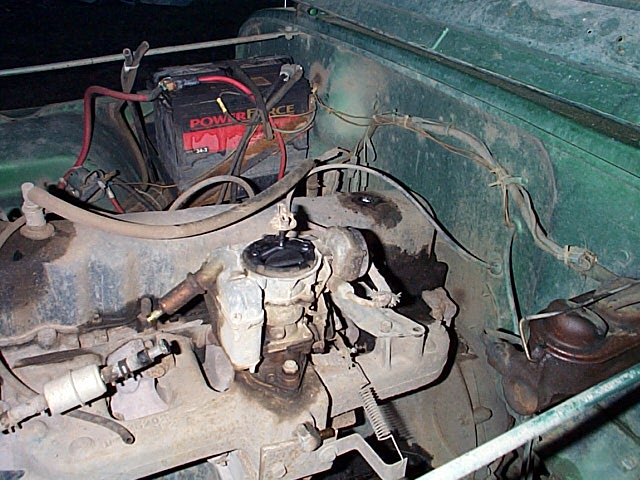 Here is the starting point. Basically you have to disconnect everything. Start with the battery. You'll probably rub the back of the alternator durring the install. I chose not to remove the carb from the intake as I've found that nothing leaks until you screw with it. (more on this later) Disconnect the throttle linkage and the 2 bolts securing it to the intake, take off the vaccuum lines (1 for me :) ), disconnect the fuel line, and just for the sake of safety, plug the line with a nearby bolt.
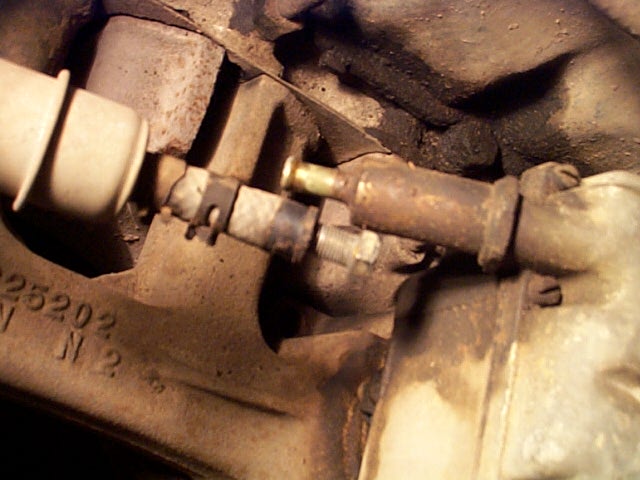
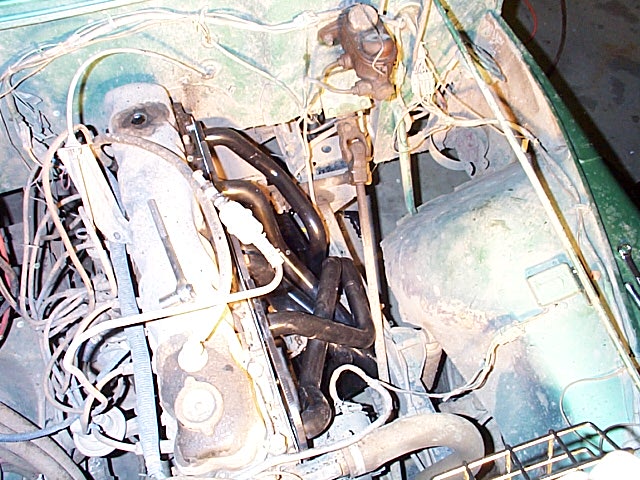
There is a metal tube that runs from the middle/top of the exhaust manifold to the choke on the carburator. Take the fittings off of the choke and twist the tube out of the way or remove it from the manifold as I did. You will not need this later. If you're having trouble getting to all of these things, remove the breather and air filter at this time. If your engine has anything else on it, you'll have to remove or disconnect it. Now, you can remove the bolts! (yippee) If you don't like bloody knuckles, wear gloves. Take out the bolts on the heat exchanger (if equiped). There are two studs on the "inside" towards the engine directly below the carb. Mine broke off. You will not need these. The other 2 are on the side nearest the fender. Wear elbow pads for this... or fire up the torch as I did.
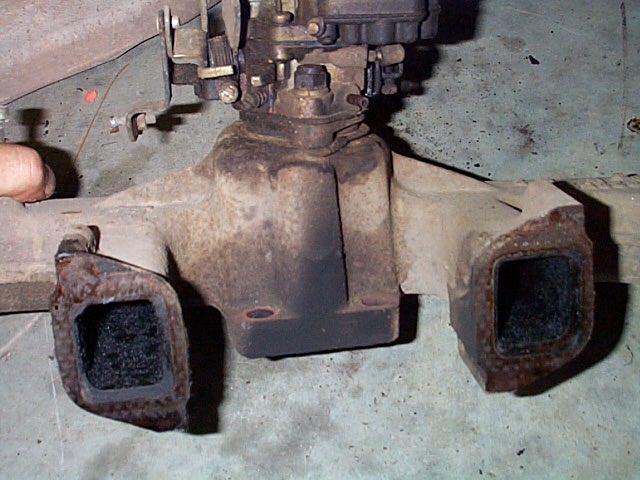
After the bolts are removed from the head, remove the intake. The 2 bolts securing the exhaust pipe to the exhaust manifold can easily be removed now. After removing the last bolts, take the manifold out. Take note of all of the soot showing where the exhaust gasses were blowing out. Chuk manifold into nearest scrap bin. Below, you will notice one of the reasons this MOD was necessary. One of the "ears" was completely broken off. If you look closely, you'll notice that the manifold was welded in the past. Temporary fix, eh?
To clean the head off, I simply used a "soft" wire brush wheel on the drill. Applying moderate pressure results in a clean suface with no gouges. You may also want to run a tap through to chase the threads as I did for a couple of difficult bolts.
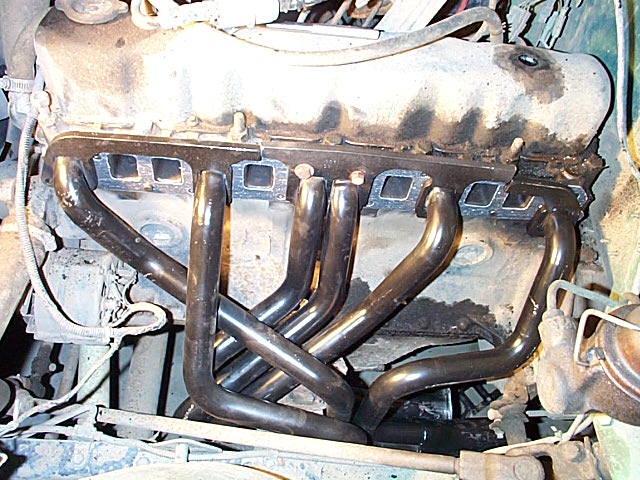

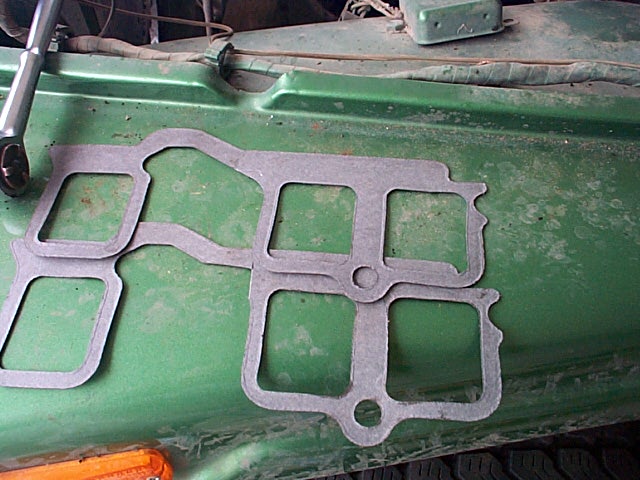
The supplied exhaust gasket goes on. You will have to thread the center section through in front of the motor mount. This is where you will need to be a little cautious around the back of the alternator. Stick the bolts in to hang it. The "top" half of the hedder goes the motor mount. Hang it with a couple of bolts. The intsructions don't address this part. You will need intake manifold gaskets. They only come as a SET with all the other crap. To get them in there properly, you will need to cut a chunk of the gaskets out so they will drop down in without much interferance. (Shown Below)
Reinstall the intake and attach all the other accessories. The problem at this point is how to attach the hedder to the exhaust. There are now two outlets. There are a couple of ideas. First you could bend and run 2 pipes into a dual inlet muffler, make a custom collector (like me) or take it to a muffler shop to deal with the headache. I made a custom collector. I went down to the local parts store and bought 3 16" sections of pipe, 2 turn downs and 2 pipe adaptors. I only ended up needing one turn down and 2 sections of pipe... only because I didn't cut the first one long enough. :-)
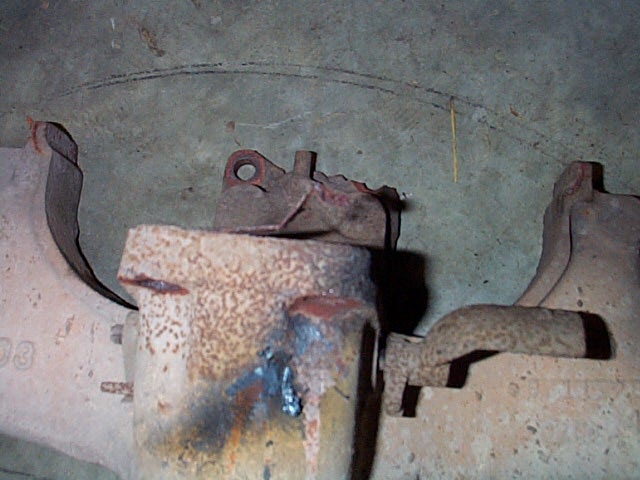
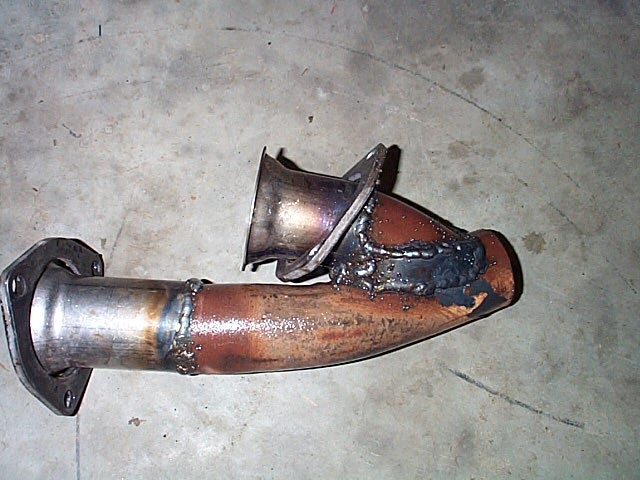
I took 2 sections of the old pipe which both had mild bends around 30 deg or so. One, I put on the "innermost" pipe turning it up over the crossmember. Another section I connected to the "outtermost" pipe and cut it (a little at the time) so that it came real close to matching the inner pipe. I then tack welded them together, removed them and used some scrap ground to fit in the shape of the pipes. That was welded into place, test fit and finally fully welded.(CLICK TO SEE) I also welded the INNER seam (which is between the two pipes that cannot be actually rached with the welder) from INSIDE the pipe. This turned out well. After the welds cooled a bit, I fired up the torch and trimmed the extra crap out of the way to try and give the gasses a smooth path to flow in.
I used a turn down welded onto the "collector" to go over the crossmember, into a section of pipe then into your muffler. I put in a new one. Check for leaks! If there are none, yer good to go! NOW... about the thing I mentioned before. It won't leak unless you screw with it. I had to replace the fuel filter that screws into the carb... 'cause I screwed with it. I had to tighten up a couple of hedder flange bolts that weren't tight enough. Mine sounds good. Good luck if you do this on your own. :-)
