A new addition to the garage. As I have more projects going then I know what to do with I promise to try to keep things updated a little better. While I could buy a Dragon Kubelwagen where is the fun in that. I have never claimed to be a collector and resemble more Dr. Frankenstein the Smithsonian. Nothing left untouched is really worth having is it? So I begin my projects. I will rate most of my new projects not by difficulty but by my own unique BAND-AID-O-METER. Yes that's right because difficulty is just a border to cross between what you can do now and what you can do if you try. I have chosen to rate my projects by how much you might bleed during them, after all we only have so much of the life giving stuff in us, and if you have recently been bleeding for some reason you might want to put a 5 band-aid project off for a week or two to replenish yourself. To be honest with everyone I would like to put off a project until I am totally done for the magnificent unveiling, but I am so slow I will just update my steps as we go.
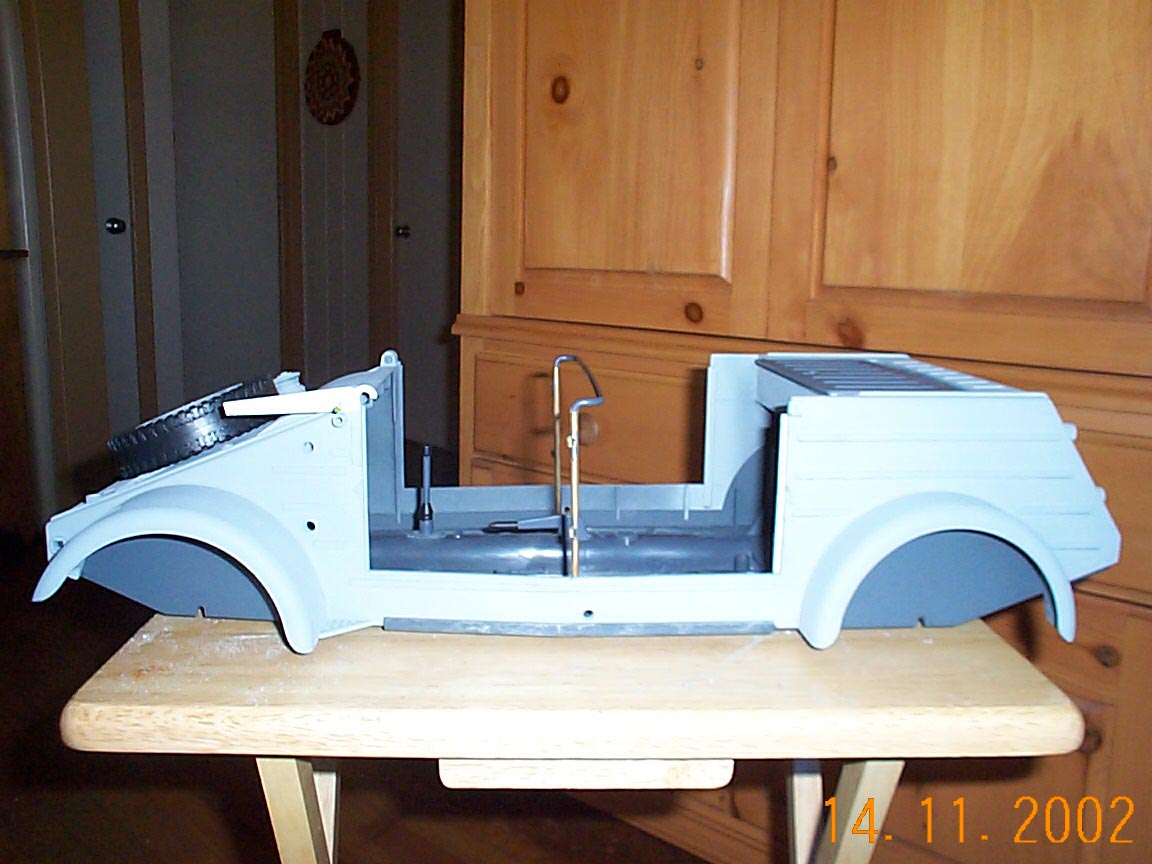
Here is what I will start with 21st Century's 1:6 Kubelwagen
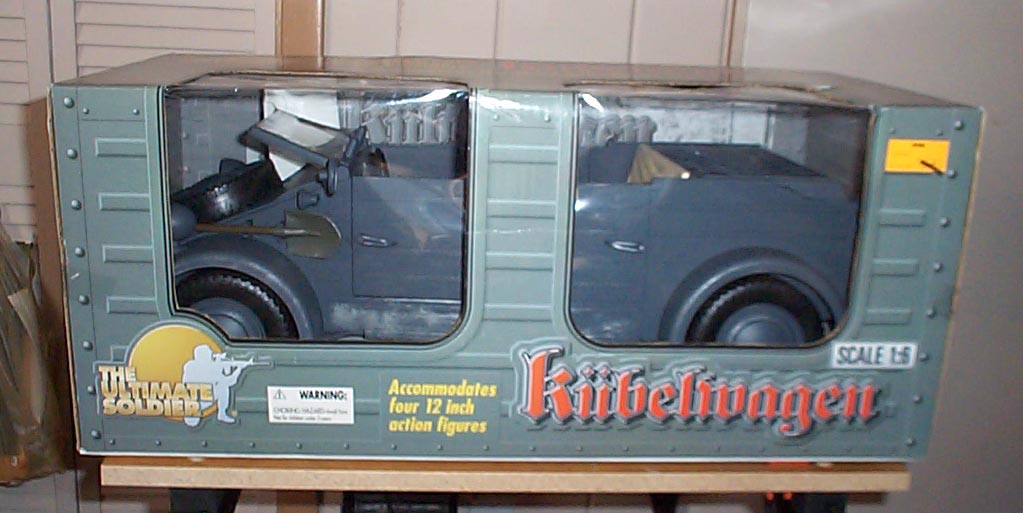

Its a good base and if you picked up one or two at the recent sale price....well hell there is no equal!
Disassembly was simple a small Phillips screw driver was all that was needed. After bagging and tagging the small parts and screws it was time for the surgeon to examine the patient.
I used numerous online links and pictures along with a few reference books from Schiffer Publishing. At 10 bucks per book you cant go wrong on these. I will also try to begin a links page with some other reference sites listed.
VW AT WAR VOLUME II & VW AT WAR VOLUME VII
Lets look at some of the major parts to address first.
No opening rear doors! And if you've seen the new version the opening rear door leaves a little to be desired.
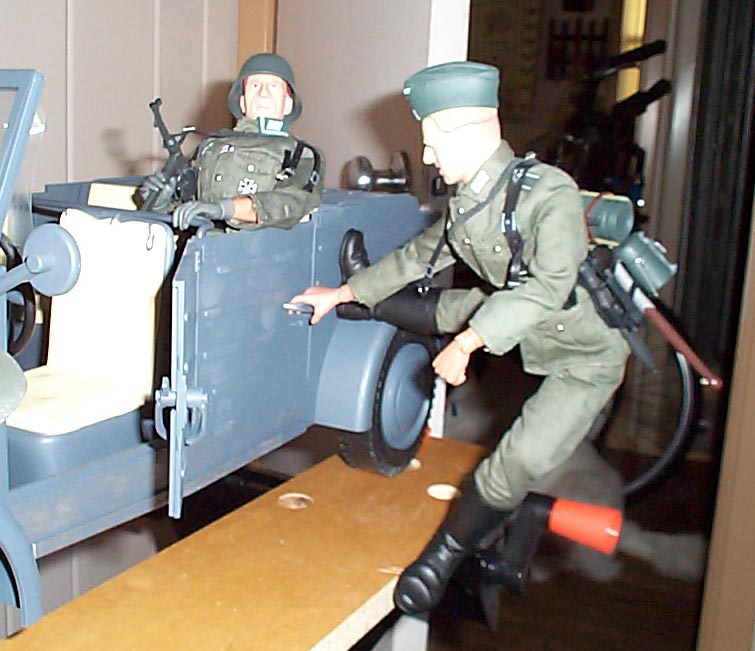
"Unnngh! Just von moment Feldwebel Hans....ze door iz stuke!"
Project 1 :Opening doors
Step 1: Ok 21st has been nice enough to leave good deep panel lines so there is no doubt on where to cut. On top of that the rear handles when reinstalled will work just like the fronts! First remove the handles. I have been pretty lucky here and one had one out of two Kubels that was glued real good and broke. Easy to remedy...drill a hole and insert a styrene post before reattaching.(PIC1) Gently grab both handles inside and out. Wiggle at first then begin to twist in opposite directions. They will loosen and eventually separate. Like I always say "Suttin Ruttin Fruttin &*!!?%!" (PIC2)Some thing always goes different then planned....but a lil ZAP glue some .100 styrene rod and a drill bit and we're back in the running. Finish removing all the handles.
PIC1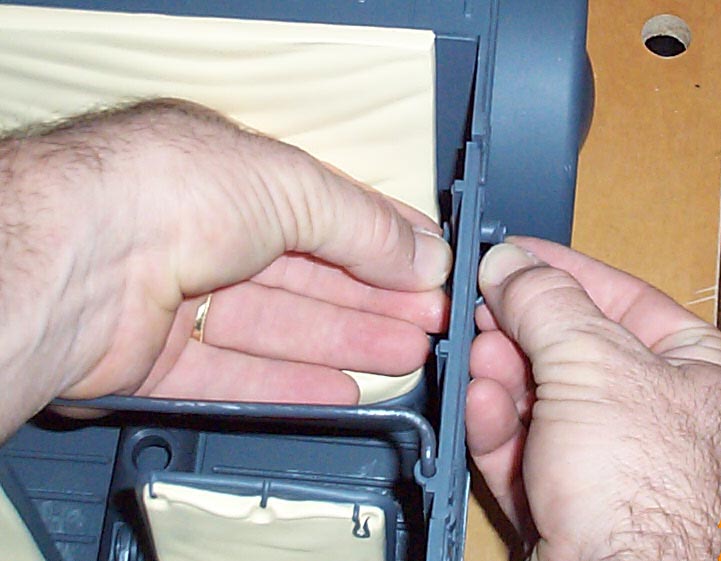 PIC2
PIC2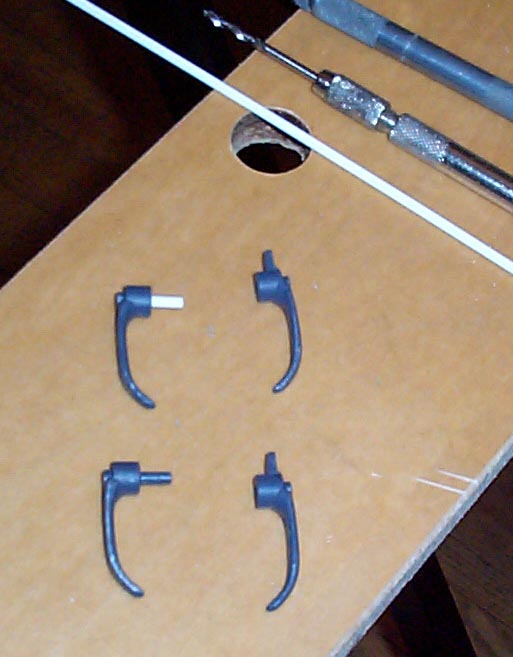
Step2: You can cut out the doors any way you like. A razor saw will work, if you don't get too Krazy a Dremal tool and a cutoff disk will work. I wanted to remove the doors without creating to big of a gap so I used an X-acto knife turned over. A new blade cuts great but plastic is soft and easy to grab the blade and take off with it. (PIC3)I turn the knife over almost like you are going to scribe a panel. Repeated strokes will eventually cut through and you can control the knife better. (P.S. use a blade that the tip has already broke off of!)(PIC4)Here is the body with the doors removed.(PIC5) You will want to add a strip of Styrene to the back edge to keep the door from opening inward and give the handle something to lock to. Yes we will discuss the rear stowage hatch later!(PIC6) Close up of back post. EXTRA NOTE BAND-AID NUMBER 1 DURING THIS PROCESS!
PIC3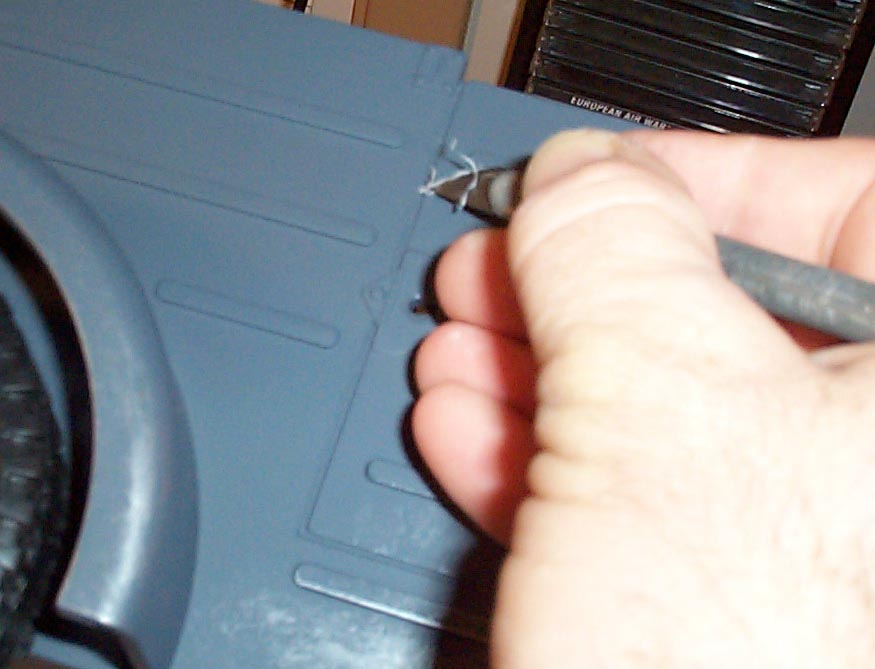 PIC4
PIC4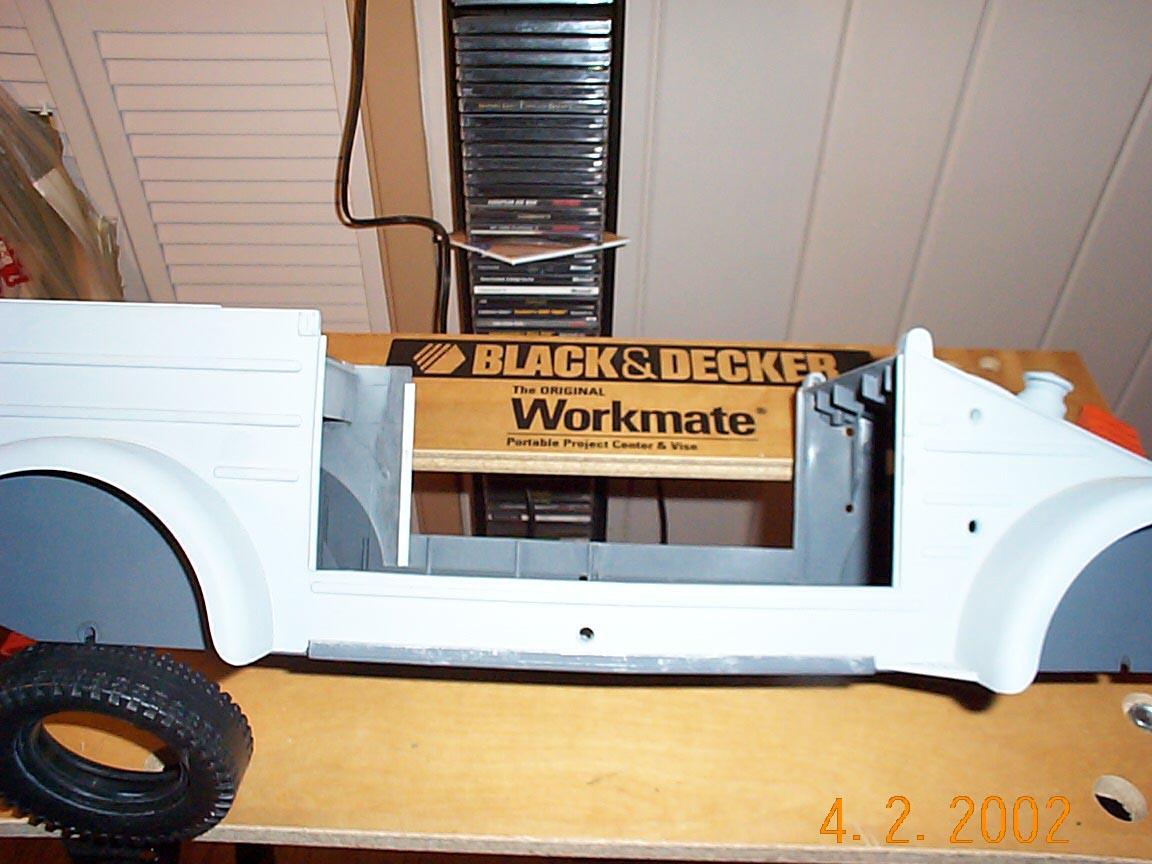 PIC5
PIC5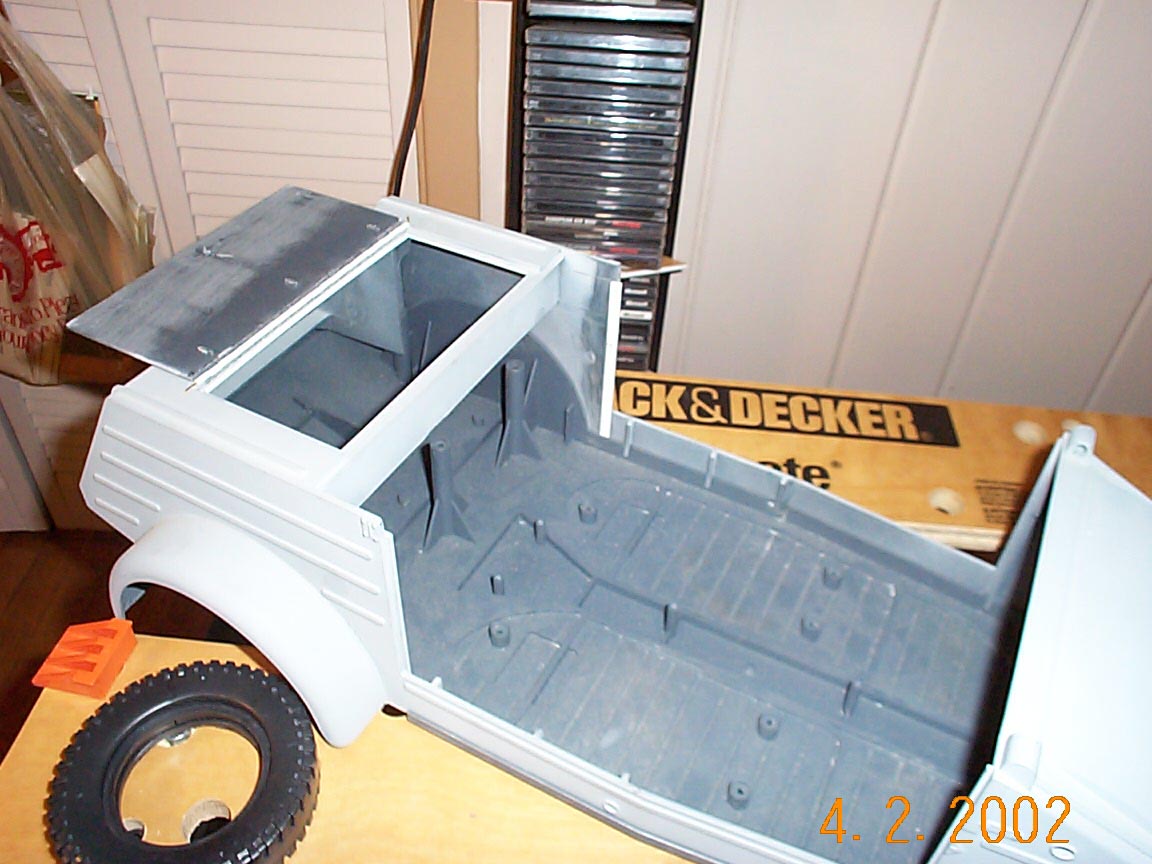 PIC6
PIC6
Step3: Now things will start to take shape. I am sure that there is a better way to do this out there and I could not find specific photos of the door hinge setup or I would have recreated it as close as possible. (PIC7)The Back door hinges must be trimmed extensively and also (PIC8)reinforced with Styrene. (PIC9)We are going to drill a hole directly down the center of the door hinges.
PIC7![]() PIC8
PIC8 PIC9
PIC9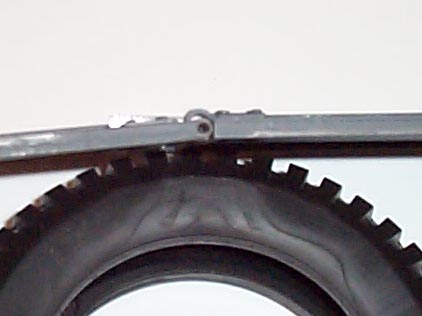
Step 4: Time for a little soldering. I used Brass Tubing measuring 4 1/2" long x1/8" Diam for my posts. I then cut 1/8" sections out of the 1/8" tubing for my door post hinges. I soldered these on at (starting from the bottom 2 1/16" and 3 15/16". There is also a slight bend in the post to accommodate for the bodyline. (PIC10)While in the future I might bend a cross bar from brass I currently used the original and heated the brass and then pressed the plastic into it to form a male plug. This would be structurally more sound if it were brass. I'll try to make one before the next post.
PIC10 PIC11
PIC11