
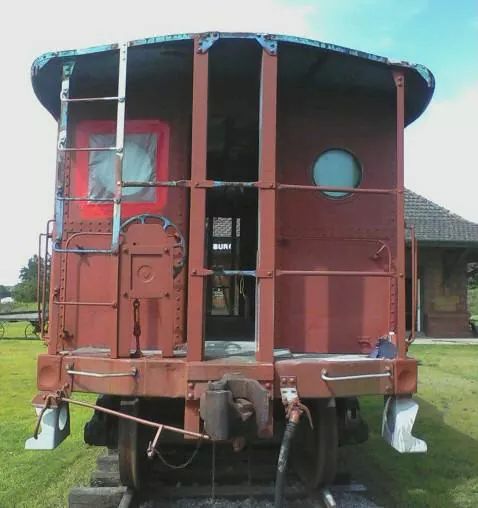
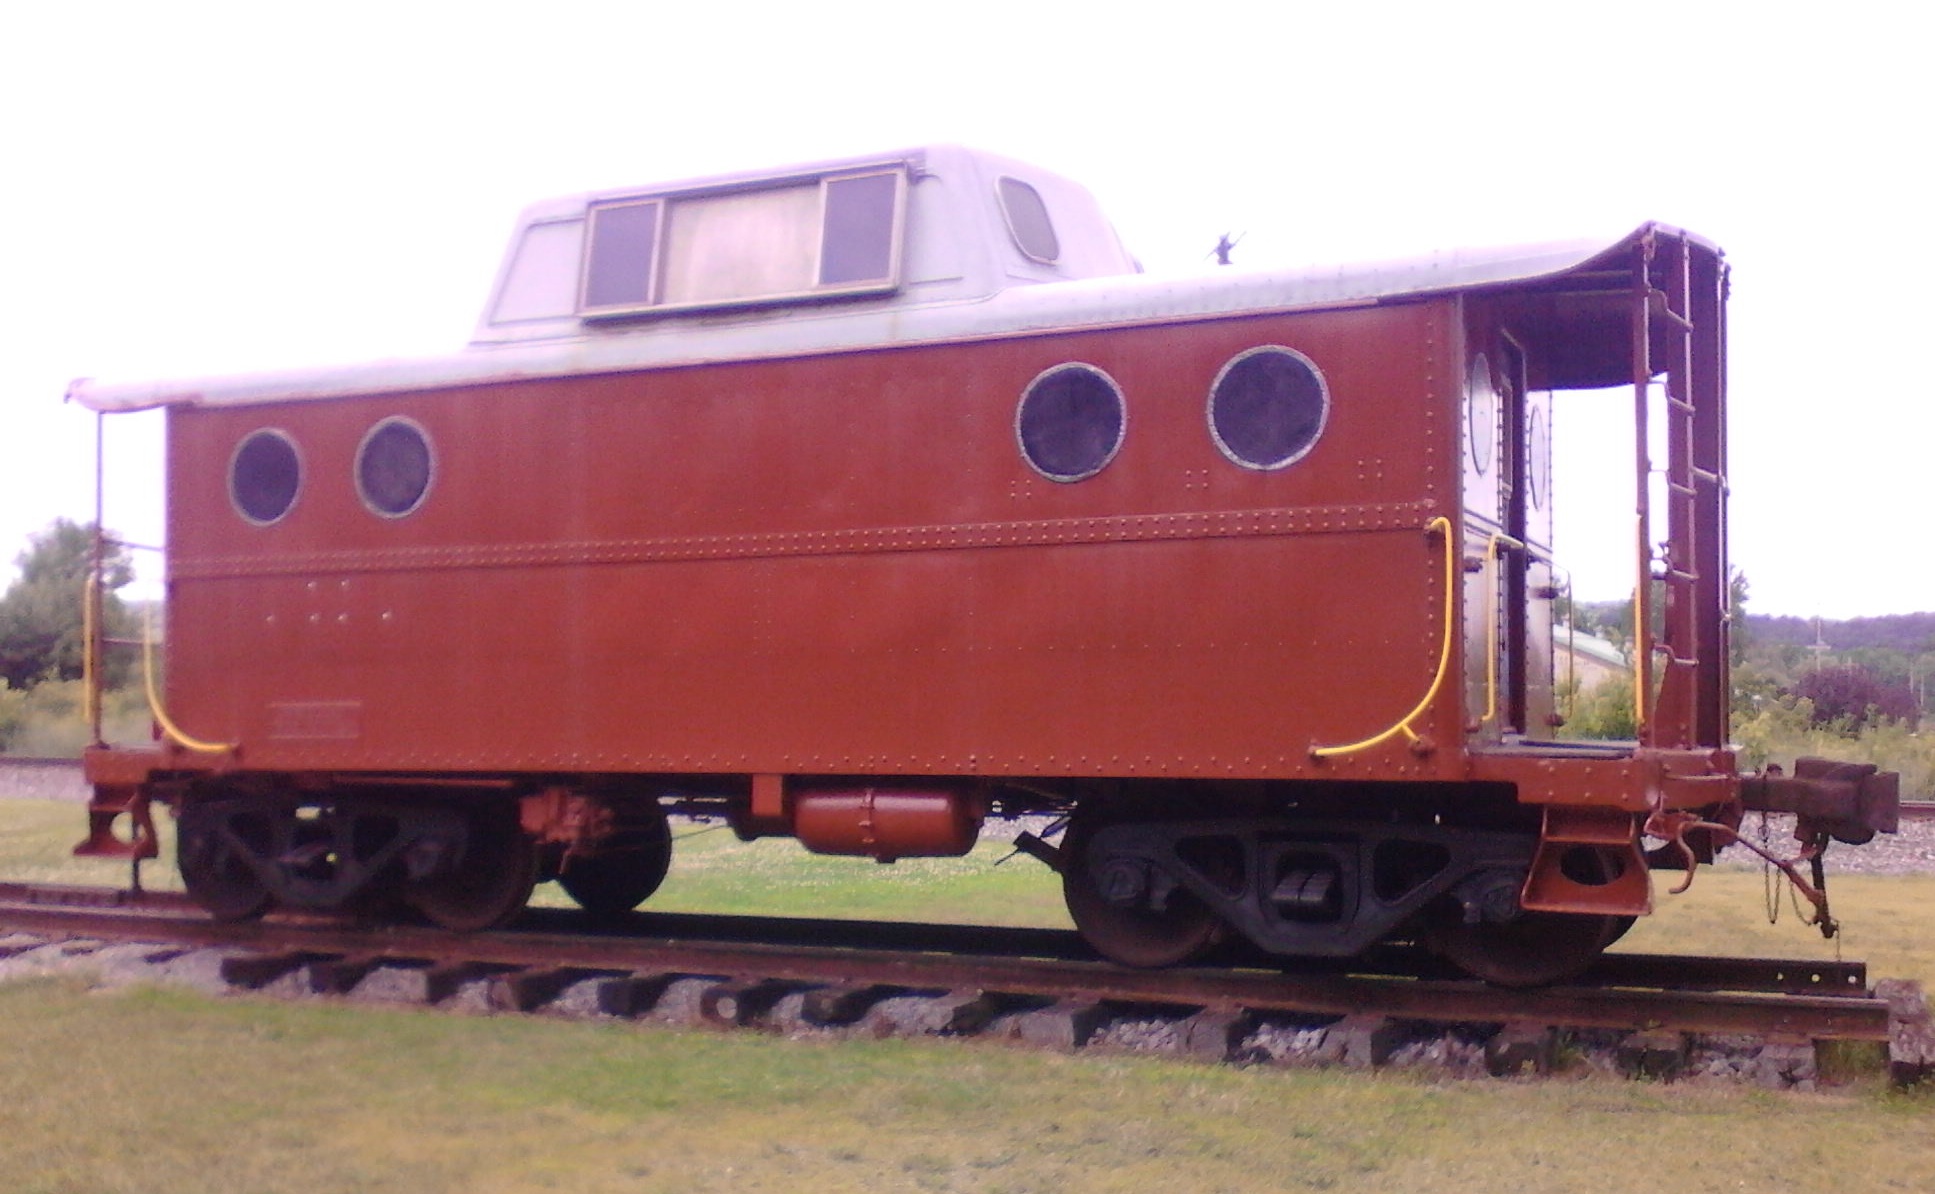
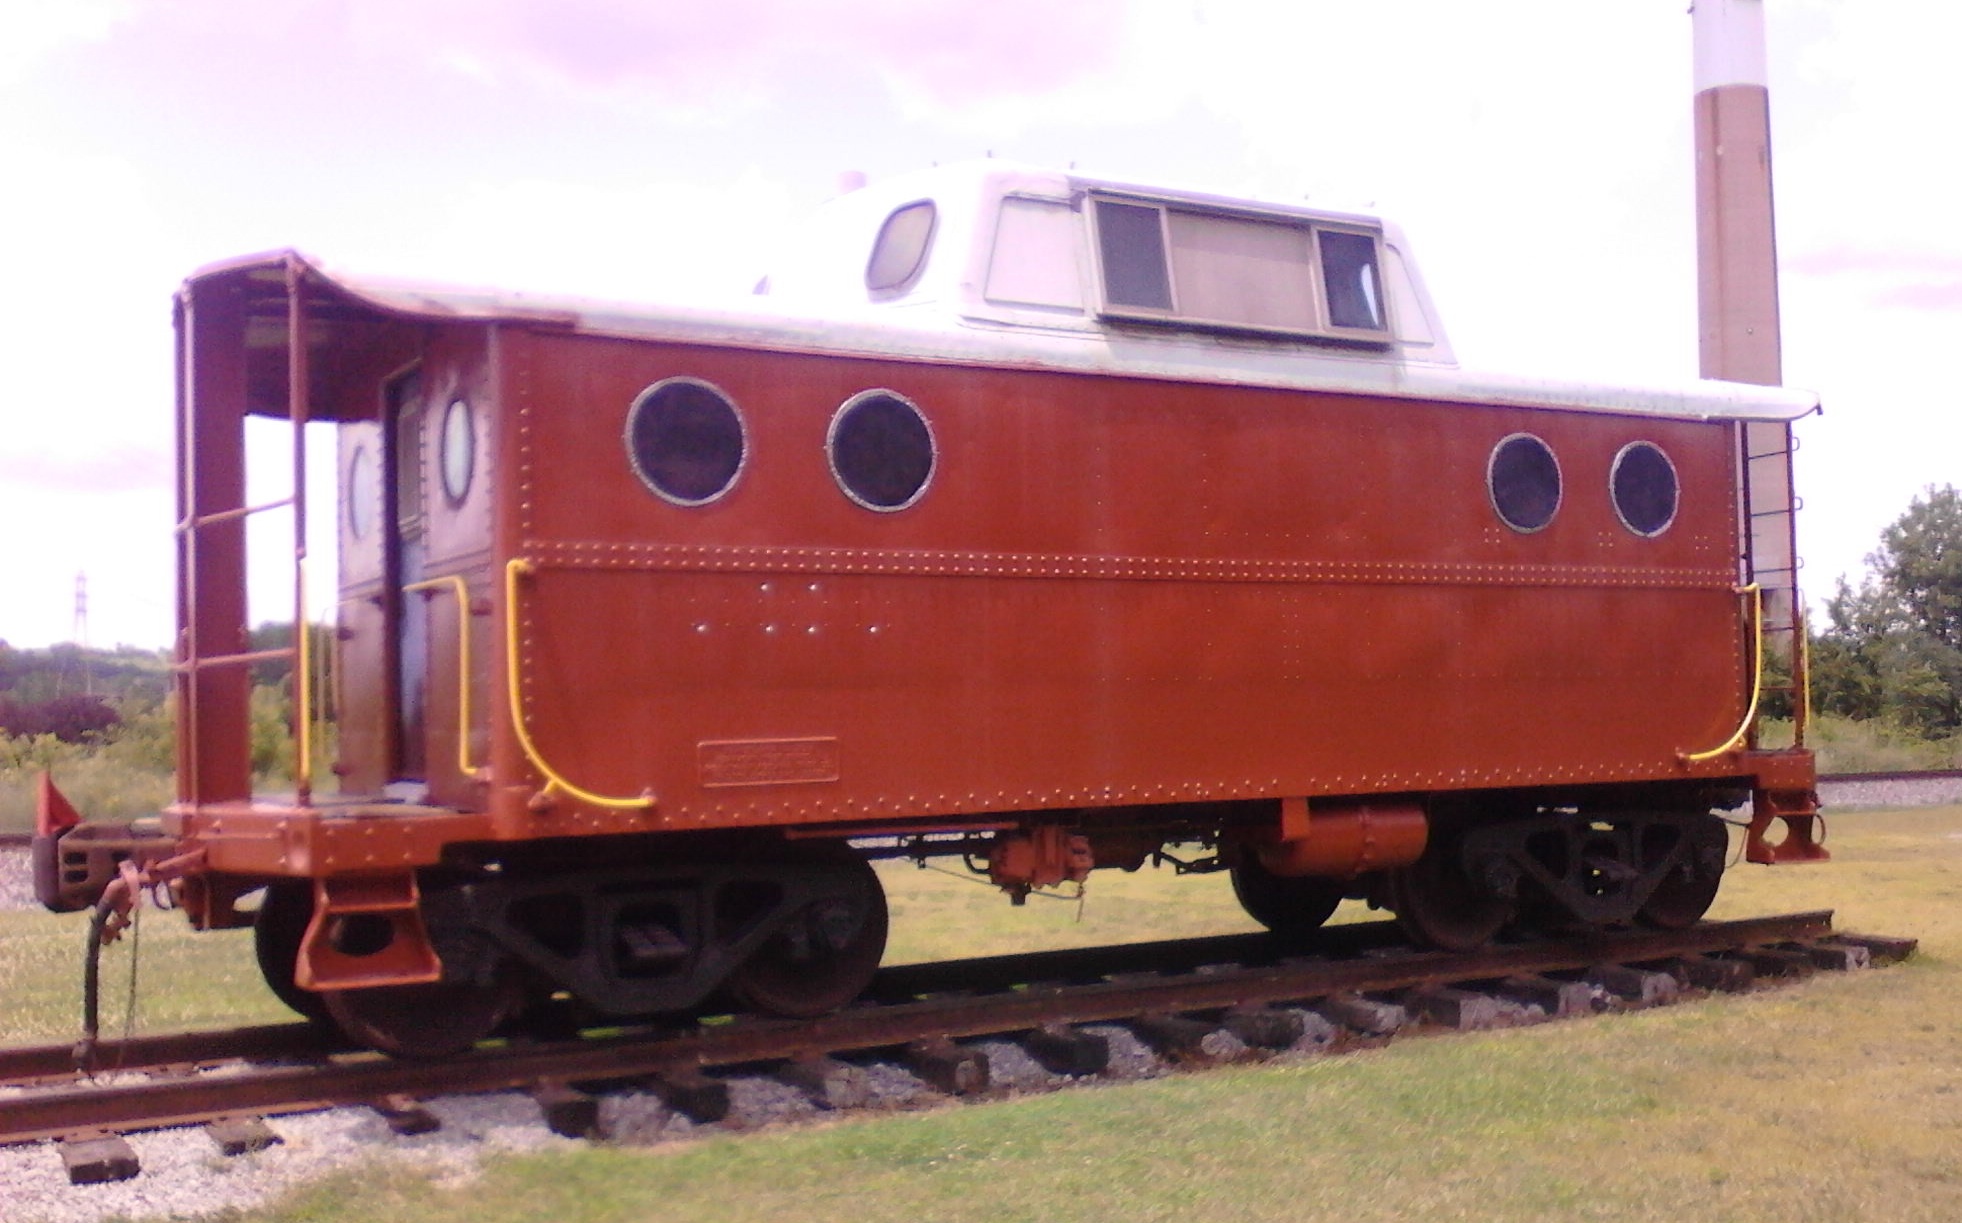
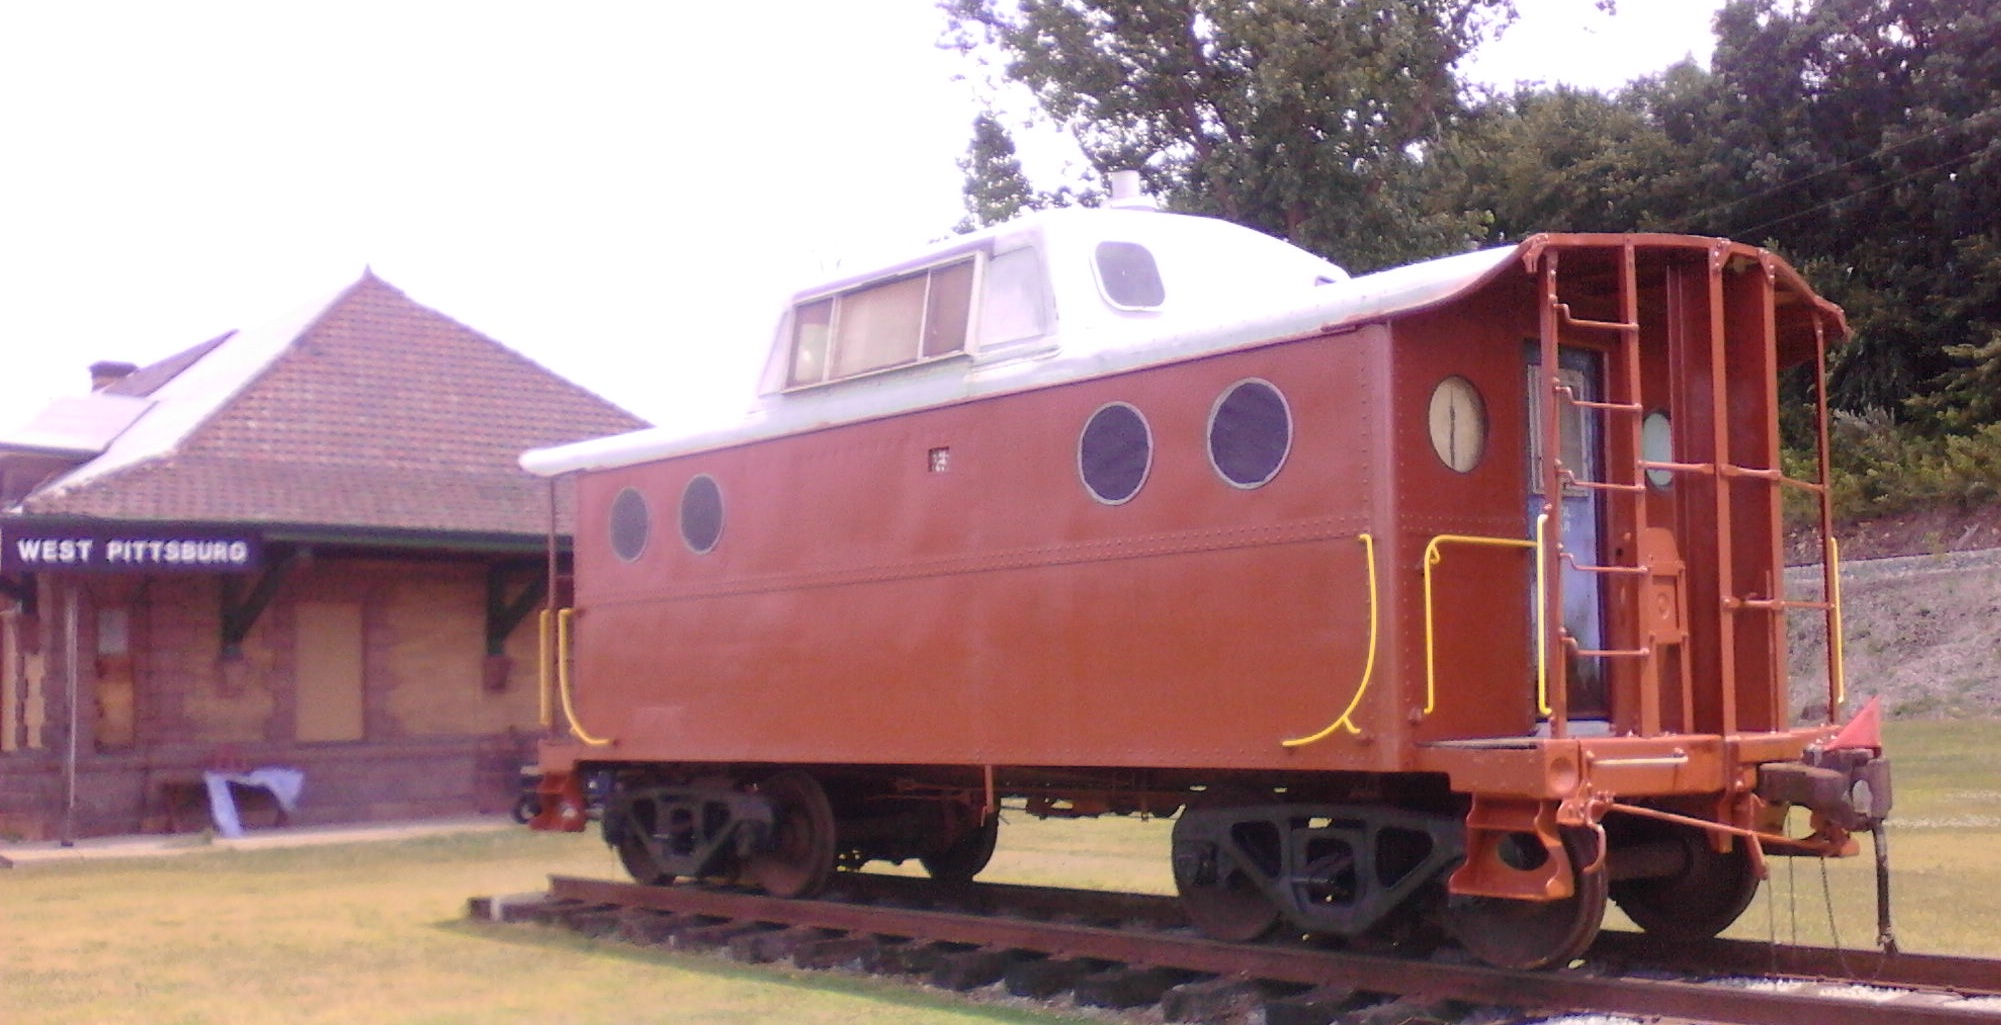
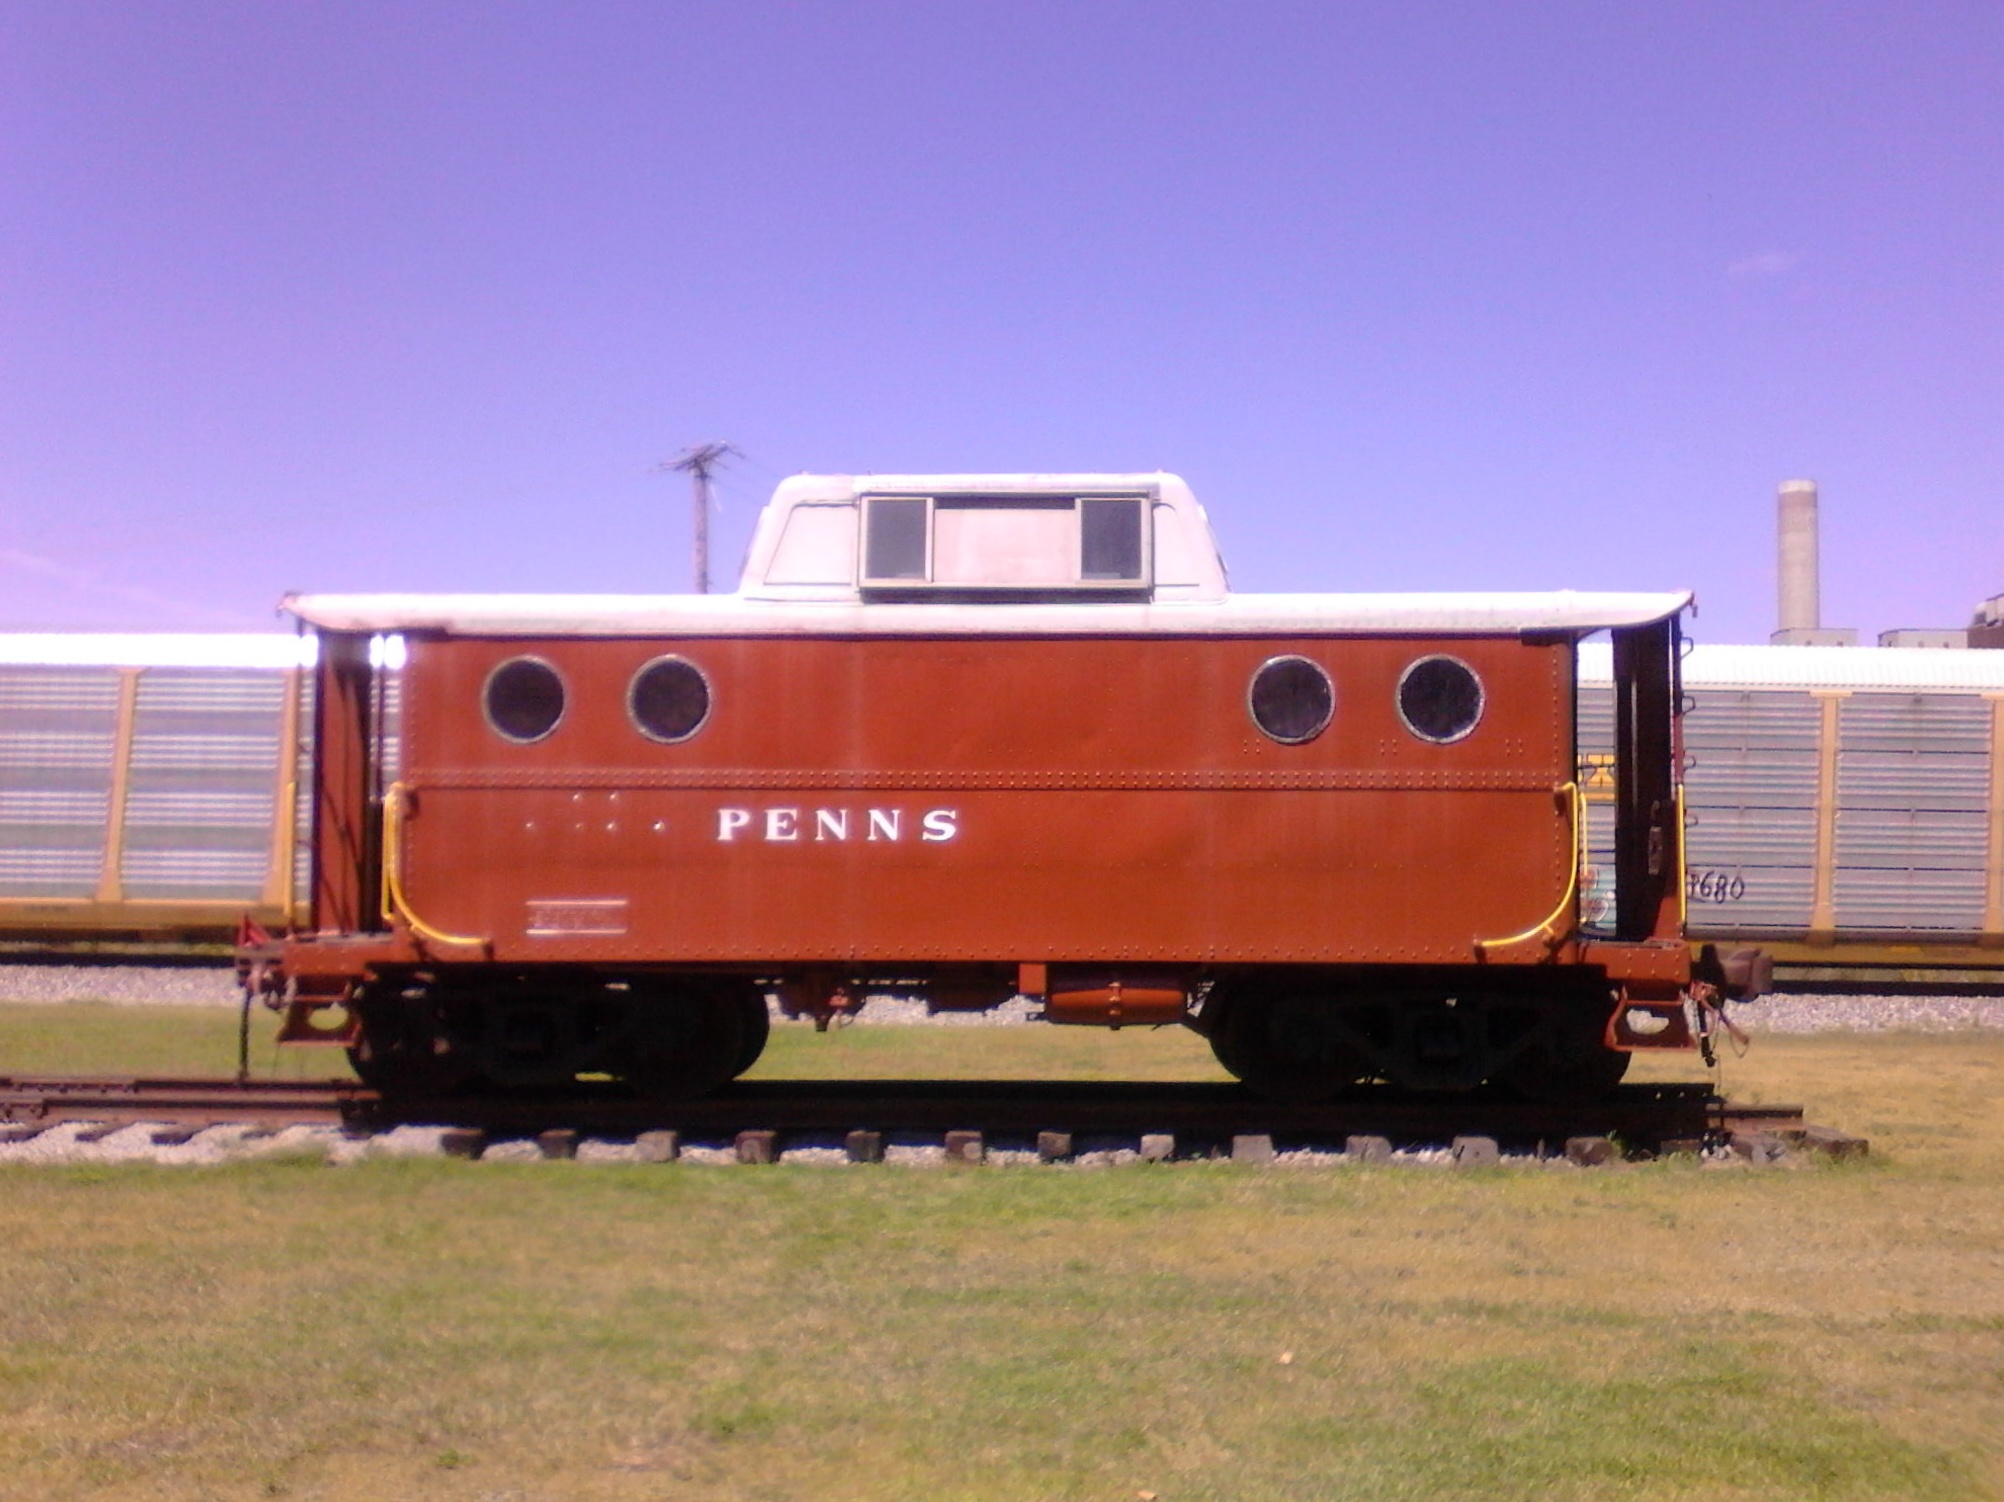
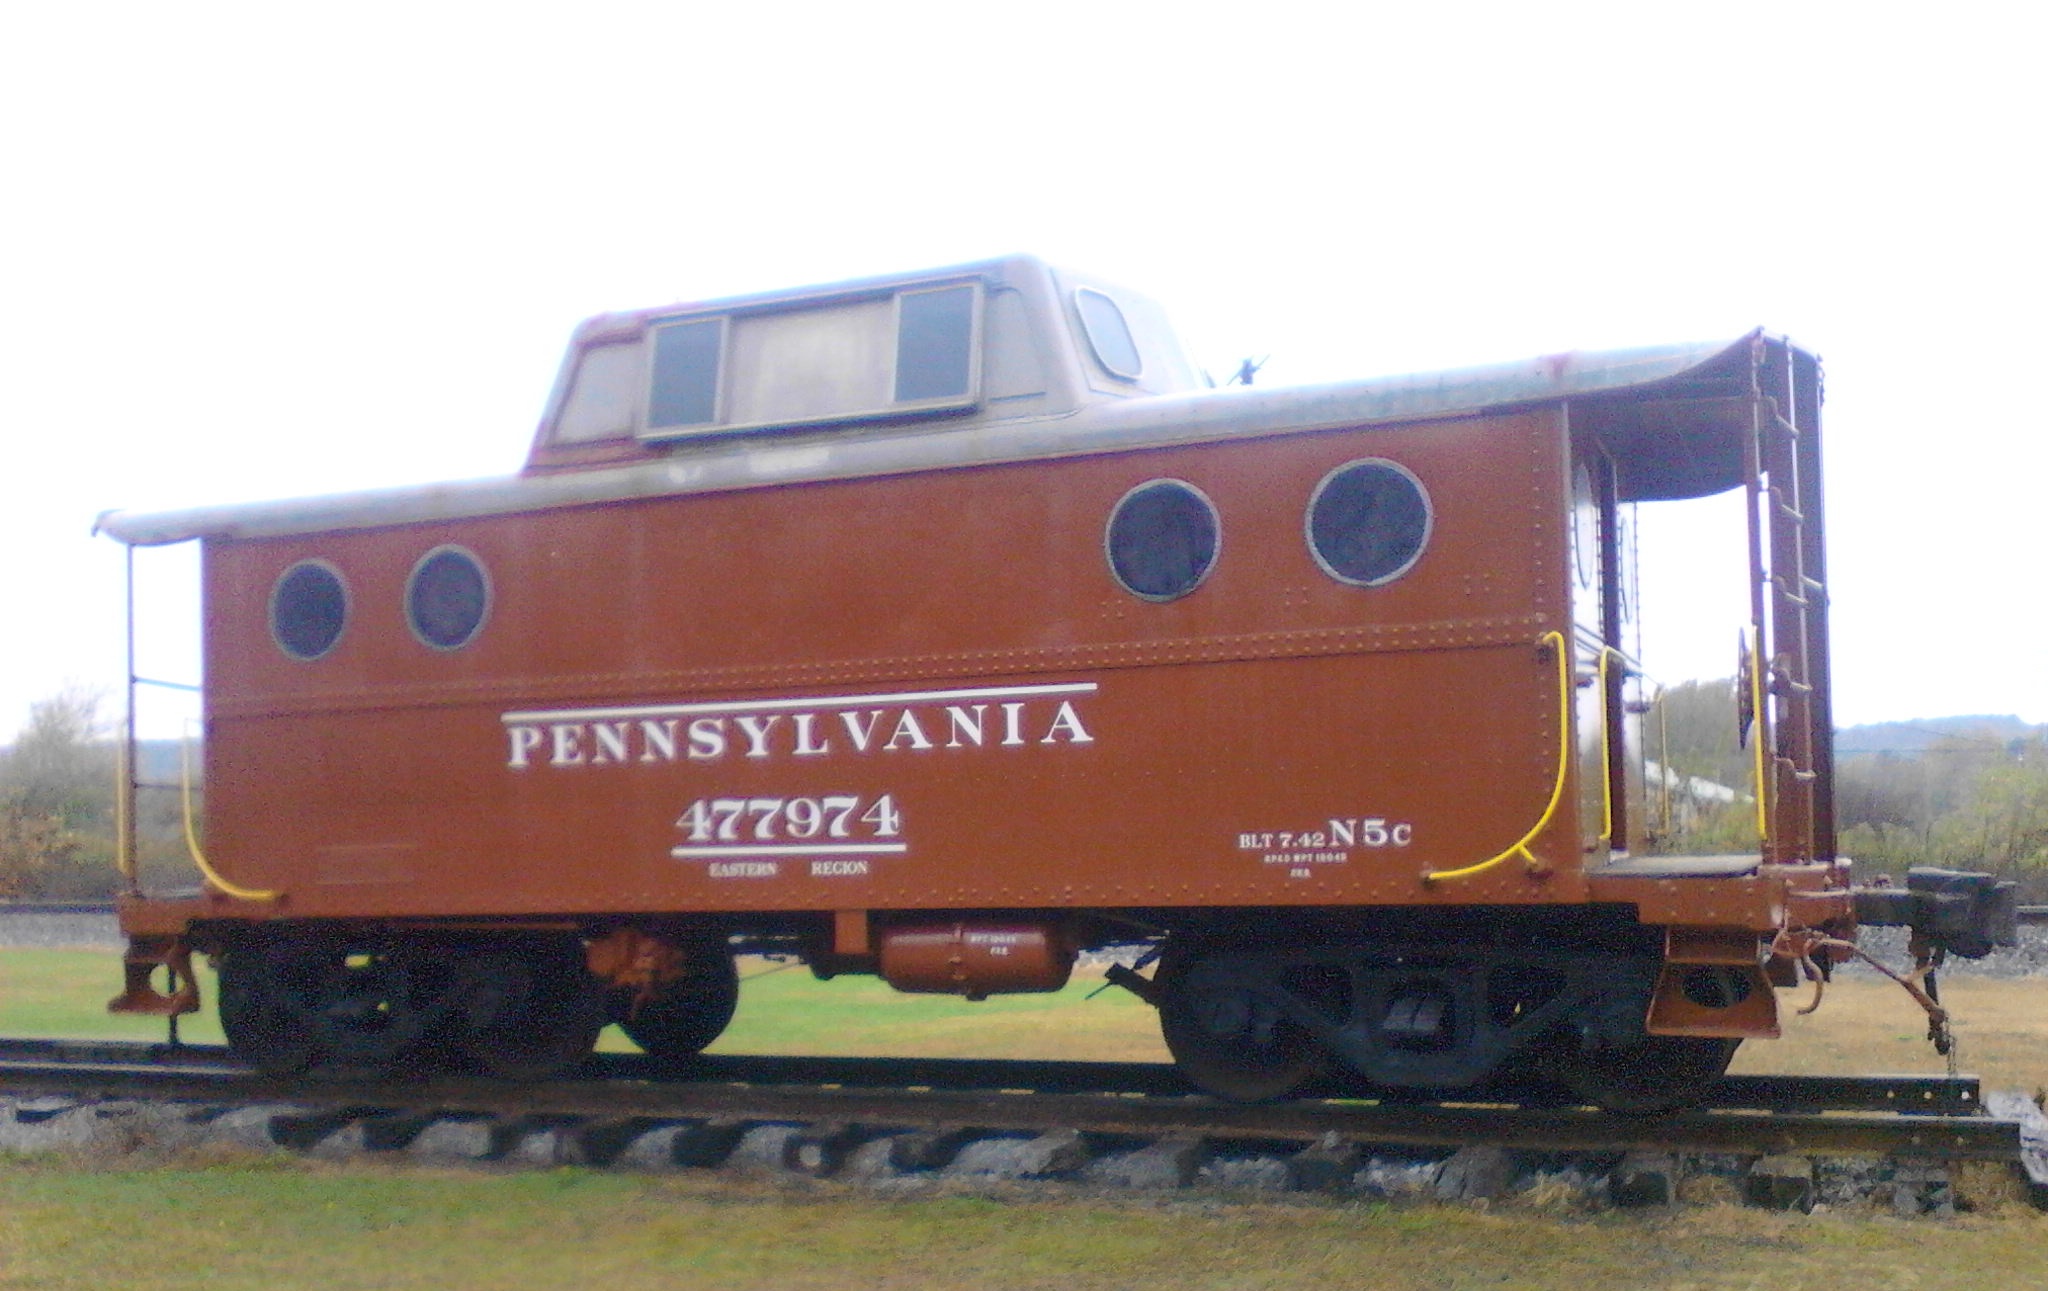
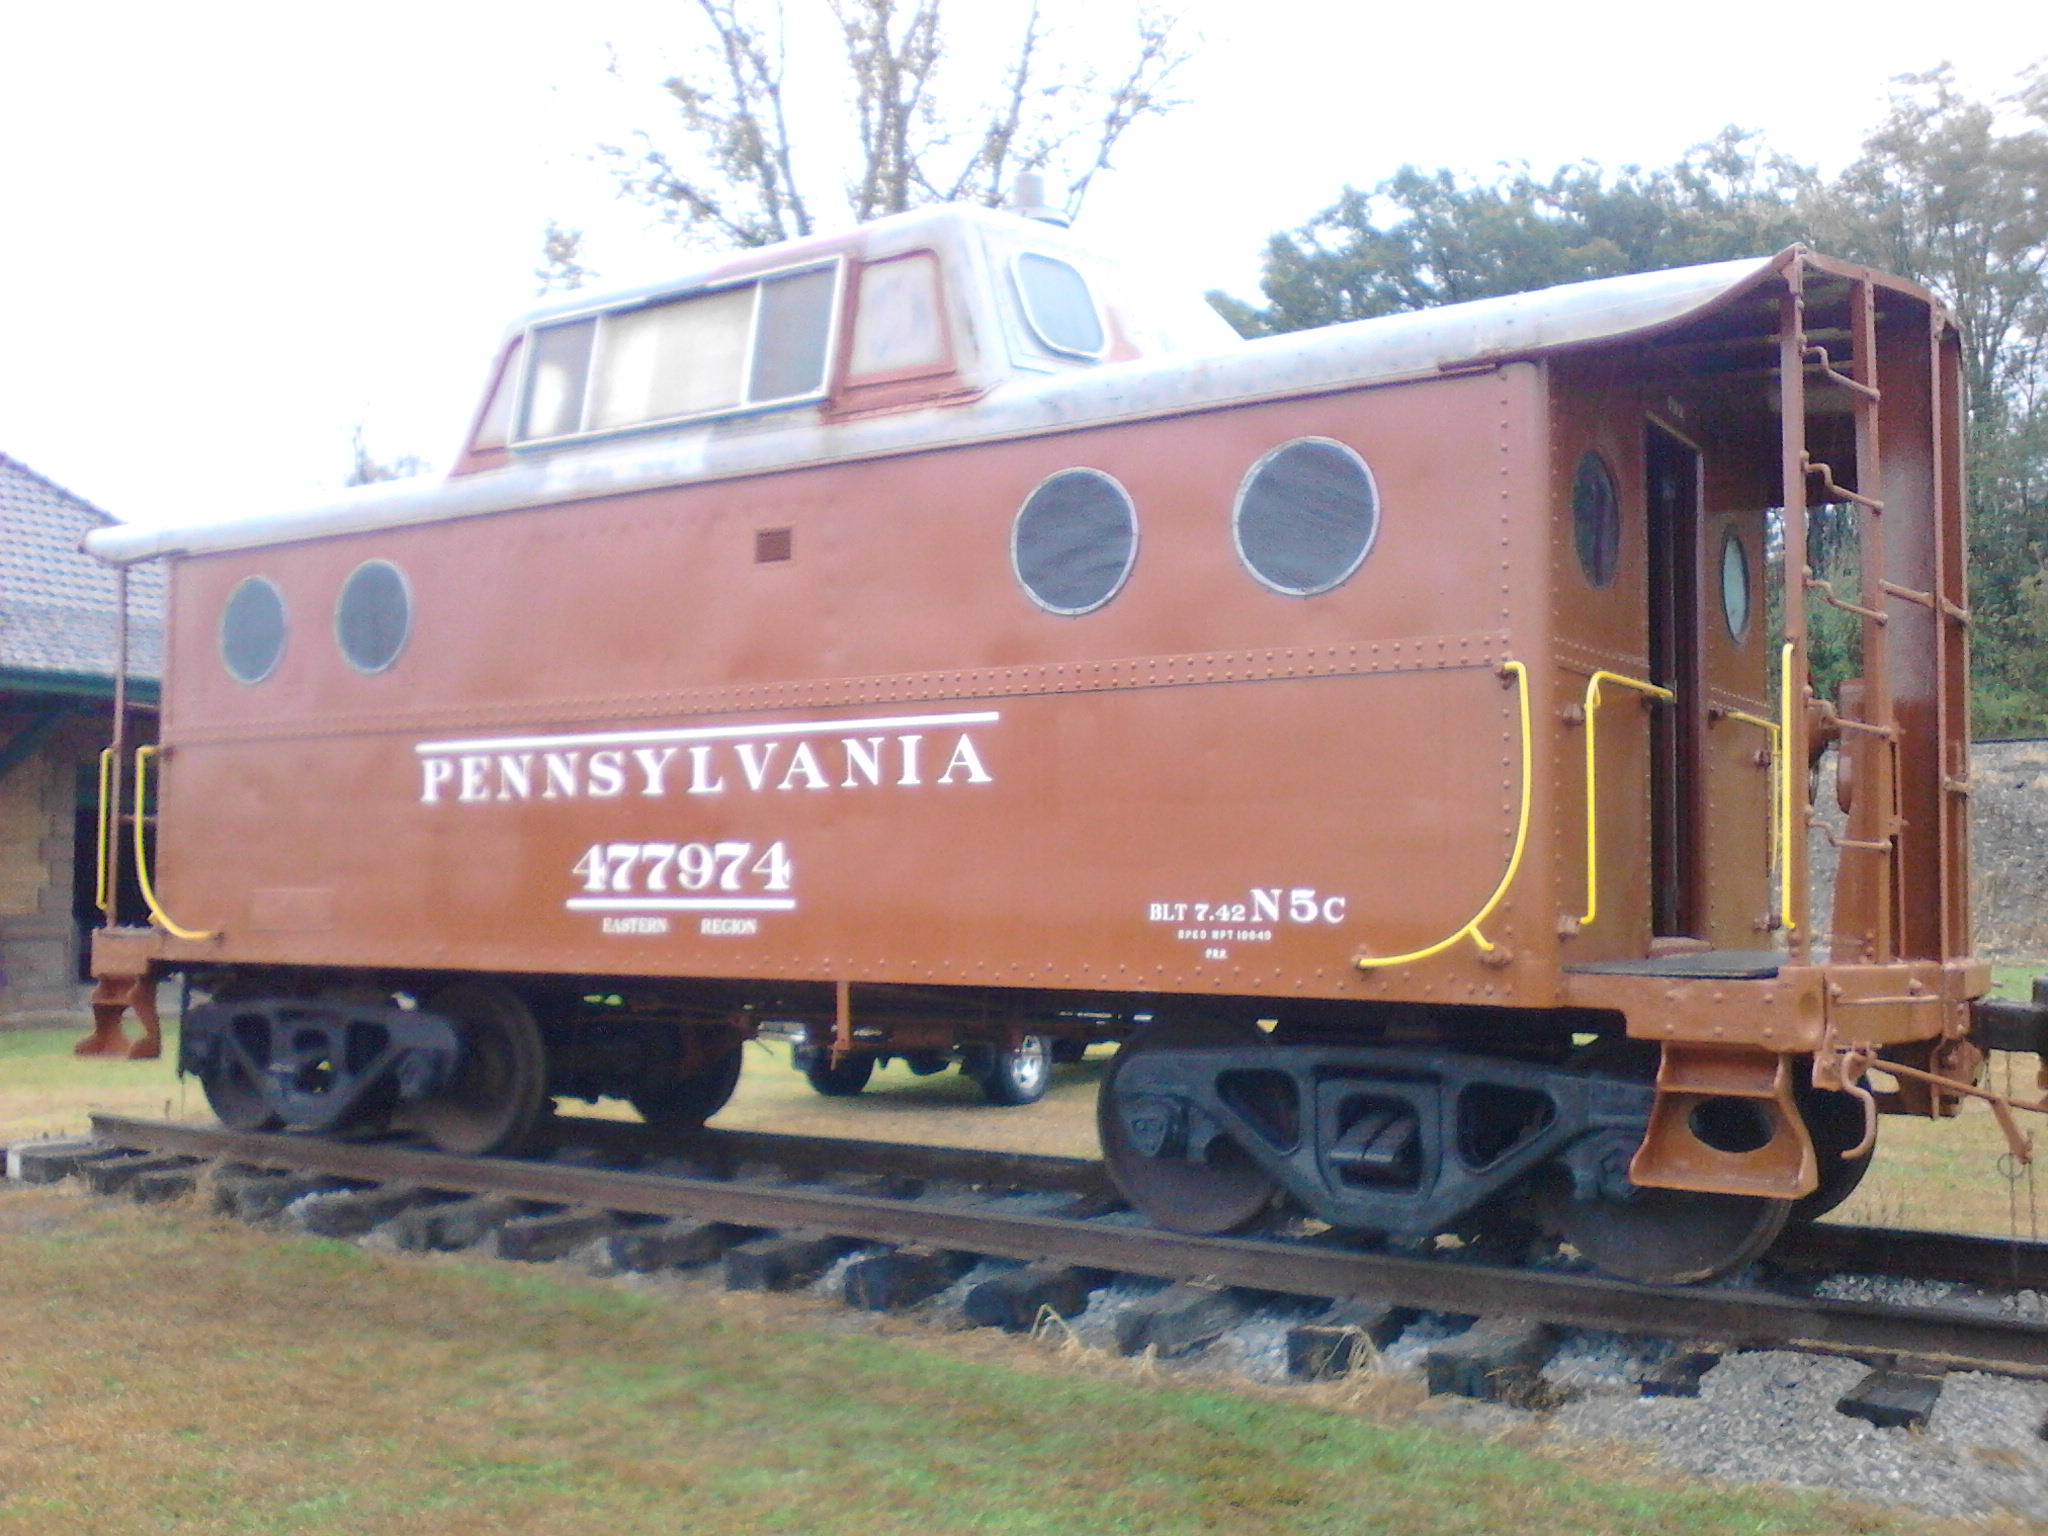
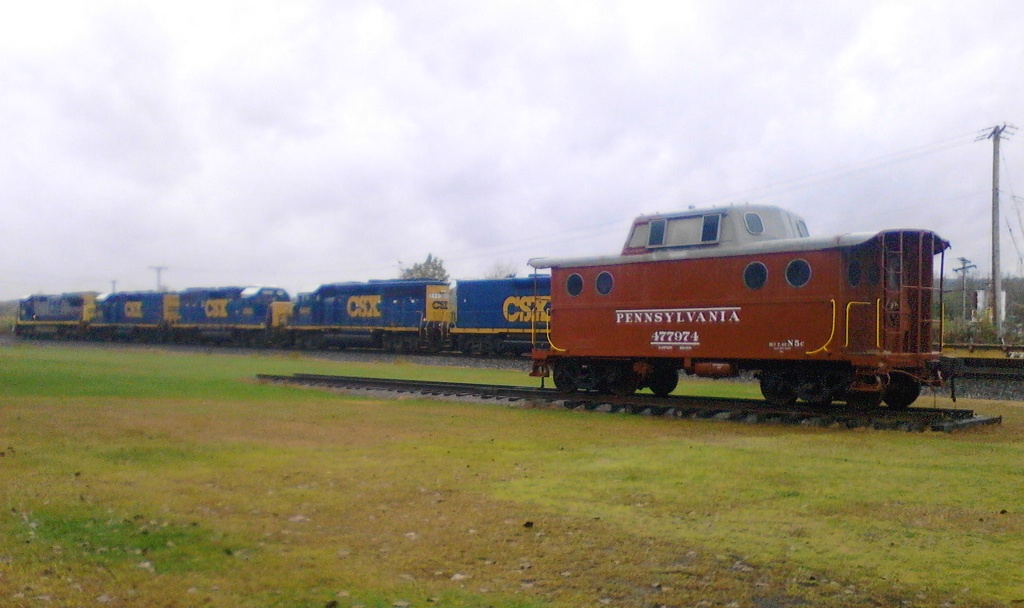
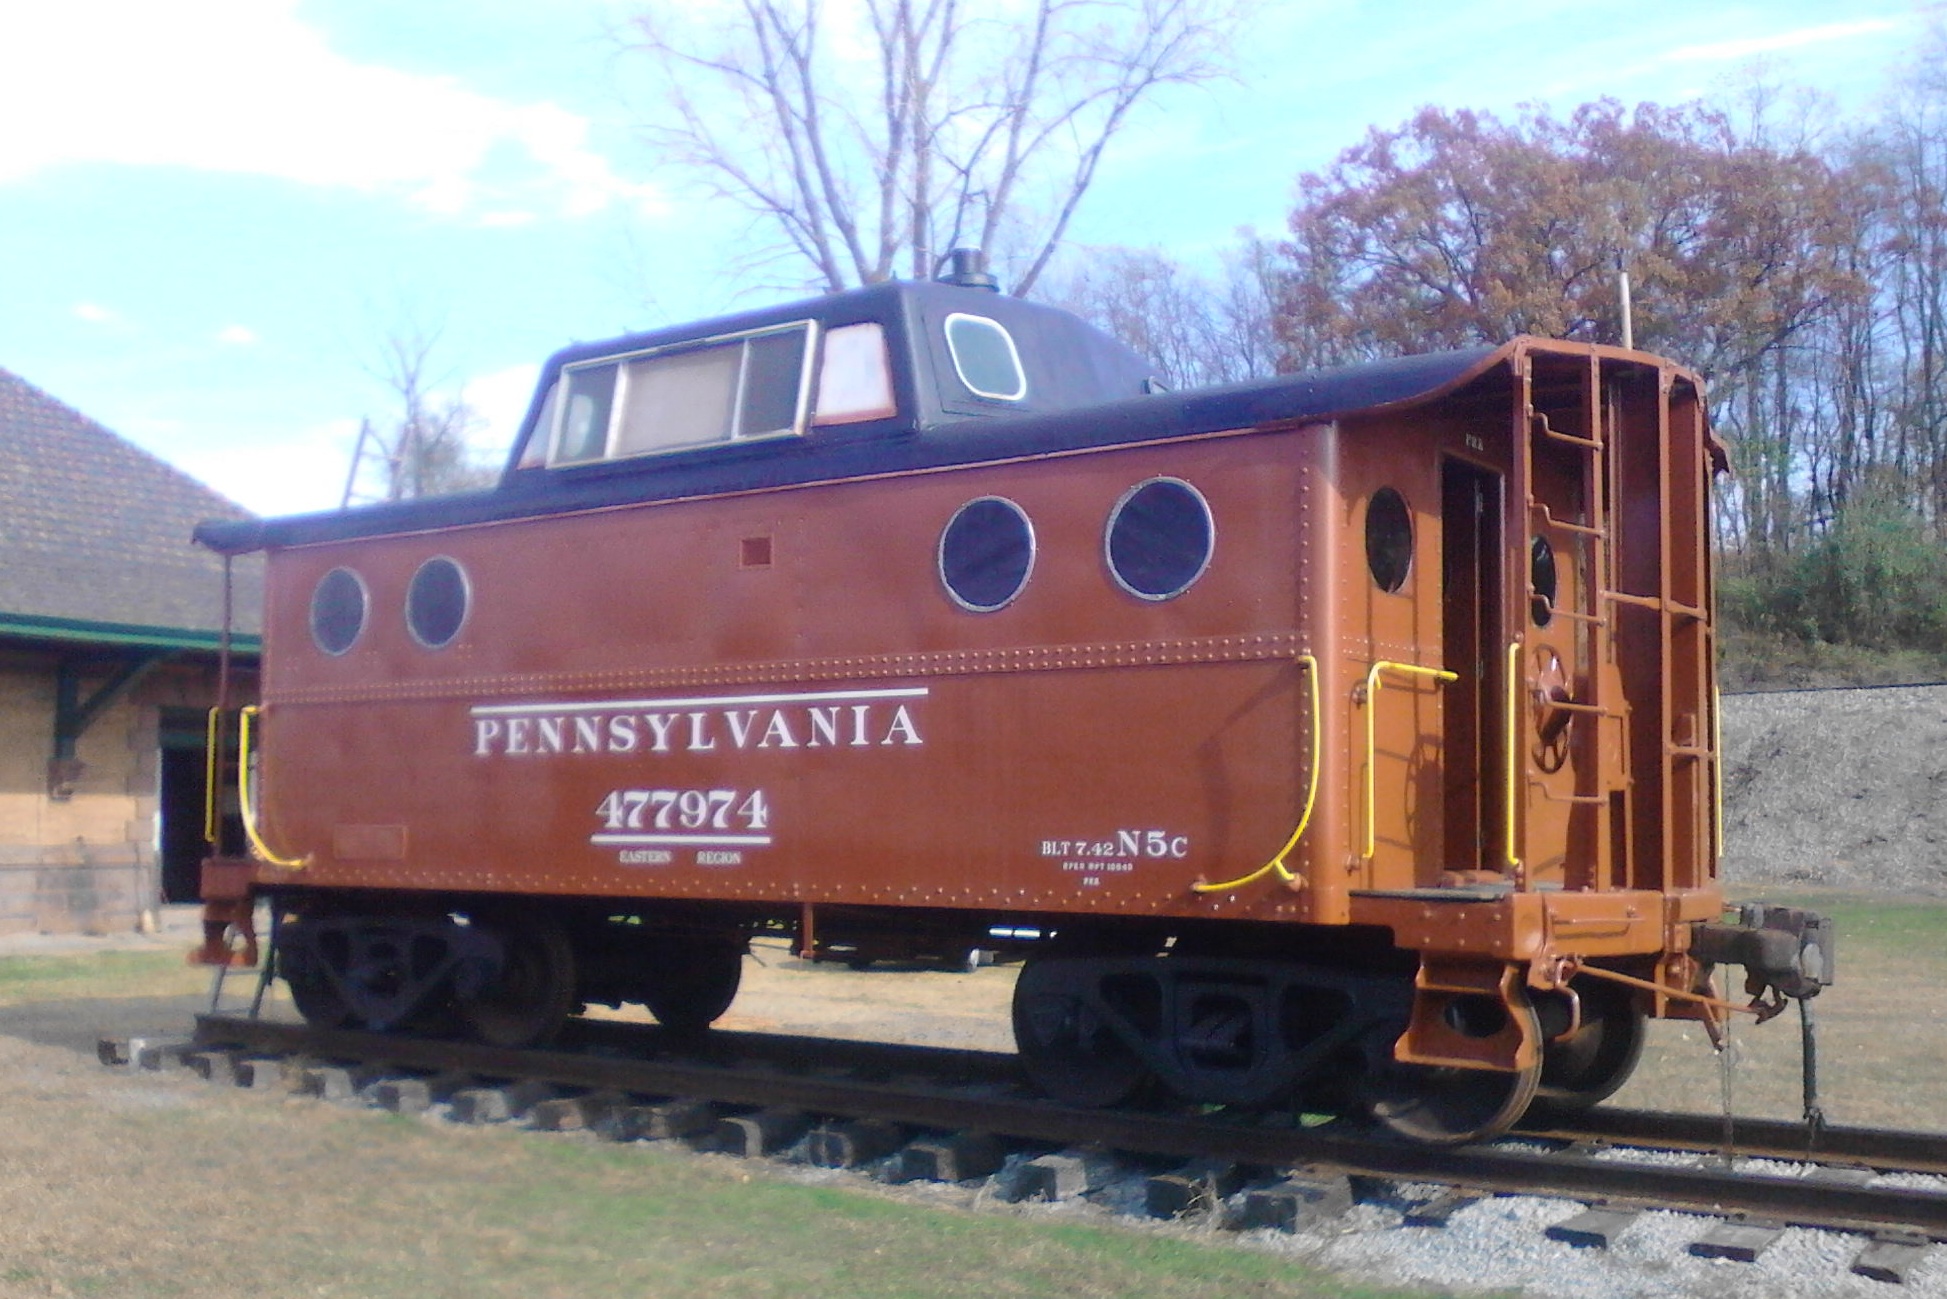
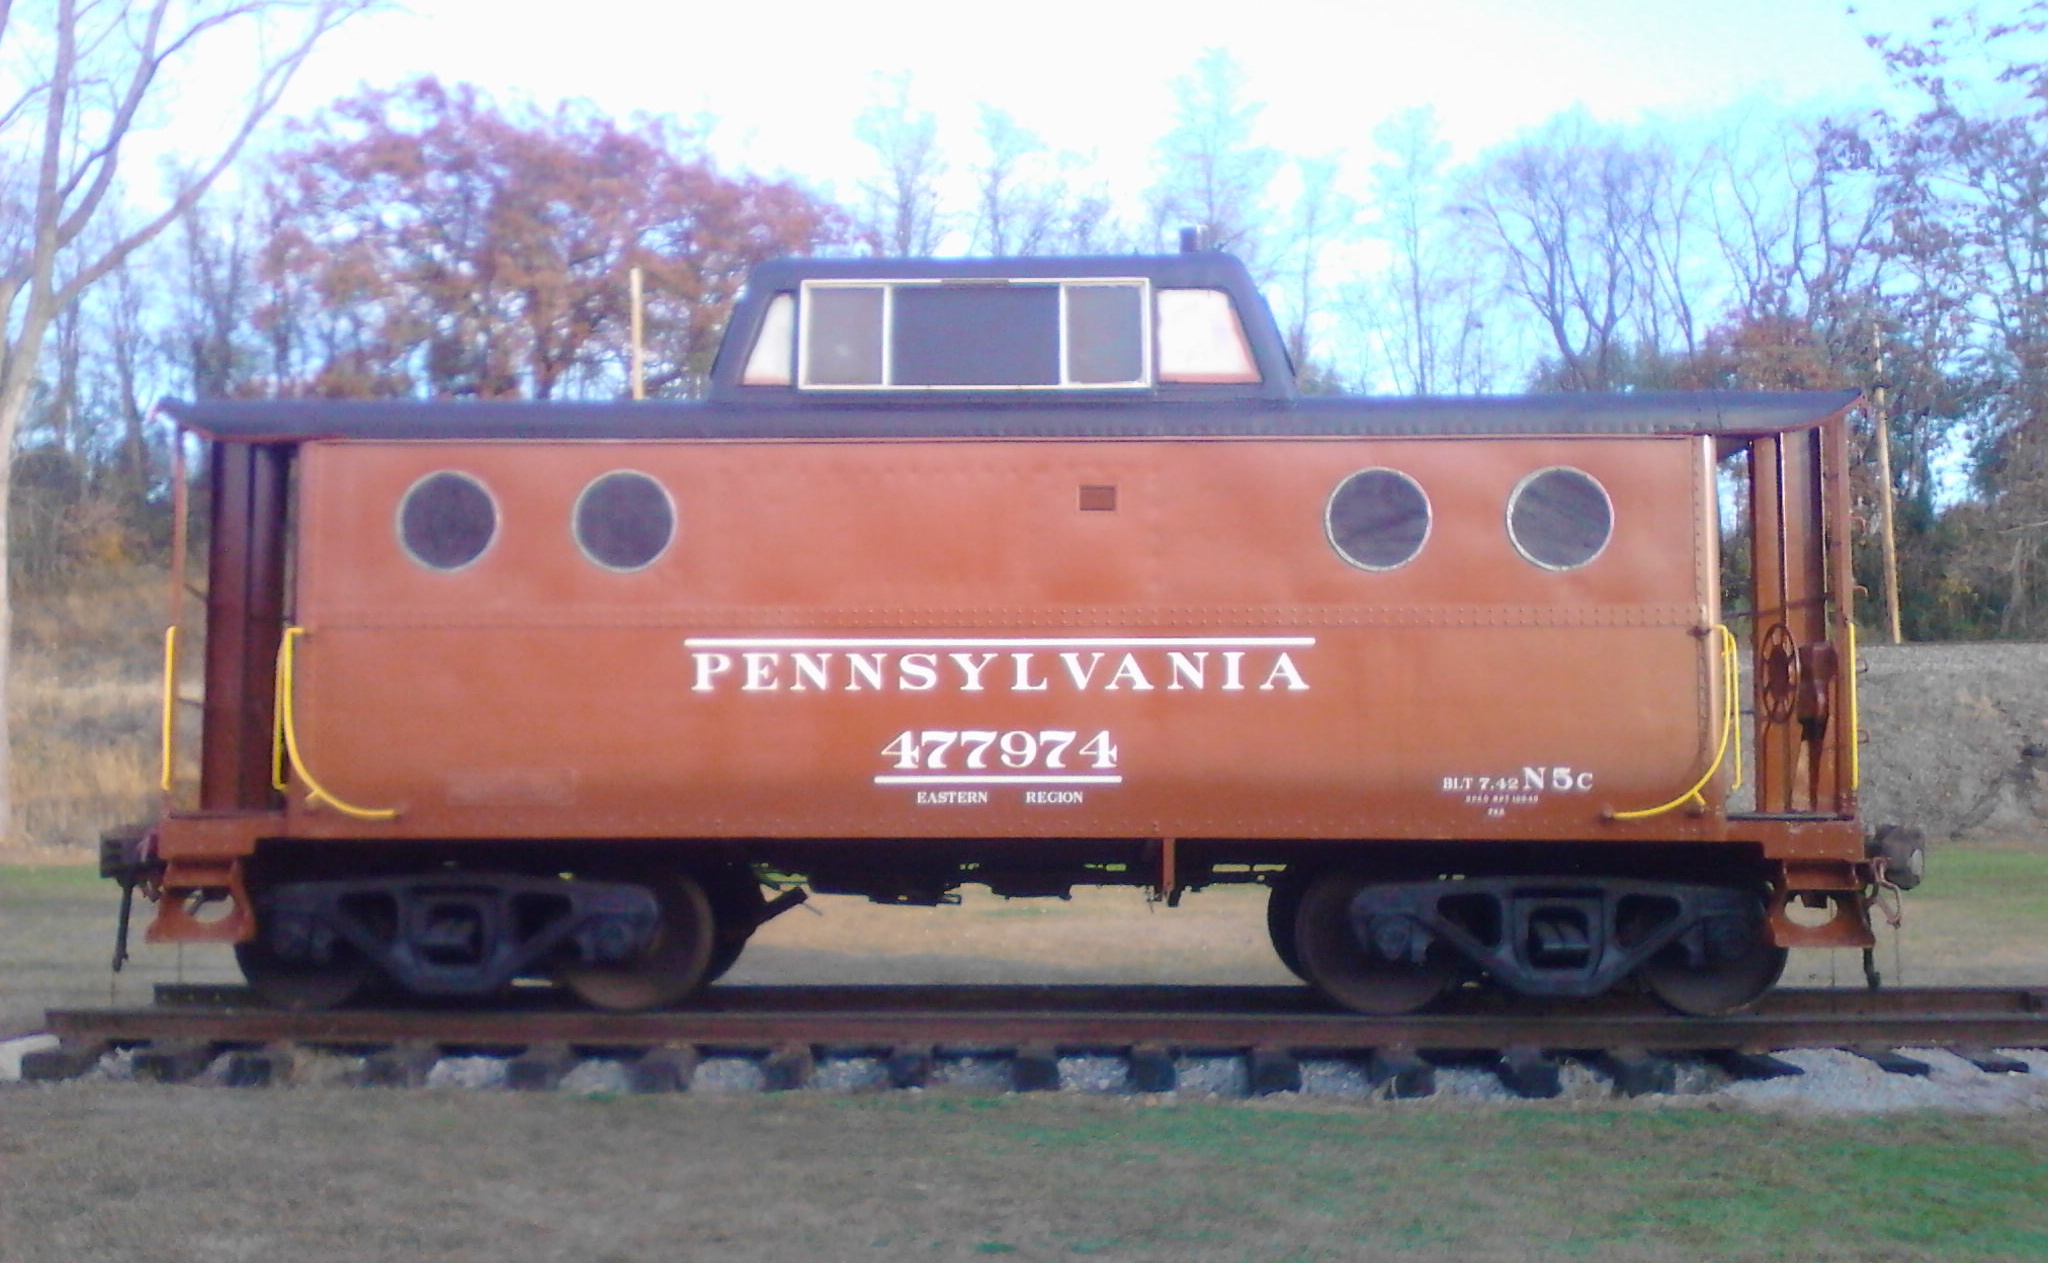
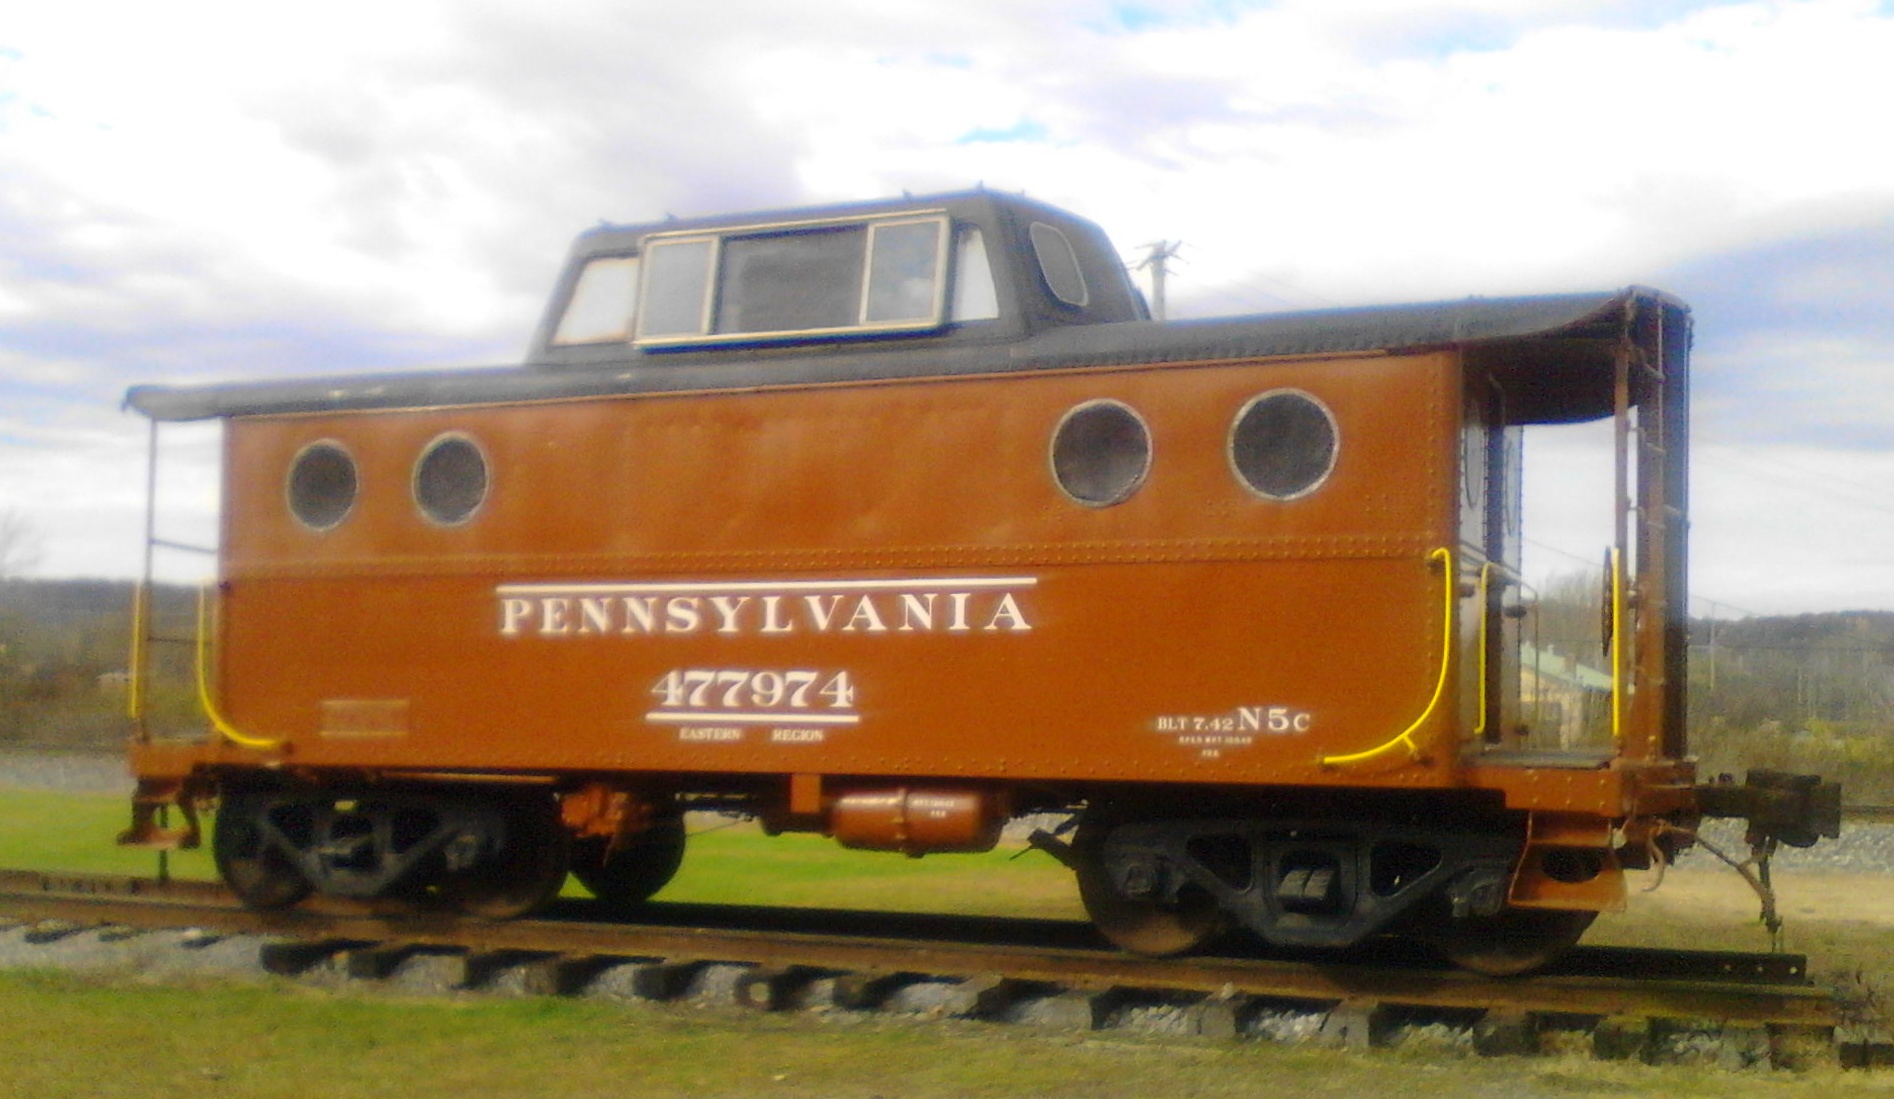
PRR N5C CABIN 477974 RESTORATION PAGE
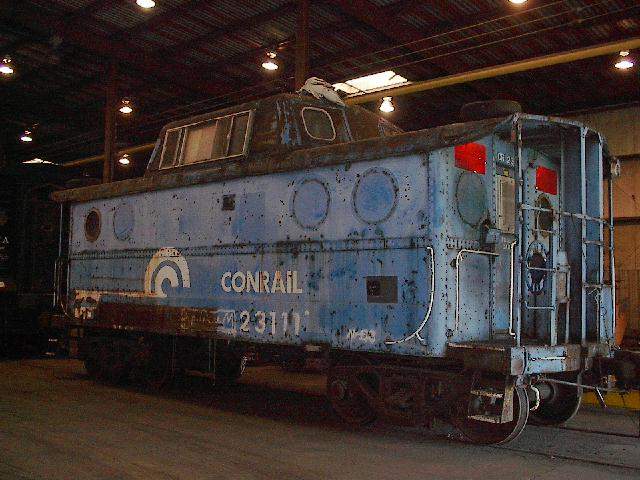
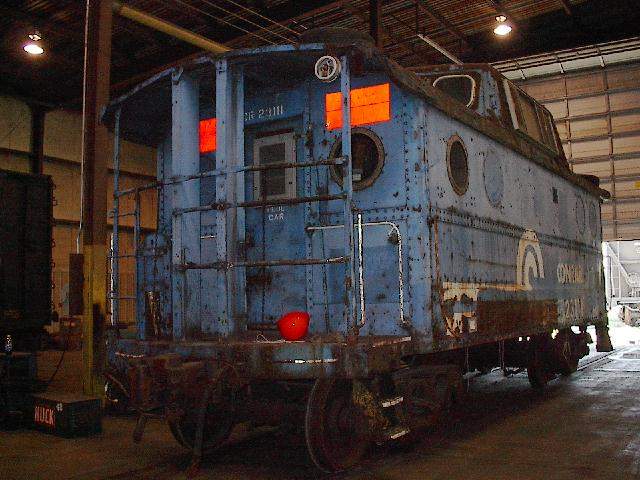
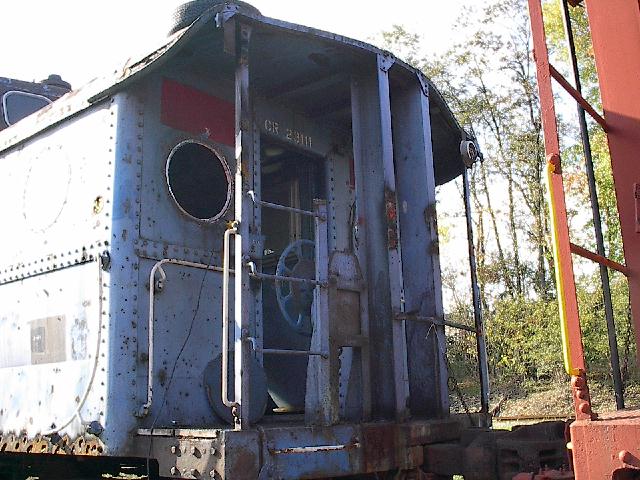
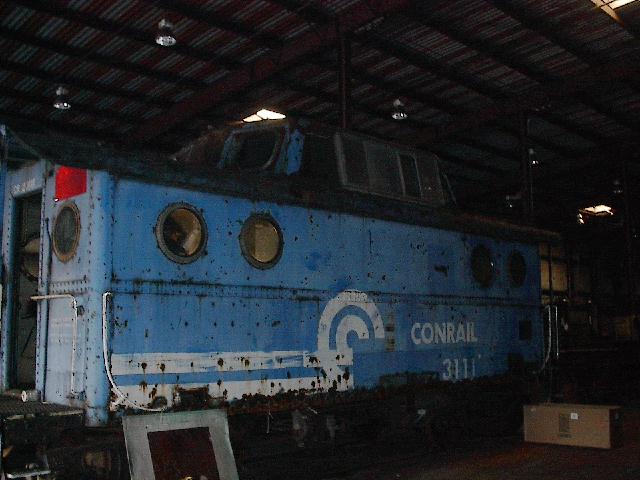
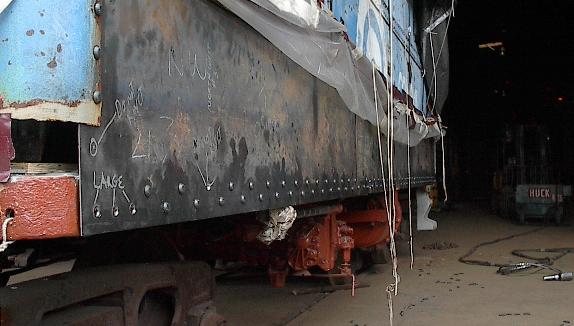
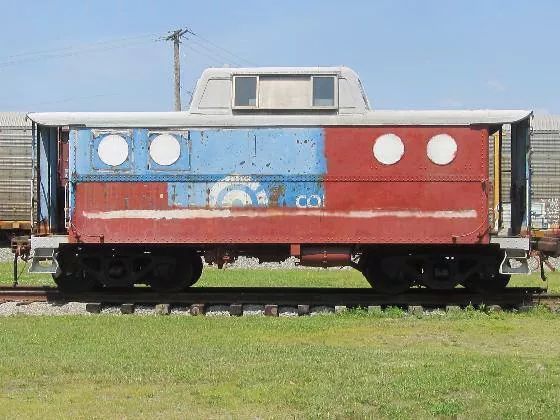
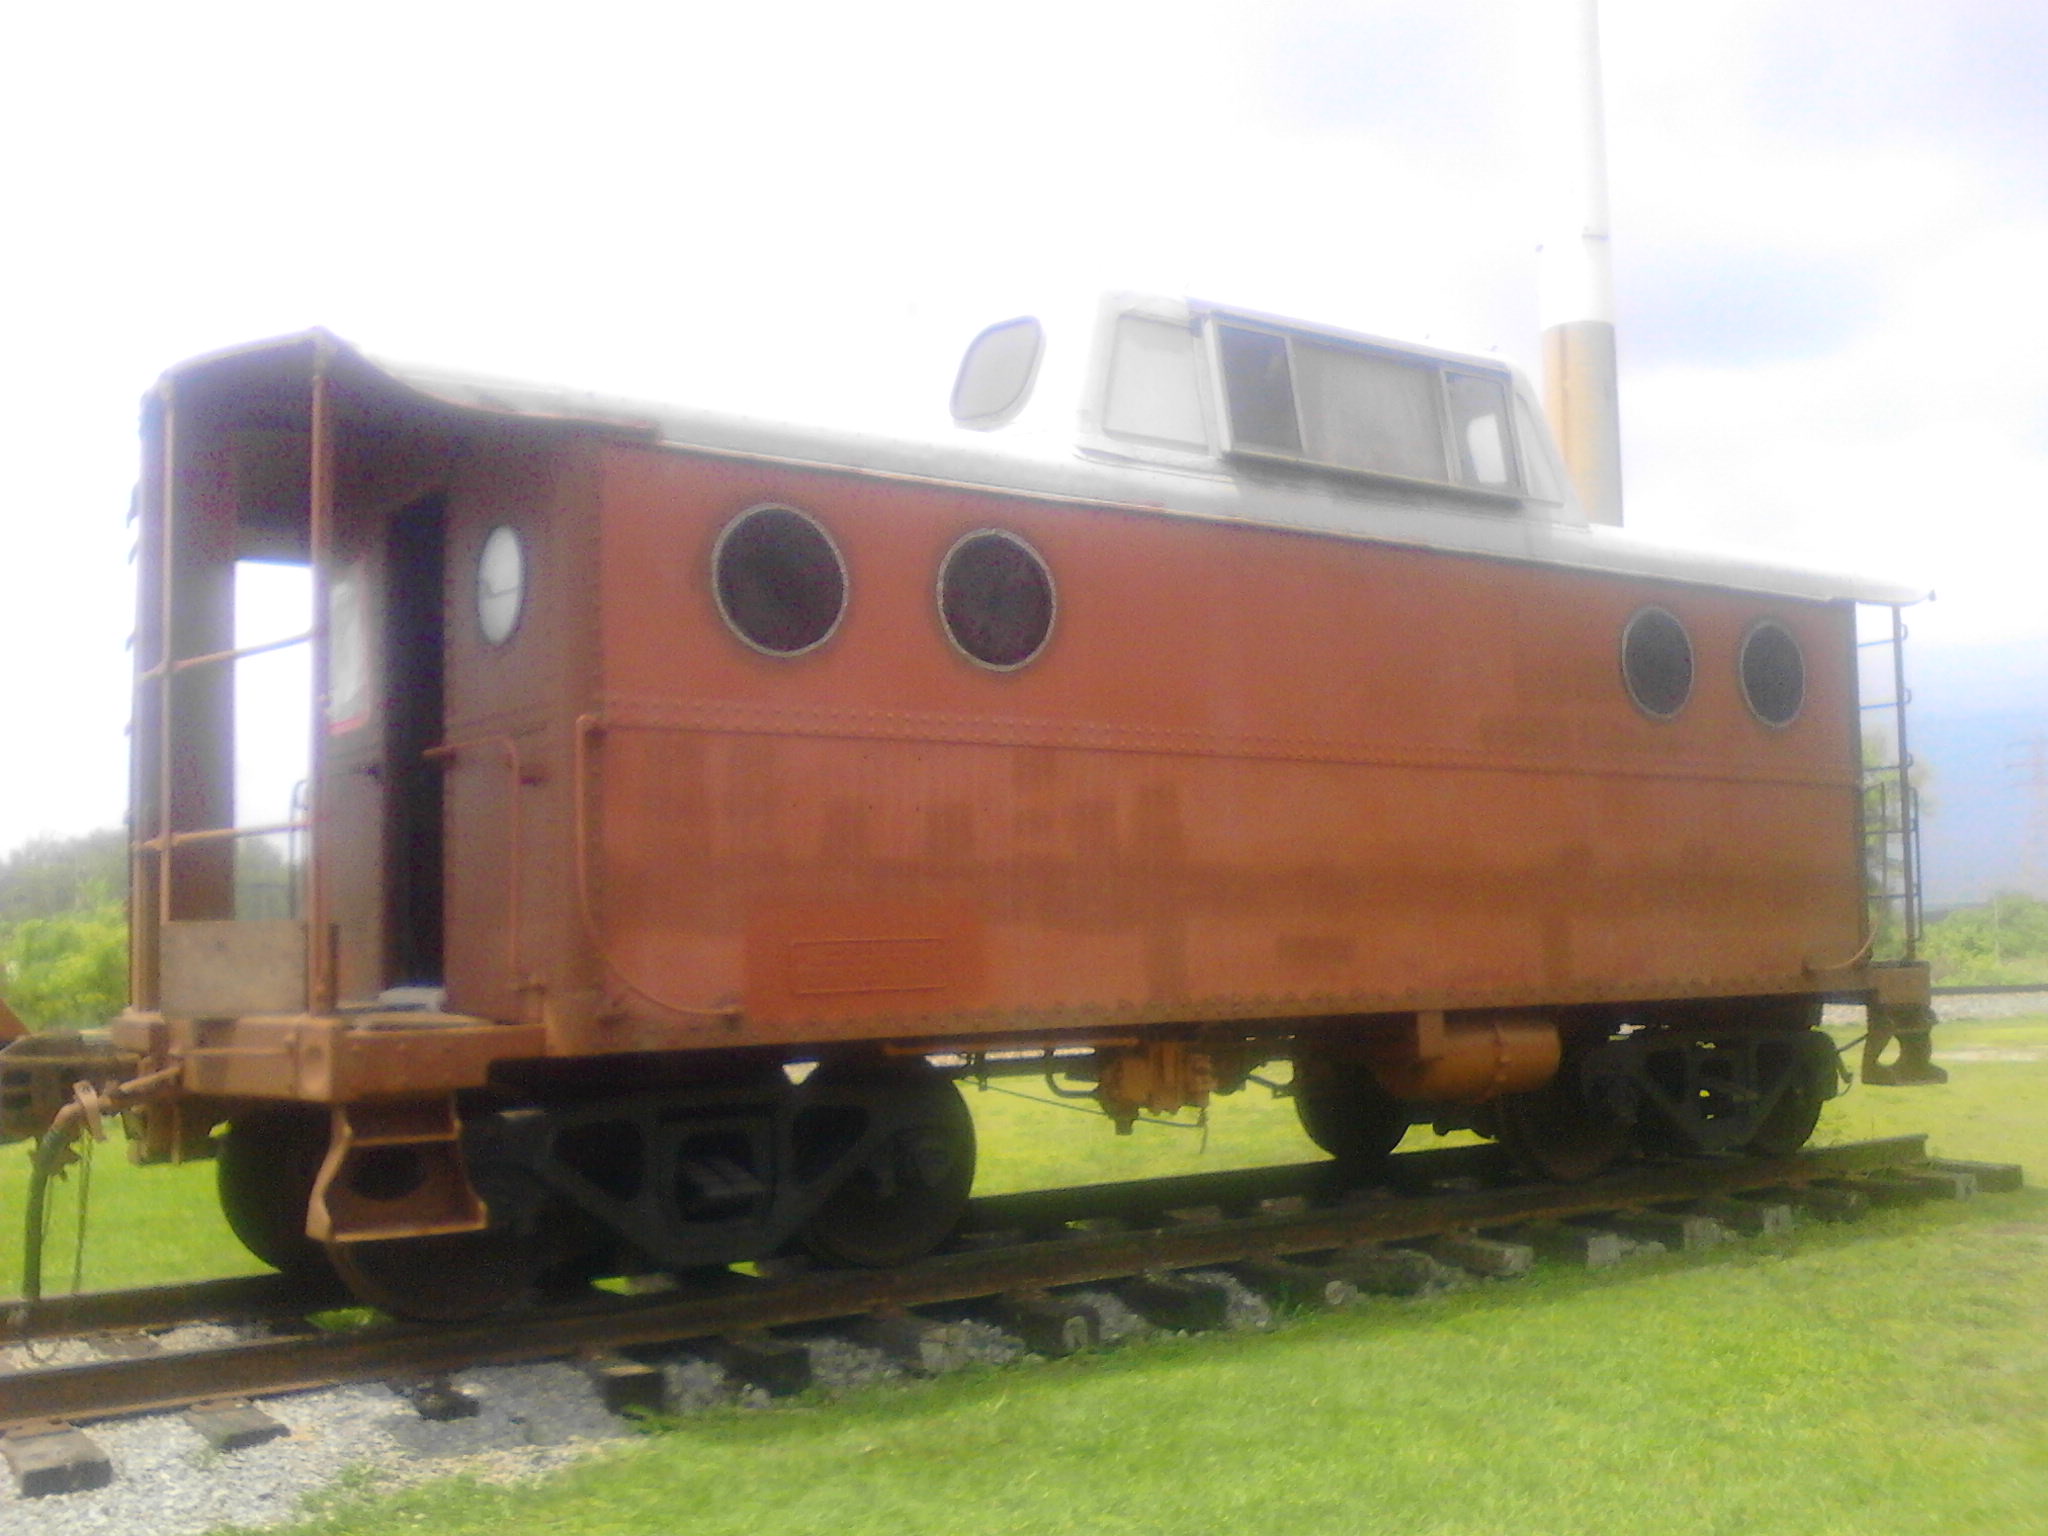
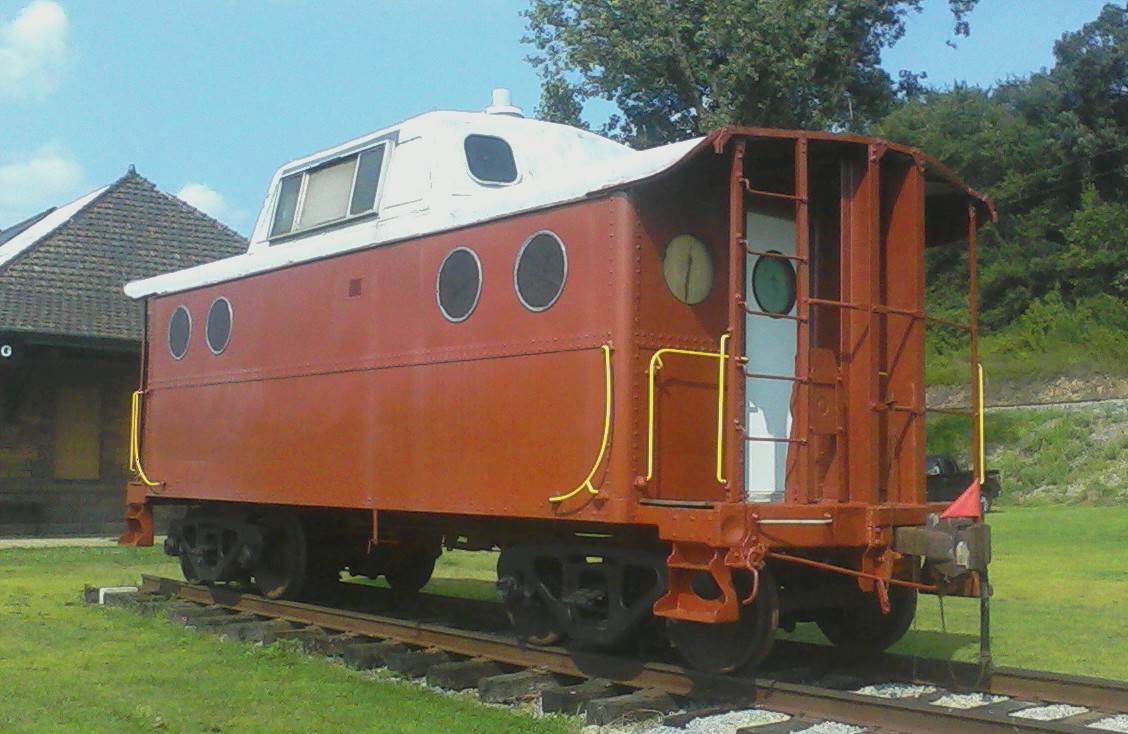
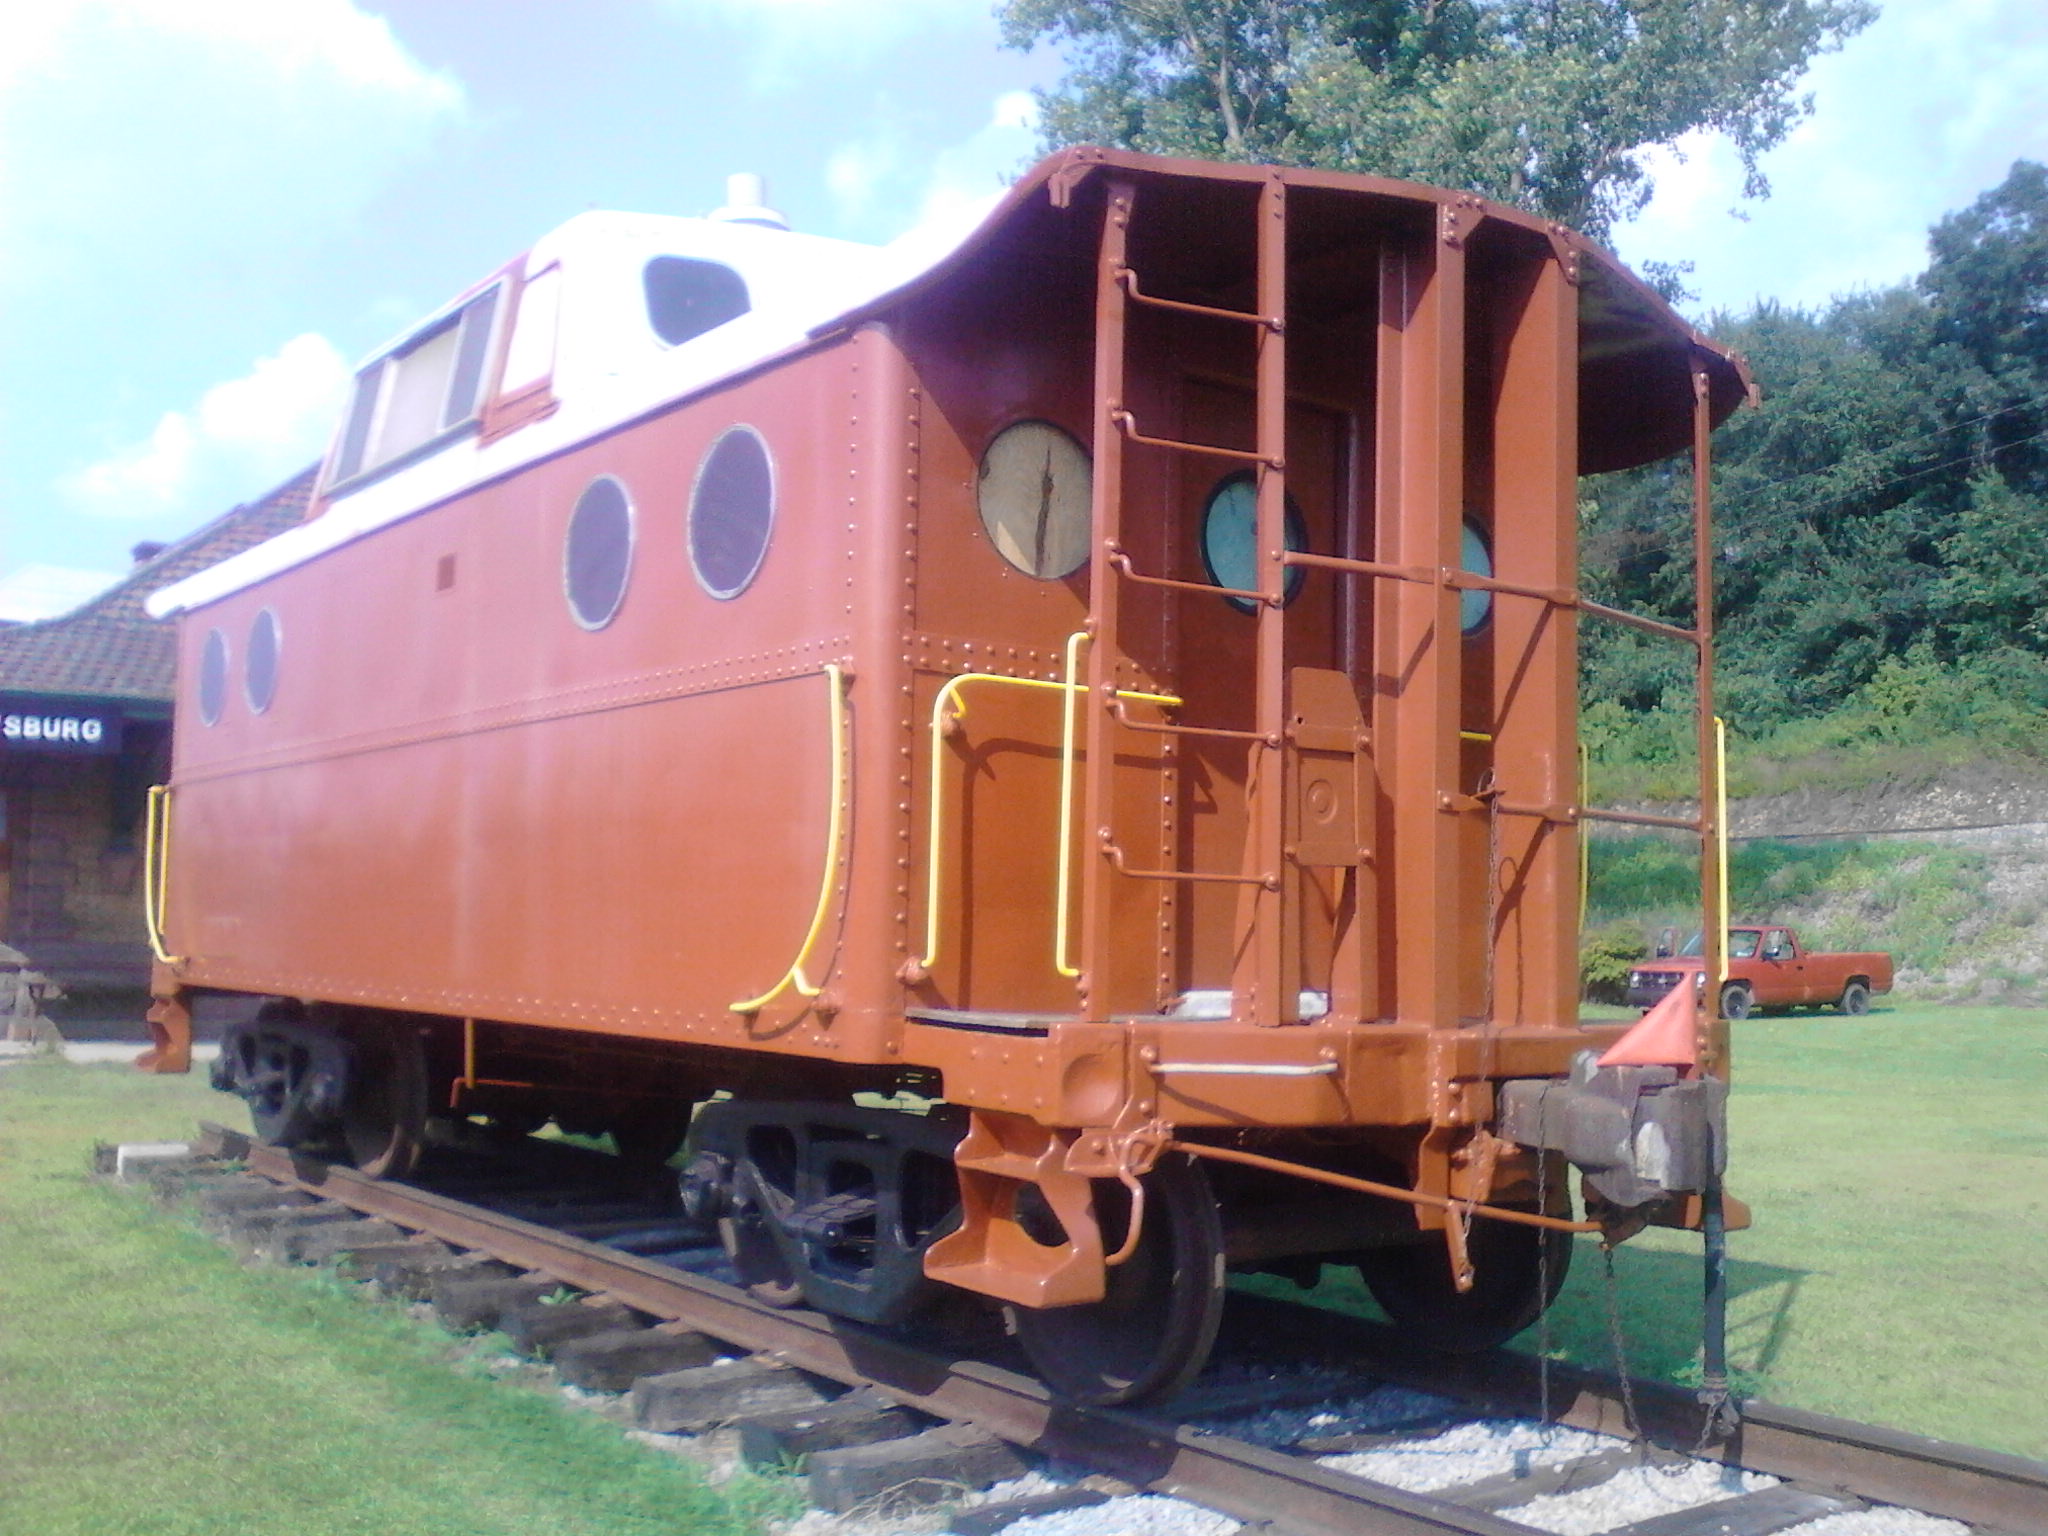
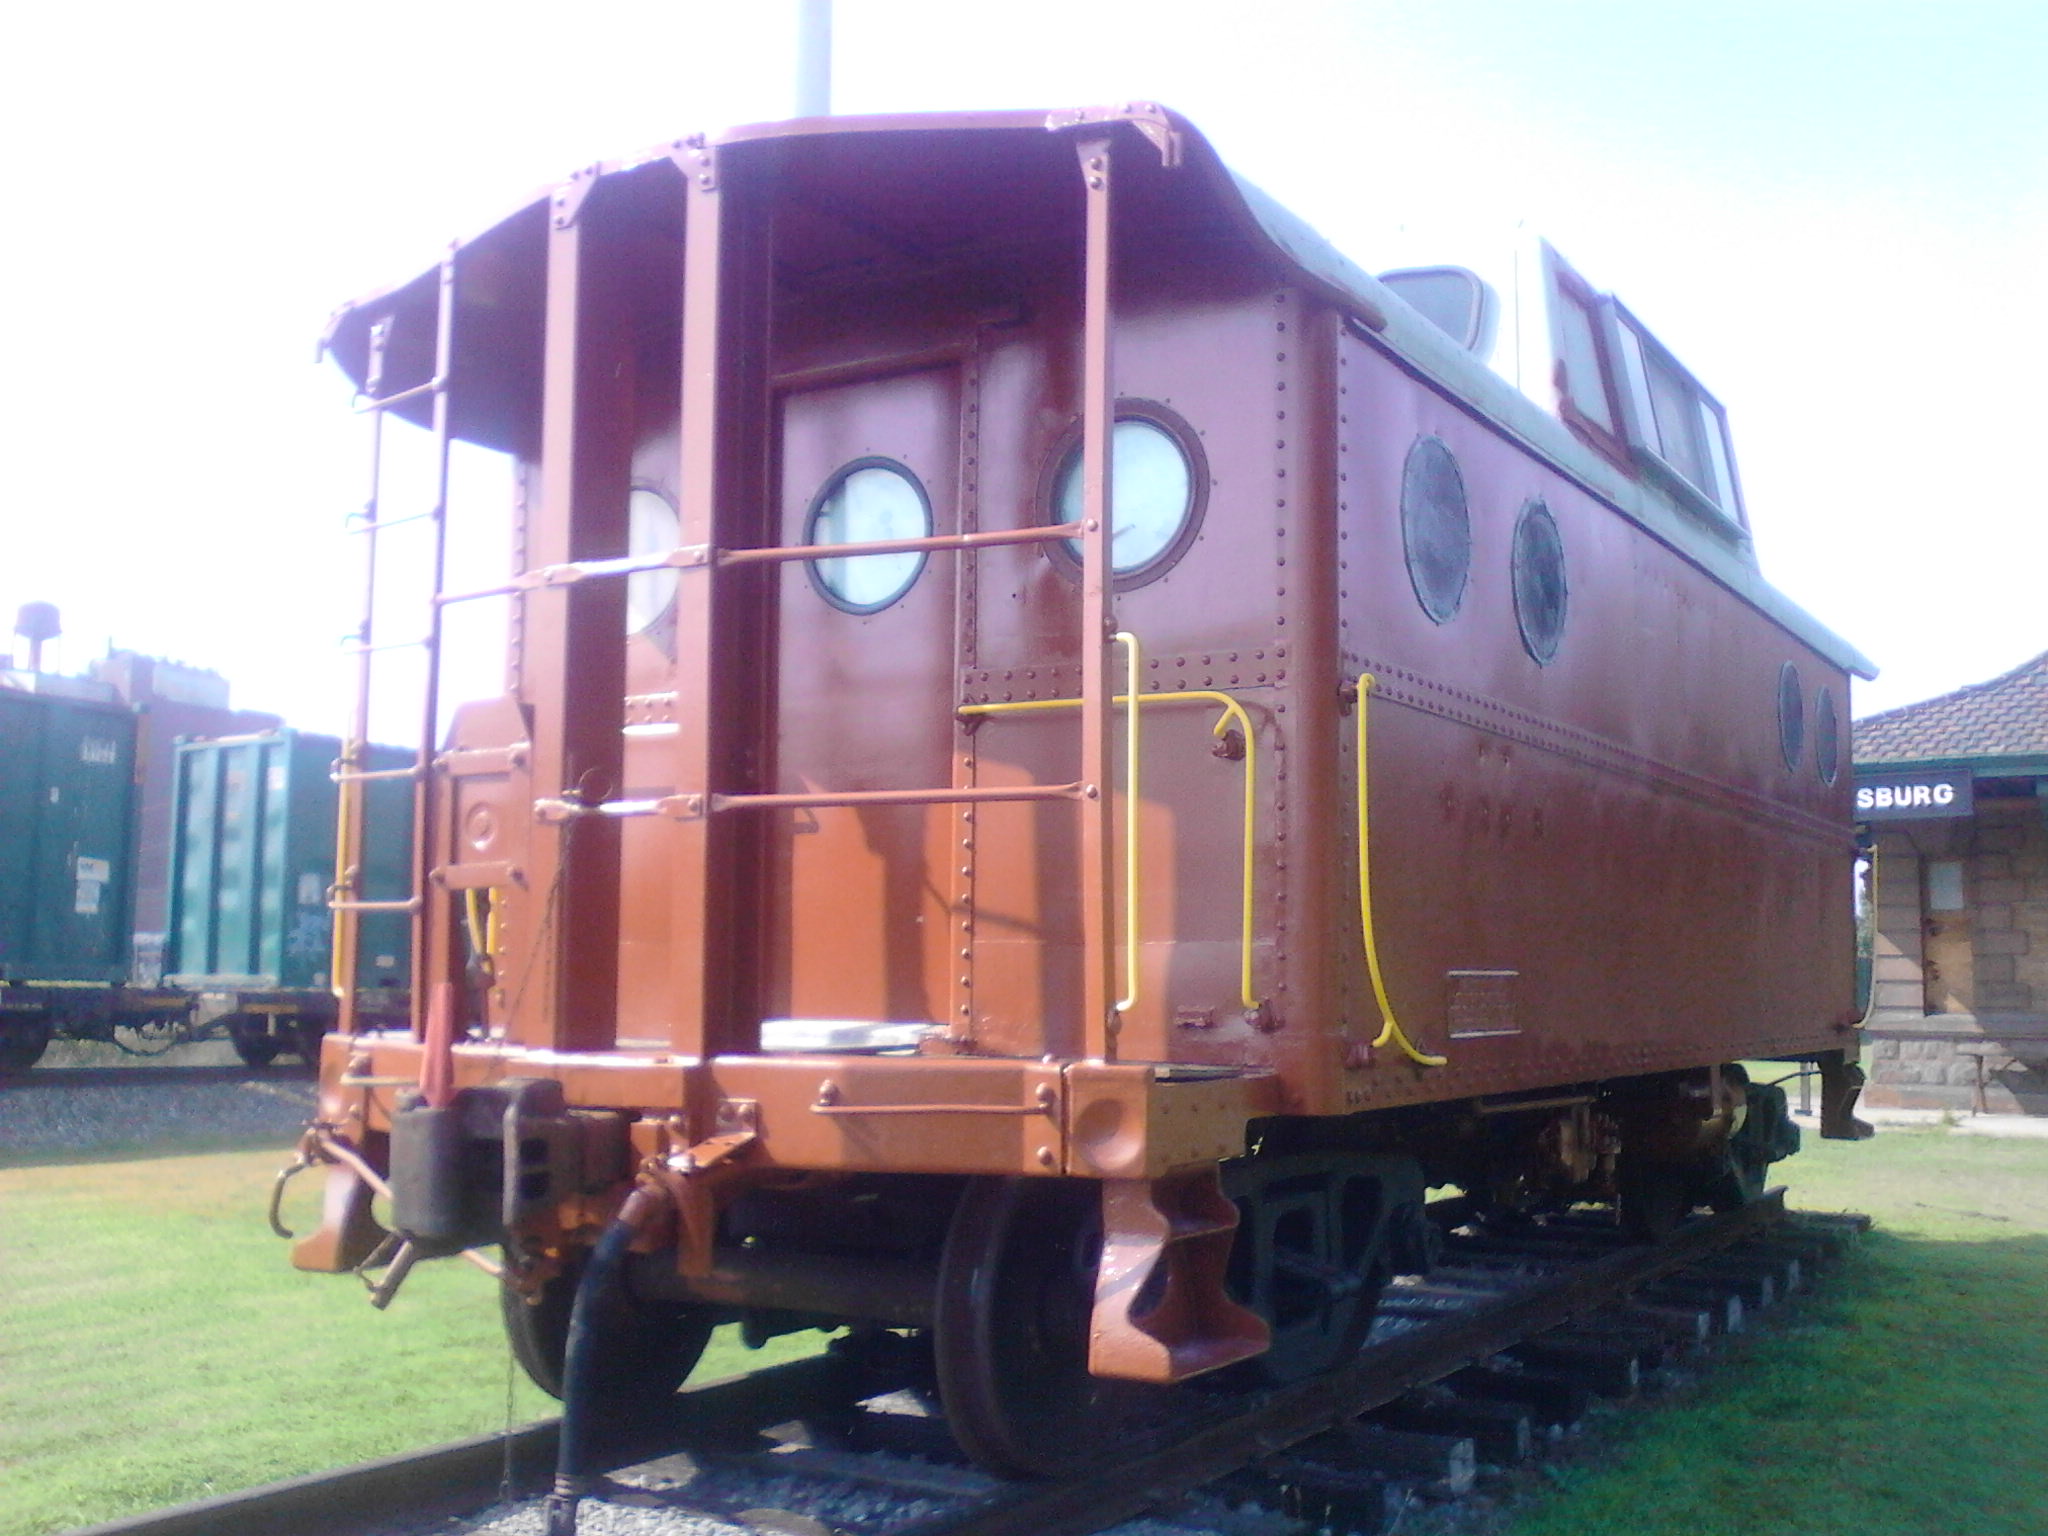
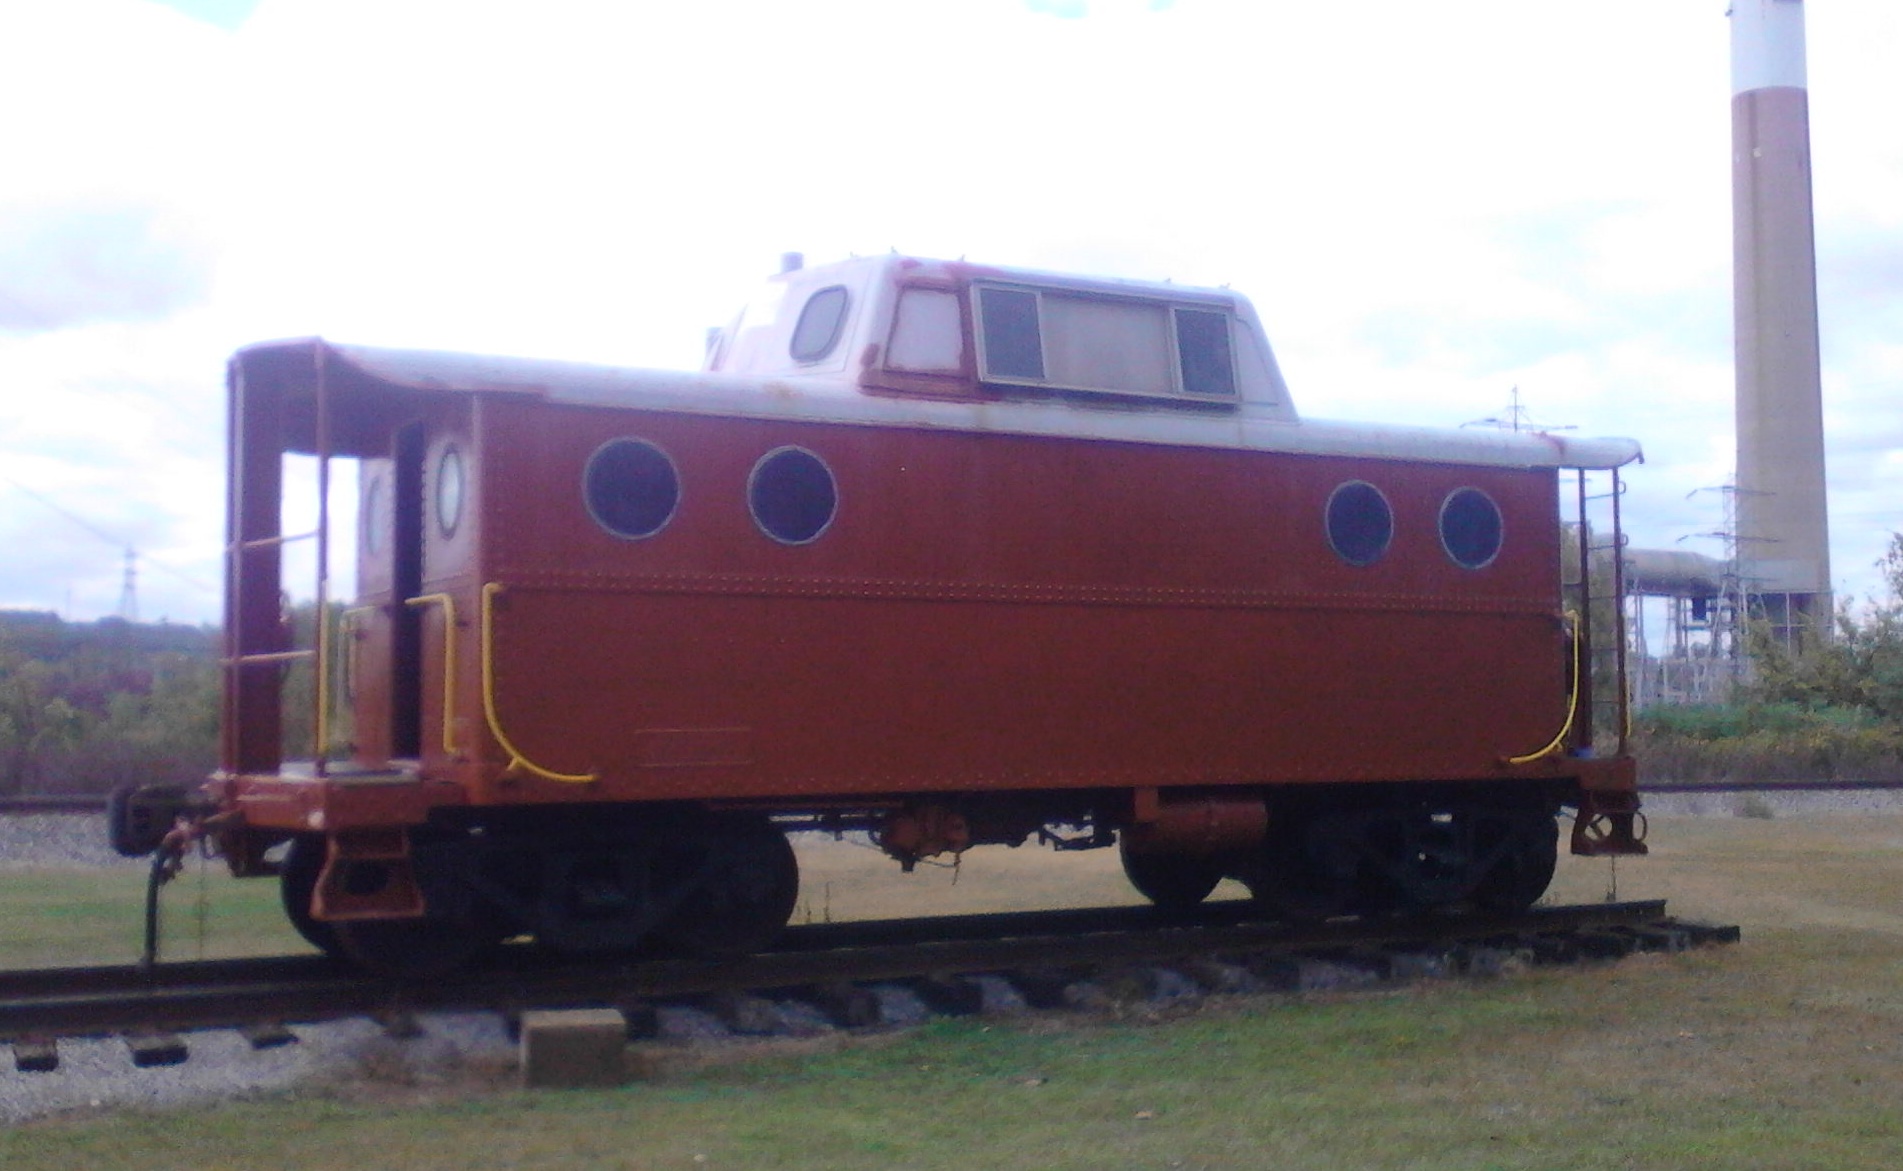
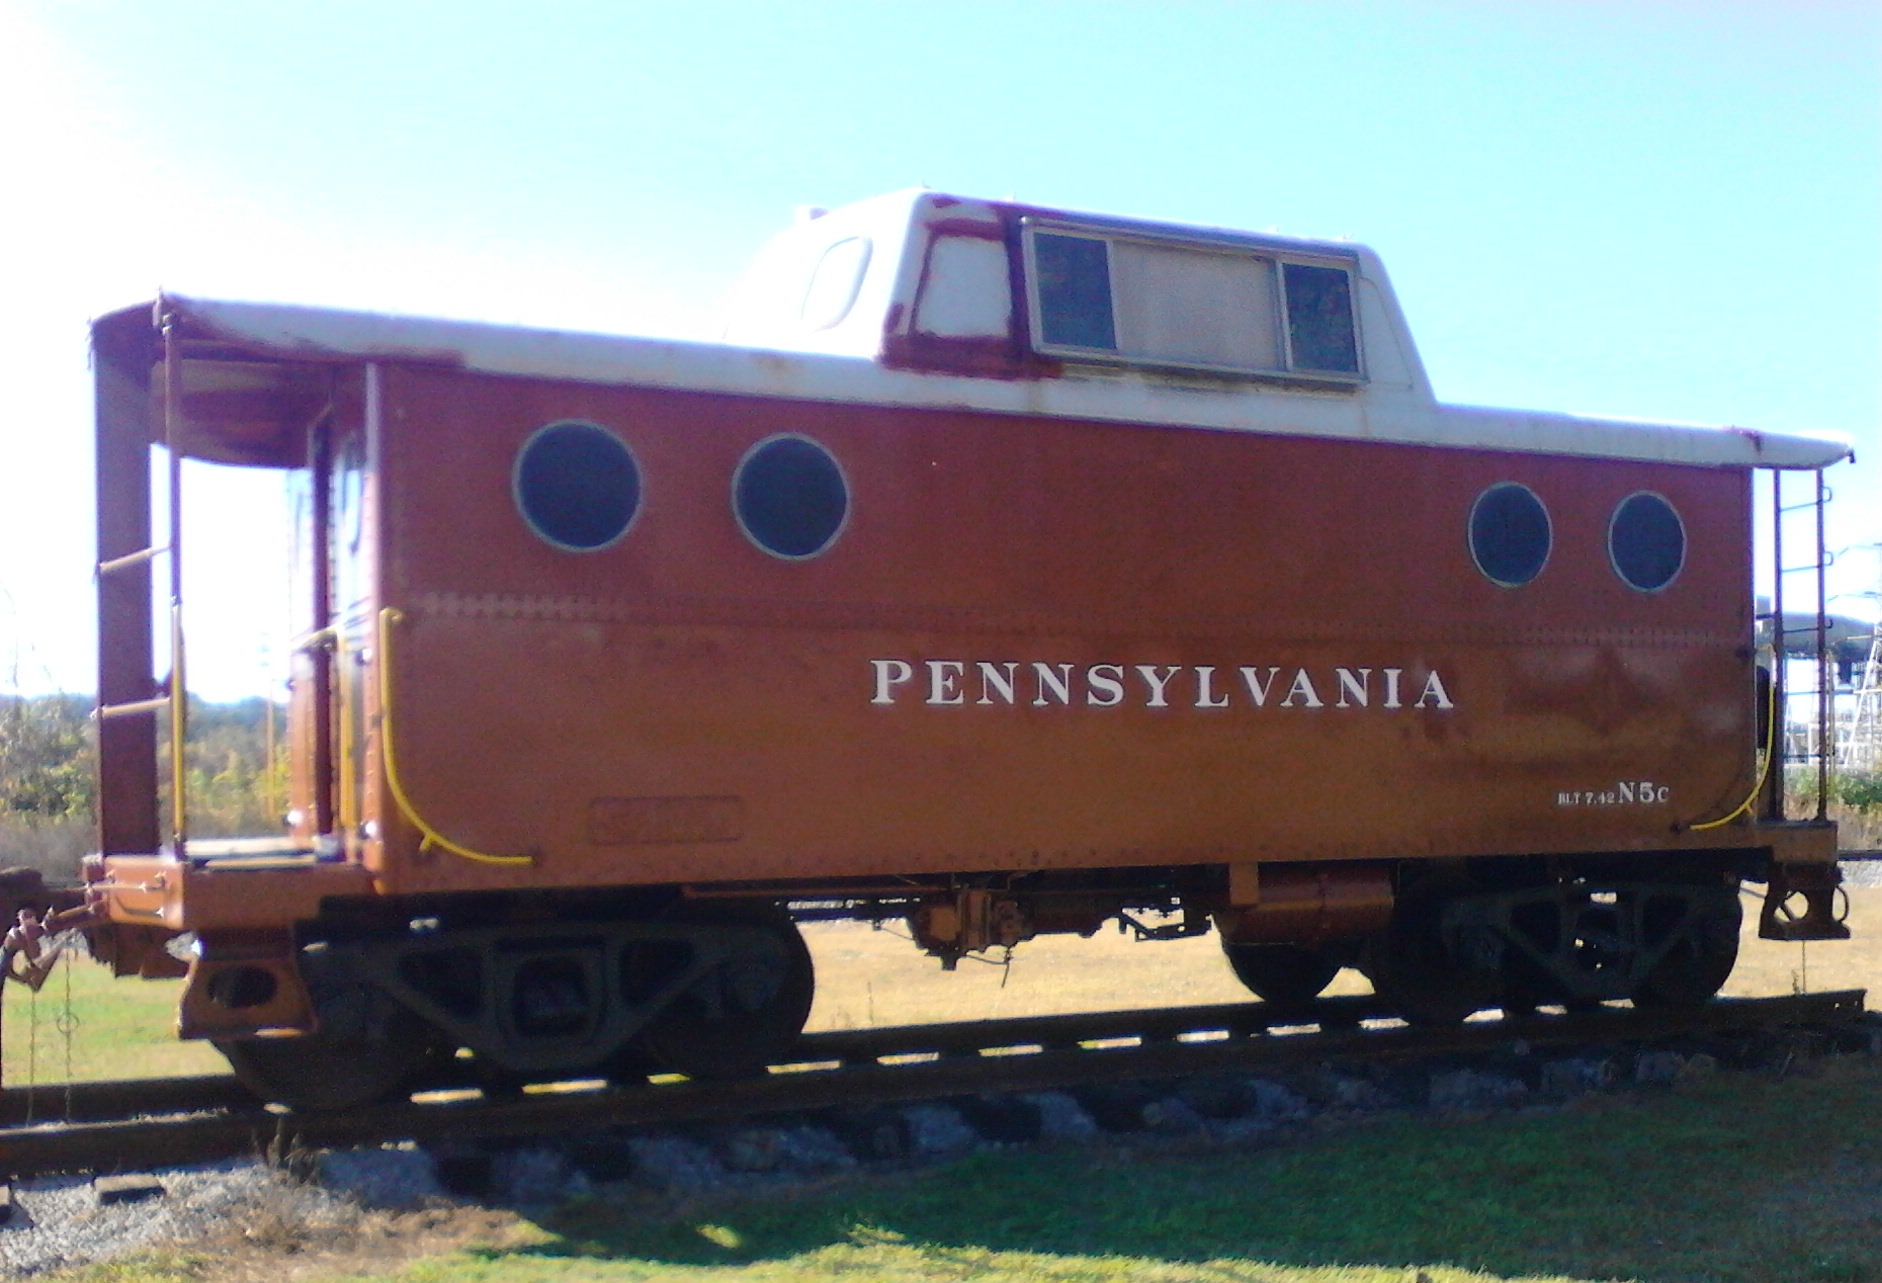
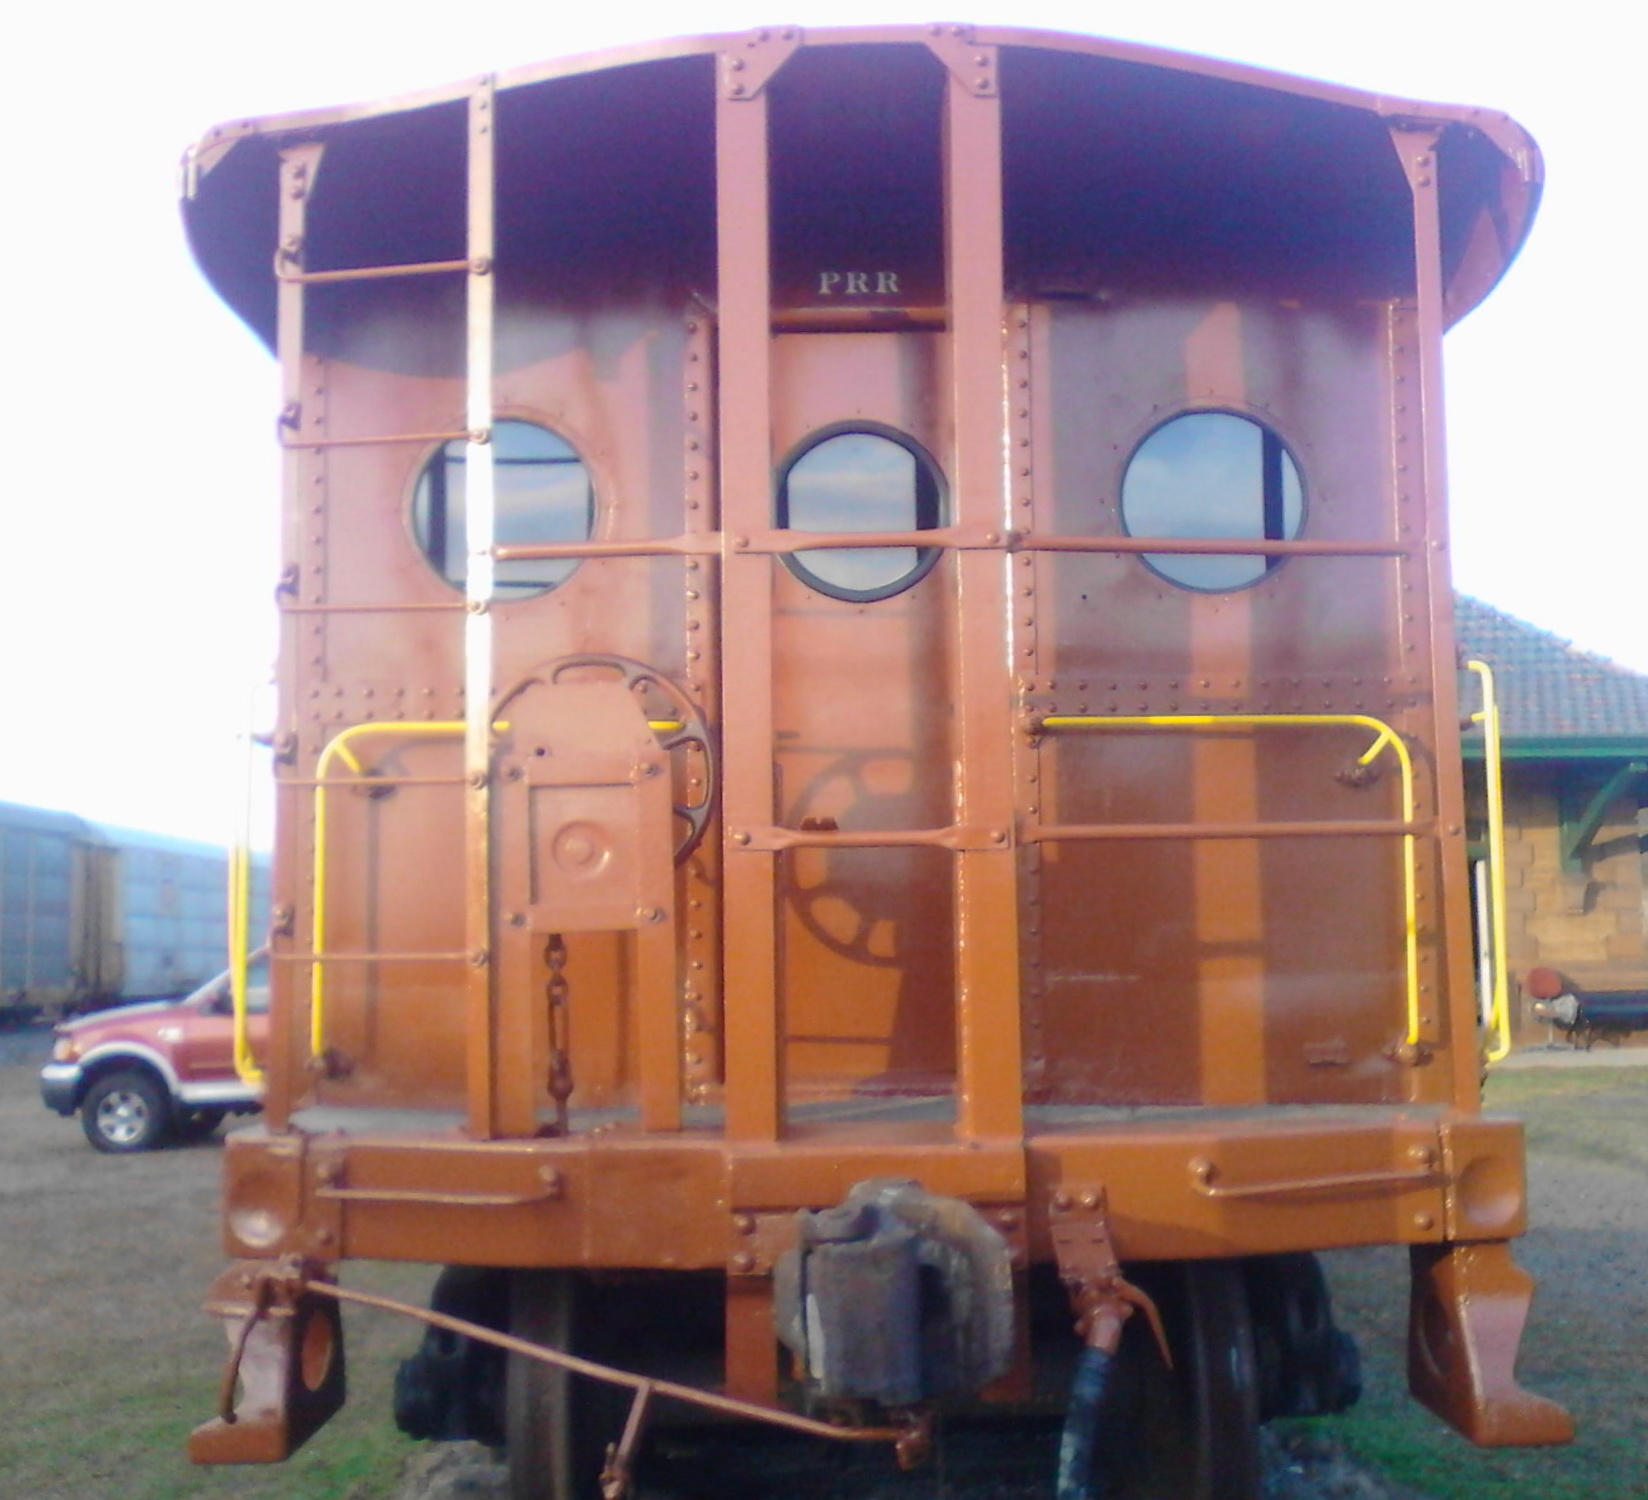
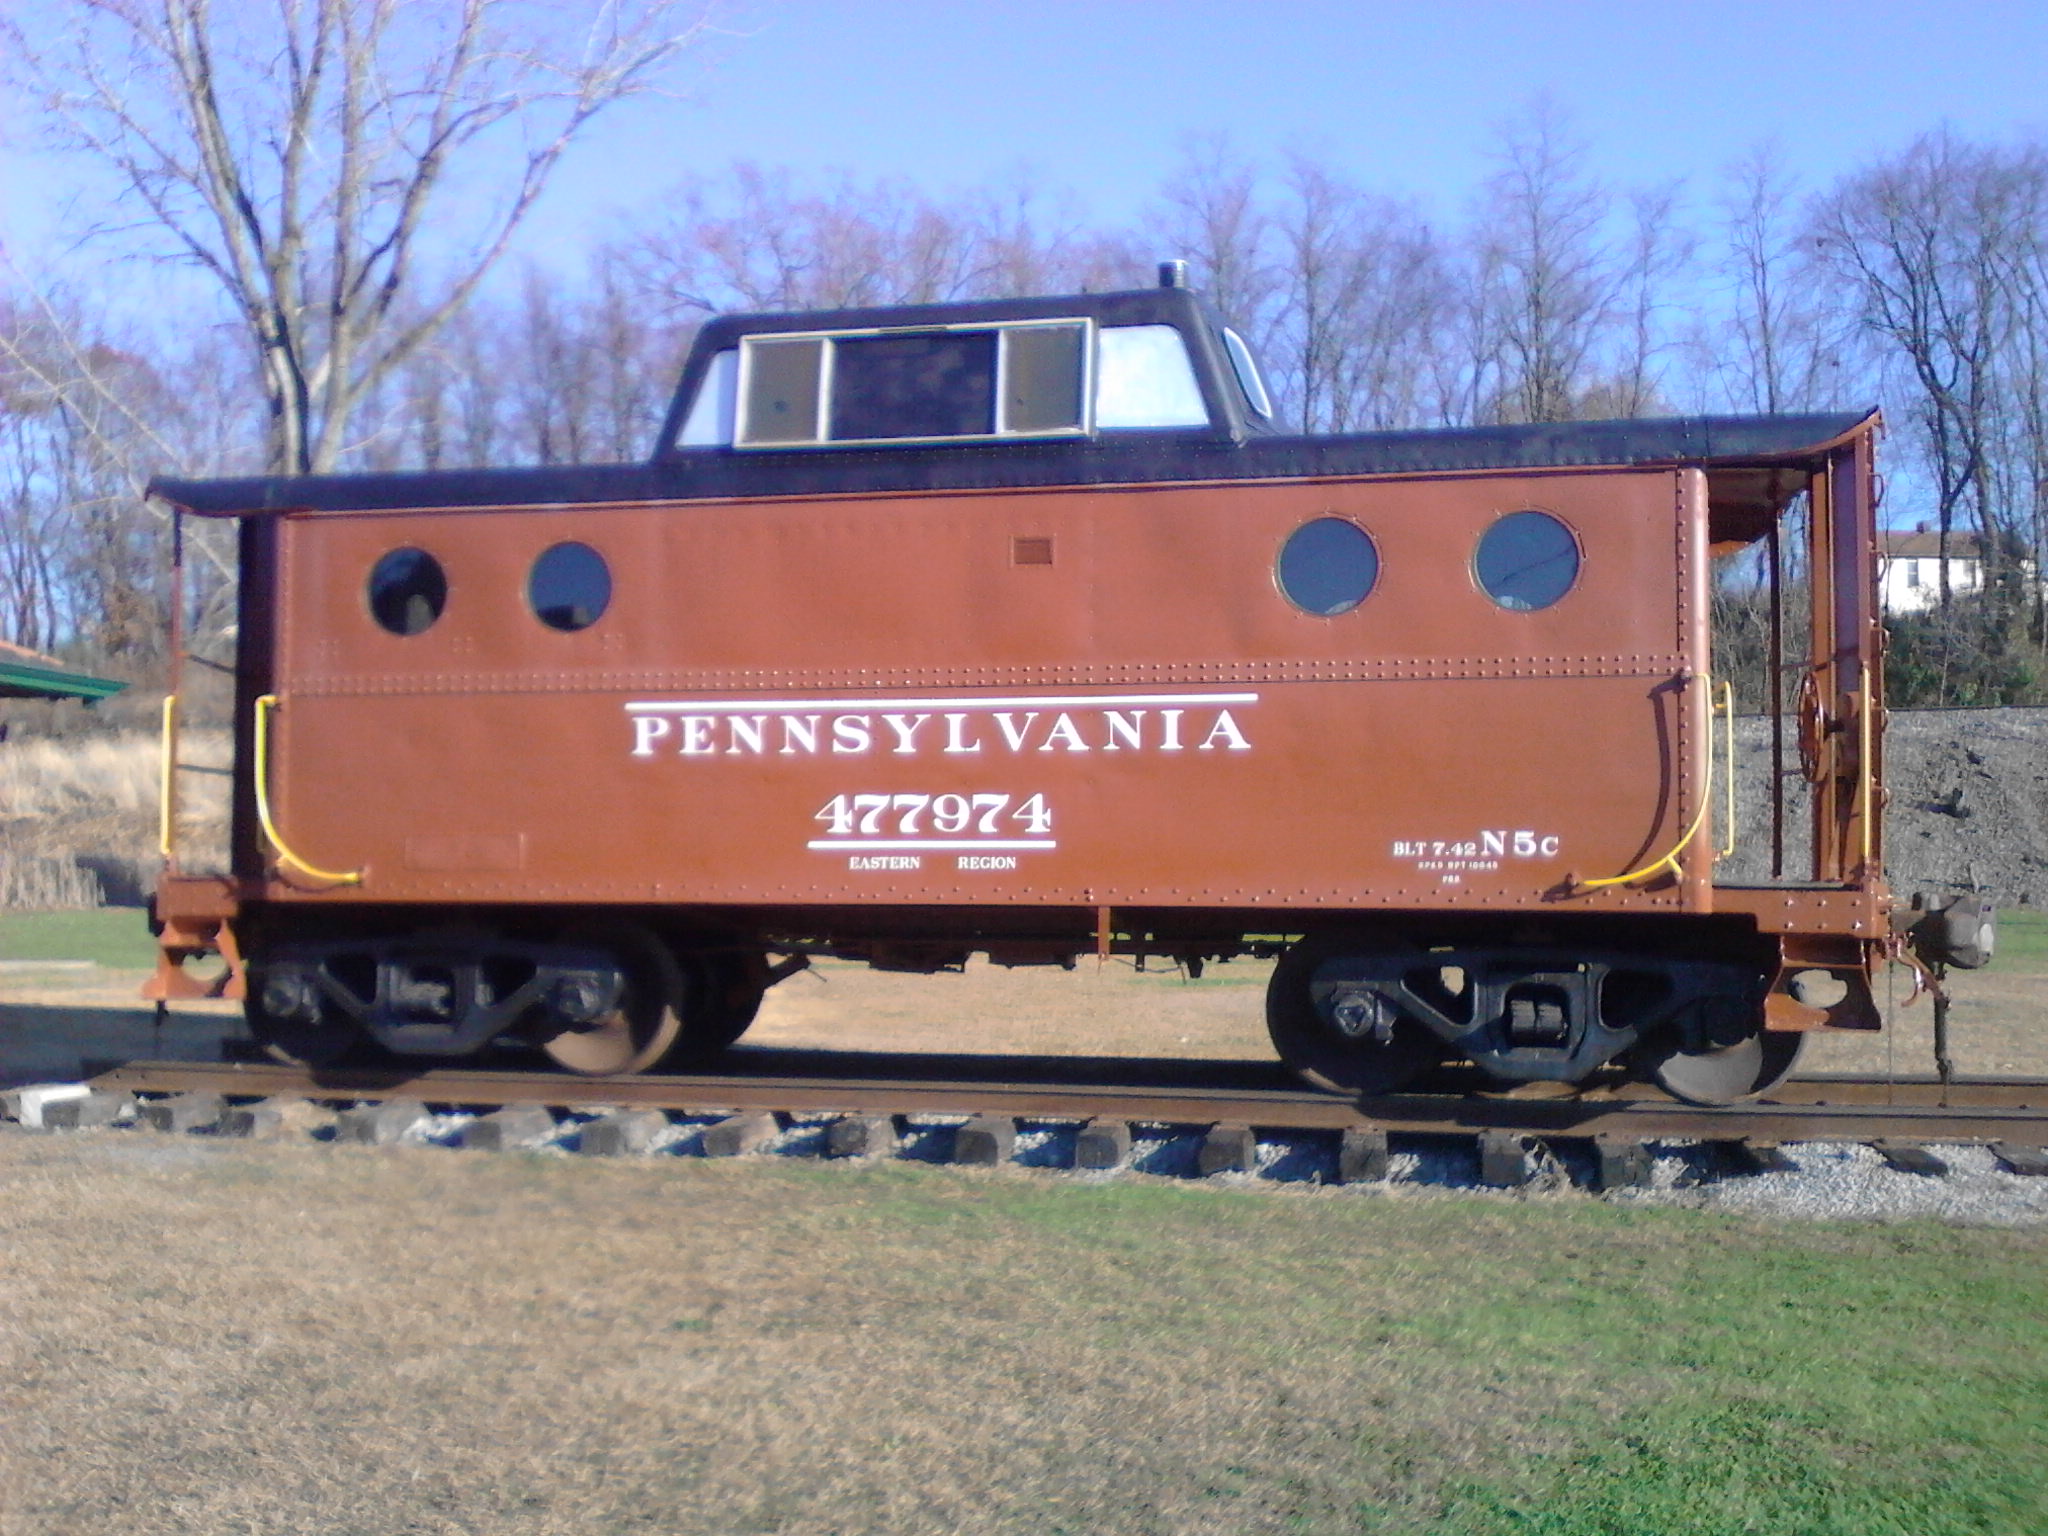
In early 1942, the Pennsylvania Railroad started construction of 200 new Cabin Cars and classed them N5c. They were of steel construction and featured a Streamlined Cupola on its roof and Port Hole Windows on the body sides and ends. The car was also built with heavy Crash Beams on both ends to ensure the safety of the crew in case of accidents. The N5c served the PRR well for 28 years. Then later the N5c's saw service with Penn Central and then many went on to survive into Conrail years. The Beaver Valley Jct Chapter, later renamed The Beaver Lawrence Railway Historical Society, came into ownership of Conrail N5c 23111 in the mid 1990's. History shows that this car was originally PRR 477974. Photo evidence shows the 477974 saw service during the 1950's on the North Central Region. Photos of 477974 in PRR service can be found in Pennsy Steam Years Vol. 1 and the PRR Passenger and Freight Car Color Guide Vol. 3.
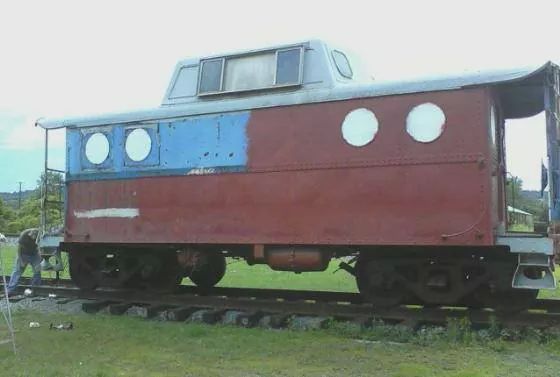
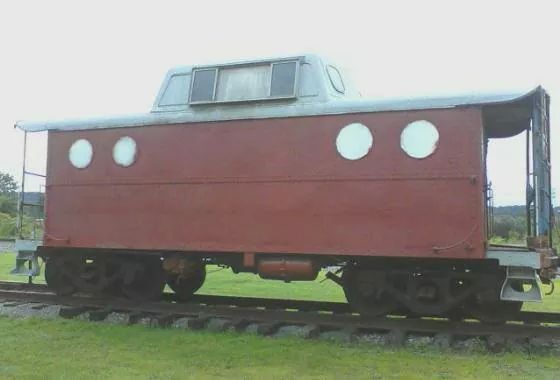
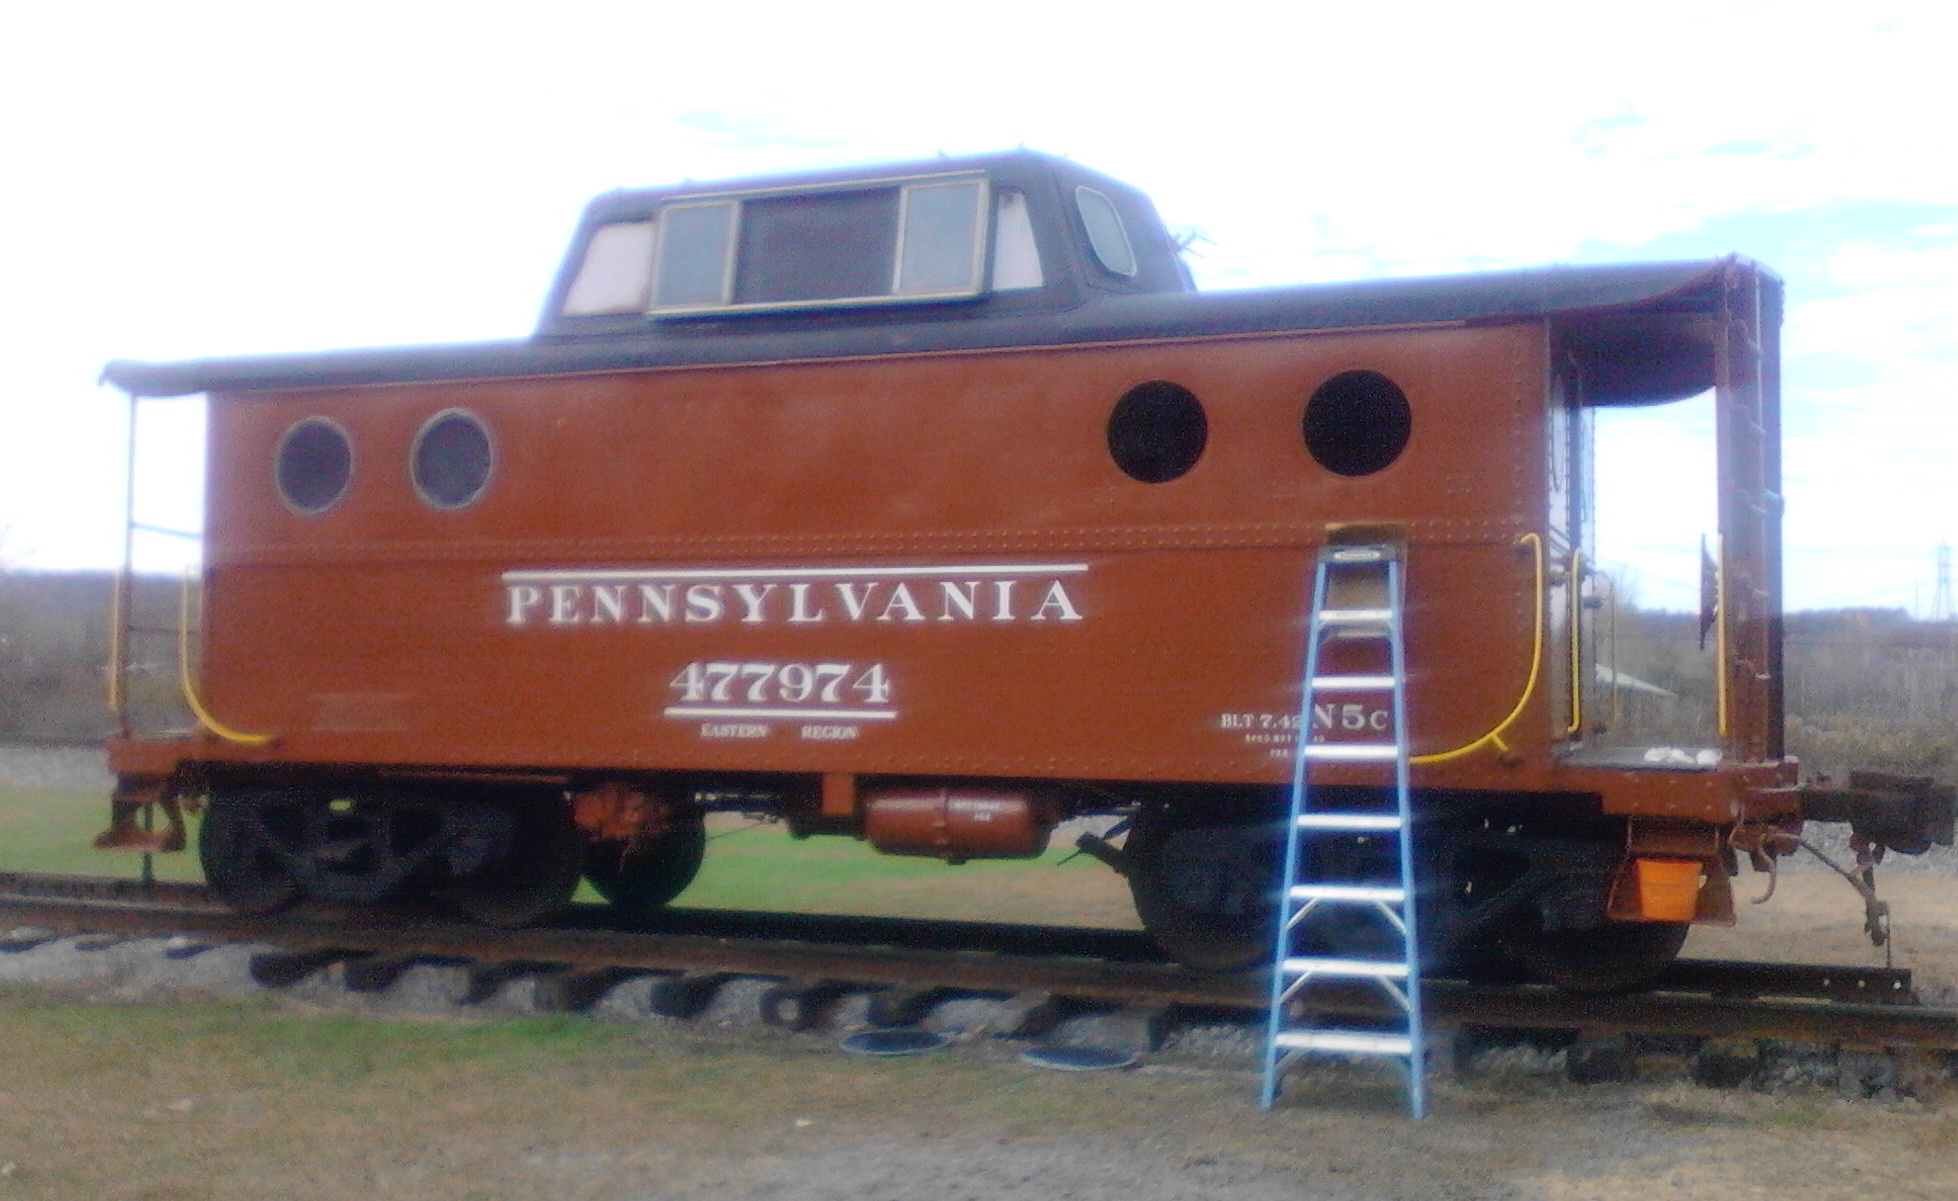
The BVJC/BLRHS, recently started work to restore the 477974 back to PRR likeness. The society voted to finish the car in the as delivered (1942) appearence. This webpage will follow the progress of this restoration. Below are prelim photos and the start of the work. Please keep checking in to see how the N5c is coming along.
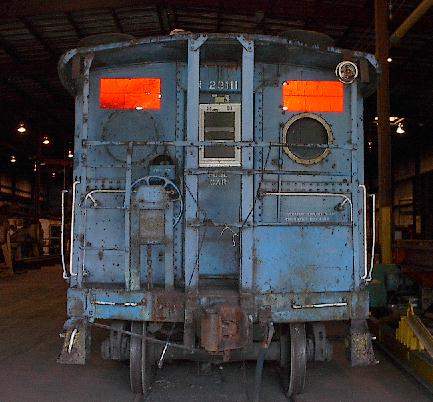
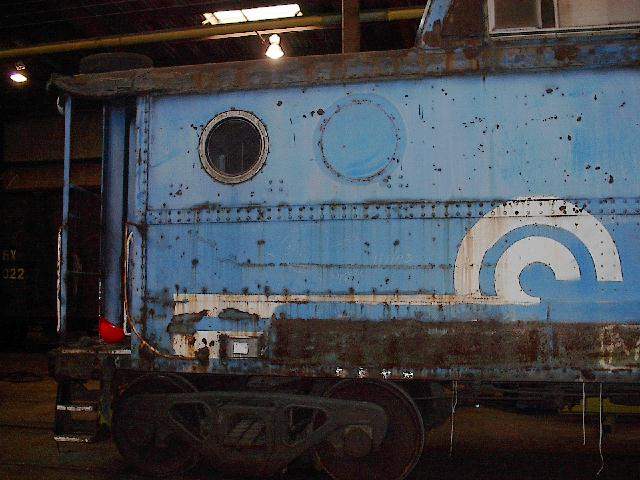
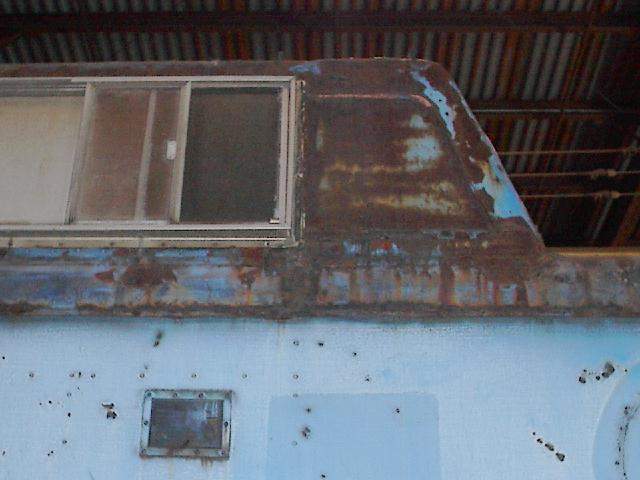
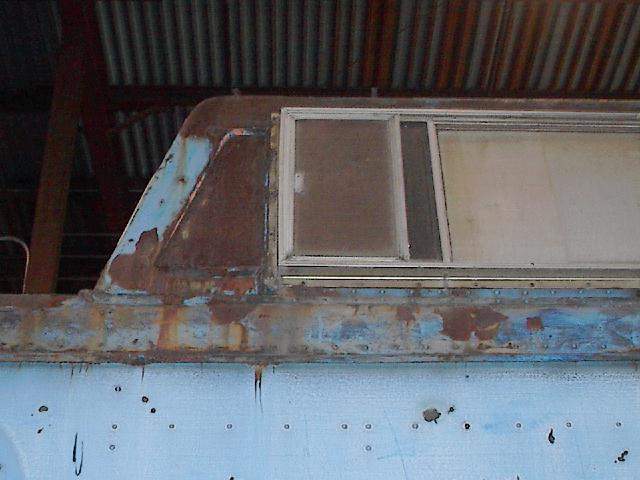
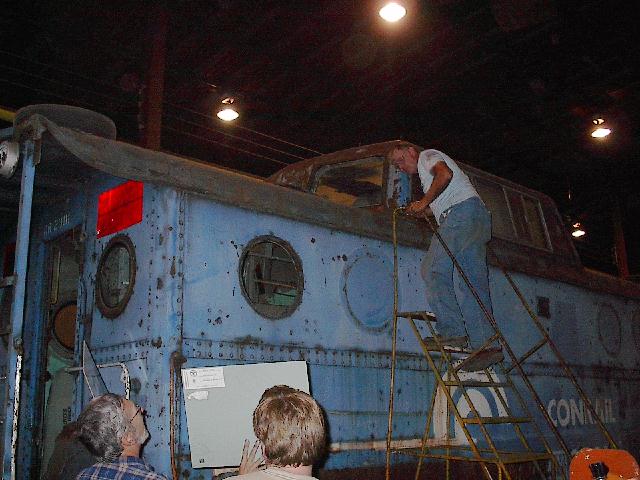
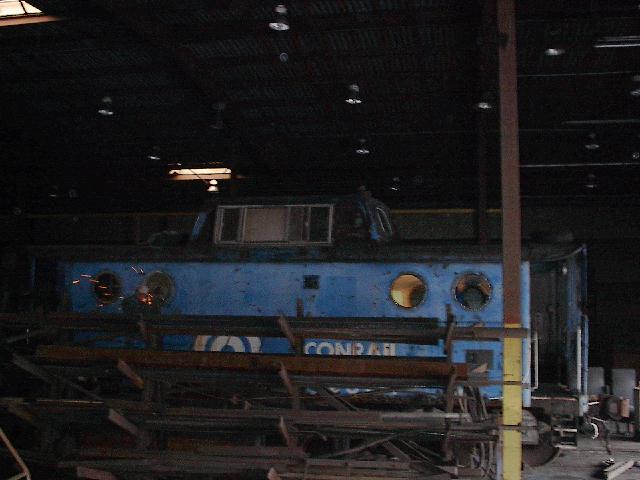
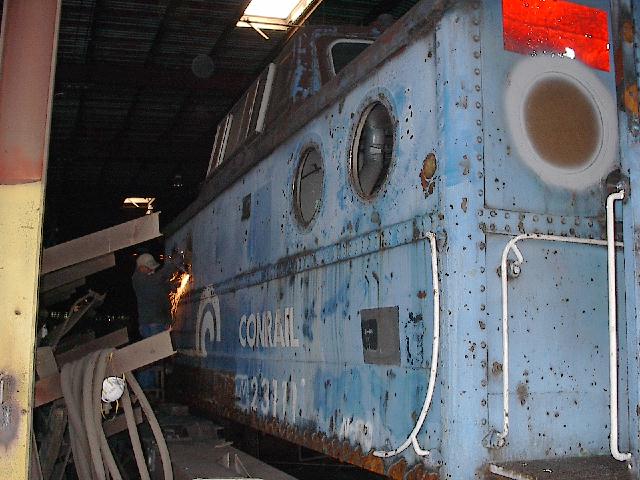
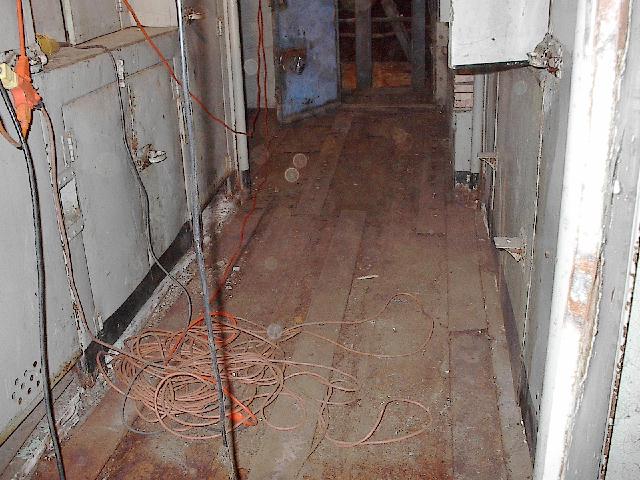
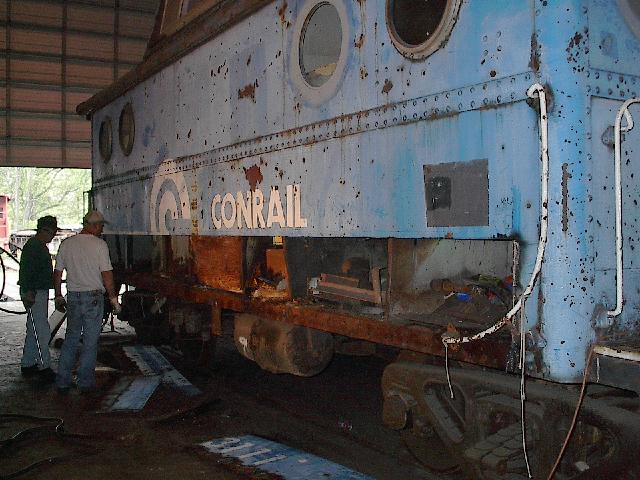
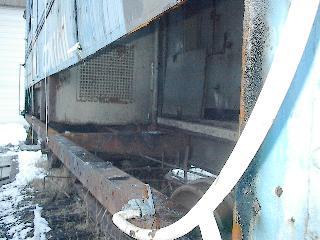
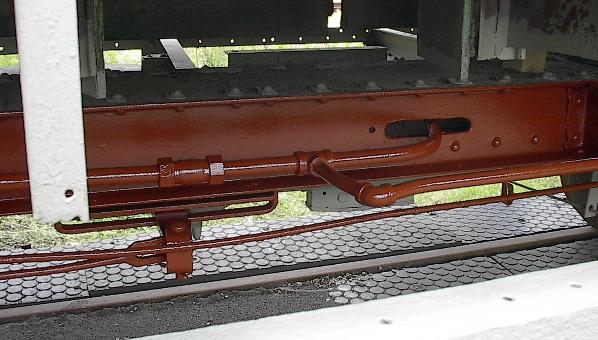
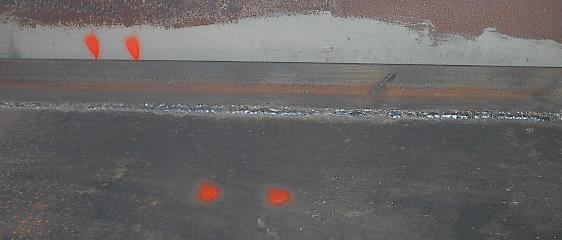
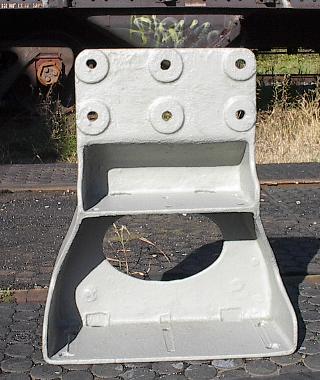
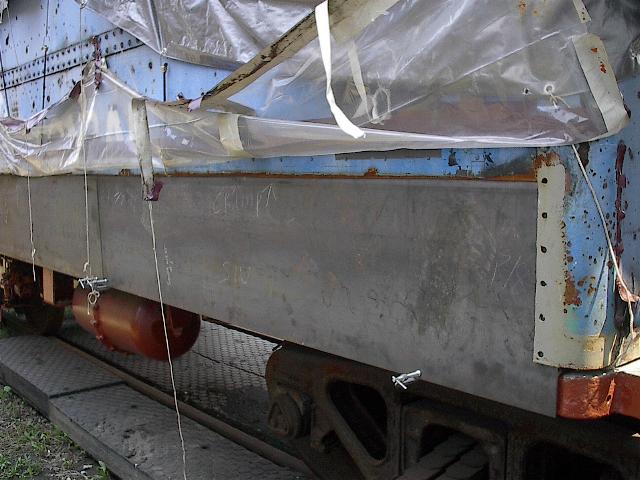
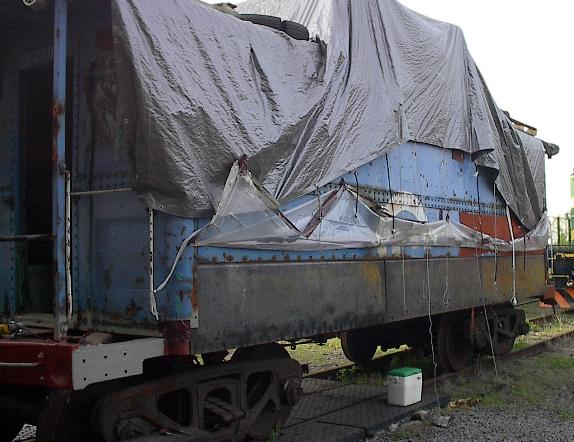
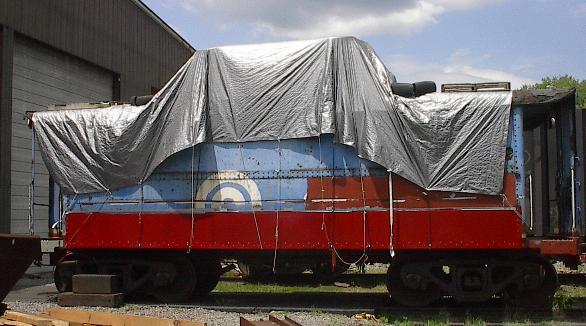
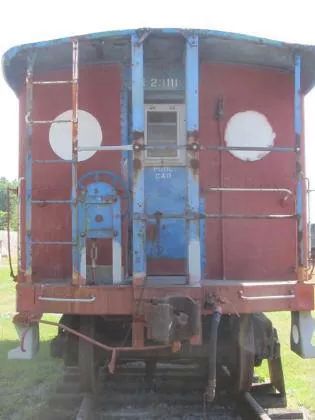
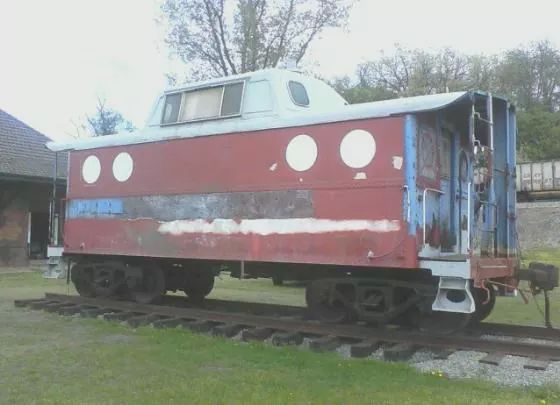
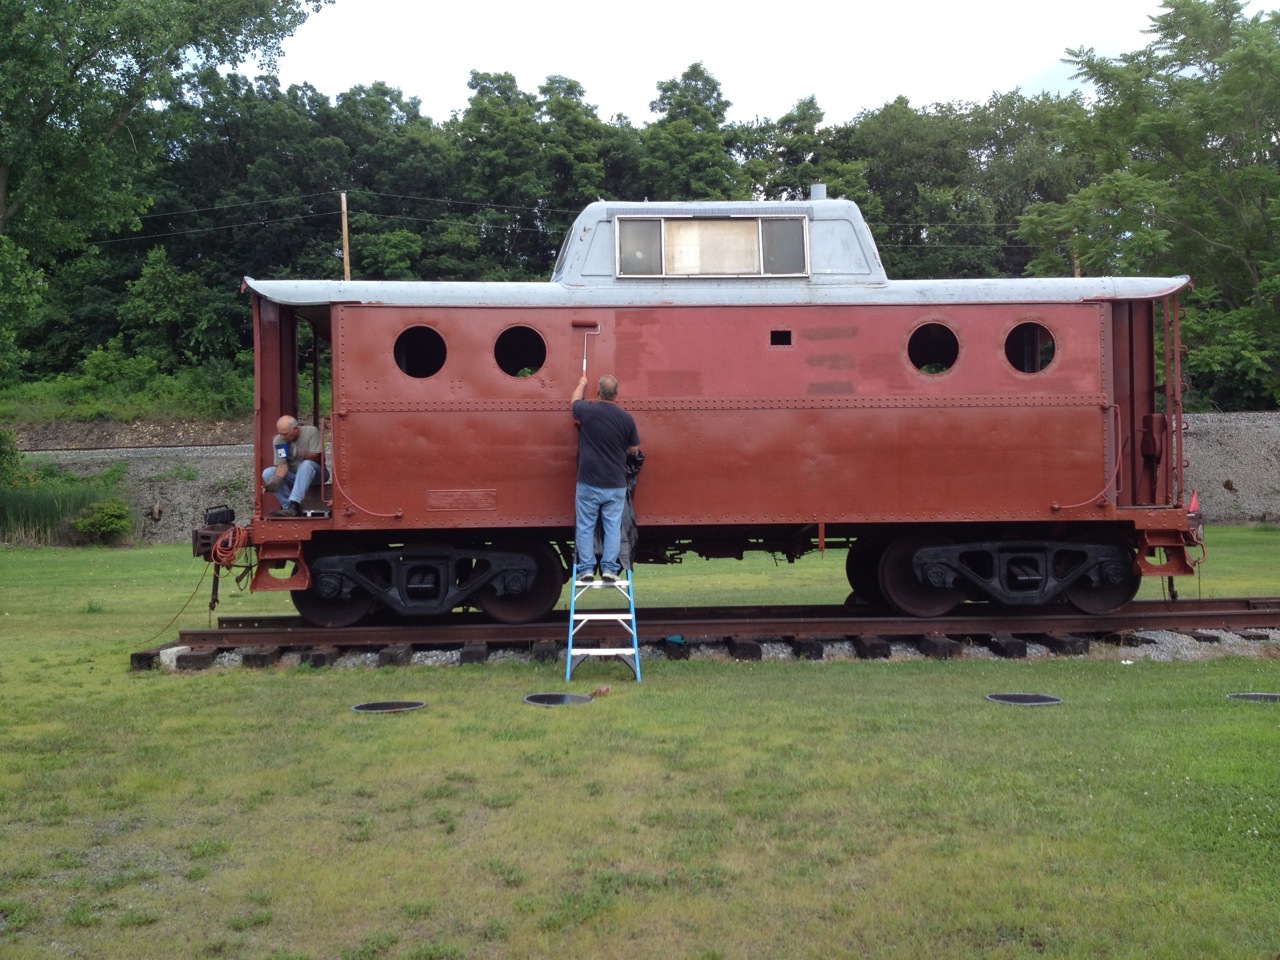
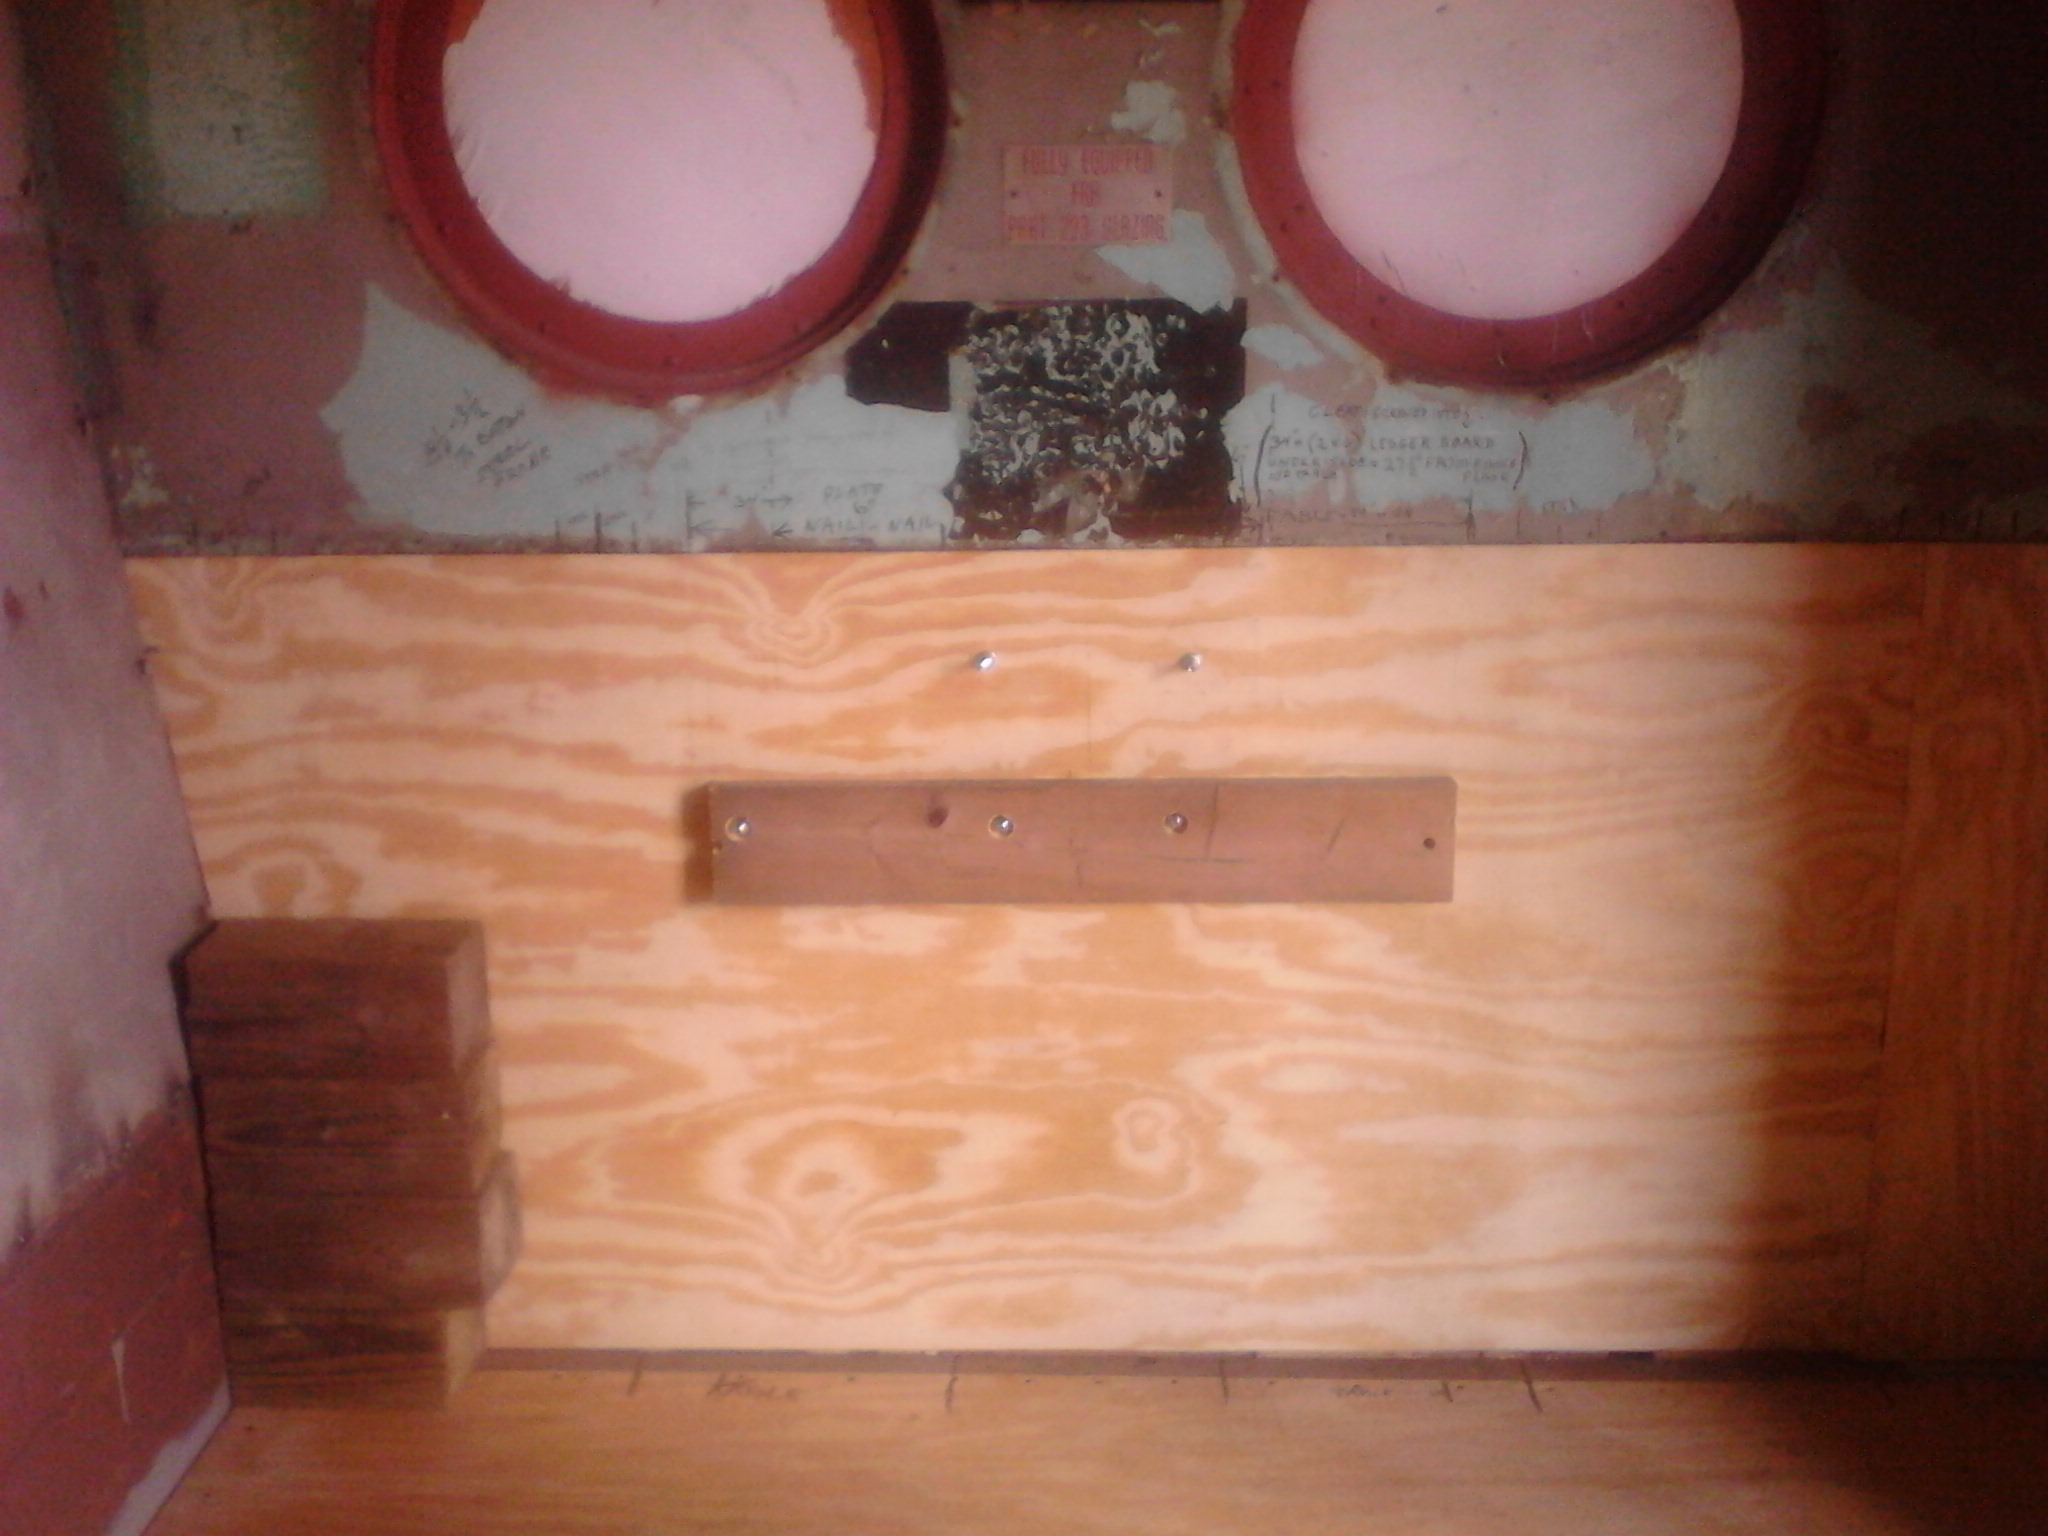
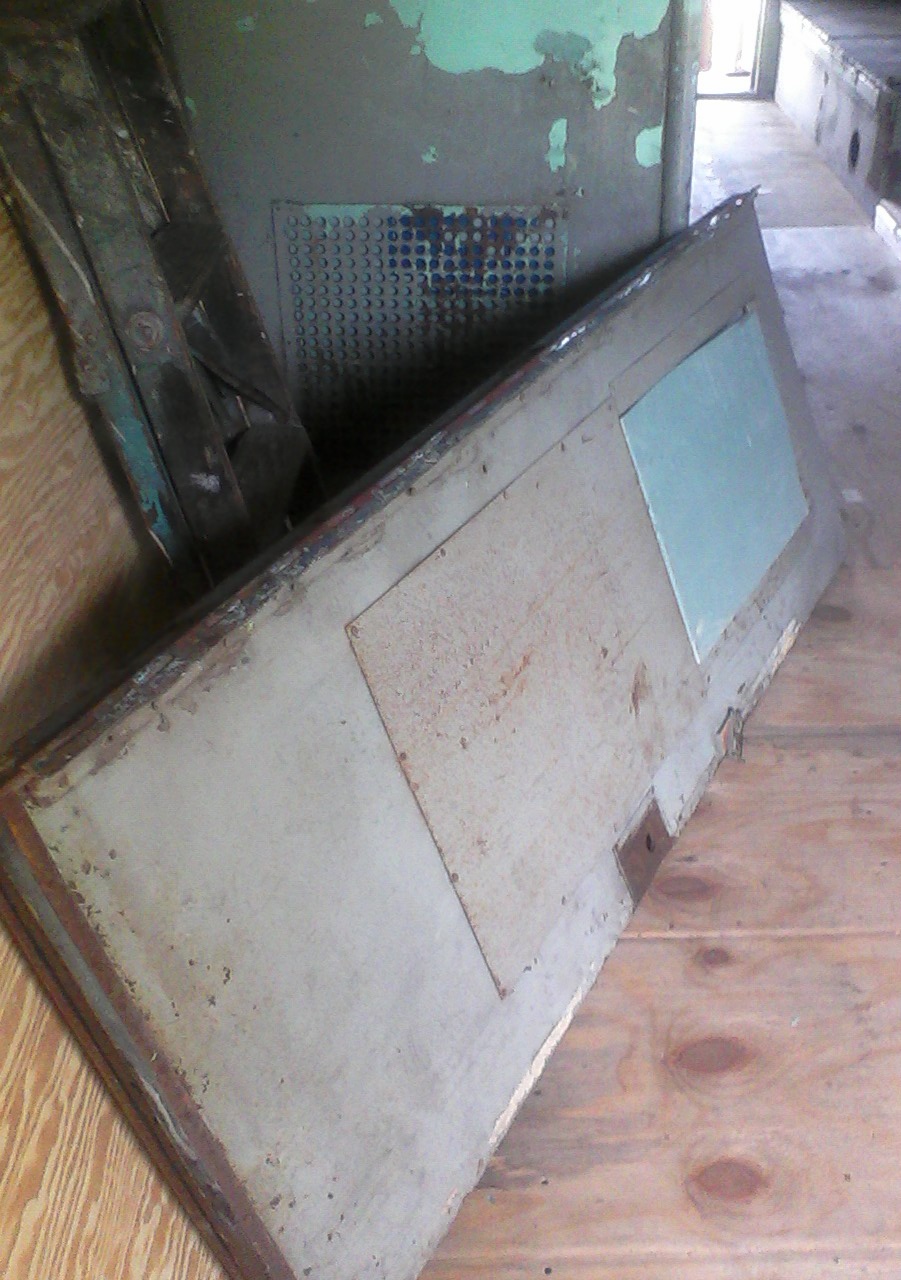
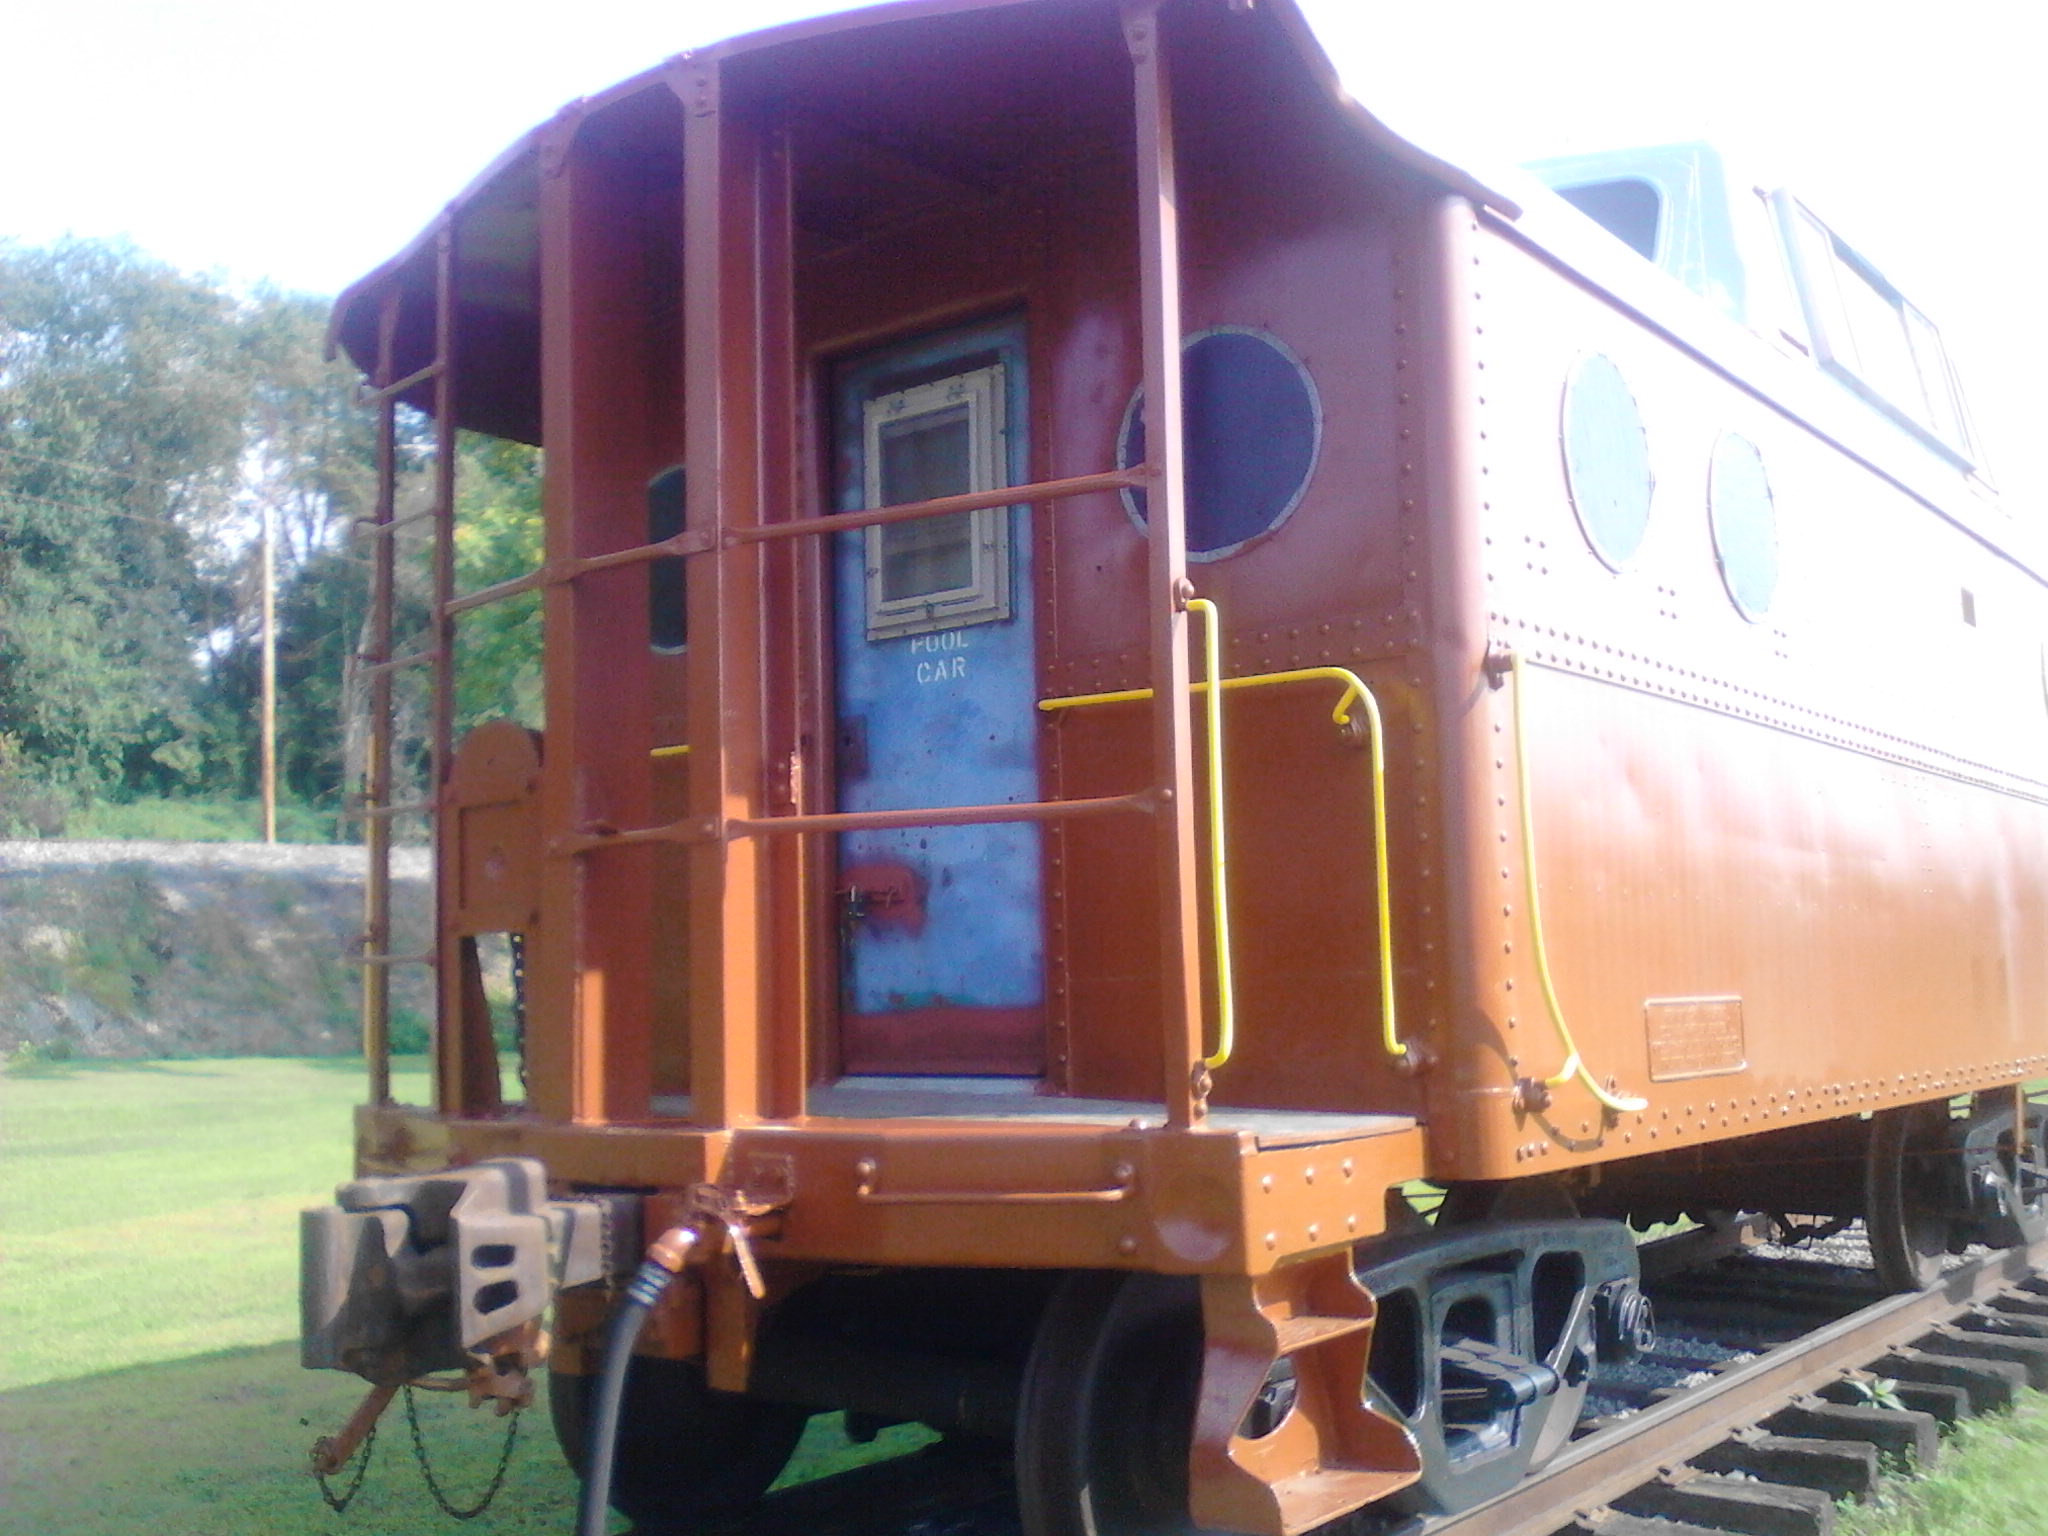
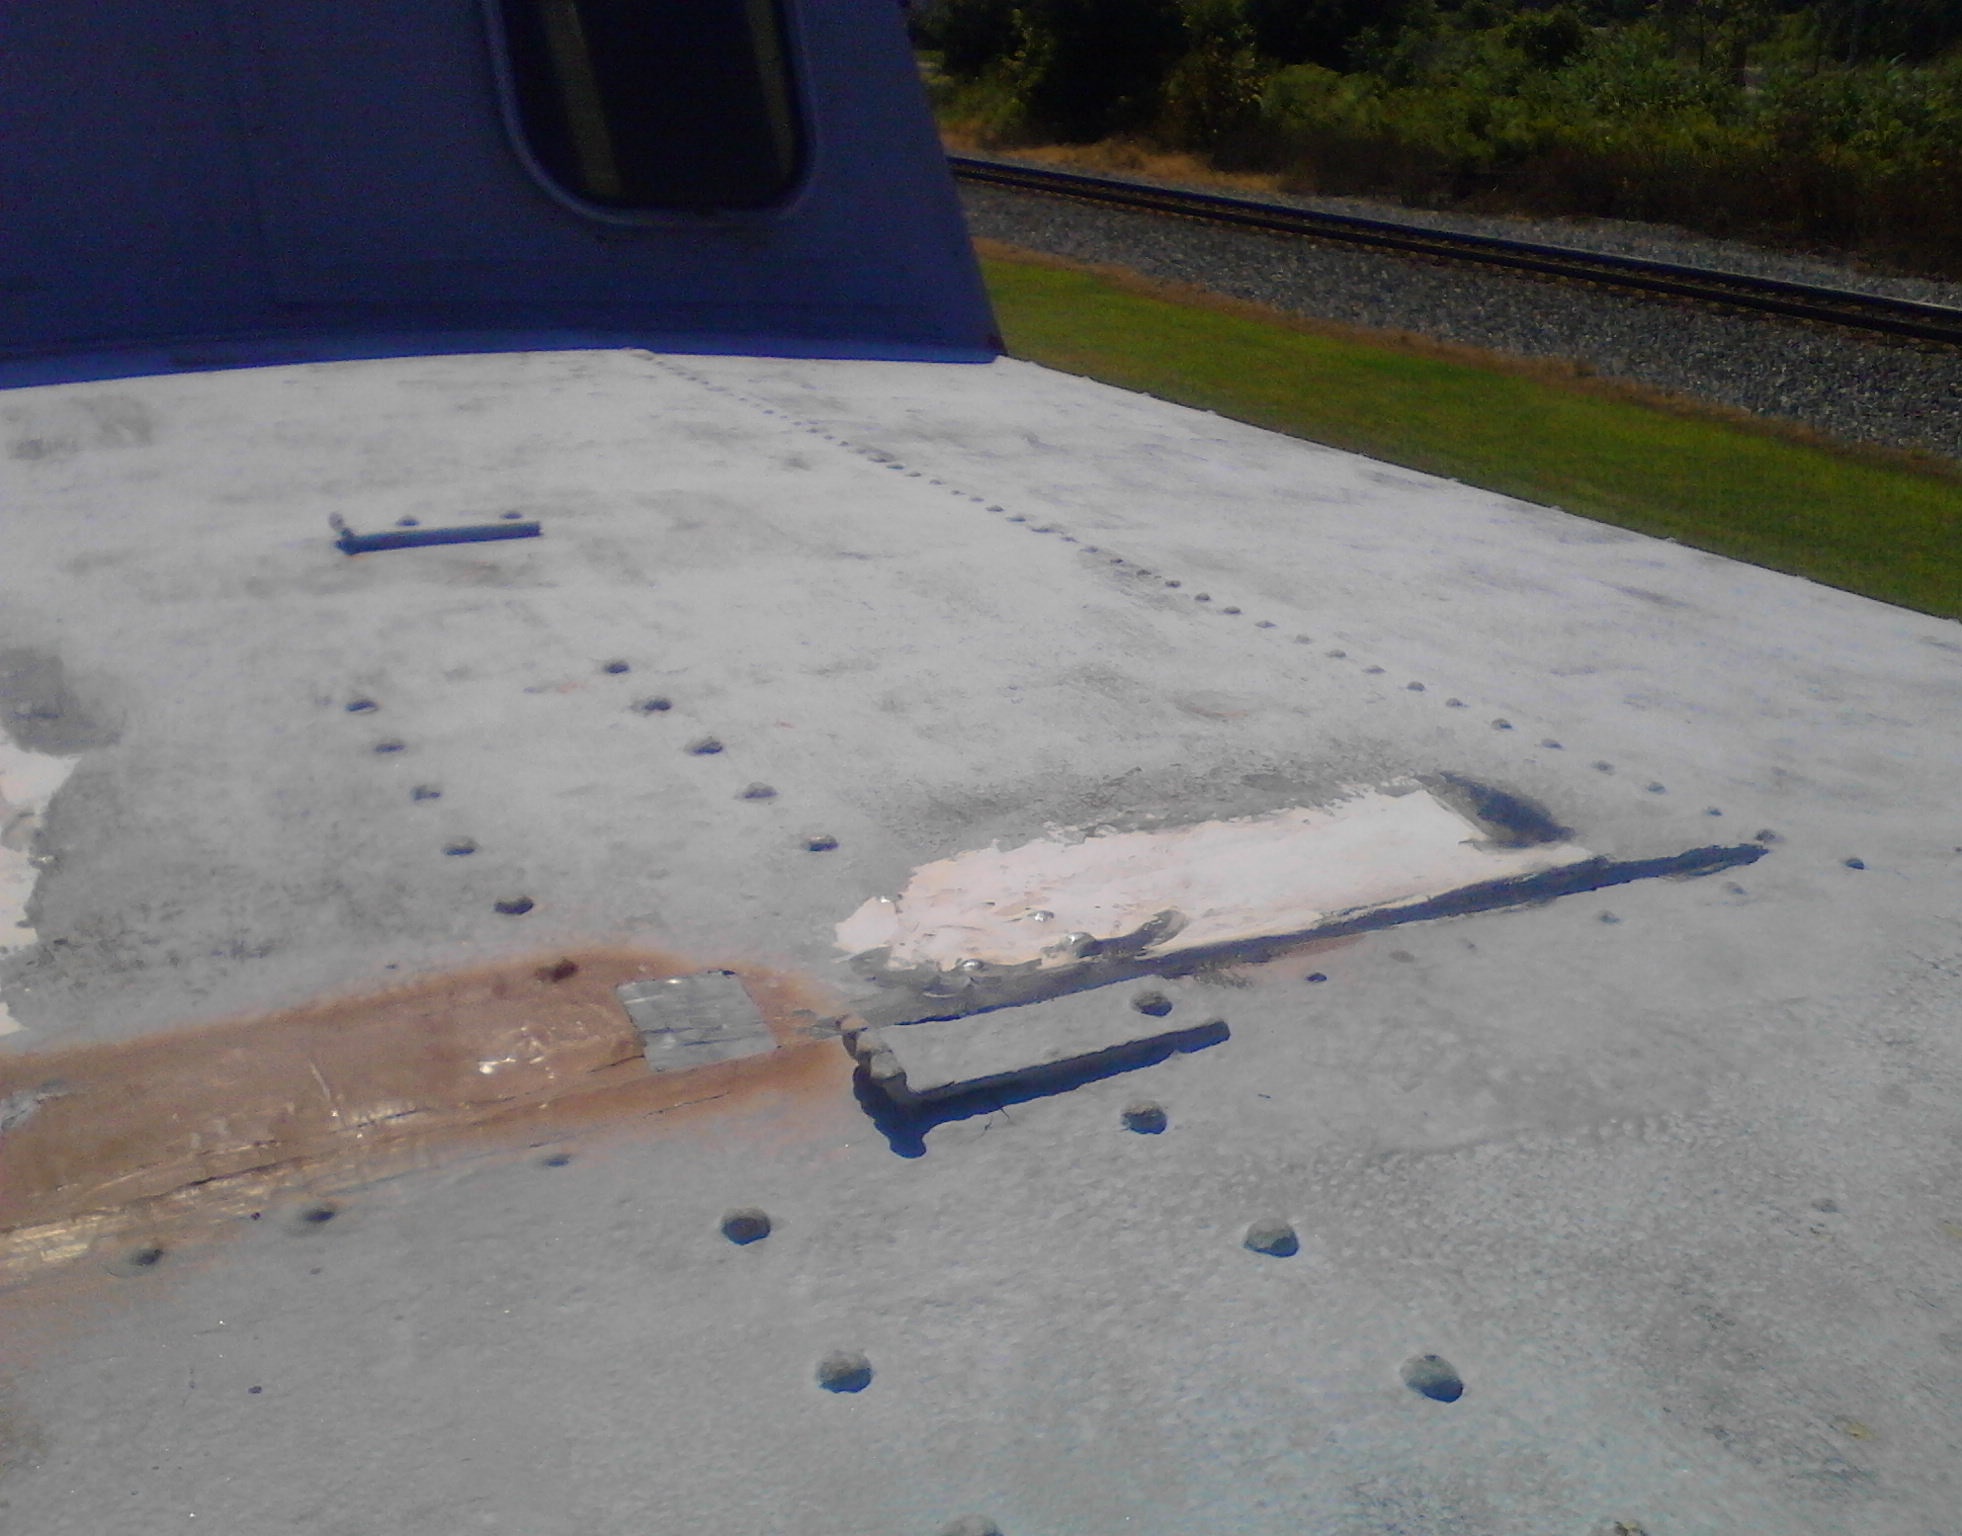
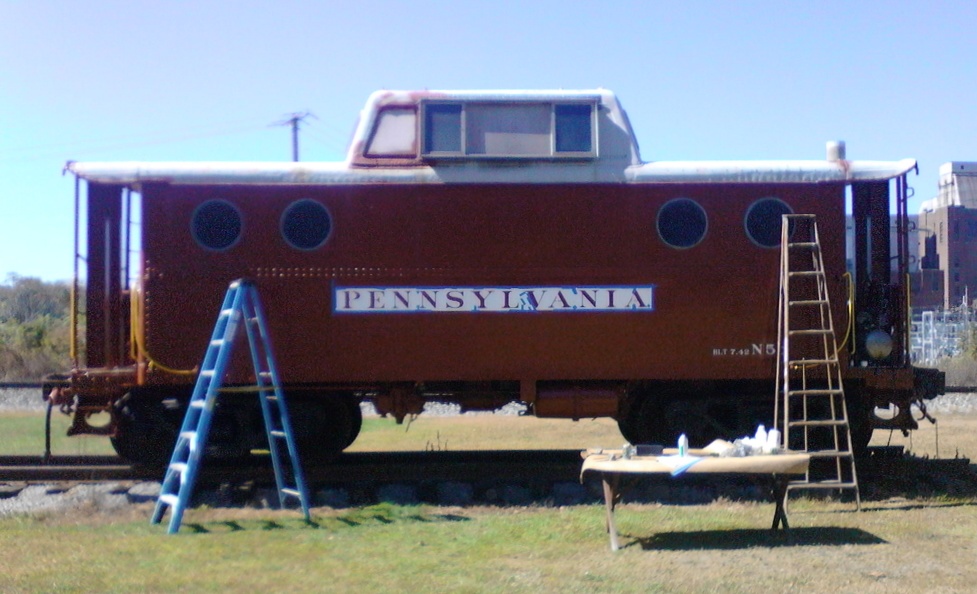
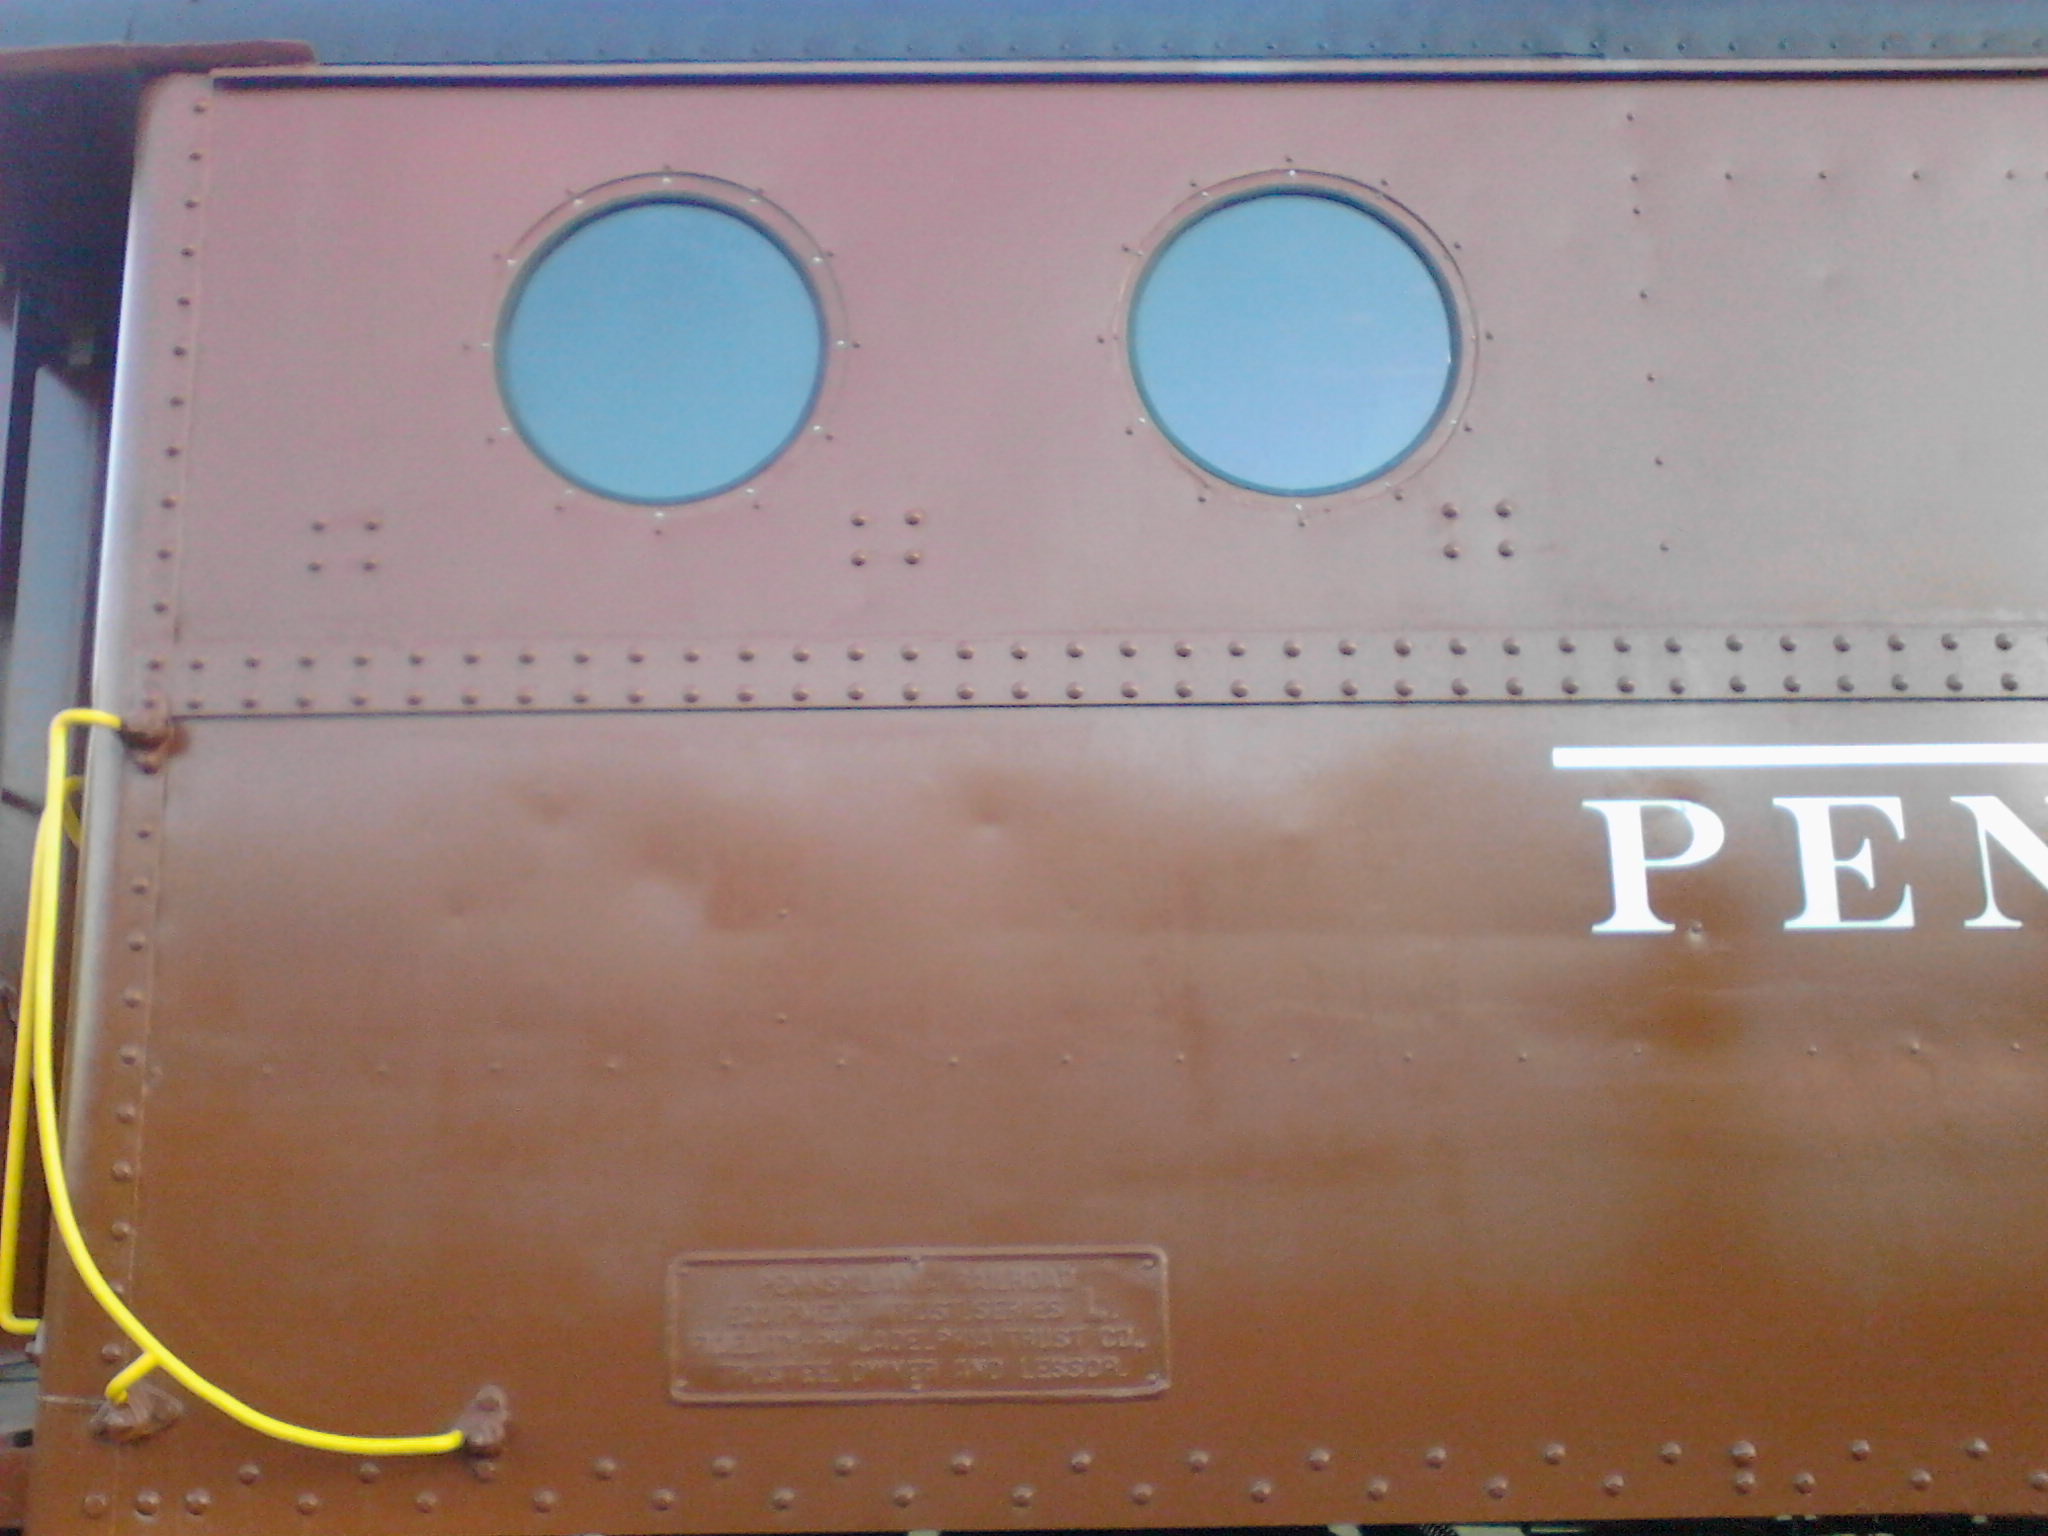
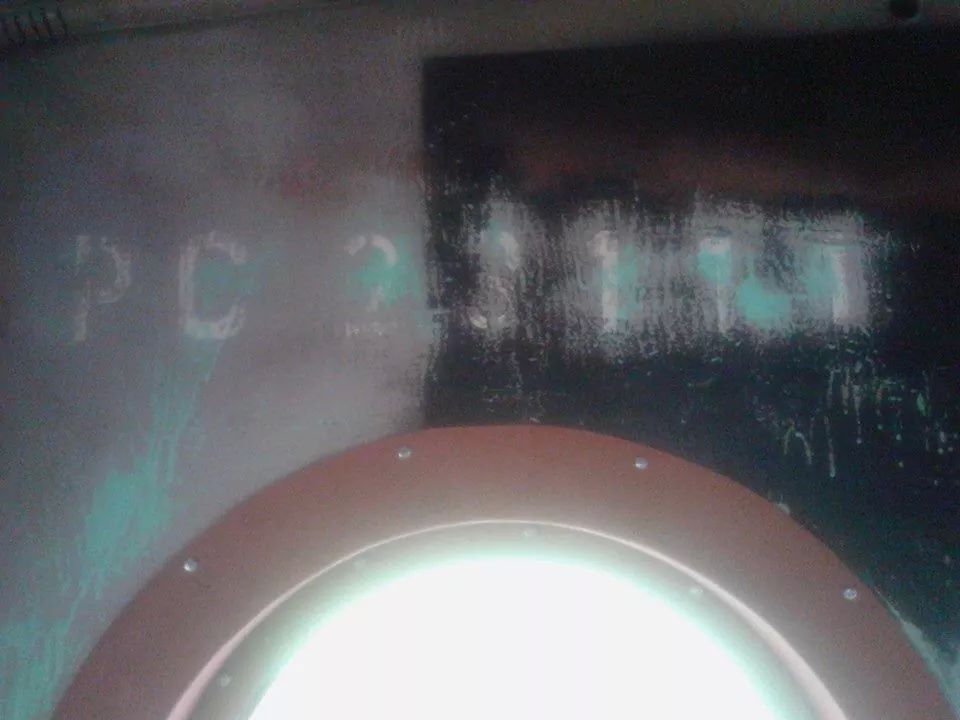
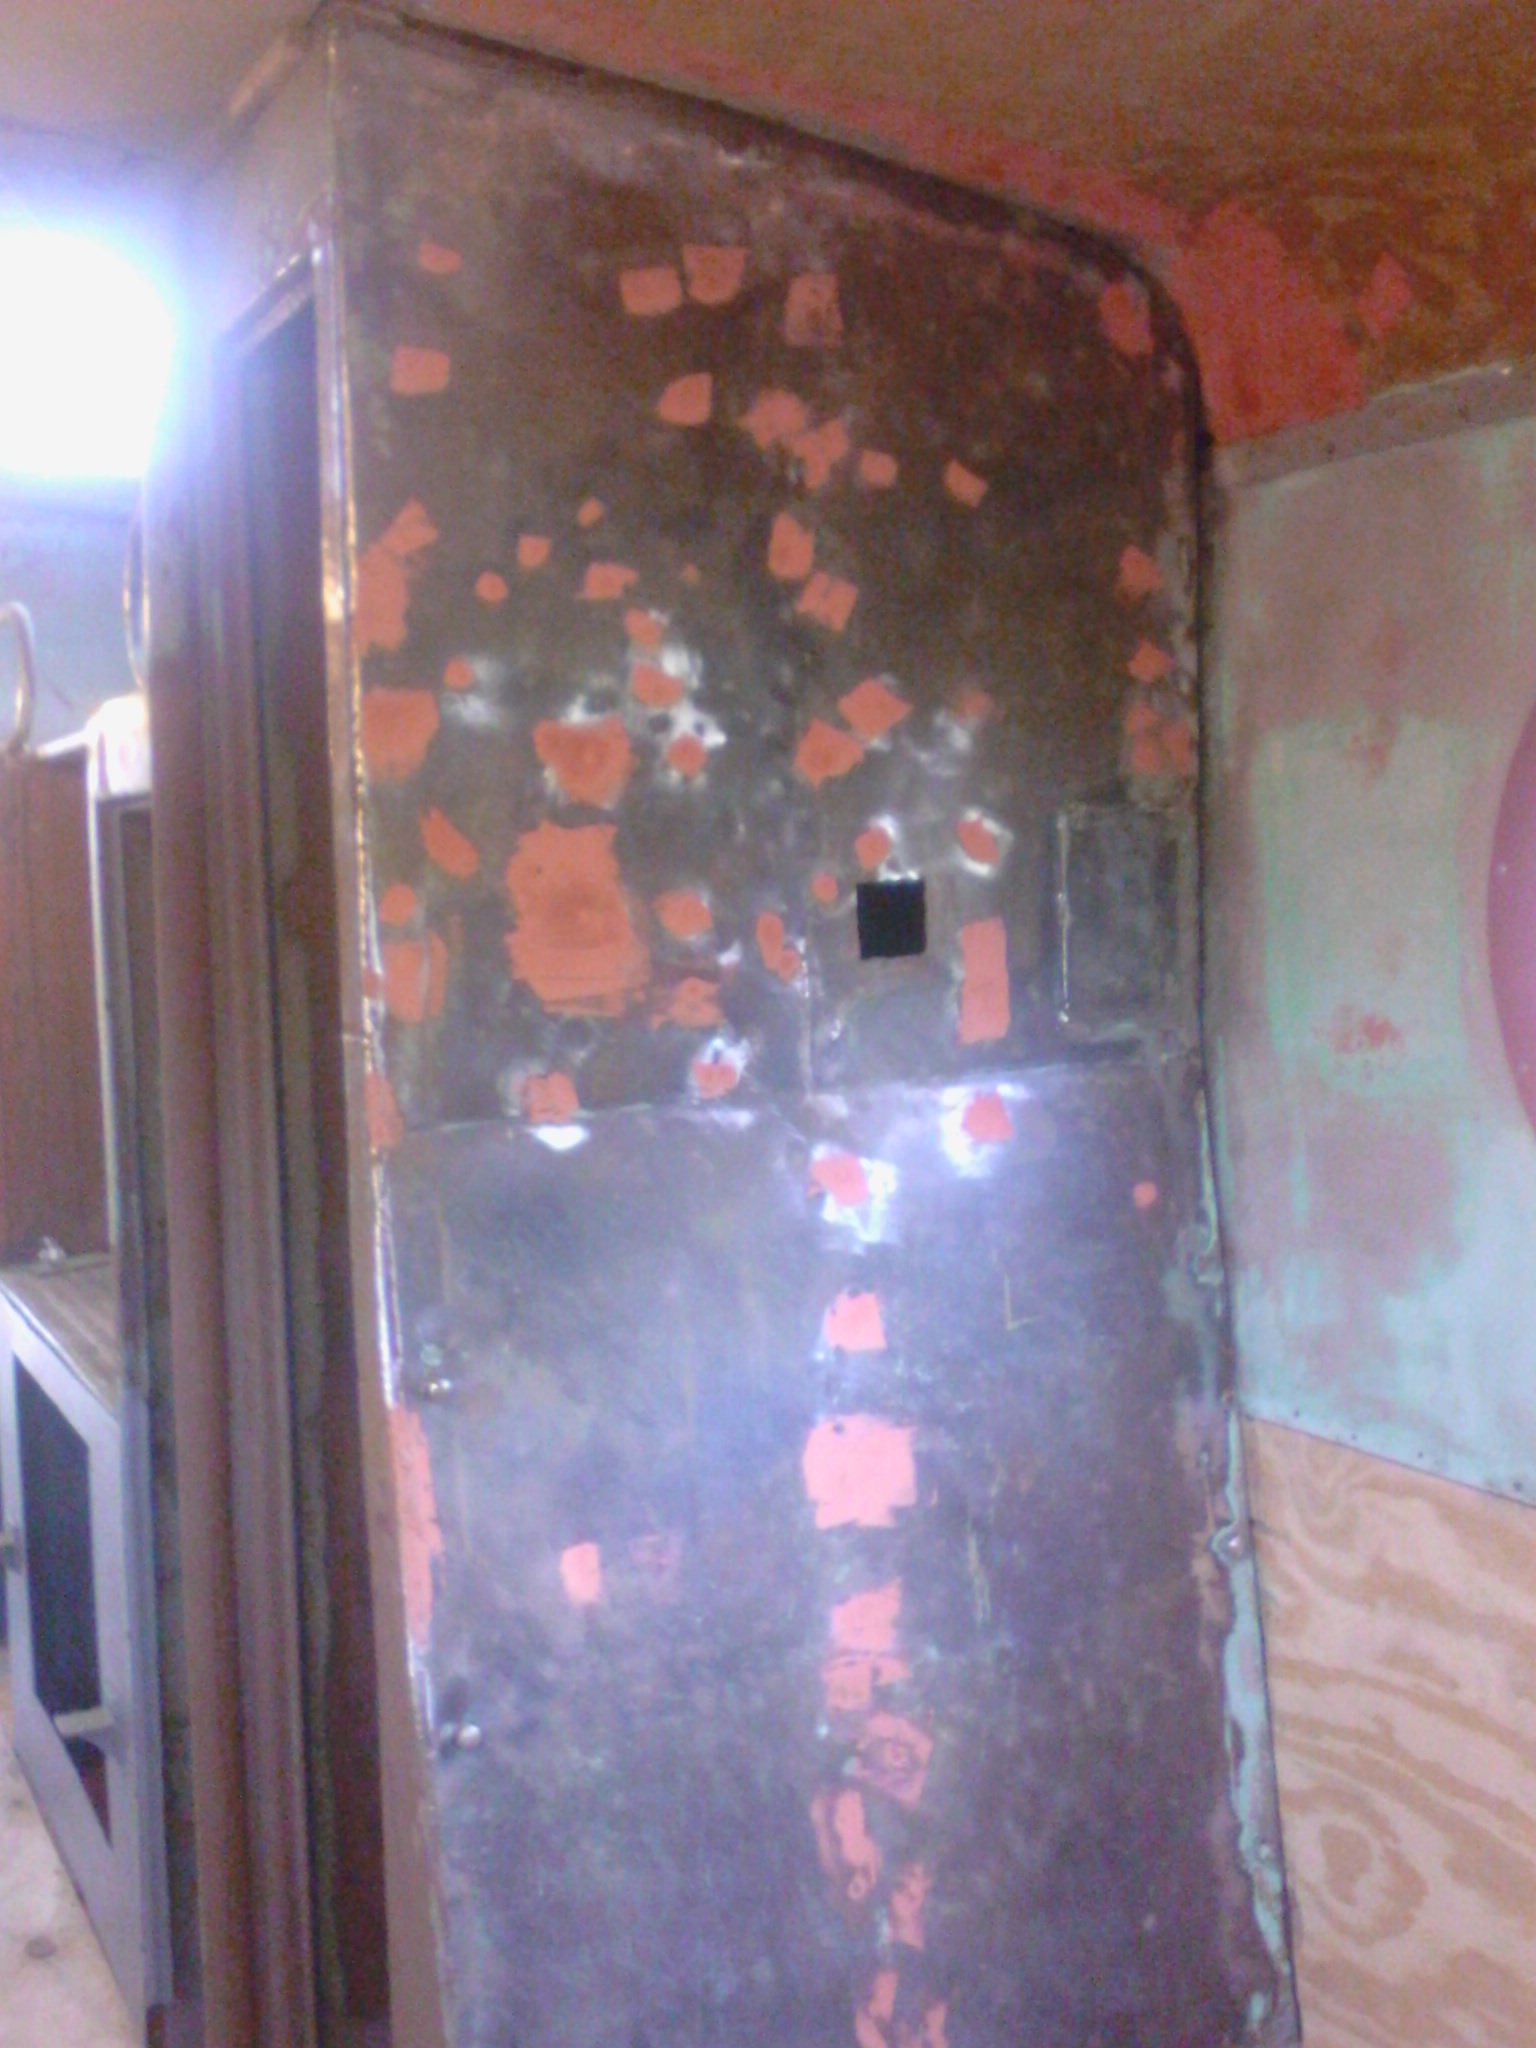
The above photos show the N5c prior to the start of restoration. After moving the car into the shop and inspecting it's condition, one can see that many items needed attention. Plans are to remove the Welded Plates that cover the Port Hole Windows and restore these back to PRR looks. As you can see PC and CR made many modifications. We have obtained 4 original PRR Cabin Car Steps to replace the late era PRR steps that were applied circa 1965. Here is a photo of the PRR Step test fitted.
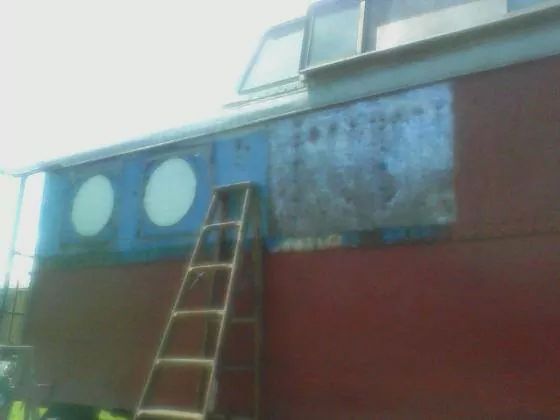
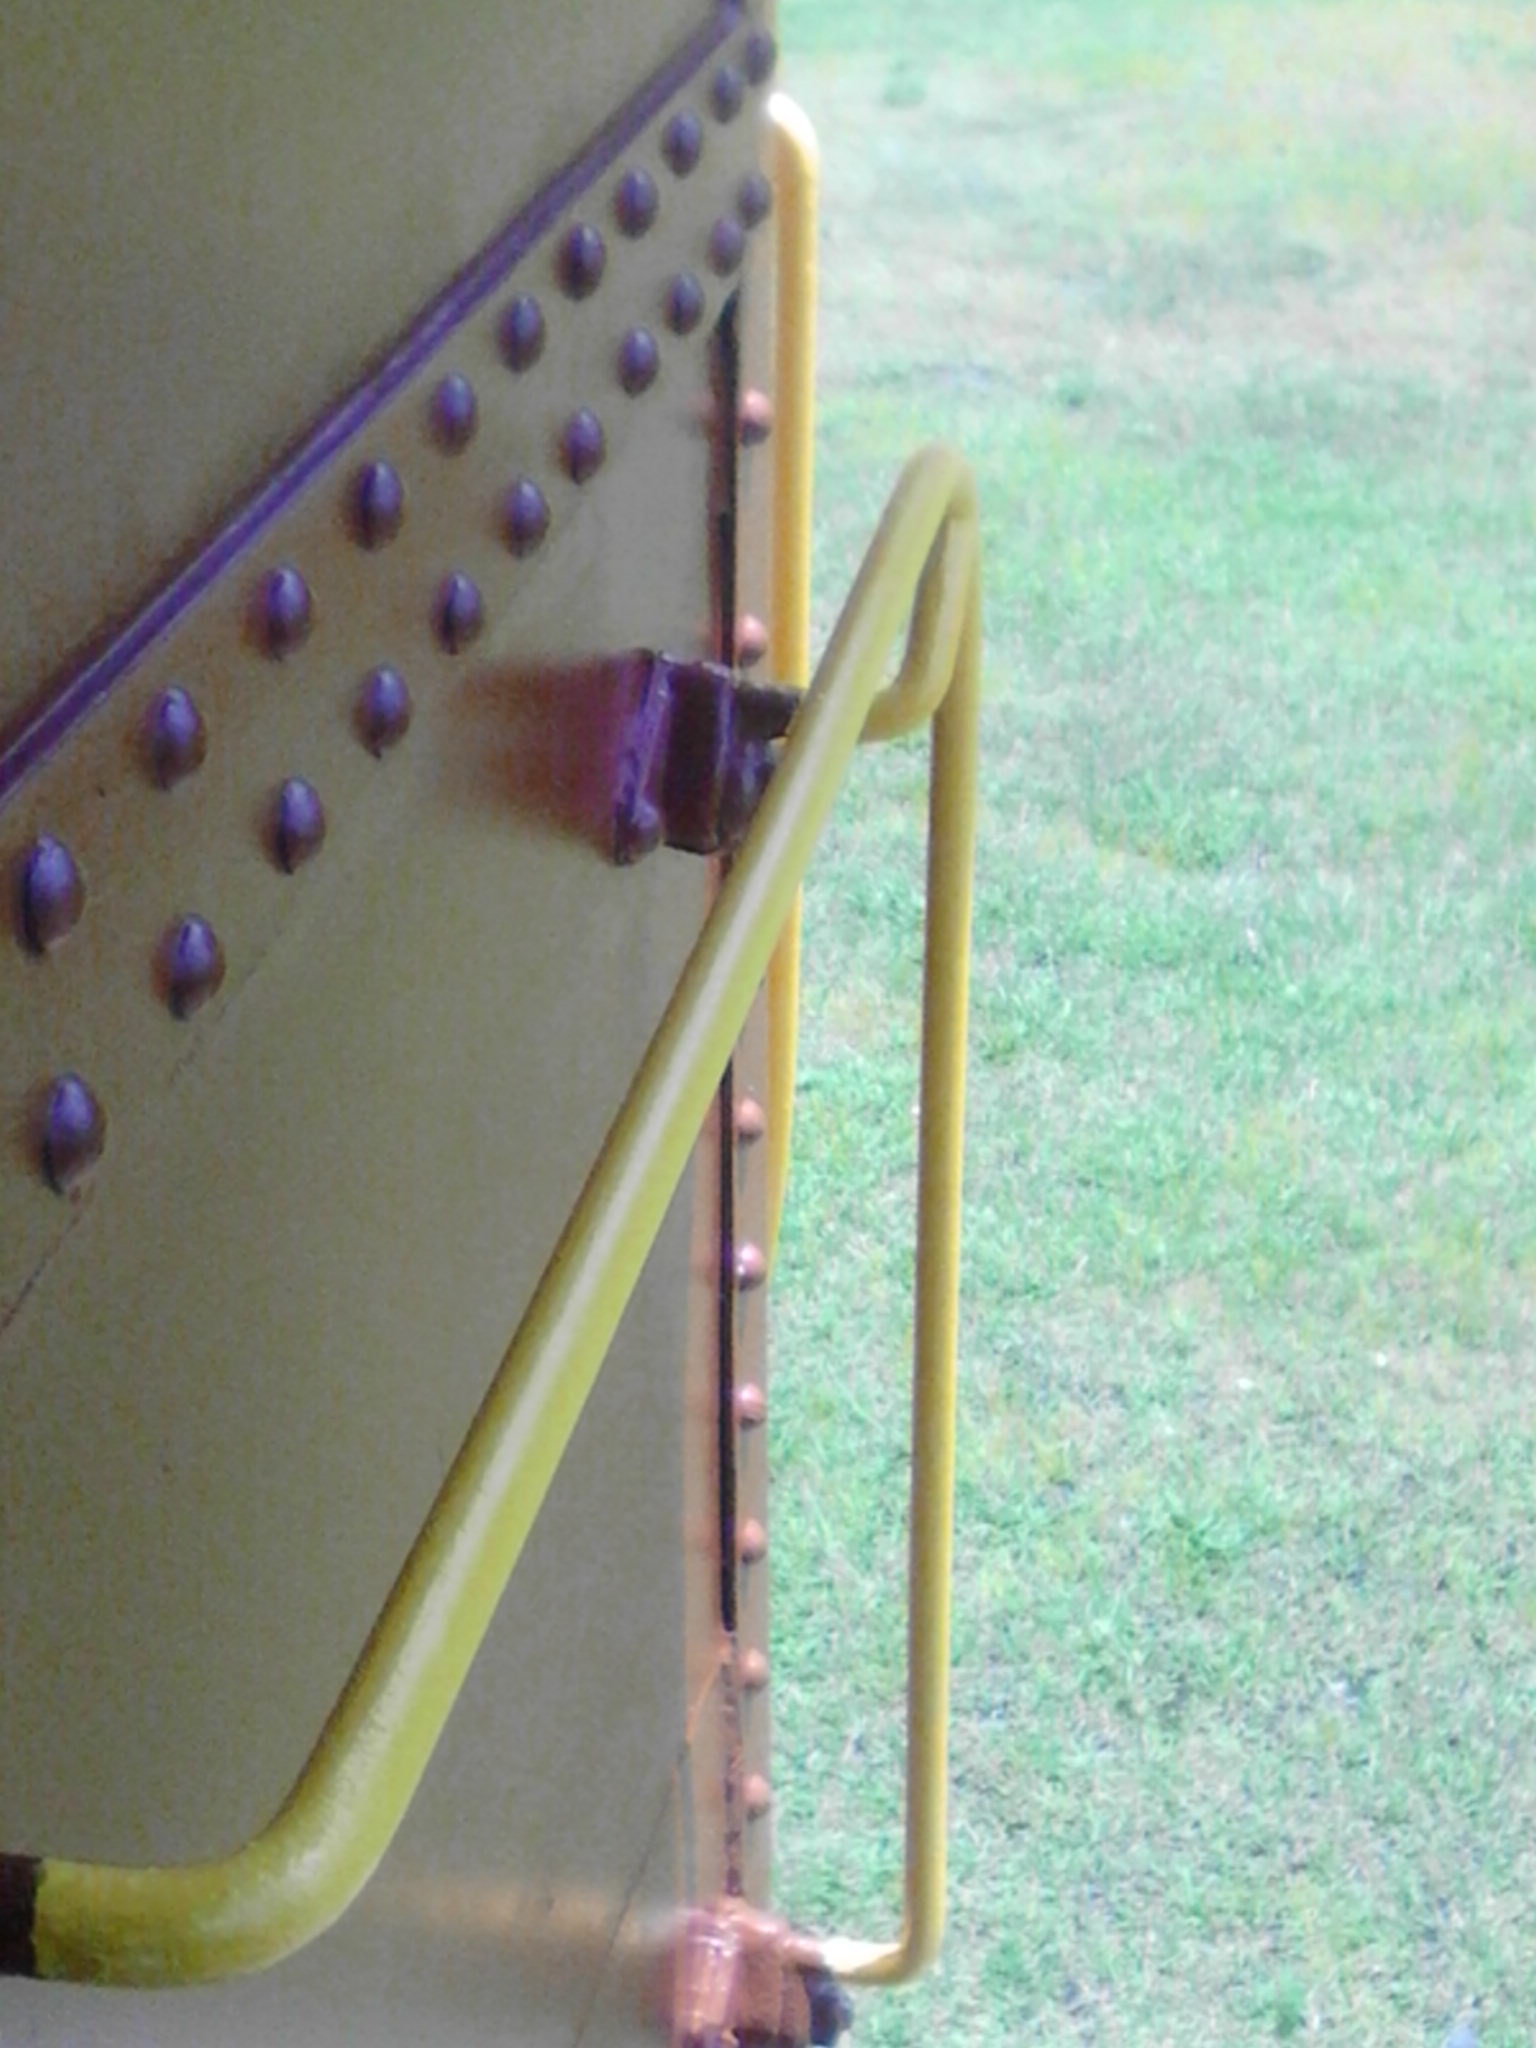
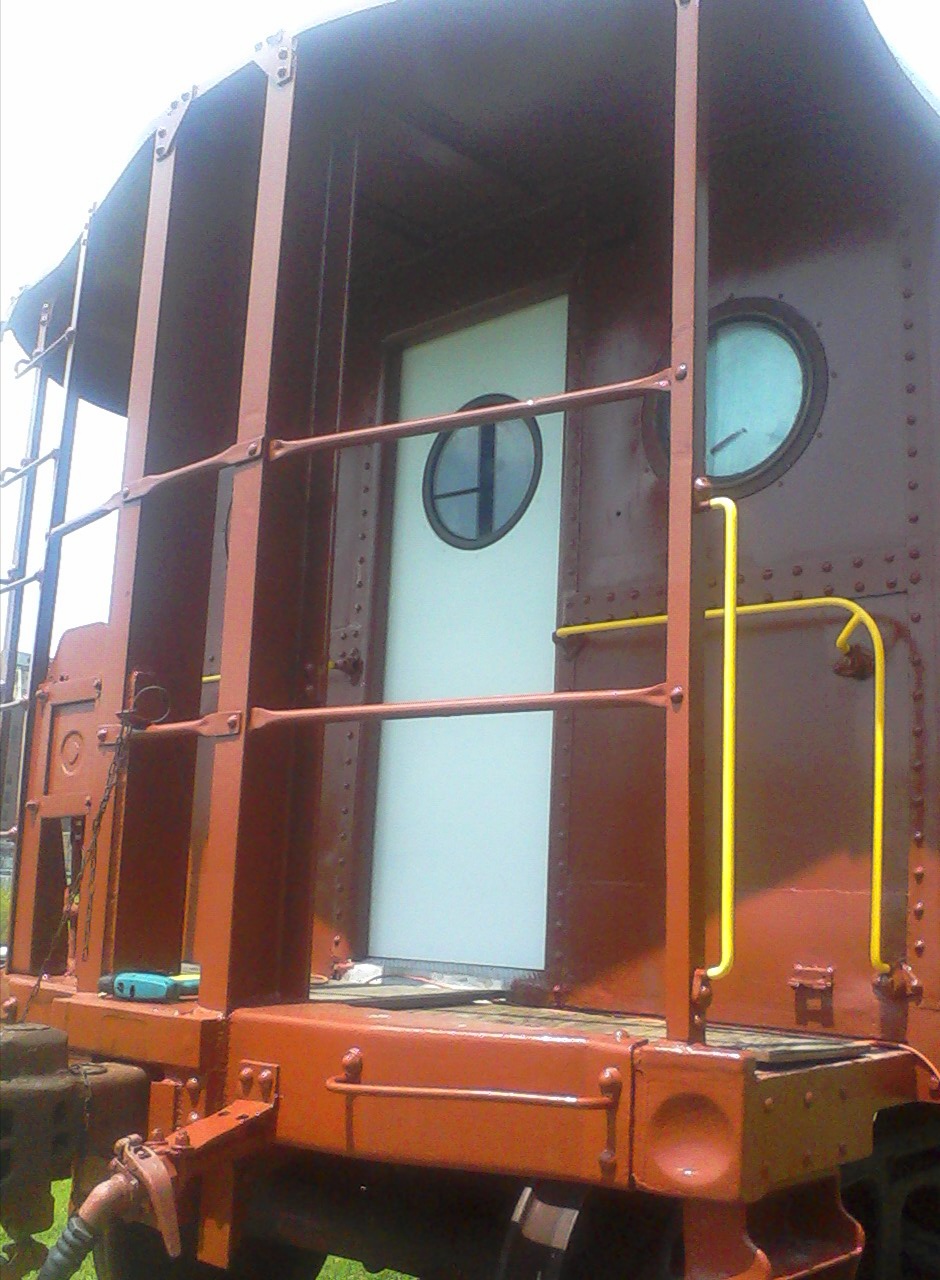
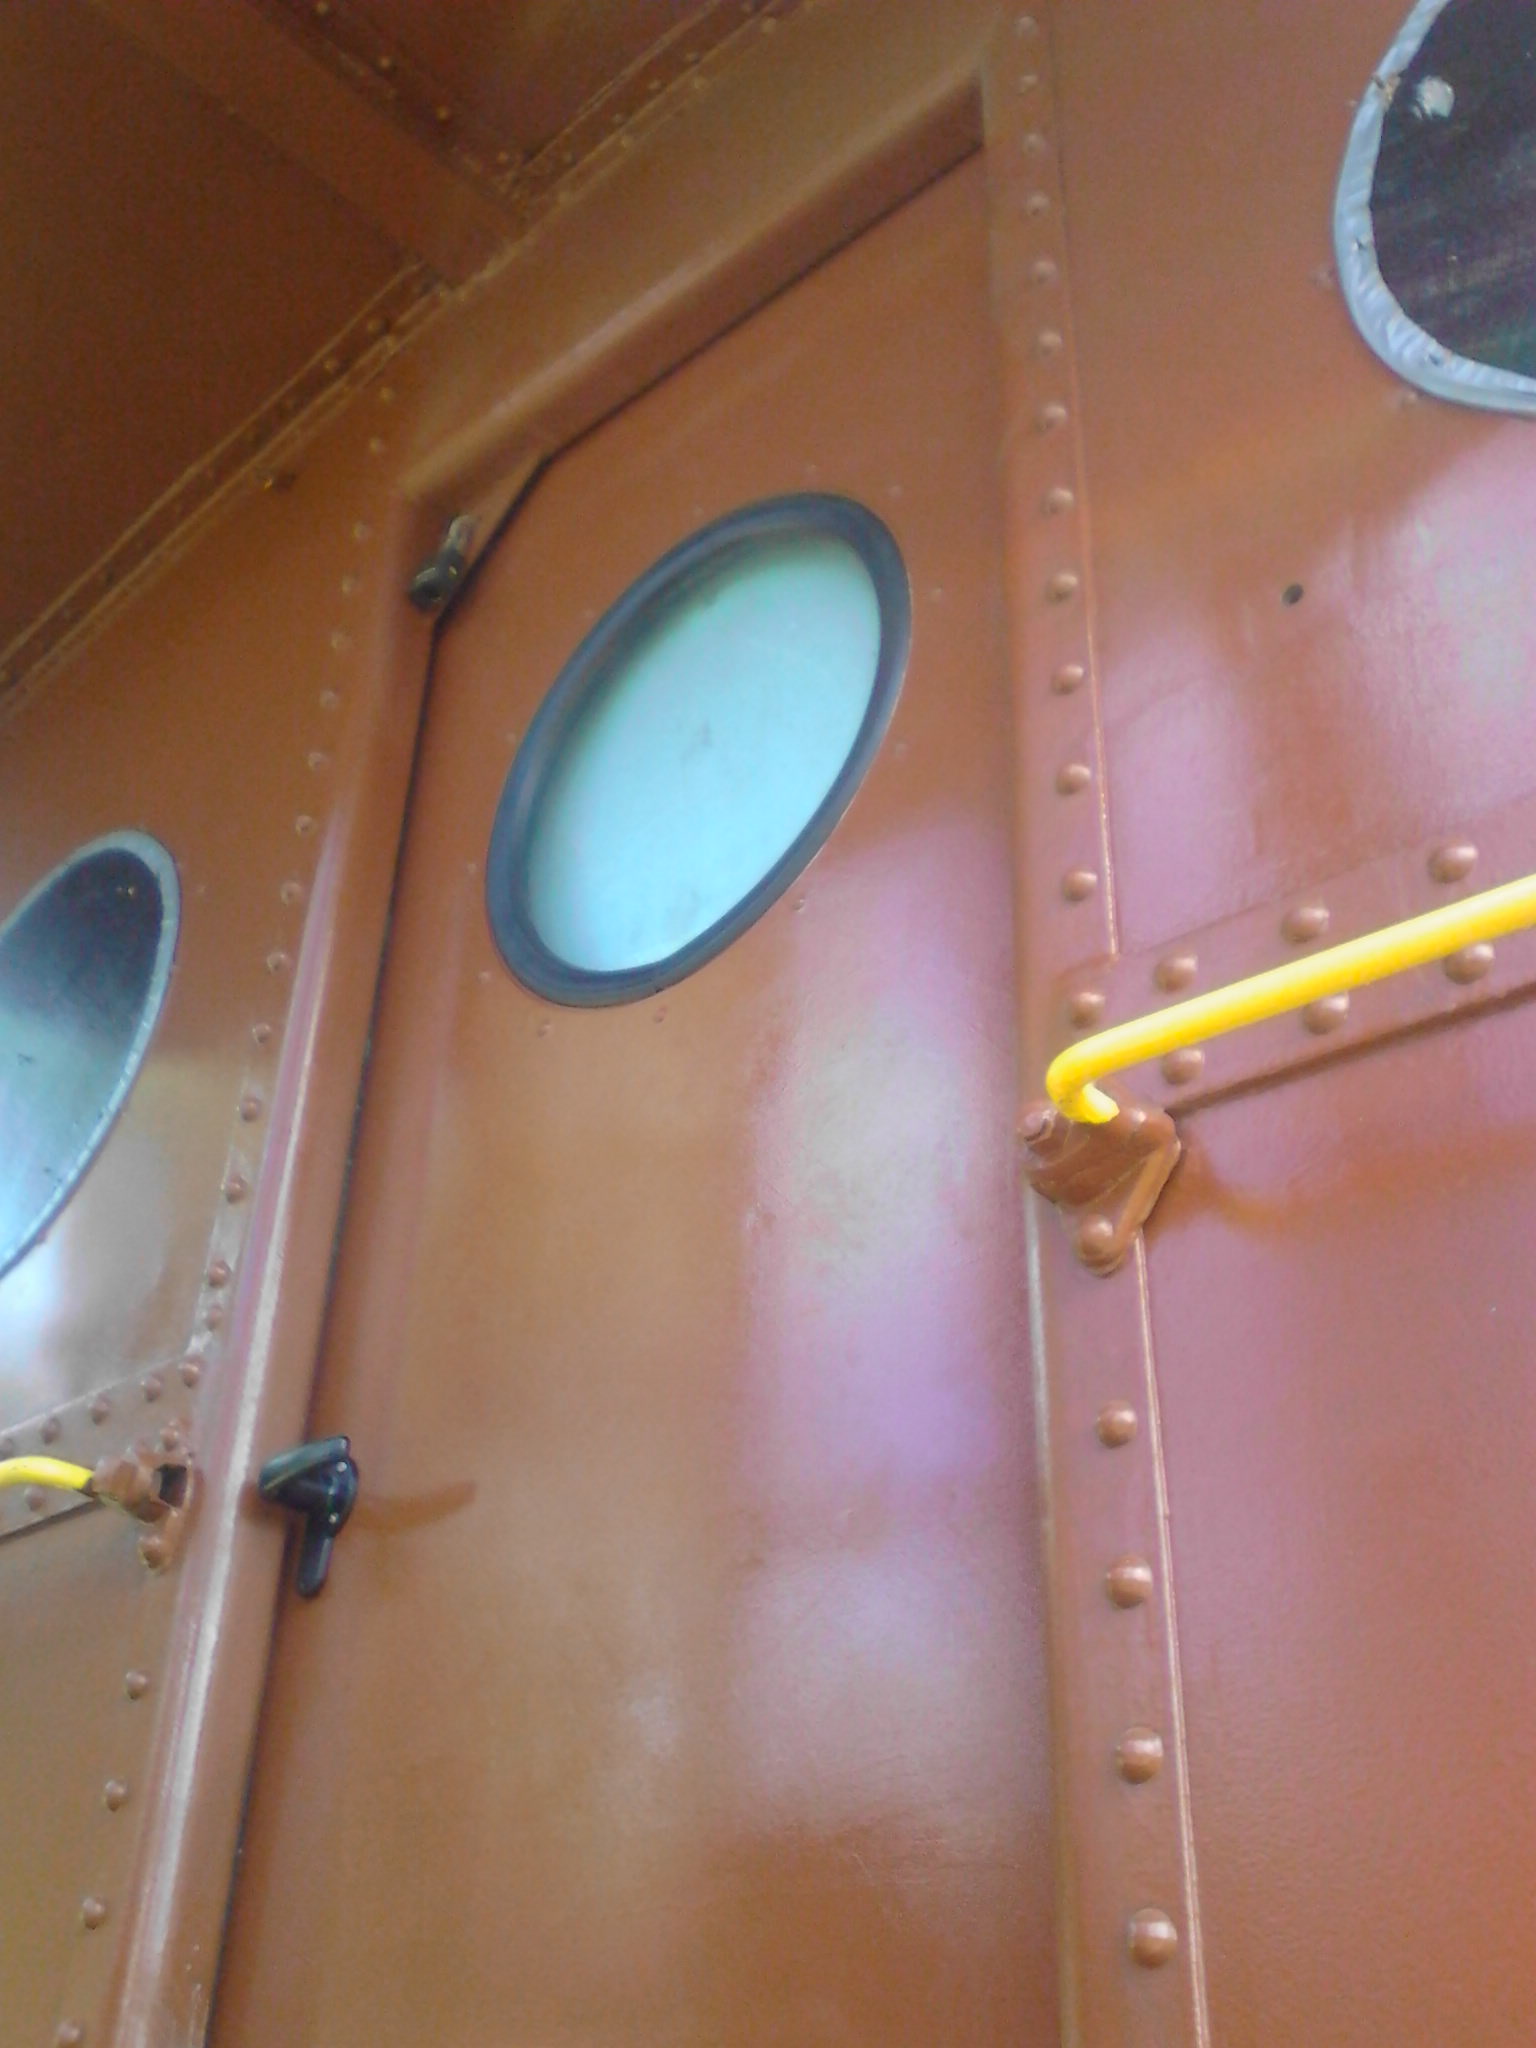
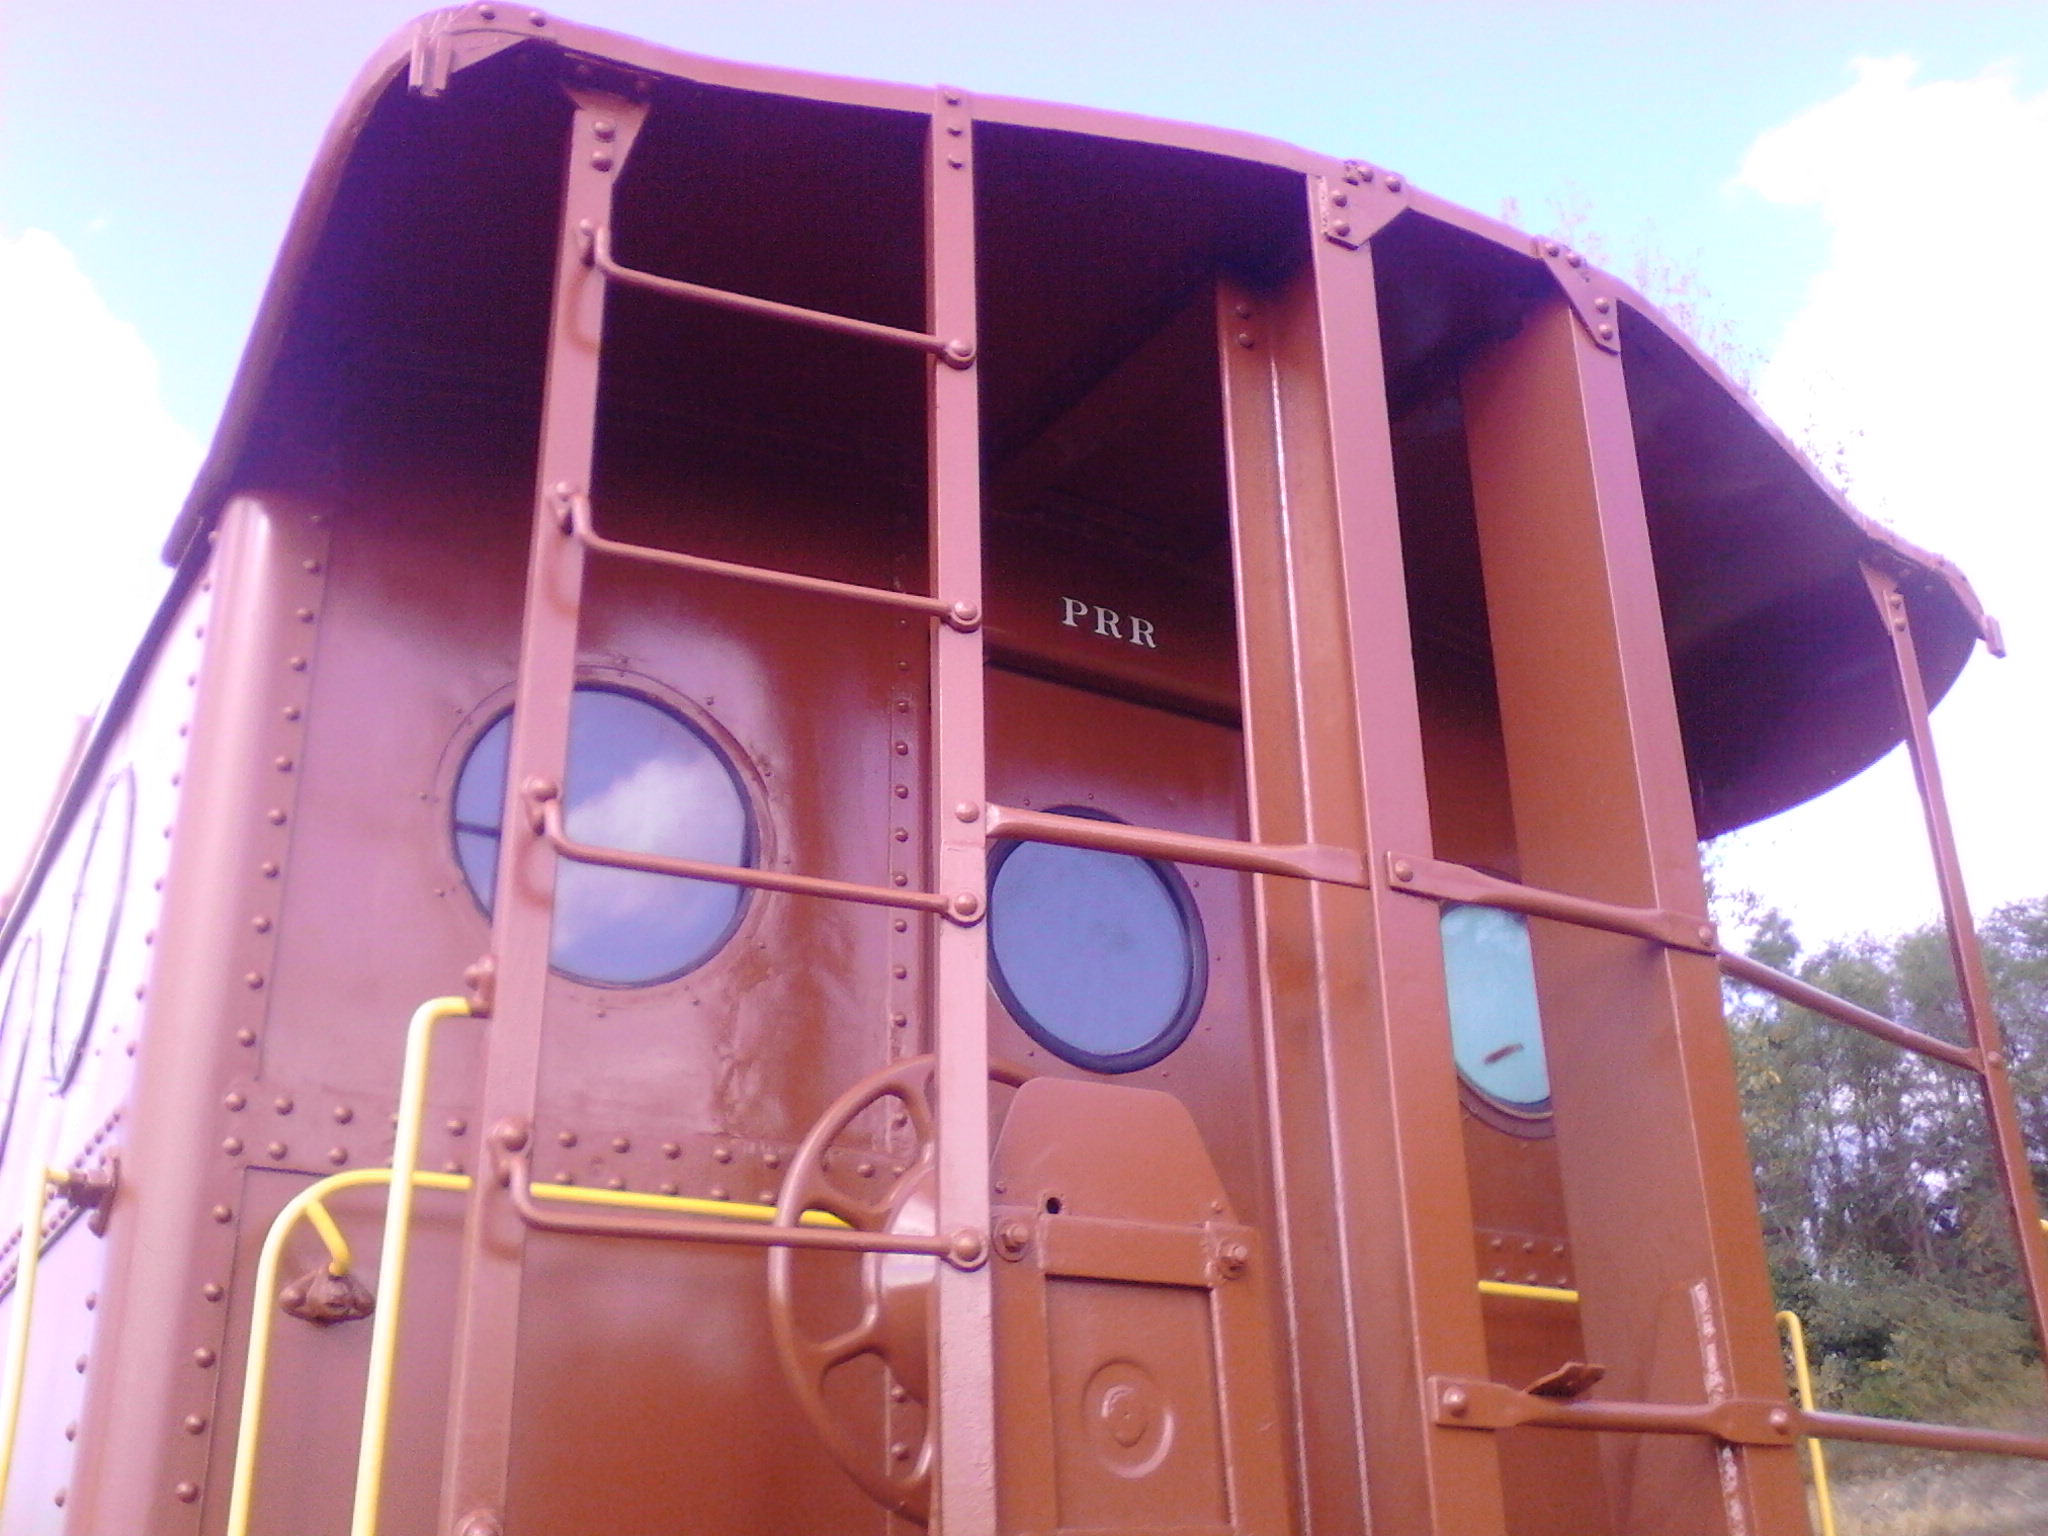
Plans are made to also back date the end platform railings to the normal configuration and the addition to a full ladder and roof walks. No Train Phone Antenna on this restored N5c as records show the 477974 did not have this feature. As you can see, the Cupola windows will need lots of restoration also. Major work on the rusted body sides is on the agenda too. The removal and instalation of many rivits and new steel sheeting should do wonders.
*****
These 2 photos show the first of the restoration process. The removal of the Steel Kick Plate that was welded in place on the end platform in later years. Now that this has been removed the relocation of the railings can be done.
*****
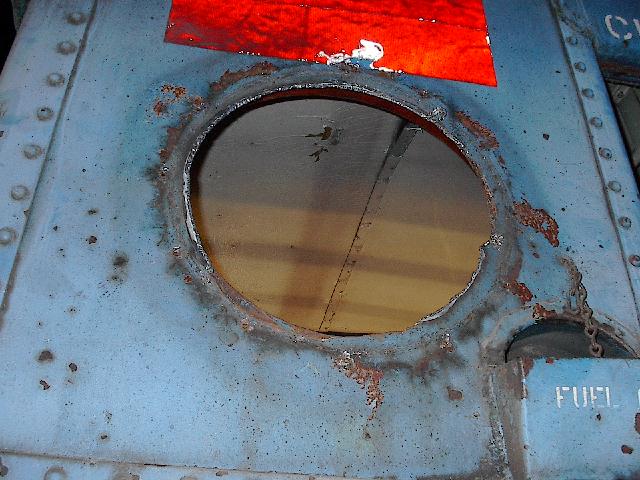
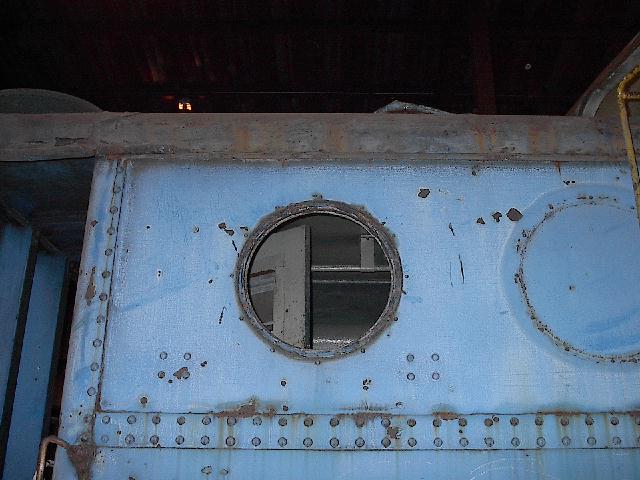
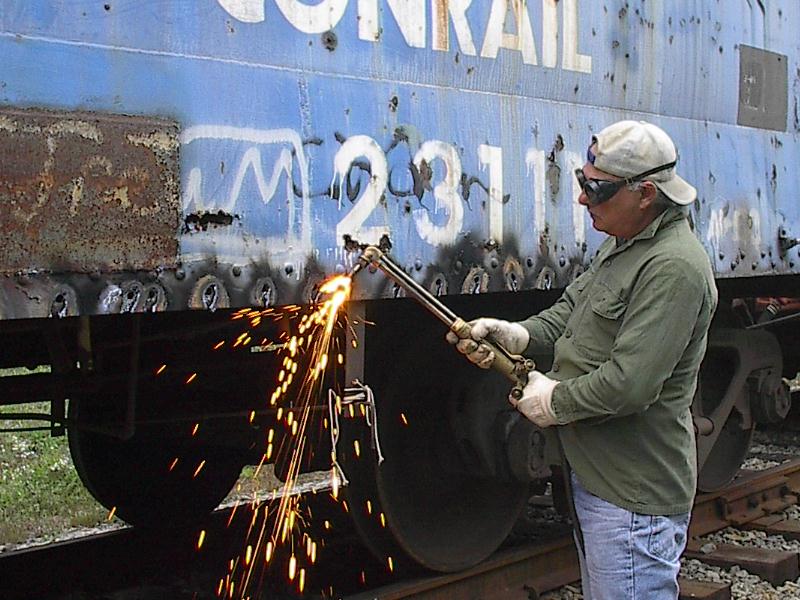
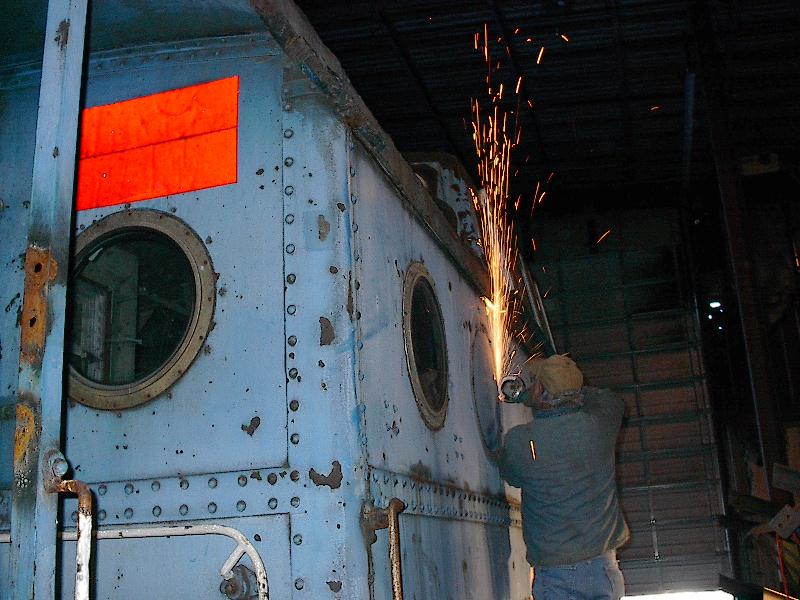
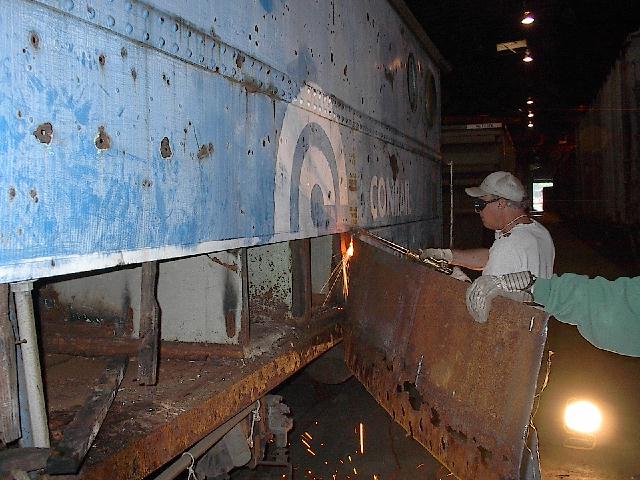
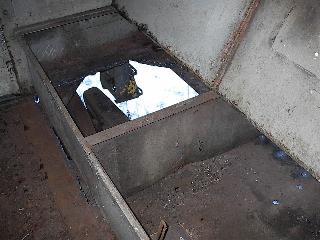
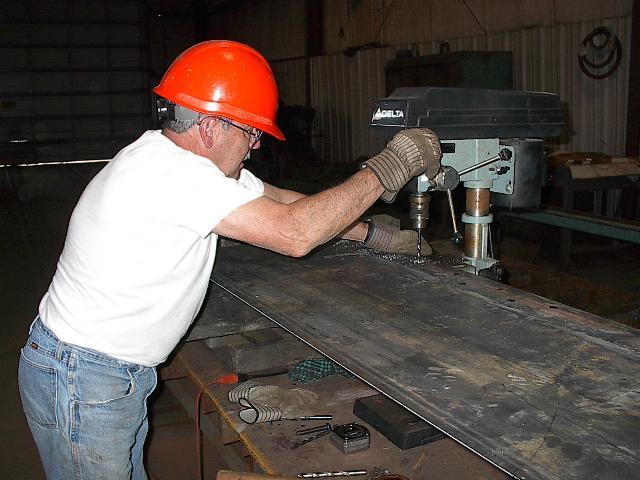
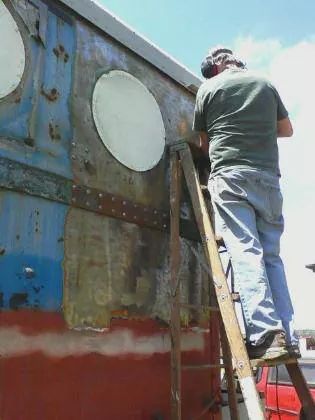
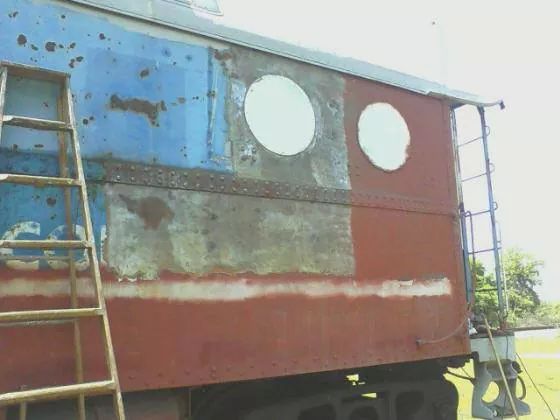
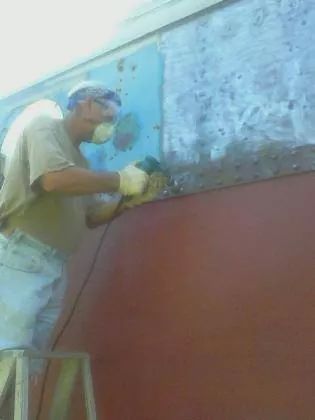
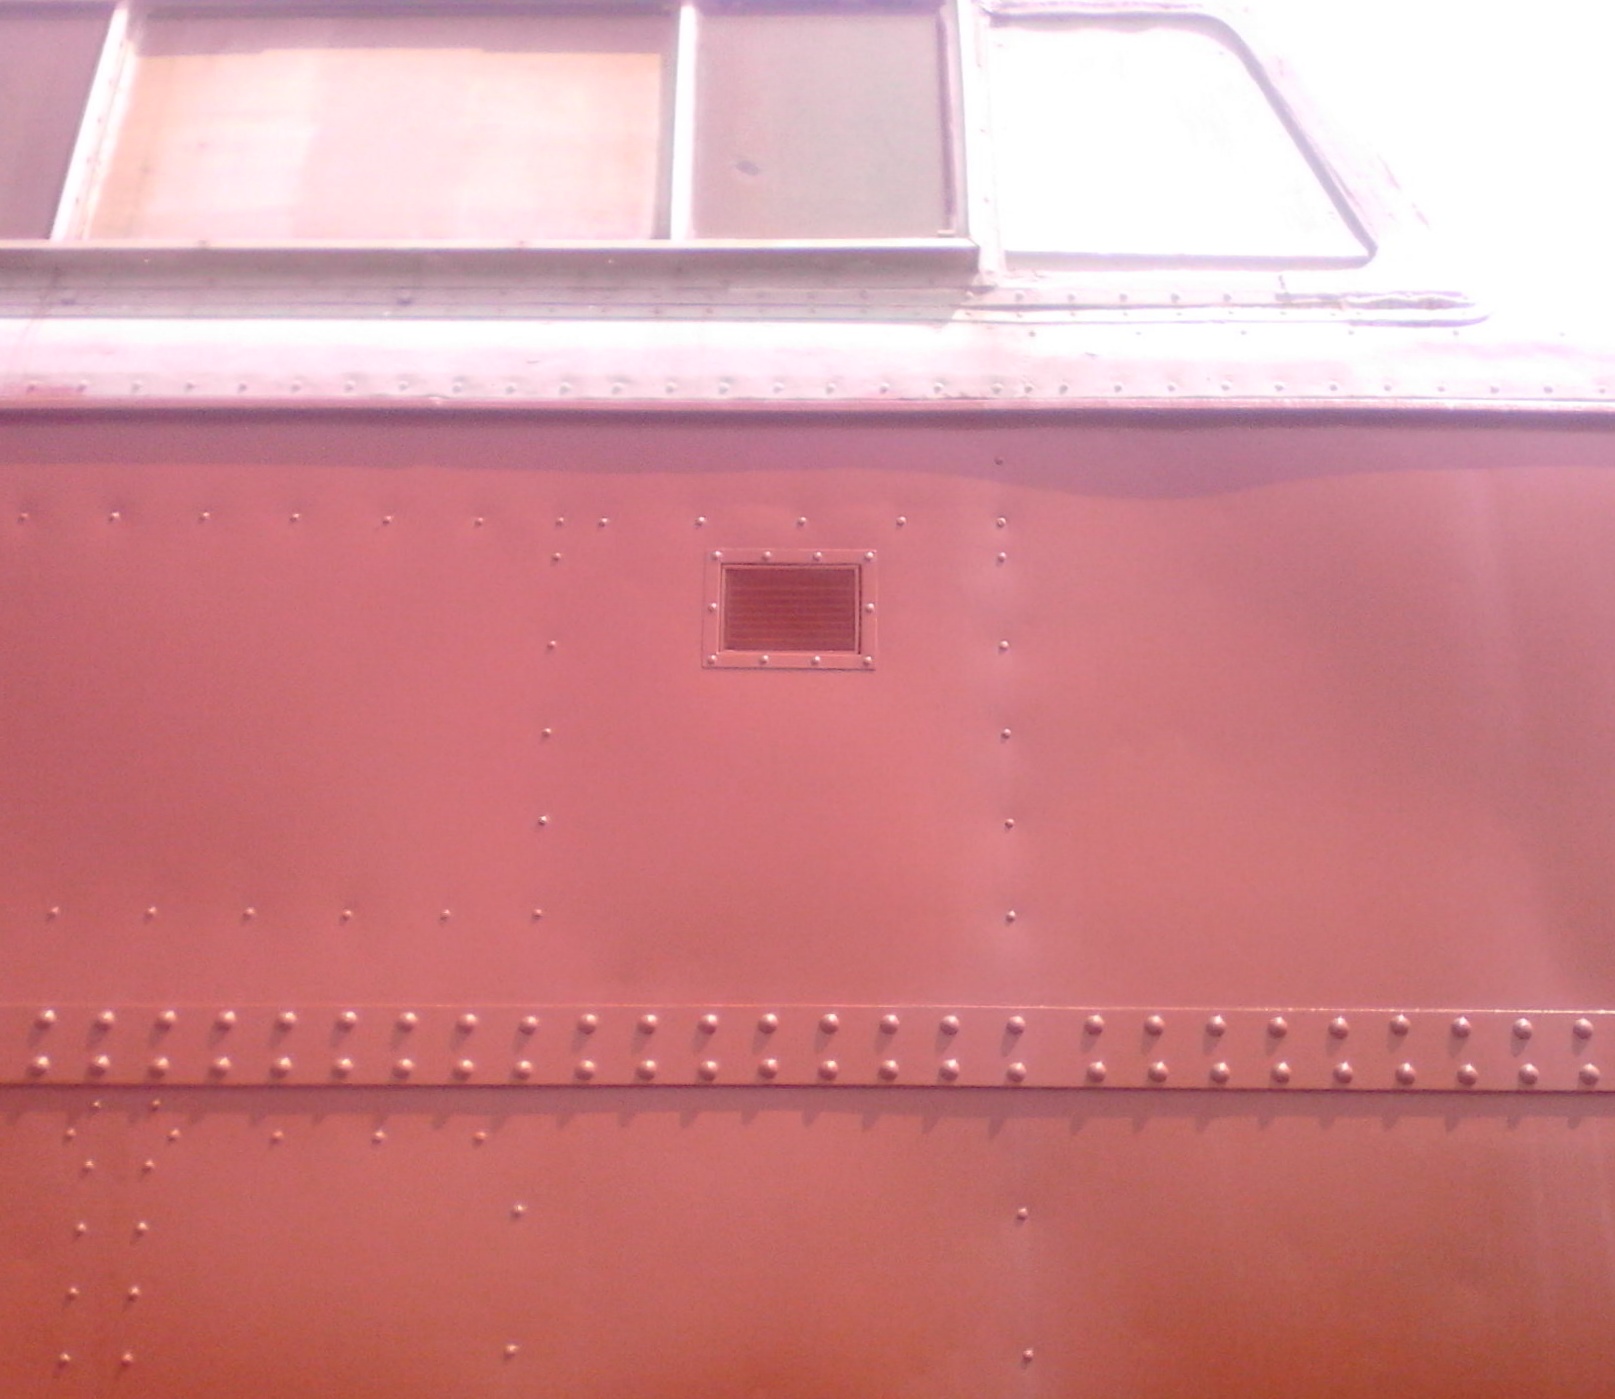
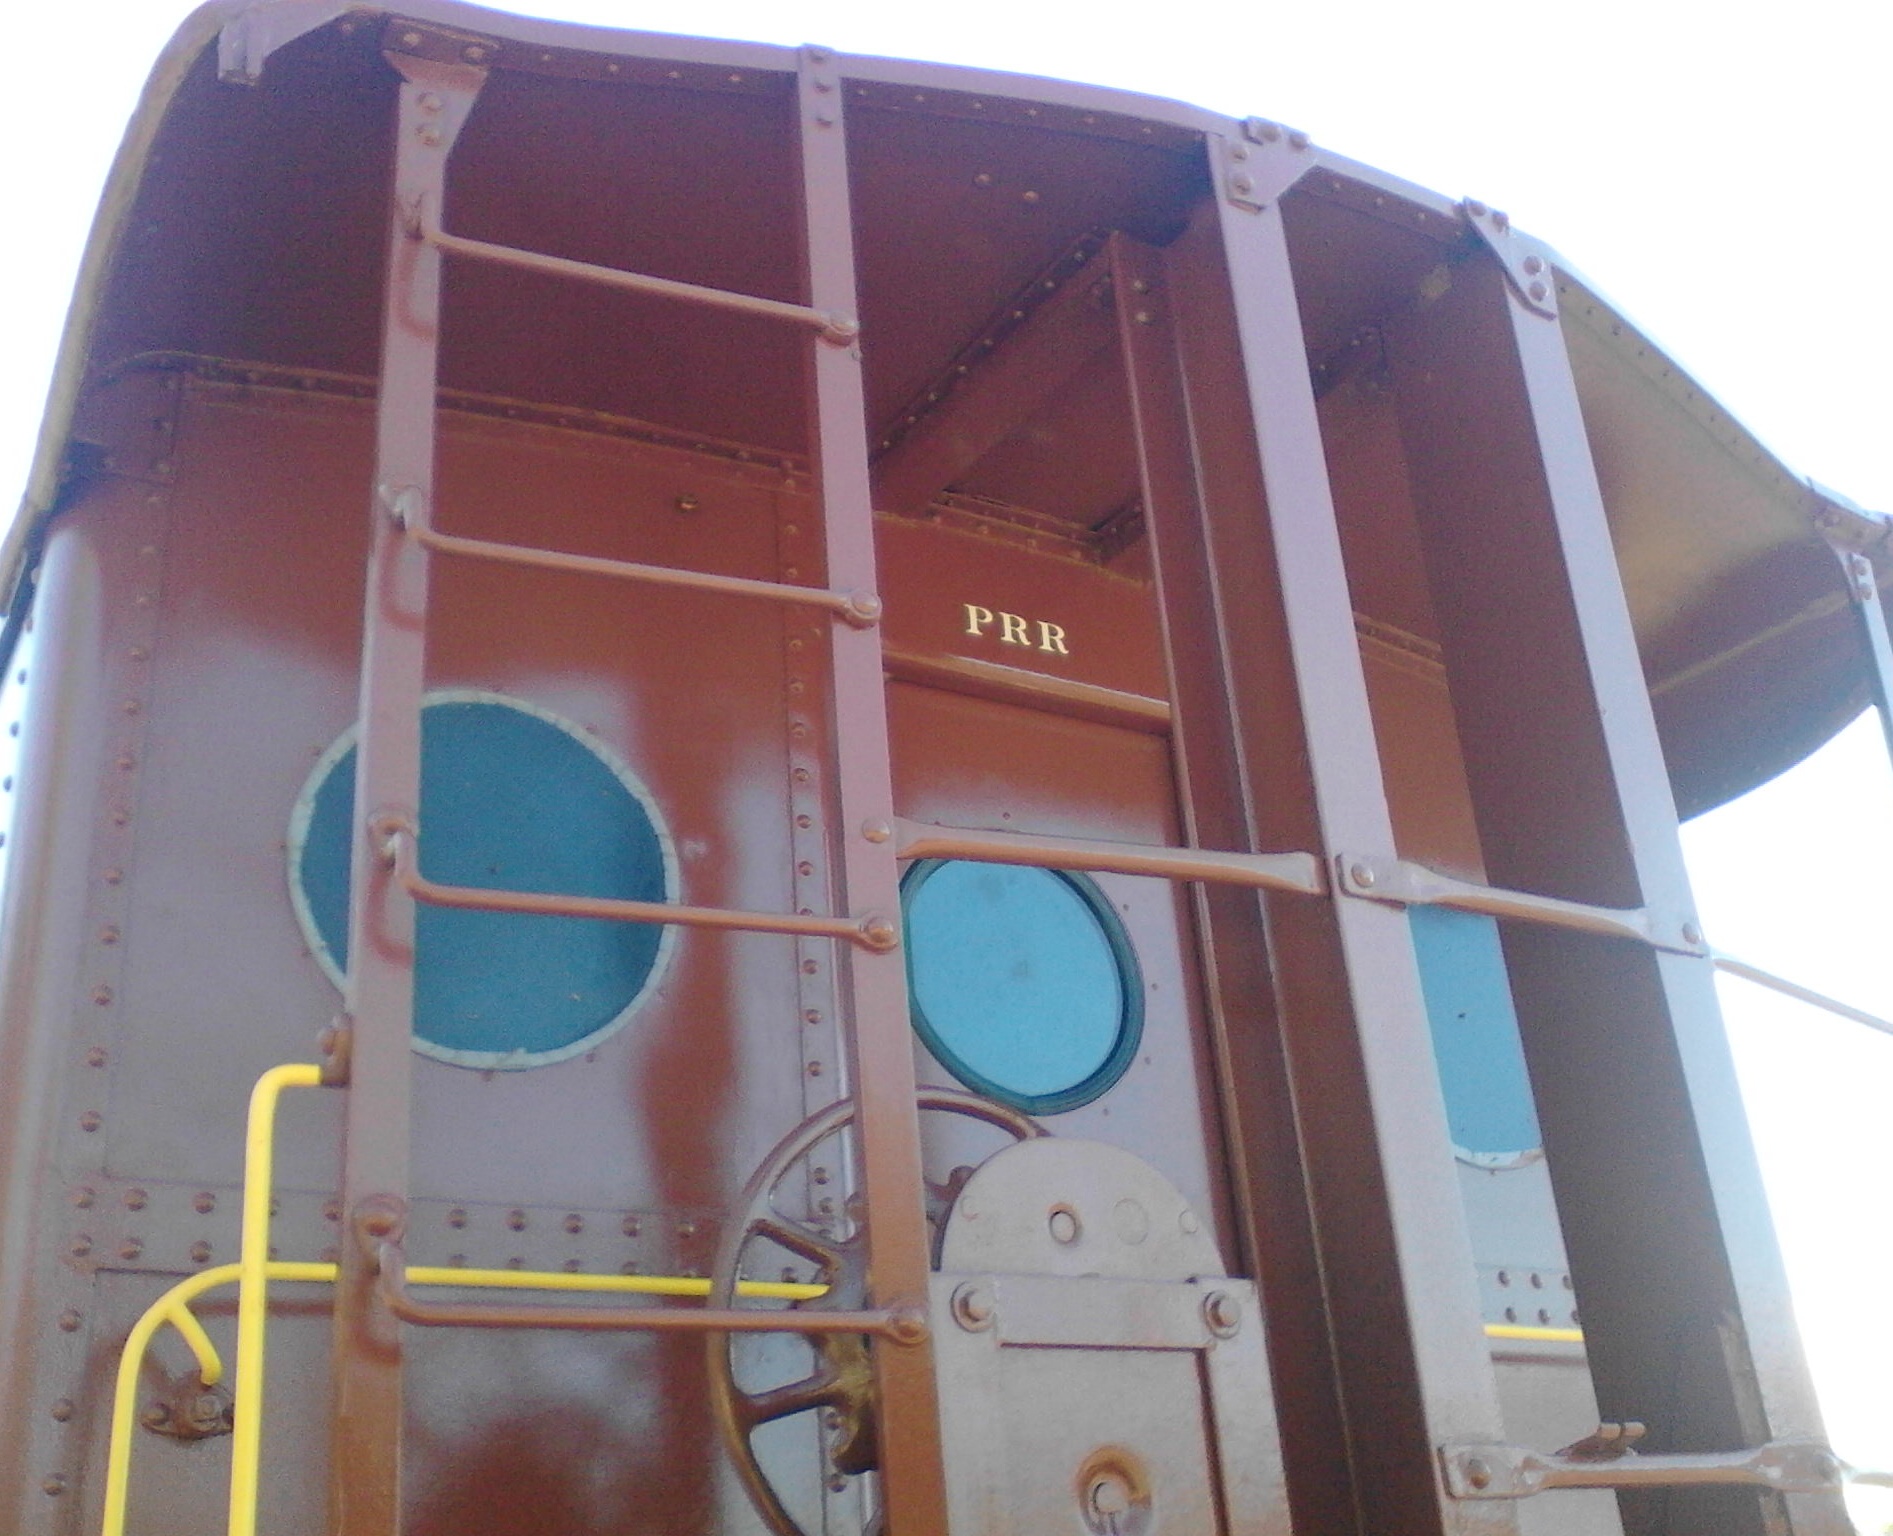
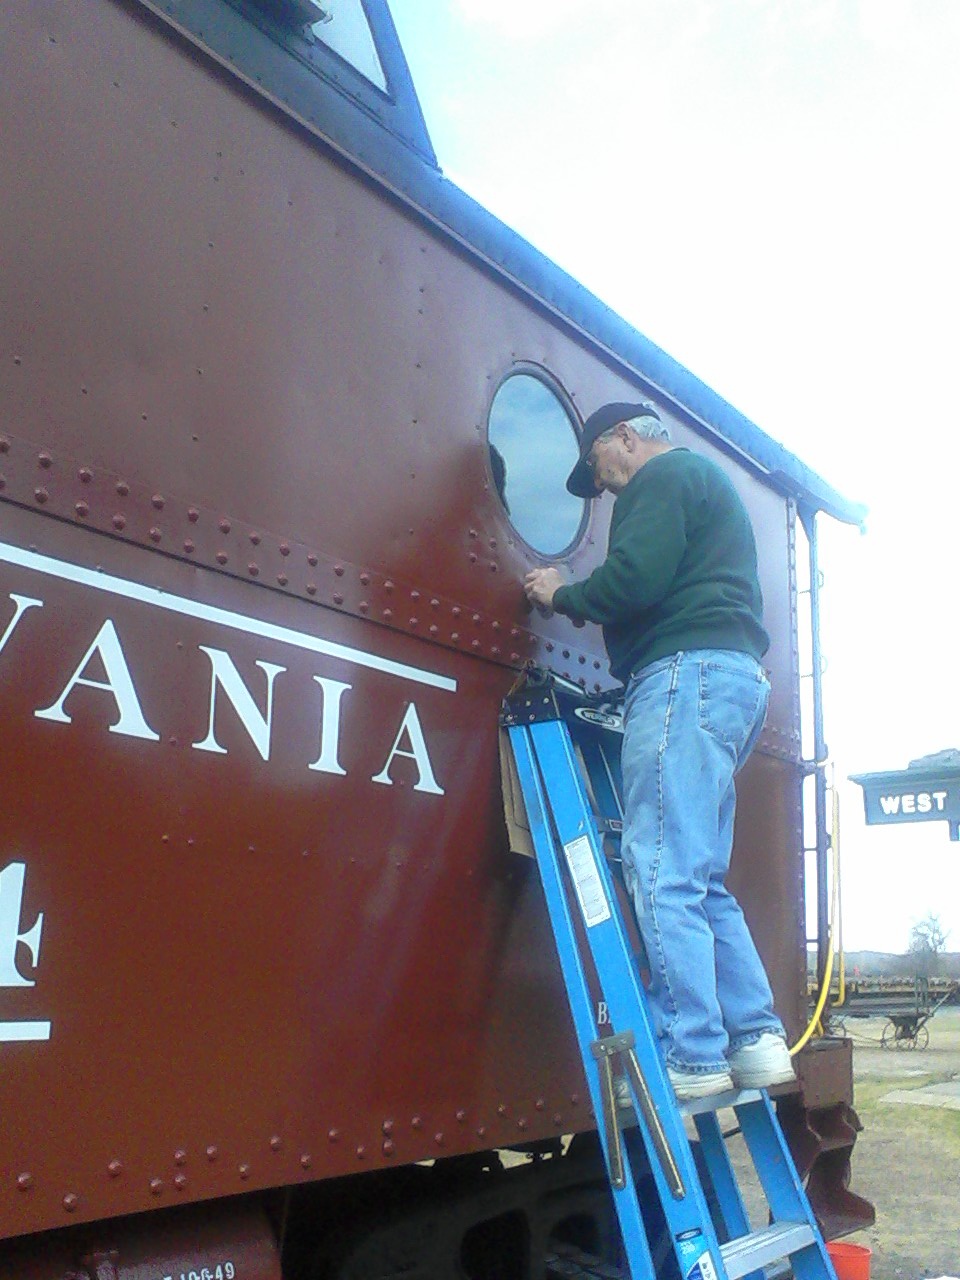
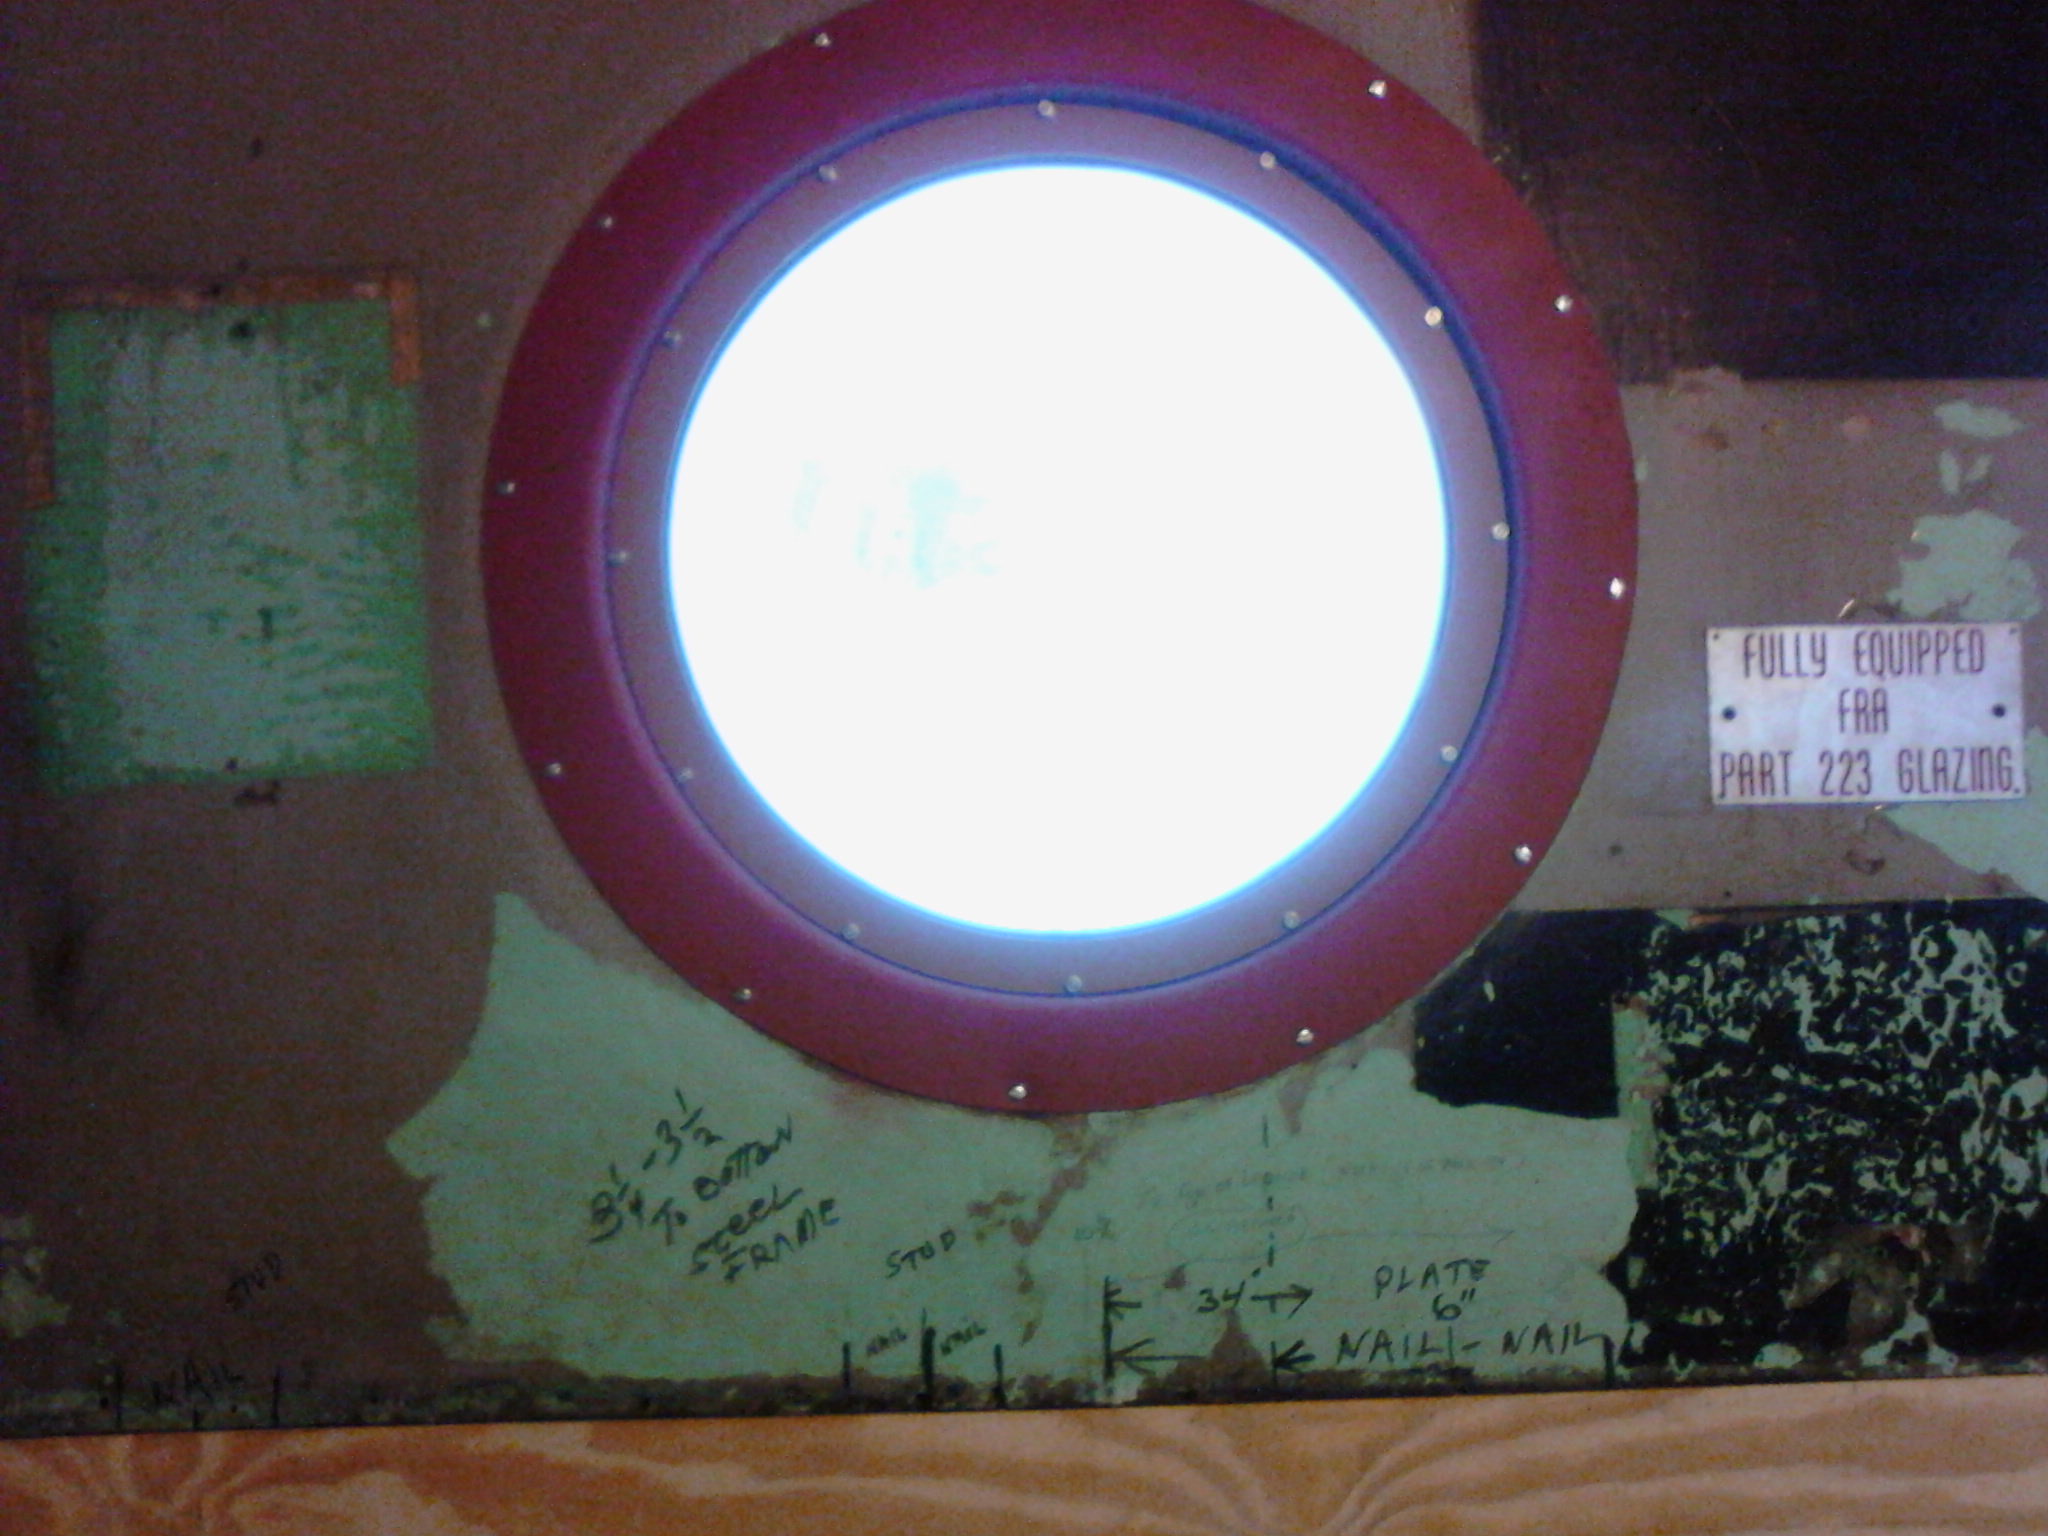
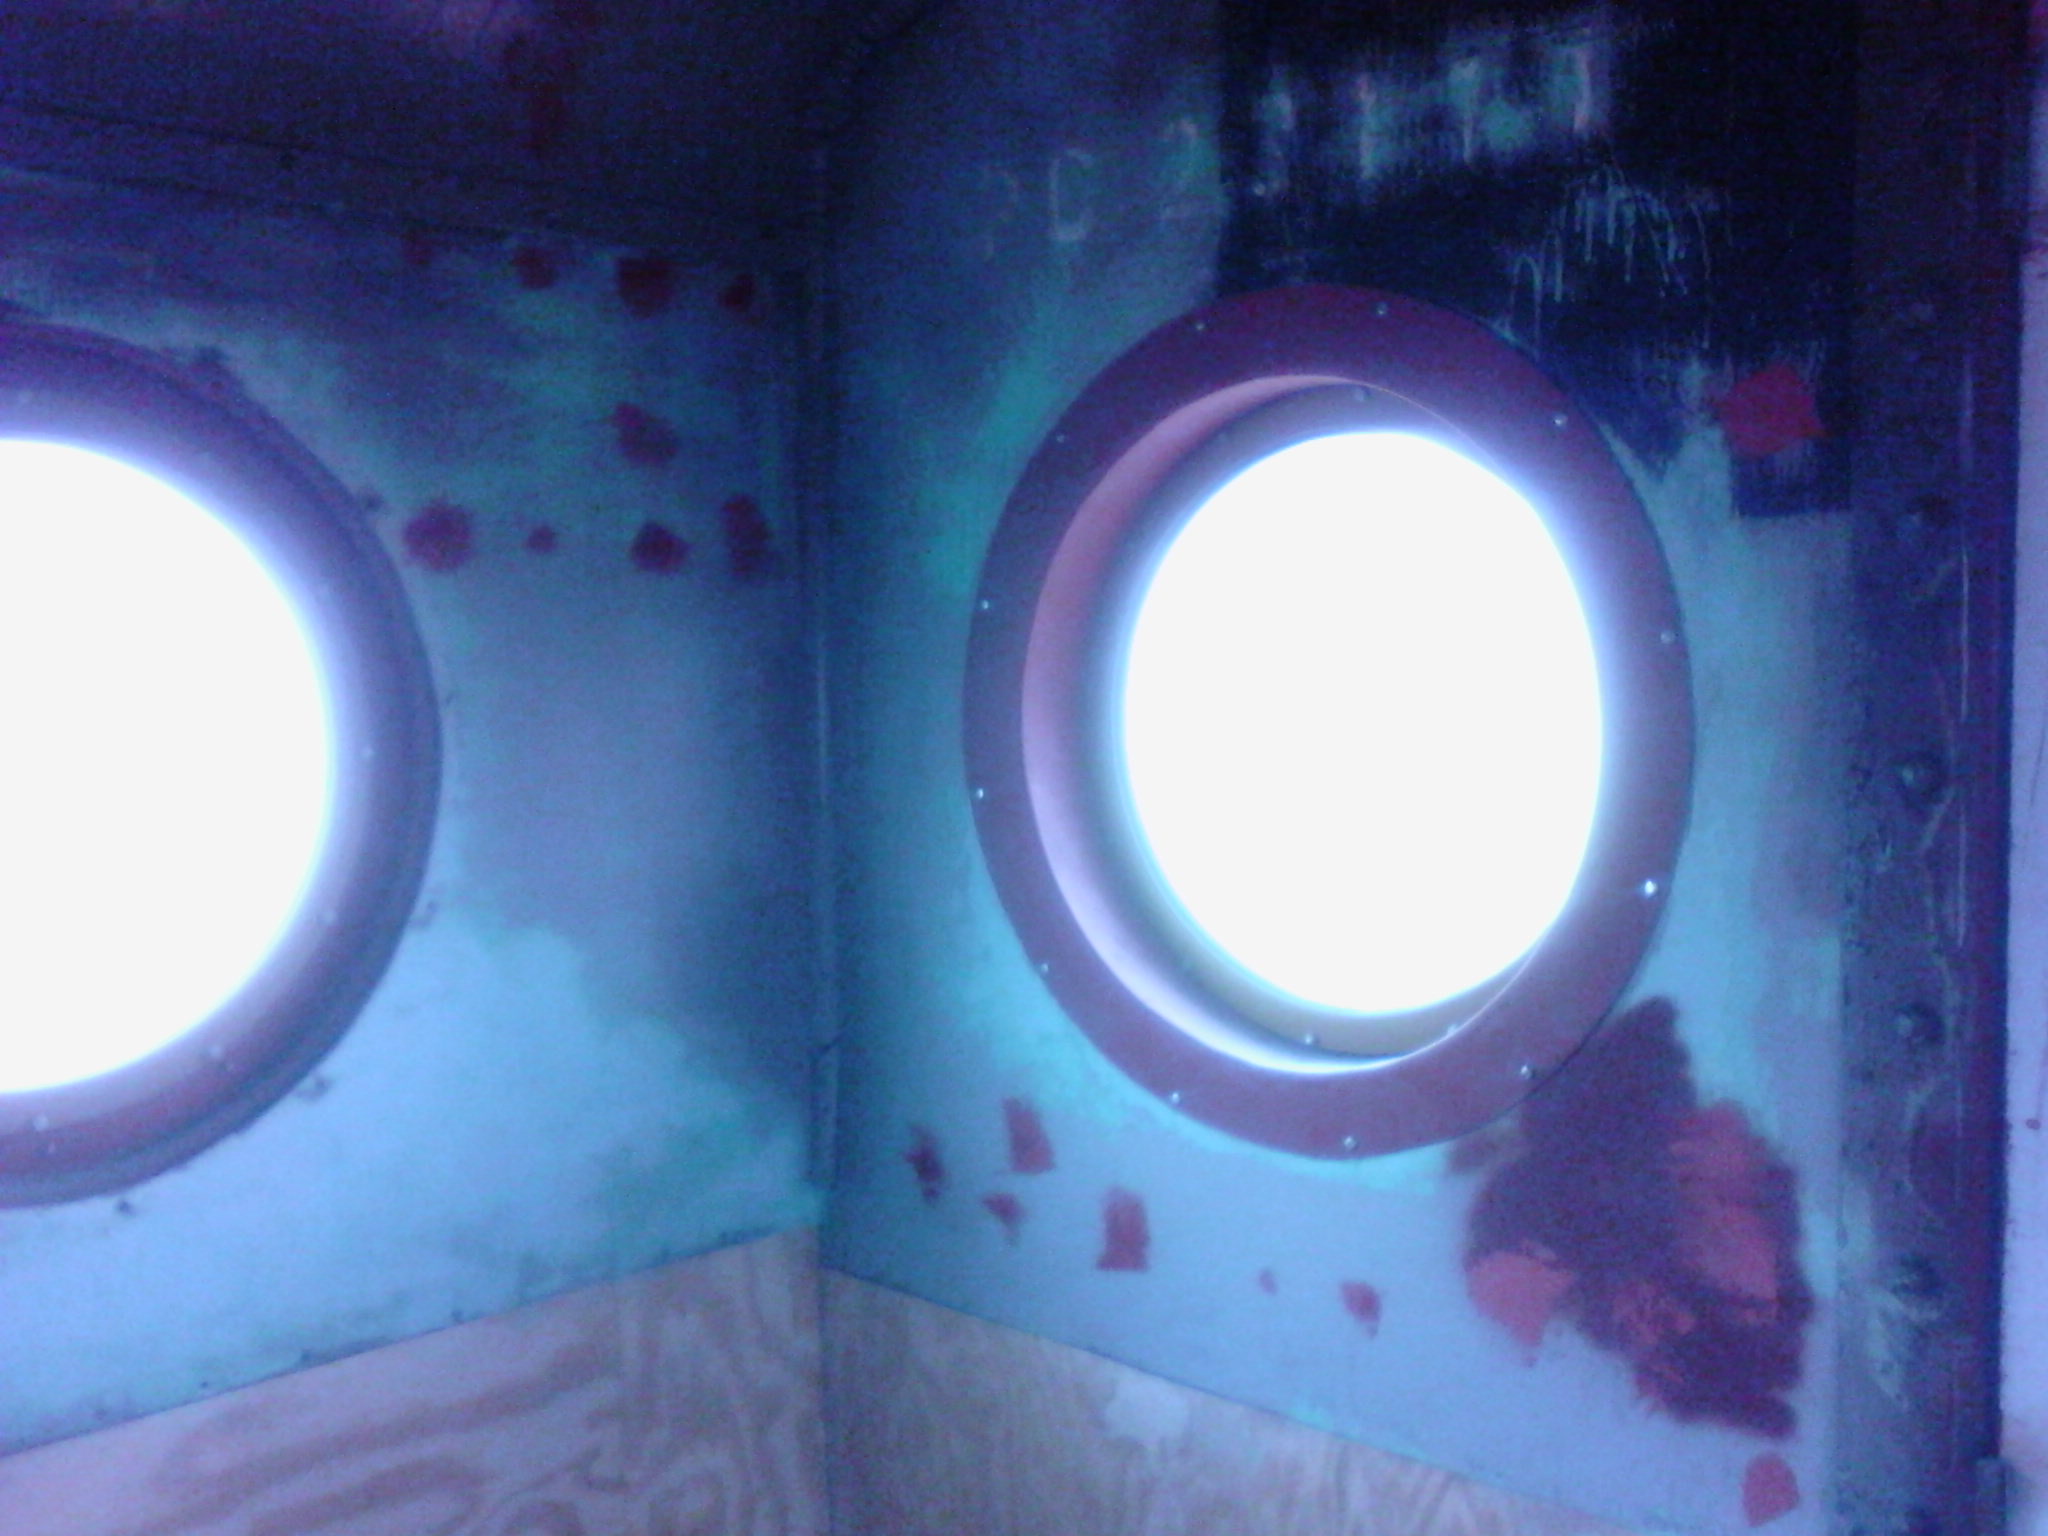
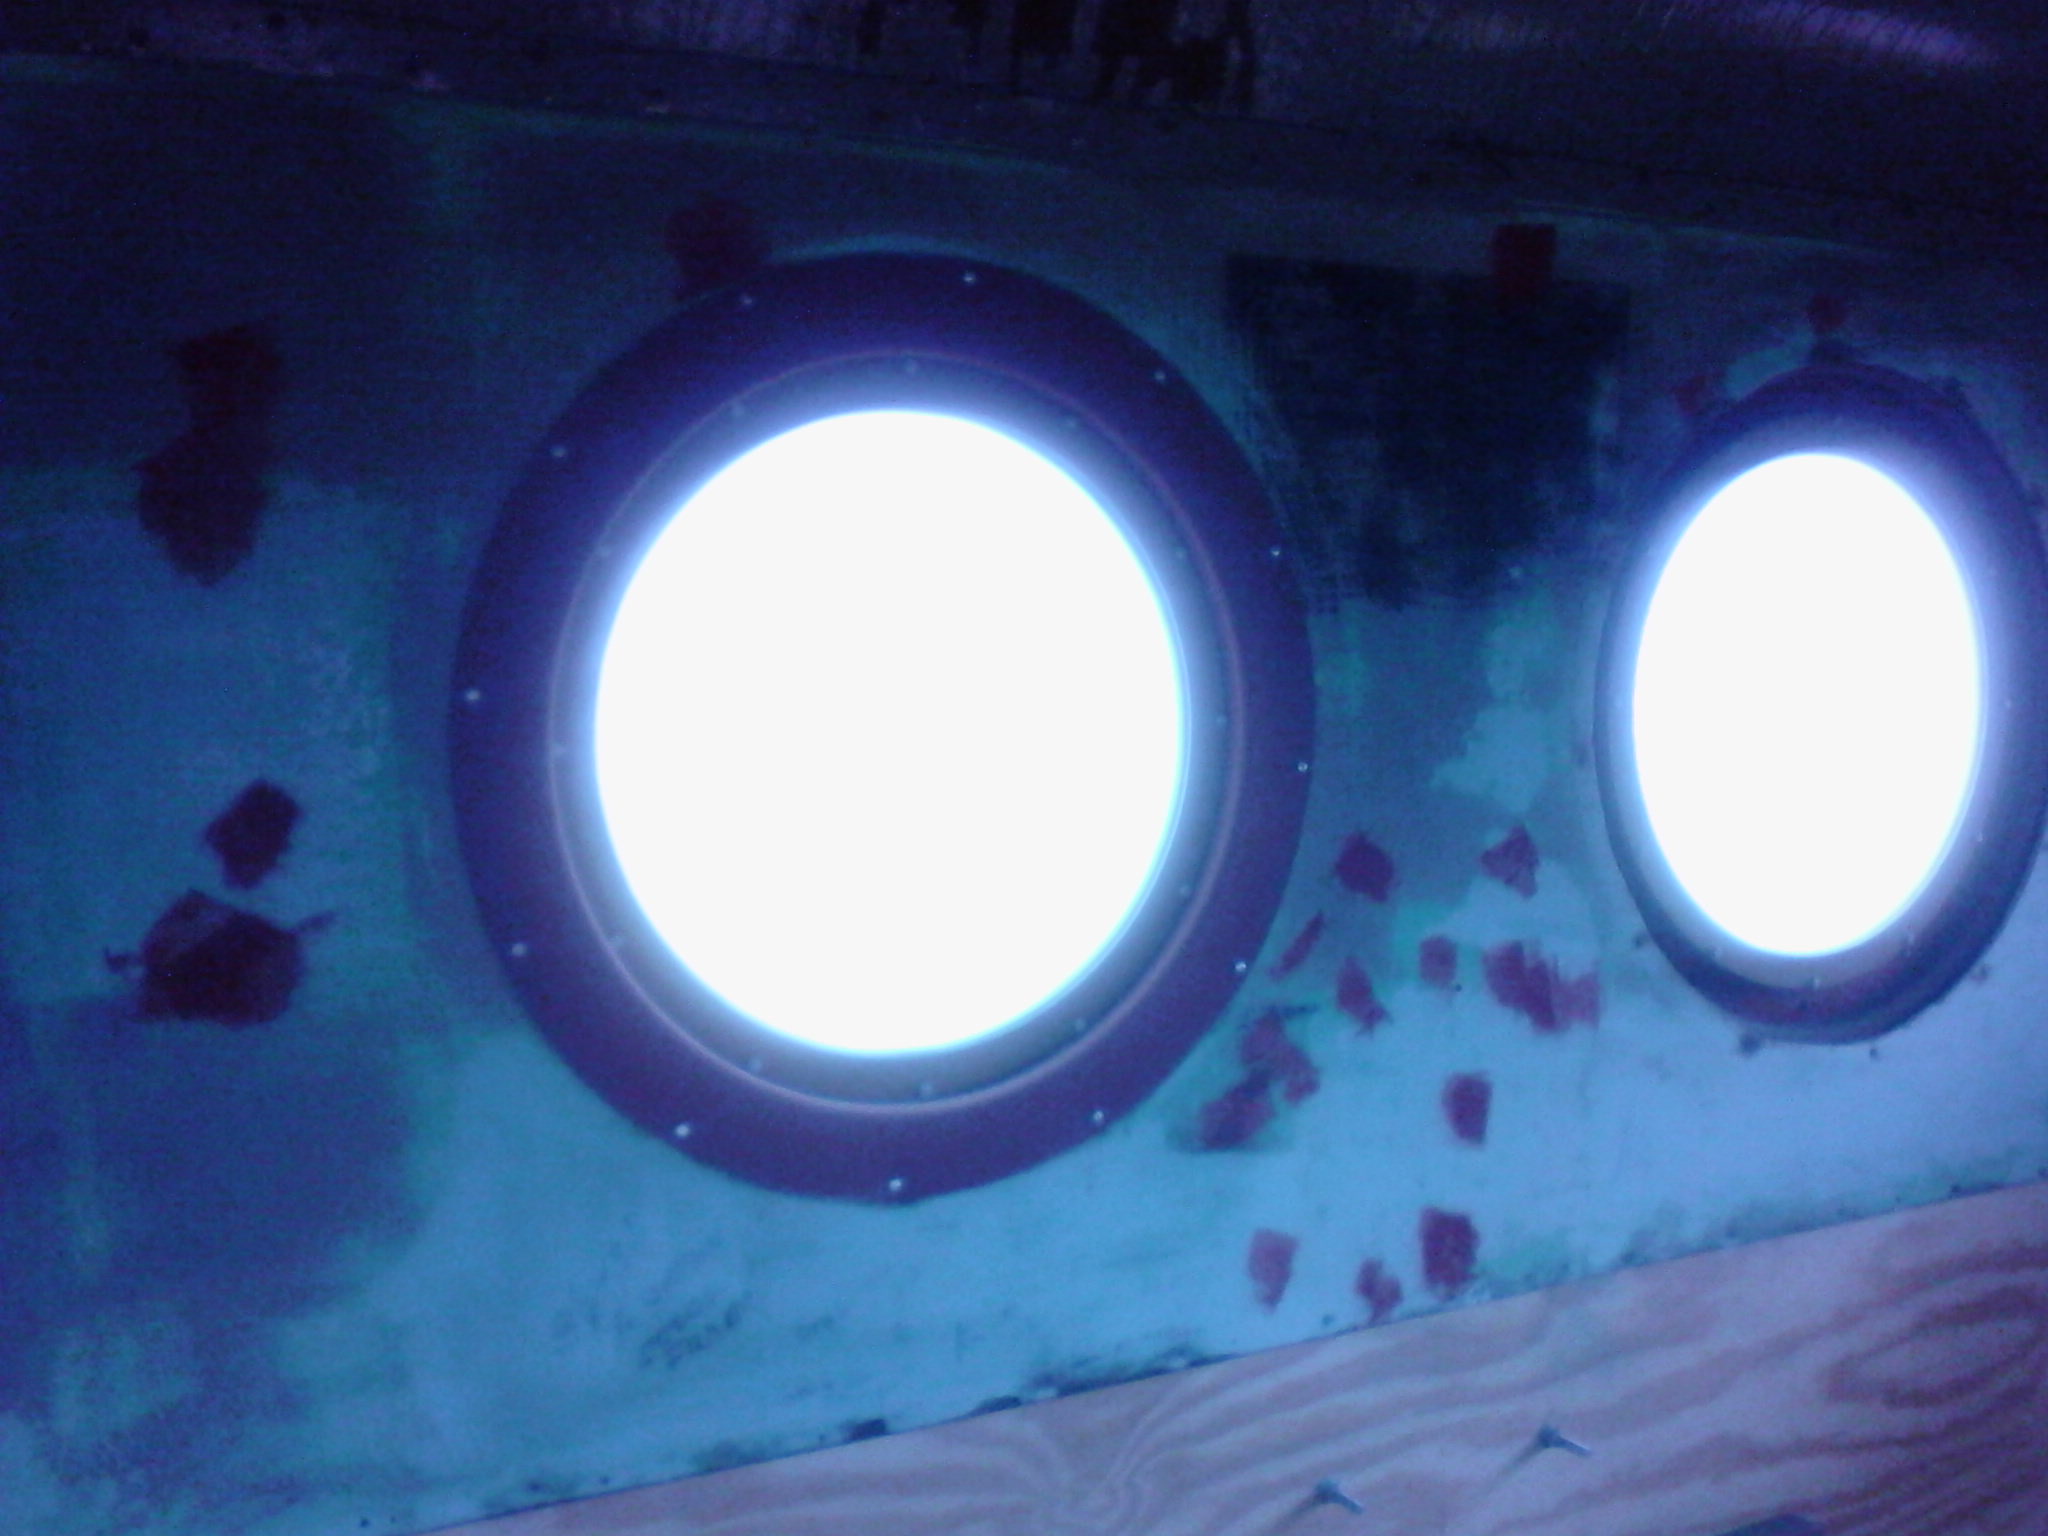
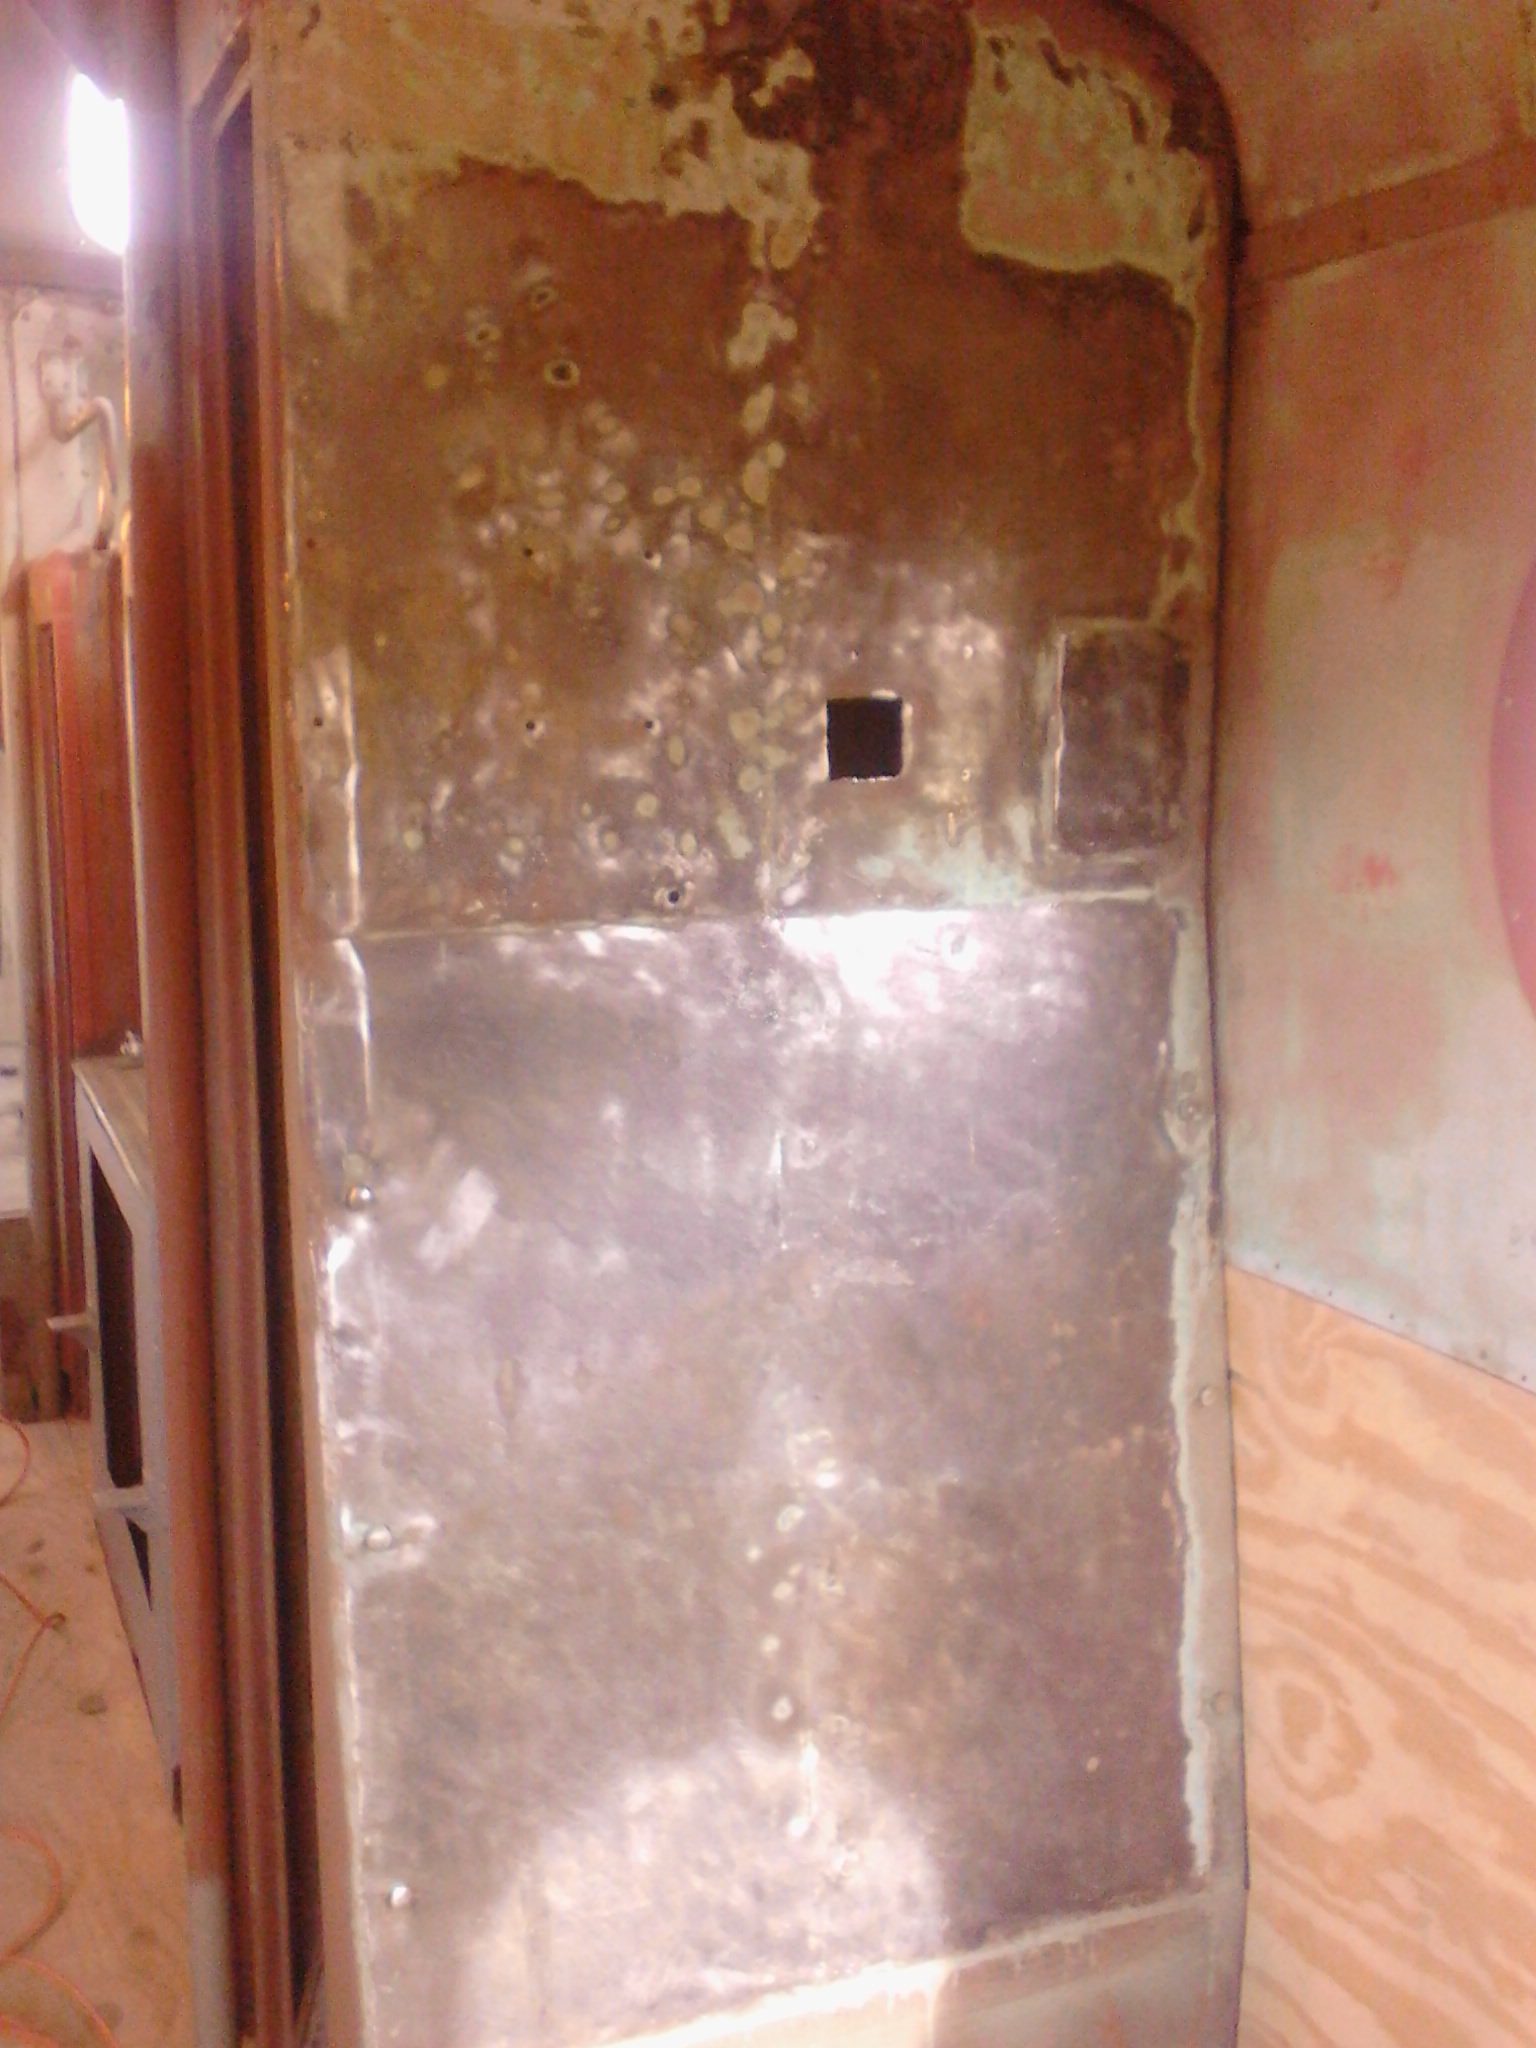
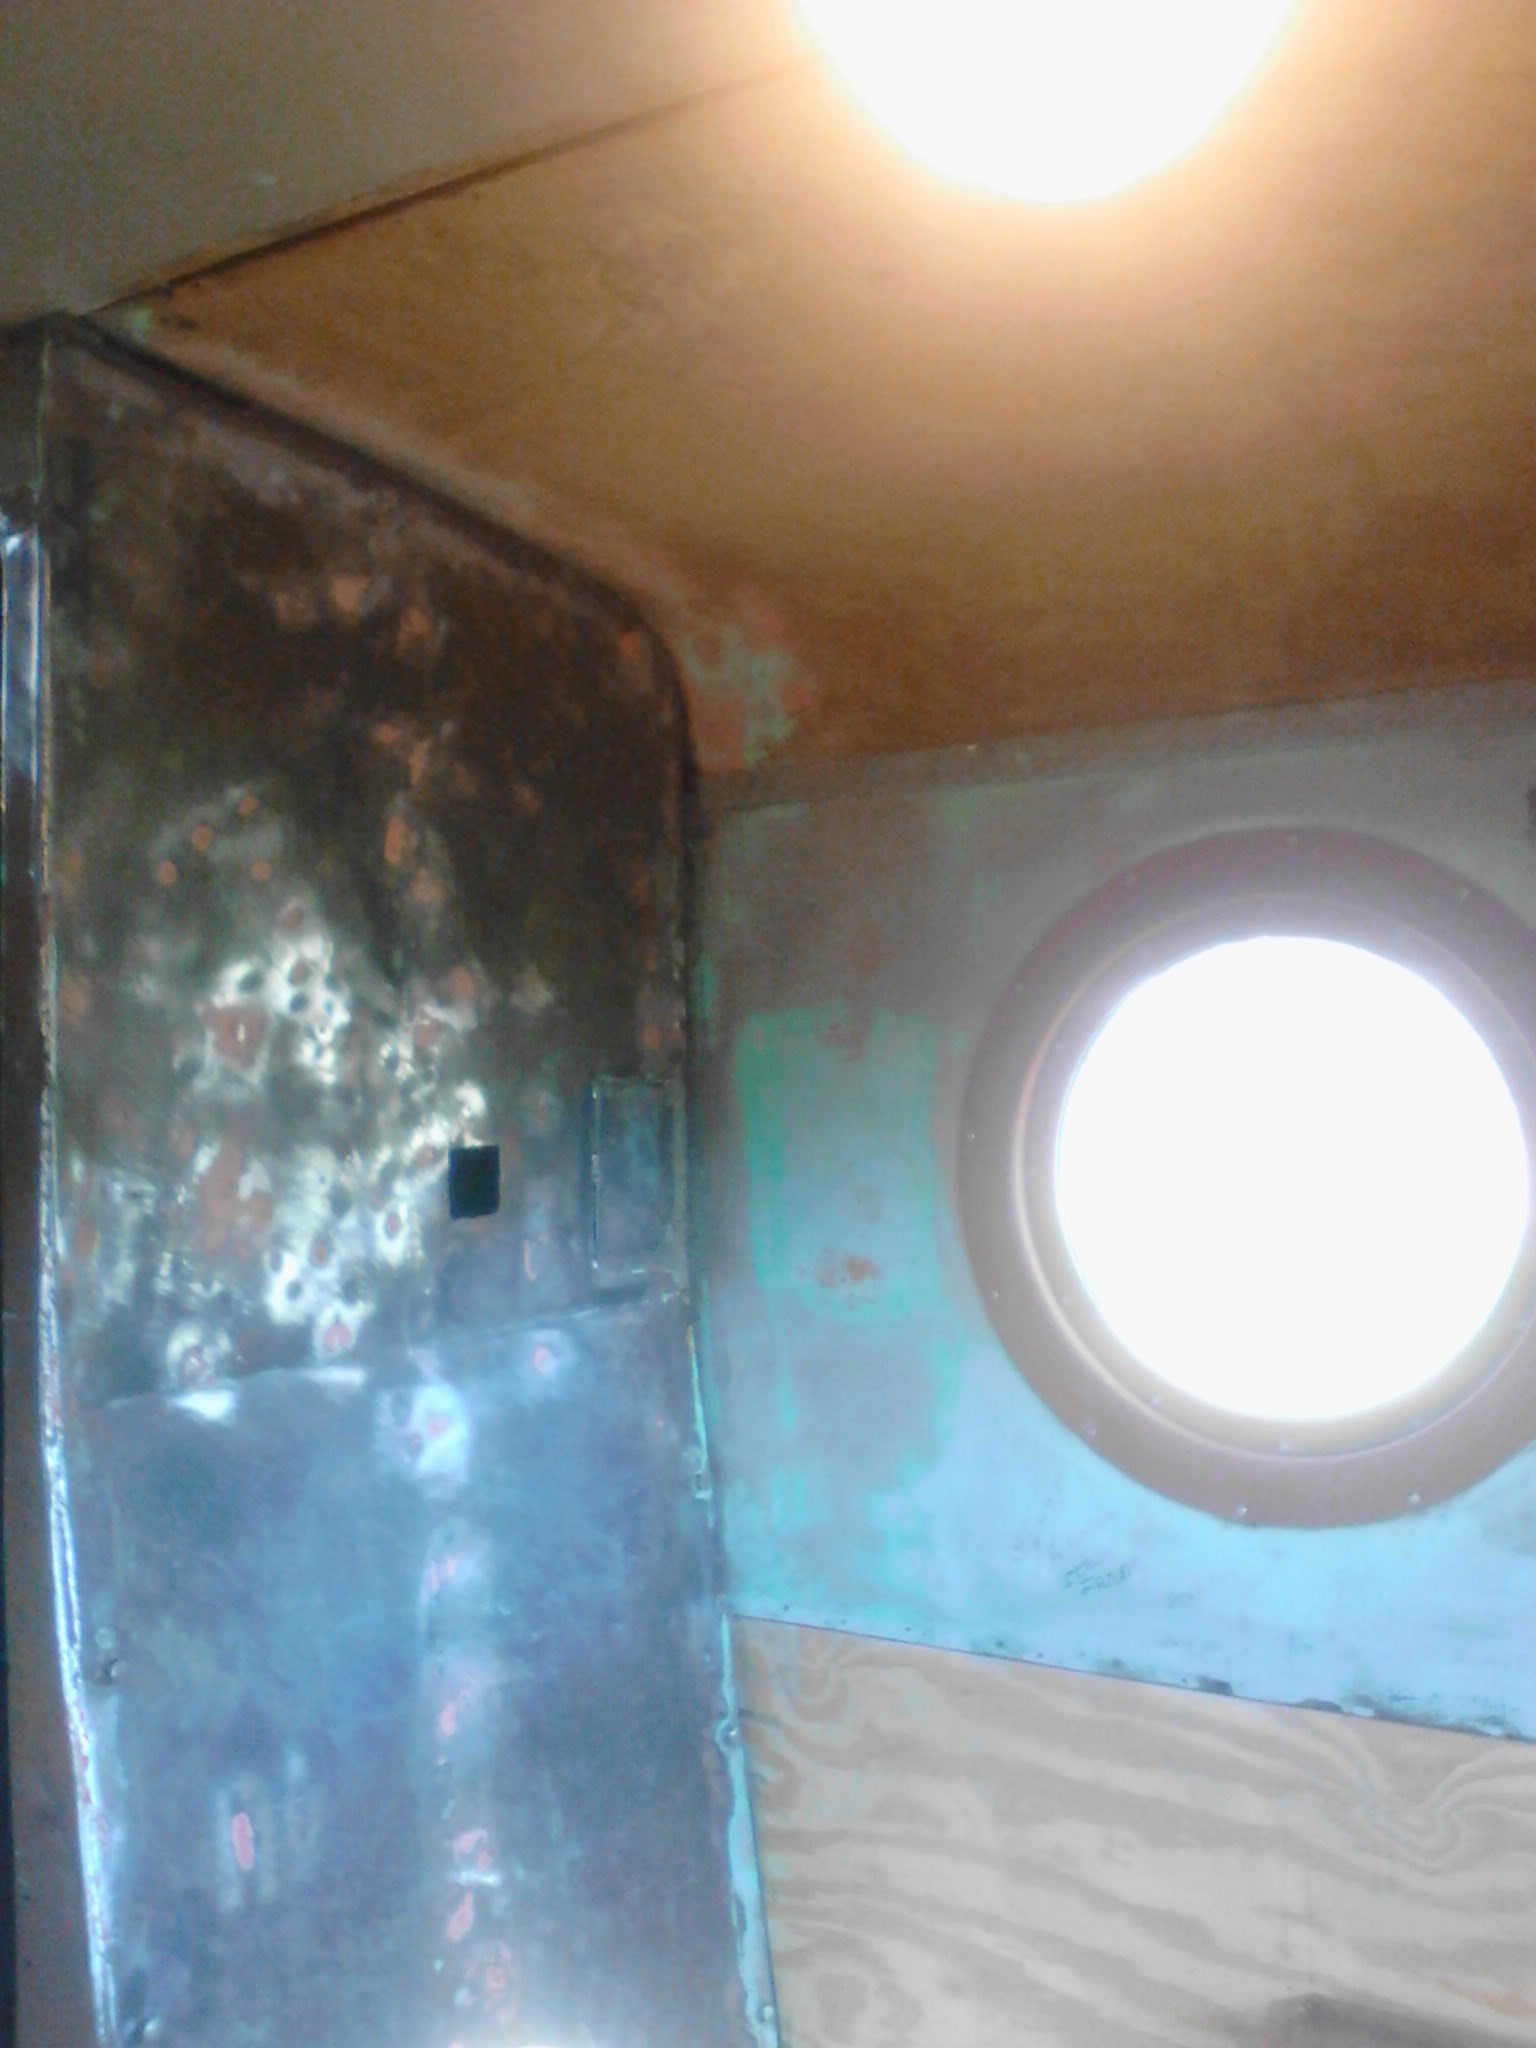
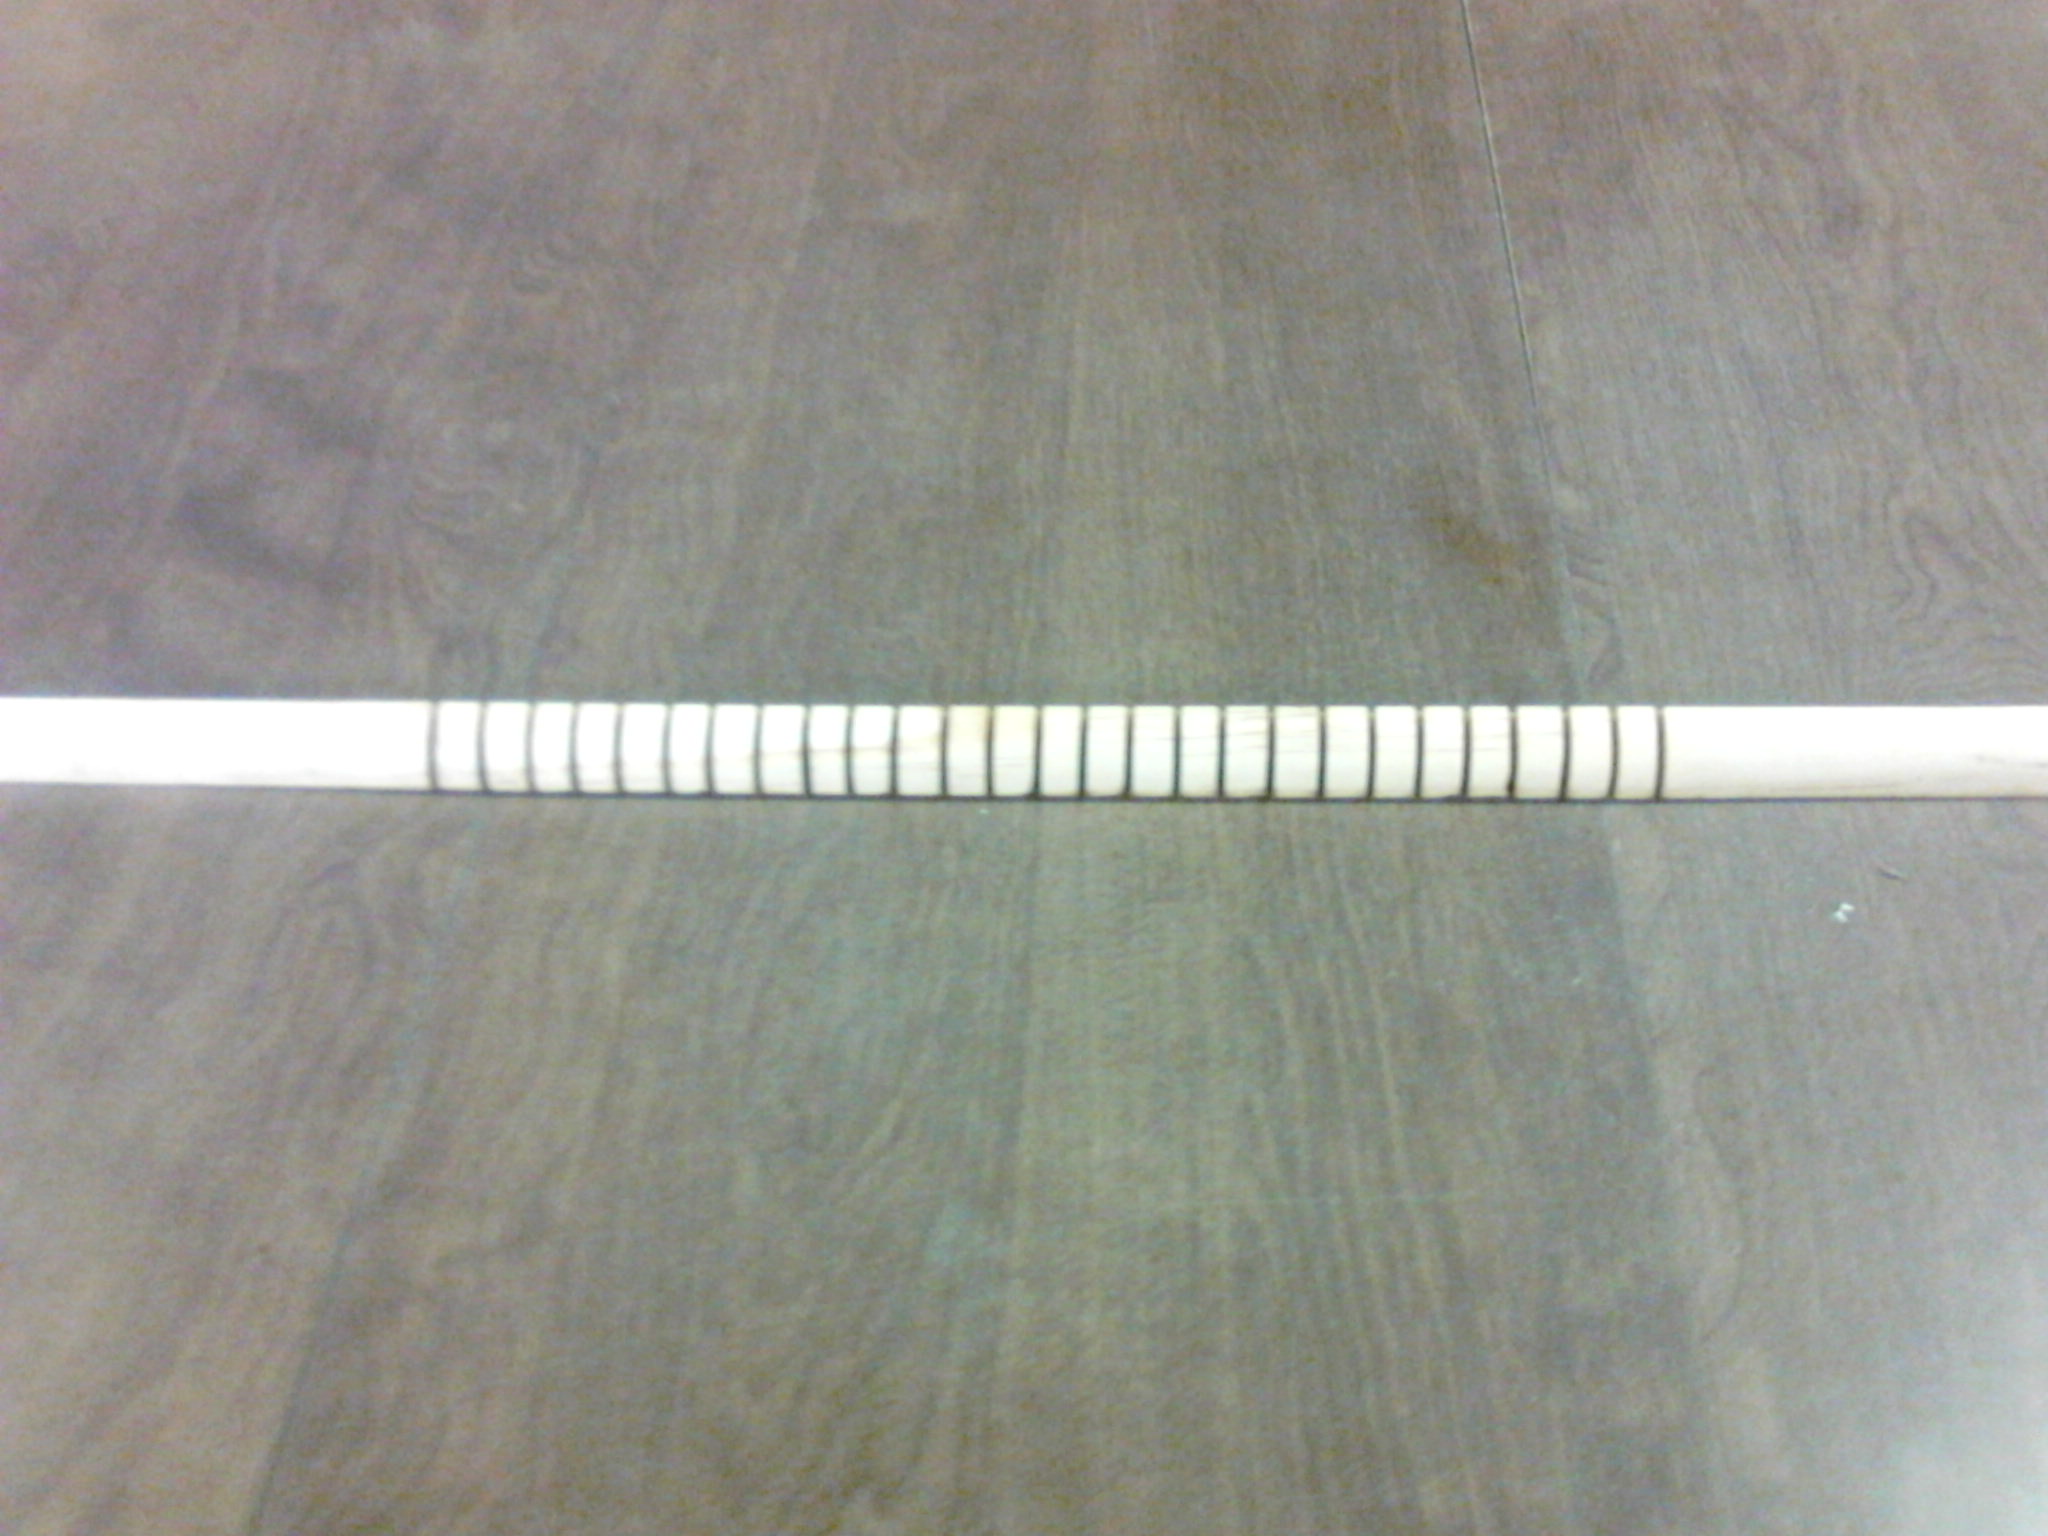
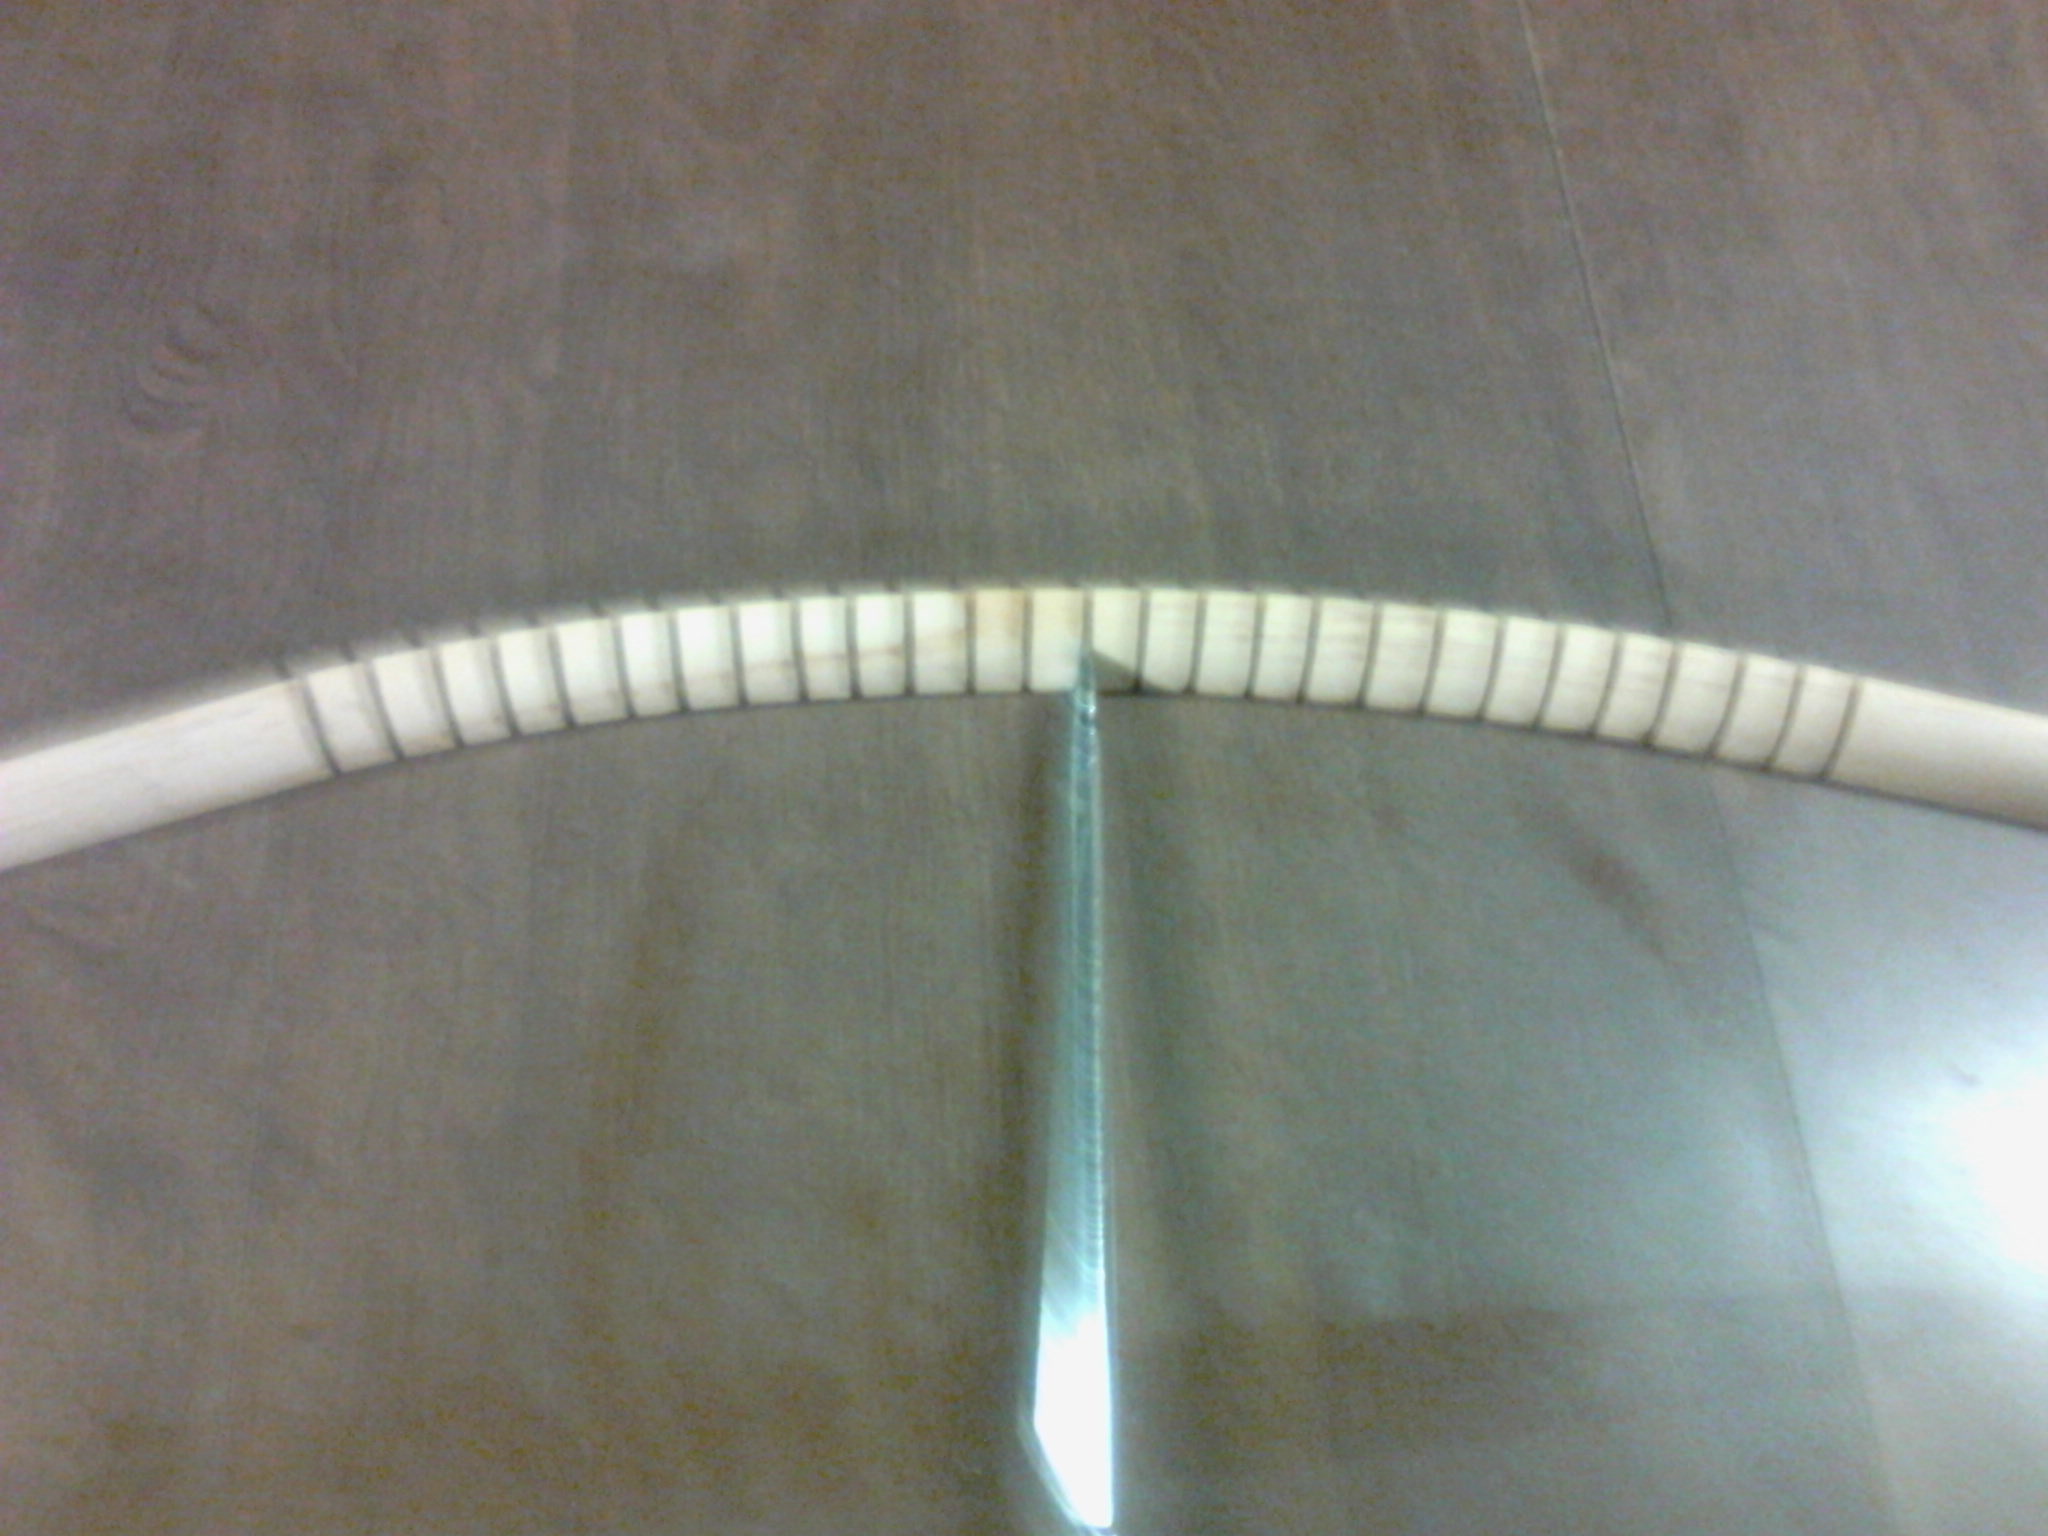
Saturday's Sept 14 2002 work session resulted in a bit more investigative work. Photo 8 shows an original cupola end window opening. This had been plated over with aluminum sheeting with a smaller window installed. When the time comes, framing and new glazing will be installed in all four openings. Photo 9 shows one of the porthole windows located at the end. The steel plating that was welded over has been cut away and the resulting opening now awaits final cleanup for eventual restoration. Only 7 more to cut open!!! Photo 10 shows the opening of a side window that had a newer aluminum frame aplied at one time. That frame has now been removed. In Photo 11 we see the very beginings of side sheeting removal. Aprox 220+ rivits need removed prior to the installation of new steel plating. Years of rust has taken its toll. Here we see several that have been removed and several more in the process.
*****
Oct. 12 work session involved the removal of about 50 rivits. Only 180+ more to go! This was acomplished by burning off the heads and pounding out the remaining shaft with a modified B&O Hammer (Back Out Hammer). This needs to be done for when the new steel sheeting is applied at a later date. Care must be taken here due to the wood construction behind the steel plated sides.
Oct 19th work session continued with the removal of 50+ more rivits. We have this routine down pretty good. No problems encountered. The removal of 1 piece of end railing for eventual relocation also took place.
******
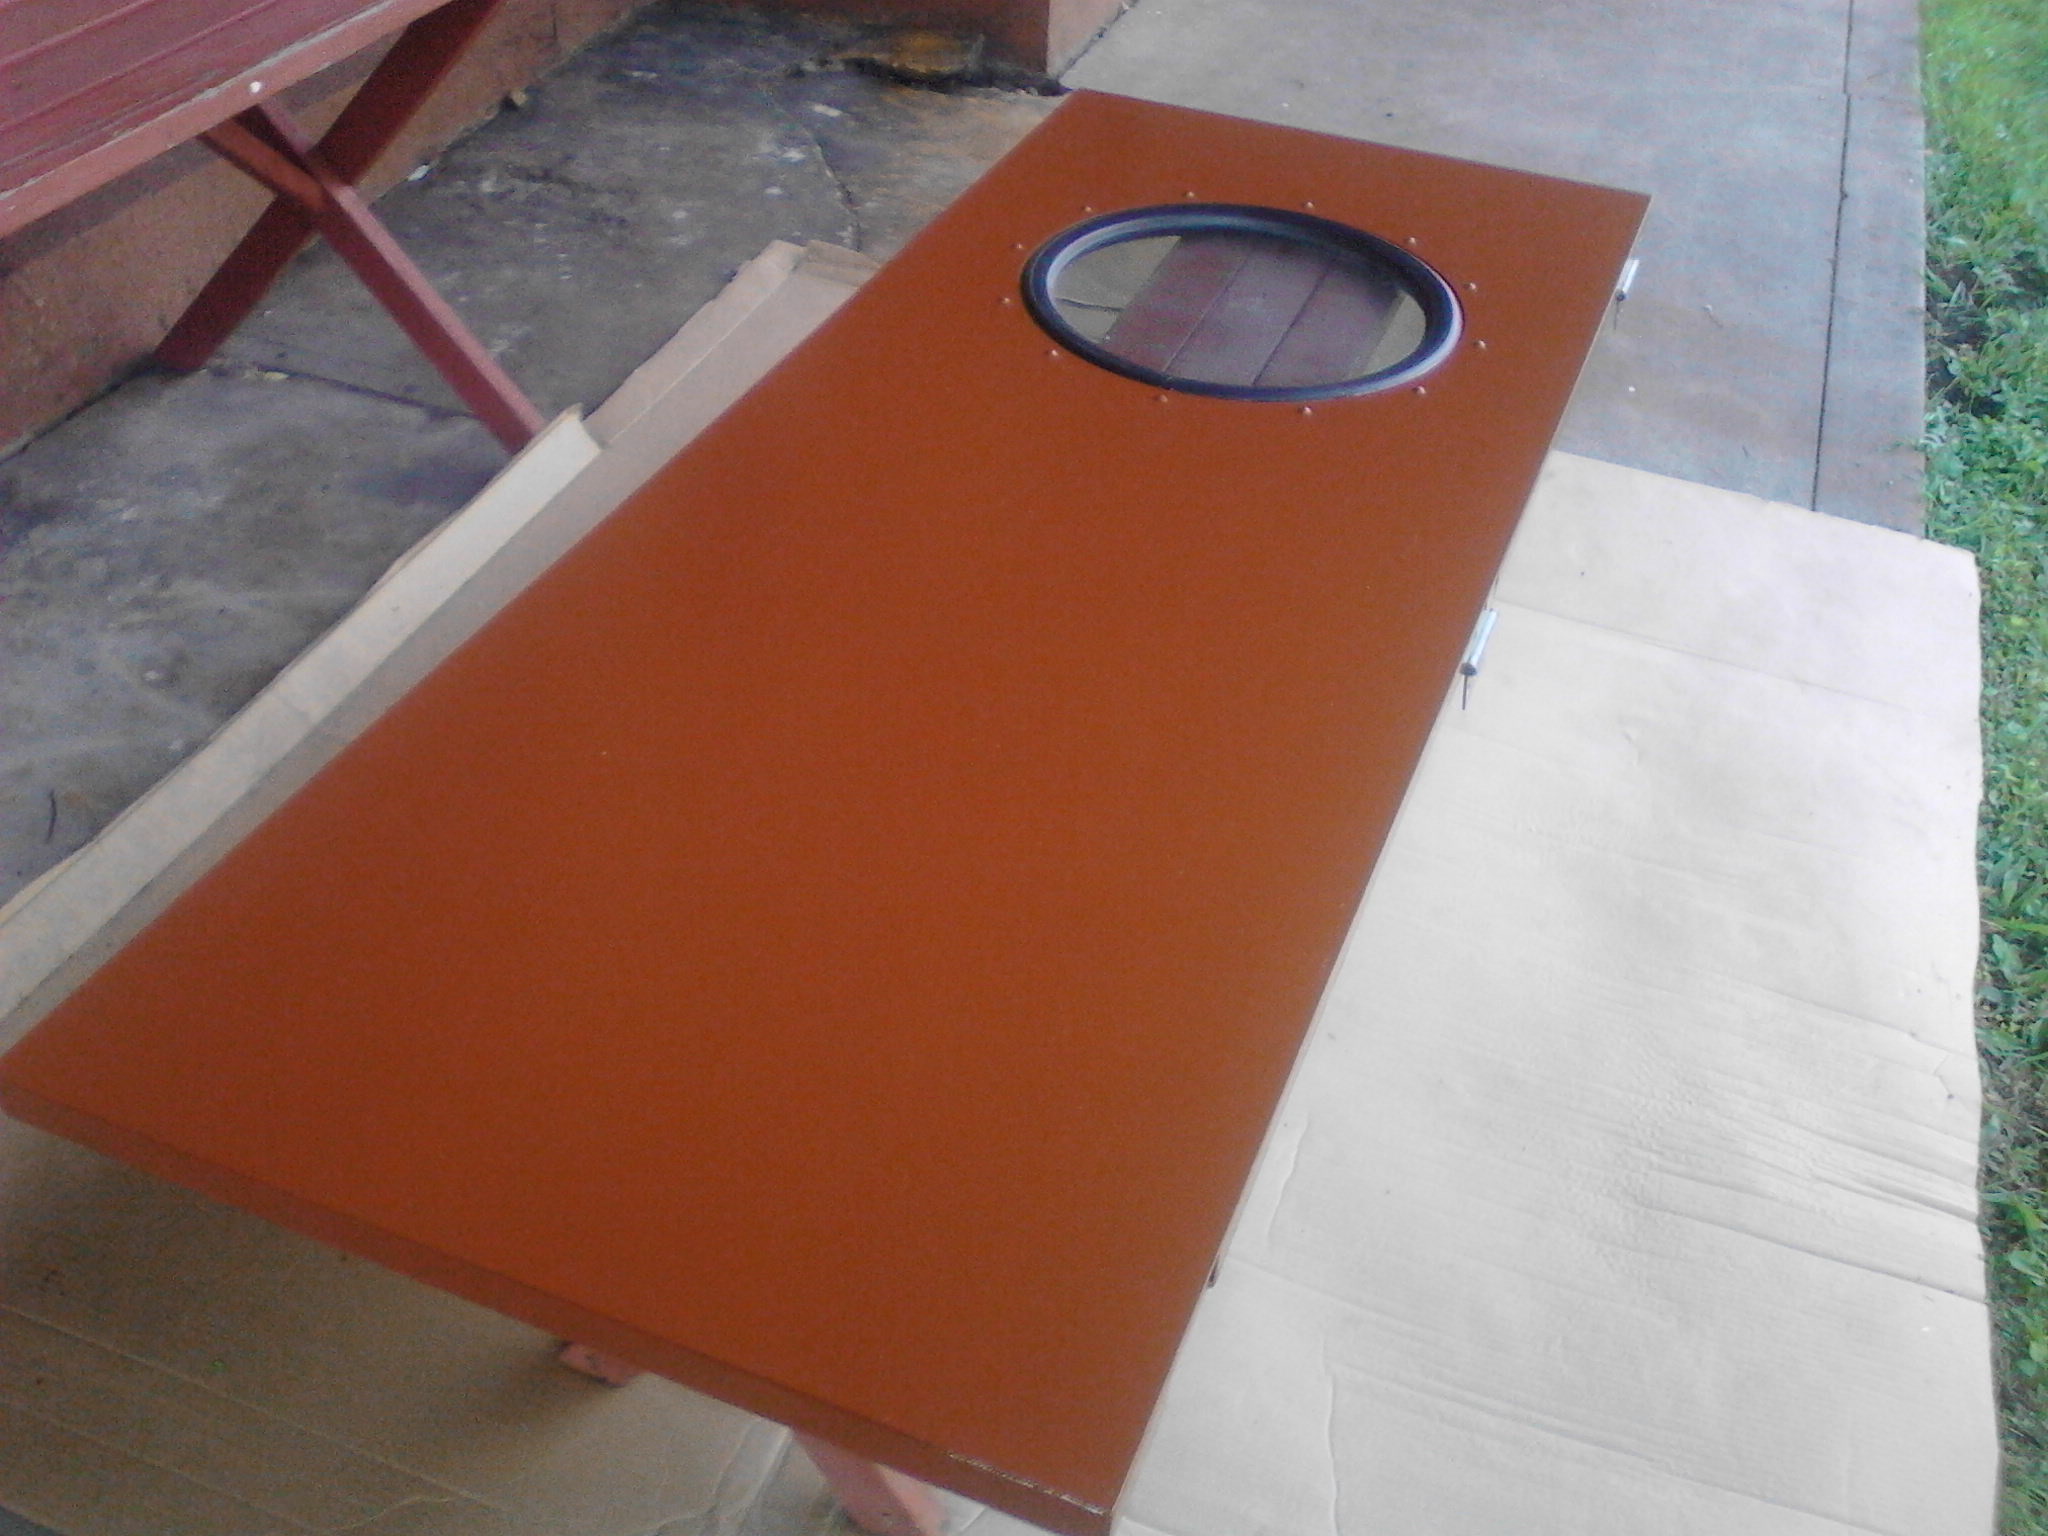
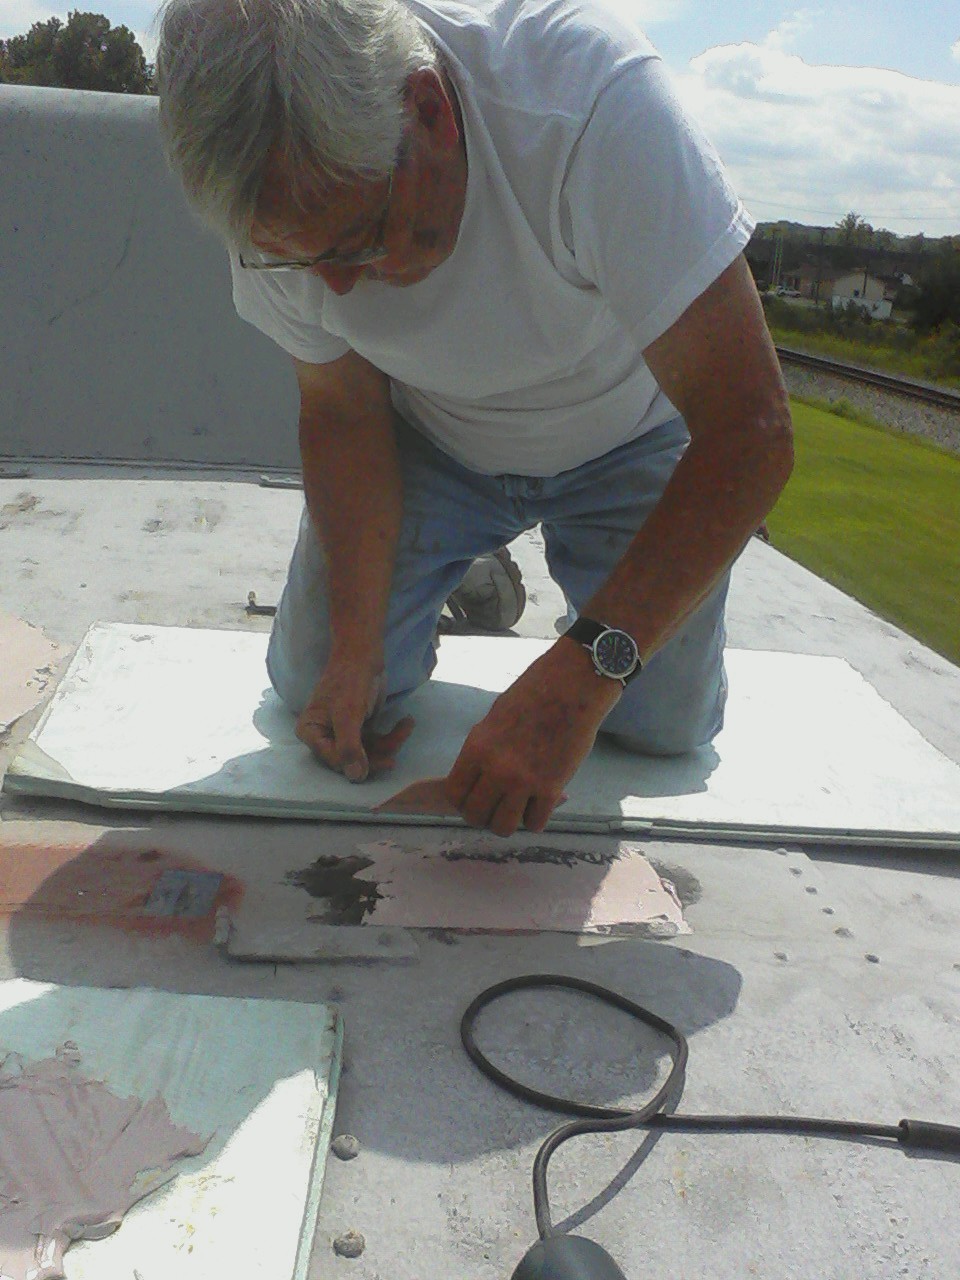
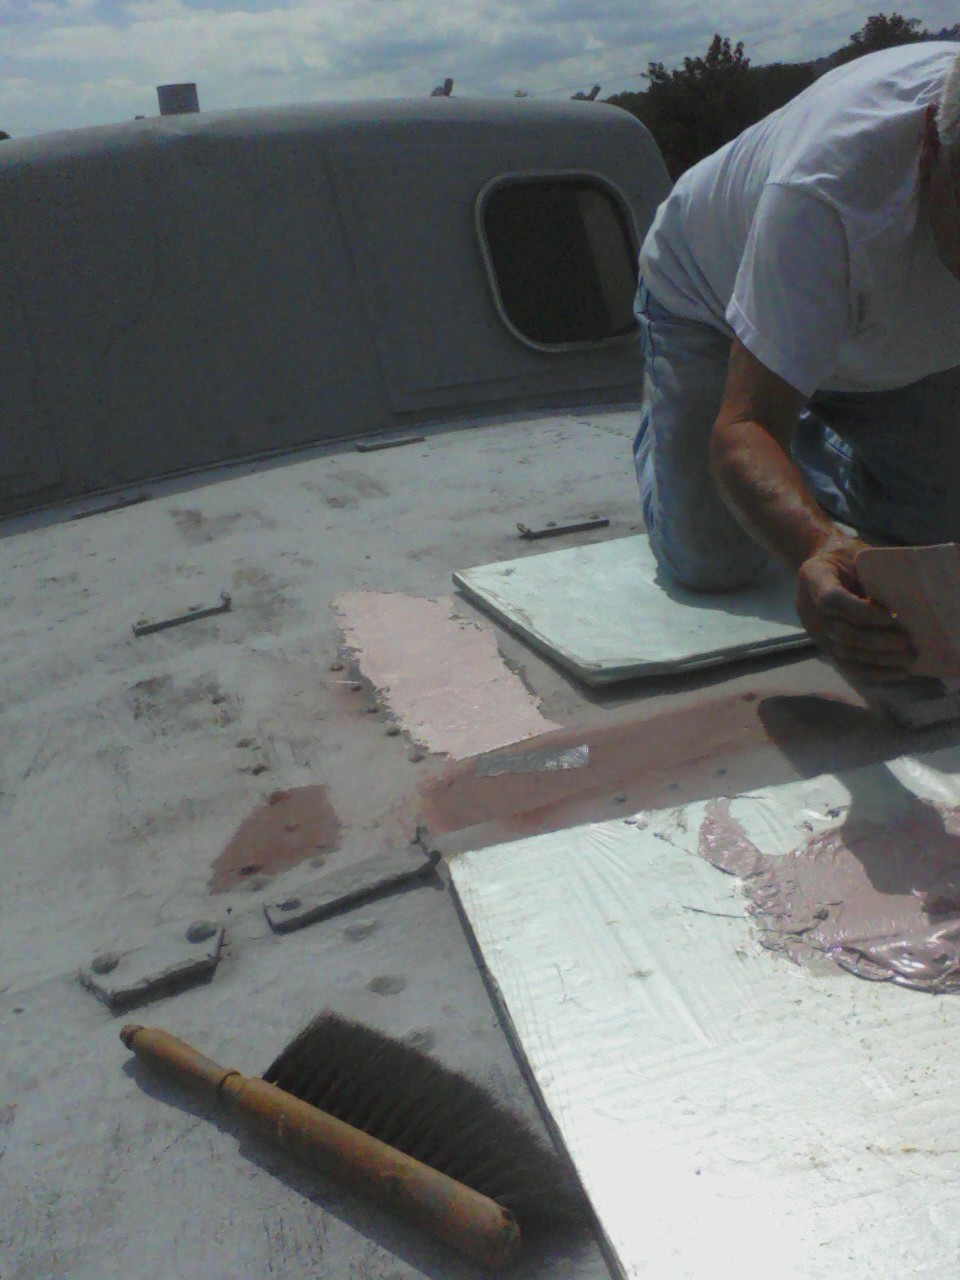
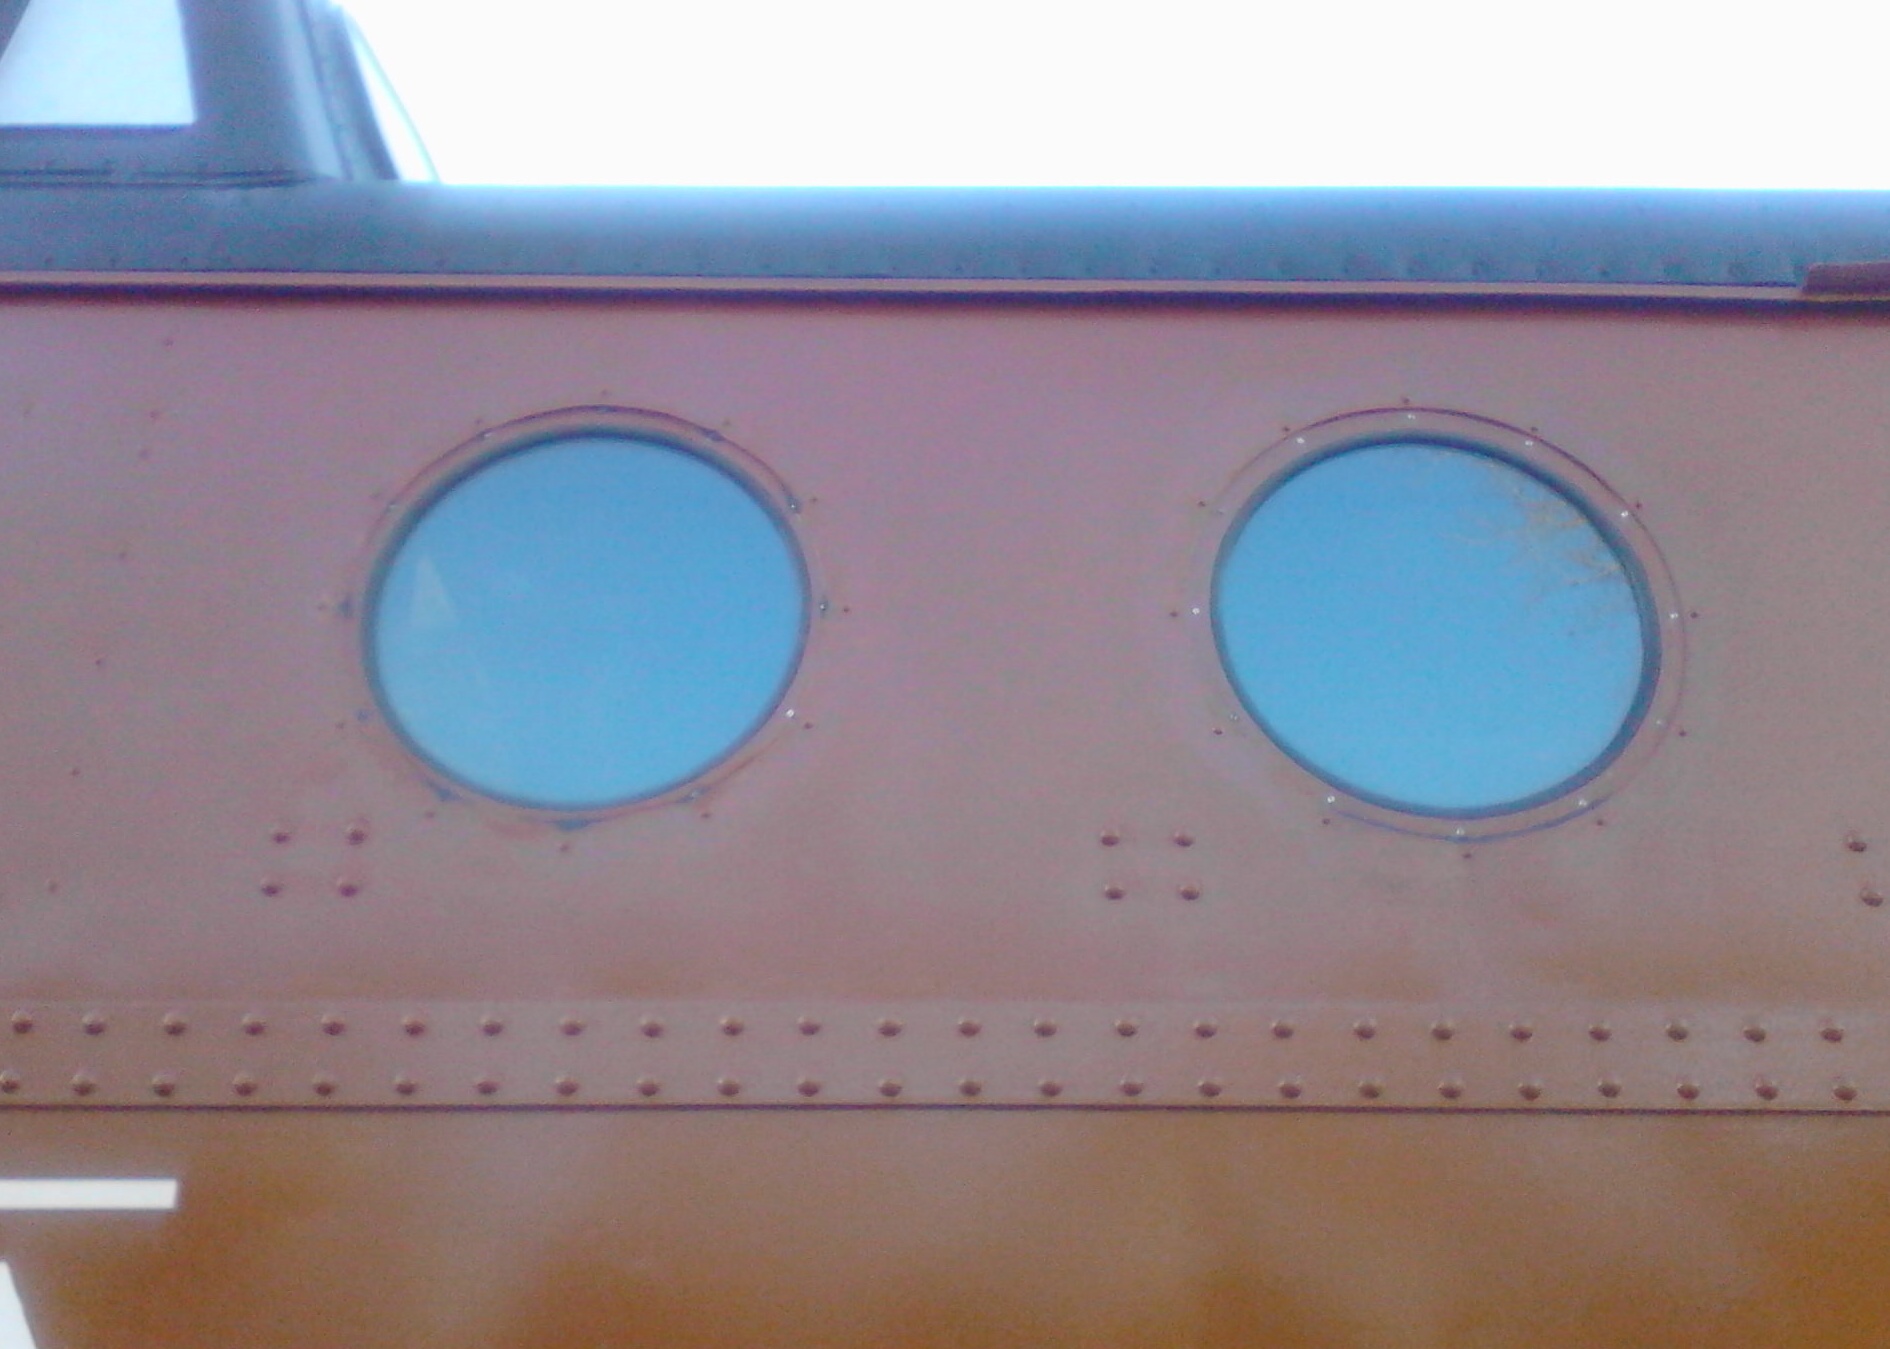
Nov. 2nd we had a rather short work day. But, we were able to get some work done on the plated over port hole window we opened up earler. Using several styles of grinding wheels the opening is now nearing completion. A little more time is needed with a sanding disc to finalize the opening for eventual intallation of the window frames, glass and rubber gasket. For now, Photo 14 shows the inside window ring ready for glass. For now wood is installed to keep the elements of weather out. This part will be anchored shortly
******>
*****
Photo 15 shows what was done on the end railings. All railing that was needed removed has been. Parts await cleanup, reconstruction and remounting in the original "as built" positions.
Nov. 23: Completed the removal of Rivits on bottom side sheeting
Dec 7: Finished the job of burning and removing remaining rivits on the end railings. Clean up with a grinder will have these ready in no time for restoration of original railing mounting locations. This day also found us restoring the porthole window we were working on earlier. We set out to actually replicate the riviting but couldn't get the heated rivits to flare over as planned. So we Brazed them in place. The results were good.
Thursday Dec. 26: We took measuments of a port hole window opening and purchased a piece of Laminated Safety Glass. We placed this in the opening and tapped a piece of Rubber Gasket in place to see if everything would work for us when we actually install the glass permanantly. Looks Good! Now with all the experimentation complete, we can open all remaining welded over window openings and get them ready for restoration..
Jan. and Feb. work sessions resulted in the remaining windows being cut open. The N5c is now starting to show a bit more signs of it's PRR heritage.
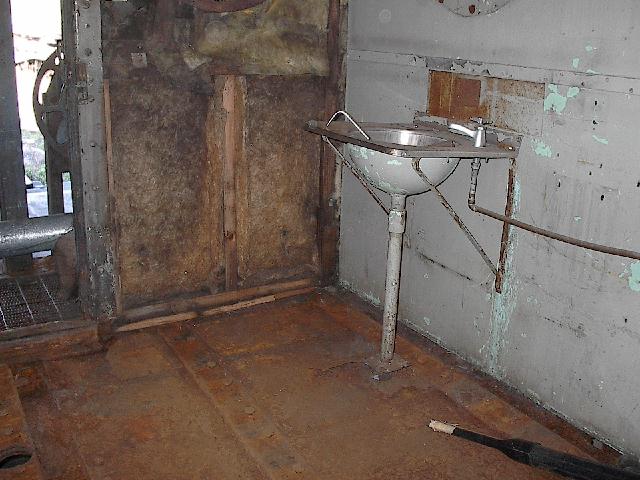
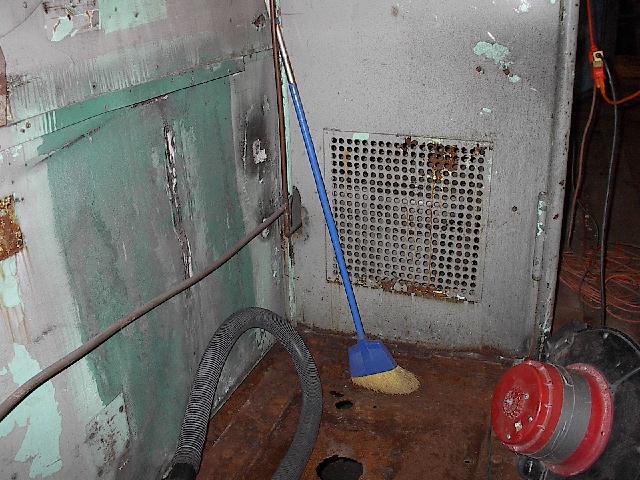
While work on the outside is continuing, another small crew is giving the interior a quick inspection. We thought the major work involved the outside, not the case. Much restoration needs to take place on the inside as well, mainly the replacment of the floor and it's underlying problems. This section of photos will document this job.
May-June 2003 Work Sessions
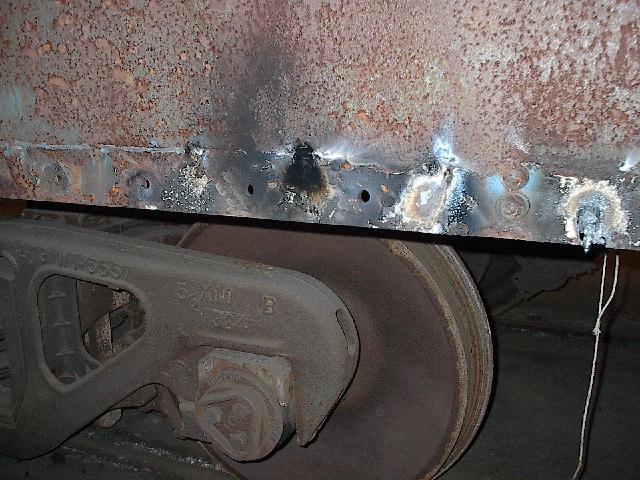
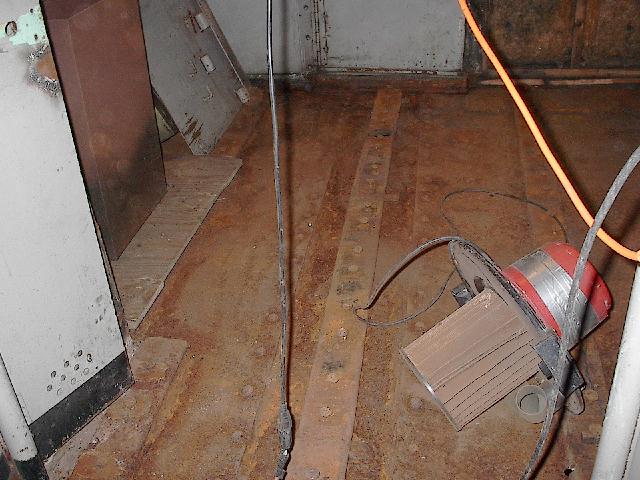
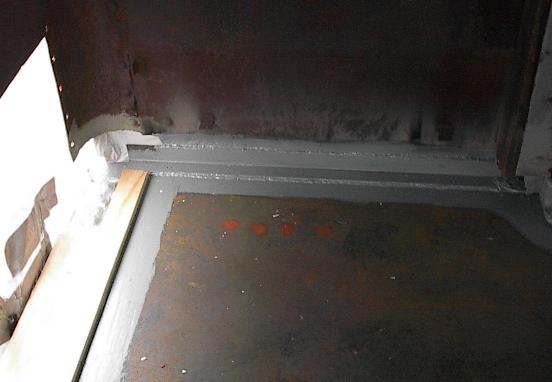
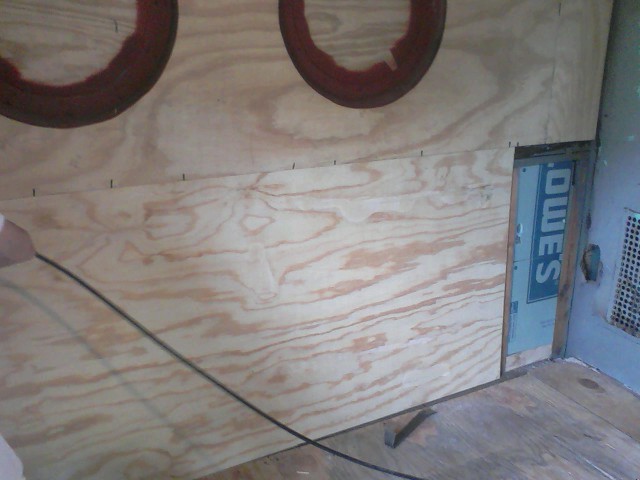
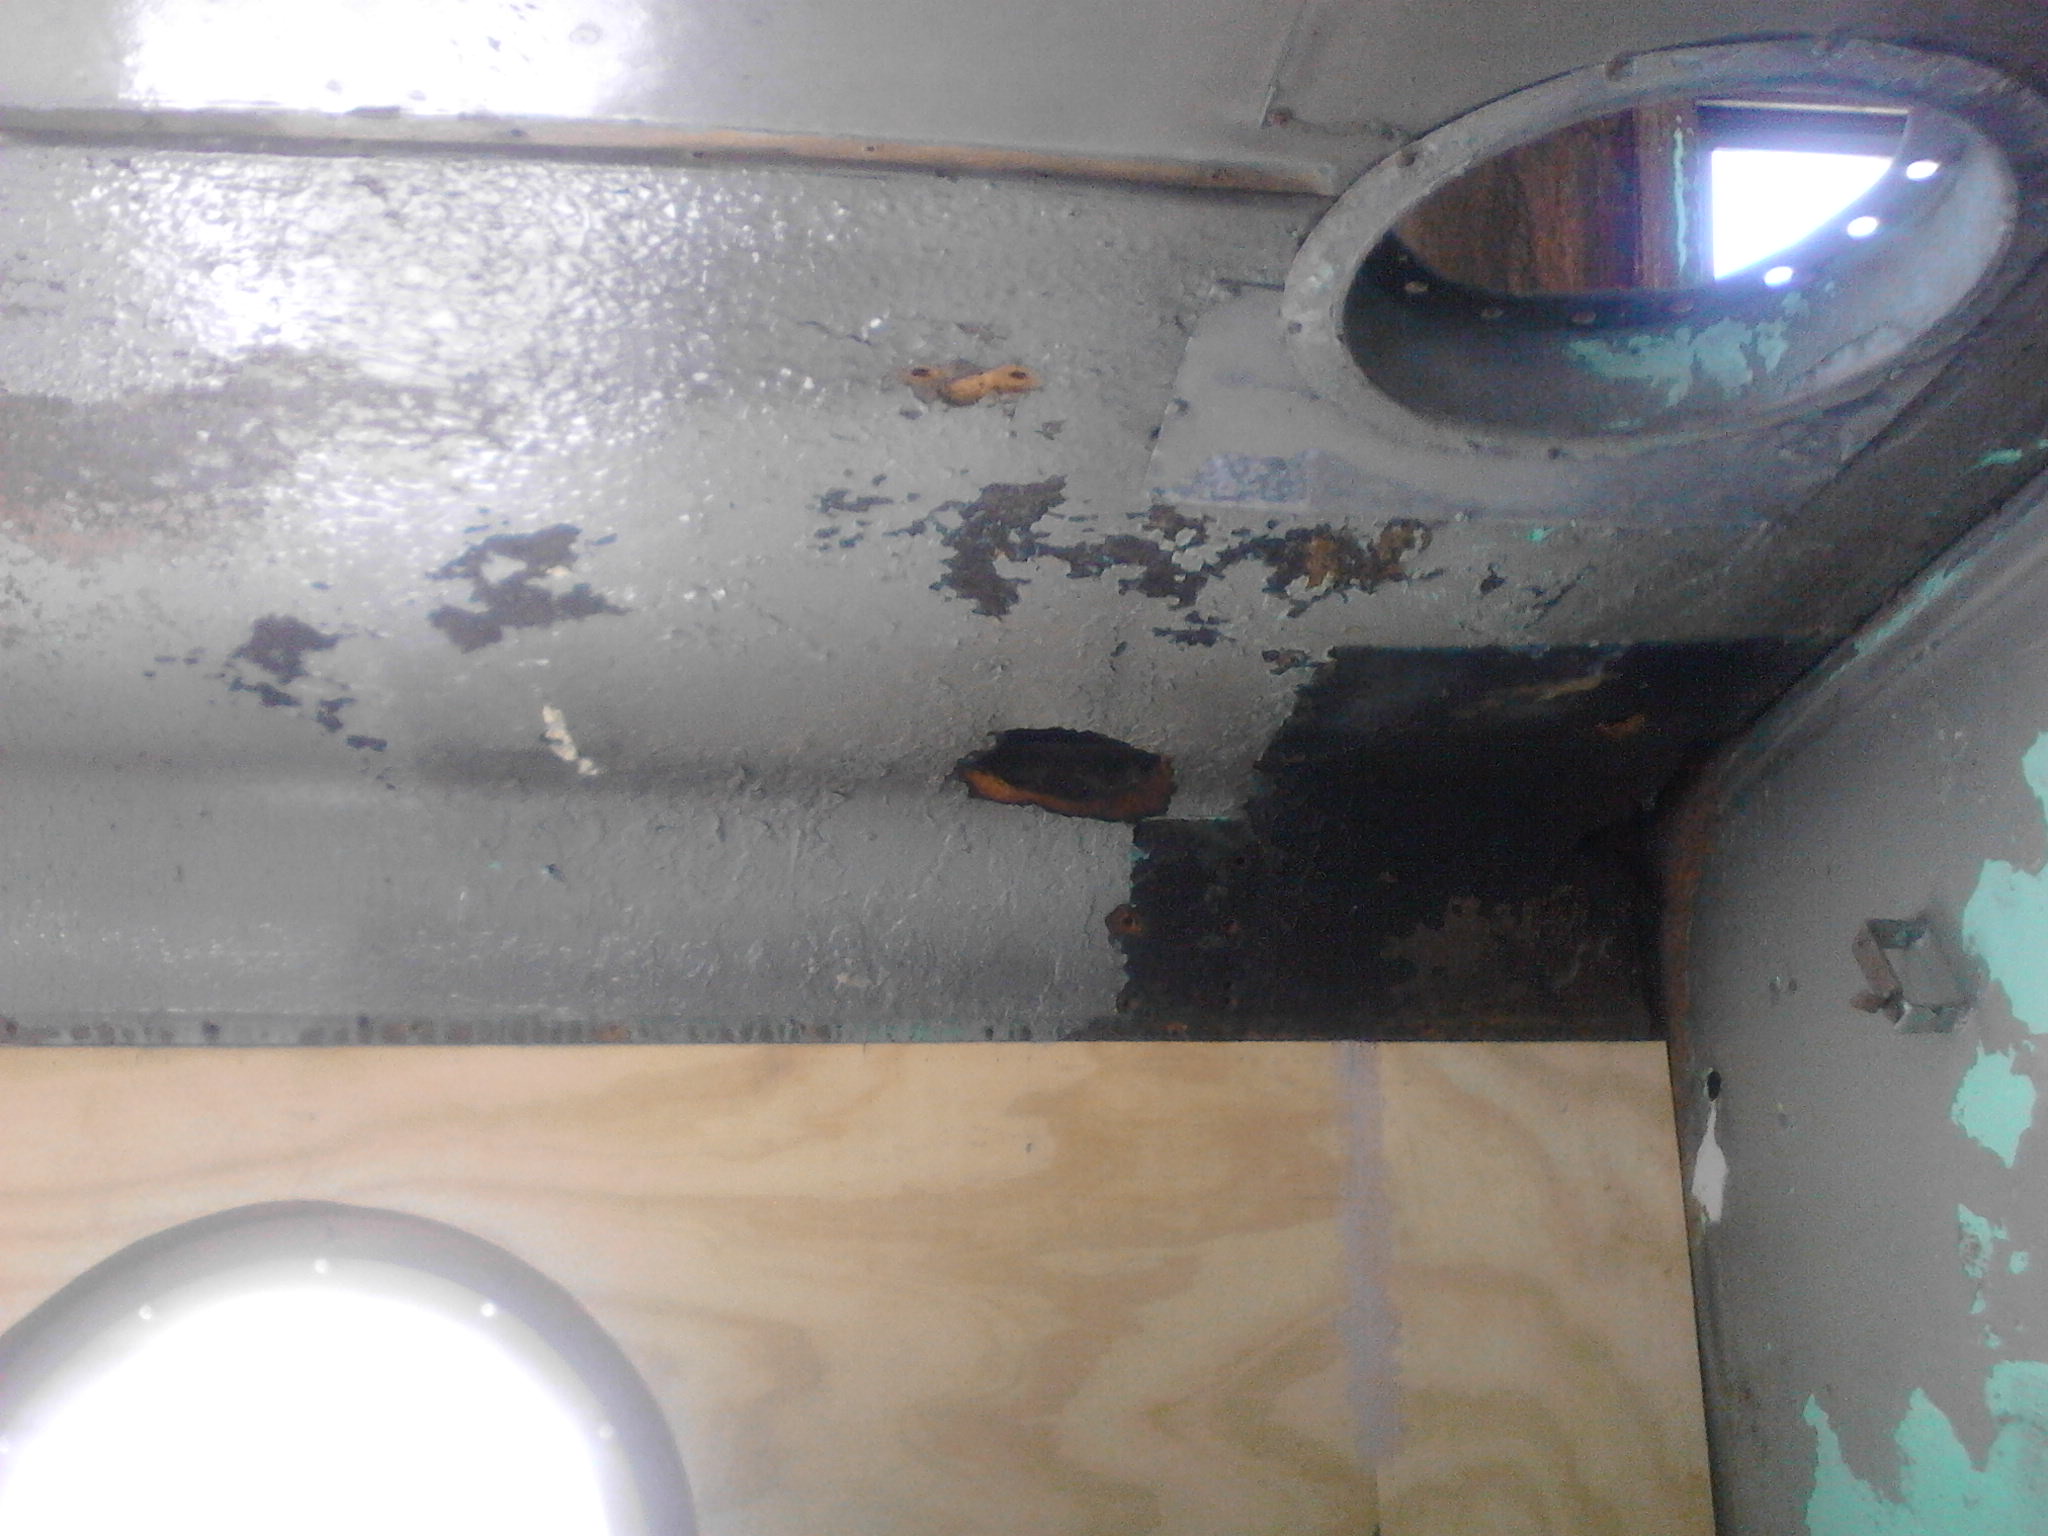
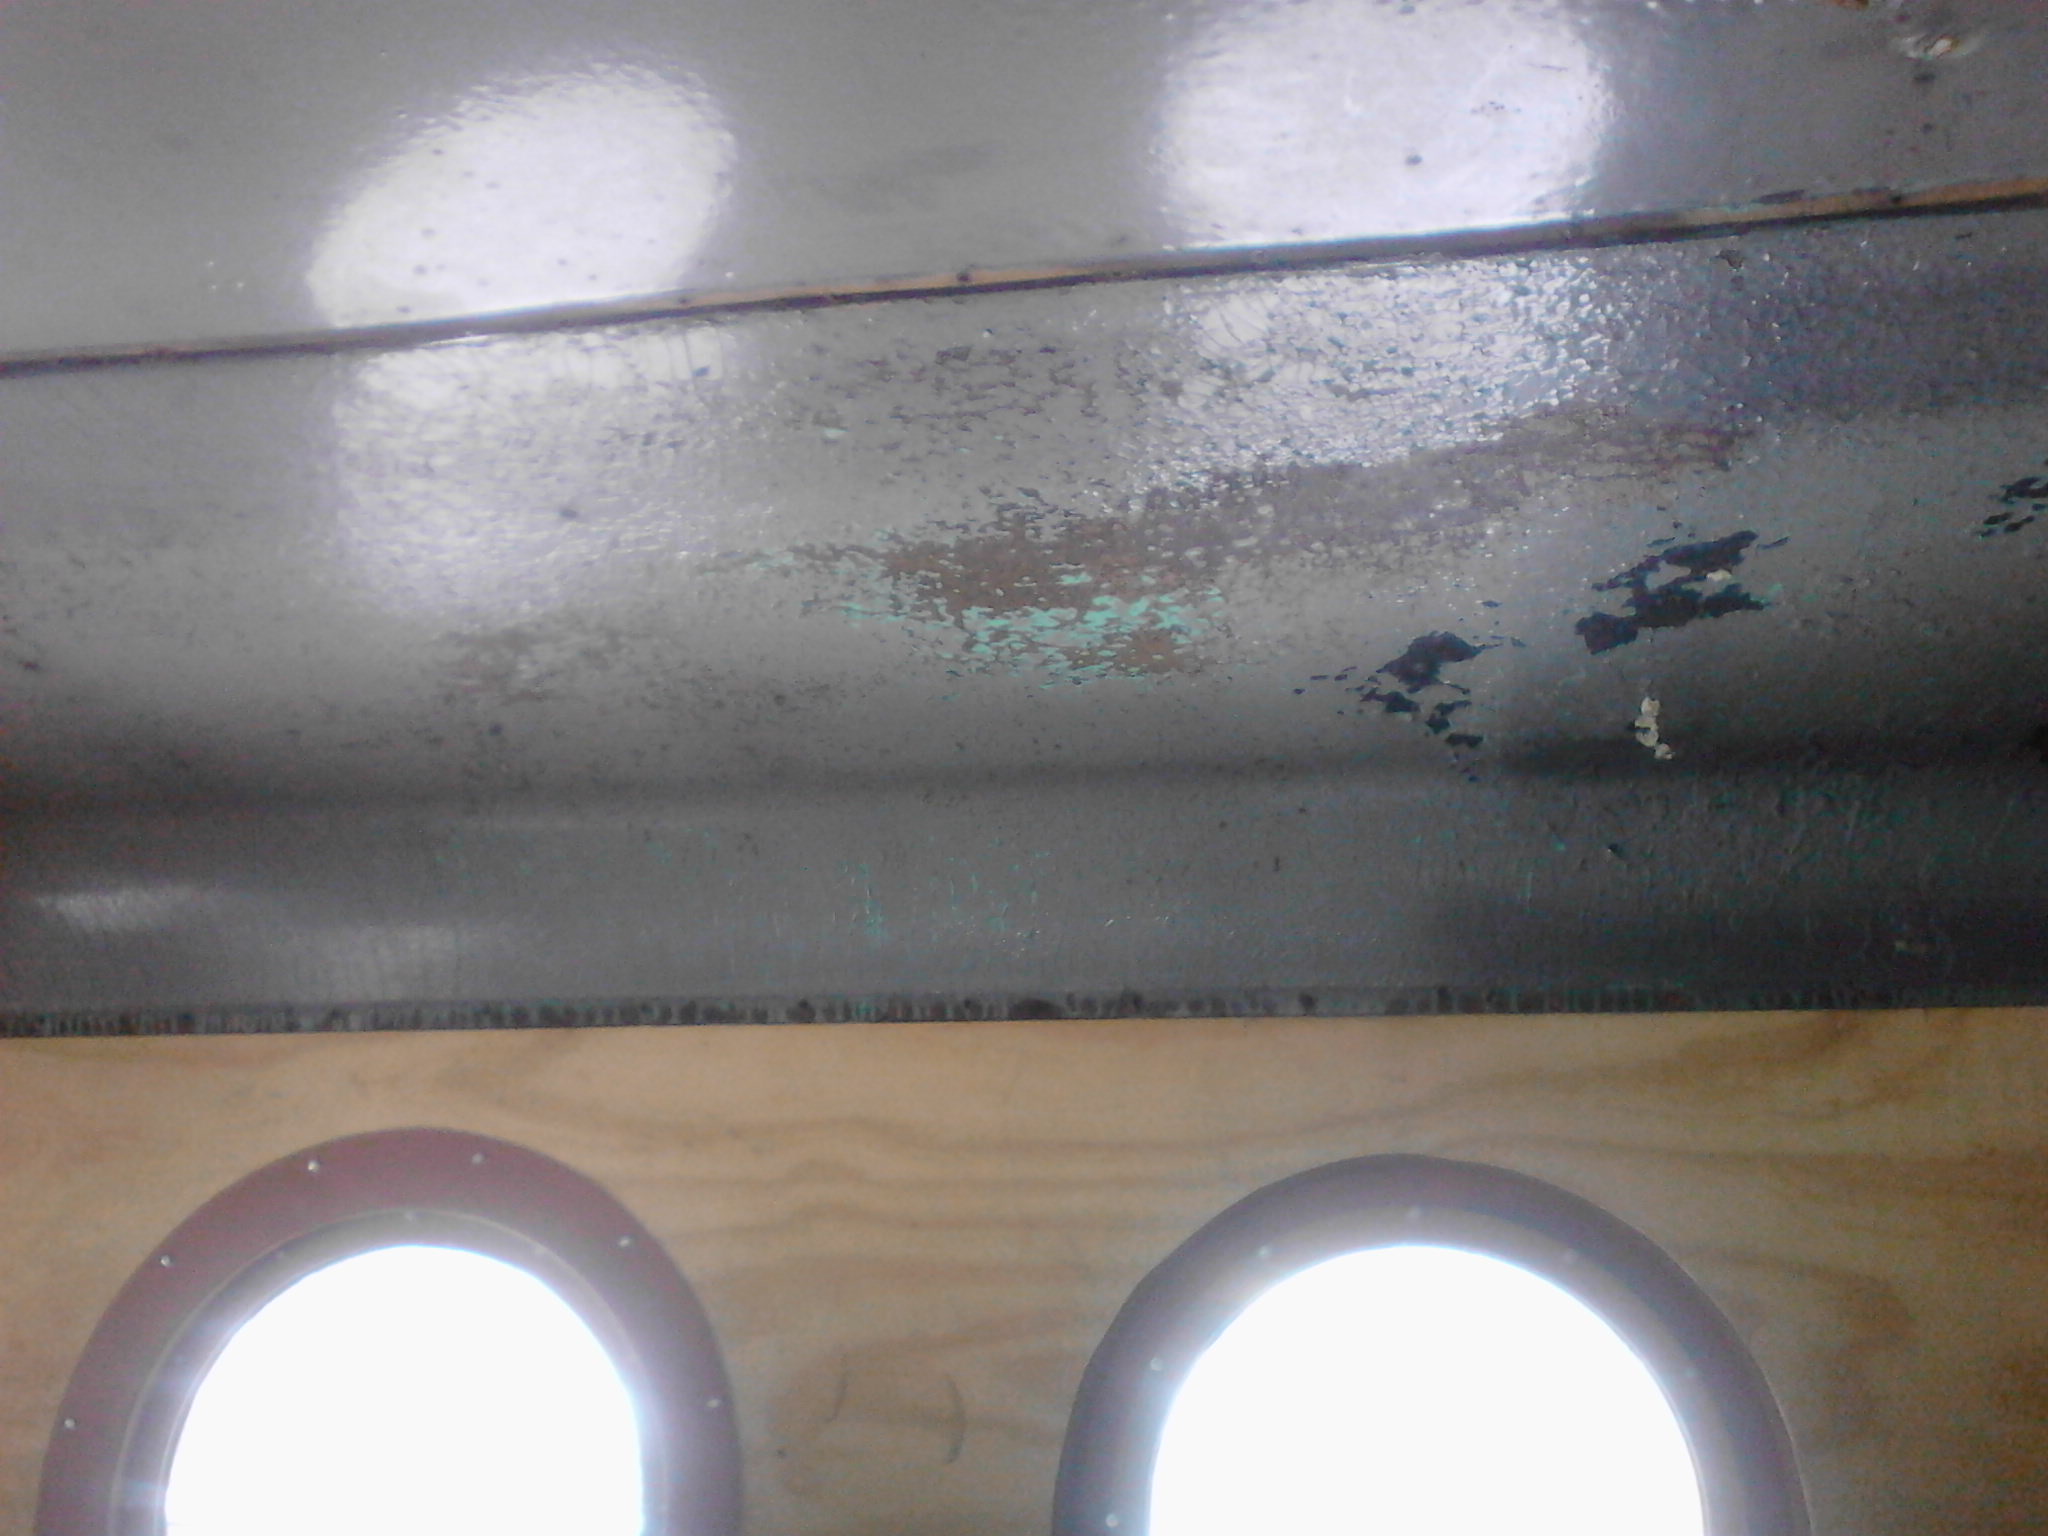
This period of time finds our work on the removal of the rusted out bottom side steel. We had removed the rivits in previous months. To get a clean straight line a straight edge was anchored to the side and a circular saw with steel cutting blade was used to cut the long horizontal cut. Then a cutting torch was used to make short vertical cuts. The end result was a nice clean cut. Now we need to repeat this process on the other side. Eventually it will be rather easy to attach new plate steel. That will be done in the future as we now need to build up the interrior rotted walls. Nothing easy as this restoration goes along.
.
November and December 2003
After several months of taking a break on the restoration and tending to other chapter equipment, we are now back, hard at work, on the N5c Cabin job. We went right back where we left off by cutting off the bottom of the 2nd side where rust had done its damage. After several saturdays we had it removed.
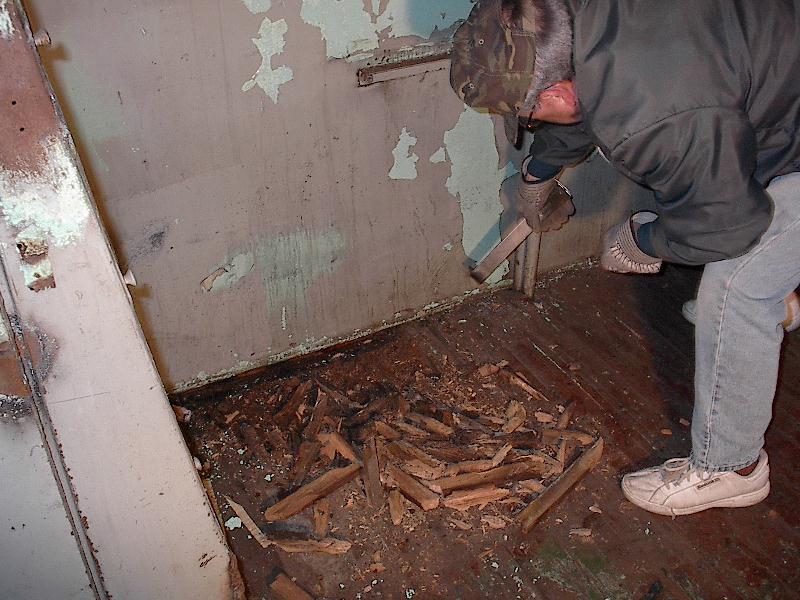
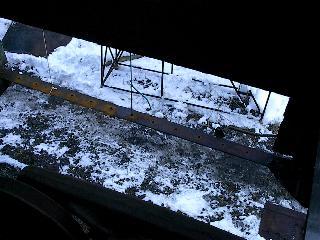
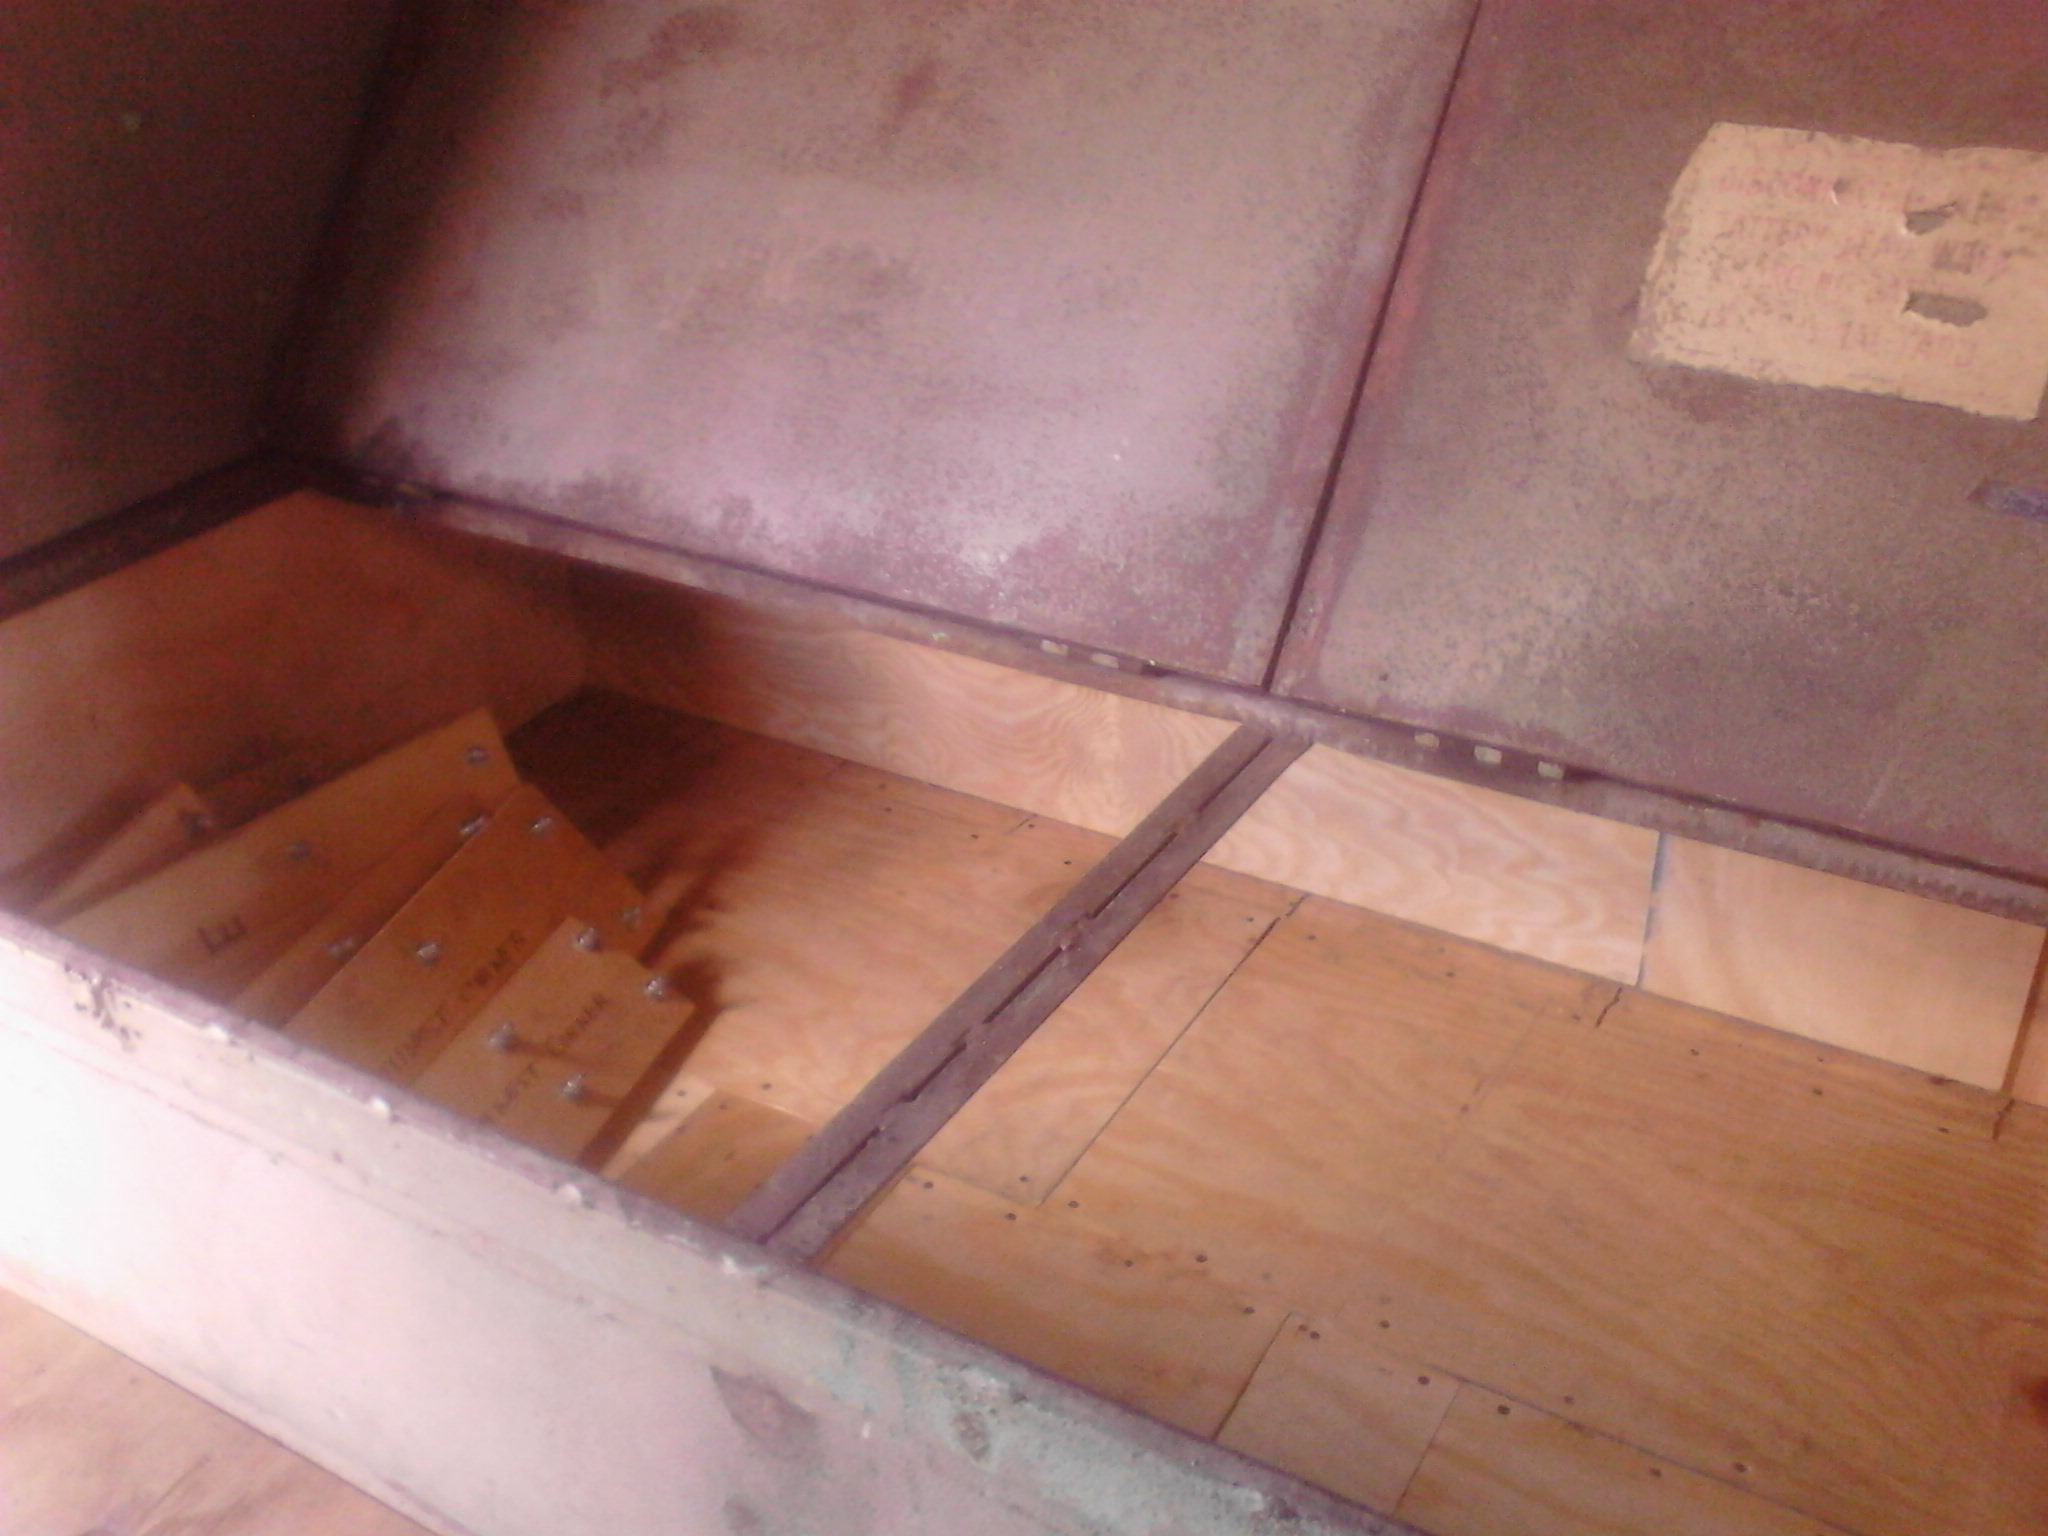
The following saturday found us looking over the floor. That too is rusted and weak. Our original plans called for cutting out the bad spots and welding patches here and there. The more we investigated, the more rot we found. We made the decision to go all out and remove the entire floor. To do this, many more rivets needed torched and plate steel cut as well. We ended up removing the floor from the outside main angle to the main center sills. At this time we have nearly one side removed. It is unbelievable what years of water can do to Steel. The bottom of all locker walls are rotted away as well. That too needs to be looked into when the time comes to put everything back together. We have plans on this but it just takes time to get to it. In the mean time, work to remove the rest of the rotted steel floor continues. Now that parts of the floor is gone, one can see better how an N5c was put together. Amazing how many rivets! Here are some pics, with more to follow.
Late 2003, early 2004 work seesions found us still dealing with the floor removal. Just so much can be done in winter months when the tempature reaches 10 degrees and dealing with bitter winds that just won't quit. Having a restored PRR N8 on hand to get warm in helps keep ones toes and fingers limber! After consulting with the car shop owner where our N5c is located on what else needs done prior to reassembly, we found that more prep work was needed before the new floor and sides were installed. At this point, early April, we are nearing the completion of that prep work. Several more weeks of clean up and then we can sand blast the underframe. Then our plans are to give the underframe steel a coat of epoxy primer. Once that is applied the steel sub-floor can be fit into place. So that is where we stand at this point in the restoration. More updates in the months ahead.
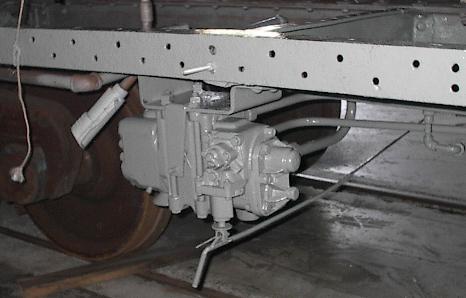
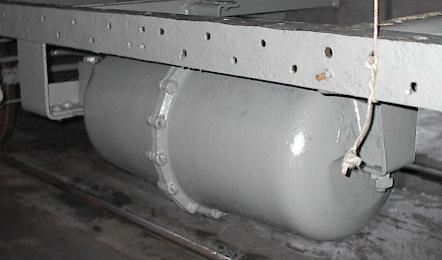
After several weekends of sandblasting we were able to start applying the Primer to the underbody, pipes and appliances such as the Air Tank, Triple Valve and Cylinder. Many more hours of brush painting remains.
The recent work sessions of May and June found us continuing to sand blast the remaining underframe. It is now mid June 2004 and we are nearing completion of this job. Just a little more Epoxy Primer to be applied in several areas. Once this is done we can start the under frame finish color of Freight Car Color. We are having a special mix made of this color. Here is a test shot of this color.
*****
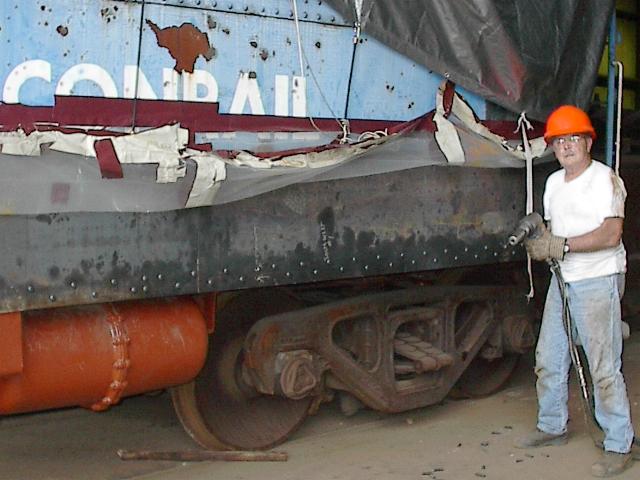
�����Late September 2004.....�Work on the N5c is once again under way. After several months of vacations, festival's, etc. the "974" was again pulled into the ISS shops. Today was the first day for a new set of hands to get dirty. Well, actually 2 new sets of hands were seen active. Chapter member Nora stopped by to give support and a little "push". The reason some work was able to be started today is Matt Hill assigned us one of his workers to help on the heavy steel work, which included the handling of 4'�10' steel sheeting. We were able to get 2 floor pieces sized and notched for corner fitting. Those 2 pieces are now leaning against the N5c so we can apply some Epoxy Primer the next time we have a work session. Four more floor pieces will need sized and cut as well and Primer applied to those before actual postioning and welding into place. Matts's employee (Rich) will try to tackle some other prelim work during the upcoming week. He will then have our help again when it comes to the other steel sheet floor work. So, maybe in 3-4 weeks the new steel floor will finally be in place. While we have Rich's help we plan on getting the new steel sides sized, cut, holes punched and primed. Rich is experienced in all kinds of welding and has the know how to use all the machines in the shop. This is exactly what we needed to move forward on the restoration. We put in about 4 hours of work today and afterwards had to actually push the N5c, by hand, into the shop a bit further to clear the overhead doors. Seems their fork truck was tiedup with other shop work. Thank Goodness for Roller Bearings!!!. All for now....
This next work session was fairly quick. We spent 3 hours cutting two more pieces of the floor steel and the application of a coat of epoxy primer to the underside of these pieces. Next up will be coat of FCC on the underside of the floor pieces prior to final installation. Then the sizing, cutting of the last two center pieces of the steel floor sheeting. With this work planned is completed, a nice new steel floor to replace the once wet, rotted rusted floor will be in place.....
As you can now see we have applied both the Pitt Guard Epoxy Primer and our special PPG Freight Car Color mix to the underside of the steel floor sheeting. After this was done we were able to fit the 4 corner pieces in place the following weekend. At that time we also measured and cut the 2 center pieces to fit. They are now installed as well and are at this time being welded into place. Soon this step of the restoration will finally be completed.
October and November 2004:
These 2 months found us accomplishing the major steel work on the sub floor. All 6 pieces are now welded in place. The resulting work has given us a sturdy base to work with. To anchor these floor pieces to the end walls we welded steel angle where they meet. Here is a crew member afixing these in place and the final look.
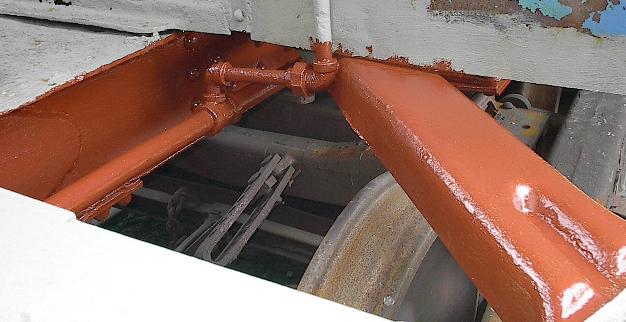
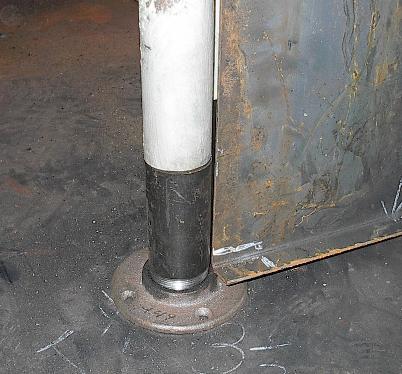
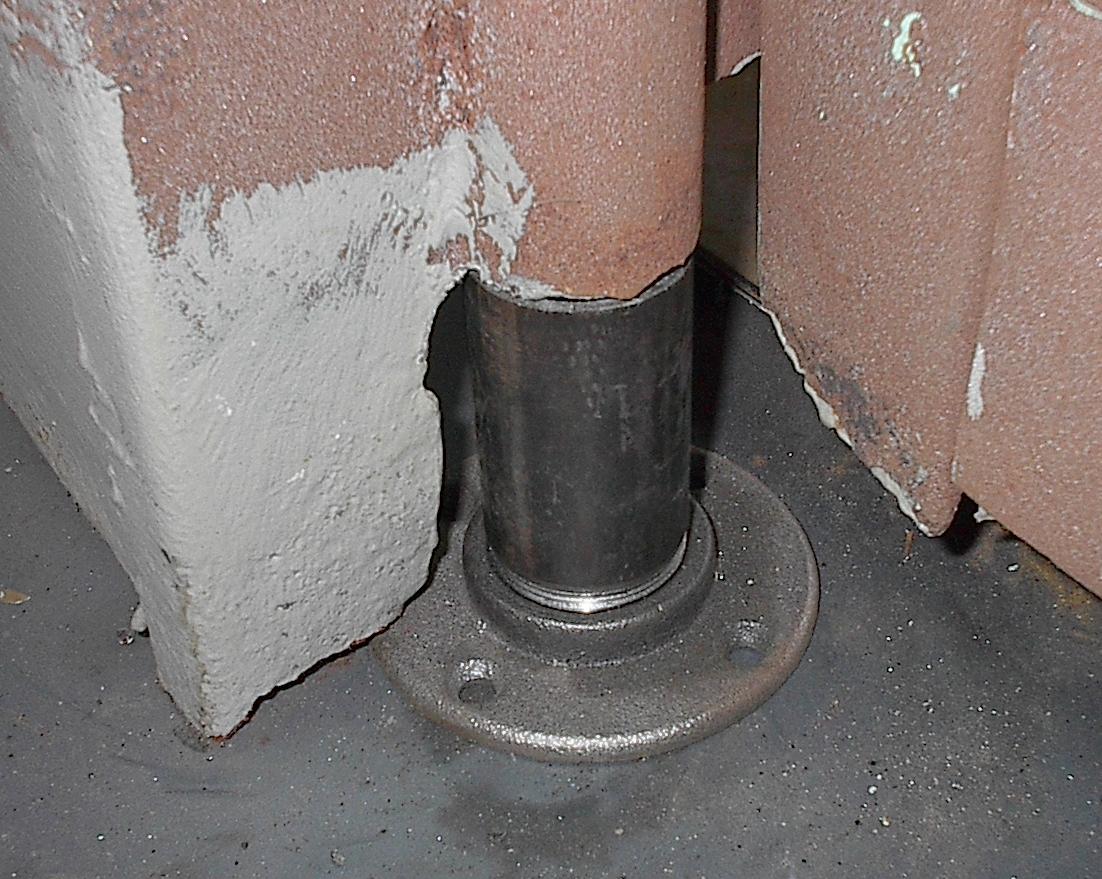
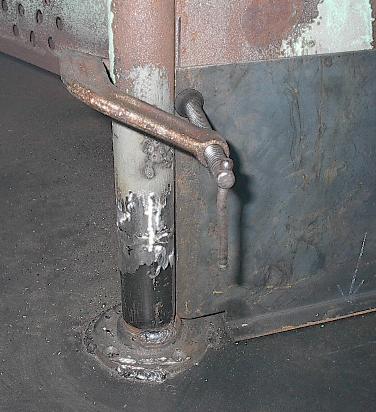
Next up is the reconstruction of the four main upright posts that support the entire center of the caboose and cupola. These 4 posts were rusted away at the point where they attatched to the rotted steel floor. We have cut short sections of new pipe and bases that will be welded to the remaining posts material and floor. Once in this will once again tie evrything together back to the way it was originally.
Next up is the repair work on the locker walls. The bottom of the walls were rusted to the point where they no longer had any strength at their anchor point with the steel floor. We had cut away the bad sections months ago and now our plan is to use 1/8th inch steel plate to repair this. We have 16 pieces sized and cut for 8 locker walls. We will sandwich each locker wall bottom, aproximately 10 inches high or so, with 2 pieces of this steel plate. Each plate will have a 1 inch, 90 degree angle bent into them to act as a foot when it is welded to the steel floor. This is the job we are working on now. Photos of this and some previous work will be posted shortly.
When we had a batch of Epoxy Primer mixed up we went ahead and gave the steps a coat. These sure look better then what they looked like when we first acquired them:
Mid November found our N5c making a breif appearance on TV. KDKA Channel 2 out of Pittsburgh stopped in for a visit. Dave Crawley, host of "KD Country" and his camera man shot footage and took notes for airing. The episode viewed on Friday November 19th.
All wrapped up for the coming winter months work sessions.
We are now nearing March of 2005 and work continues welding in place the new portions of the lower locker walls. Just one more wall to be adjusted to the proper position and a few passes with the welding stick will anchor it in place. Our shop worker assigned to help out with the welding has been ill lately and this non-work was slowing us down a bit. I have learned enough that I am now able to weld to keep us going until our regular welder returns.
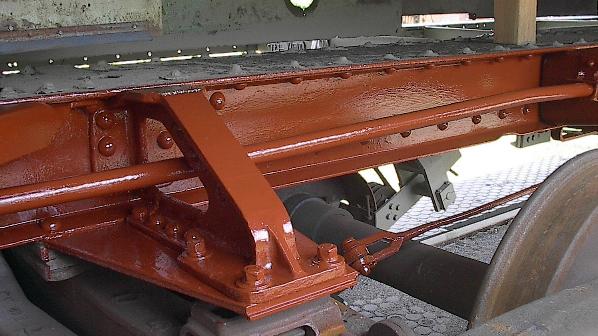
We have also been finishing up little jobs started earlier. The Triple Valve and Brake Cylinder are now bolted back in place on the underside on the new floor. We are also at this time welding the end walls to the angles that were attached to the ends of the floor earlier. With the help of a bottle jack we were able to push the end wall back into the proper place and weld a bead along the inside seam. When this little step is finished on all 4 corners, the body will be more rigid. Once we wrap up with these steps, we can concentrate on prelimanary subfloor work then on to the mounting of the new sides. Photos will be posted soon of these most recent accomplishments.
With most of the work mentioned above finished or nearing completion, the warmer weather is dictating our next steps in the N5c restoration. Up next is some prelimanry sub floor work. It is our plans that the floor be constructed of several layers. Originally the PRR built the floor using a 3/16" steel base, then they attached steel runners to accept the final layer of Oak. We will be rebuilding the floor in a slightly different way. We already have the 3/16" steel floor in place. We will now work on attaching 3/4" runners made of Plywood. On top of this we will lay the entire interior surface with 3/4" plywood sheeting. This will be finished off with a layer of 3/4" oak planks. All of this is done in steps. First up is to apply Epoxy Primer around the perimeter of the floor. The warmer tempature is needed for this to properly cure. We will then anchor the outside perimeter of the floor with the plywood runners. That is as far as we will go on that step. When we reach that point it will be time to attach the lower side steel sheets. These 6 sheets of steel have been purchased, cut and jogged and are ready for test fitting. Once we are satisfied with the fit, the marking of the rivet holes will be done and then those aproximately 200 holes will be punched. This step is fast approching so we need to get that epoxy applied and runners mounted. More later.........
It is now mid April 2005 and we have come to the point we have been looking forward to. We have been able to test fit the new steel sides on one side of the car.
As you can see, the new side portions were nearly a perfect fit. The "jog" placed on the top edge fit neatly behind the present body sheet. This is where a weld bead will connect the pieces together. On the bottom edge of the sheet we marked for the locations of nearly 110 holes. These holes will match those found in the side sill. This is were it will be anchored by rivets. We then removed the 3 sheets of steel and set up a drill press and started the drilling procedure. After using 3 sizes of drill bits to work our way up to the size hole needed to accept the rivets, this job was done.
This is where we stand now. We have to anchor some wood runners around the perimeter of the floor prior to installing the new side pieces.
After applying a little more epoxy primer around the perimeter of the floor we then anchored the wood runners that our first layer of the subfloor will attach to.
Well, May 10th 2005 ended up being the day the work crew has been waiting for to arrive. After many many months of demolition, prelimanary work and even more prep work, something really positive occured. This was the day that the new side sheetings started to be applied. With the help of the shop where the cabin car is located, all the needed tools and machinery was brought into position. This included the Welder, Huck Machine for applying "Rivets" and Reamers for sizing the holes. After a quick lesson on "Hucking" with the shop boss, we were on our own. After an hour or so and about 100 Rivets later the west side of the cabin car had a new lower portion applied. Larger rivets now need to be applied in specific areas but this will only take several minutes to complete. Up next is the east side. We will have to duplicate the fitting, drilling and riveting just as we did on the west side. Hopefully within several more weeks, the hucking will be finished resulting in a more complete looking cabin car.
On May 18th and 19th a total of 32 man hours were spent on the N5c. These days found us repeating the new side steel sheeting application on the east sde that we had done previously on the west side. Aagin, once we had the 3 new sections test fitted, marked for rivets and all the drilling finished, the tools needed to attach the pieces to the cabin car were once again gathered and positioned. Within a short period of time we had the second new side installed. But this side sheet metal work is still not completely finished. We now await the application of a bead of weld where the new sheeting contacts the original remaining exterior wall. We also have to install the lower corners. These pieces have been cut and formed to match the contour of the exsisting pieces.
For now and to protect from rusting, a coat of red paint has been applied to the new side steel pieces. Evetually this will all be sand blasted off when preping for the final finish coat of Freight Car Color.
Now that the sides are all hucked on the bottom sill, one of our next steps to complete is the addition of the lower corners. The originals were rusted away like many other parts. We had a local company called Armour, cut and form 4 new lower corner pieces that could be installed in place. We had one test fitted and drilled then had it temporarily installed using bolts. Eventually the bolts will be removed and anchored for real using Huck Rivets. It is also a must that the side handrails be mounted at the same time as well. We mounted one in an afternoon and worked on all 3 other corners during a second day. Once all 4 are mounted we wil have the top seam welded and ground smooth and end up with what we ope is a seamless corner.
Here is one pic with more to follow once we progress a little more.
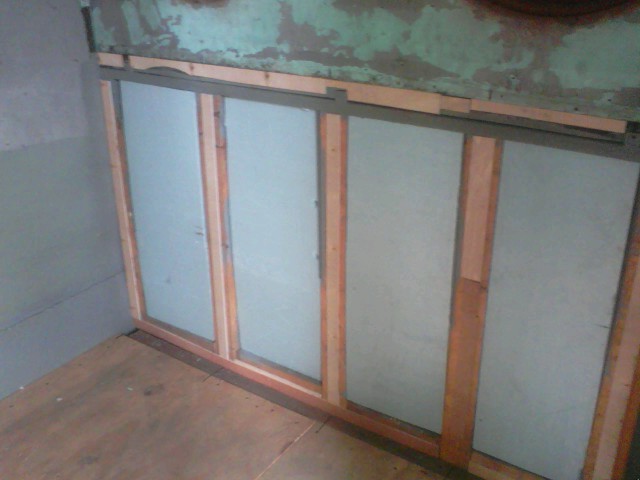
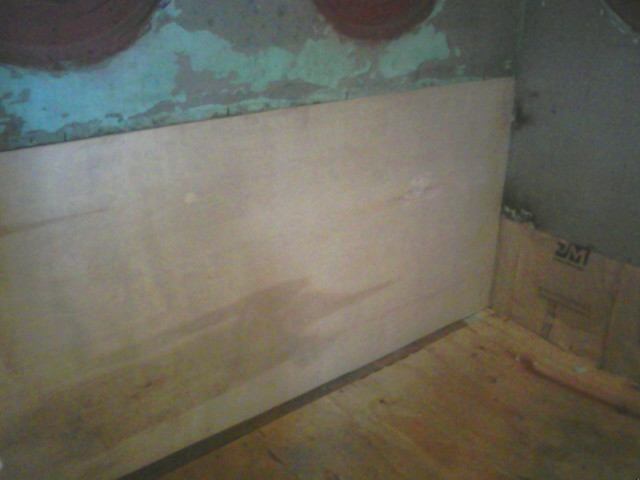
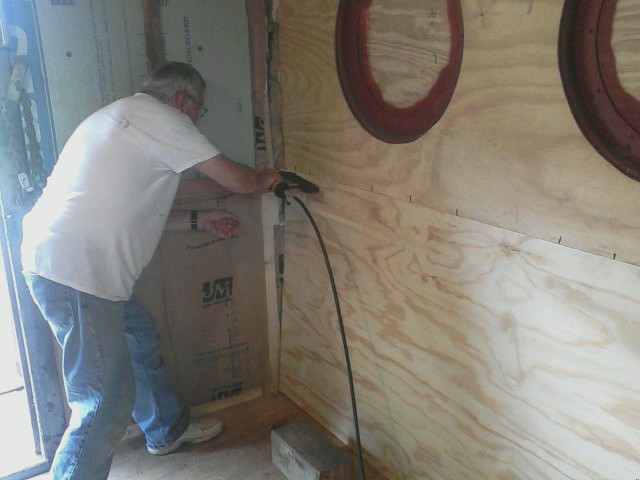
Our recent work sessions has shifted to some interior developments. Because the sides/walls are not in perfect shape and before we can weld the new lower steel sides to the original steel siding, we need to make sure we have a relatively straight and bump free seam and overall smooth wave free side. To accomplish this a combination of steel angle lengths and 2"�4" wood studs are being installed to the interior walls. The metal angles are fixing most of the problems and the wood studs will act as part of the wall interior just like seen in house framing. Wood sheeting will later cover all of this interior wall to replicate the way it was finished originally.
Seen above are the angles and wood studs installed on the interior of the wall. One can see the original and new steel. The wood at the bottom of the wall is a "runner" that the sub floor and later the hard wood floor will mount to. This area is basicaly complete, for now. Later foam insulation will be installed between the studs and then new wall sheeting can be applied. Now we need to repeat this three more times in the other side areas.
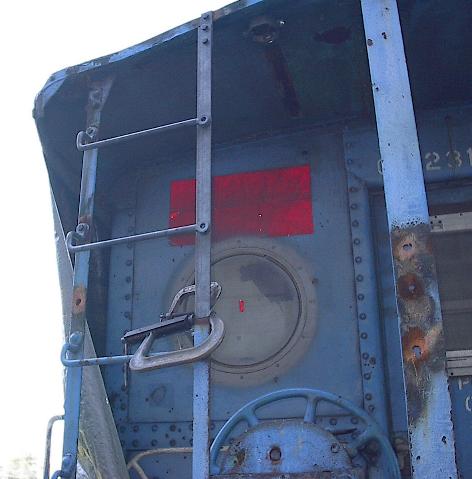
Now that the work to the sides is nearing completion, we turned our attention to another segment of the restoration, the Ladders. During the N5c's days of service under Conrail, the ladders were removed so crew members could no longer climb to the roof. I guess an FRA safety issue. We needed to reinstall what was removed. This included the top two ladder rungs and the uper half of the rightside upright angle. We acquired a section of 2�2�1/4 steel angle and duplicates of the ladder rungs. The company that supplied those duplicated the orignal rungs quite well. After fabricating and mounting a bracket to the roof edge which will evetually anchor the ladder in place, we test fit all the parts until we got what we were after. For now all parts are attached with nut/bolt assemblies and a weld seam. Later this will become more secure with the use of rivets. Most of the holes seen in the collision posts and other angles not needed for the eventaul mounting of the end railings are also being filled at this time. Soon the ends will look pretty much how they were origianlly built.
Up next is the ladder on the oppisite end. Sure enough, we run into problems. Stay tuned to see........
Sept 3 2005. Well, we took a look at the ladder situation on the opposite end. If we duplicated our effort that was achomplished on the first ladder, we would have ended up with a ladder that had quite a "kink" in it as it reached to the roof. Evidently in past years of operation, the Brake Stand may have been used as an anchor point for winching or whatever. The result was that we had a brake stand that was out of plum, leaning towards the outer edge of the porch. This also pushed the ladder out of plum. So if we attached the upper part of the ladder as we did on the first end, a far from perfect ladder would result. So we had to decide our next move. We could either remove all the rivets that anchor the brake stand to the porch and place a wedge on the outer bottom, forcing the top of the brake stand in to a more plum position and re-rivet everything back together. Thats a lot of work! Or we could do what we did, use a torch and cut a wedge in both "legs" of the brake stand and use a come-a-long to yank it back into the plum position. The two photos below show the resulting cuts.
Once the stand is in the corrected position, the cuts will be welded together and ground flat, resulting in a smooth finish. After this is finished we can then continue with the reconstruction of the ladder. That is our next work session.
������Today we nearly finished the remounting of the north end of the railings and ladder reconstruction. At least it is all to the point where we can finish the temporary buildup with bolts holding everything together. Sooner or later everything will get "Hucked" for permanent assembly. If we would have had the welder today we would have gotten the north end assembly to the same point as the south end. Here are the latest pics. Note the semi-completed ladder and railings on the southend and on the northend, the railings are in place but the ladder needs a bit more work.
����������We need to heat and bend 2 ladder rungs to meet with the other short portion on the north end. That is probably the next work session.
On a side note, we located and purchased an original PRR Caboose Stove and will eventually restore and place in the N5c. That means we can now remove the oil burning stove and associated fuel tank and lines presently installed to make room for the PRR coal stove. A little bit of cleaning up and black heat resistant paint will do wonders for this relic needed to help back-date the N5c to the late 1940's time frame we are shooting for.
November 2006 found us back on the new sides that we previously riveted in place. With the help of shop owner Matt Hill, he supplied us with a gasless mig welder that operates on 110 volts. With this welder we were able to spend the day preparing the horizontal and vertical seams of the old and new steel. Mid afternoon we completed one side. Not bad for us novice welders. With some clean up and a possible second bead of weld laid and even more grinding, this side should be completed.
******* Latest Updates, 2014 *******
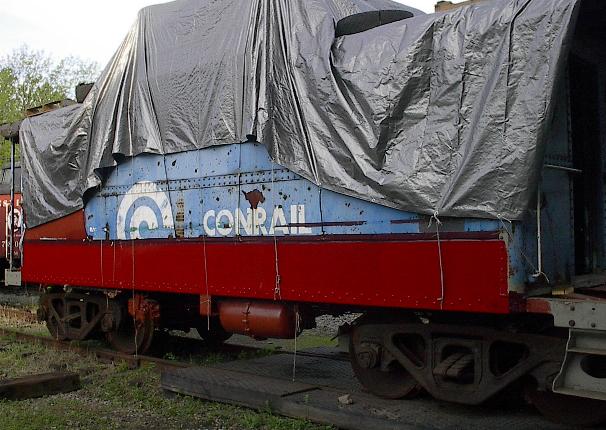
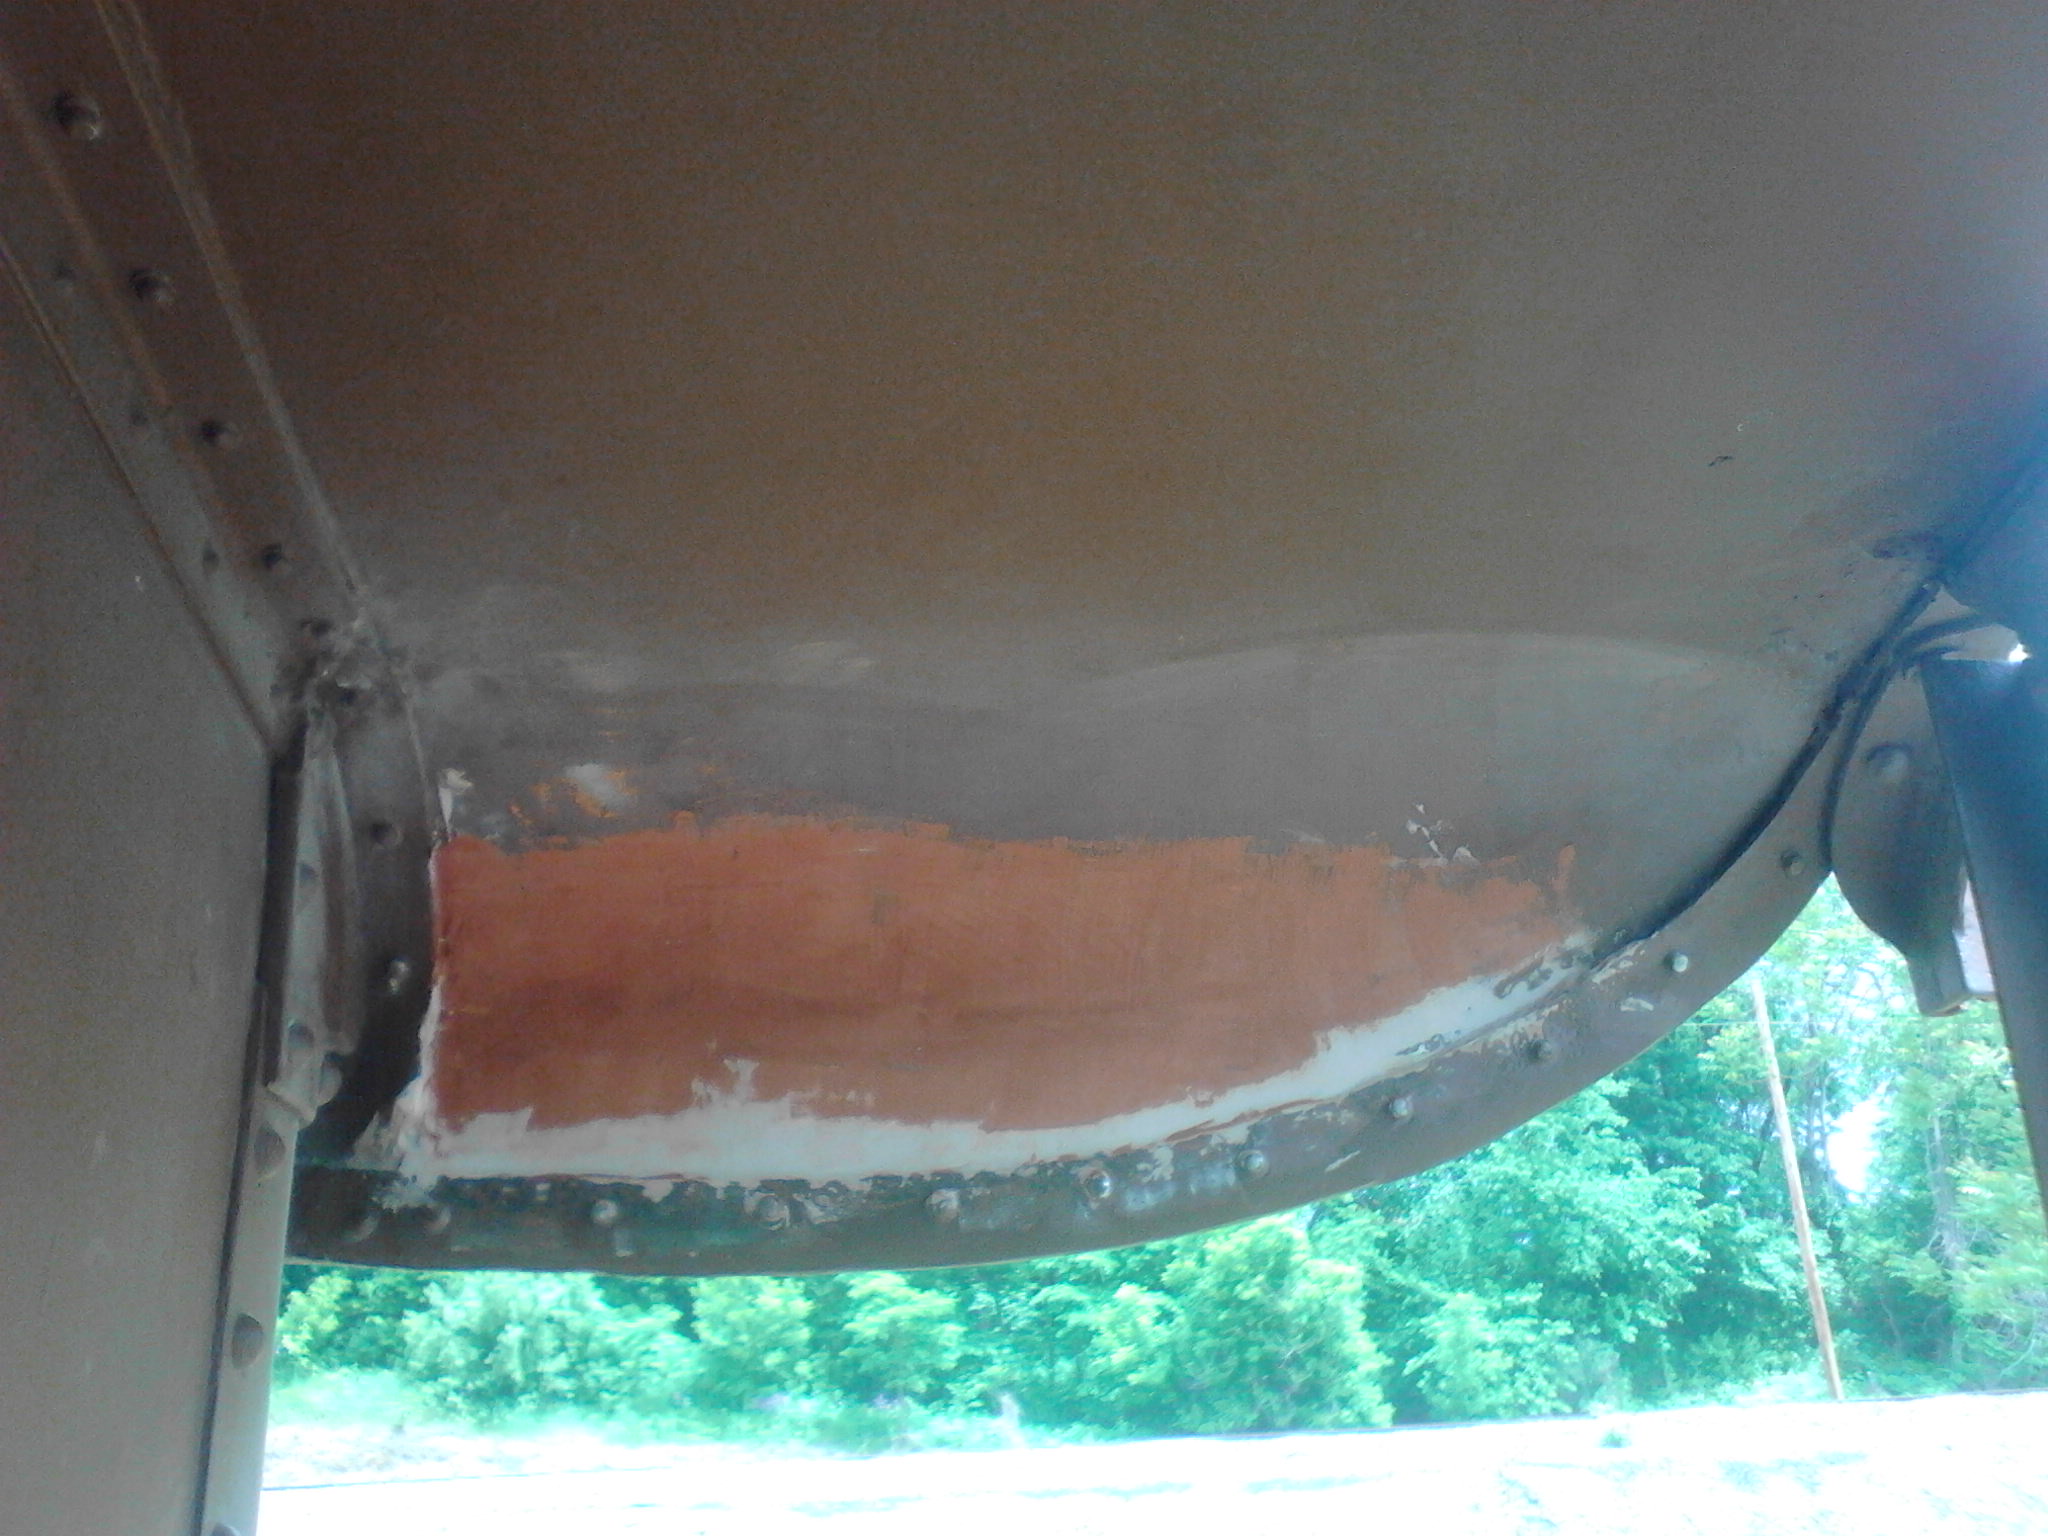
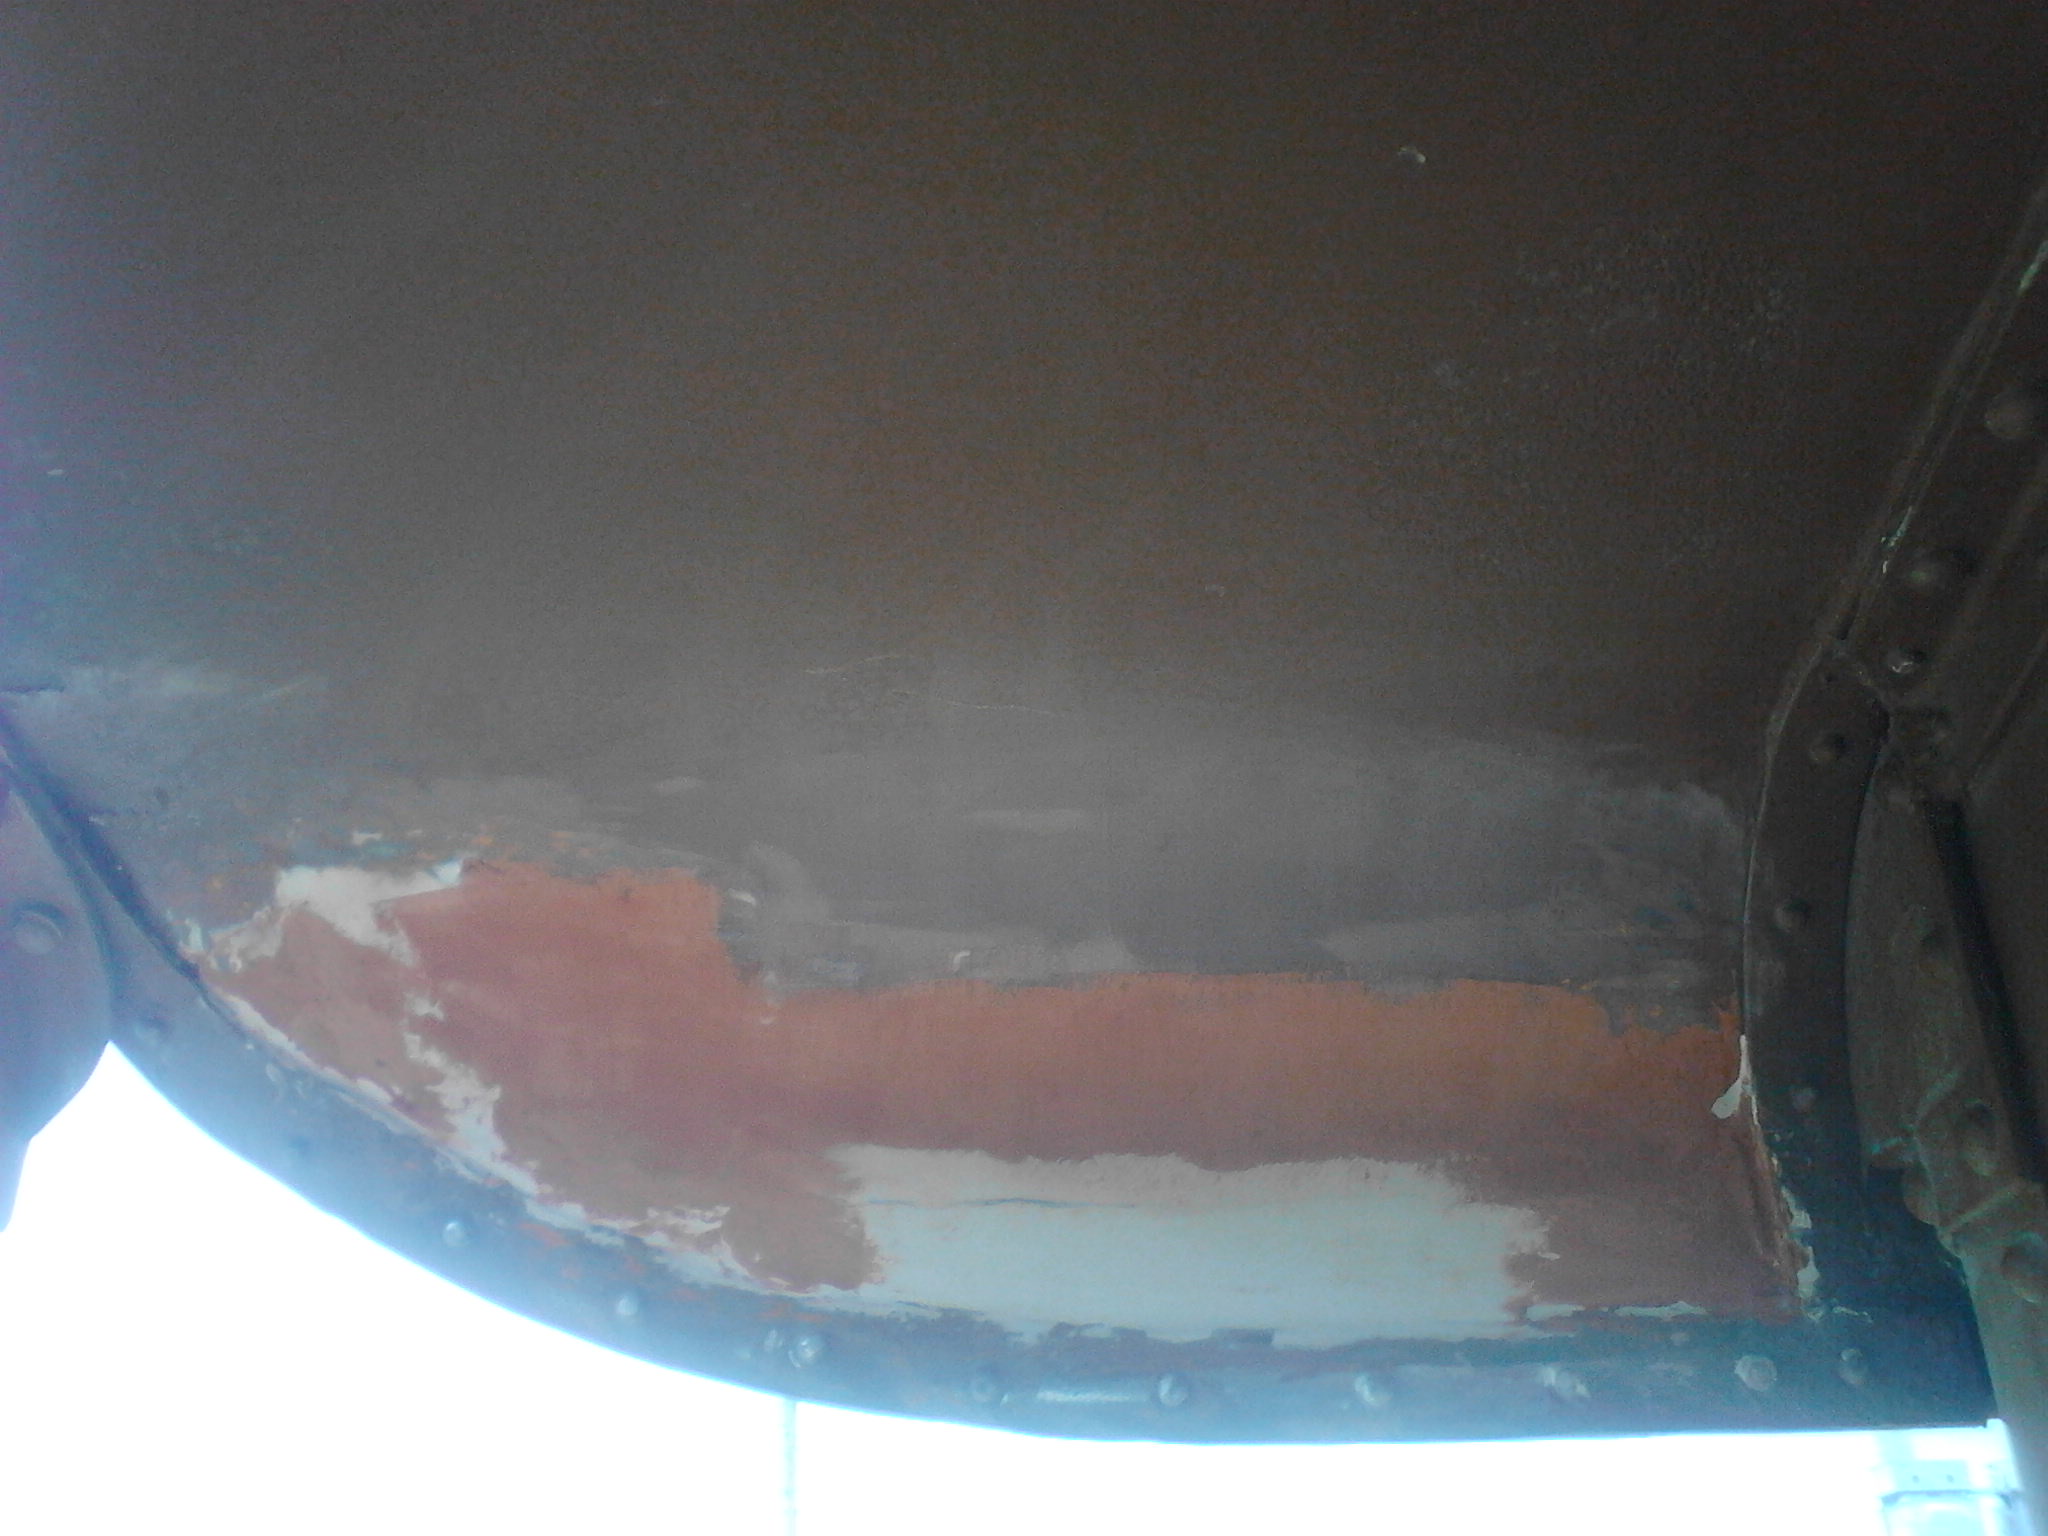
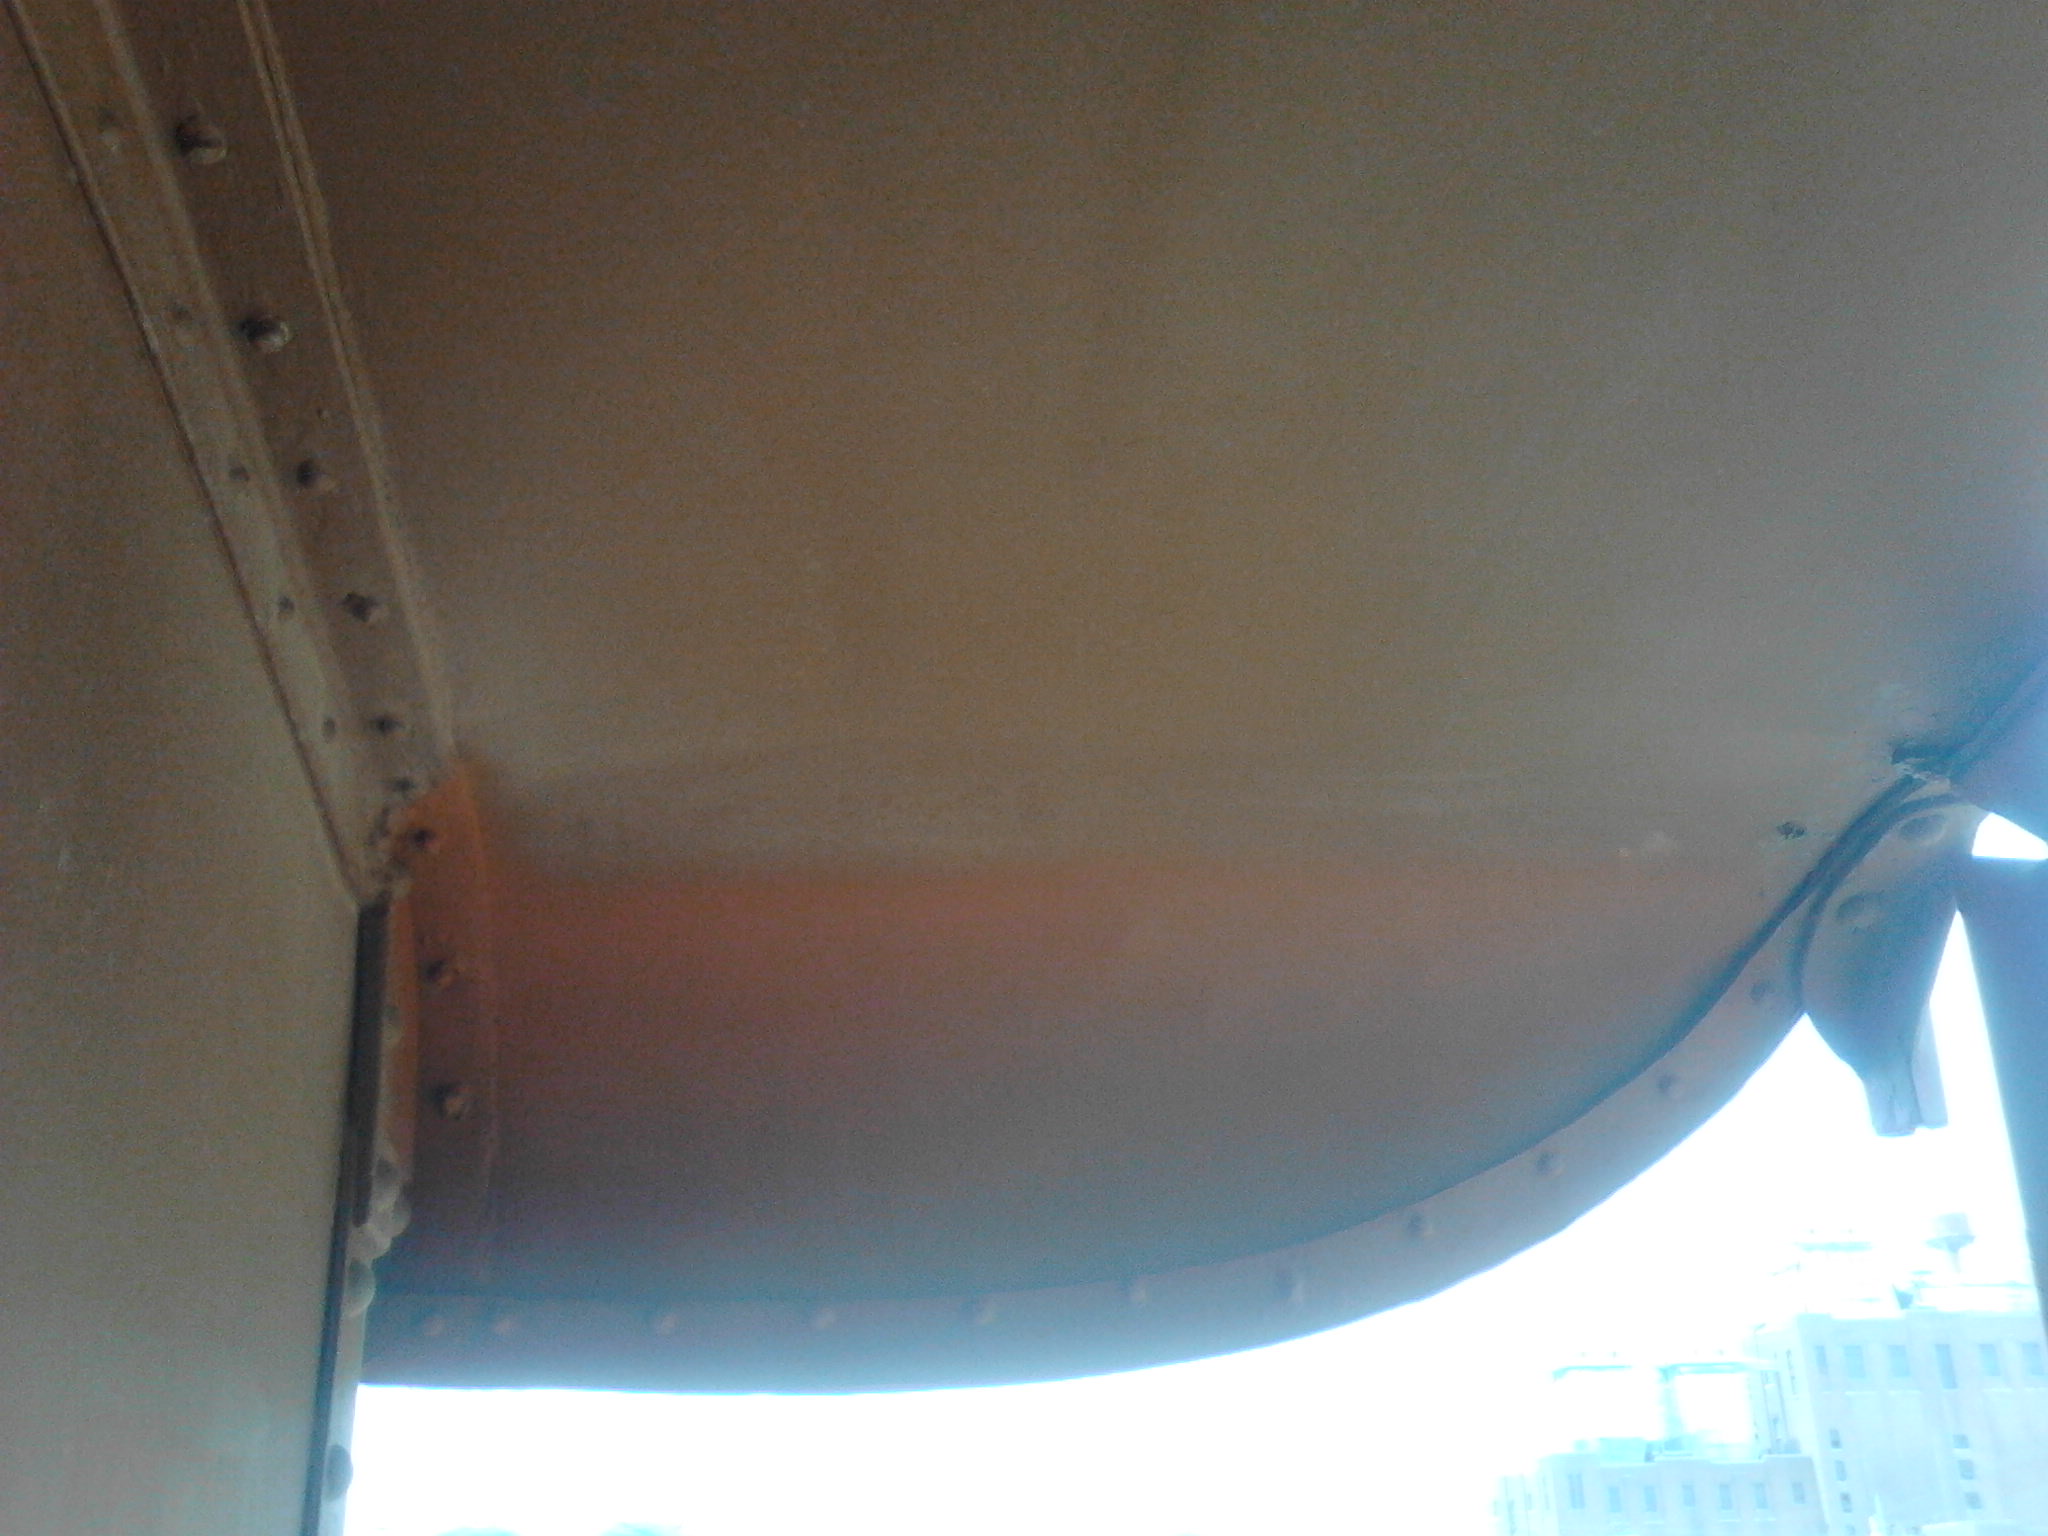
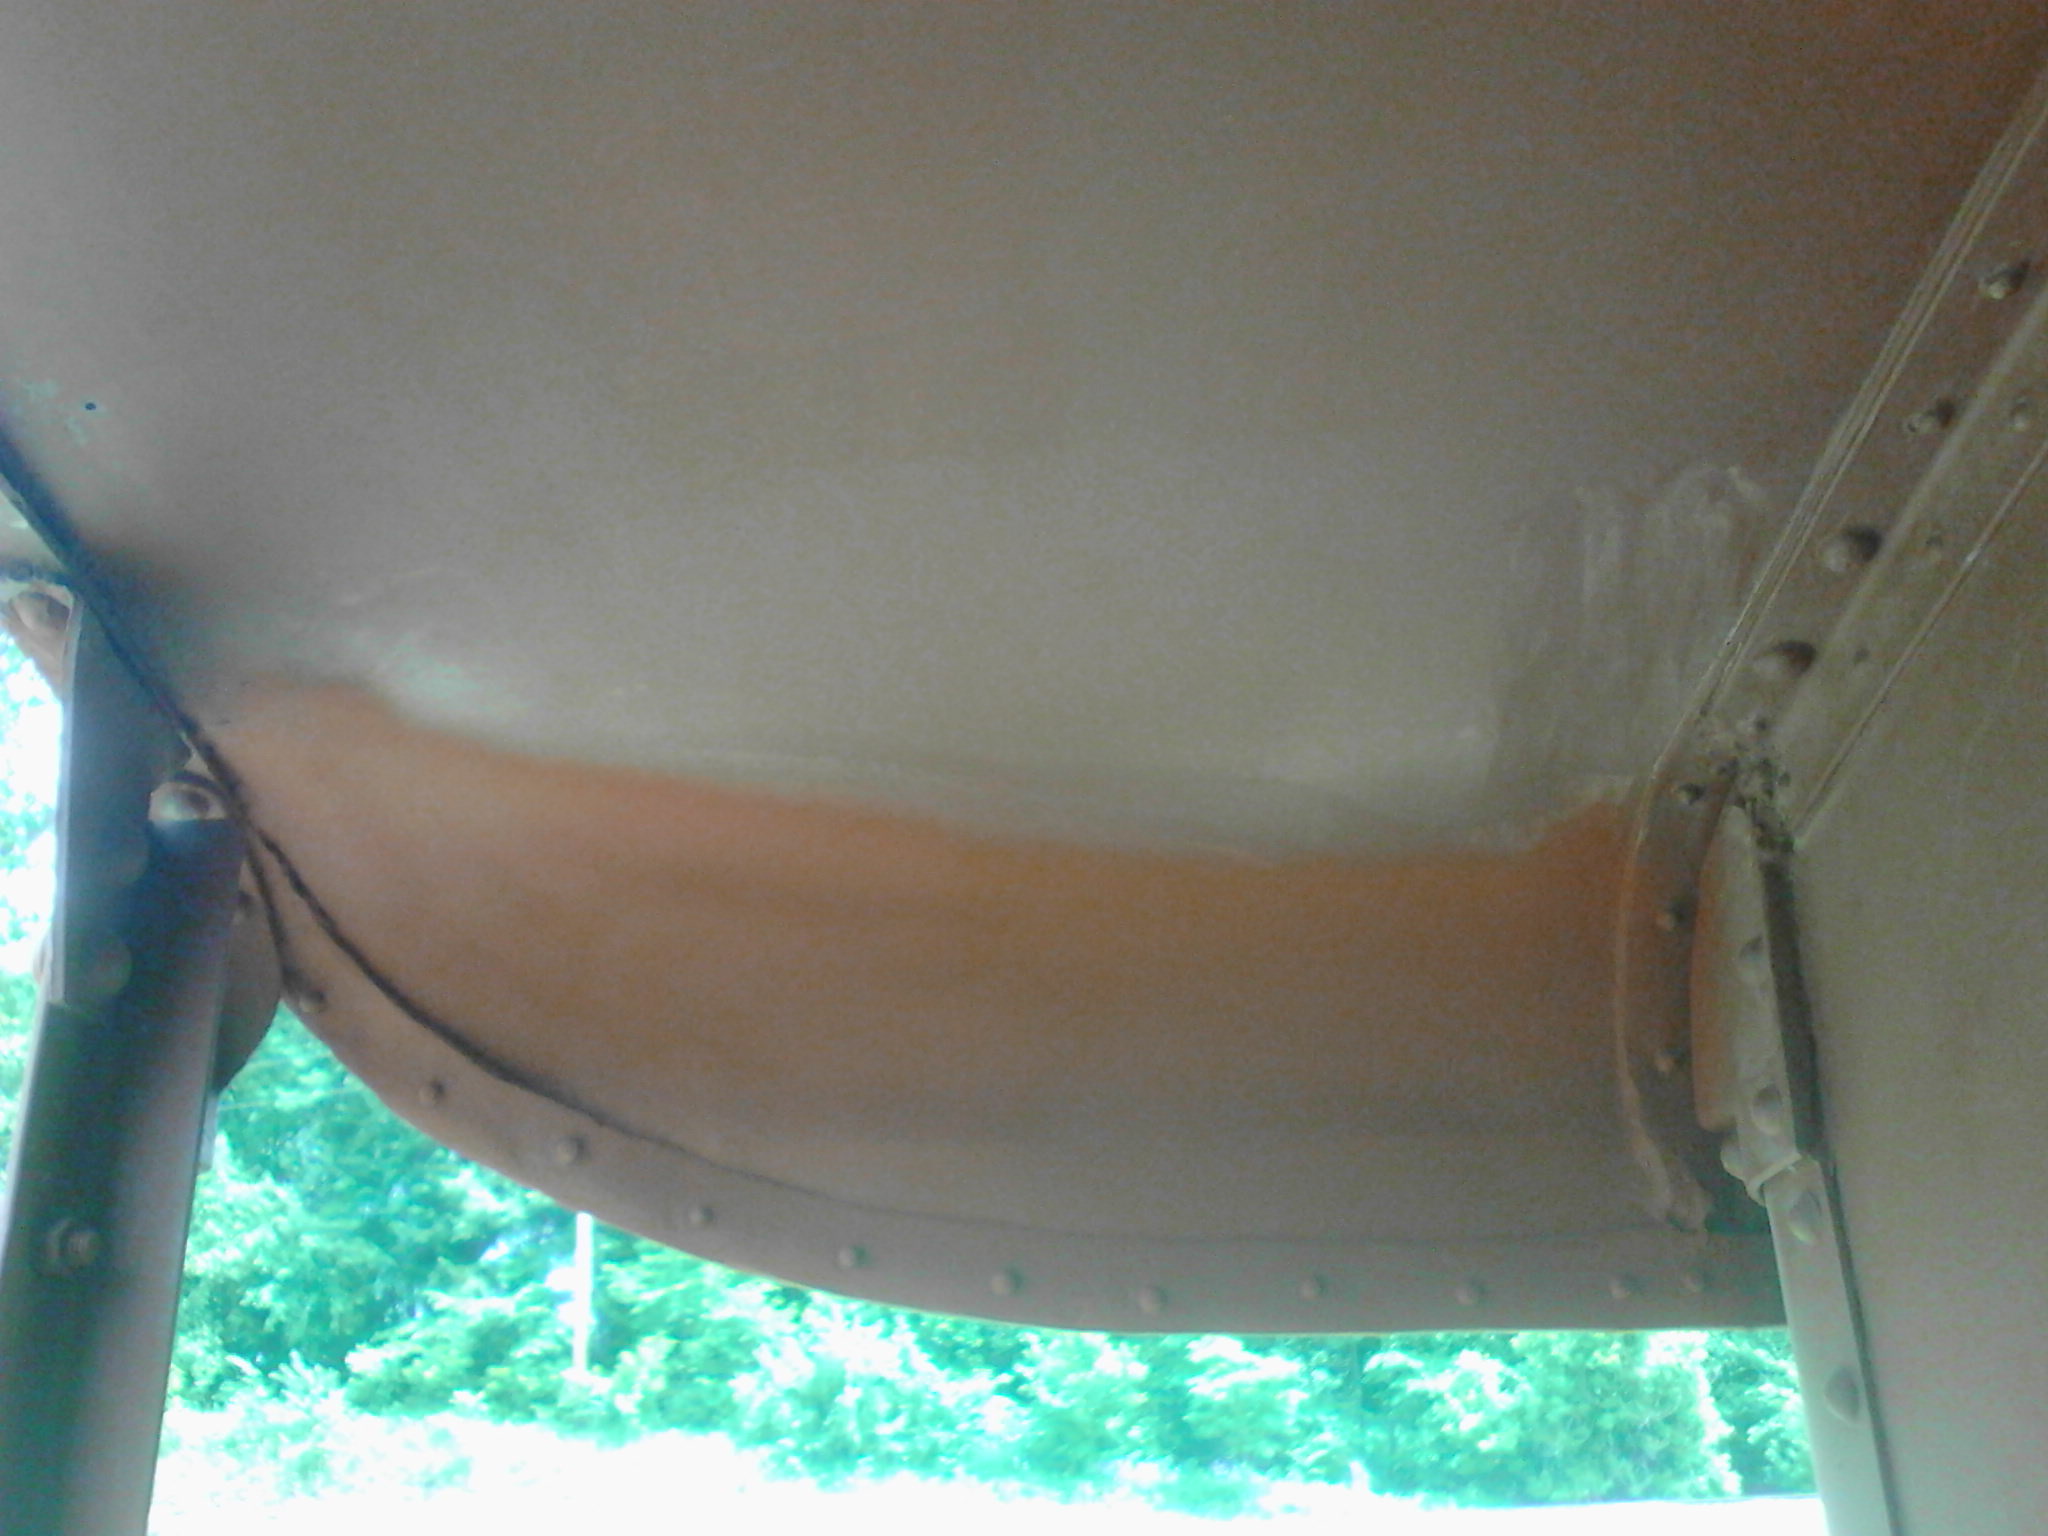
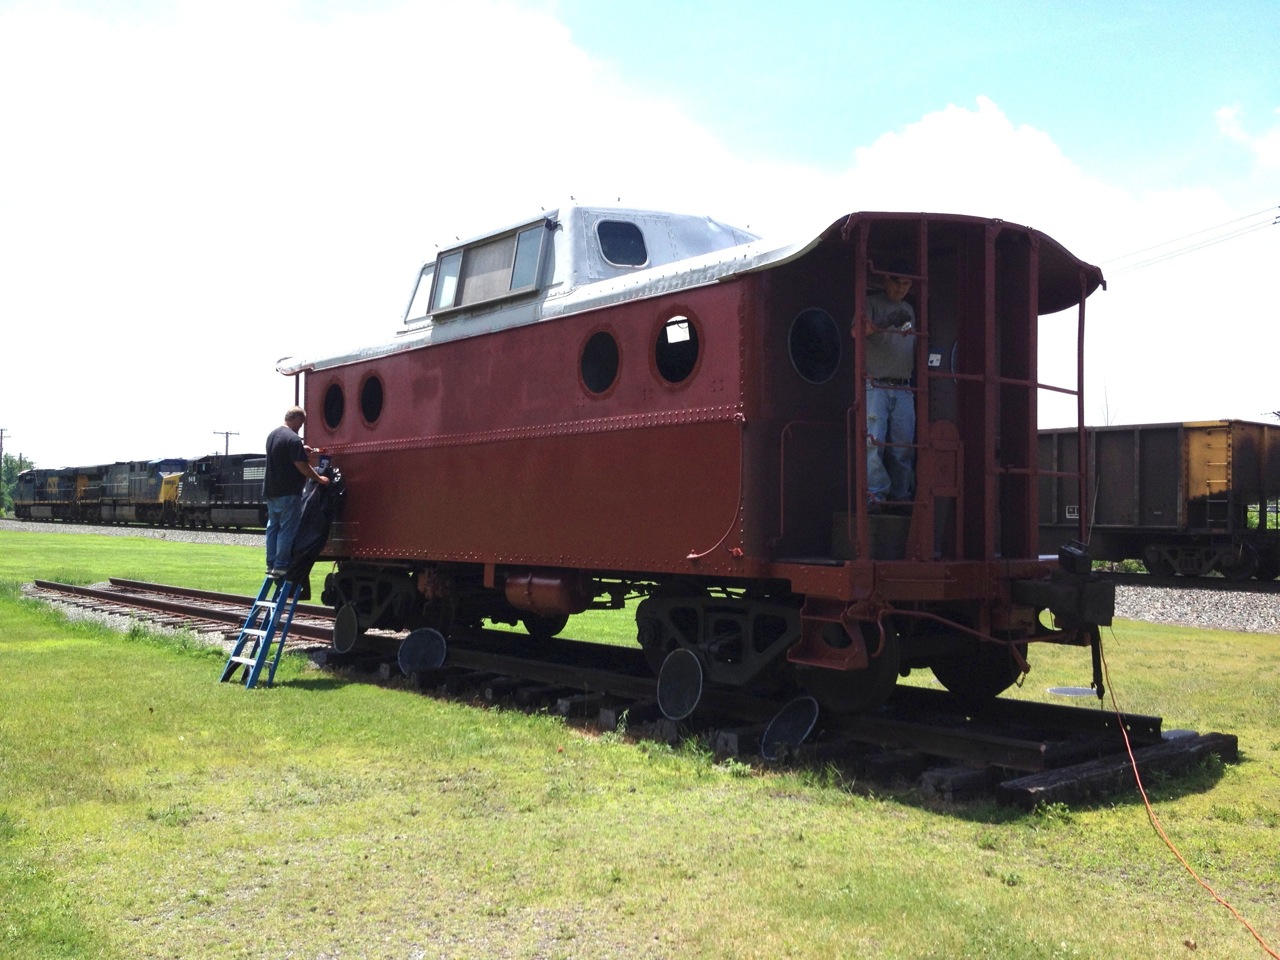
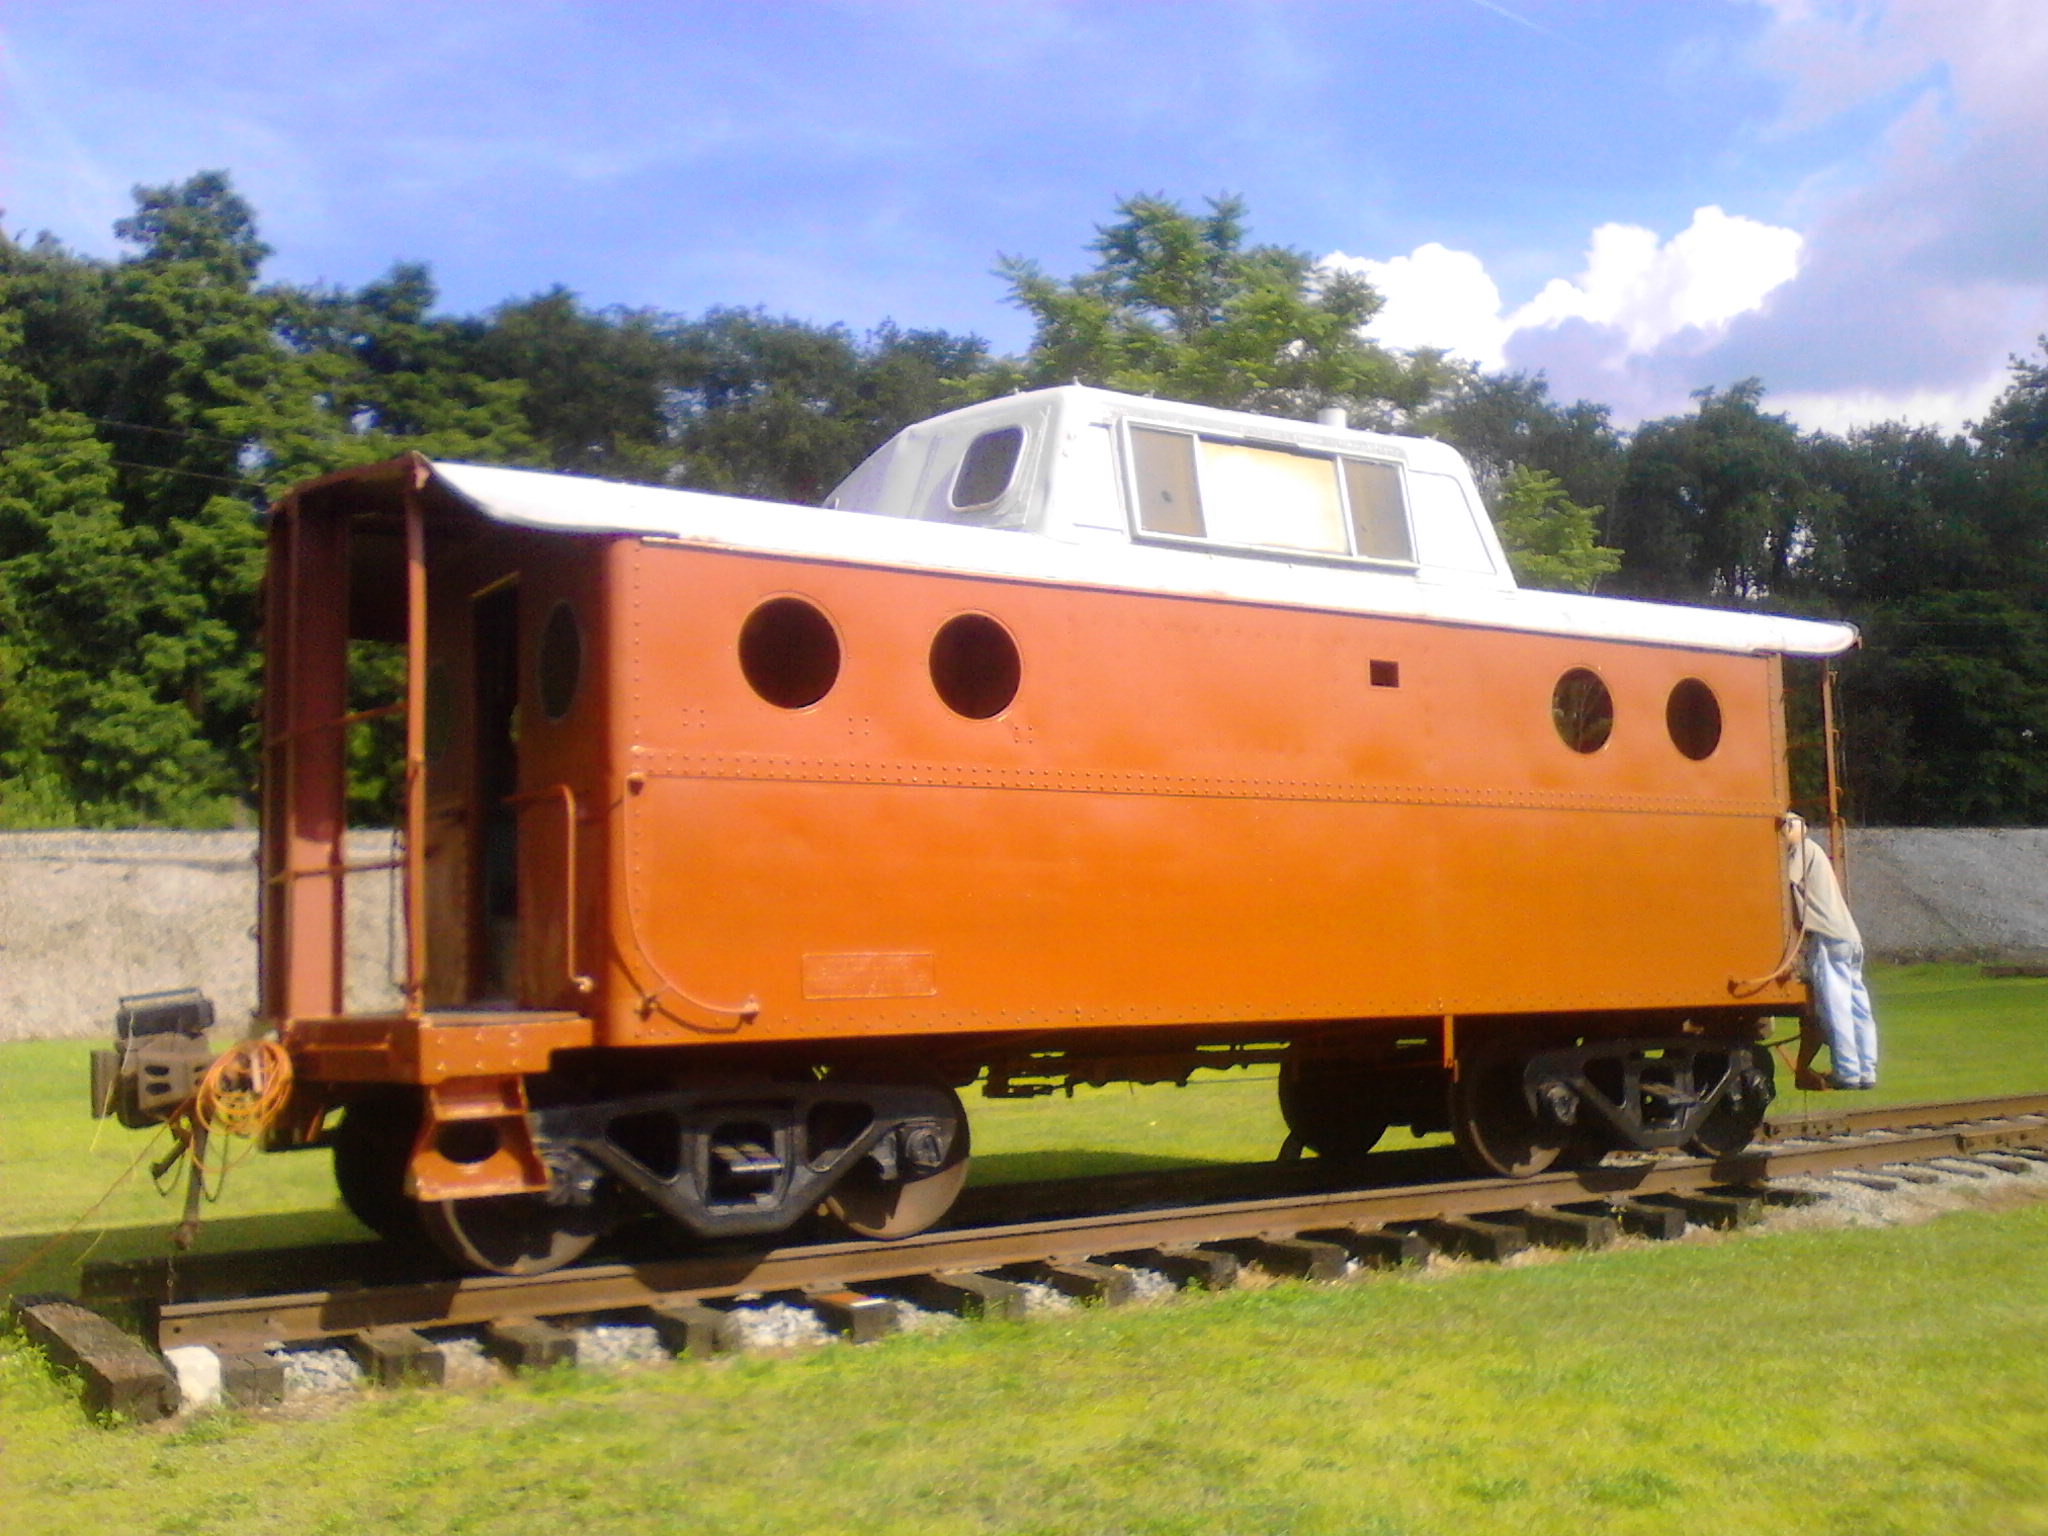
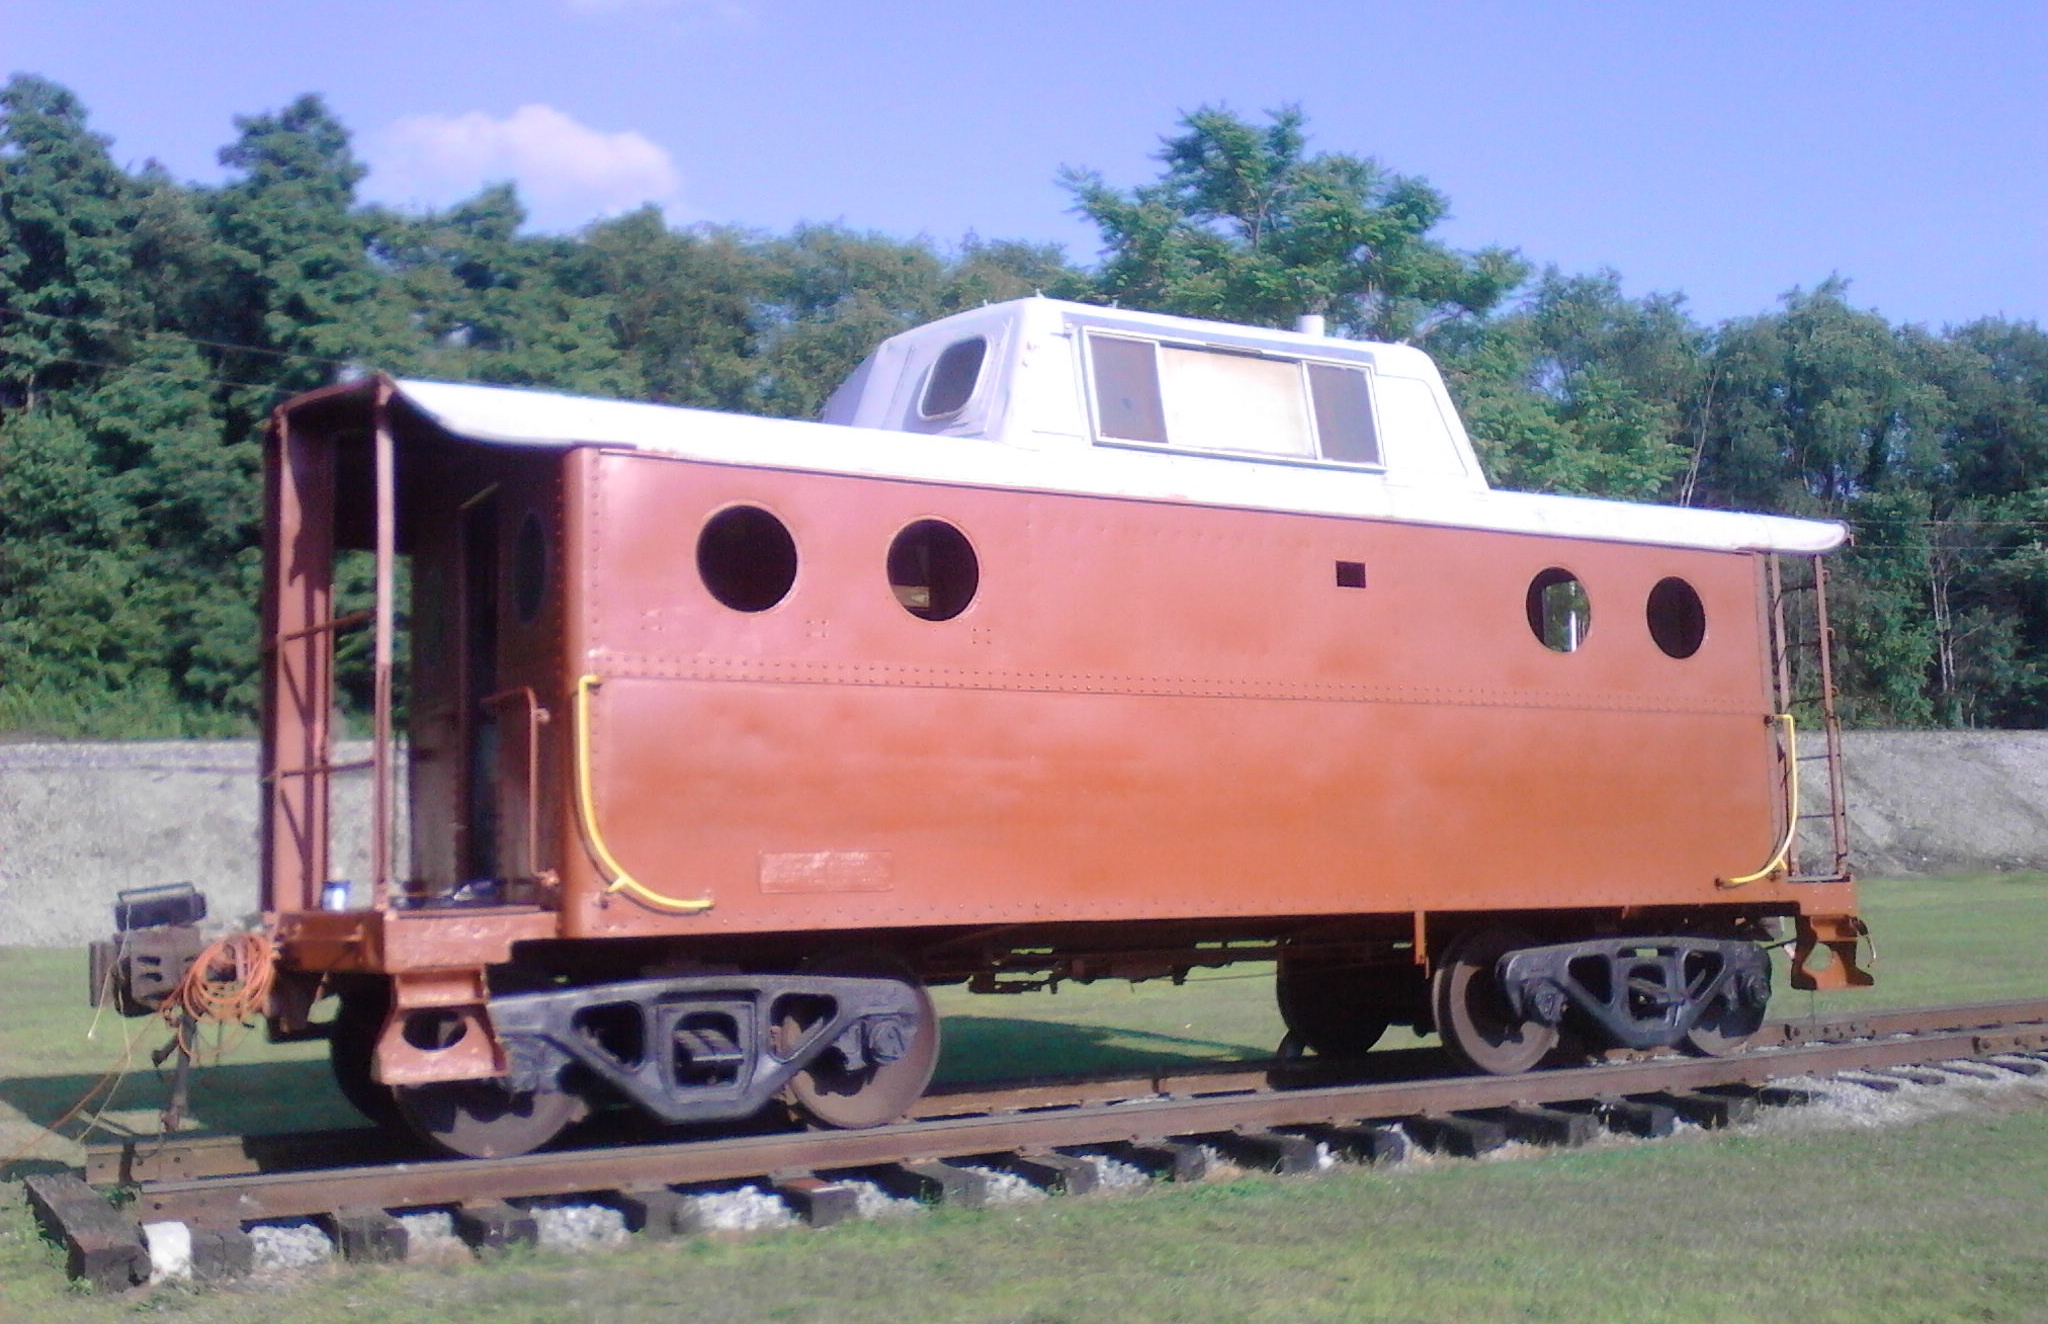
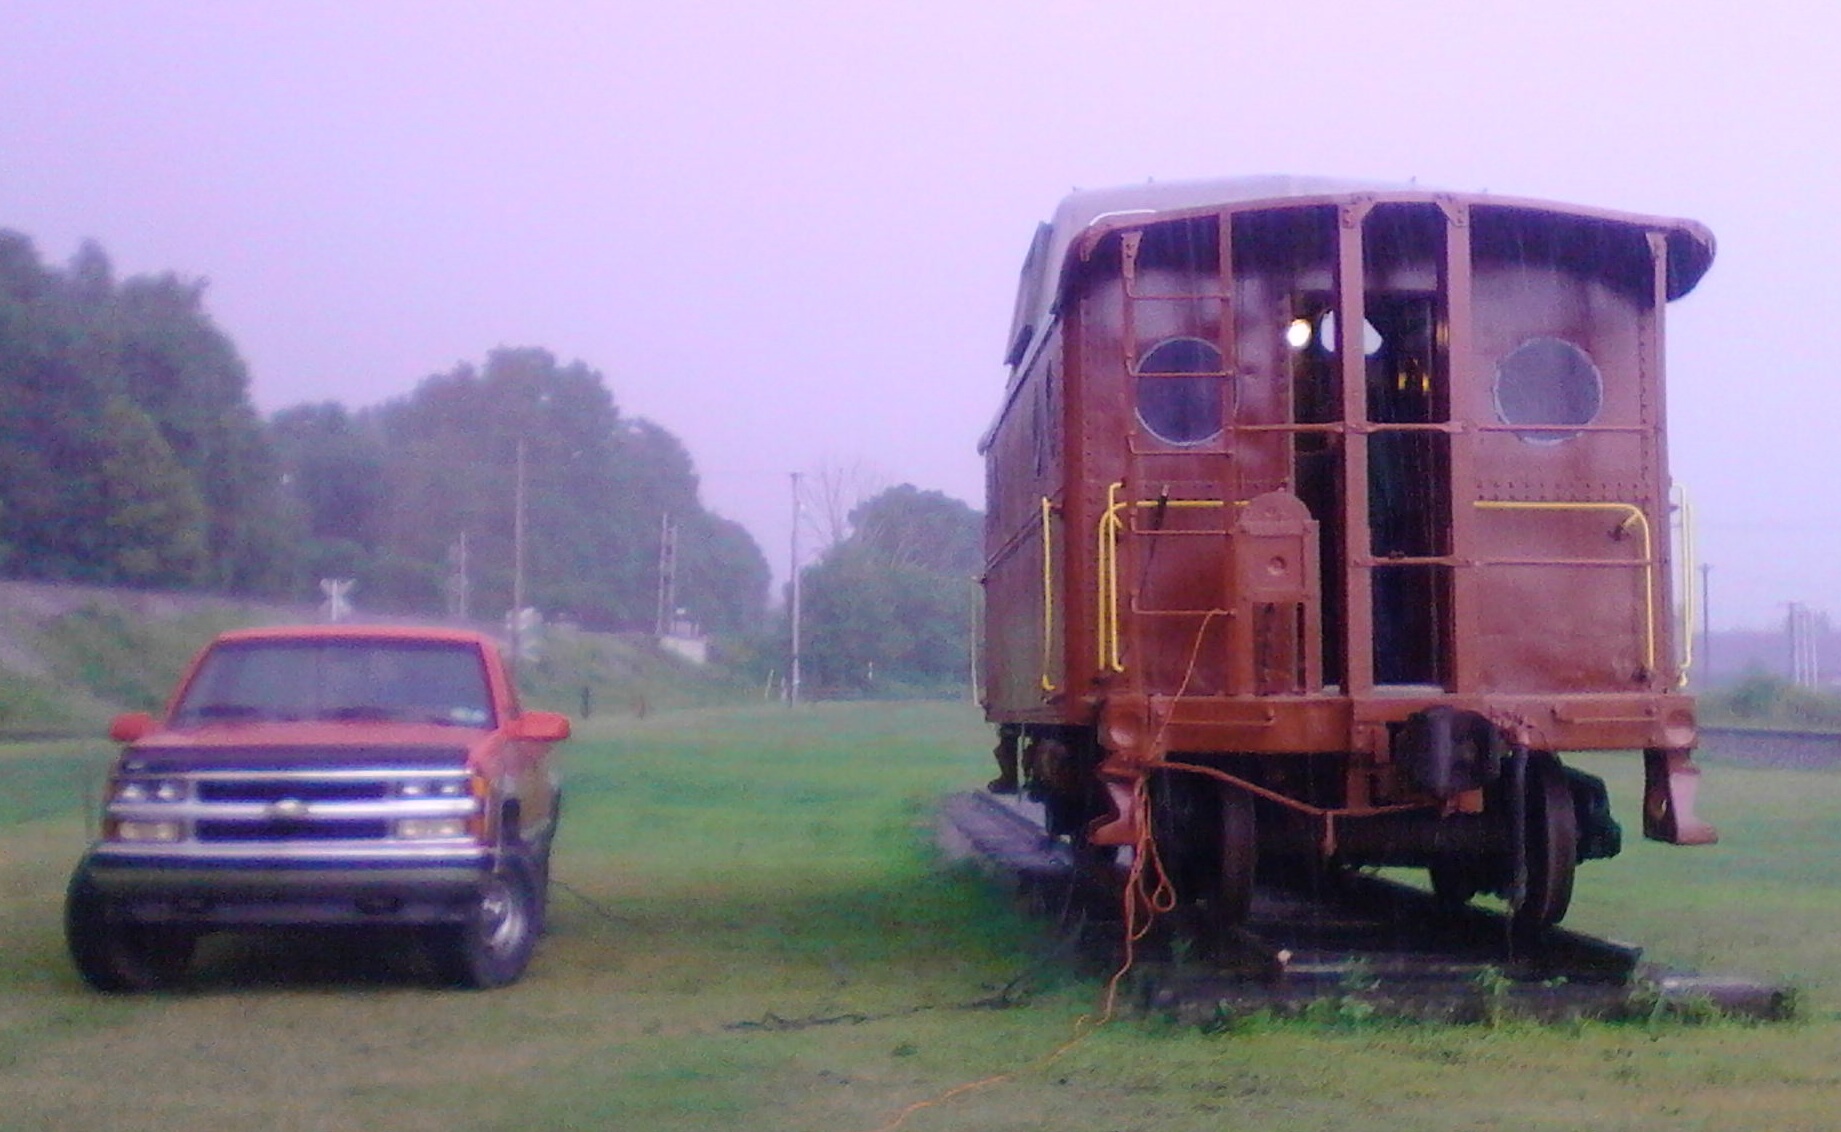
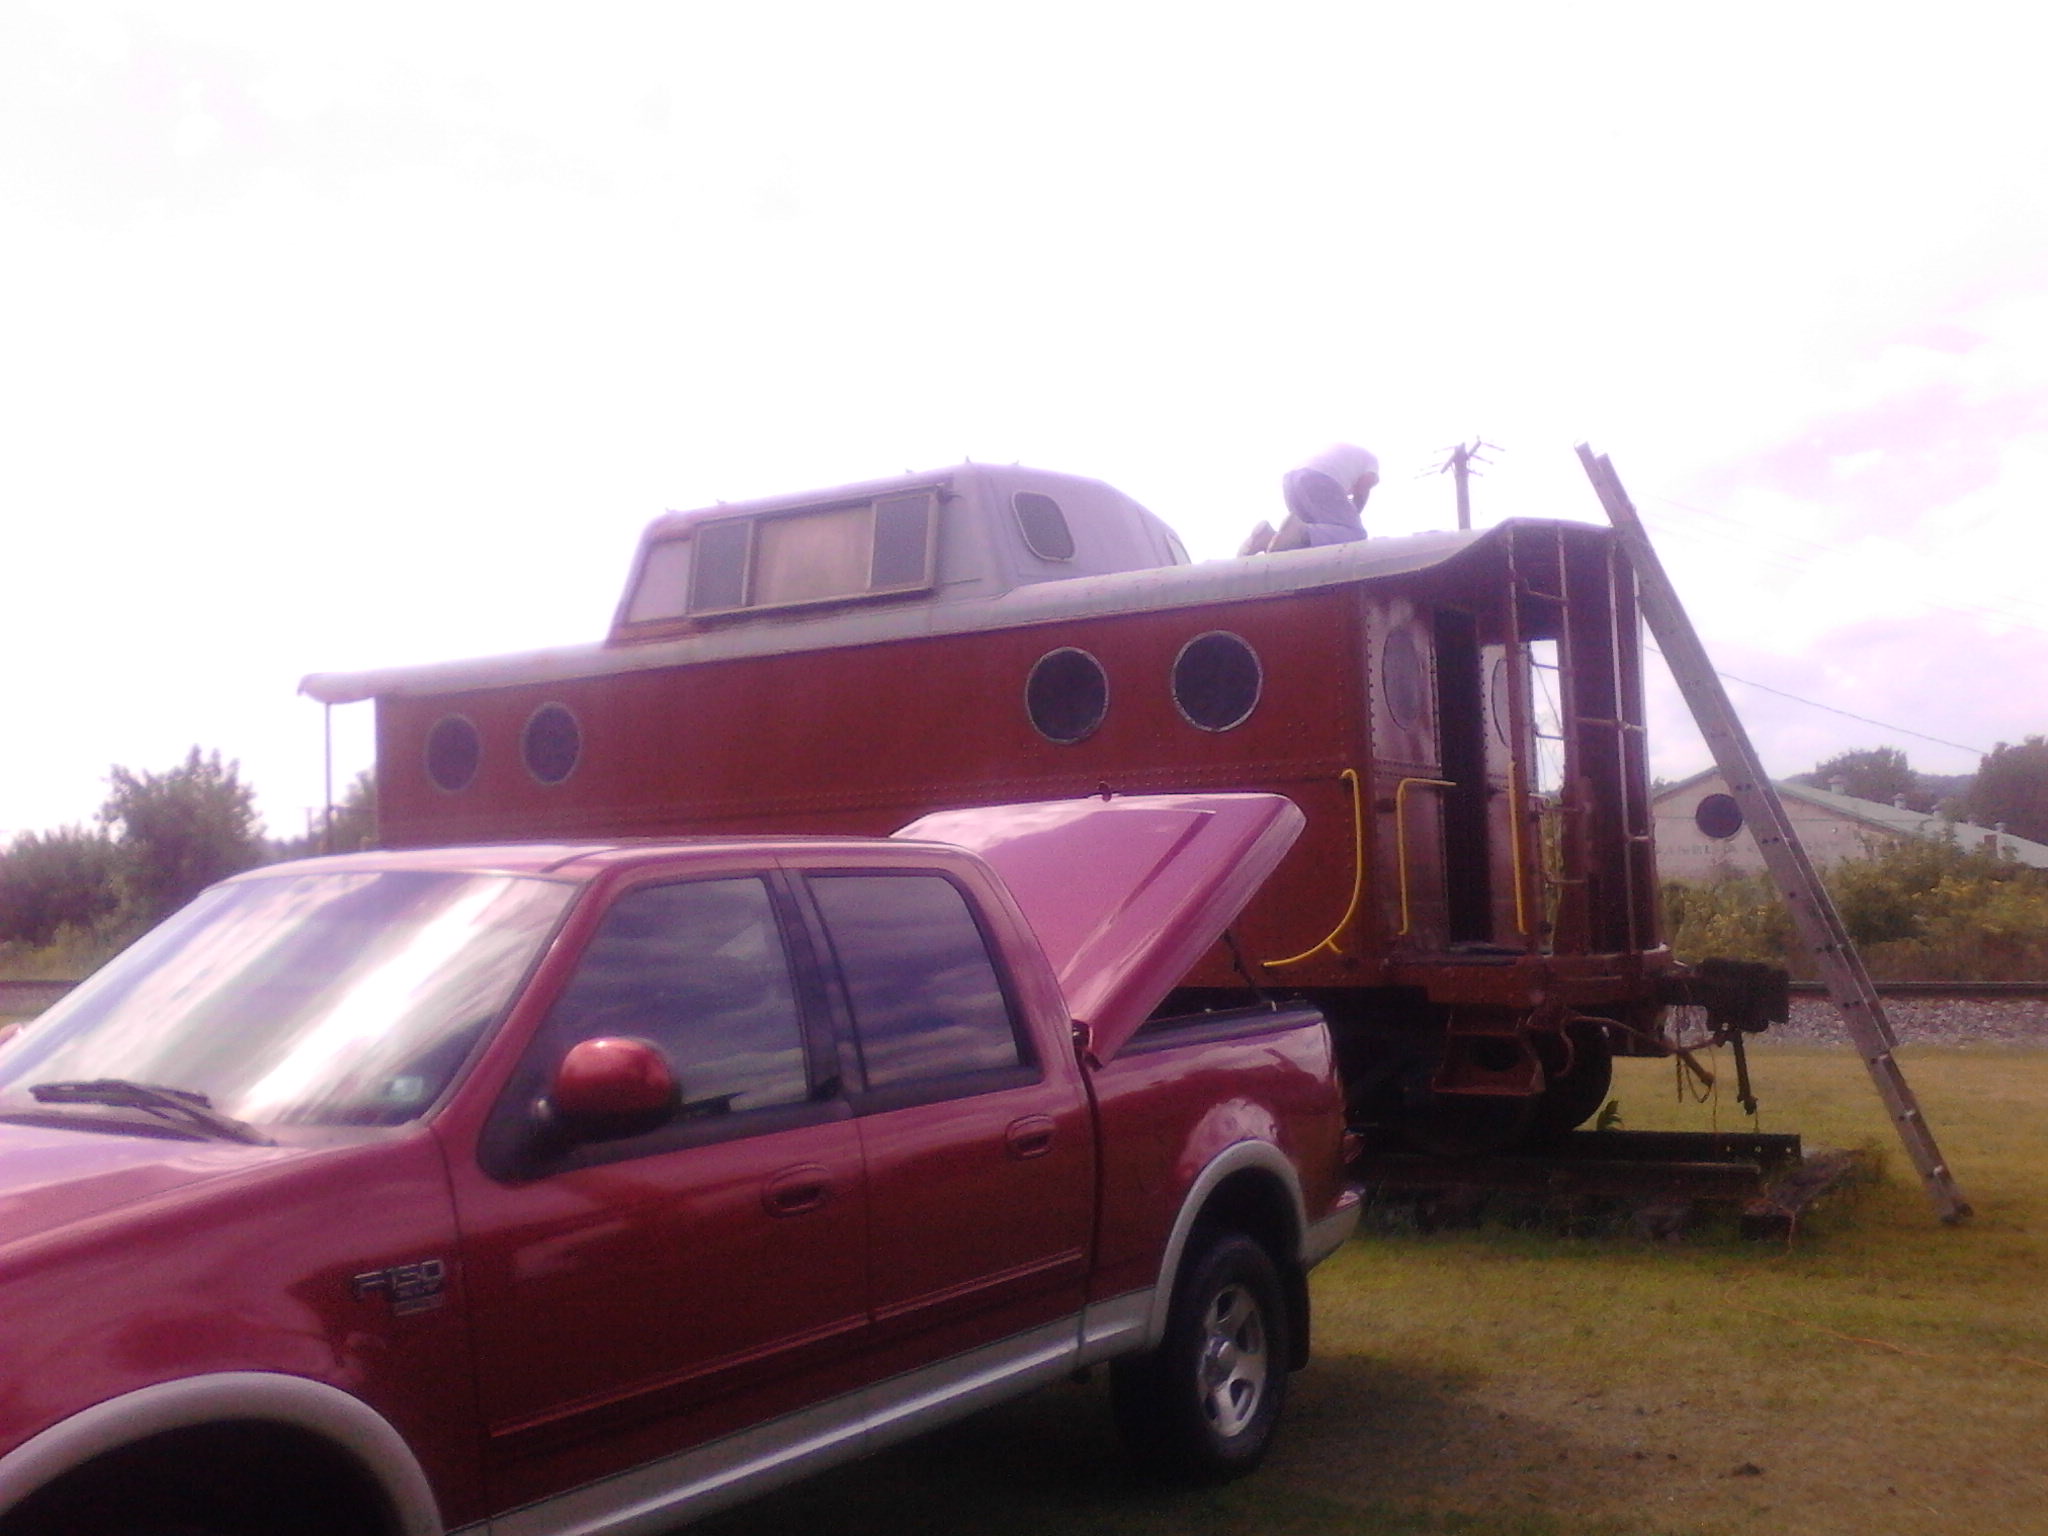
Time warp to 2014. Hello, I'm back on this blog of the 477974. After a hiatus of several years, restoration is back in full swing. Circumstances beyond anyone's control kept the N5c from moving forward with its rebirth. Many things have taken place since 2006, the last time I reported. Most notably the N5c had been forced to relocate, by truck, to a display track in West Pittsburg, Pa. On the grounds of the Beaver-Lawrence Railroad Historical Society. Yeah, we are the same group as the BVJC, but we went through a name change. The cabin move occurred a few years ago. Luckily we already had most of the heavy steel work completed when it sat at the rail car shops in Mahoningtown, a few miles north of the present location. Much work has already been done while at its present location. Most of the car's body work is now complete. Current work is restoration of the underside of the deck overhangs. Rust along the edges have been ground away and the sheet metal repaired. It is hopeful that the 477974 will be wearing it's new paint job before summer is over. Once that is done, work on the cupola windows and roof can take place. Below is a sampling of what work has been finished over the last several years. More updates on a timely manner will be posted on a regular basis.
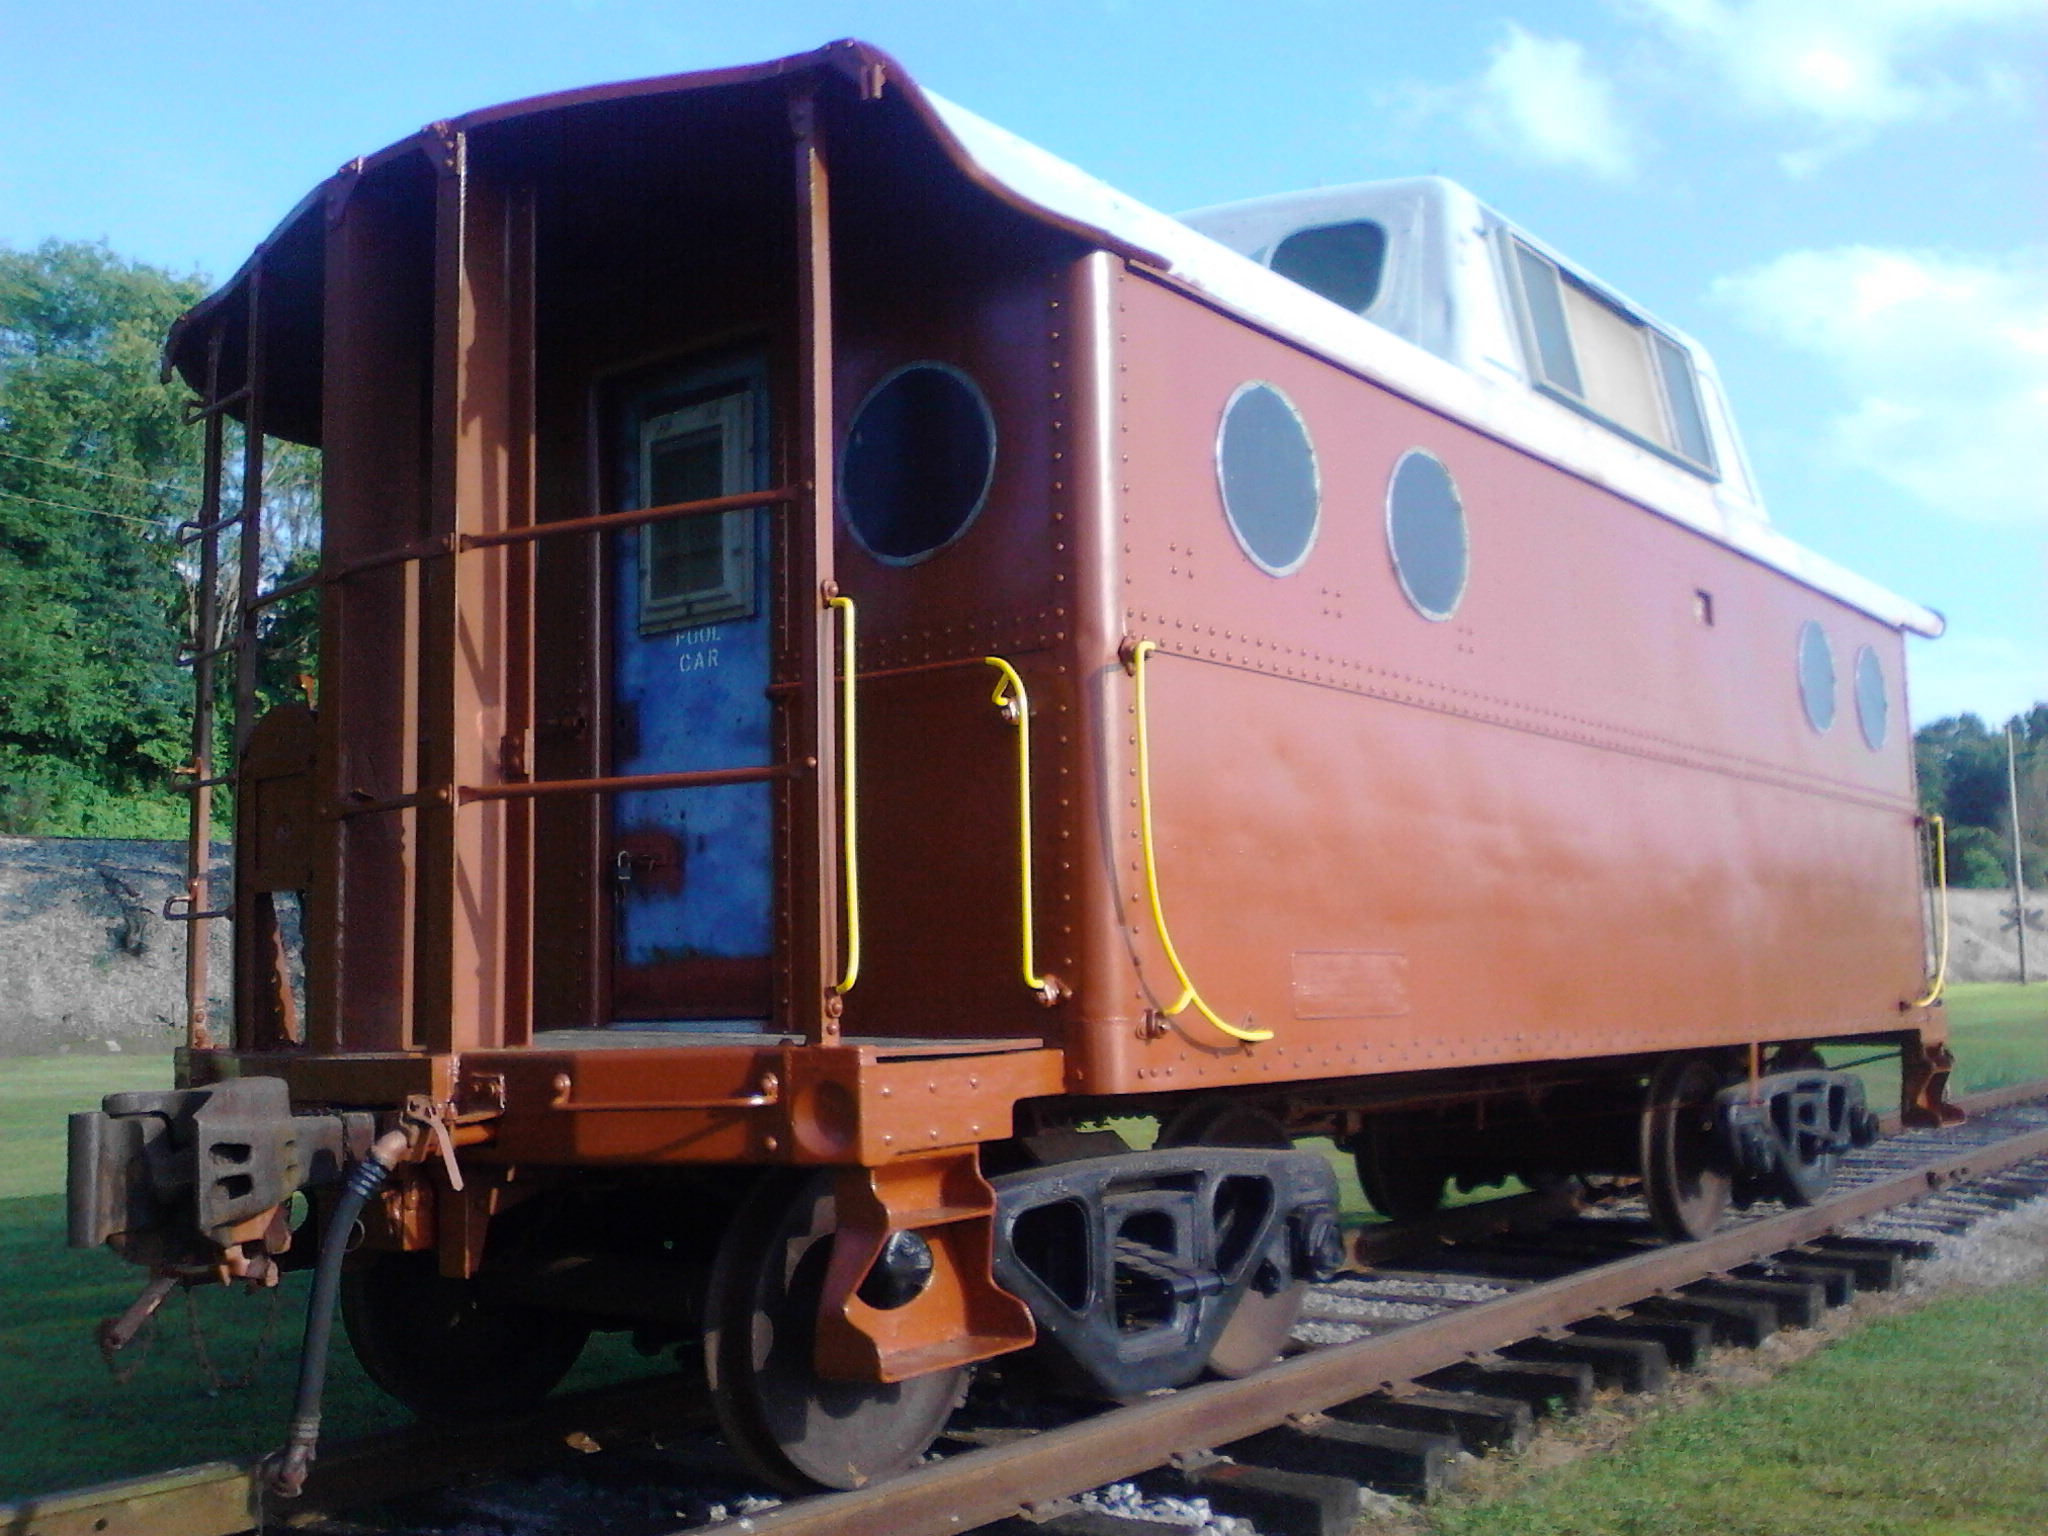
Trust Plate Mounted, East Side
June 2nd work continued repairing the underside of the roof overhang above the porches. All the bad areas were cleaned of rust, debris and paint last fall. Recently coats of putty were applied to fill in the rough spots. Some light grinding and sanding followed by spot putty smoothed out the problem areas. Then a coat a primer was applied to protect until painting.
June 9th saw most of the work inside. The repaneling of interior walls continues. Here are a few photos documenting that.
June 16th, work continued on the interior wall paneling and touch ups on the exterior surface in preparation for the final Freight Car Color that will soon to be applied. We also had a visit from a local metal fabrication shop owner who stopped by to take measurements for two new doors we want to install, complete with porthole windows. In the meantime I brought a door latch set home to clean and prepare for installing in one of the new doors.
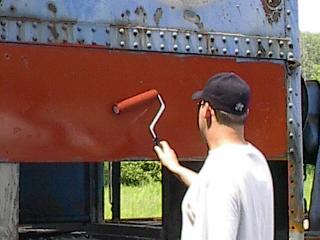
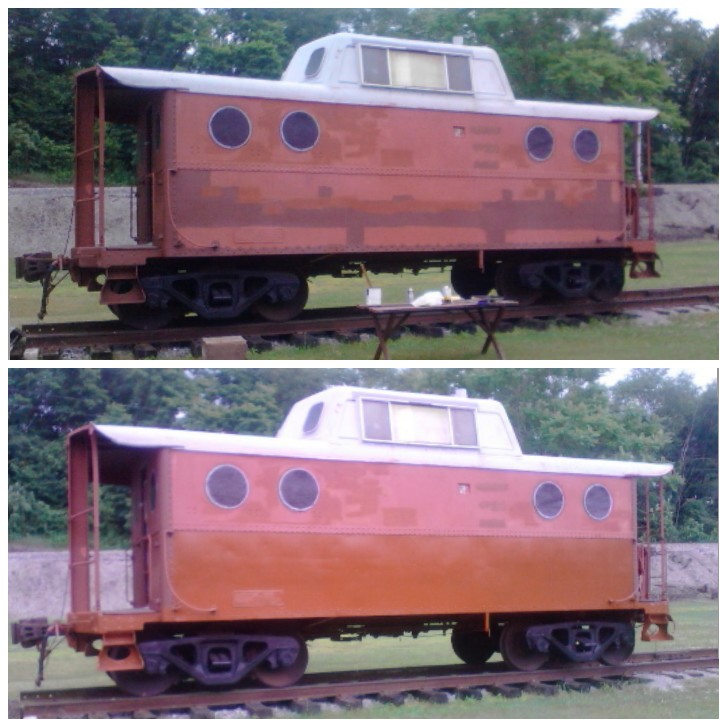
June 21, 2014. Wow, can't believe after nearly 12 years of restoration work, well, off and on restoration work, on our PRR N5c, the final color coat is being applied. Today we had all the materials on hand and the weather cooperated. 2 part epoxy paint from PPG, with color made to order was applied to the bottom sides, steps and end sills. Next week we will attack the upper sides, ends and all the railings. Second coat may be needed, not sure yet. This finish cures to a very hard shell and should last for years. Maybe in a few weeks the yellow safety color can be applied as well. Very satisfied with the color. Just wished the roof and cupola work was already finished. We also have two new doors being constructed. Once those are finished at the shop and installed, all signs of Conrail Blue will then be gone for good.
June 26. More time was spent applying the first coat of FCC on the rest of the N5c. Both sides above the belt line and the ends below the belt line received the paint today as well as all the rivet lines on the porches. This step will make it easier to apply the paint to the flat surfaces on the next work session. Here are some pics as of June 26, 2014.
Clark painting the end details
Had to do it. Was kinda anxious so I applied a coat of white on the west side railings. After that had dried I applied a coat of yellow. Starting to look like what we have in mind for the finished N5c.
June 30th we stopped by the shop who we contacted earlier about making the new doors for the cabin car. The fabrication of them look great. Steel doors with reinforced areas for mounting the hardware have been welded into place, the area where the porthole windows mount have been cut in and everything looks great. They will rivet that window in place and place the outer skin on soon. They will mount the hinges so all we will need to do is mount the doors when we are ready.
Door Construction, Interior Side
Door Construction, Exterior Side, minus the Skin
We also achieved more exterior painting on the N5c. Both the 1st coat of FCC and some more safety yellow. A few more panels went up on the inside as well.
The week of July 7th saw two work sessions. The first day was spent on the interior. Two more wall panel sections were installed. The first finished the end wall and the second finished the lavatory wall.
A few days later we went back and finished applying the yellow trim on the handrails.
The weeks of July 7th and 14th work involved more interior paneling.
July 16th the new doors were picked up from the shop where they were being built. They are Heavy! All the major work was done on the doors there at the shop. Now we need to finish them. Spot putty will fill in the fabricating process marks, sanded, primed and painted. Reuse of the hardware and new hinges will finish the doors. Then comes the mounting.
July 21st we started to paint the two new doors we had made. Coating them with a couple coats of primer before hanging and eventual painting. As the primer was drying I went ahead and installed the refurbished lav vent back into the west side of the cabin.
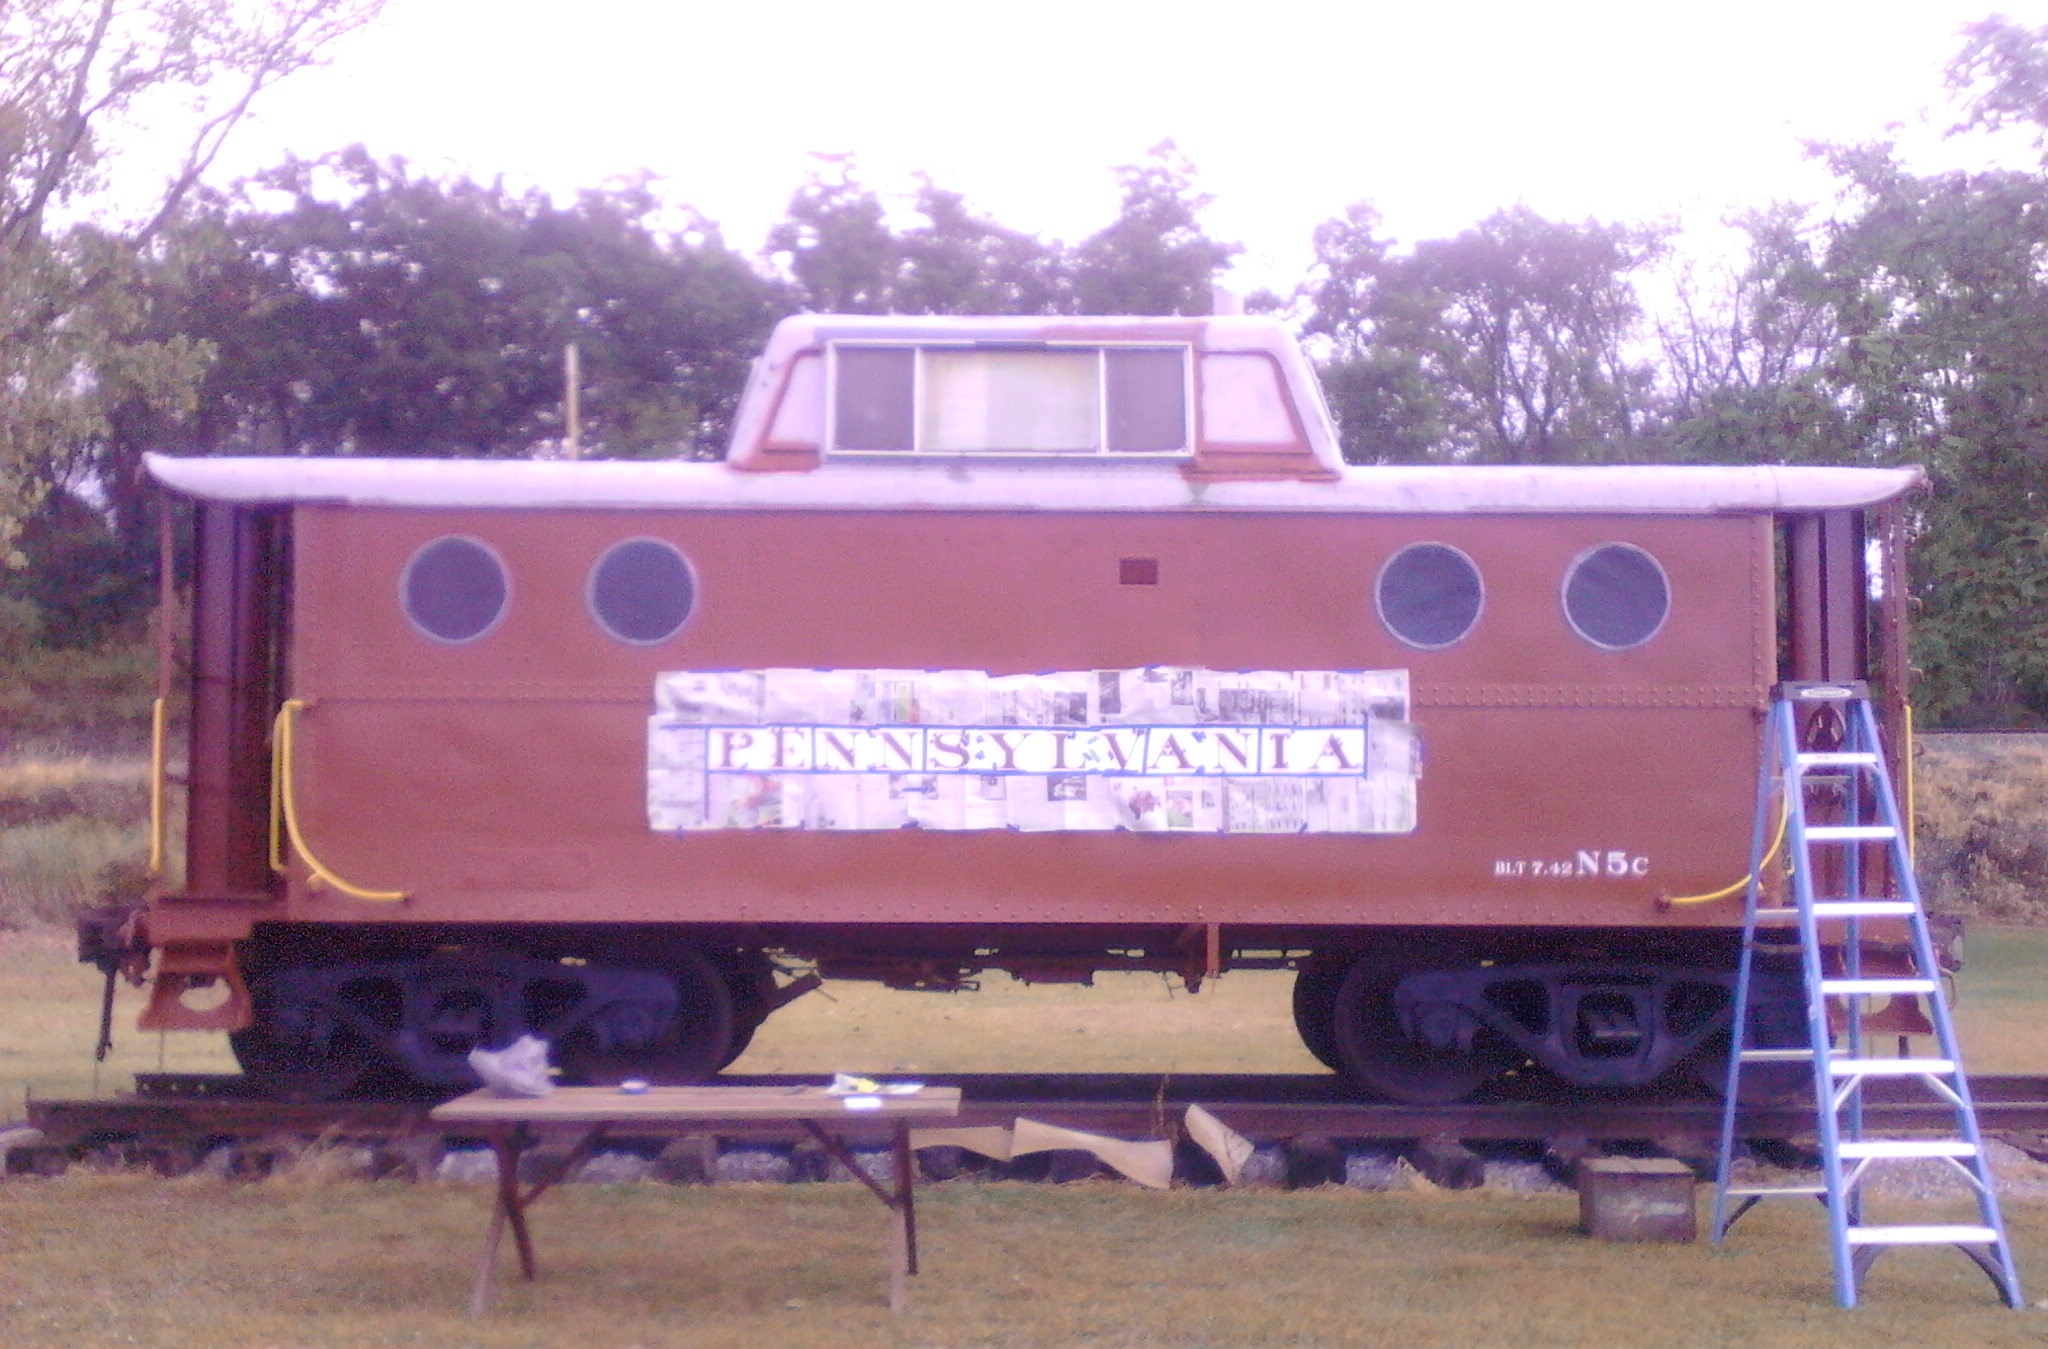
July 25th we had a short work session at the station. Grass cutting and cabin car door priming. In between primer coats I temporarily taped some letters to the side of the 974 just to see what it will look like someday. Those are just quick handrawn paper letters close to the style lettering the N5c will have. Can you tell we are getting anxious to get to that step in the restoration? I'm sure the couple of train crews that passed by finally have a clue now what this will look like when finished.
Monday July 28 the work session resulted in no photos. I forgot to take some. Hinges were installed on the new doors, so they are getting close to be installed on the cabin car. On another front, we did some exploratory investigation on the cupola window situation. We know there is a lot of work up there. Today we looked closely at one of the large angled corner windows on the side. Basically found out how they were constructed. Actually made it easier to figure out how replacements can be built. There is an interior window frame made out of some sort of brittle cast metal. It cracked into four pieces taking it out. But, it can be used to get a new one built up. Sandwiched between that will be glass and an exterior frame that will be seen on the outside. Now we just have to remove that and the plate steel that is currently sealing the window opening. That is our game plan for the next work day. Pics to be posted then.
July 31st we added an extra work day on the cabin car. This day we concentrated on installing one of the new doors. Several months ago most of the spot welds that held the door hinges to the frame were cut through. That left only two holding door in place. After several minutes with the grinder, those last two welds were cut through and the door was free. We cleaned up the frame so we could test fit the new door. Near perfect. After 72 years the N5c isn't very square anymore, but the doors fit in nicely. These doors weigh about 120 pounds so it was fun trying to hold it in place while marking for the new hinges. But after several long minutes, we accomplished hanging the door. It still needs the door latch installed and given its new coat of FCC paint. Maybe in a week or two we can install the north end door as well.
August 4ths work session included some painting. The exterior of the door that was mounted several days ago got its first coat of Freight Car Color. Also, the second door, which has yet to be mounted, the two brake wheels, piping for the backup whistles, triple valve and airtank received a coat of FCC. Except for the two thresholds, the basic body shell, below the roof line, has now received their first coat of color.
That leaves us only the north end door showing any remnants of old Conrail Blue. It will soon be removed as well.
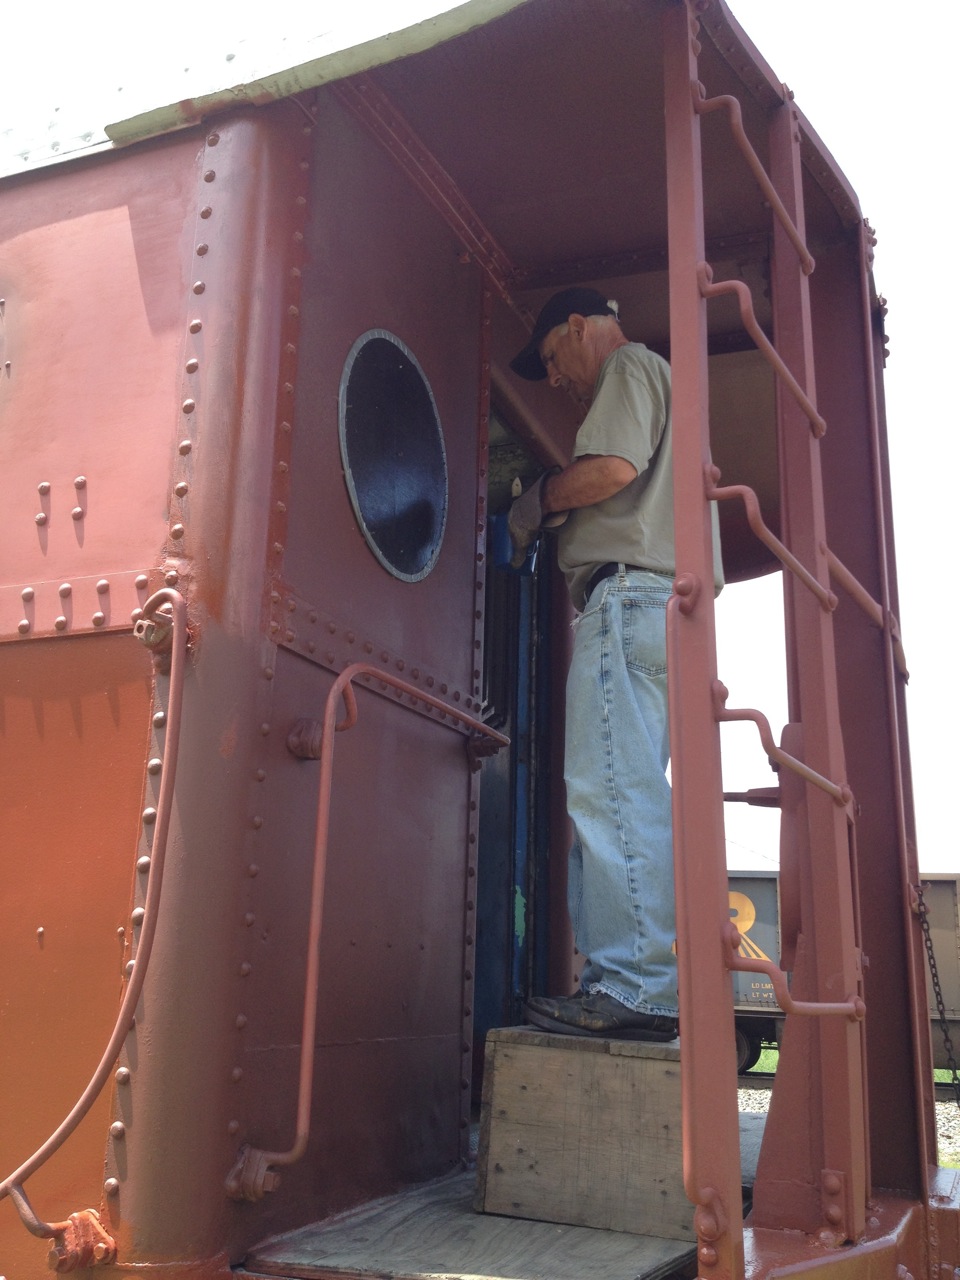
August 11 and 12 the doors seen the most work again. The already mounted south door received the previously restored door latch mechanism and we now have a working entry. The north door was next. The final two spot welds holding the hinges in place were ground off and the door was off. That ended the era of the Conrail Blue paint that was hiding this PRR gem. Once off the door frame was cleaned up with the grinder and sander. The door was installed, all hardware attached and then we waited for a welder to arrive. We made arrangements earlier so he could do some needed work. He placed beads of weld to permanently secure the hinges to the doorframe. He welded in some steel so we can secure the door with a lock. He also filled in a couple of small holes with weld. It started out as a rainy morning but turned out great, both weather wise and cabin car wise.
August 18th we took a break on the cabin car work. But during the day I received an email from a local company I contacted about helping with the lettering that will be applied at a later date. First proof attempt looks pretty good. Possibly some minor corrections prior to having them cutting the stencils for us.
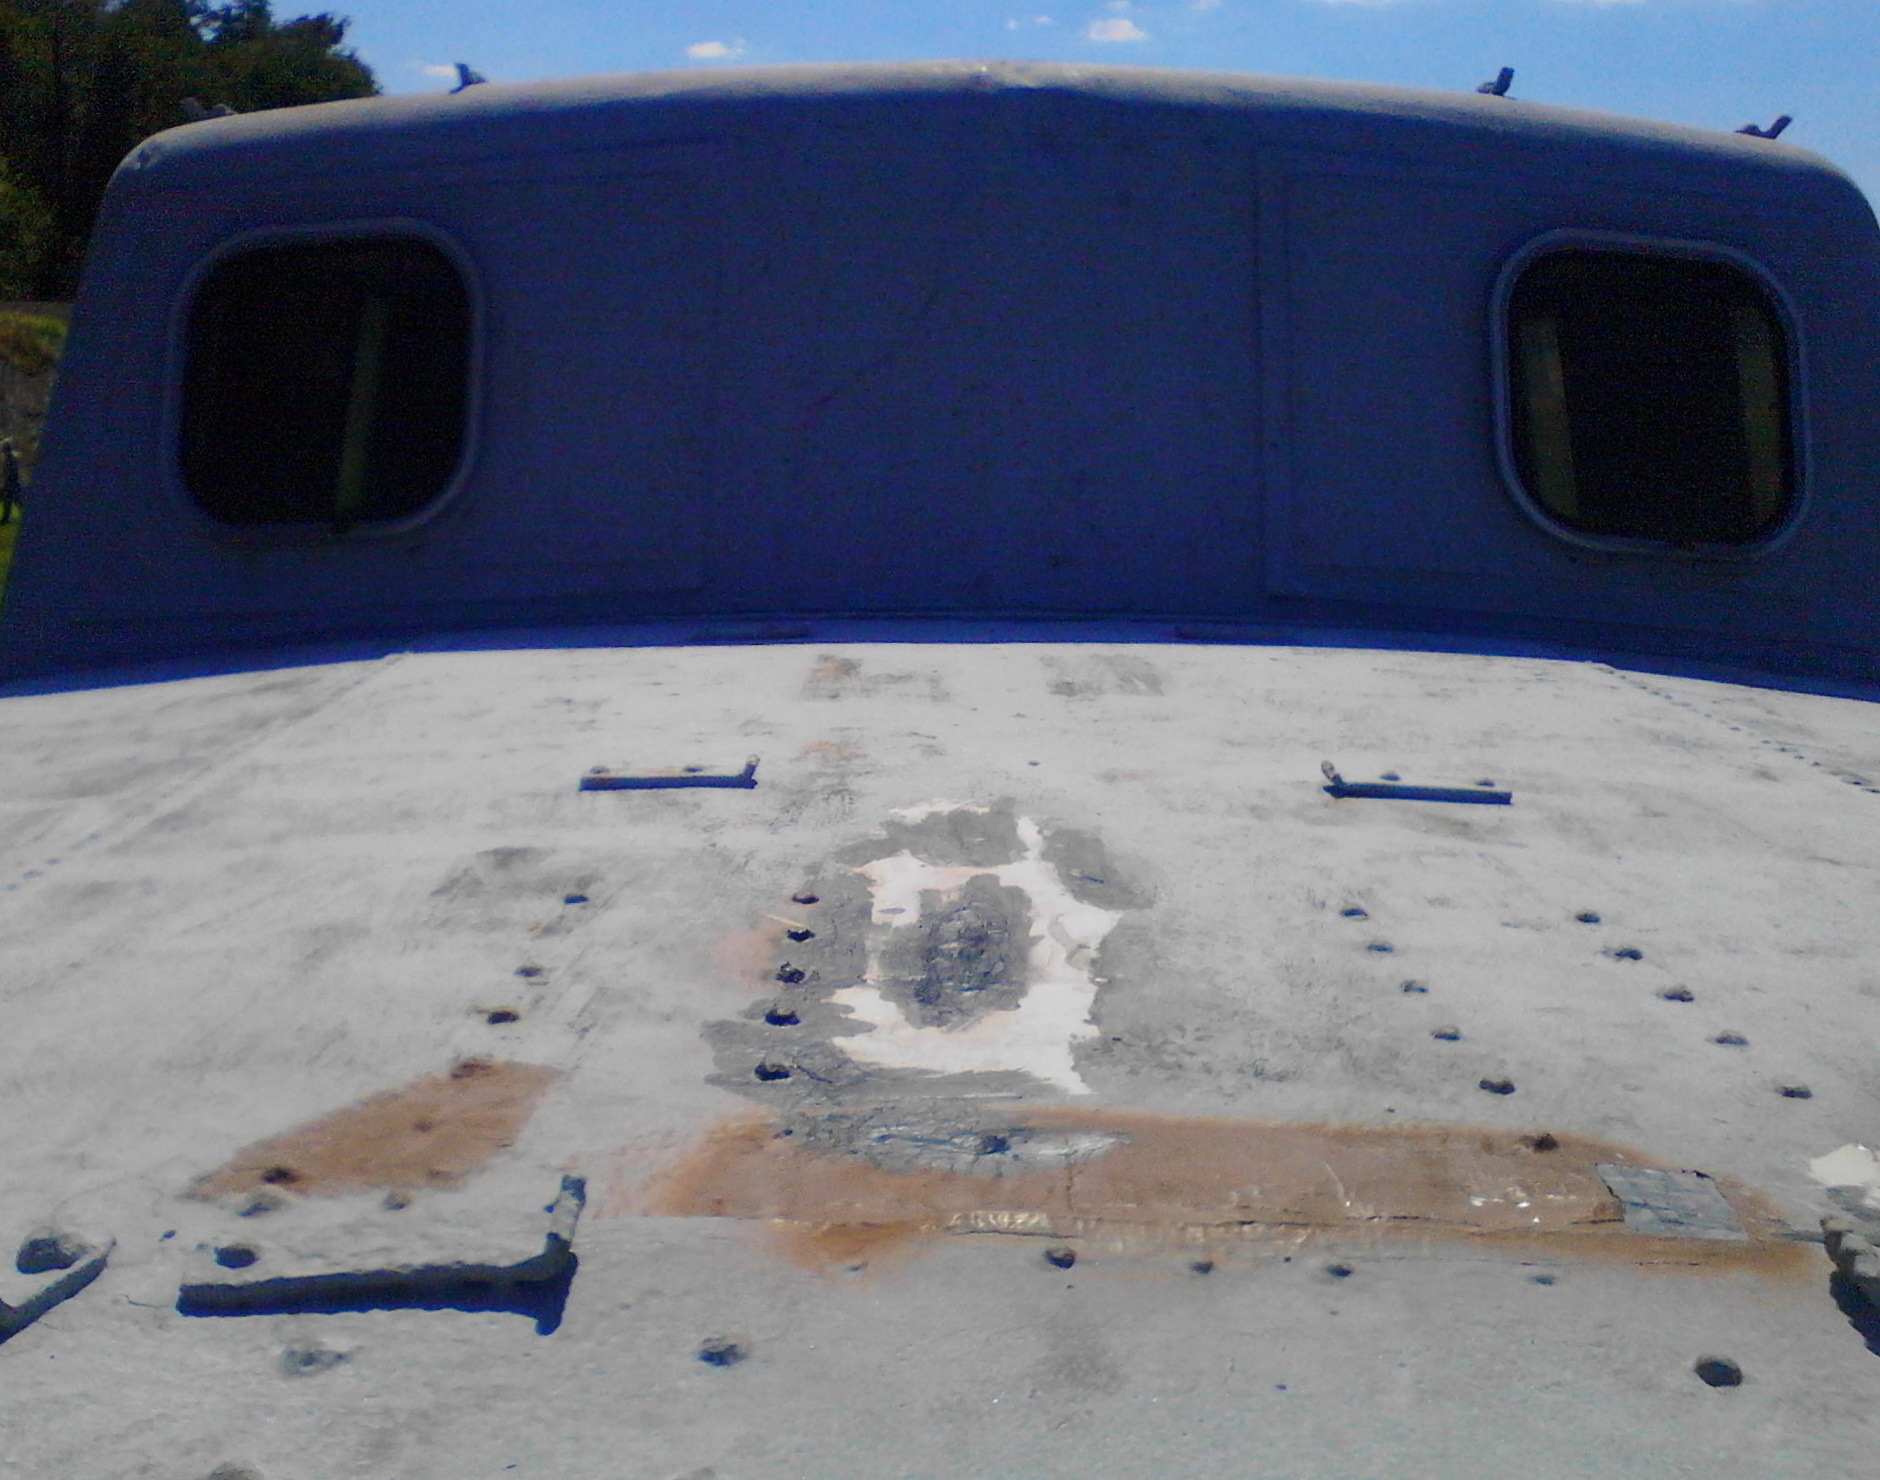
August 25th work session involved finishing up some minor work on the doors and a bit of roof work. Rege got on top and did a little preparation work for a small amount of putty application. Just a few minor depressions in the roof sheeting needed filled and leveled. Next week a little more work prior to some sealing we want to get done before another winter hits. Here are a few pics from this day.
Sept 2nd a little more cleaning off of old paint around both door frames was accomplished. Primed and ready for a coat of epoxy FCC. The two recently painted brake wheels were also reinstalled. Yeah, we know they are of different design. Evidently sometime in the cabin car's life, one was swapped out. A casual search will someday find us a match for an original wheel. Its the more fancier one.
September 8th work session included some roof work and grab iron repair work. First the grab iron. At one point in the history of the 477974, it appears one end sill grab iron was used as a winching or towing point. The result was a very deformed grab. Couldn't leave it like that so we tried to reform it with a torch and sledge. It actually didn't take long and the result turned out OK. Next week I will clean it up a bit and have it primed until its final coat of FCC is applied. It will fit right in.
The roof work included some sanding of some body putty that was applied last week. After it was smooth it was lightly primed. Next week several small areas will be fiberglassed to strengthen some overlapping steel seams above the porch decks. A high quality caulking material was also applied to several seams and along the porch drip edges.
The last few work days included some additional painting, mainly giving a second coat of FCC to the 974. Both deck under structure members, end railings, door sills and door frame have now been painted for the last time. At some point the wooden deck boards will be installed.
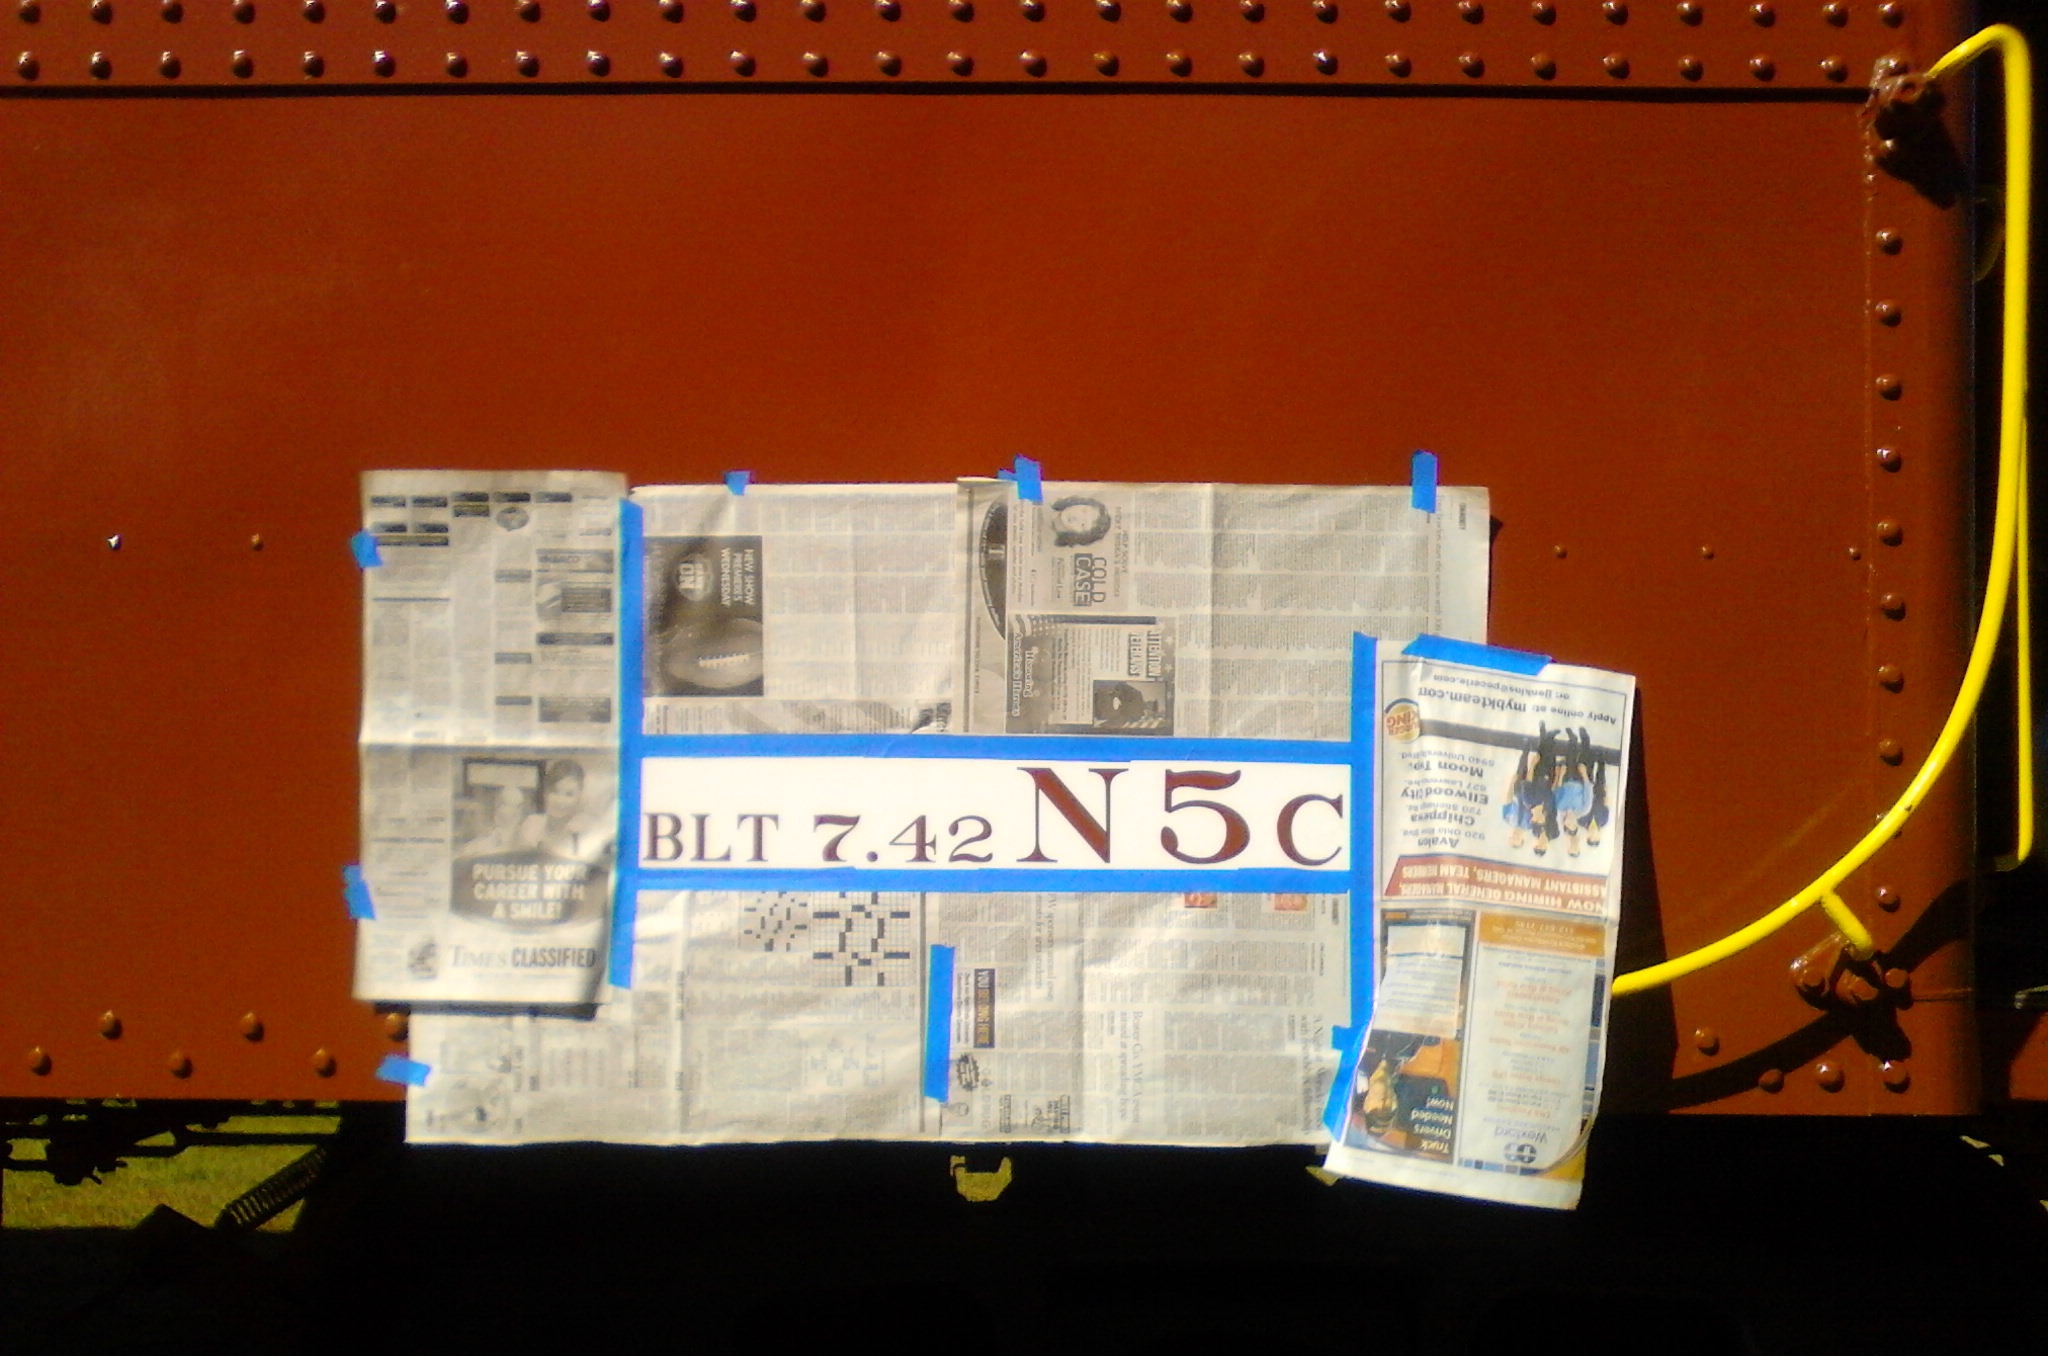
Recently I received a UPS delivery. I had worked with several individuals to help get some lettering needed to eventually apply to the cabin car. Thanks goes out the John Frantz for supplying the files for the letters and numbers, and thanks goes to Mastro Signs for turning those drawings into stencils. They look great. Now to put the to good use! Here are the stencils and a test shot of the PRR that will go above the doors.
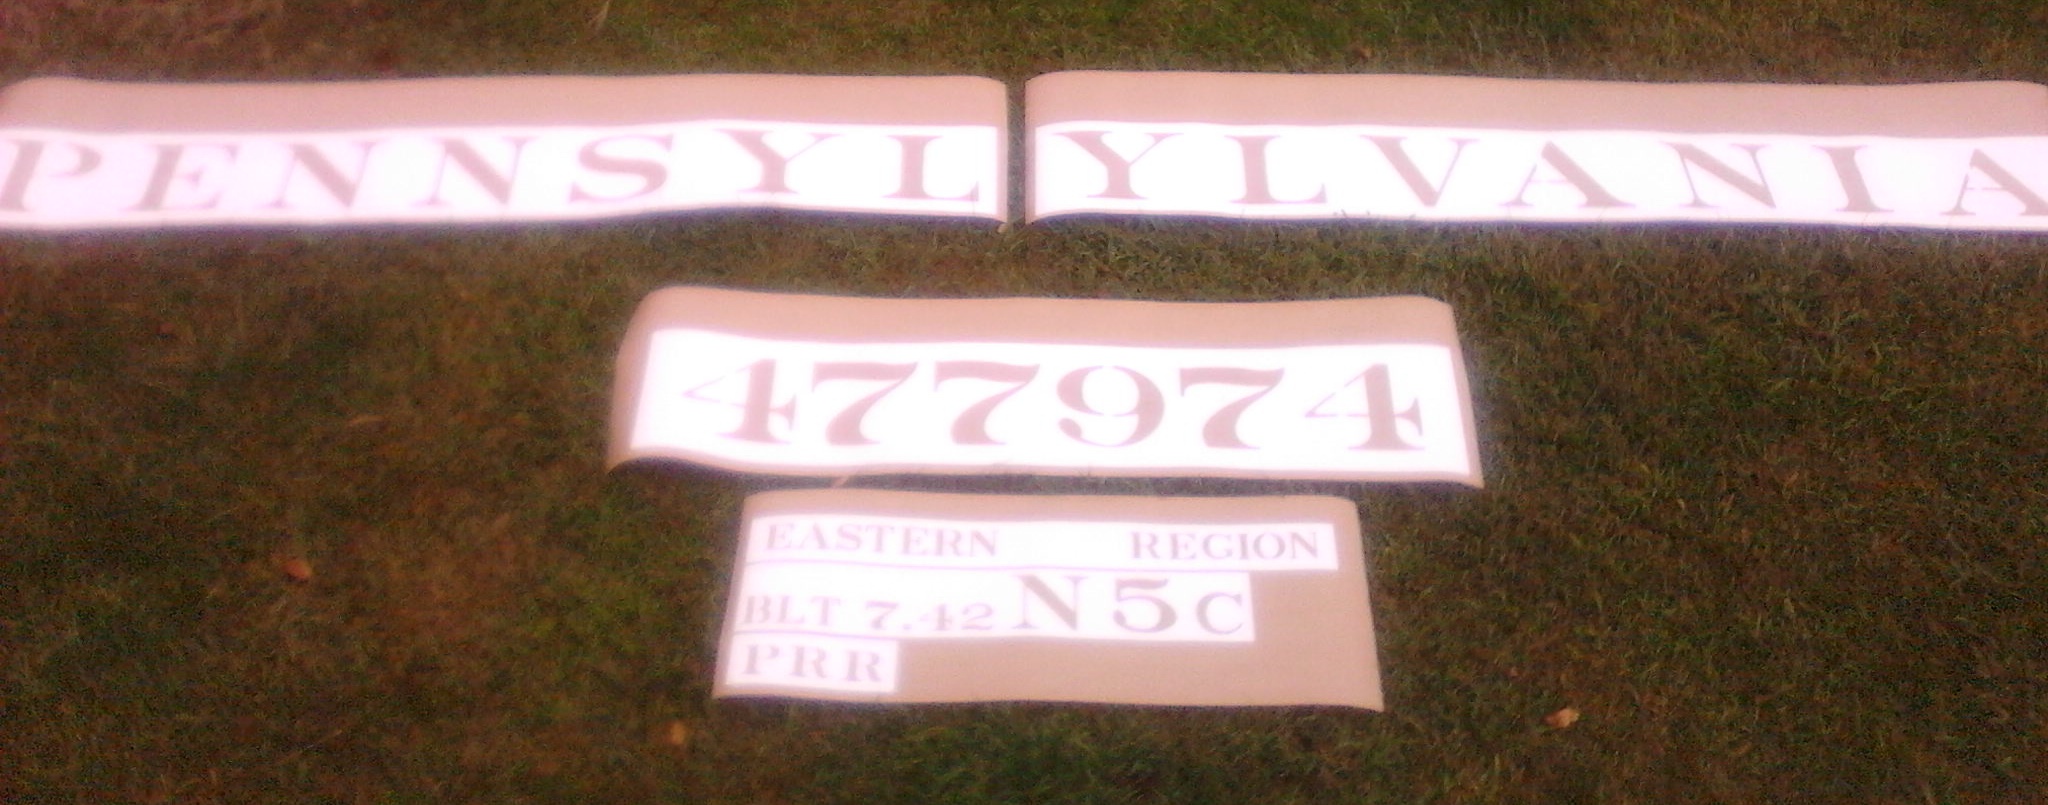
The most recent work session was Sept 22nd. The cabin car's bottom half, below the belt rail was scrubbed down of any dirt and grime that had settled on it since the first coat of FCC was applied. Once dry another batch of epoxy FCC was applied. The car body ends and other areas all got their second coat of paint. This leads us to the next work session. In a few days we will be lettering the N5c. That was our goal for 2014. So, if all goes well, updated photos of the lettered N5c will be posted soon.
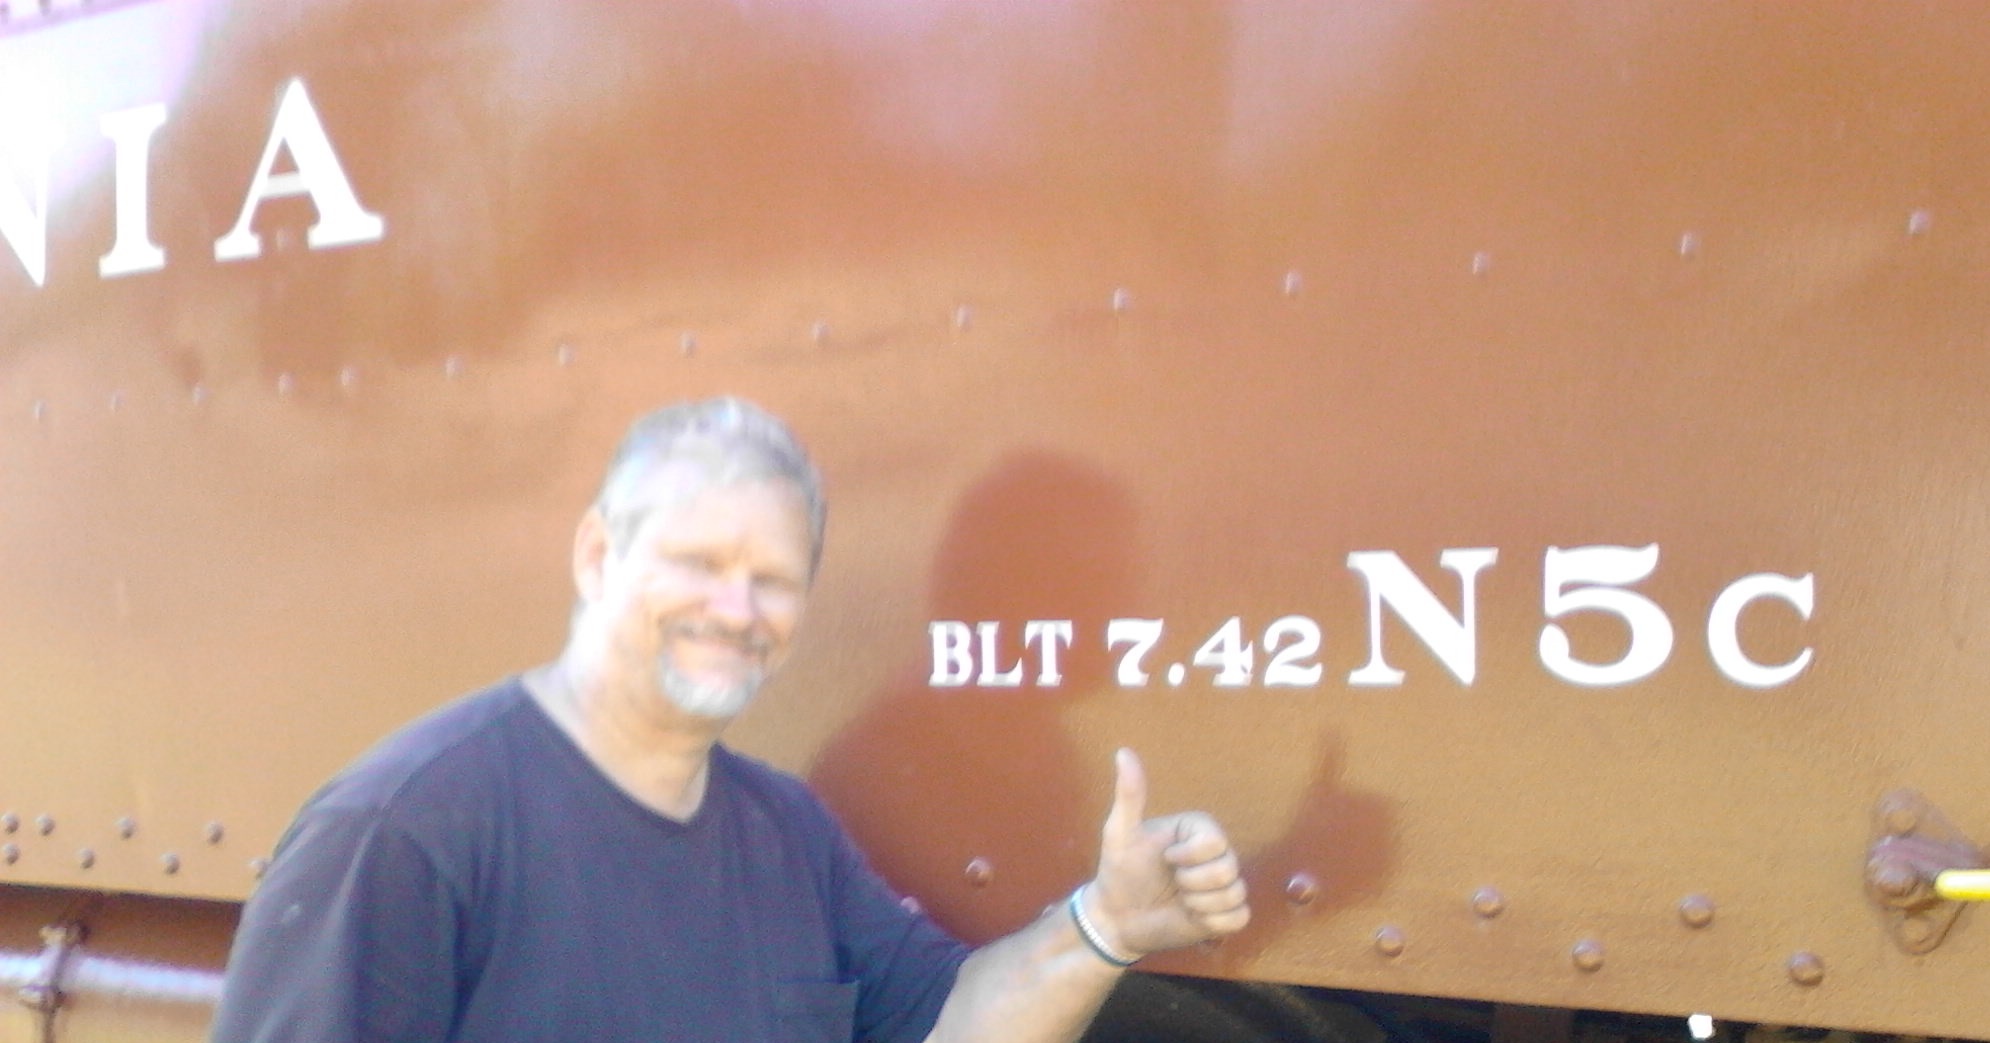
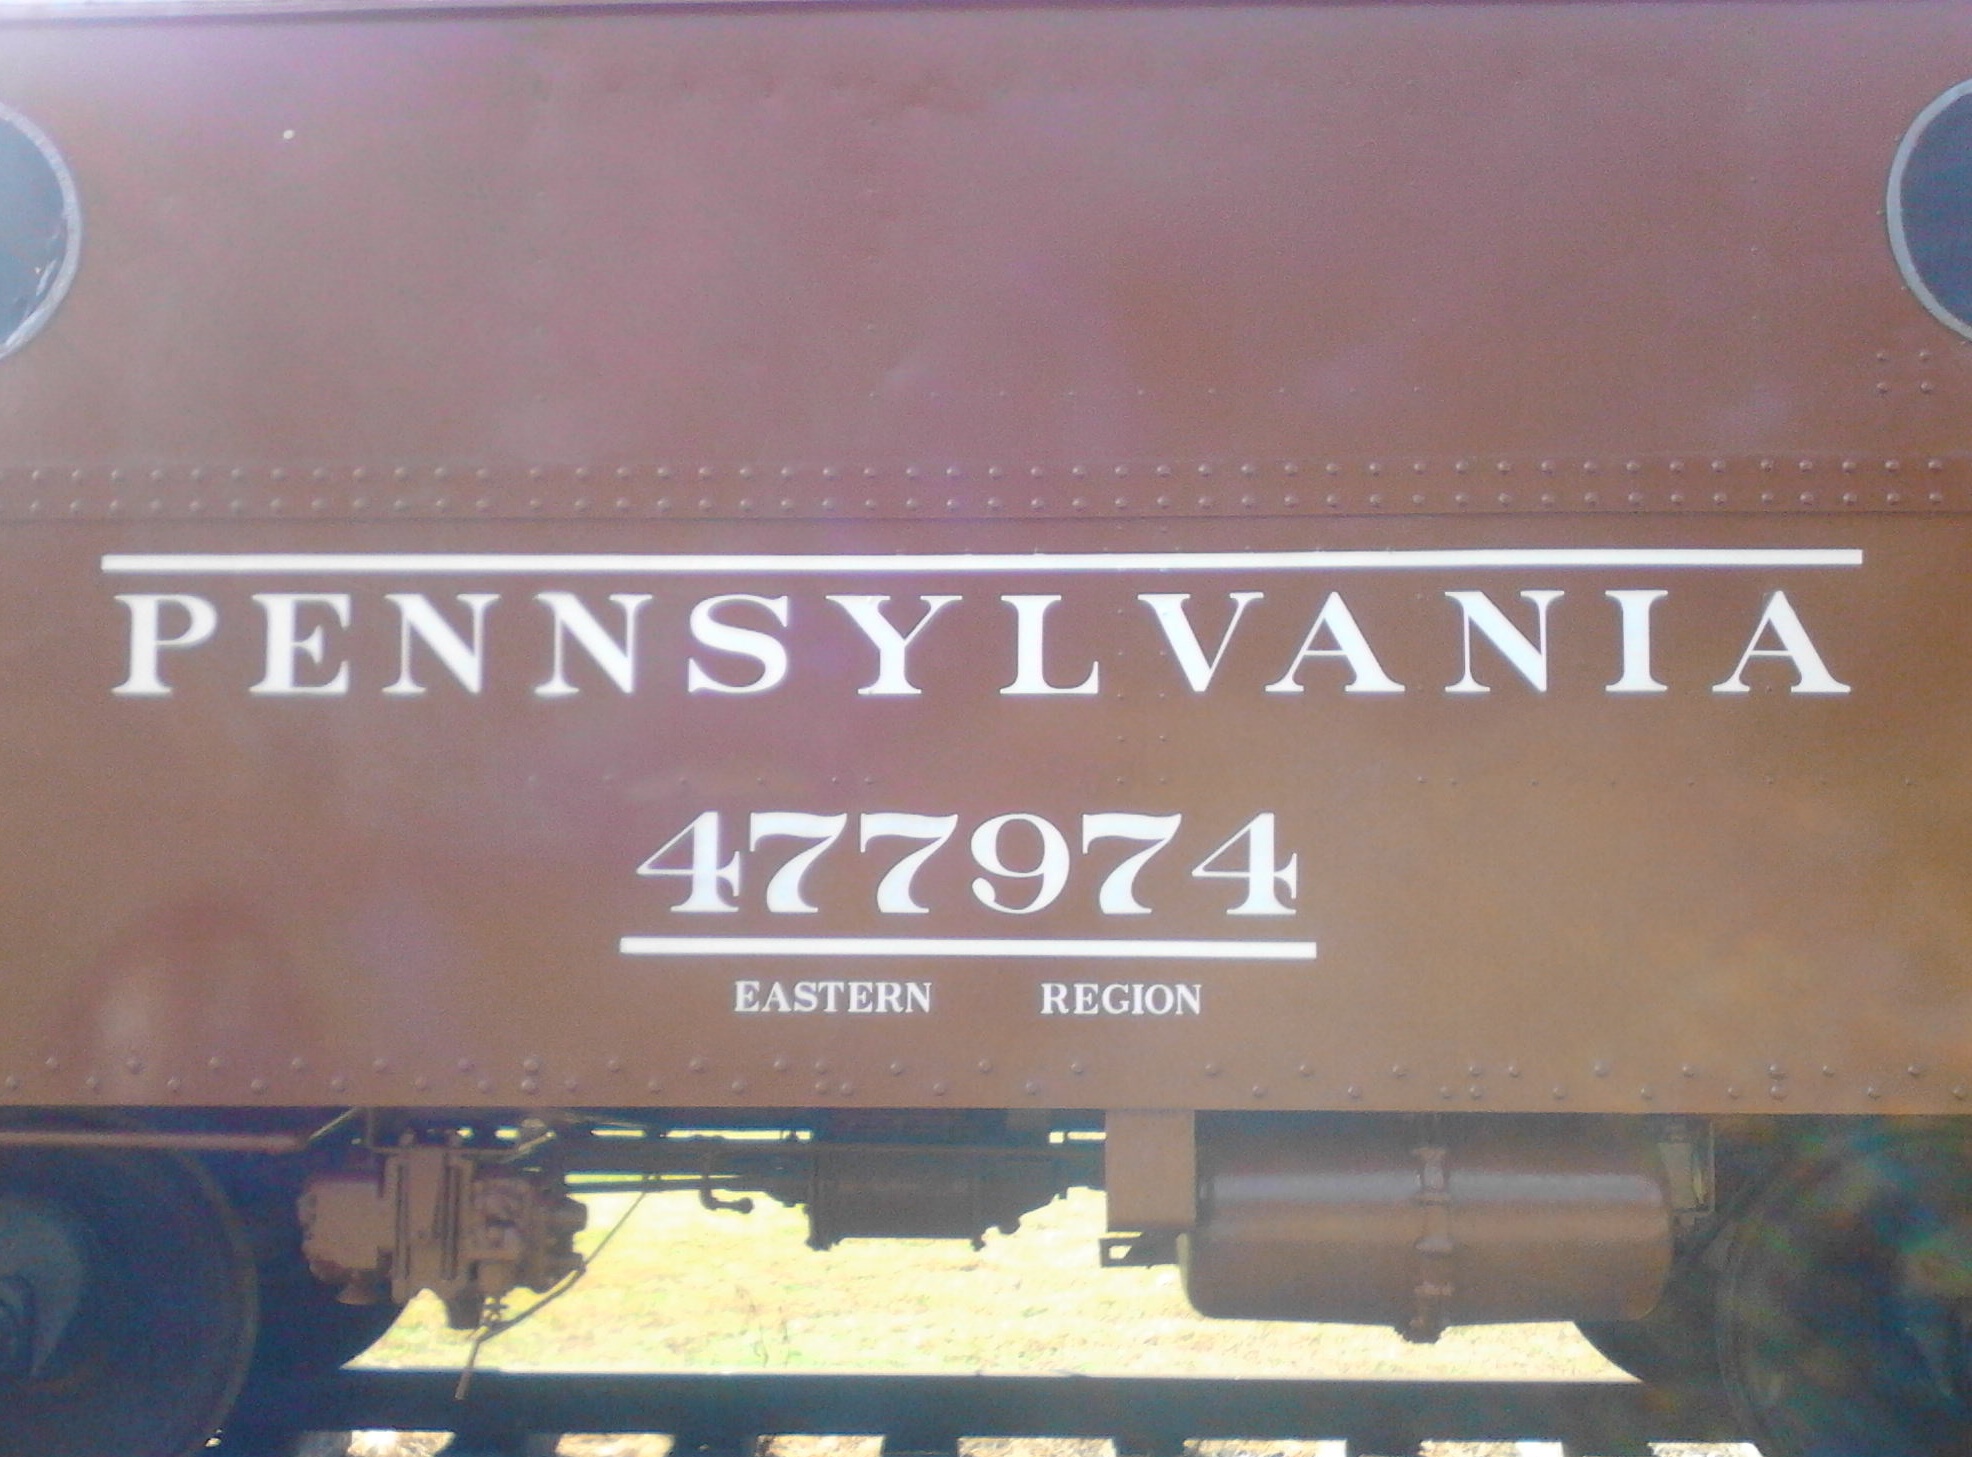
Sept 24th was an added work day. It was time to start lettering the cabin car. The second coat of FCC that was applied several days ago had cured so we proceeded to apply the stencils. We gathered all the tools and equipment needed, made measurements on the car body so everything could be laid out as even, up and down and centered side to side as could be. Six hours later we had one road name applied, one small PRR above the north end door and both right hand corner build dates/N5c sprayed. Just tiny amounts of bleed under on certain areas of the stencils due to rivet heads. Will go back and hand touch up those areas later. We were pleased with the results. Next work session we will try and finish at least one side by adding the car number, assignment region and the two white lines. Here are today's photos.
Sept 29th and 30th work continued on finishing the lettering and stripes on the east side of the N5c and the start of the lettering on the west side.
The next work session should bring us to the end of the lettering, for now. Small stencils still need to be found to add some lettering under the build date and car class.
October 6th work session consisted of a little more roof patch work, cleaning up the inside of the N5c and finishing all the lettering. I located the appropriate small stencils needed for the RPKD and COT&S info. Luckily the rain held off just long enough to get the stencils applied and the paint sprayed. With all the lettering now out of the way we plan on working on the wood decks and installing some windows in the weeks to come. Here are photos of the finished 477974's lettering.
East Side, the morning of Oct 6th, prior to finishing the lettering
West Side Region and Stripes Stencils
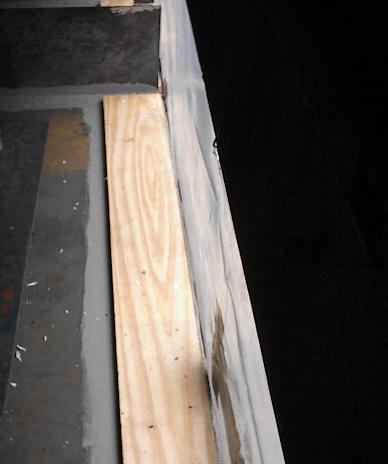
October 13th not too much heavy stuff this day. Rege was on the roof doing some more minor patching. I touched up the yellow paint on the hand rails. The previous day we acquired an original and unused PRR slanted H Chimney for eventual installation. Thanks goes out to Pat McKinney for donating this to the historical society. Just not sure when we can get it installed. We also received delivery of the 1 3/4 inch thick oak lumber for the porch decks. Hopefully we can get them installed before too long as well. It all takes time. Several photos of today's progress.
Porch Deck Tongue and Groove Planks
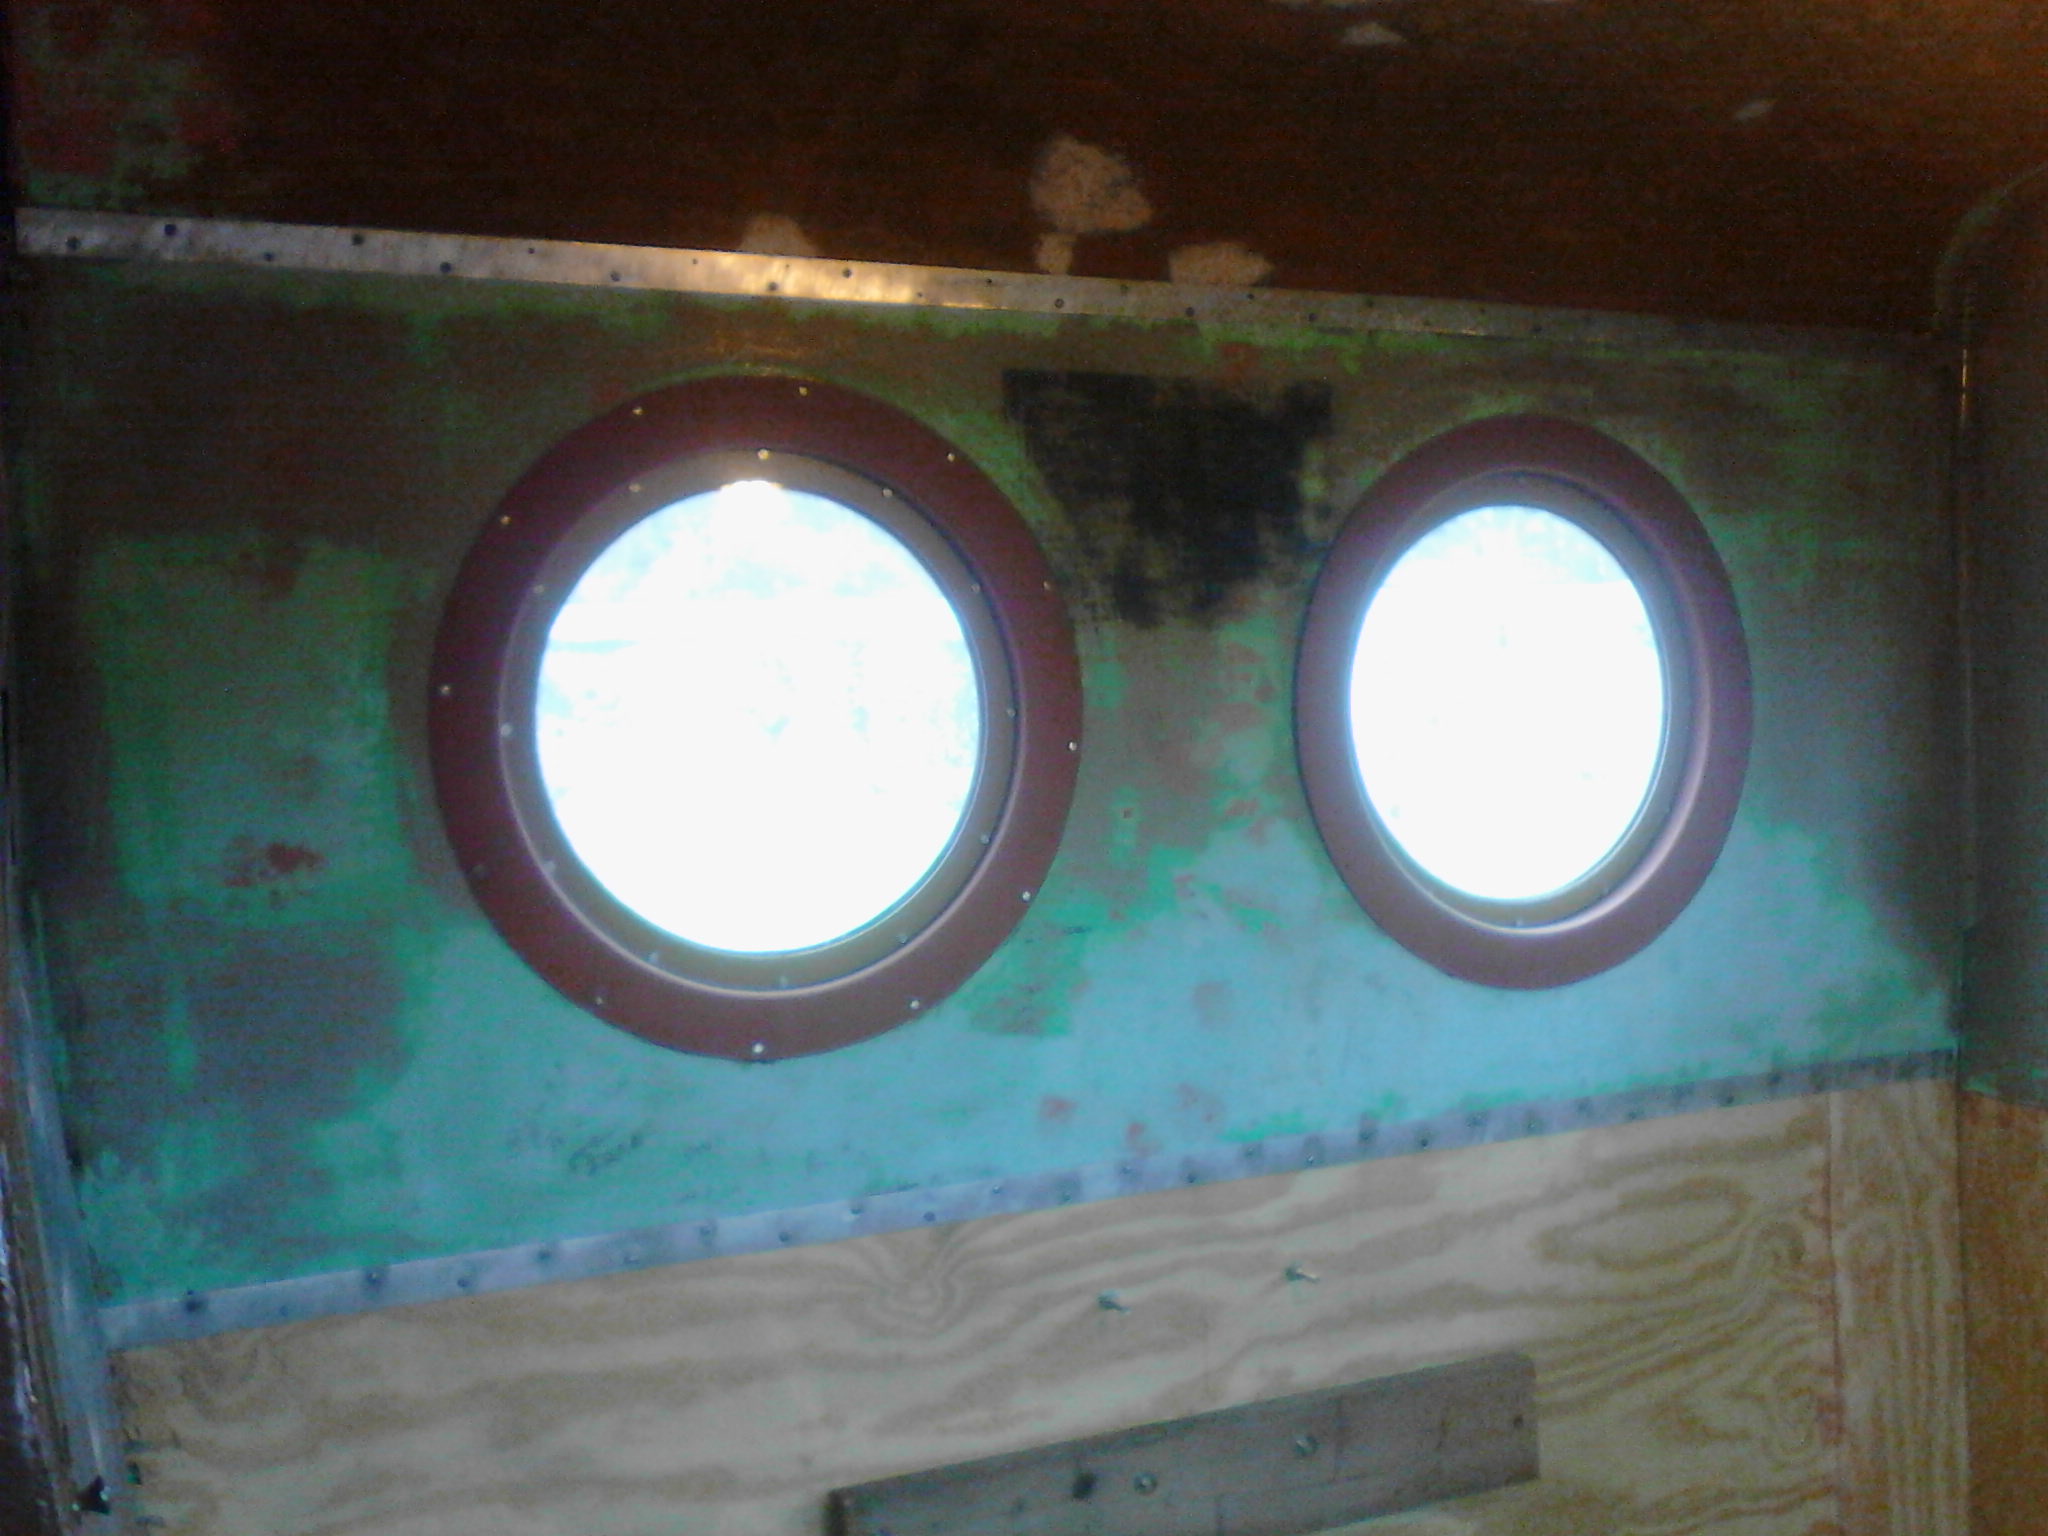
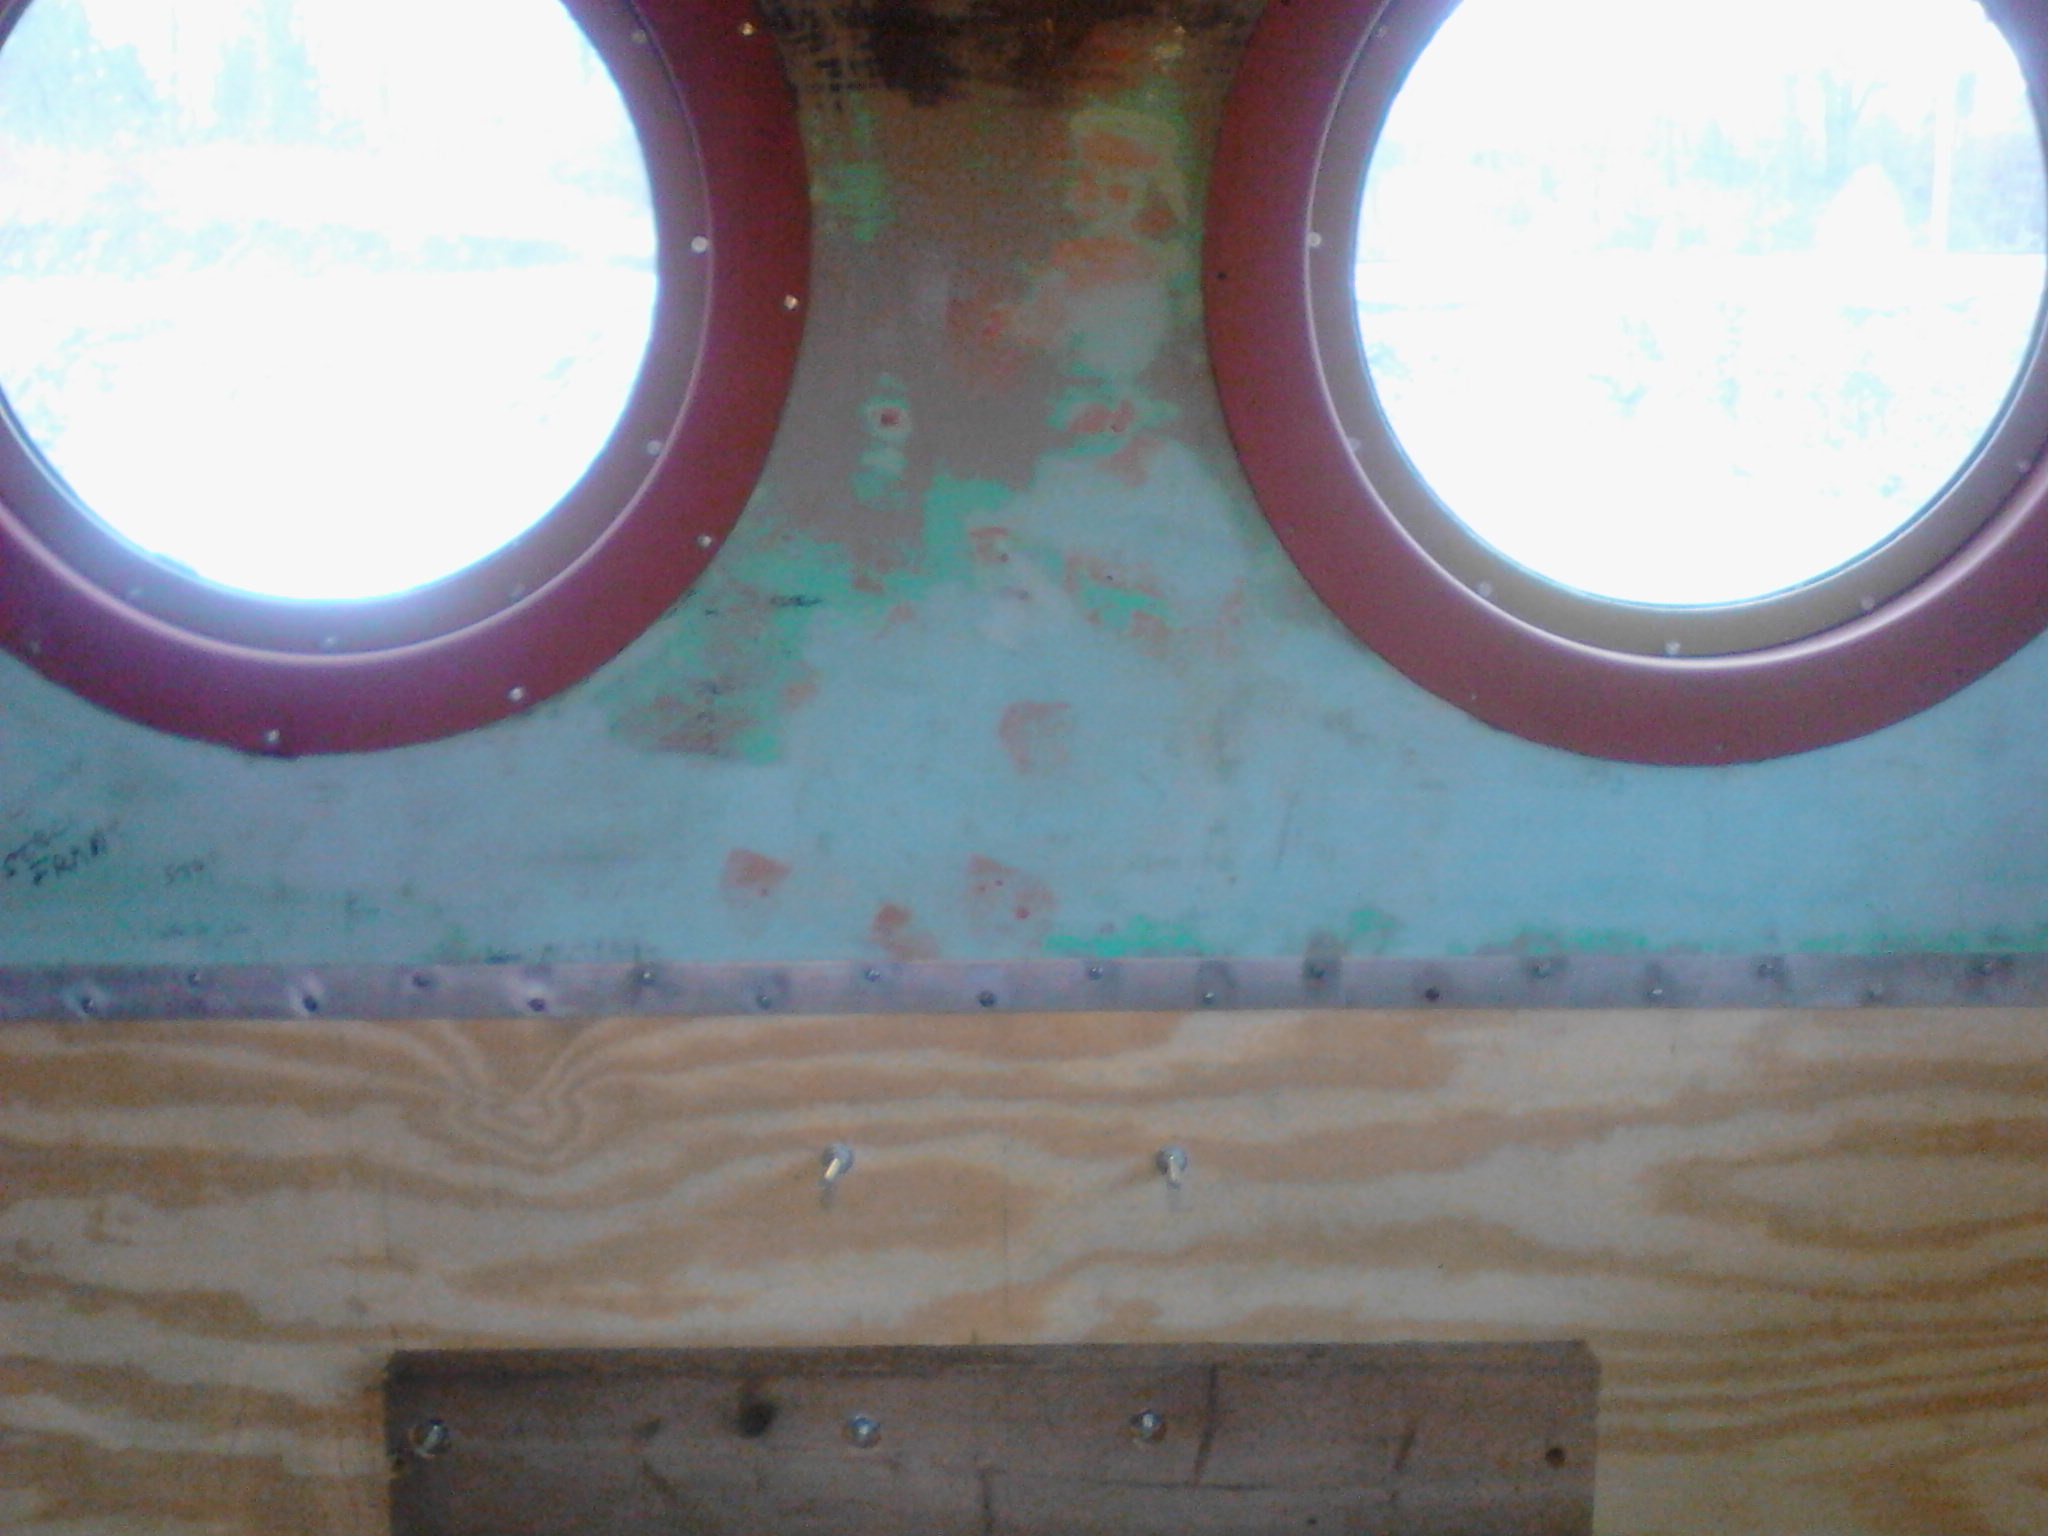
October 27th was the most recent work day. Another porthole window was installed. One of the previously removed "rings" was cleaned of old debris, sanded smooth and painted months ago what will eventually be the interior buff color on one side and car body color on the other. Once the window opening was readied the newly restored porthole window assembly was anchored in place with nuts/bolts and the proper rubber gasket that we had located years ago. That completes the south end windows on the N5c. Next work session we will try and get a few anchored in place on the east side.
Over a three day period this past week, painting on the roof also occurred. Reasons for this is because the primer that was applied several years ago was causing chalky streaks to appear on the now finished car body. We realize there is a lot of roof work and cupola window work yet to be started. That work will come at a later date. For now the black paint on the roof makes everything kinda "look" better.
November 3rd was our most recent work day. Our goal this day was to install the four east side porthole windows. Four newly refurbished window assemblies were brought to the site along with the bolts, washers, nuts and gasket material needed to mount them. After scrubbing down the side to clean it, two wooden covers were removed from the window openings. These were installed to help keep the weather out, and purposely made to look like windows. Once those were off the restored window frames were placed into the opening from the inside and while the gasket material was placed into its groove, everything was secured with the nut/bolt assemblies. They appear to be well sealed. We continued on installing the other two southern end side windows. Next work session we plan on installing the west side port hole windows.
East Side Prior To Window Installation
Completed East Side Window Installation
November 10th was another very nice day weatherwise here in western Pa. Mid 60 temps allowed us to install four port hole windows on the west side of the cabin. That leaves us only two more to go. Those will go in the north end. Hopefully we can squeeze them in before the weather turns cold.
Closeup of Northwest Side Windows
Closeup of Southwest Side Windows
November 17th was the first wintery work day of the fall. When we arrived in the morning the snow was still falling from the anticipated night time prediction. The N5c looked cold. But it was a nice photo opportunity. Since it was too cold to work outside on installing more windows, we went inside and installed a few of the interior window trim rings. Pretty much straight forward. The sheet metal rings slip over the previously mounted window frames and are screwed in place. We managed to install three today. We already had one mounted, so of the twelve needed, eight more need installed.
An East Side Interior Window Trim
A West Side Interior Window Trim
November 24th and December 1st saw a little work on the inside of the N5c. Mostly experimenting with the removal of several coats of paint on the walls. Just trying to figure out the easiest way to do this. I started with an orbital sander and 40 grit sandpaper. It does remove paint but it is a slow process. We probably don't have to get the paint entirely removed, just sanded smooth so we can apply the appropriate primer and interior buff color later. While sanding one end above a window, evidence of the old PENN CENTRAL number appeared. I thought we got rid of all signs of PC and CR months ago! Oh well, it will be hidden forever soon. The surface came out fairly smooth and a few areas needed spot putty applied. I continued over to a side wall and removed a little more paint and again applied spot putty where needed.
Today's weather started out near 40 degrees and dropped throughout the afternoon. A portable propane heater fired up keeps the N5c nice and toasty during these winter work sessions.
Interior work continued over the past few Mondays. Finding out the fastest way to remove the old paint is by using a sanding disc with 36 grit pad. Still time consuming but we have all winter to do this. Nearly all the paint was removed from the outer end locker wall, holes filled with steel putty, sanded smooth and then spot puttied. Will finish that wall on the next work session. Paint from the curved masonite ceiling panels was started as well. Half of one of 4 panels was completed, the other half will be finished on the next session as well.
December 22nd saw continued work on the curved ceiling panel and outer locker wall. The remaining gray/green paint was entirely removed from this ceiling section. Small areas of damage need repaired prior to primer being applied. Finished sanding the steel outer locker wall as well. I also removed aluminum strips that covers the seams of the hard board ceiling/wall panels. I brought these home to prepare for primer and reinstallation.
December 29th's work session ends another year of work on the N5c. Today work was fairly light stuff. I installed two recently cleaned aluminum strips that cover seams in the hardwood wall paneling. Need to finish installing a handful of screws to permanently attach. I also mixed up several batches of body putty to repair some damaged areas on those walls. First work session of 2015 will see final sanding to this area prior to applying primer.
The past two Monday work sessions continued to be concentrated on repairing walls. Bondo here, spot putty there. Getting close to prime one area soon. Yesterdays work session included a little experiment. The PRR work force in Altoona back in 1942 included the carpentry trade. In the corners walls and ceilings of the N5c the carpenters trimmed out the seams with quarter round. To get the trim to form the curvature of this seam, they had to cut "slices" into the trim board. This would help the board bend. With a little practice on some scrap trim we duplicated this technique, more or less. Once we had the notches cut we then soaked the wood to allow it do curve more easily. If we didn't do this I am sure we would have heard a crack. Next time we go back to the N5c we will soak this trim piece a little more to get the near 100 degree curve needed to fit the seams.
Quarter Round Trim, slight bend
Quarter Round Trim, near full curve
After a few months off due to a snowy period here in western Pa., the 2015 restoration season is once again back on. March 9th was the first time I had a chance to stop in at the N5c since early January. Basically a look see to see what the next few months of work will include. Still going to concentrate on the interior. Last work sessions were removing paint from one of the end sides and its curved ceiling panel. The opposite side is up next. Once again peeling and chipping paint on the curved ceiling panel, the repair of damaged areas and the steel partition where the stove will sit needs stripped of paint too. And while we are down at the end of the cabin, may as well do the door frame and continue on the end wall. Not much to show today except for what the areas look like currently. Maybe in a few months this area will all be repaired and primed.
March 16th's work session continued with the cleaning of the south end interior door frame. After paint removal and grinding off imperfections some putty was used to fill in the cutting wheel scars that occurred when the old door hinge was cut away. Next week this area will be sanded smooth and readied for primer. After the door frame work was done I went back and placed another coat of putty on the ceiling corner where I started to repair a rather large hole during last weeks session. I'm pretty sure it will be enough in the cavity now to sand smooth during next weeks work session. March 23rds work session was a rather short one. I spent two hours removing the last of the old paint from the south end door frame. To get to several of the rivet heads the grab iron needed to be removed. Once that was off it was taken to the work room, placed in a vice and cleaned of paint. The door frame and vertical rivet line was then cleaned of all paint. The grab iron was then reattached. The rest of the day was spent cleaning up. Reinstalled Grab Iron and Door Frame March 30ths work session included the removal of the stainless steel water tank that was added in later years. It was installed on the ceiling of the cupola. After the tank itself was removed we inspected the remaining brackets. Sure enough, they were welded to the super structure of the cupola. With an angle grinder, grooves were cut into the sheet metal brackets, bent back and forth, and they broke off cleanly, above the surface of the ceiling. This will now allow an easy patch of the ceiling surface. This same day another hole was patched in tgevsouth end ceiling. Filled with expanding foam last week and carved away today. A first layer of bondo was then applied. Next week it will get sanded smooth. Several months ago I worked on a piece of curved trim. Today it was ready to be applied in one of the corners. It actually fits better than some of the still remaining original trim still in the cabin car ceiling/wall seams. Into April already! Work continued on the curved portion of the ceiling where the old paint is all crackly looking. Easiest way to fix the problem is to remove the paint entirely. The ceiling is made of hard board, similar to peg board material. Removing the paint is done by a sanding disc attached to a drill. Pretty quick but it is very dirty. In about 2 hours this section of the ceiling had its paint removed. The damaged portions and numerous holes are being filled with bondo. Next week some additional repair, bondo and sanding smooth the finish for an eventual coat of primer will take place. April 13th the hand railing that runs the length of the ceiling was unbolted and taken down. This will allow easier paint removal. The center area railing, below the cupola,is riveted so impossible to remove that section and will be stripped of paint there. It is now also easier to finish sanding the center section of the ceiling were the railing and brackets were once attached. Work also continued on ceiling repair and paint removal on the steel wall where the stove will eventually be located near. More foam was sprayed into the large hole in the ceiling, allowed to cure and excess trimmed away. Next week a coating of body filler will be applied and sanded smooth. Several more metal trim strips were cleaned and reattached as well. Next week, possibly, the south end interior restoration, just may be nearing completion, minus curved trim work and a coat of primer. April 20th the work session remained mostly in the south end. Ceiling repair continued with sanding and more putty to get a smooth as possible repair. By next week this area should be ready for primer. The steel wall was also moved along to the stage where it too can be primed. The pipe bracket has now been cut away as it was added in later years. We don't need it. Most of the sanding is completed as well. Wire wheel work still needs to remove any paint remnants in those ventilation holes. At the north end two more window trim rings were installed. In the meantime, that ceiling hand rail removed last week is in the process of being stripped of paint outside. Photo of that next week. Ceiling Repair/Removed Bracket April 27th work continued on the steel wall, ceiling and the metal stove pipe heat shield. I was able to get the paint out of all those holes in the steel wall. Also patched a crude torched hole with sheet steel. This wall area now awaits for the making and installation of the quarter round trim. I also stripped the paint from the heat shield and sanded smooth all the surfaces. The ceiling grab iron, which is currently sitting on the floor, has had most if its paint removed also. The mounting brackets still need cleaned up on the inside surfaces. The May 11th and 18th sessions included the installation of the remaining two porthole windows on the north end, the mounting of the remaining 4 interior window trim rings and the cutting, drilling and mounting of a replacement aluminum ceiling trim strip in the south end portion of the N5c. Next work session will be the start of building the wood decks for the porches. The past two weeks little work had been accomplished due to the holiday and a small crew. The deck wood installation has yet to be started. So today, June 1st, a little more work on the interior took place. There was an area were the wall had a damaged area. It was cut away, cleaned out and expanding foam sprayed in to fill the void. Next week the protruding foam will be sliced off and a layer of bondo will help repair that area. Also today another aluminum trim strip was installed, this time in the north (bunk end) of the N5c. Three other strips were removed as well so they can be striped of paint. June 8th we didn't have enough crew there to start on the deck wood work yet so a little more progress on the interior. Filled in the holes in the wall and ceiling with bondo. Also started removing paint from the north end steel wall that makes up the exterior locker wall. June 15th work session continued with the removal of paint from a steel partition wall. Nearly completed with that area, but not quite. After sanding to mostly bare metal I went back and filled in the numerous screw and bolt holes with steel putty. Next week those will be sanded smooth. Another trim strip was installed after the seam was sanded smooth. Some miscellaneous measurements were also made today for grab iron work on the cupola roof. June 22, the first day of summer! Work continues on grinding away coats of paint from the interior walls and partitions. With the help of another crew member, a little more was accomplished today. Quite hot and humid so only 4 hours of work today. June 29th work session included work on several fronts. First more paint removal on the interior walls. The north west end, most of the north east end and the east side bunk area partition. Then we decided to go back to the south end to look at a problem area. A portion of the center ceiling Masonite had seen water damage over the years resulting in a bad downward bow. The easiest fix was to just cut the area out and replace with new masonite. So measurements were taken, the damaged masonite scored with a knife and bent downward snapping the piece off. Just a little bit of work needs to be done to be able to place in the new section. Hopefully we can get that done next week. South End Center Ceiling Removal July 6th we finished up grinding paint off the curved portion of ceiling in the northwest corner. That leaves the northeast corner curved portion left remaining. Until we get to the cupola ceiling, ugh!. We also prepared the south center section of the ceiling for installation of a new portion that we had cut out last week. Wood block nailers were glued in place and and using a trim nailer secured in permanently. Next week we will install that ceiling section. South End Ceiling Nailer Installation We decided to return the next day and finish the ceiling patch job. First up was the placement of insulation. We had already test fitted the new Masonite so a bead of construction adhesive was applied around the perimeter and arched ceiling blocks. The new Masonite was lifted in place and with an air operated nail gun, nails anchored the ceiling patch into the adhesive. The short quarter round trim was then installed above the doorway. Now all that needs done is to putty the seam, sand it smoth, add the metal trim pieces and hopefully, a ceiling that looks like it did in 1942! July 13th's work session pertained to the beginnings of the oak deck construction for the N5c's porches. 1-3/4" oak boards were purchased last fall. Like the original these were tongue and groove. All the tools were gathered and we set out to construct the deck. With the help of pipe clamps, C clamps, construction adhesive, nail gun and sweat, we slowly had one of the decks under construction. We are building them on a set of horses and will eventually lift and test fit onto the porch. The finished deck will be 5 boards wide, so far we have 4 joined together. The 5th board will need trimmed to fit over and around the door step, added to the other 4 boards and then securely fastened to the porch with bolts. Hopefully the photos below will help show the progress. July 18th Work Session July 20th Work Session July 27th Work Session Clearance Holes For Rivet Heads, West Side Clearance Holes For Rivet Heads, East Side Test Fit Of Four Preassembled Decks Boards July 31st's work session resulted in the basic completion of the first deck. Hopefully the previous group of photos show what we needed to do do build the deck so that it could fit and drop in place when ready to bolt down. All 5 boards are now glued and nailed together, notched, drilled for rivet head clearance and today we applied water seal to the underside. Next session we will flip the assembly over and belt sand the standing surface. Once that is done we can drop in place and bolt it down. Today's photos: August 3rd Weather Treated Standing Surface
August 15th, Extra Work Day Finally, after a month of Monday work days and several extra days thrown in, we were able to mount and secure the oak deck to the north end of the 974. After carrying it out from the work room we set it in place and marked the underside where a number of bolts would hold it in place. After a series of holes were drilled and the use of a spade bit to recess for the heads of the bolts, the deck was repositioned for the last time. Luckily all the holes lined up and the carriage bolts placed in and all tightened down from underneath. That concludes the installation of this particular deck. Eventually it will be painted with epoxy paint to match the rest of the N5c. In a few weeks work will start on the south end porch. Mounted and Secured Deck, East Side Mounted and Secured Deck, West Side August 17th's work session included very little restoration. The brake valve pipe was installed on the north end now that the deck is installed. The rest of the day was clean up day. The 974's exterior was washed, windows cleaned and the interior was cleaned up and vacuumed to get it ready for public viewing on August 22nd during the historical society's "Rail Bash" event. Train Show, Operating Layout, Operation Life Saver and Rail Memorabilia Auction. During the August 22nd event there was a special visitor to the N5c. Leah, an 8 month old doberman, a service dog in training, stopped by and posed on the deck of the cabin. September 9th was the most recent work day. On that day we concentrated on finishing the steps on the north end. Over the previous few weeks the oak treads were acquired, cut to size and weatherproofed. They were brought to the site and fitted in on the steel step castings. Holes were marked, drilled and countersunk for carriage bolts. Next work session we will mount the Southend treads. September 28 we continued working on the installation of the south end oak treads. We had already had them cut to fit, we just needed to mark for holes. In the drizzling rain we were able to fit them on and bolt them into place. Now on to the south end deck. We also started construction of the South end oak deck. Basically duplicating what was done on the north end last month. Of course measurements vary ever so slightly. First step is to glue the first four boards together using the tounge and groove edges, clamping and installing temporary boards to help hold in place while it dries over the next week. The next work session will be embedding reinforcement strips and cutting the boards to correct length, and continue from there. October 5th work continued on the south end deck construction. The adhesive applied a week ago connecting 4 of the 5 boards had dried so clamps were removed. As before with the building of the first deck, a notch had to be cut into one edge, the edge that will fit against the end sill. That was accomplished as was some the installation of some reinforcement boards embedded into the bottom surface. Next week the deck will be cut to length and test fitted for correct width. Since the cabin car has flaws in the way it aged, additional problems arose that we need to contend with. Those are next weeks plans. October 12th we continued where we left off the week before, deck construction. After having assembled the oak boards into a one piece deck, final measurements for the total width was taken and the deck was cut to size. And since this south end porch has some problems with additional clearances besides protruding rivet heads that keep the deck boards from sitting flat on the porch end, we needed to fix that problem. Angled grooves were cut into the bottom of the deck to give us clearance of the "humped" angled members of the main cabin car frame. And again clearance holes were drilled with a spade bit to clear the 8 rivet heads. One last clearance gouge was cut in to allow the brake wheel mount to clear. A few test fits where done with the 4 board wide deck. One spot needs a little more clearance cut in and that part of the deck should drop in. That's the agenda for the next work session. Also the fifth board will be fitted, then notched for the door tread. Once we get that fit in that fifth board can be glued and nailed to the other four boards completing the construction. Then set into place and bolted down. Making Clearance Cuts On Bottom Of Deck October 19th saw final adjustments and fitting of the current 4 board wide section of the south end deck. One underside area had to be cleared ever so slightly for the final test fit. The 5th deck board now needed to be adjusted with notches so it could fit over and around the door thresh hold flange and cut to width so when added to the four other boards the proper width resulted. Final small notches were made for clearances and that board test fitted. Looked good so we then glued and nailed that board to the rest finishing the construction of the 5 wide deck floor. Next work session will include final test fitting, adjustments, caulking of seams, sanding and water sealing. The session after that should find us placing the deck in place, drilling for mounting holes and bolting it down. October 26th we finished tweaking the fit of the second oak deck for the N5c. Marked for all the holes, then drilled and countersunk them. Brushed the bottom with thompsons water seal, flipped it over and walked it out to to the N5c and placed it into position. Fit like a glove, well, almost. Cranked down the nuts and bolts and that finished the installation. Coated the walking surface with water seal and we called it quits. We will let it weather over the winter and next spring paint it with epoxy paint to match the rest off the car. Oct 2015 N5c Portrait - Completed Decks Since November's weather is spectacular this year, 70 degrees in western Pa.!, we decided on two work days in a row. After the deck installation the previous week it was time to fill in the recessed bolt heads and finish caulking any tiny seams that opened up between the boards due to continued contracting. So a flexible filler was applied and allowed to cure. Next session will be final belt sanding of the surface and another coat of weatherseal. Meanwhile, since the weather is so nice it meant a second coat of black paint could be applied to the roof and cupola for further protection. Not sure how long this extended fall weather will last so not sure what we work on next. Back inside or ? As I mentioned earlier, work has shifted back into the inside of the N5c. Some final touch up on some minor defects on the south end walls, additional installation of curved quarter round trim and a little more sanding allowed for the first coats of primer to be applied. Not quite finished yet but its a next step to the eventual application of the final interior color. Primer coat sure does allow defects to be seen so a little more spot putty here and there and a second coat of primer will get us to where we need to be. The 2016 restoration season has begun!The south end interior is far enough along with the restoration that the painting of the walls can begin. Today, Feb 22nd, the first coat of finish color was applied. Using remnants of old paint chips that were found on some of the locker walls we found a good color match in the Valspar paint line. The color name is Molasses. Actually the color is very similar to the color of creamy peanut butter. So a gallon was purchased and like I mentioned, applying it began today. The color was brushed on the window trim rings, corners and miscellaneous areas. Then a coat was rolled on the entire south end ceiling and walls. The door and frame along with a second coat will be applied during the next session. March 7th's work session included installing another piece of quarter round trim and touch up painting on the south end interior. We also reinstalled the overhead grab rail that runs the length of the ceiling. Next week a coat of interior paint color will be applied to that. March 14th's plan was to install a window ring trim onto the south door. This replica trim ring was made of styrene, spray adhesive was applied and then installed around the port hole window. It basically was made to match the look of all the other window trim rings. Once that was installed work began on the counter top for the sink area. Two mounting boards were secured to the wall and later the top was prepared for the round stainless steel sink. Once cut in the counter was secured to the mounting boards. Next week it may get painted and the sink installed, but we will see. The day wrapped up after applying a few coats of interior color on the window trim ring. Shelf Mounts For Sink/Water Tank March 21st winter returned to western Pa. No snow but mid 30's temps. Today we messed around with the mock up of the water cistern and sink. We modified the water cistern that was present in the ceiling of the N5c when it was retired. Back in the 1940's the N5c's had a shorter tank on the sink counter. So we took a cut off wheel and cut the tank to a more appropriate size. It still needs stripped of gray Conrail interior paint but now we have a water tank. The counter was also given a few coats of paint. And temporarily, the sink was set into the counter. It too needs cleaned prior to final installation. Next week we will set things in place to see how it all looks. April 4ths work session almost felt like mid winter with upper 30 degree weather and a cold breeze. Today was cleanup day of the stainless steel sink and water tank. Over the years the sink received 4 different coats of paint. Black, 2 shades of green and a gray. The tank only had a thin coat of gray sprayed on. With some paint stripper and steel wool the paint was gone fairly quickly. The drain pipe was sanded smooth and everything washed down with soapy water. A few areas still need buffed out to remove some rust stains. Not going after a new shiny look, just a nice clean look. The sink and tank was then test fitted once again onto the counter top. Hopefully next week we can anchor them into place. April 11th's work day concentrated on 2 items. The first was to finish, temporarily, mounting the sink into the counter and anchoring the drain pipe to the floor. The drain pipe needed cut to proper length and then new threads cut into the end. Once in the pipe was painted black. The other item worked on today was the cabin cars conductor's brake valve. Over the years, like pretty much everything else in the N5c, multi layers of paint was applied. So, we needed to clean this off. First stripper was applied to soften the paint. Then with sanding wheels and wire wheels the valve, pipes and brackets were cleaned. Took time getting all the paint from the tight clearences and cranny's. Once clean and washed with degreaser and soapy water the valve assembly was repainted with primer. And then temporarily set into position. Next week it will be painted and secured to the wall where the table is located. Just another little step to make the south end a little more prototypical. April 18th saw the installation of the Cabin Car Valve that was cleaned and ready for paint the week prior. After spray painting the valve dial red the valve was bolted to the wall and the rest was painted interior color. Eventually a new table top will be built, a slot cut into it and positioned on the bracket so it slips around the valve. Painted and Mounted Conductor Valve April 18th also began work on seating for the N5c. Besides a table in the south end, there are bench seats located there as well. We found two booth benches from a former bar that, if modified, would be excellent stand ins for the long gone originals. Of course they are too long for our purpose, so we need to shorten them to 33 1/2" in length. The following photos show the bench prior to mods and a series of photos showing tear down and the shortening process. Ok, last week we modified a booth bench seat by shortening it to proper length for use in the N5c. It was then taken home by a member and reassembled. April 25th I was by myself on the N5c project so I tackled the disassembly of the second booth. It too was shortened and plans are to reassemble during the next work session. Bench End, Ready for Glue and Nails May 16th was the most recent work day. The previous several weeks most of the work involved working on the seats and cleanup for an open house we held on National Train Day. Seat updates and photos of when they are finished and placed will be posted later. On the 16th the work involved getting back to the north end interior. A little finish sanding was done on a few of the walls that had its paint removed last year. Then a few coats of primer was applied. In the weeks to come some additional major sanding on the remaining North end walls will proceed. North End Locker Partition and North West Wall North End Locker Partion and North West Wall A few weeks ago we had also hauled out the original PRR cabin car stove we previously purchased years ago and temporarily placed it into position for the open house, allowing visitors to get a better idea of how the South end will eventually look. Piping, heat shields and a coal bunker will be installed at a later date. May 23rd more primer coat was applied, this time to the northhwest end. A segment of trim was remounted on that area of the ceiling as well. Caulking of the quarter round trim and spot putty applied in a few areas where defects in the wall showed up was also done. Next week more stripping of paint from the north east end and ceiling area is planned. The May 31st session involved the continuation of readying the north end interior walls for primer. Specifically the northeast end wall, the north center section of the ceiling and the northeast side wall sections. After the walls were smooth several coats of primer was applied. And also an update on a previous project. One of the benches for the south end was brought back to the site in its completed, modified form. It was temporarily positioned in place and all looks good. A very good stand in for the long gone missing originals. Northeast Side Walls, Stripping Process June 6th's work day started out cool and comfortable, but soon heated up inside the N5c as the day went on and the sun baked down. But work continued with removing the old paint from the north east side interior. One side wall section had its old paint completely removed while other areas just begun. Two more metal trim pieces were reattached, one on the ceiling joint and one on the side wall. The 1/4 round wood trim was also attached on the seam that joins the metal locker wall and the north east side wall. Next week this area will be worked on again and maybe even primer applied, but we'll see how far we get. Here are some new pics. North East Side Wall, Center Section North East Side Wall, Center Section North East Side Wall/Locker Wall Trim June 13th saw continuing work on the northeast interior. The last of the metal trim pieces was installed over the seams between the ceiling and wall sections. Another segment of quarter round was attached to the corner seam down to the top of the bunk. And removal of some very stubborn old paint continued on the ceiling section. Next week that should be all completed. Finally! Maybe even a coat of primer can be applied in this area. June 20th, the first day of summer for the year 2016, and it felt like it. Temperatures in the high 80's and humid. Inside the N5c the temps probably hit mid 90's, easily. But work continued. The last bit of remaining old paint on the north end ceiling was finally removed. Then it was time to apply primer. First the seams and corners were brushed and then the wall and ceiling surfaces rolled. Applied two coats which will allow the eventual buff color to cover more easily. Next week the seams will be caulked and I am sure some touchups here and there. After that I think it's time to tackle removing old paint from the lids, top and front surfaces of the north end bunk. North End Ceiling, Paint Removed June 27th, since the north end walls now have the primer applied, work started on the paint removal from the bunk itself. Again, here as well, there are at least 3 Coats of old paint that needs removed. To make it look less overwhelming, today's session concentrated on one of the surface lids that lead to storage. Instead of grinding away the paint, stripper gel was tried instead. Less dirty but still a lot of work. After three applications of the stripper, for the 3 separate coats of paint that needed removed, a light sanding with the orbital sander has it ready for a primer. But primer will wait til the whole bunk is void of any old paint. This may take awhile! All Paint Removed From Bunk Lid July 5th work day. Another day filled with heat and humidity. It's hot in the N5c! Work continued on with more paint stripping of the bunk lid. Basically repeated the steps as the previous week. Paint stripper, putty knife and sander to get the lid down to bare metal. Still need to do the front face, lid undersides and the rest of the top surface. Several weeks ago another member of the BLRHS, and former PRR employee, Chuck D., donated a cushion from a former PRR cabin car. And today, set it in place temporarily. Perfect! All Paint Removed From Bunk Lid July 11ths work session included a deja vu moment. Decided to go back and work on the second bench seat in the "kitchen" area of the N5c. Earlier this spring/summer the first seat was completed with the narrowing of it to fit our needs. So today the second seat was completed as well, minus a few additional tacks yet to be nailed in. After the base was reassembled work on the seat cushion was started. The leather and stuffing was pulled back to allow access to the springs. A number of them needed removed to get the width we needed. Once removed the width could be cut down. Once that's was done the original end was reused and screwed to the new cut end, getting us the width needed. Then once again the stuffing and leather was trimmed to fit, tacked everything completed. A trim piece between the back rest and seat cushion also needed to be modified and that too was completed. The seat was temporarily set in place for now until the wood floor can be layed. Now we need a table top cut! The past few weeks sessions saw continued work stripping the coats of old paint from one of the bunk cabinets. August 15th it was finally ready for primer. Several coats were then applied. The outside surfaces are pretty much ready for the buff finish color. The insides still needs tended to. Clark also began working on the center section cabinets. First was the removal of several banged up doors. Hinges were welded on so they needed a grinding wheel attack. Lots of work in the center area. It's only just begun! Now that the north end is nearing completion of old paint removal and priming of the surfaces, September 6th`s session saw work move toward the center east side section. There too lots of paint needs removed. That is what started to take place today. Slow going, hot humid weather, allowed only a small section to be completed. More progress will continue as fall approaches. Sept 12th session involved continued stripping of paint in the center section of the cabin. Mostly on a sheet of diamond plate that was installed as a cabinet surface at some point in the N5c's life. Most likely in later years in the PRR or Penn Central era. It's welded in place so it stays. Thick greens and gray paint coats needed removed. Sept 19th it was back to the north end interior where the first coat of interior buff color was applied. After brushing seams, corners and trim pieces work went quickly rolling the paint on the rest of the walls. Next week a second coat on what was applied already and then a first coat on the northeast bunk. August 26th, work continued with a little more paint removal and the application of both primer and interior finish color. Most of the work was concentrated on the east side bunk area. Lids were cleaned, primed and the first coat of buff applied. The center of the N5c's interior got its first coat of primer in certain areas that were cleaned during a previous session. Next week, more of the same is expected. Center Area Lockers, Shelves Primed The past several work sessions included additional sanding and priming of the center area locker faces on the west side and the beginnings of the west side bunk construction since the original was removed years ago. Preliminary framework is test fitted into place. Next week we hope to continue on the bunk construction. Westside Locker Faces, Cleaned/Primed October 17th we picked up some lumber on the way to the cabin car. A few hours later the basic framework for the missing bunk had been completed. The rear portion will eventually get 3/4" plywood screwed to it. The lower front face a piece of 1/4" Luan. The two larger openings on top will have hinged 3/4" plywood lids, replicating the bunk on the other side. This can be used as storage. A few minor pieces of bracing and trim needs installed first. Oct 31st and Nov 3rd saw the continuation of construction of the bunk. Final pieces of bracing was installed and a few trim pieces were attached on Monday and finally the top surface and lids cut from BC Plywood and attached on Thursday. To finish this bunk we still need the lower front facing mounted, final trim work, primer and interior buff applied. Its a near duplicate of the opposite side bunk, only made of wood, not steel. November 7th, still having fantastic Weather! High 60 degree weather making it easy to continue work on the bunk area. Today the front face sheeting was acquired, cut and installed. Also a few short pieces of quarter round installed in the lower corners above the new bunk. Steel Rod Handles were bent to shape and installed on the bunk lids for opening and closing. Afterwards a few coats of primer were applied to seal the wood for the upcoming application of interior buff color. A few more pieces of trim to duplicate the other bunk will be installed next week. The past several Mondays found us applying a few more pieces of trim, steel angles on the underside of the lids to prevent any warping of the wood and some caulking around the perimeter of the bunk. A bit more primer needs to be applied and then the entire bunk exterior will gets its buff color. Maybe this will occur during the next work day. December 19th session started out cold. After setting up the space heater and allowing the N5c to heat up a bit, the first coat of interior finish was applied to the newly constructed bunk. A second coat will be needed and will probably be applied during the next trip to the cabin car. The other north end bunk will also get its second coat as well as the ceiling, door and walls. With that done the north end will be completed, except for the floor. The start of the 2017 work season has begun! January 2nd and 9th saw the conclusion of interior painting on the north end of the N5c, and a few added touches. The final coat of buff was applied to the underside of the newly constructed west side bunk, and touch ups here and there. The retractable wire rod handles for both sets of bunks were painted black as well. And what is a cabin car with out the ever present girlie pin up? 1949, which represents the year we are back dating the N5c. We also painted the first two north end locker faces that were previously stripped clean and primed a few months ago. In the coming months we may start construction on new doors for these two cupboards. Next week we want to try and head back to the south end and start building a table top for the seating area. Handles Installed on Original Bunk
As planned, January 16th we headed back to the south end of the N5c. We picked up a sheet of 3/4" B/C grade plywood and started working on a table for the seating area. After notching the top for air pipes that run through to the valve we applied a border around the bottom perimeter to get the thickness we were after. Then we placed a small piece of Plywood on the underside for attaching the legs. Two corners were also rounded off to get rid of the sharp areas of the table top. At a later date we will either place a formica laminate on top and edges or ? January 23rd's session found us starting work on a couple of cabinet doors. We had leftover B/C grade plywood from the table top construction so we put it to good use. After taking some measurements and cutting down to size, we ended up with two doors. Test Fit them and they fit well. Just needs some fine tuning (sanding) to get all seams squared in the not so square opening. Next week we will work on two more doors. Preliminary Work On Cabinet Doors Preliminary Work On Cabinet Doors The latest work session resulted in a little more progress on the cabinet doors and prelimanry work on a second cabinet. A little more test fitting of the two doors, drilling and mounting hinges and test fitting a handle. Next week a little more sanding around the perimeter of doors to get a nice even fit. Eventually everything will get primed and painted. A spring chore. We also started working on building a set of doors for the opposite side cabinets. This area at one time received damage of some kind. In the area where the original ice box was located was repaired with diamond plate and plate steel. Way back in 2003 we cut an opening in the face for more storage. Today work started on the doors for the cut out opening. First step was to build a wooden frame on the inside. We cut the pieces of 1x4's and used construction adhesive and clamps to set them in place. Next week we will place a wooden flange on the backside of those so when the doors are attached will stop when closed. Just follow along with the pics and you'll see it come together. Hopefully next work session this can be completed as well. February 6th we continued on building up a mounting flange for the doors in the lower cabinet. Last weeks two pieces that were attached with adhesive acomplished what we were after. Today we attached the top and bottom flange pieces as well as the boards that will act as door stops. The 2 doors were cut to size, hinges mounted and we're pretty much ready to finish this area next week. February 13th's session included the finishing up on the new lower cabinet doors. After test fitting the doors into the opening and making final adjustments they were mounted onto the hinges. Presently they are free swinging and await some handles. February 21st's work session included the mounting of more hardware throughout the interior of the N5c, where possible. First we finished up mounting the latch on the cabinet doors that were mounted last week. These parts were cleaned and painted years ago and are now becoming part of the cabin again. Then we turned our attention to the hardware that holds the doors open. These include the 2 part system as seen in the photos. One part is mounted to the door, and the other to the floor. When the door is opened the pieces engage, securely holding the door open. The floor pieces were mounted temporarily at the correct height as we still need to install the flooring. All these door hardware pieces will be painted at a later date. Before we left for the day we went ahead and mounted two Marker Brackets that we had on hand. Not original PRR issue (we don't have any at this time) but these nice Keystone shaped holders adds a little pizzazz. These holders are installed near the floor, out of the way, for storing the markers when not in use. Door Keeper Hardware, Northend Door Keeper Hardware, Northend Door Keeper Hardware, Northend
Door Keeper Hardware, Southend Door Keeper Hardware, Southend Door Keeper Hardware, Southend March 6th another sheet of sanded 3/4" plywood was on hand so a few more locker doors were fabricated. After cutting to size, test fitting and mounting the hardware, two more lockers had doors. We will add vent holes at a later date. The two doors worked on today were for the north west and the north east lockers.
March 13th we continued constructing several more cabinet doors for the lower center west side. Enough usable plywood was on hand for this. After cutting to size, drilling holes in the metal framework and attaching hinges, the doors were placed in the openings, latch installed and soon another set of doors completed. Only 4 more sets to go. Center West Lower Cabinet Door Center West Cabinet/Locker Doors Center West Cabinet/Locker Doors
East Center Upper Cabinet, Awaiting Doors East Center Locker, Awaiting Doors East Center Locker, Awaiting Doors South West End Lavatory, Awaiting Doors March 20th after measuring several more locker openings for doors we went to the mill and picked up another sheet of finished plywood. Had it cut to size, made our way back to the N5c and after several hours we had two more doors installed. Only two more doors to go! East Center Door and Hardware Mounted West Side Lavatory Door and Hardware Mounted March 27th another set of Cabinet doors were cut, fitted and installed. This time for the east center top cabinet. A little more adjusting to get them just right. That leaves us one more door to make for the narrow locker on the east side near the seating area. Today we also started to remove the thick multi layer coats of paint on the cabinet shelving. It must be an 1/8 of an inch thick in places. Too much for strippers and not enough room for grinders so we are trying a Wagner Power Stripper. Seems to work but it is going to be a slow process, and noisy! April 3rd saw the last of the cabinet/locker doors installed. Tweaked the cabinet door that was installed last week and cut and fitted the tall locker door on the east south end. This one has problems. The frame isn't too plum and square after 70 plus years so more tweaking needs done to get a better fit. But basically, all the doors are now installed. They will be primed and painted interior buff at a later date. Overall View of Installed Doors April 10, since it was a nice spring day we headed back outside and worked on installing the foot pedal control for the Triple Valve. This was removed years ago when we first started this restoration and stored away in the bunk. When we installed the decks a year and a half ago we had forgotten to cut the notch for this item. So the first thing we needed to do was get some measurements for the hole's location. A series of small holes were drilled in the deck and the wood chiseled out. Squaring up the hole with small reamers and drum sanders resulted in the opening we needed for the foot pedal to slip through. The bell crank was then bolted to the underside of the deck and the pedal bolted to that. Now we need to run a long control rod from the bell crank to another vertical lever located on the Triple Valve housing. Then yet another small rod from that lever to the release valve. Photos of that will appear later when we work on those parts. April 24th. After acquiring all the needed rods, eye bolt and steel bar over the past week we took them to a welder who assembled everything we needed to get the valve pedal on the south end deck hooked up to the Triple Valve release valve. Once the lever was cut, shaped and drilled it was mounted on the short stud mount. Then the rods were connected to that lever which in turn completed the assembly. When the pedal is pushed down, the bell crank moves the long reach rod, pulls the top of the lever southward and in turn pushes the bottom of the lever northward which pushes the release valve. Now we need to mount a bracket on the underside of the car to keep the rod from sagging and interfering with the truck. May get to that next week. And yeah, that's a Robin nest atop the Triple Valve. Currently it contains at least one baby robin. Working Levers On Triple Valve Primered Triple Valve Lever/Rods While most of May's work has been concentrating on the Triple Valve control linkage, other work has also been going on. On the inside some more reconstruction of the inside of a locker and detail work on the locker/cabinet doors. The tall locker was missing it's ceiling so prep work was completed one week and the following week some new panels were installed. Not finished yet. Some caulking and trim work before any painting occurs. We also stated reinforcing the doors on all of the lockers and cabinets. 1x4's were cut to size and attached to the inside. This should help keep them from warping. Vent holes are also being cut into the tops and bottoms of the locker doors. This work should be completed on the next work day. May 30th session included drilling more vent holes in the locker doors. That completes all the necessary drilling. The doors were temporarily set in place and await some additional reinforcement strips on the inside. All of this will take place next work day and then the doors will be rehung on the hinges. Southwest Lavatory Door June 5th's work session had little to do with the restoration on the N5c. However, that didn't mean anything was done this day. It was decided on that the cabin car display track needed moved to a new location so it can eventually fit in with the future planned track layout at the station grounds. The current display track needed to be moved about 15 feet to the west. How do you do it with a cabin car sitting on the track? A Backhoe, a Ford Pickup, Track Jacks and some manual labor. Little by little the track was nudged, sometimes pulled. The Cabin Car was rolled to one end and then the other end nudged a bit more. Repeating this process about 15 times in about 8 hours got the display track where it needs. Final adjusting, tie placement, leveling, and reballast work still needs to take place. Once finished the N5c will be pushed to the north end and eventually another piece of equipment will join her. Not saying what it is quite yet. Please keep checking in for future updates! The final appearance of the restored N5c 477974, if all goes as planned, should be similar to the large scale model N5c shown below. *****
Sign my Guestbook!
Read my Guestbook!
**************************************************************************************
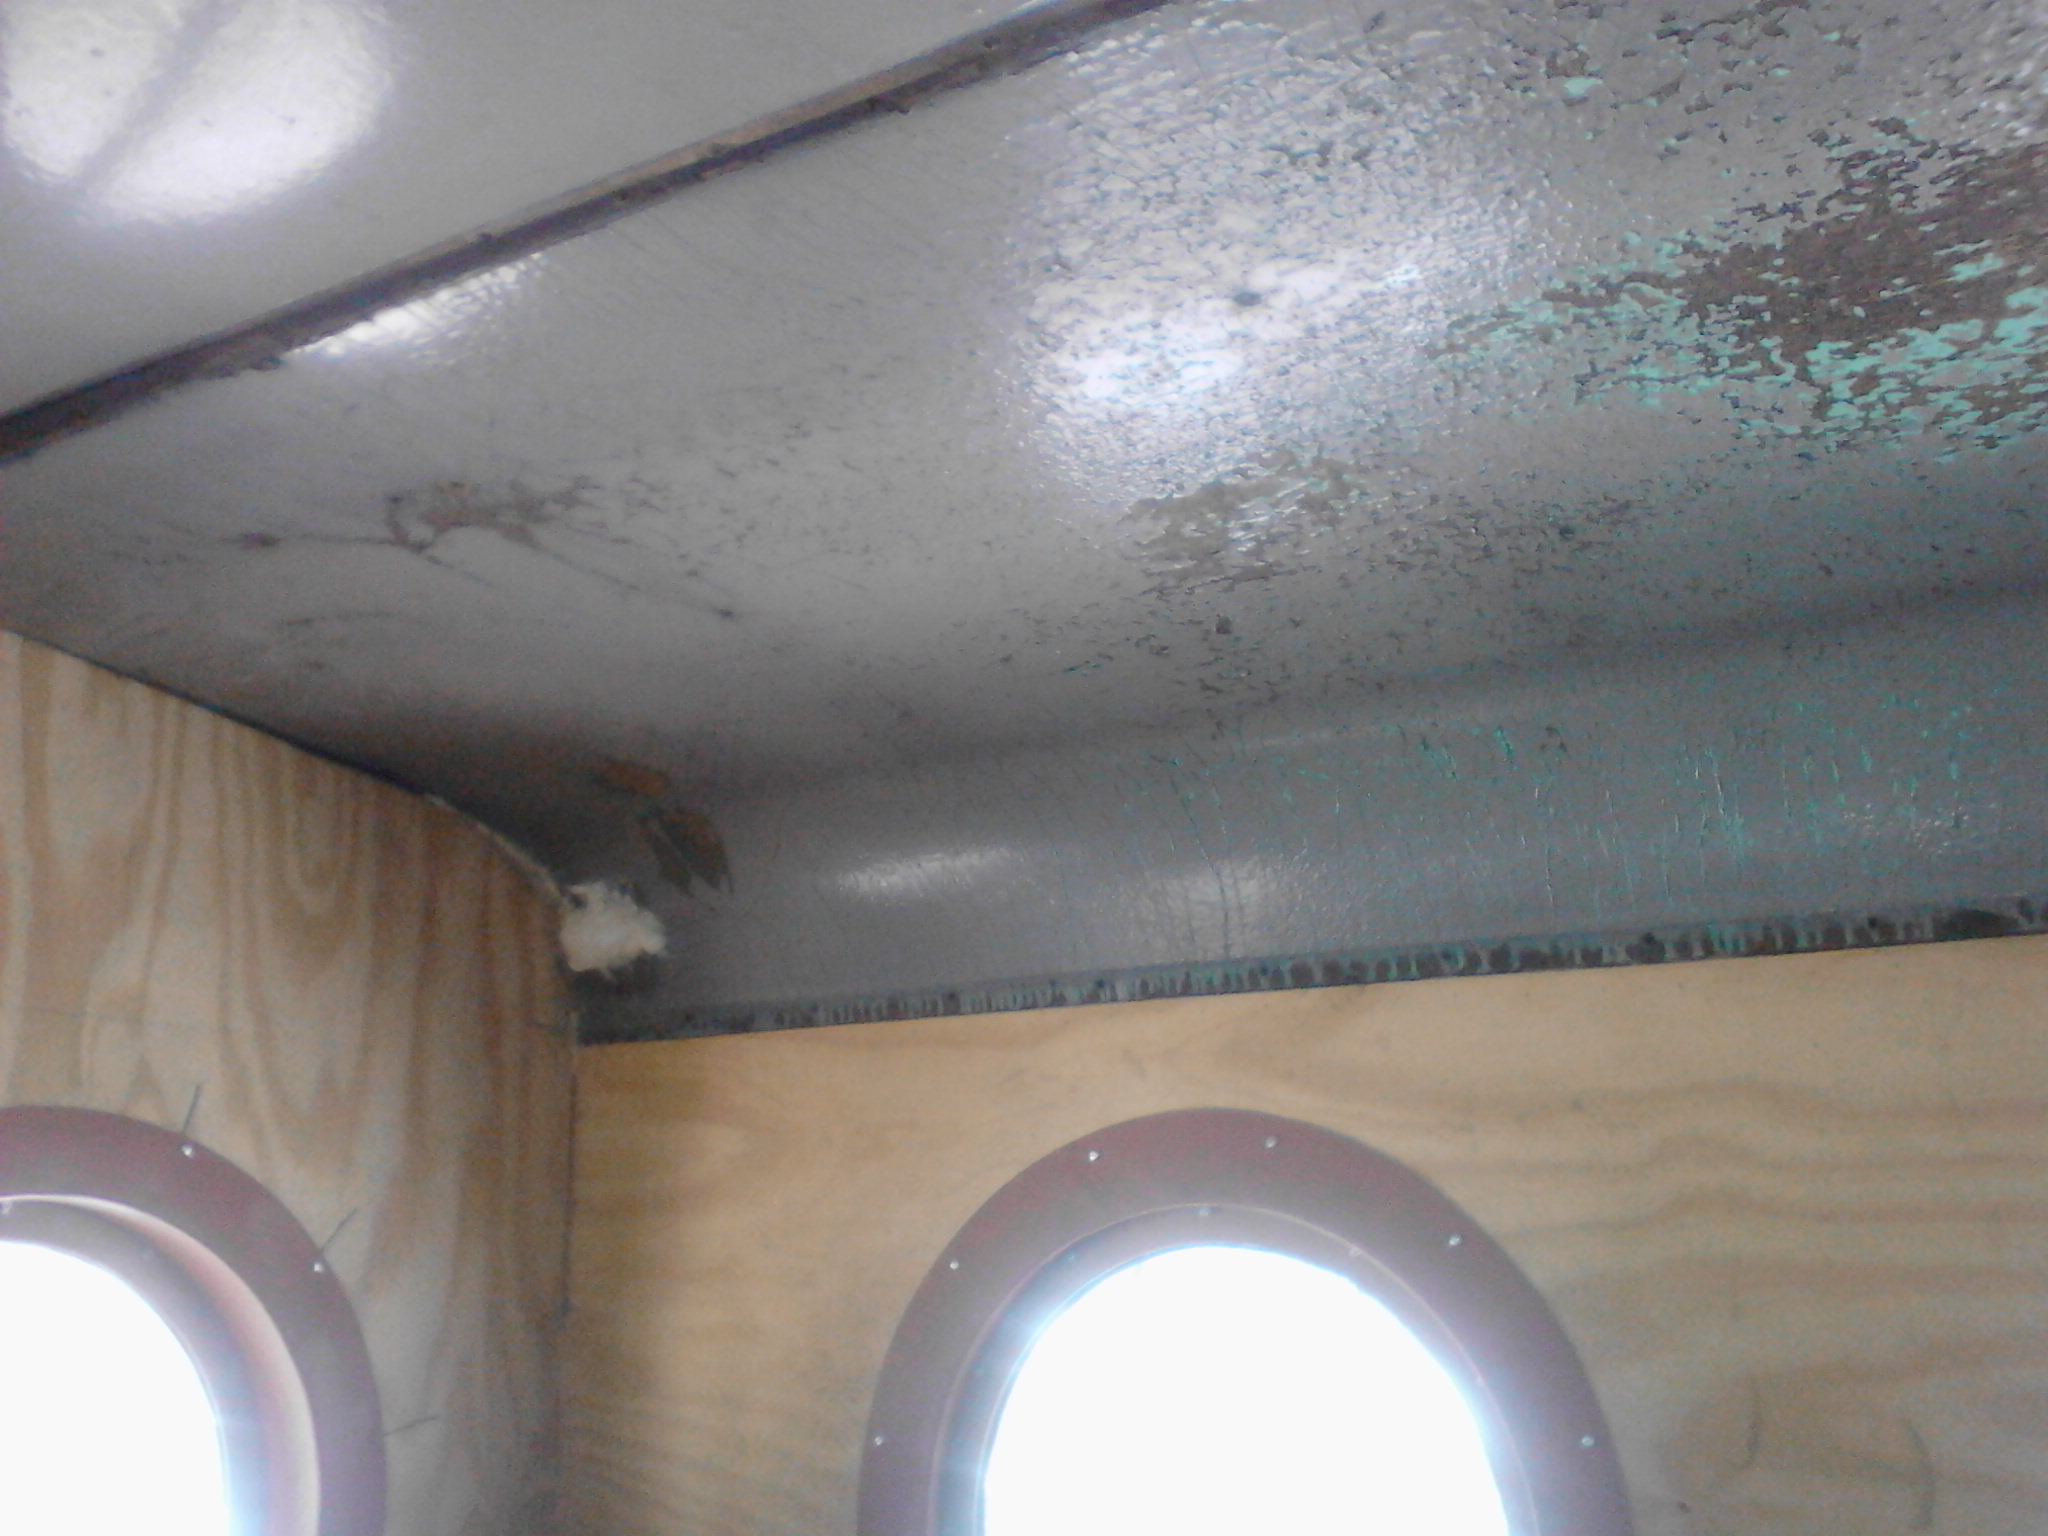
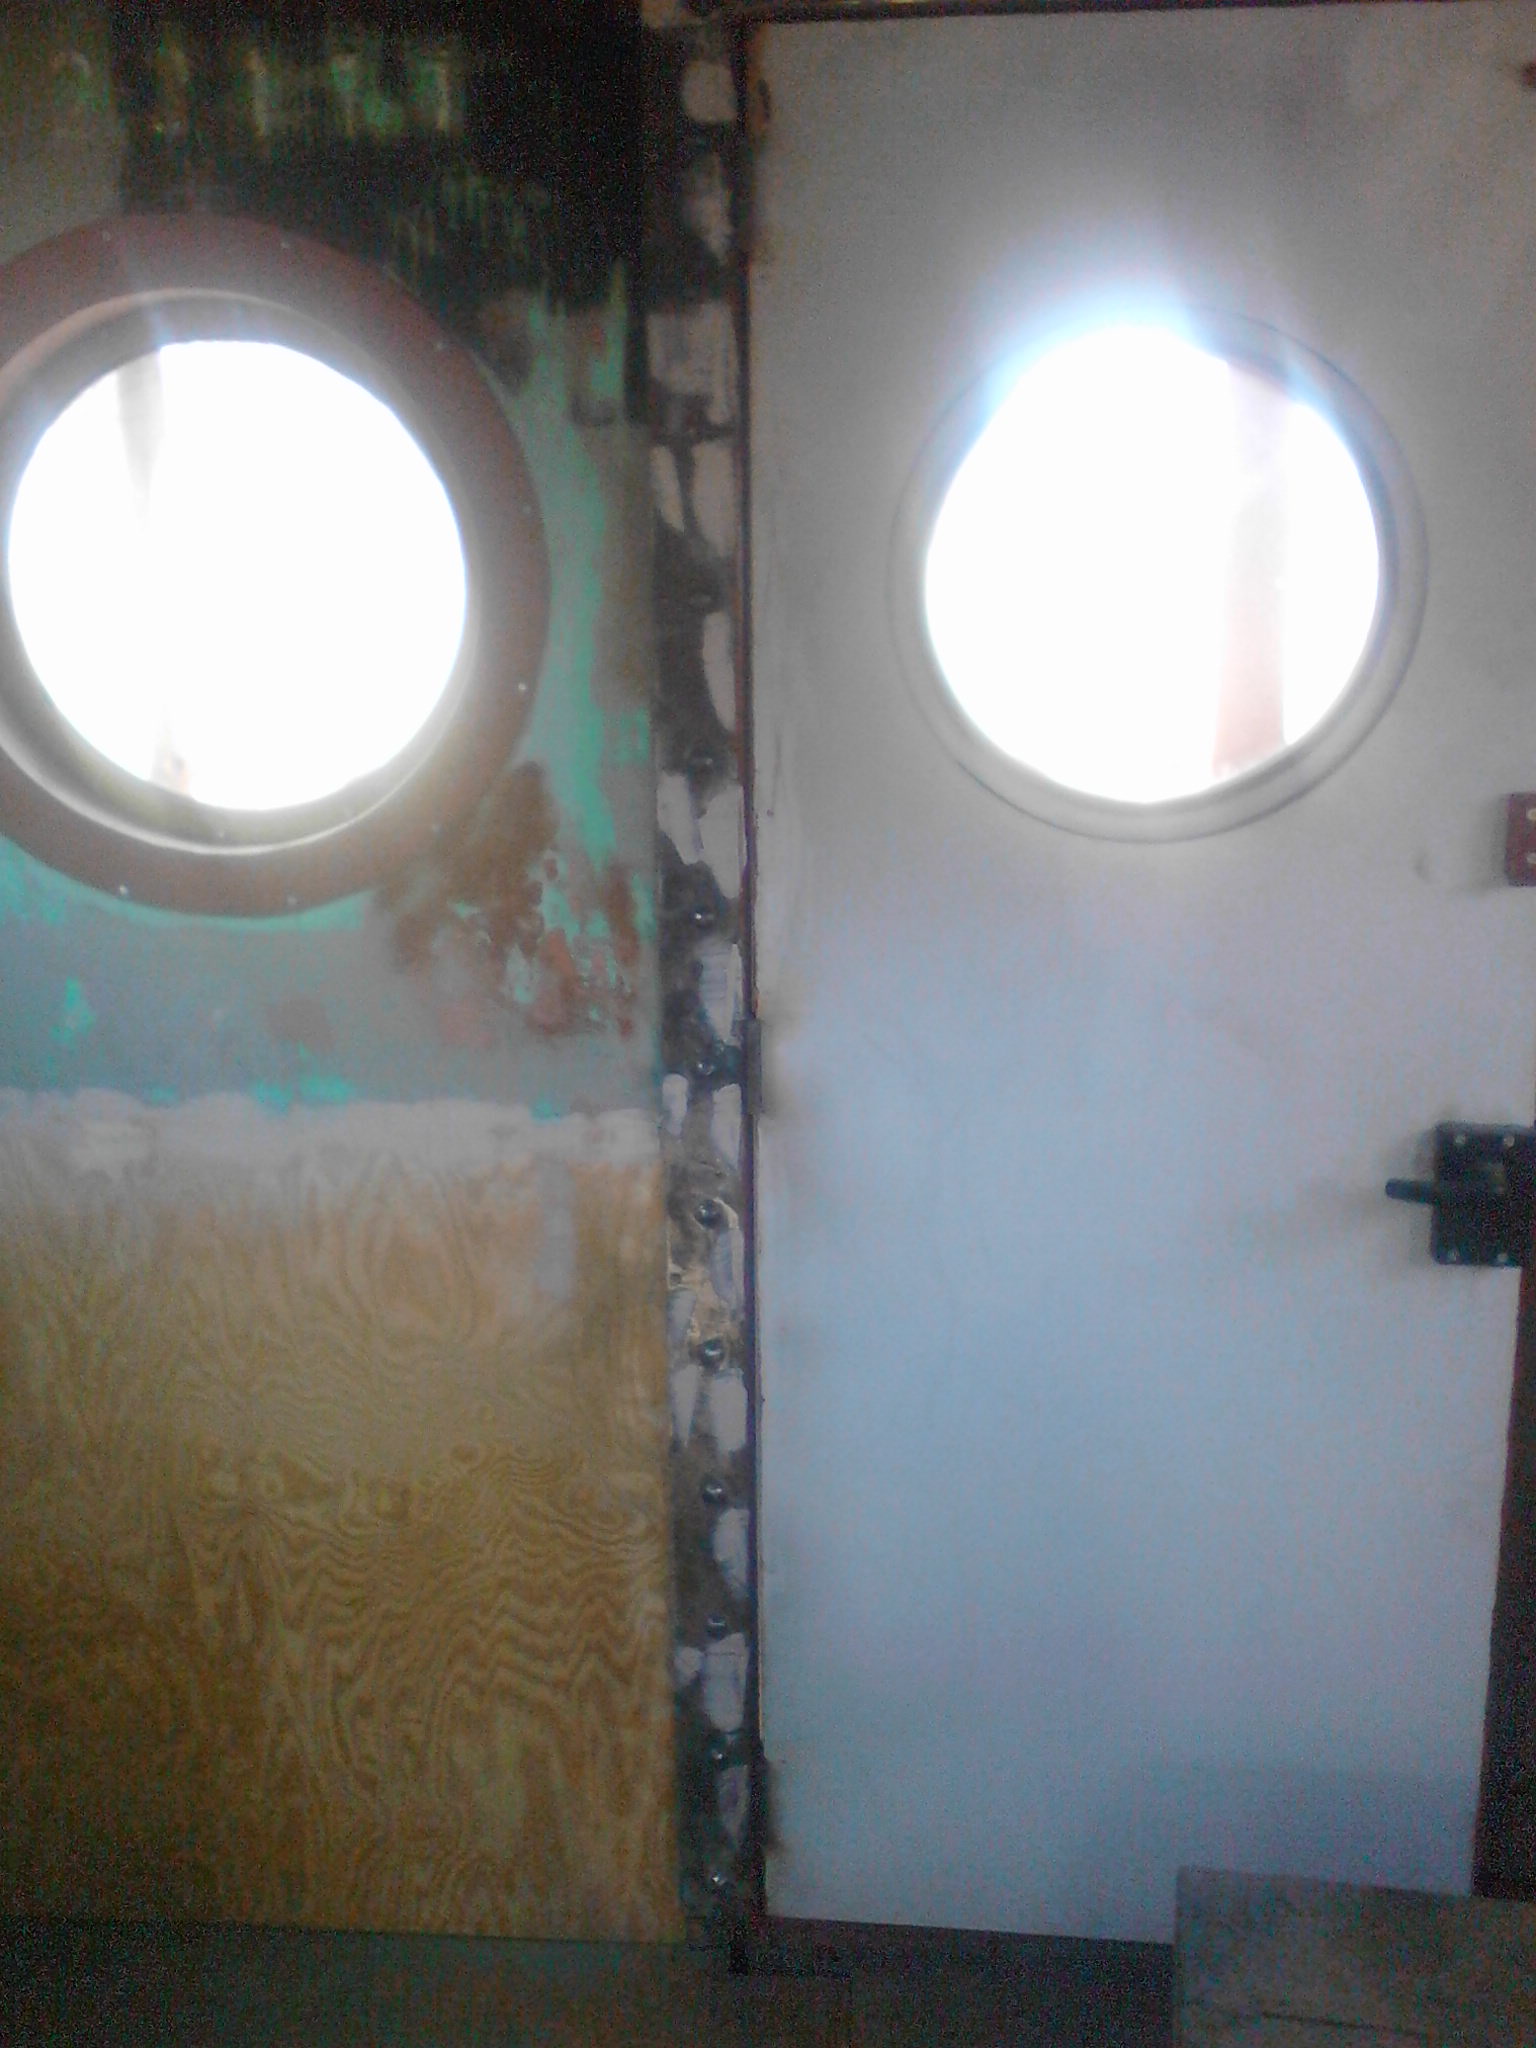
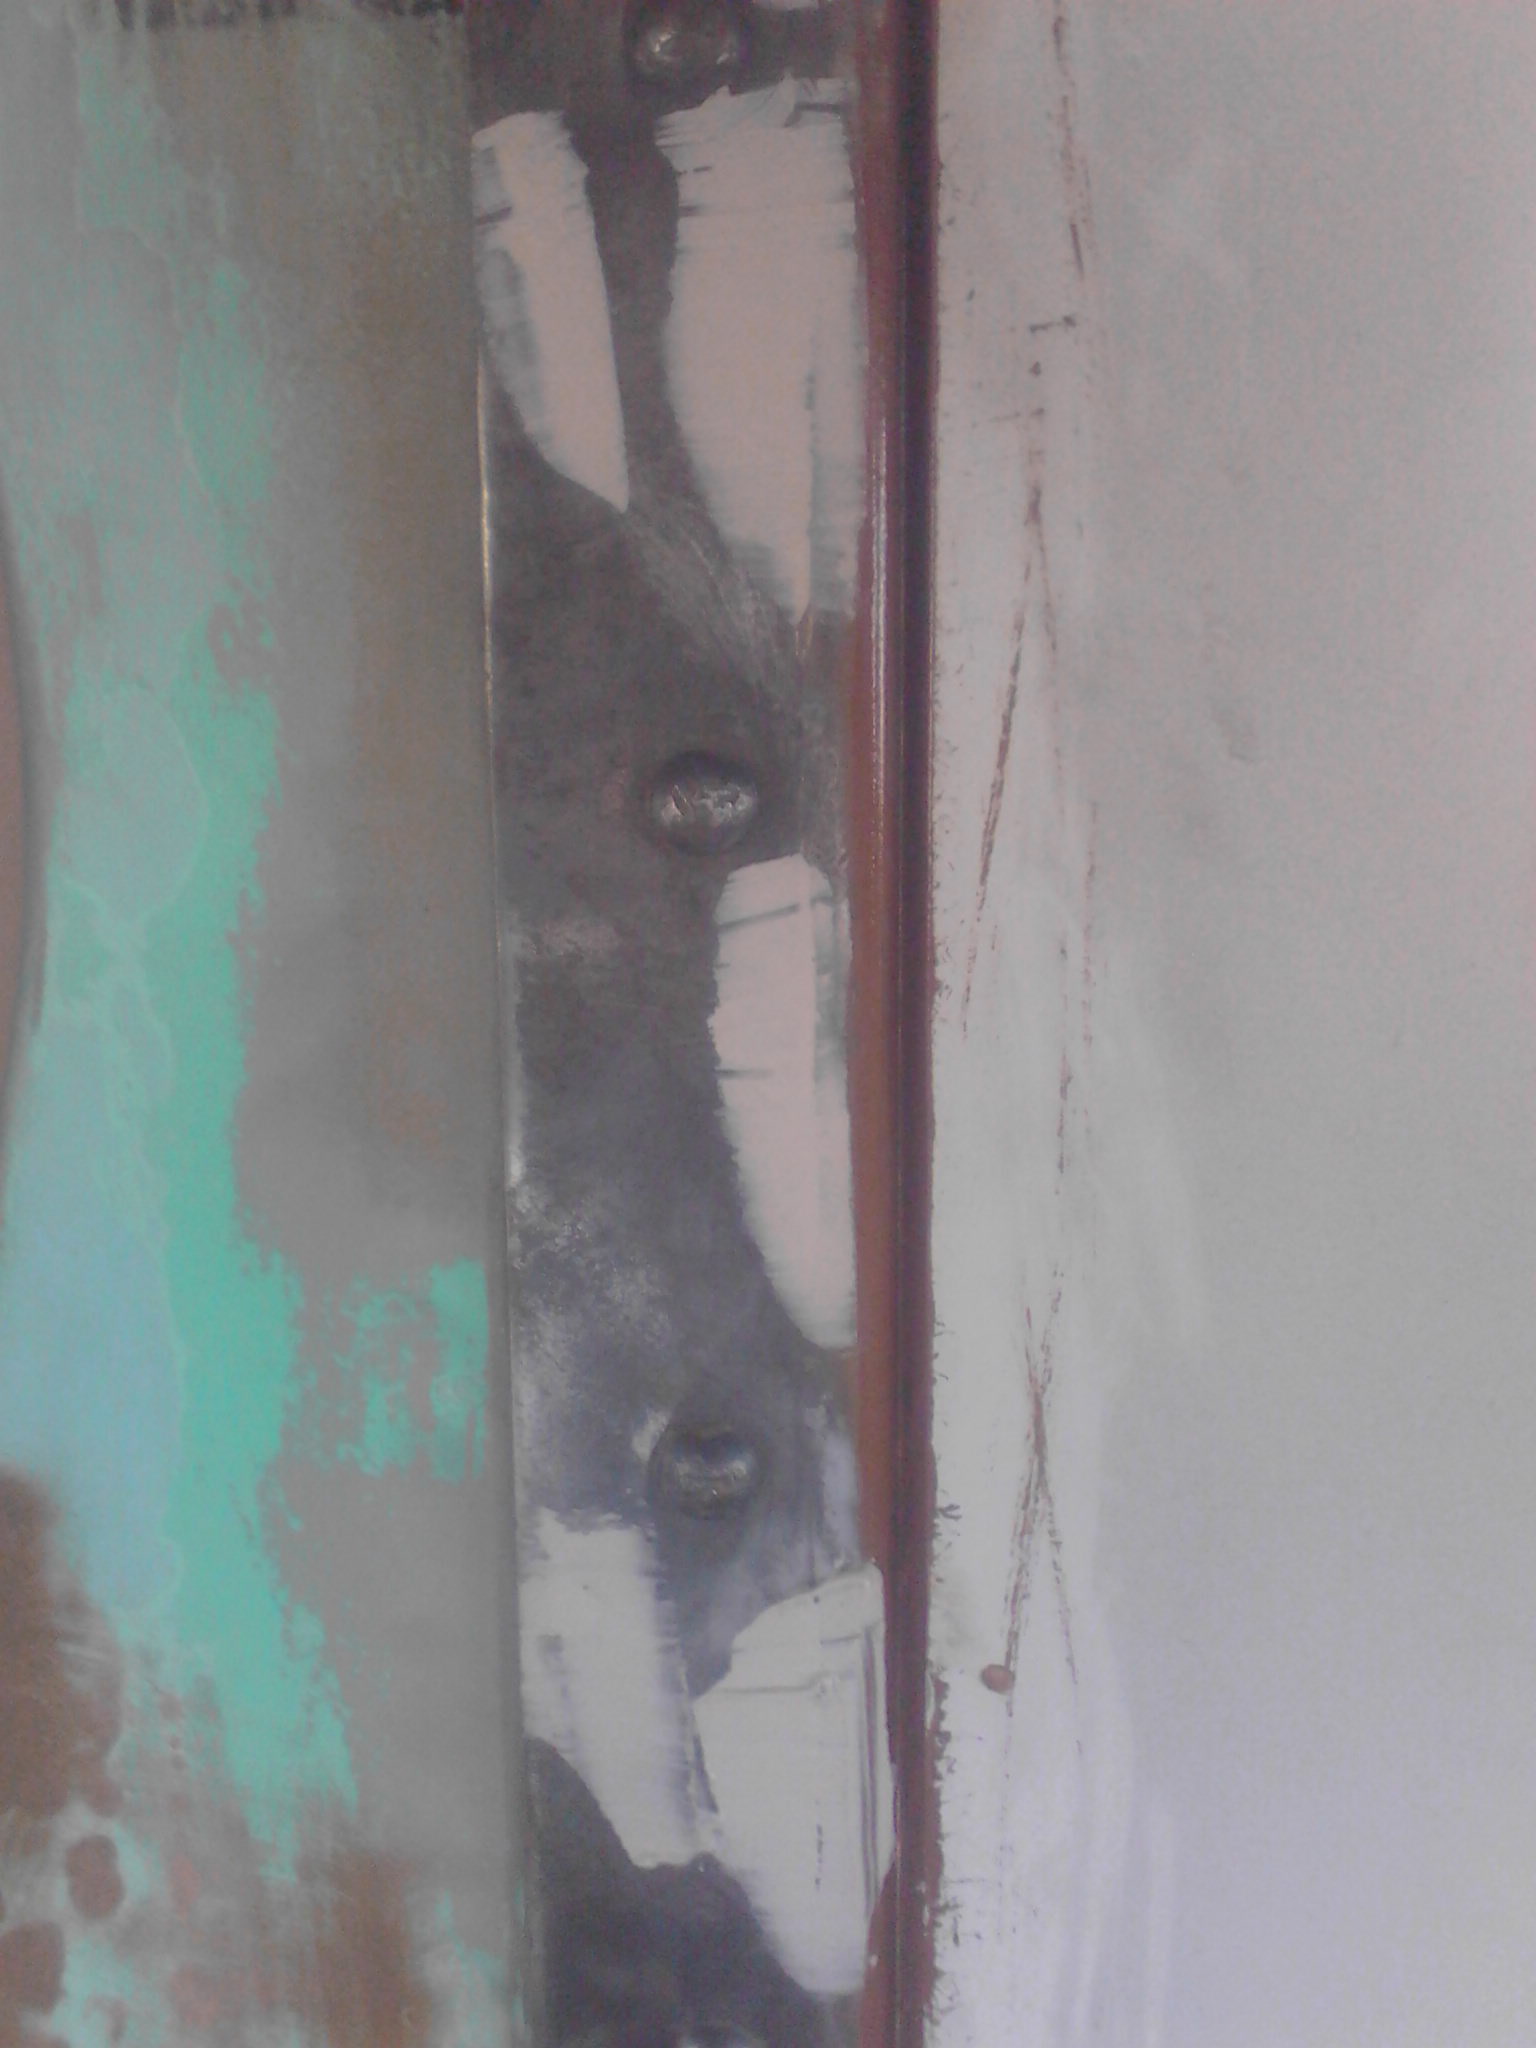
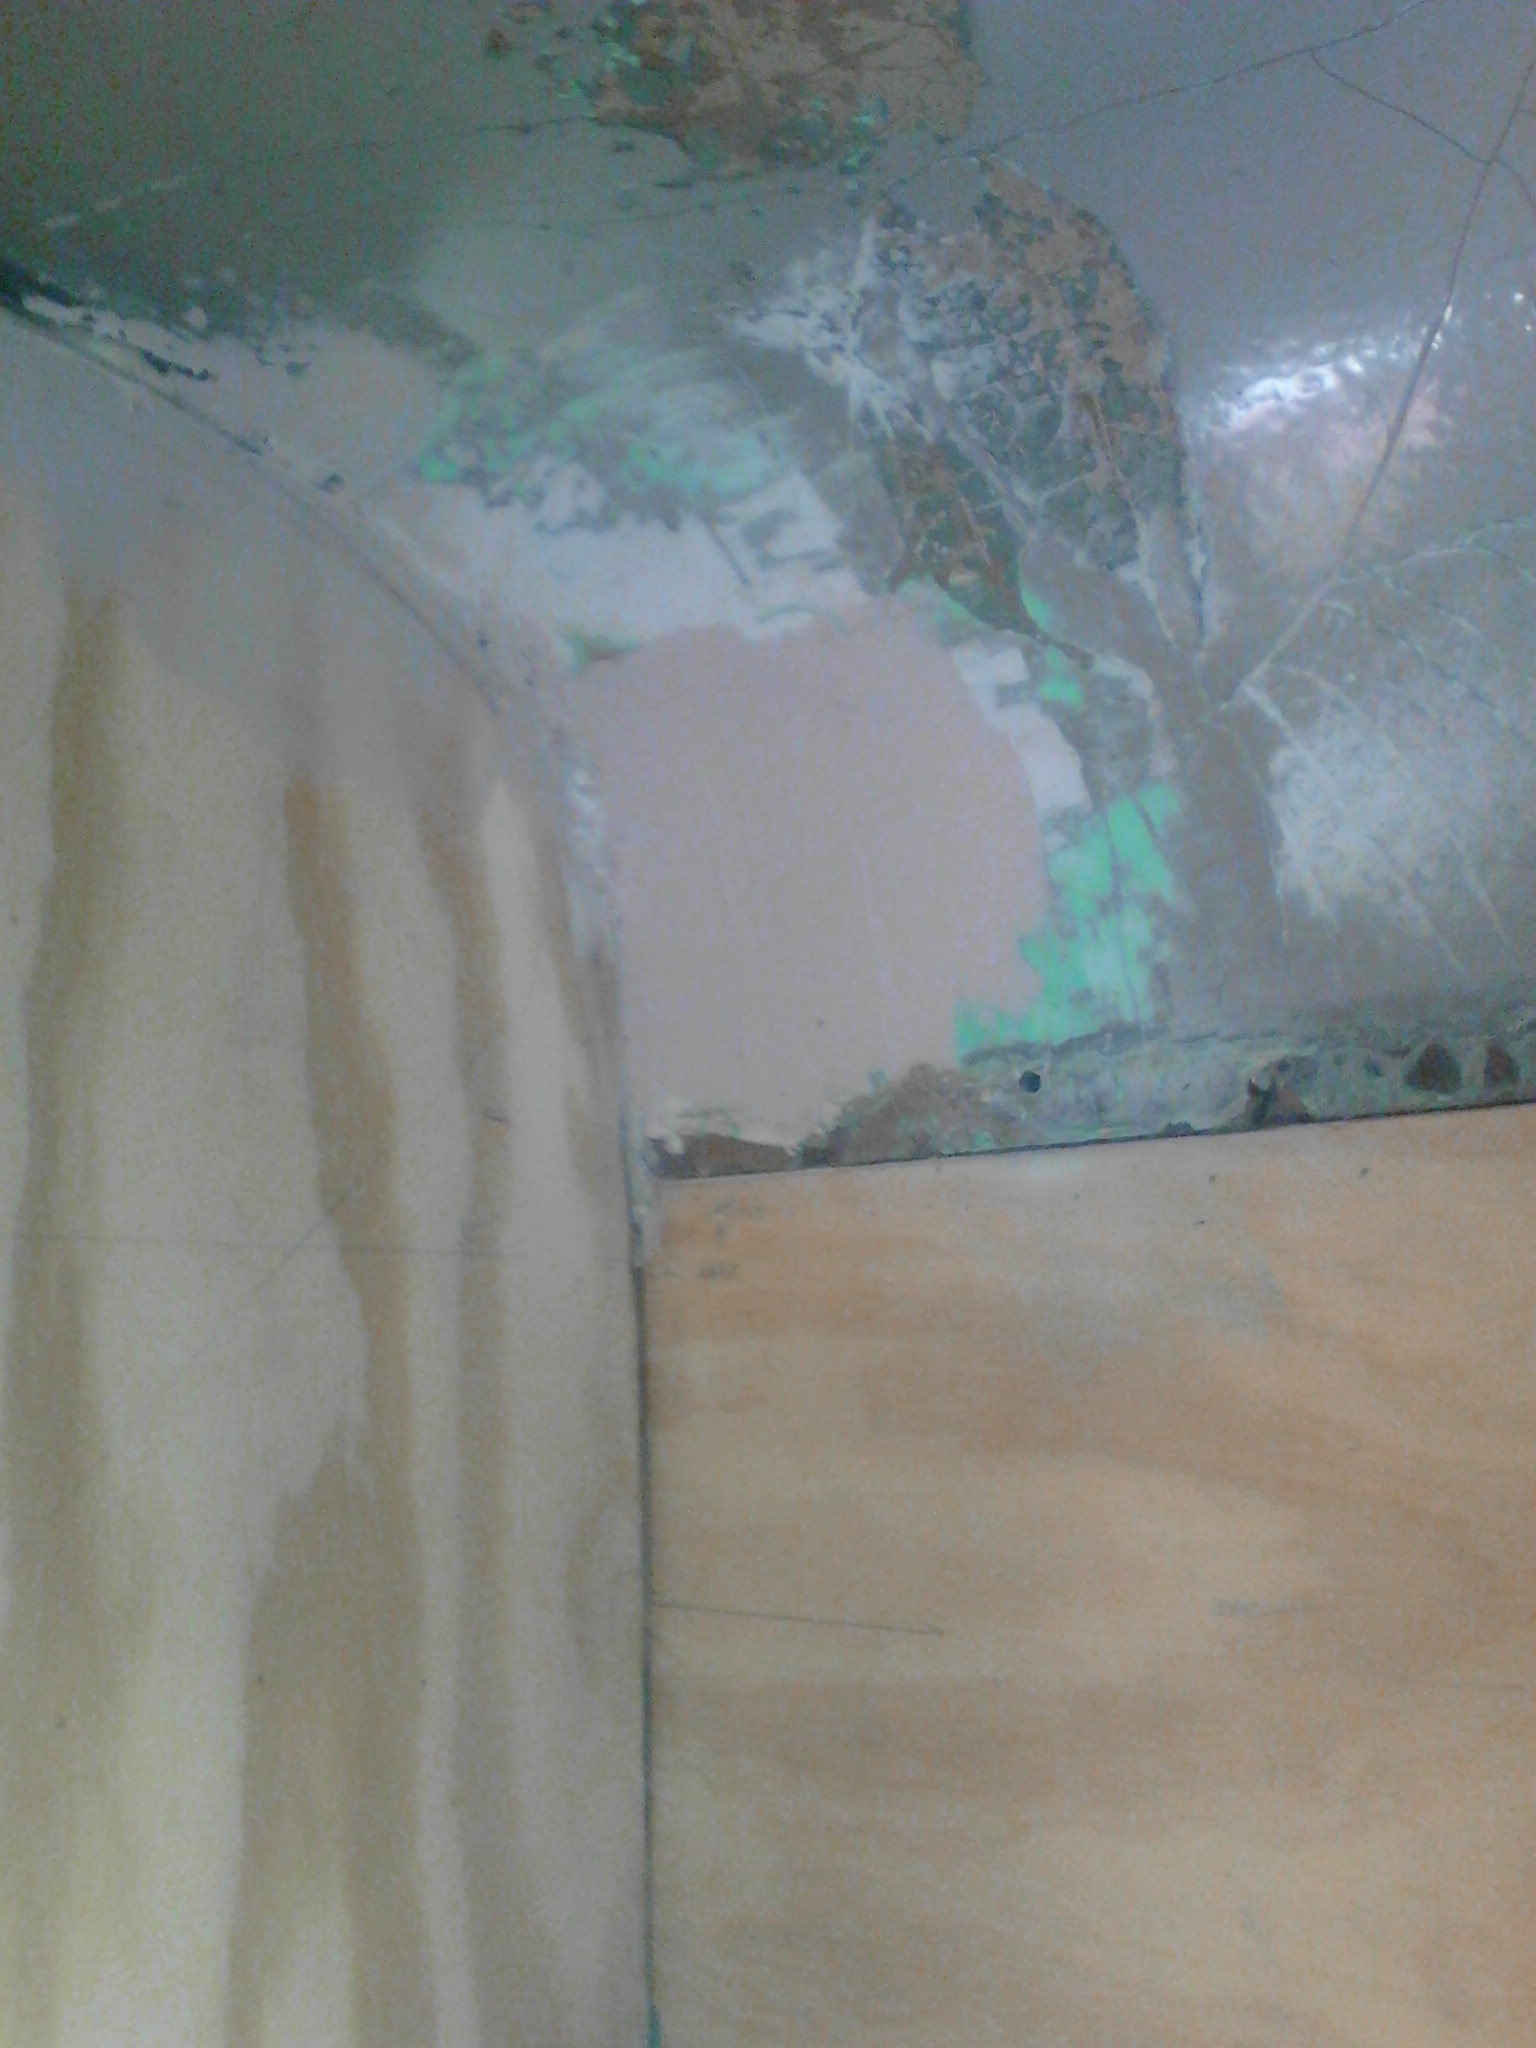
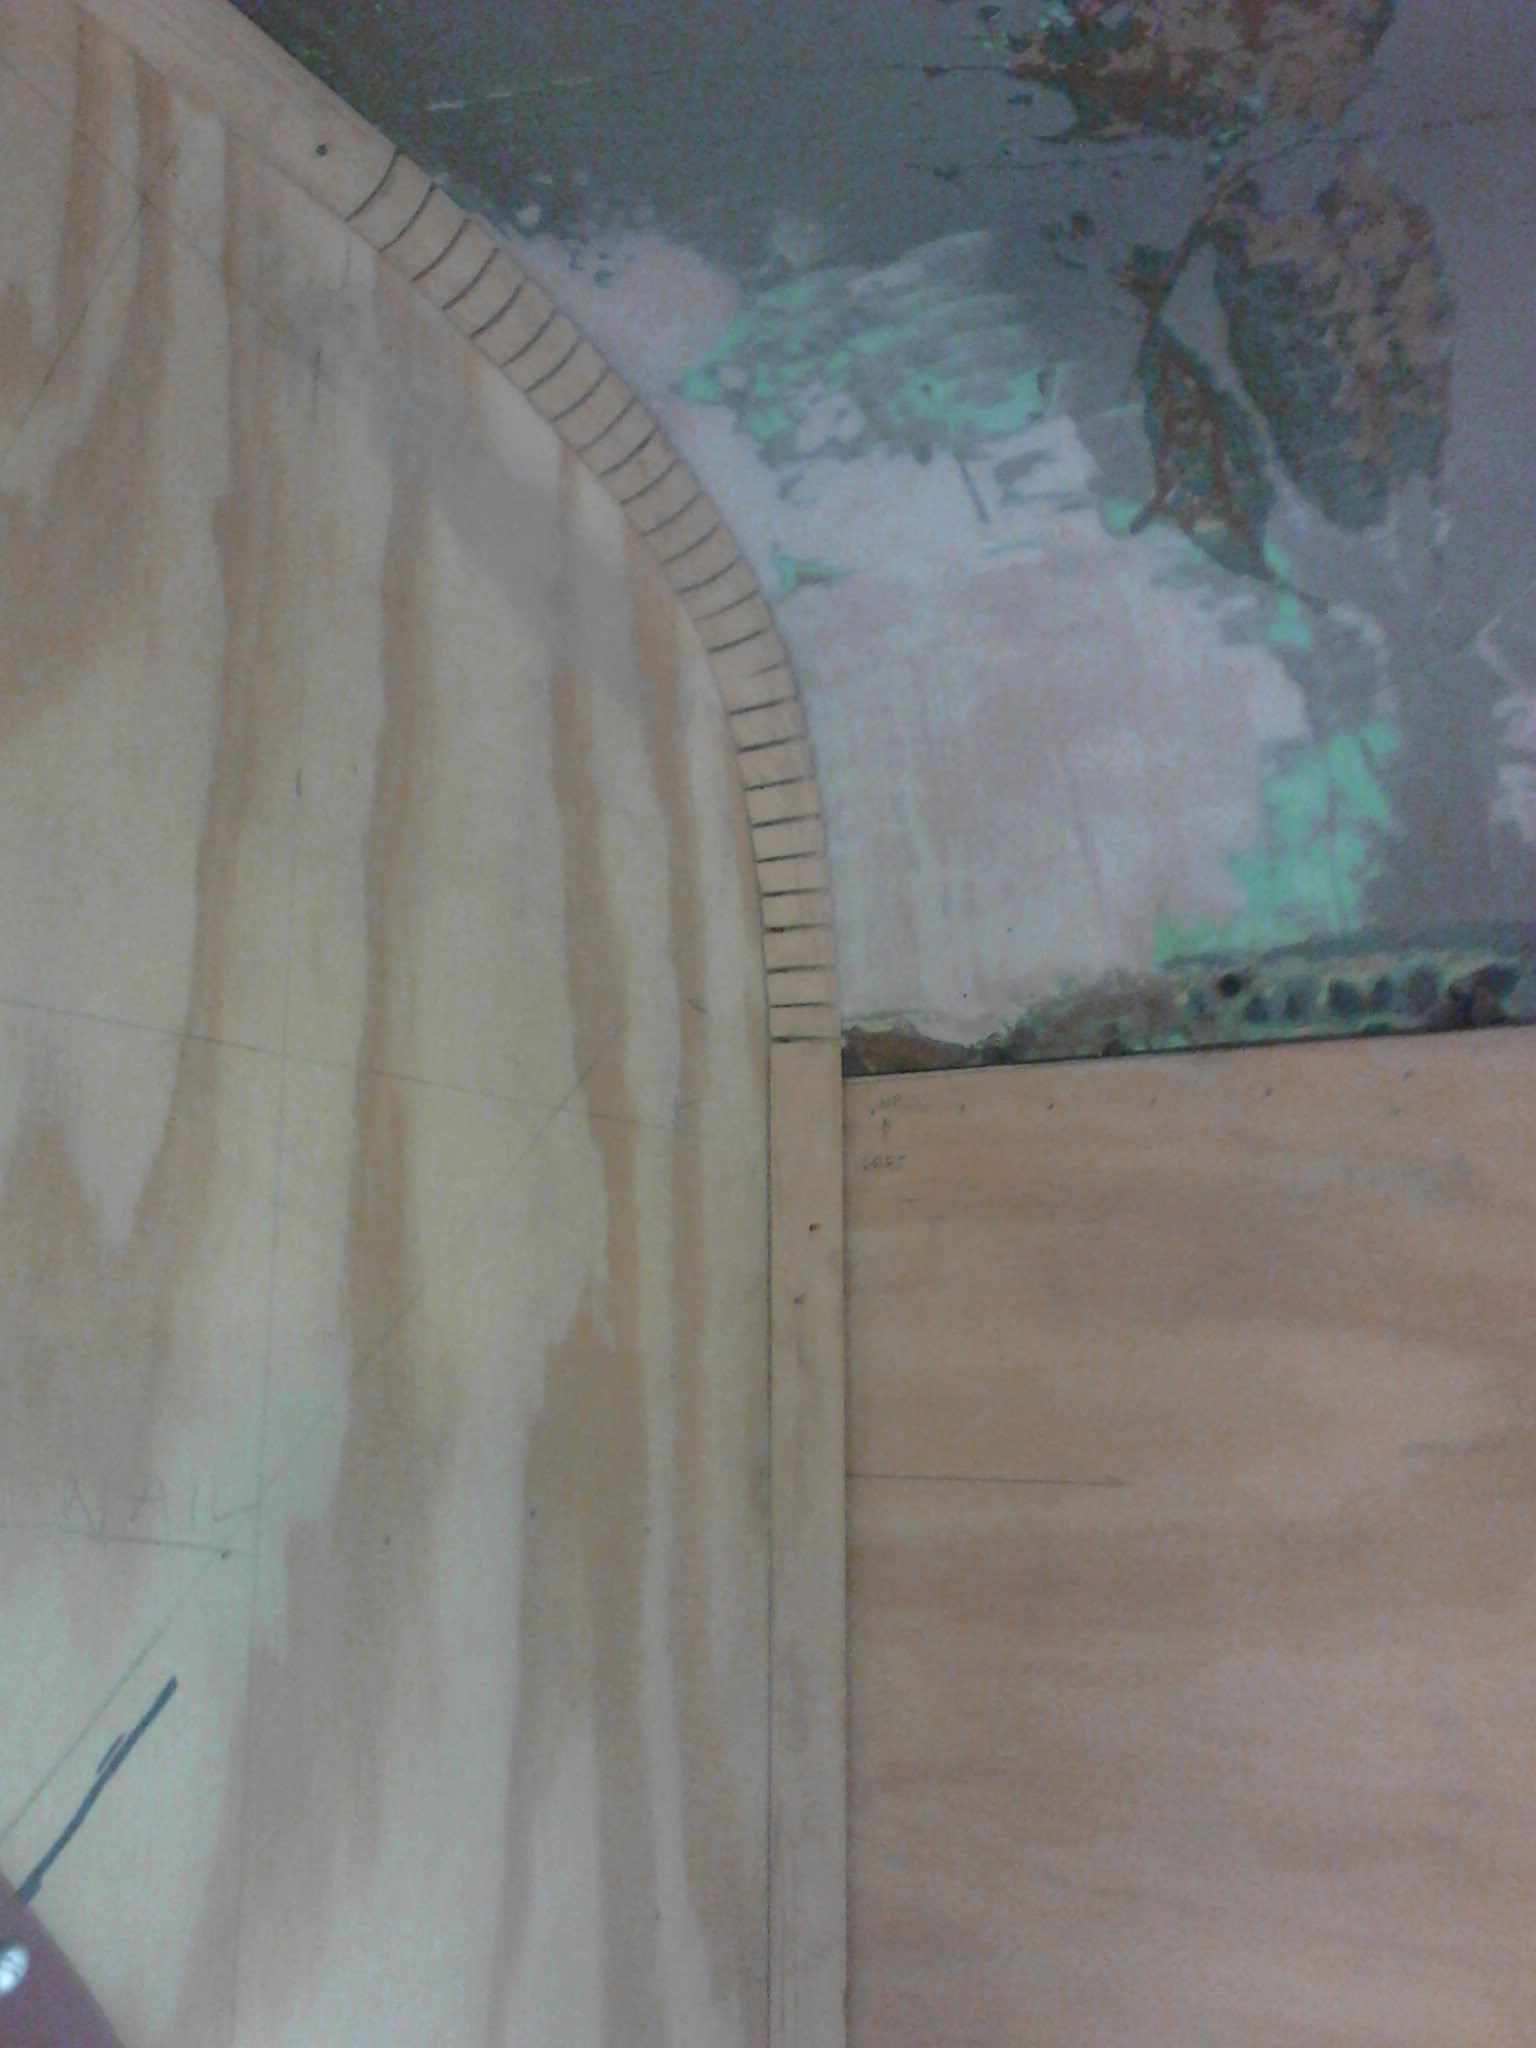
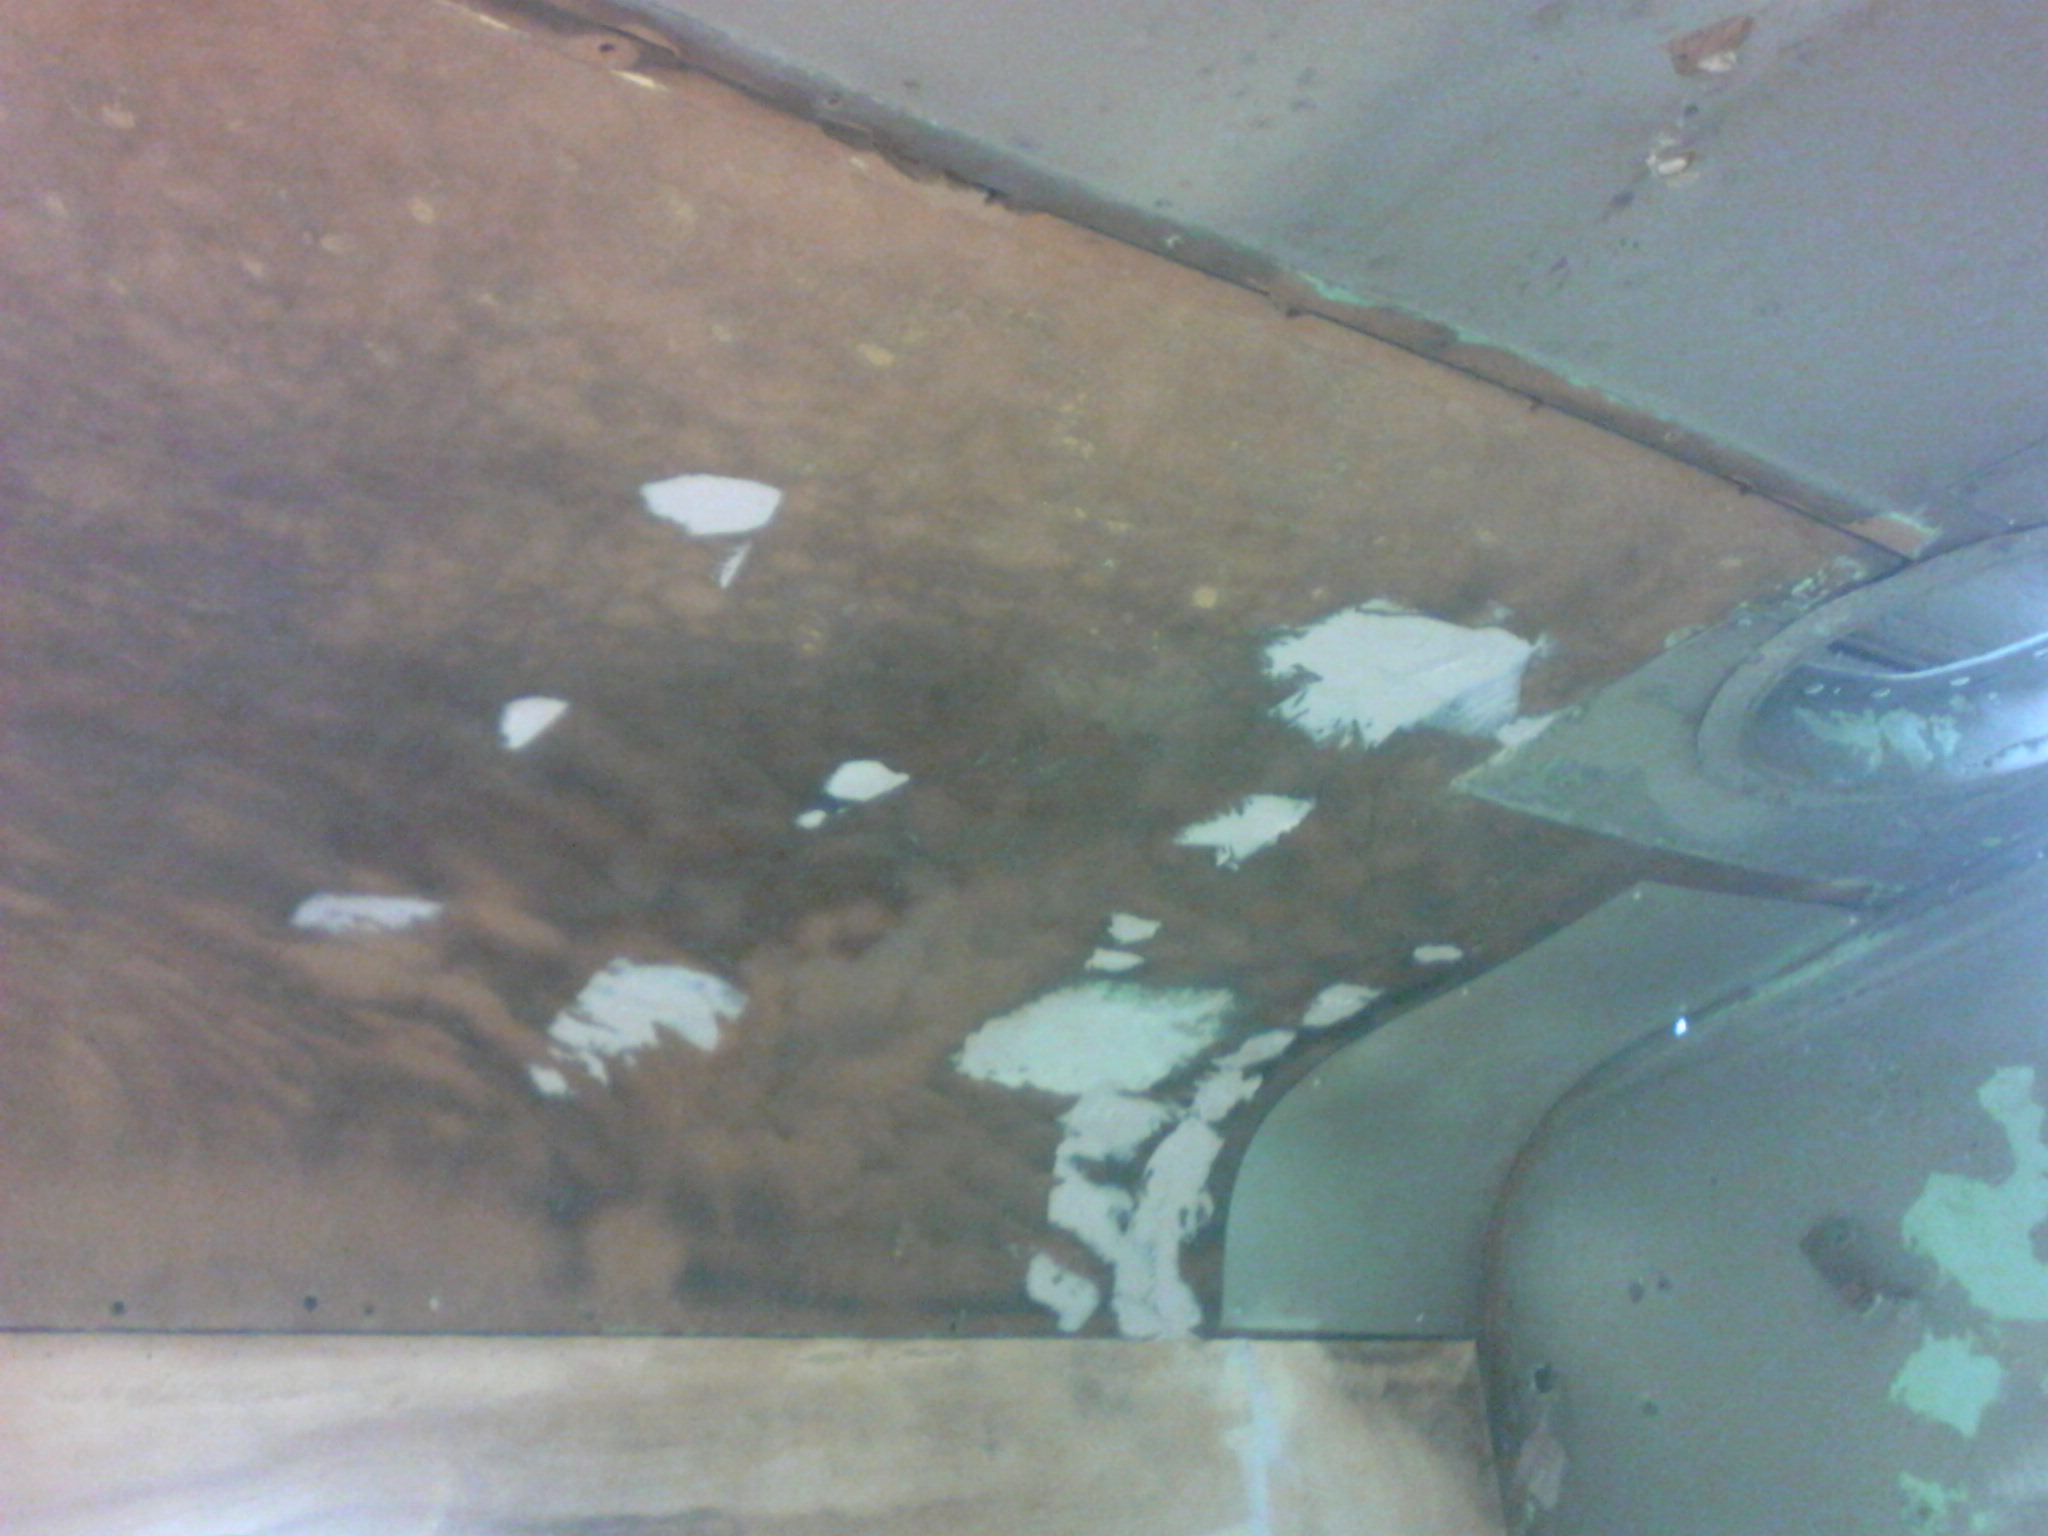
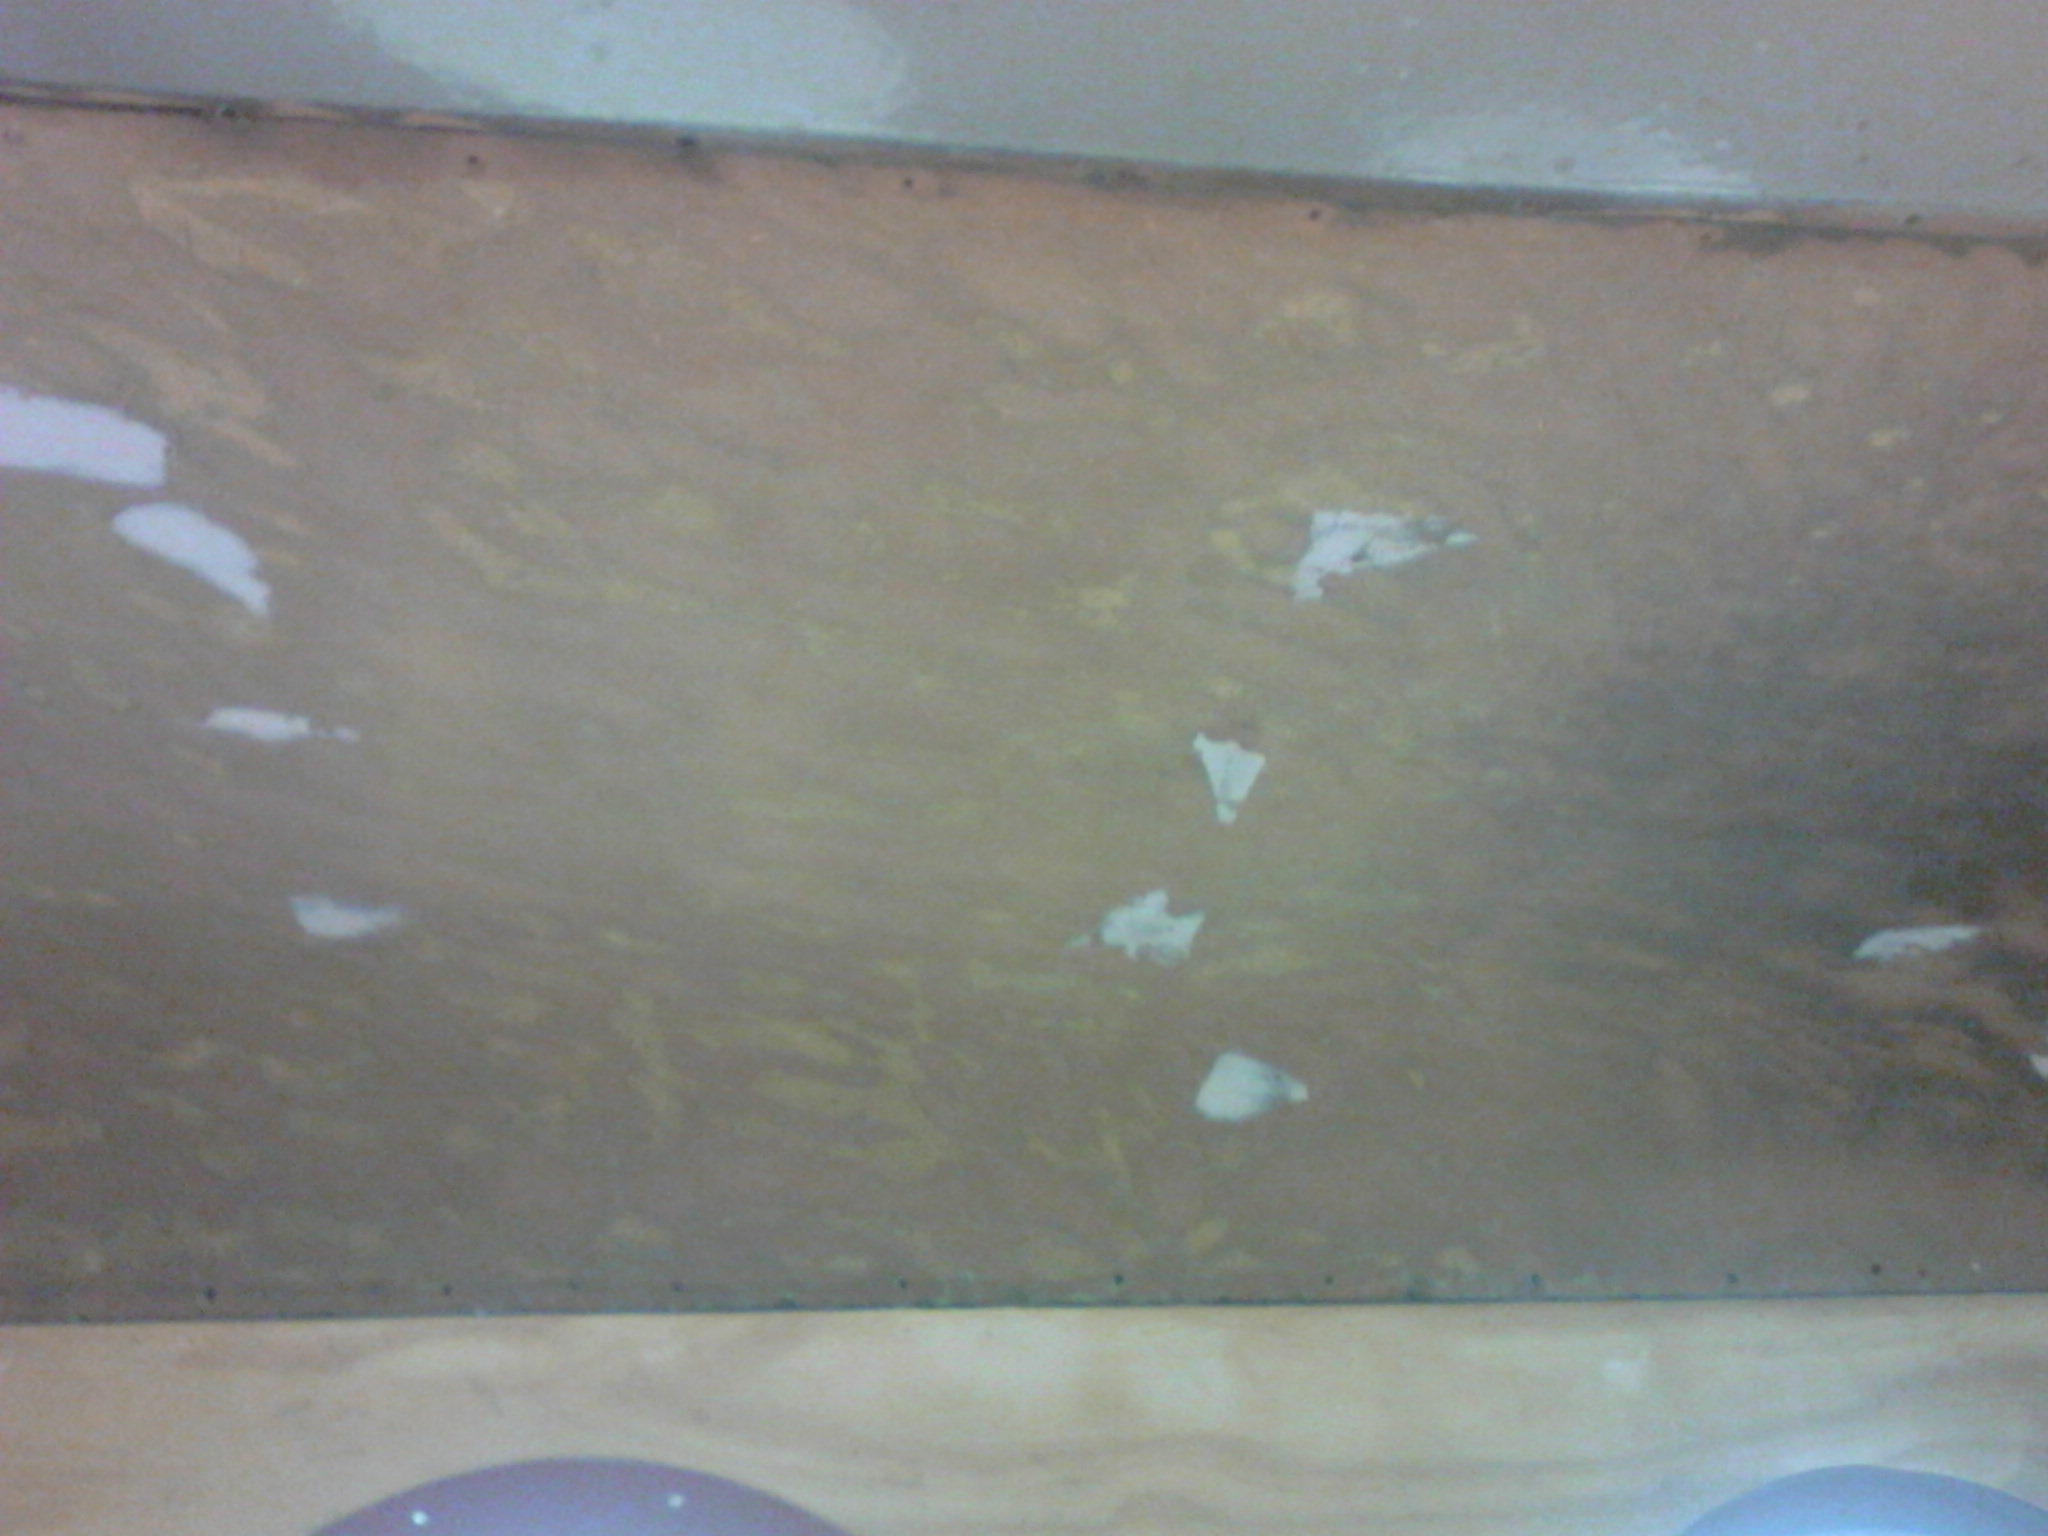
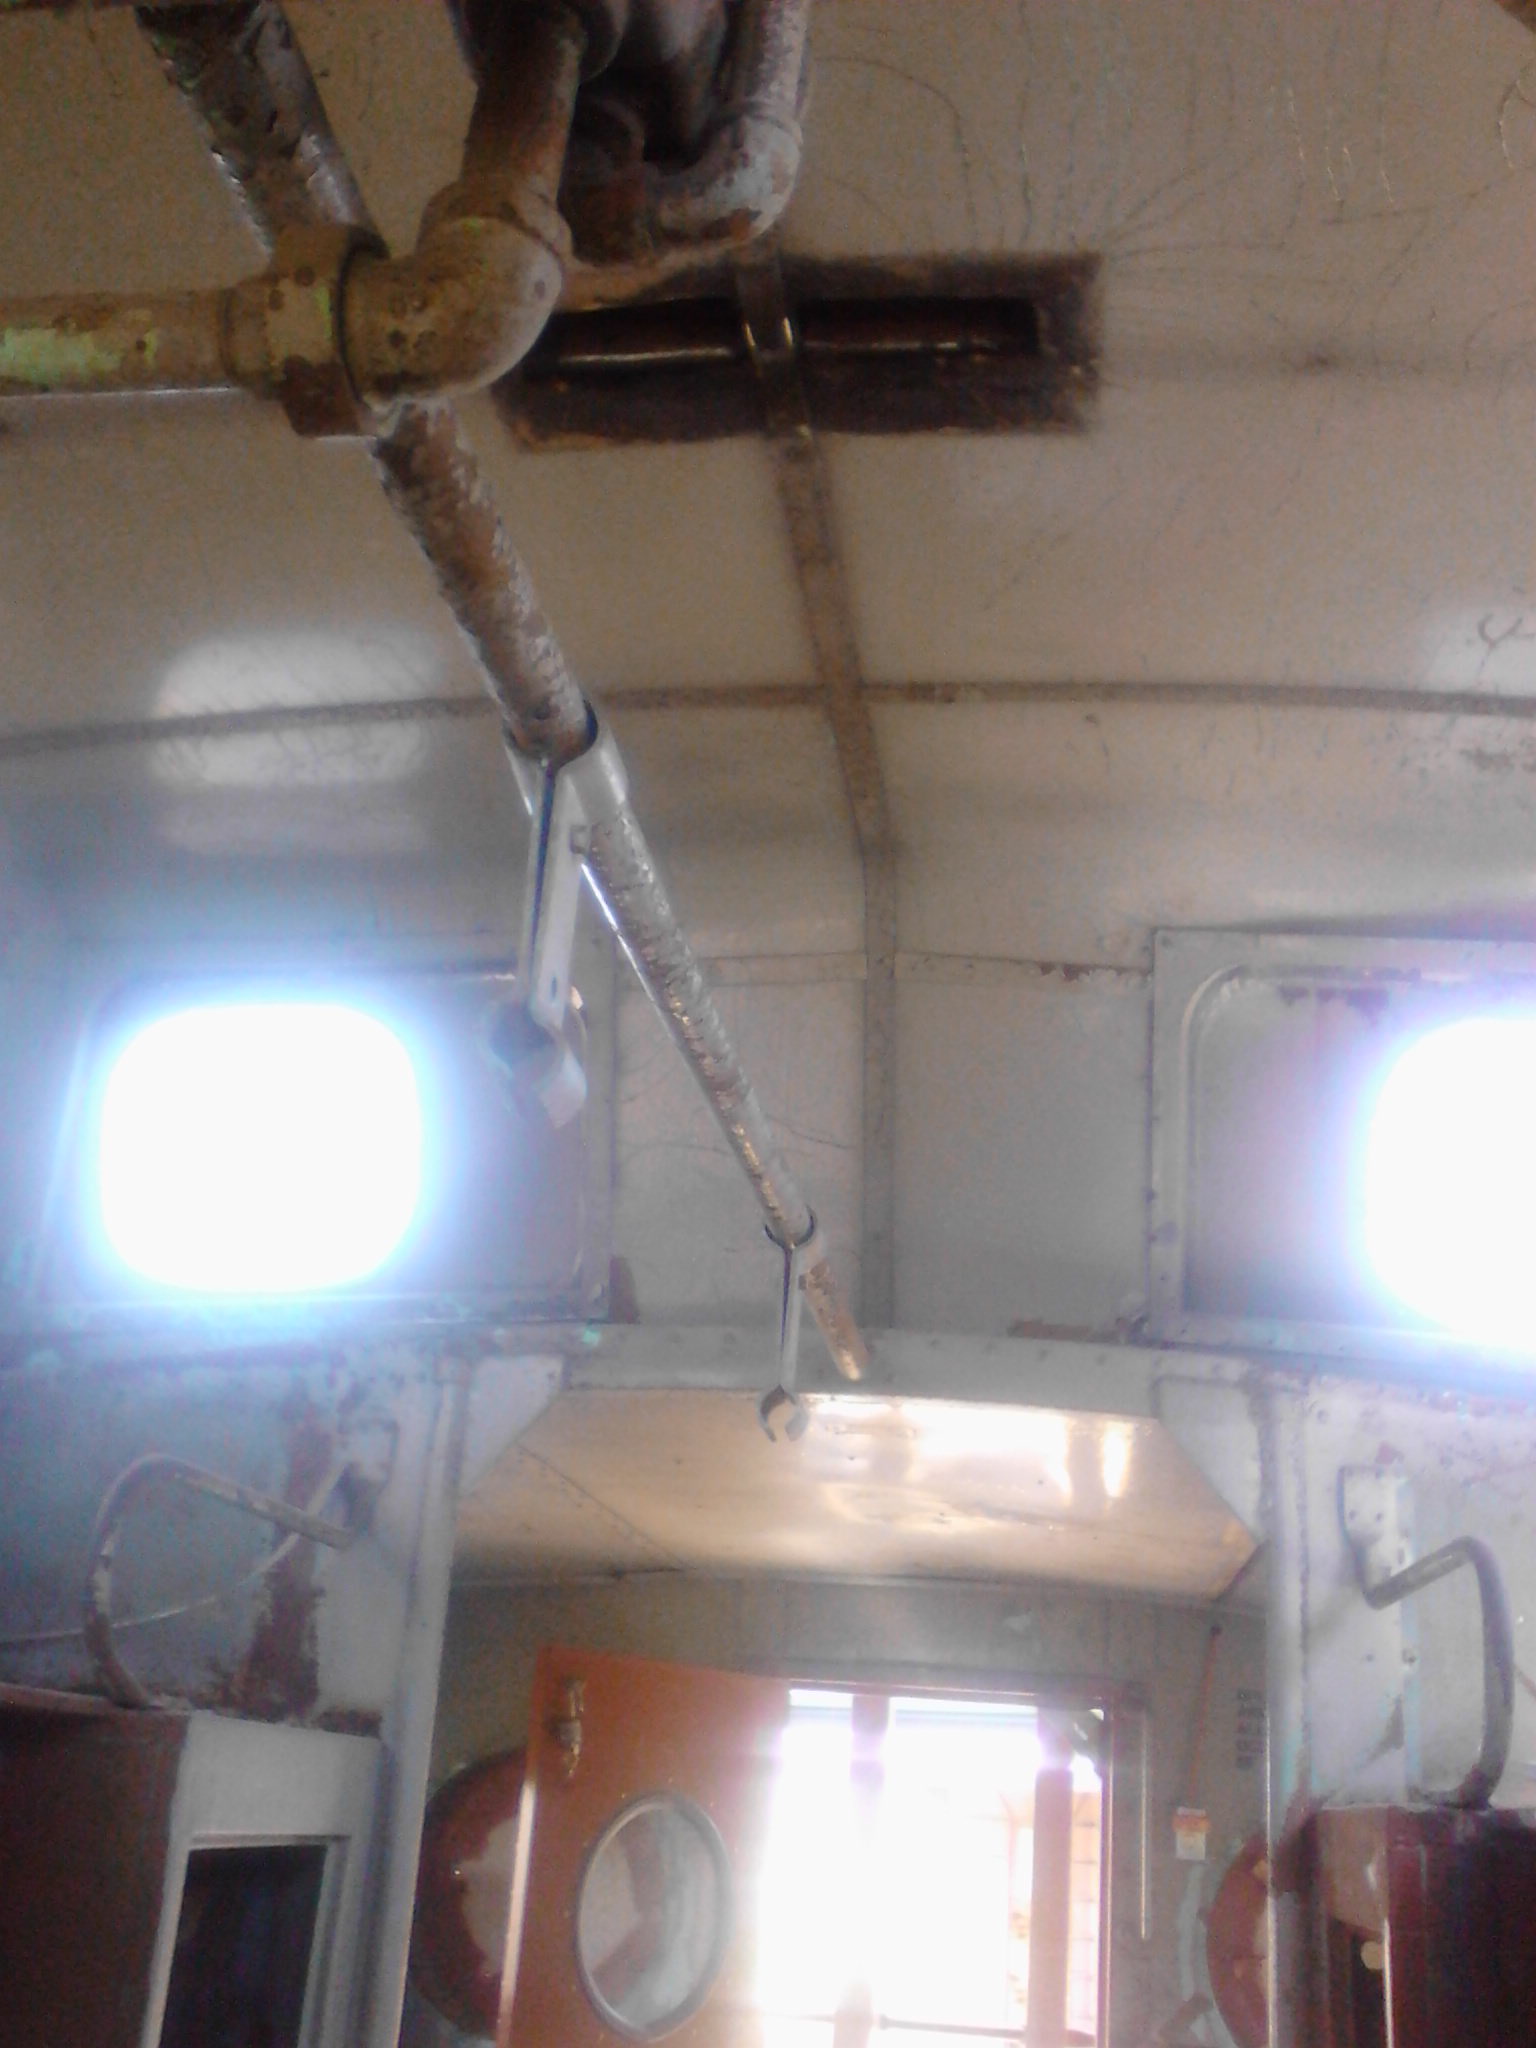
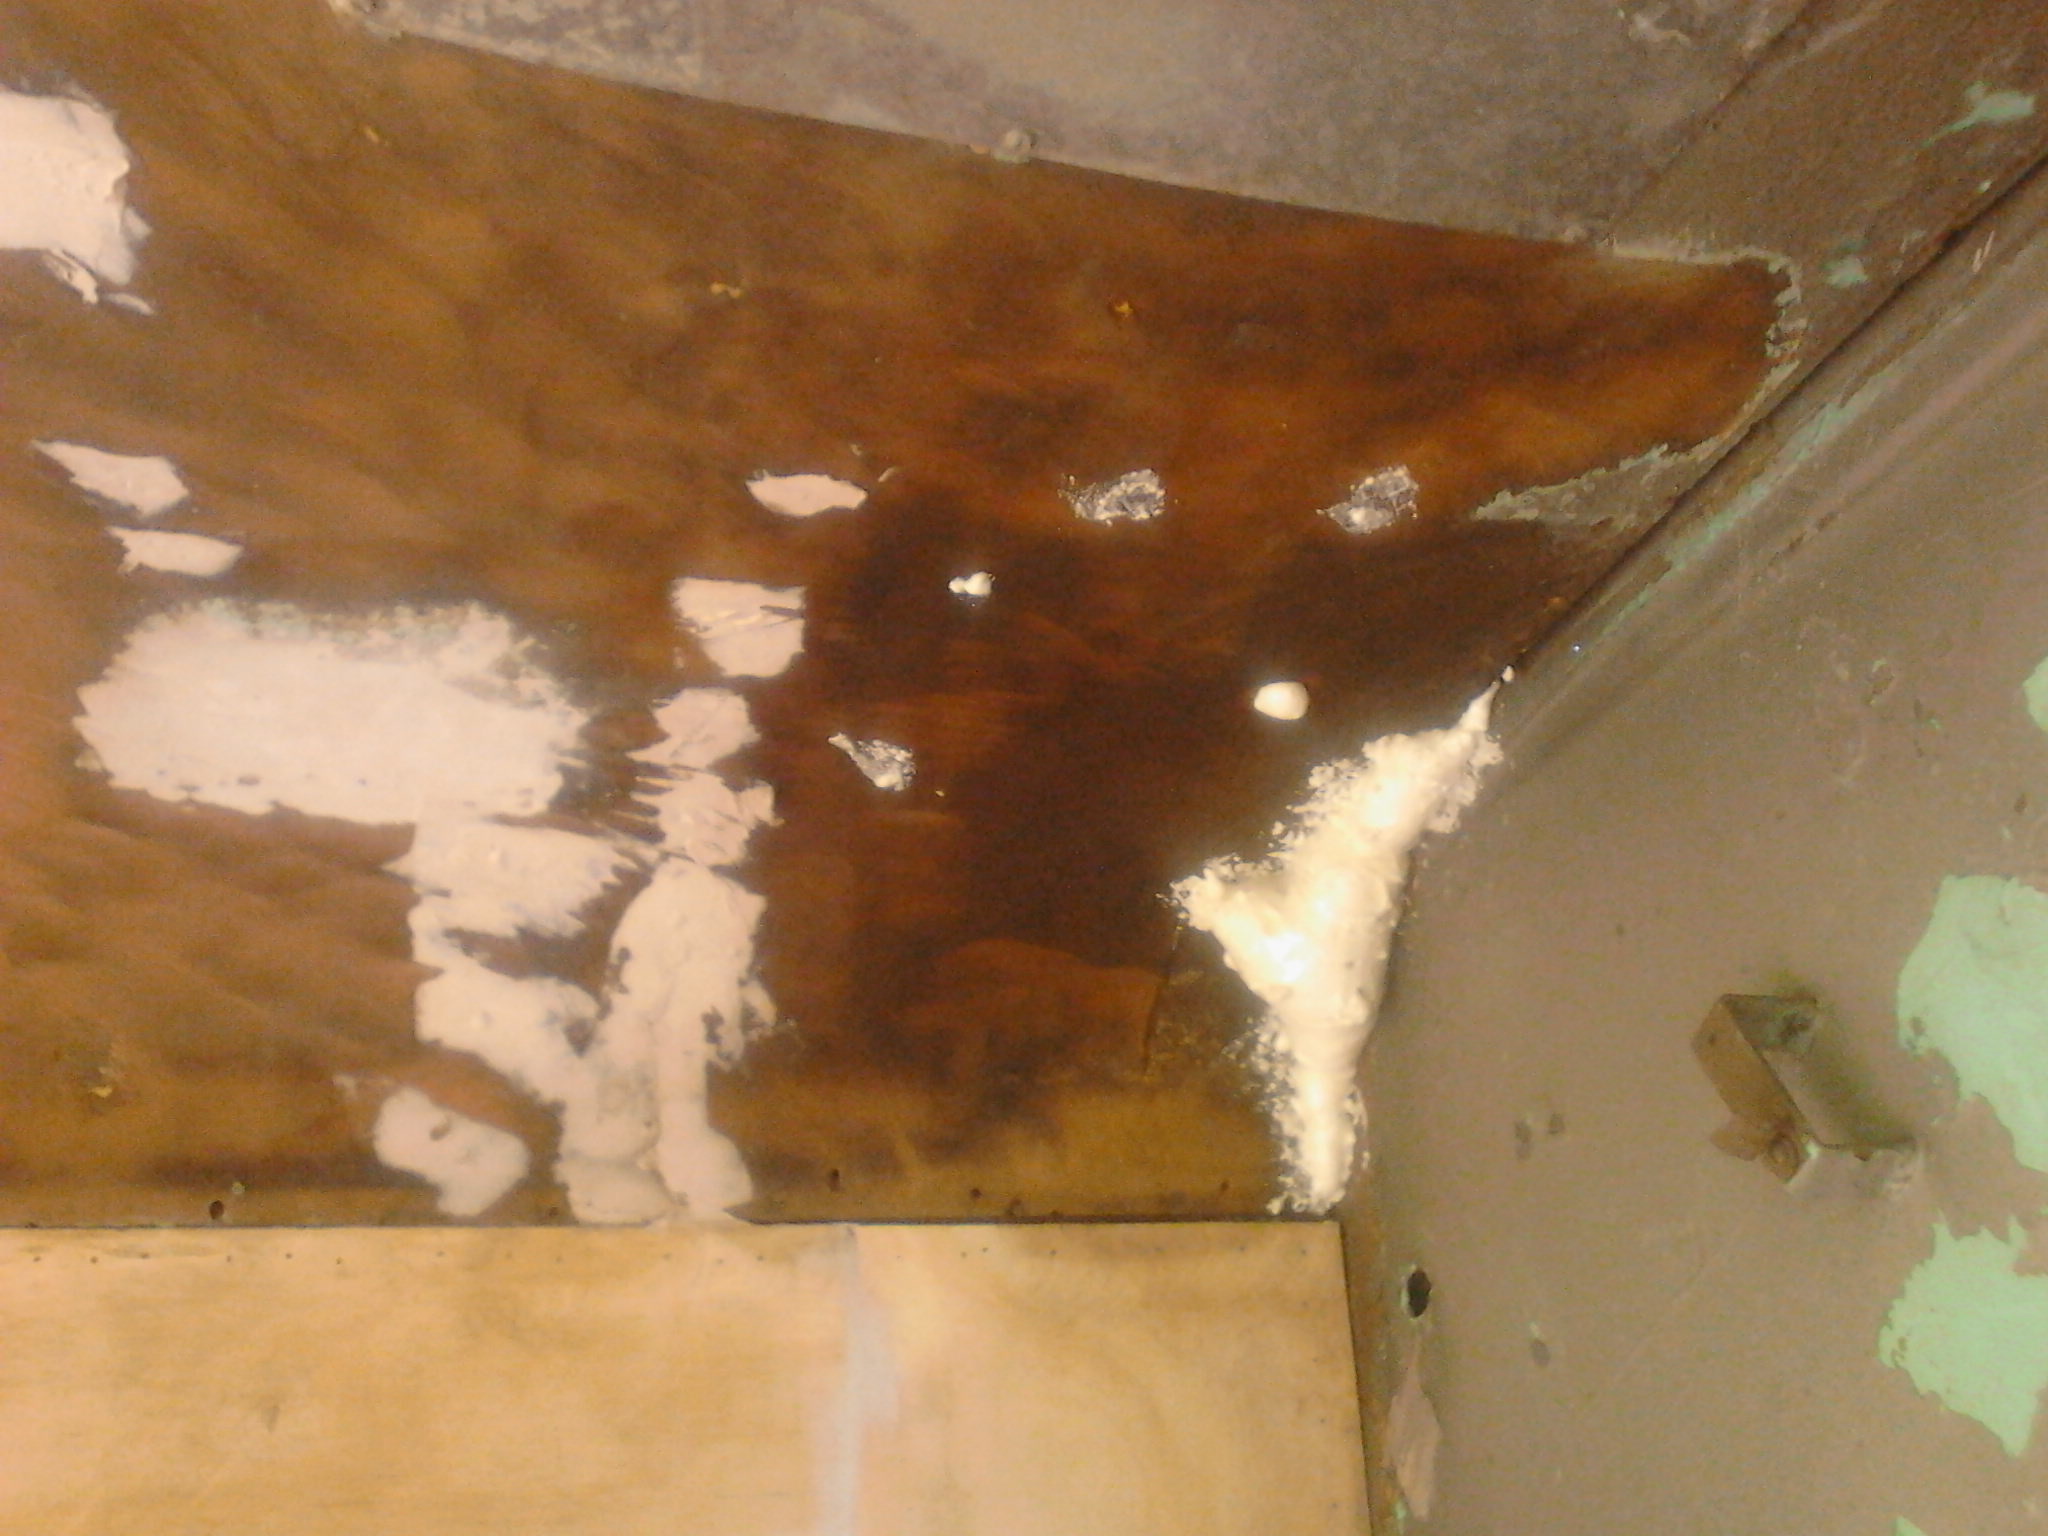
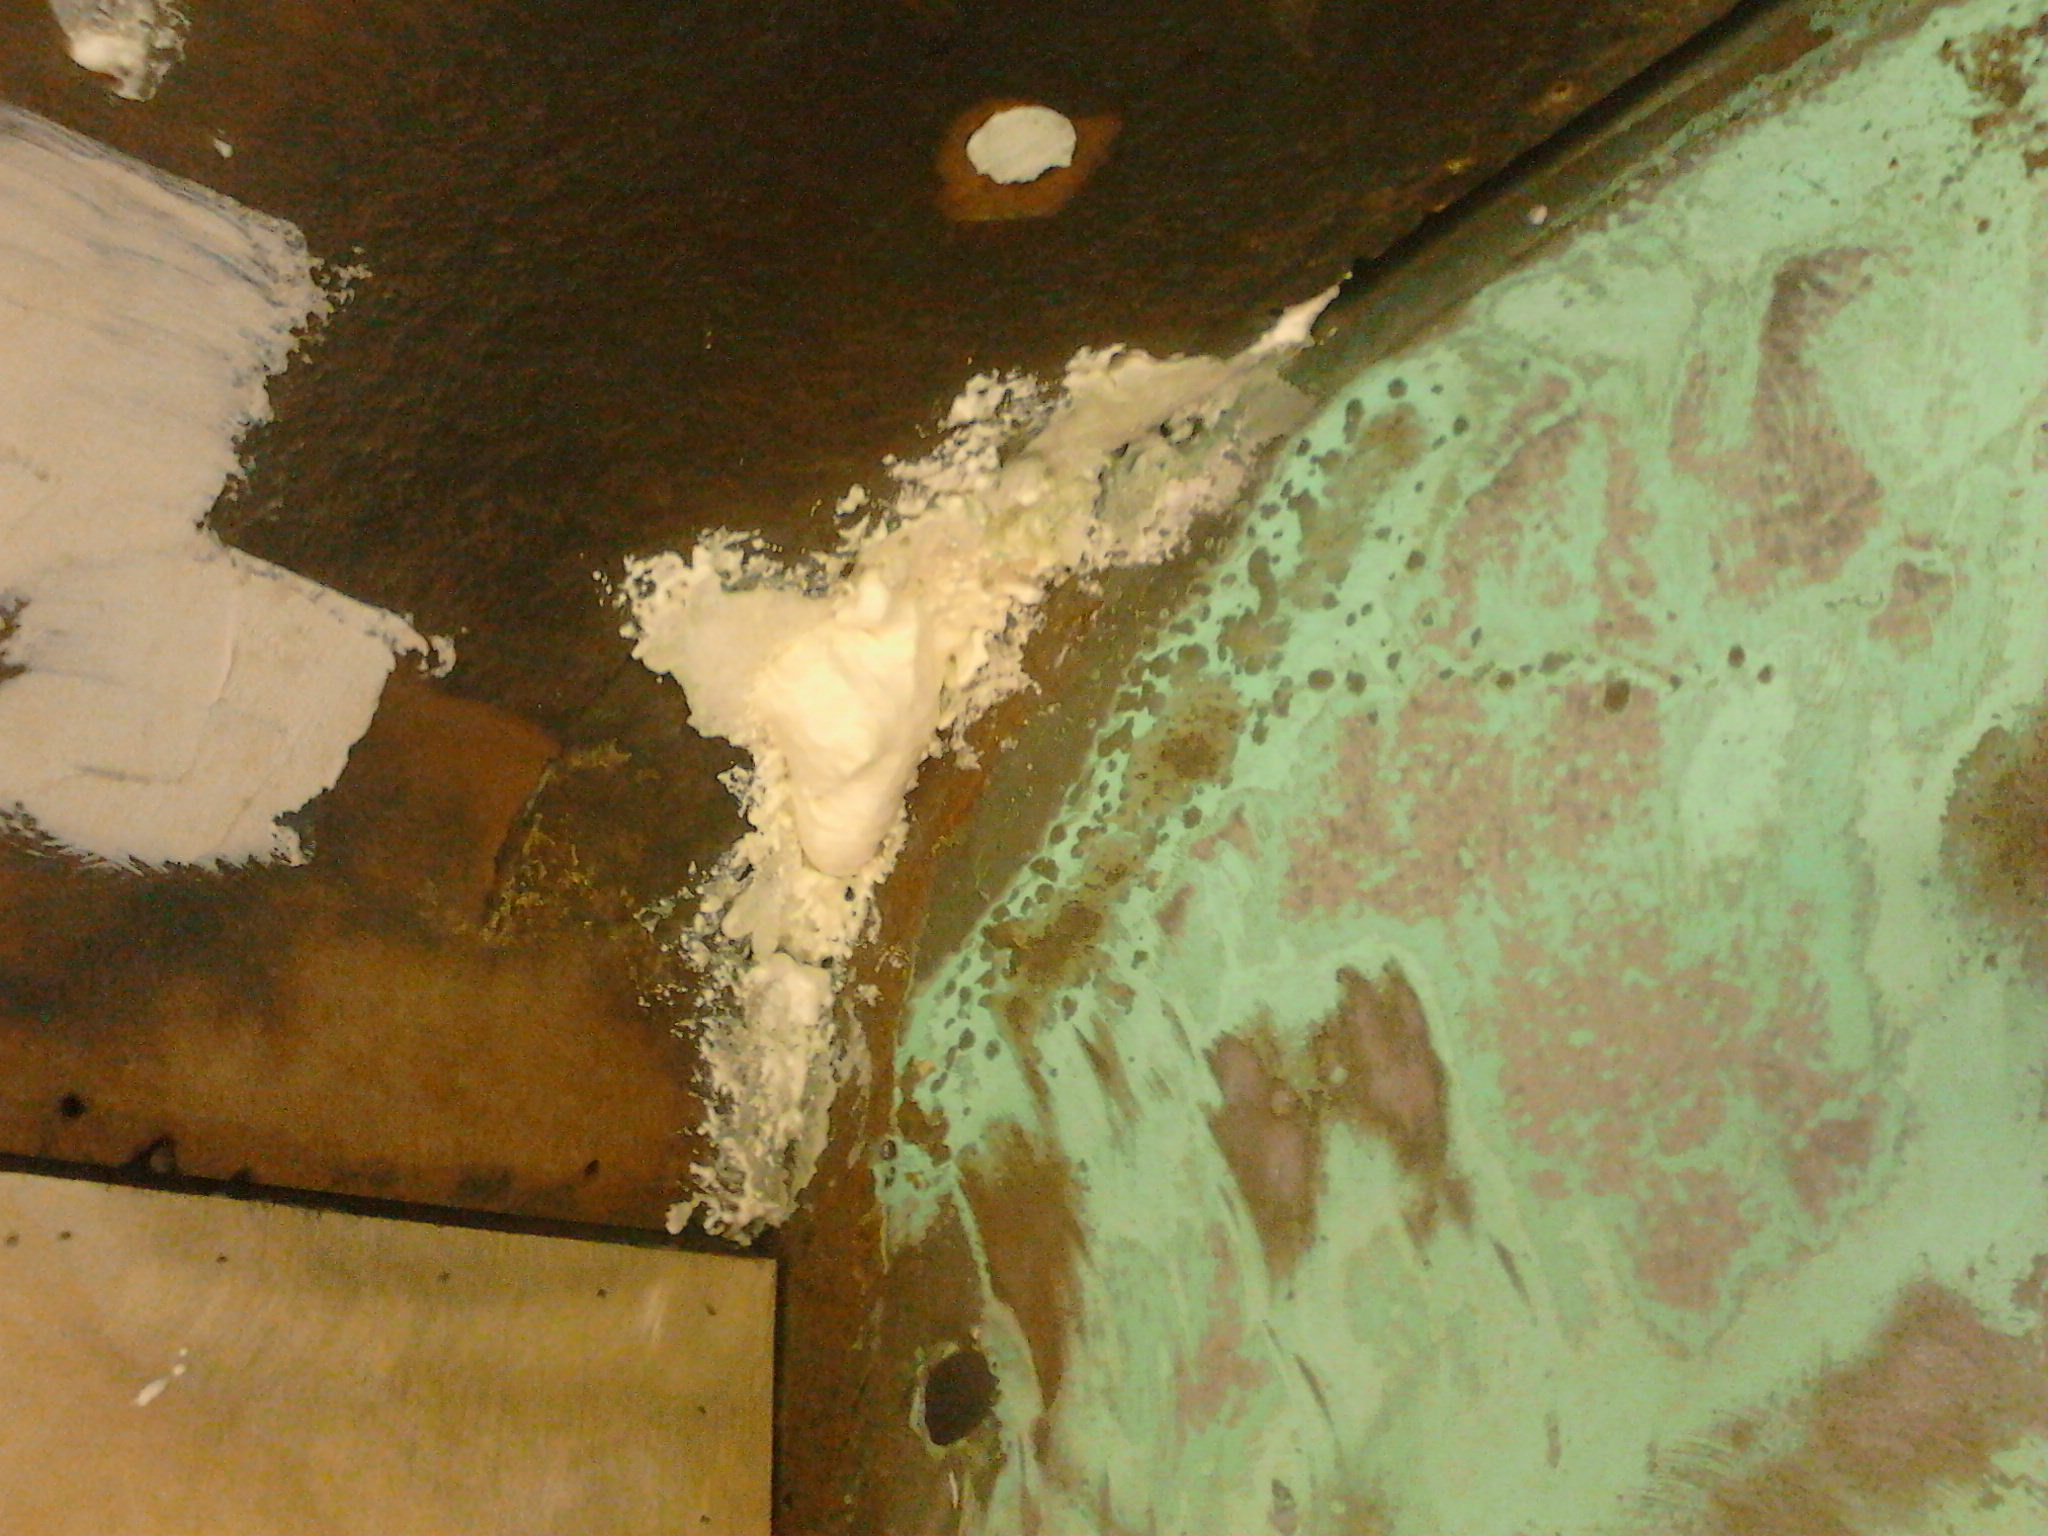
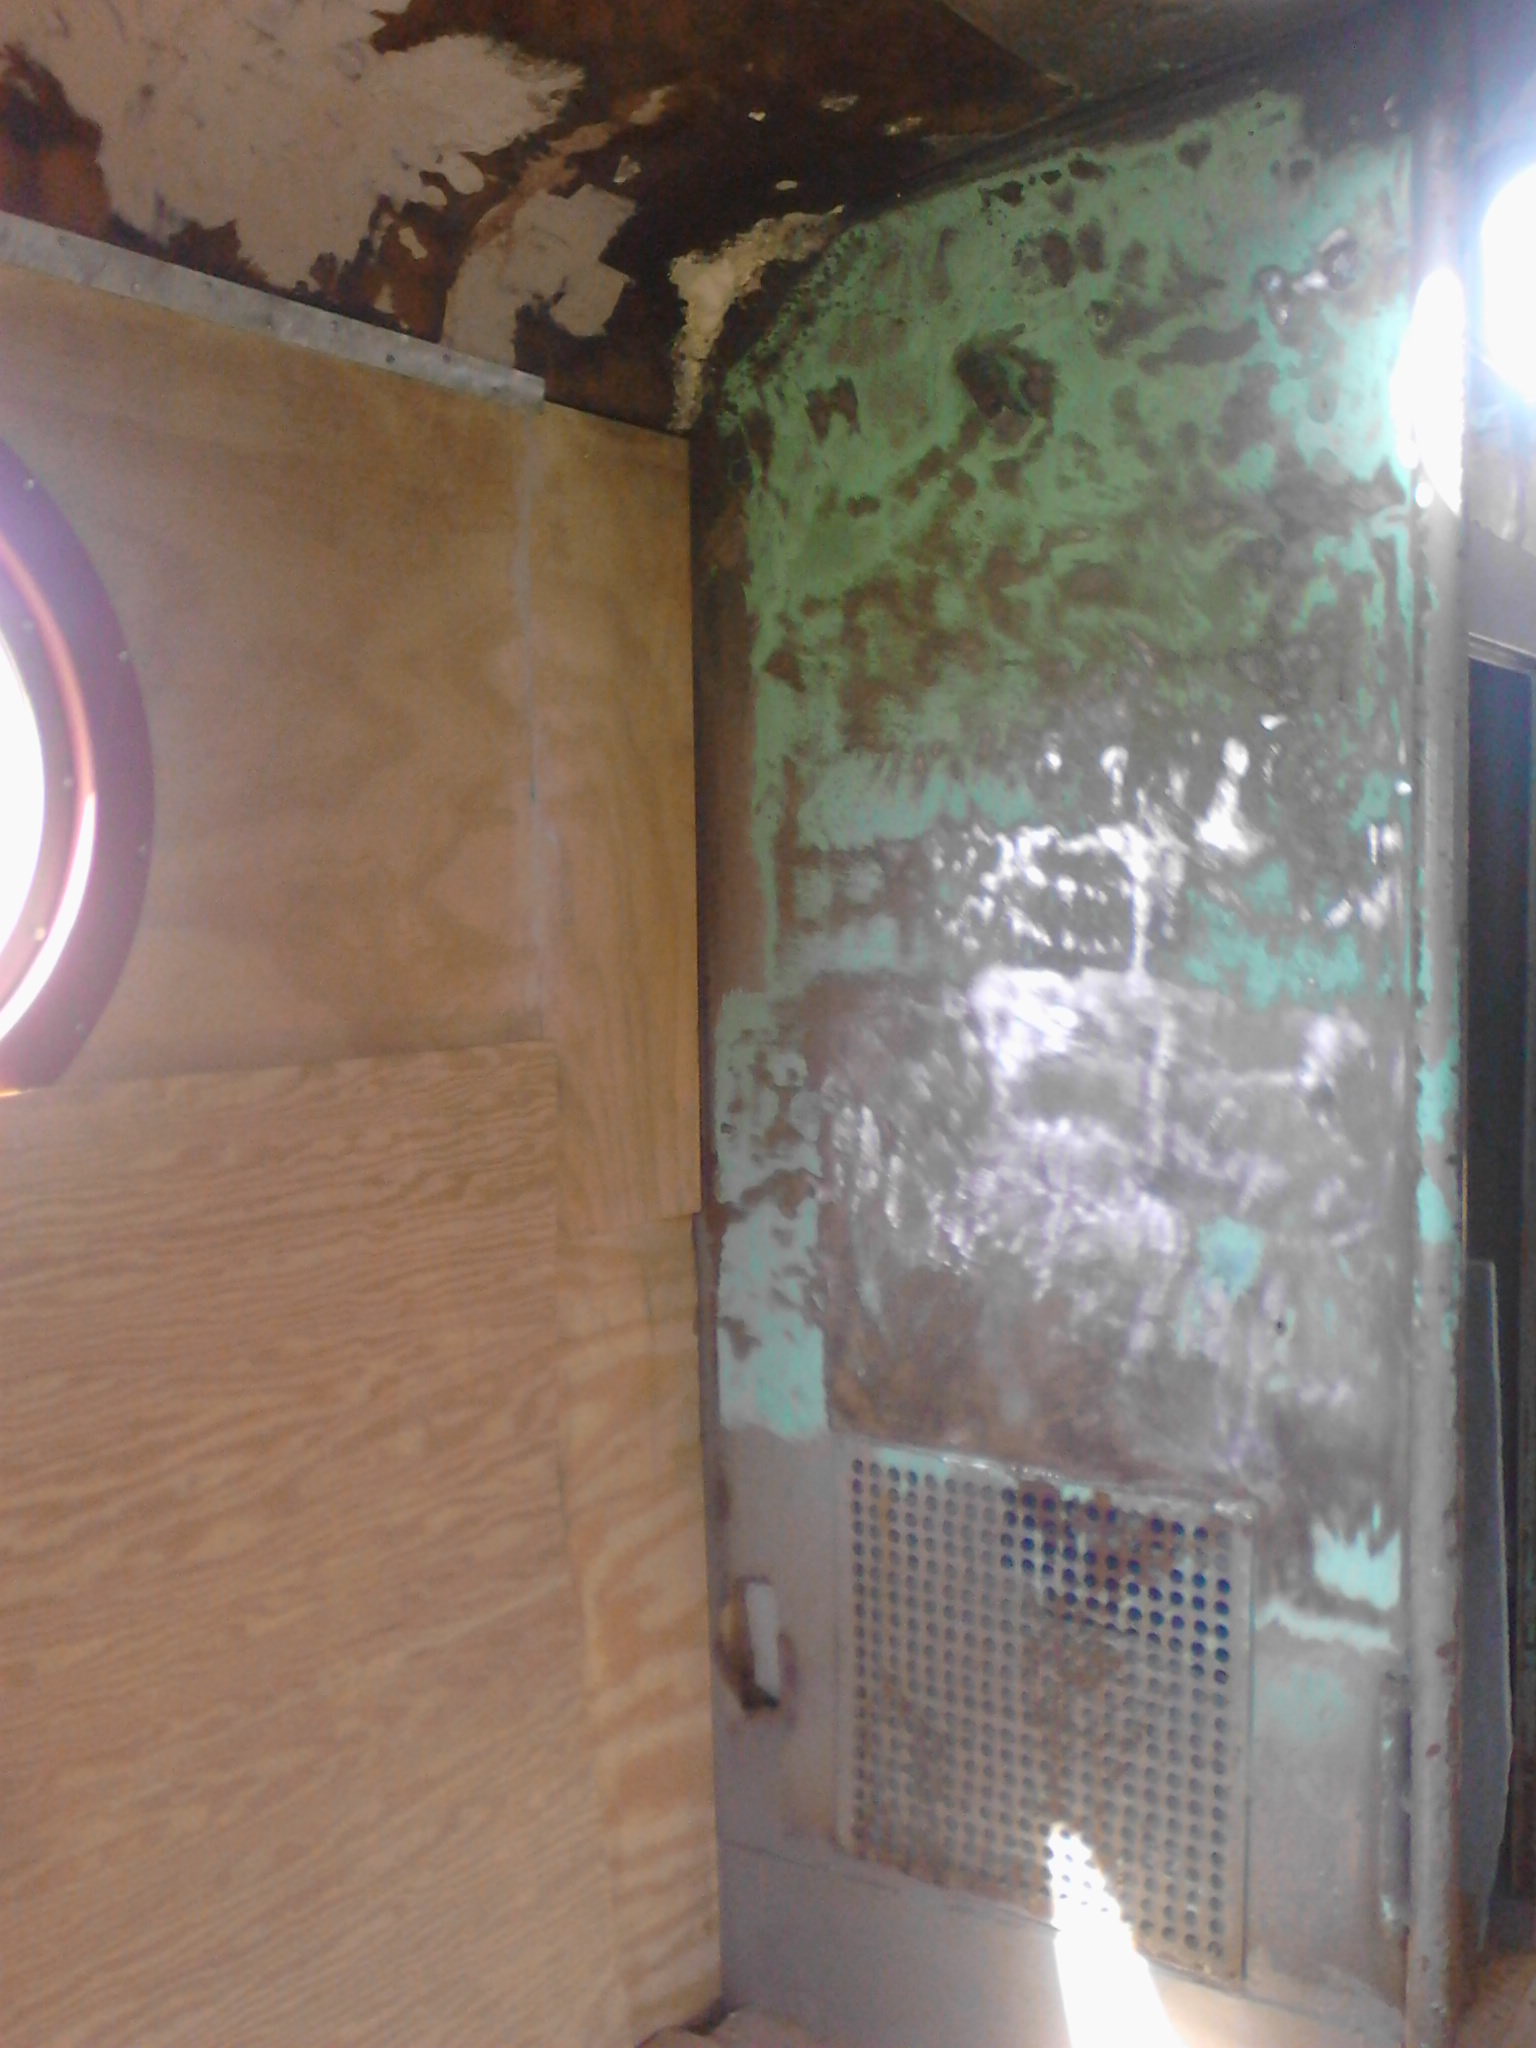
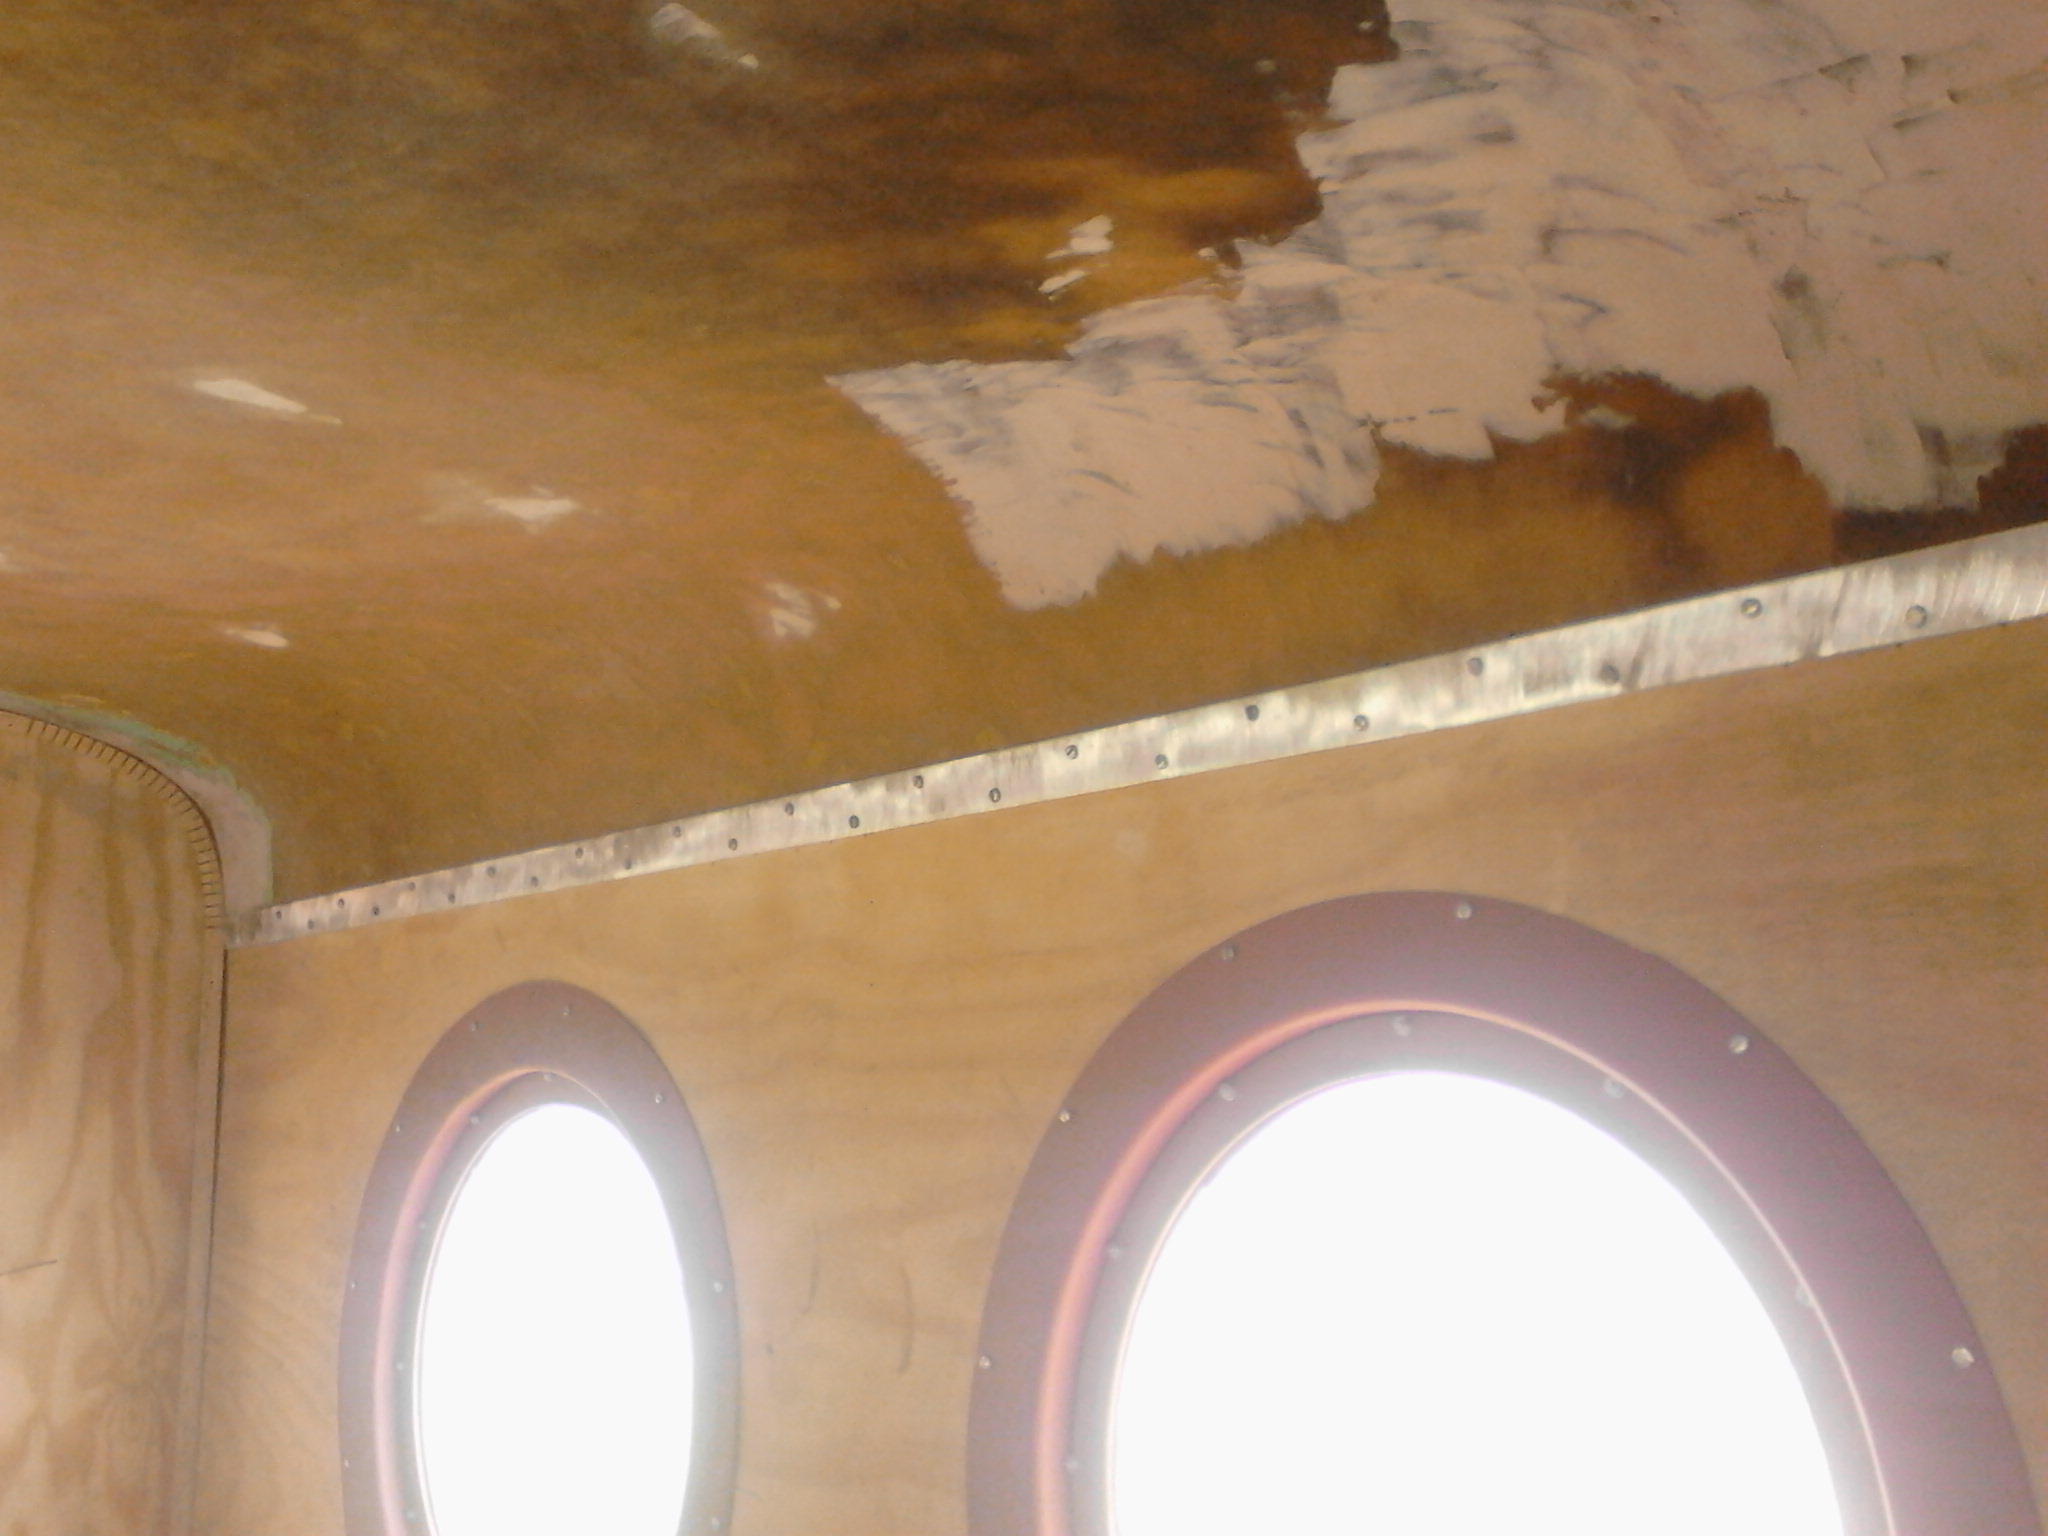
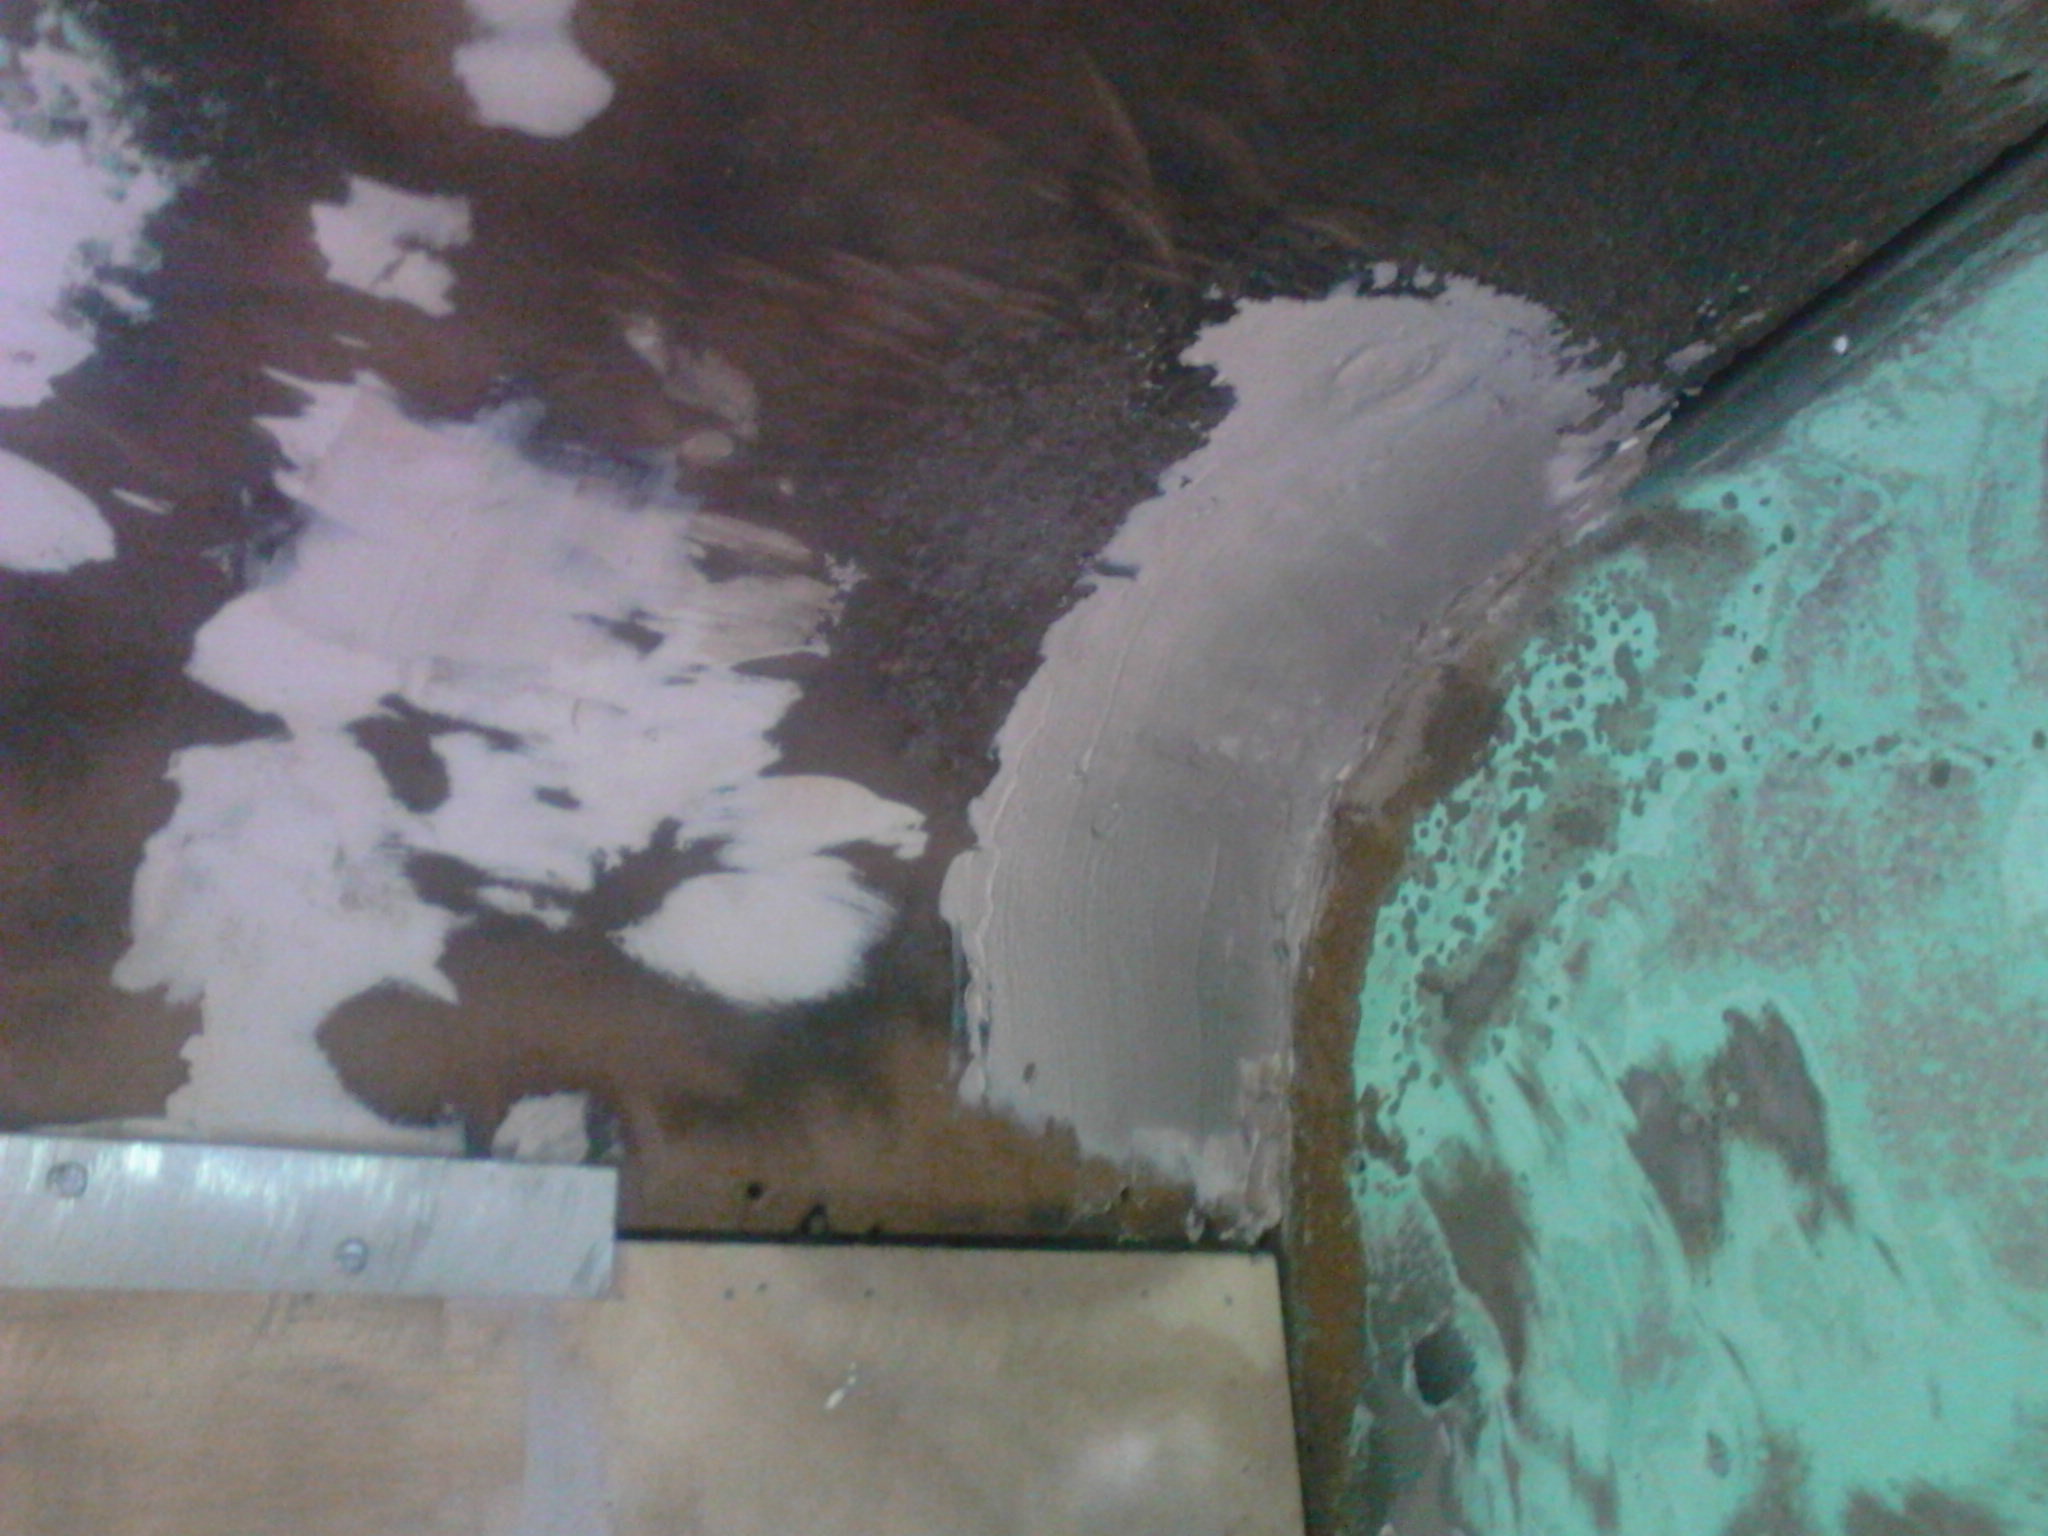
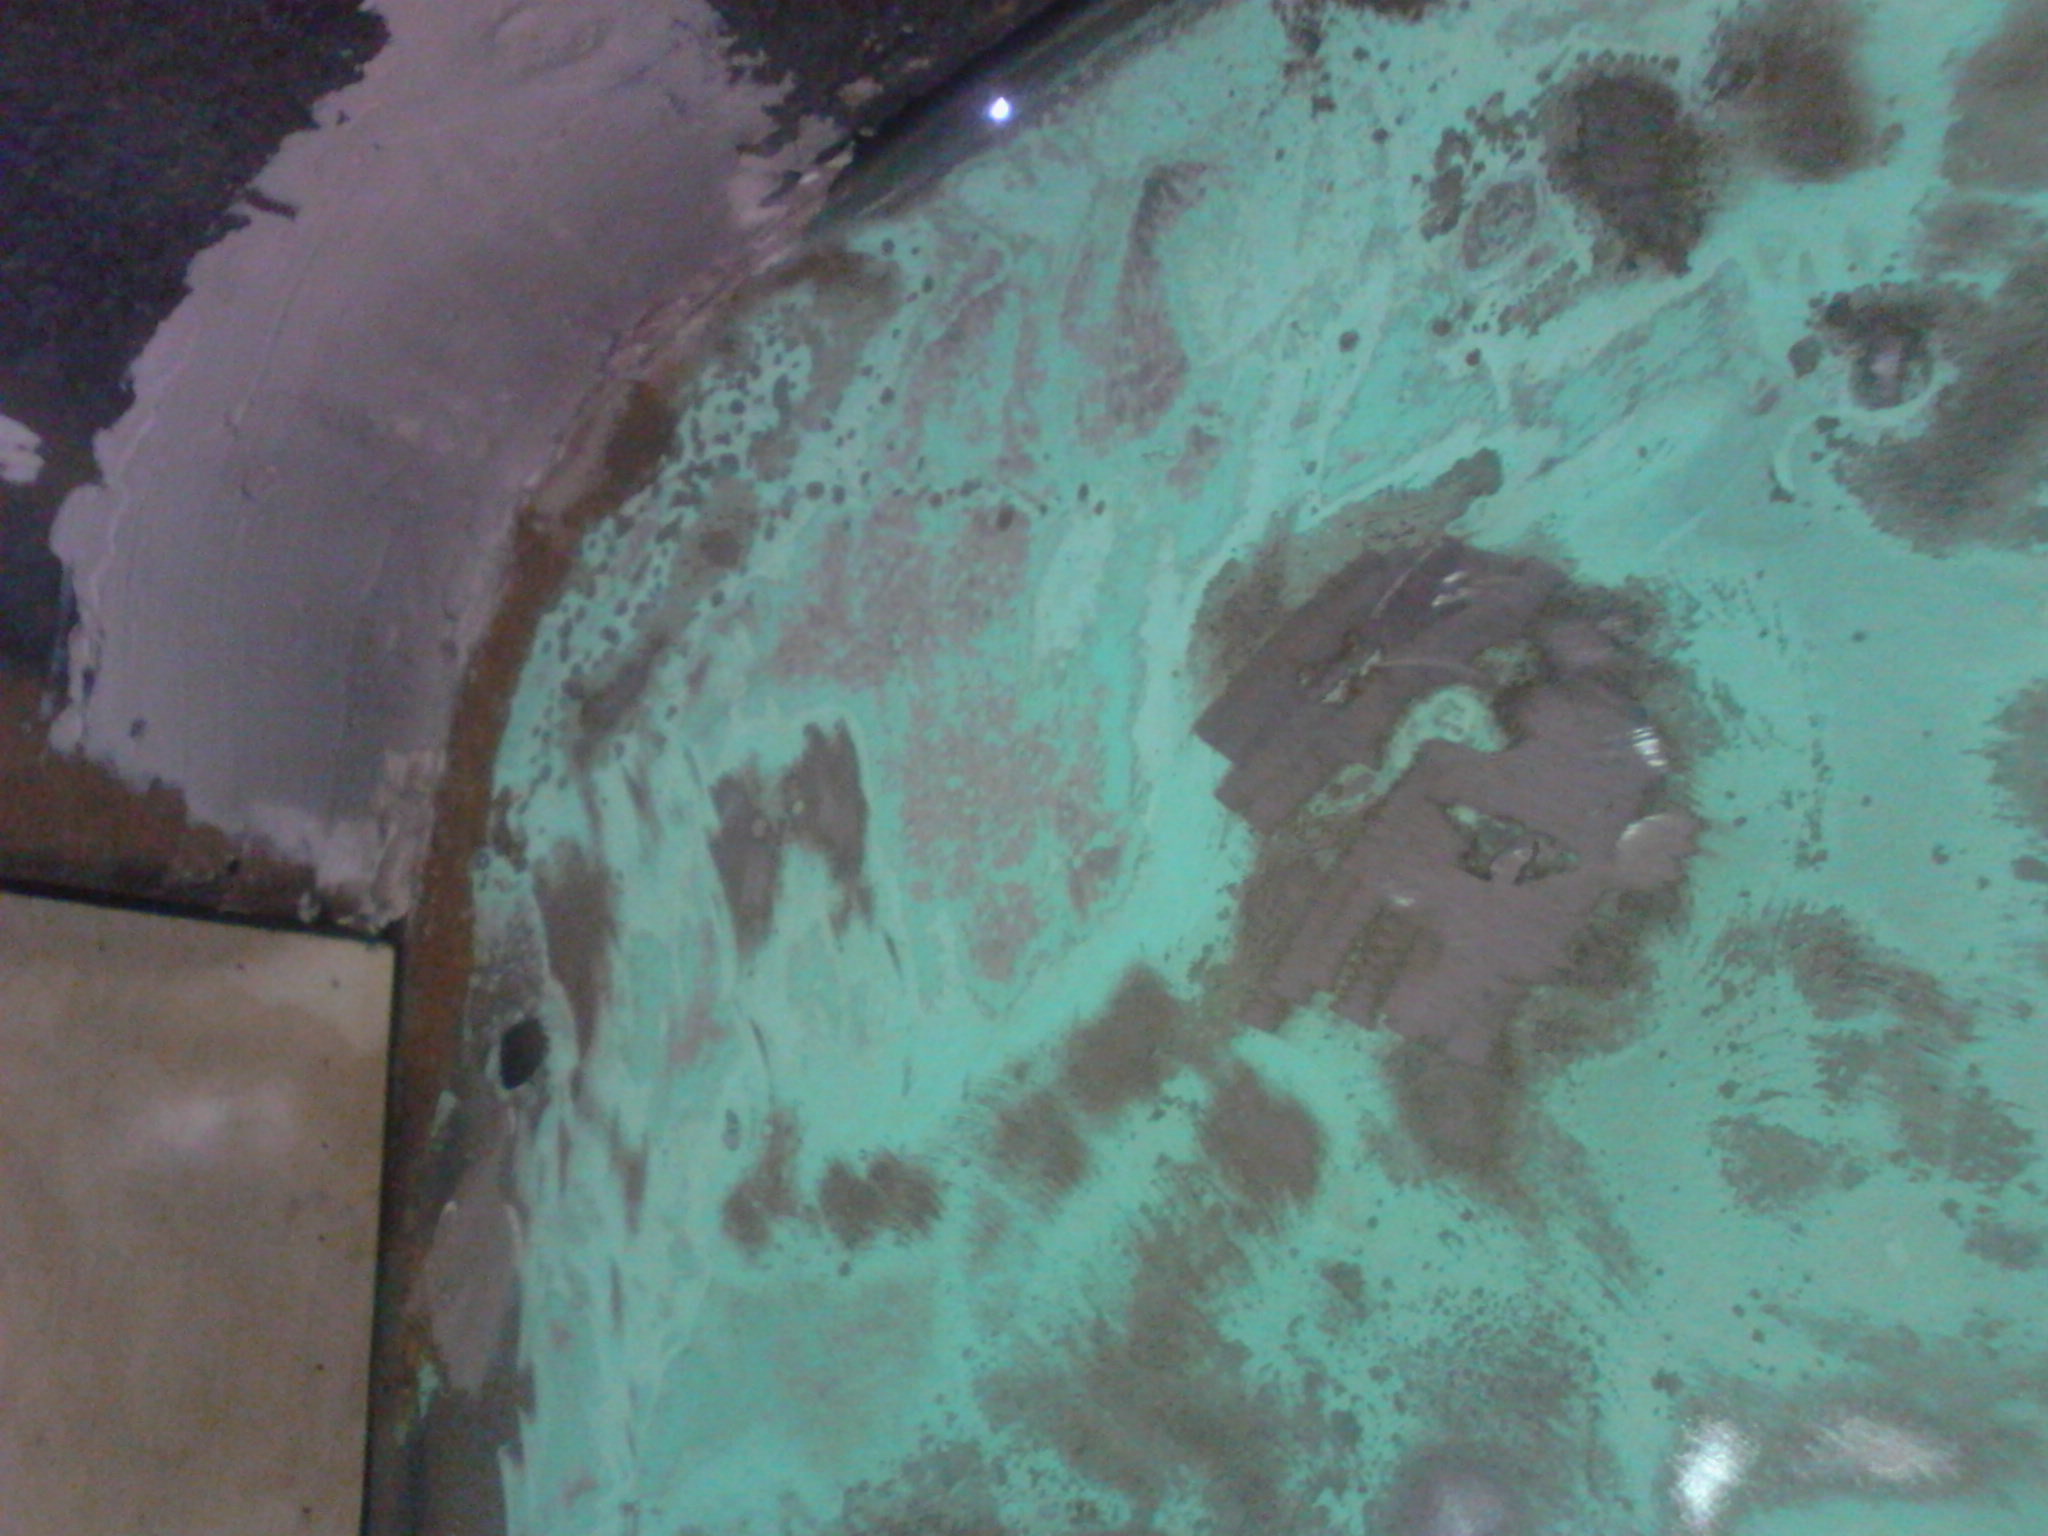
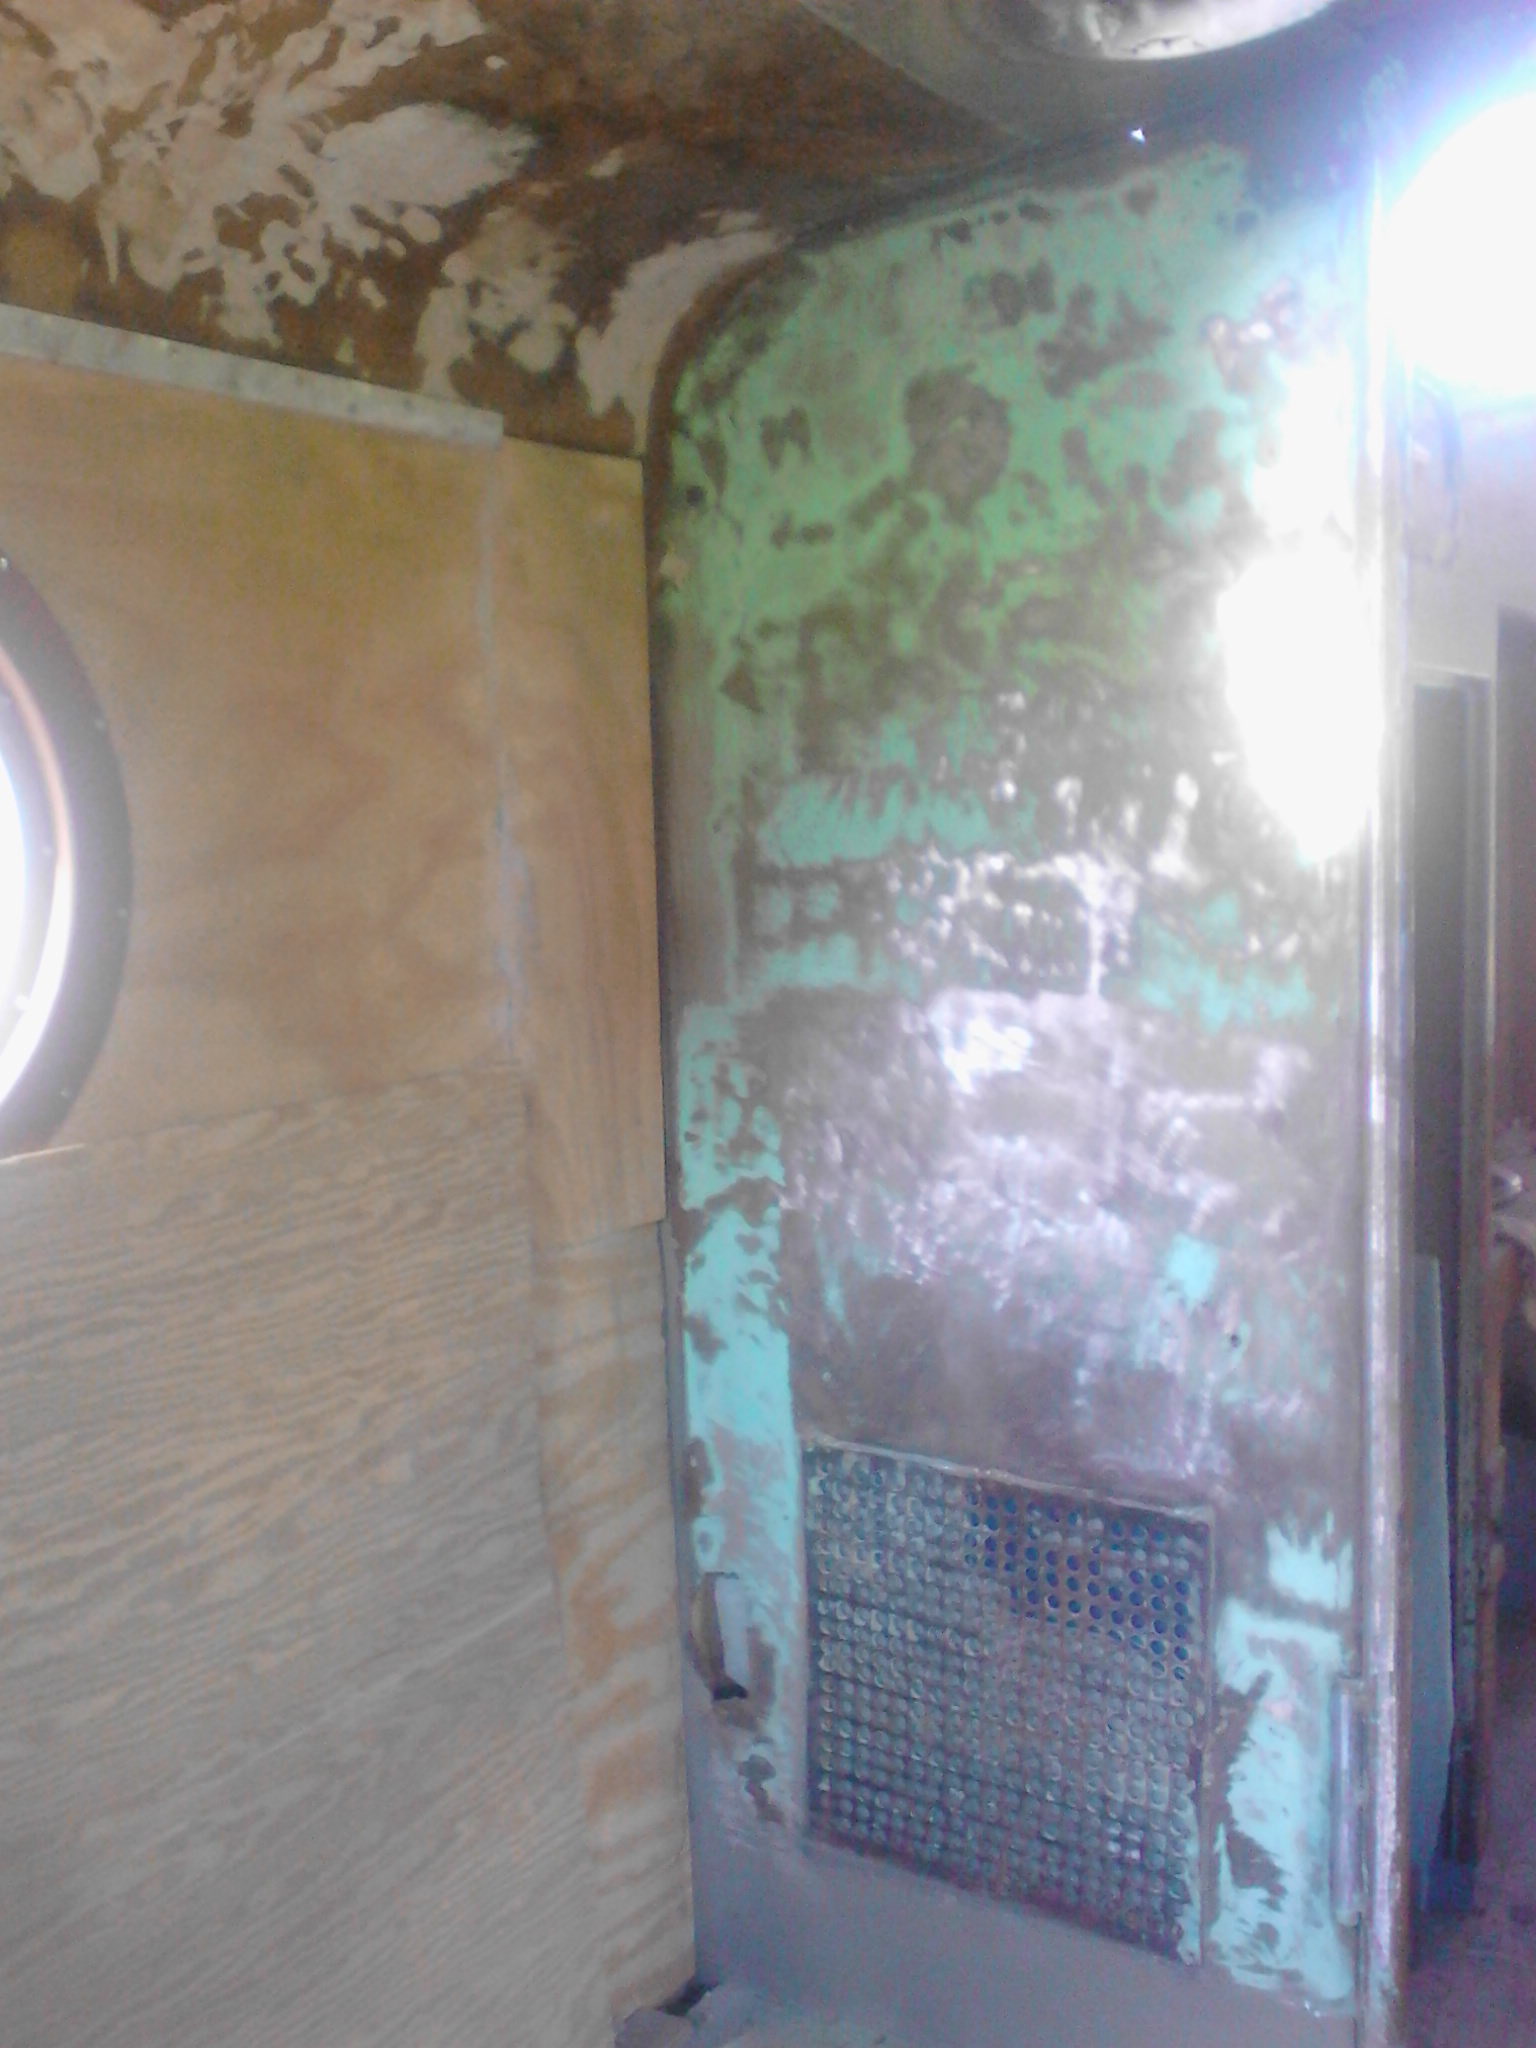
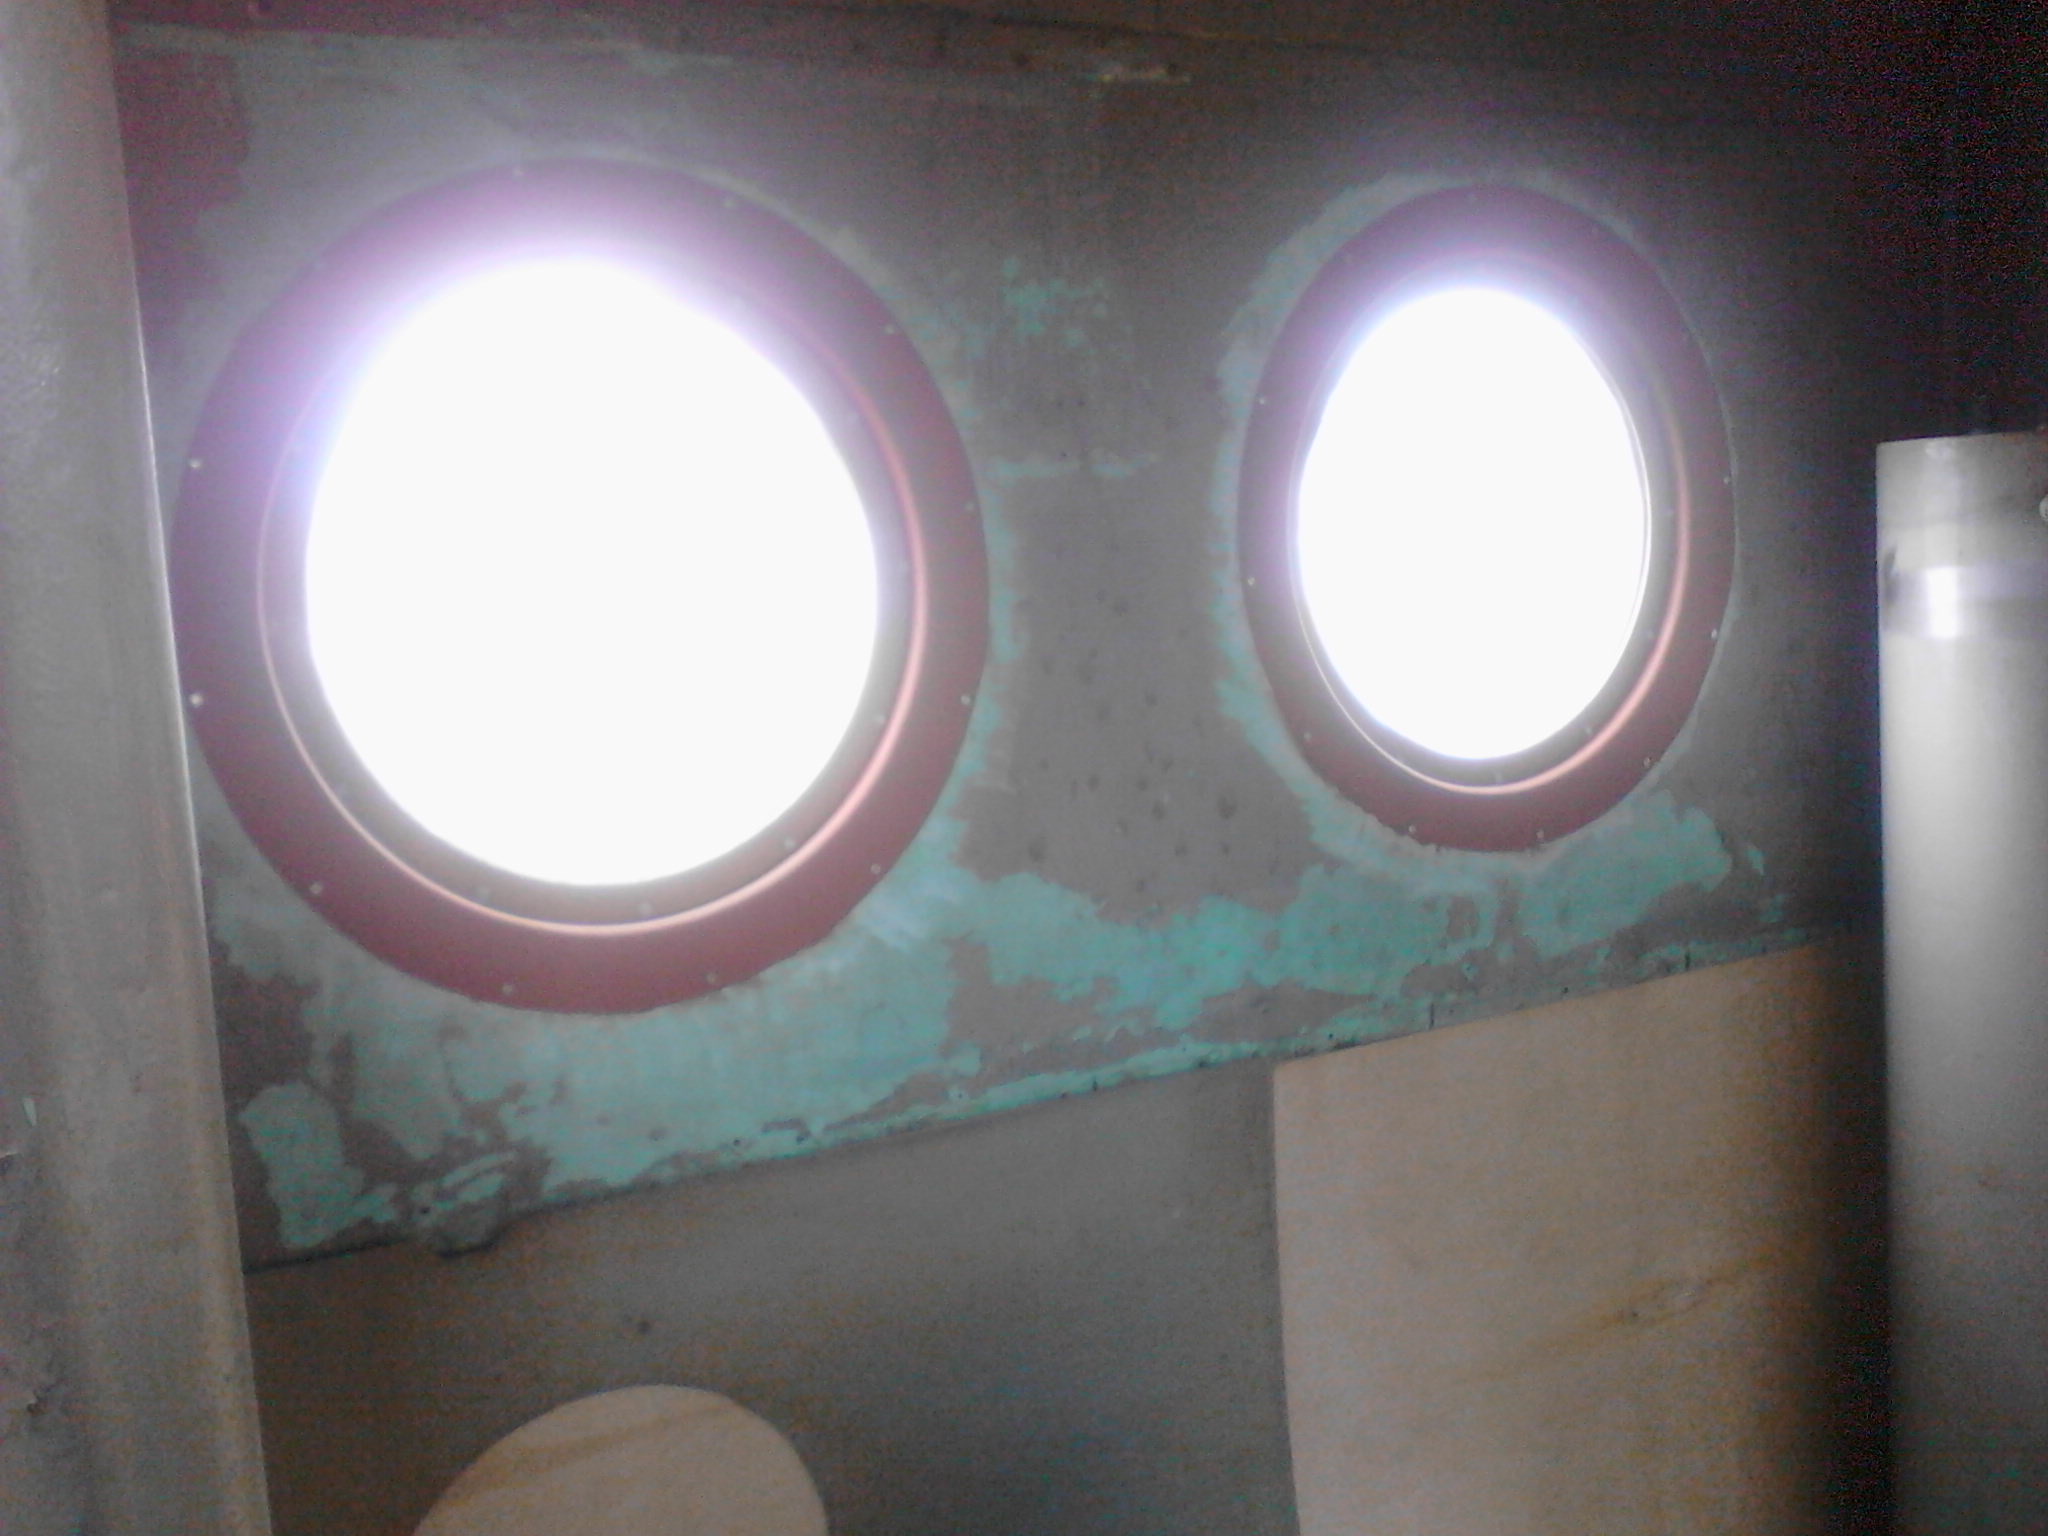
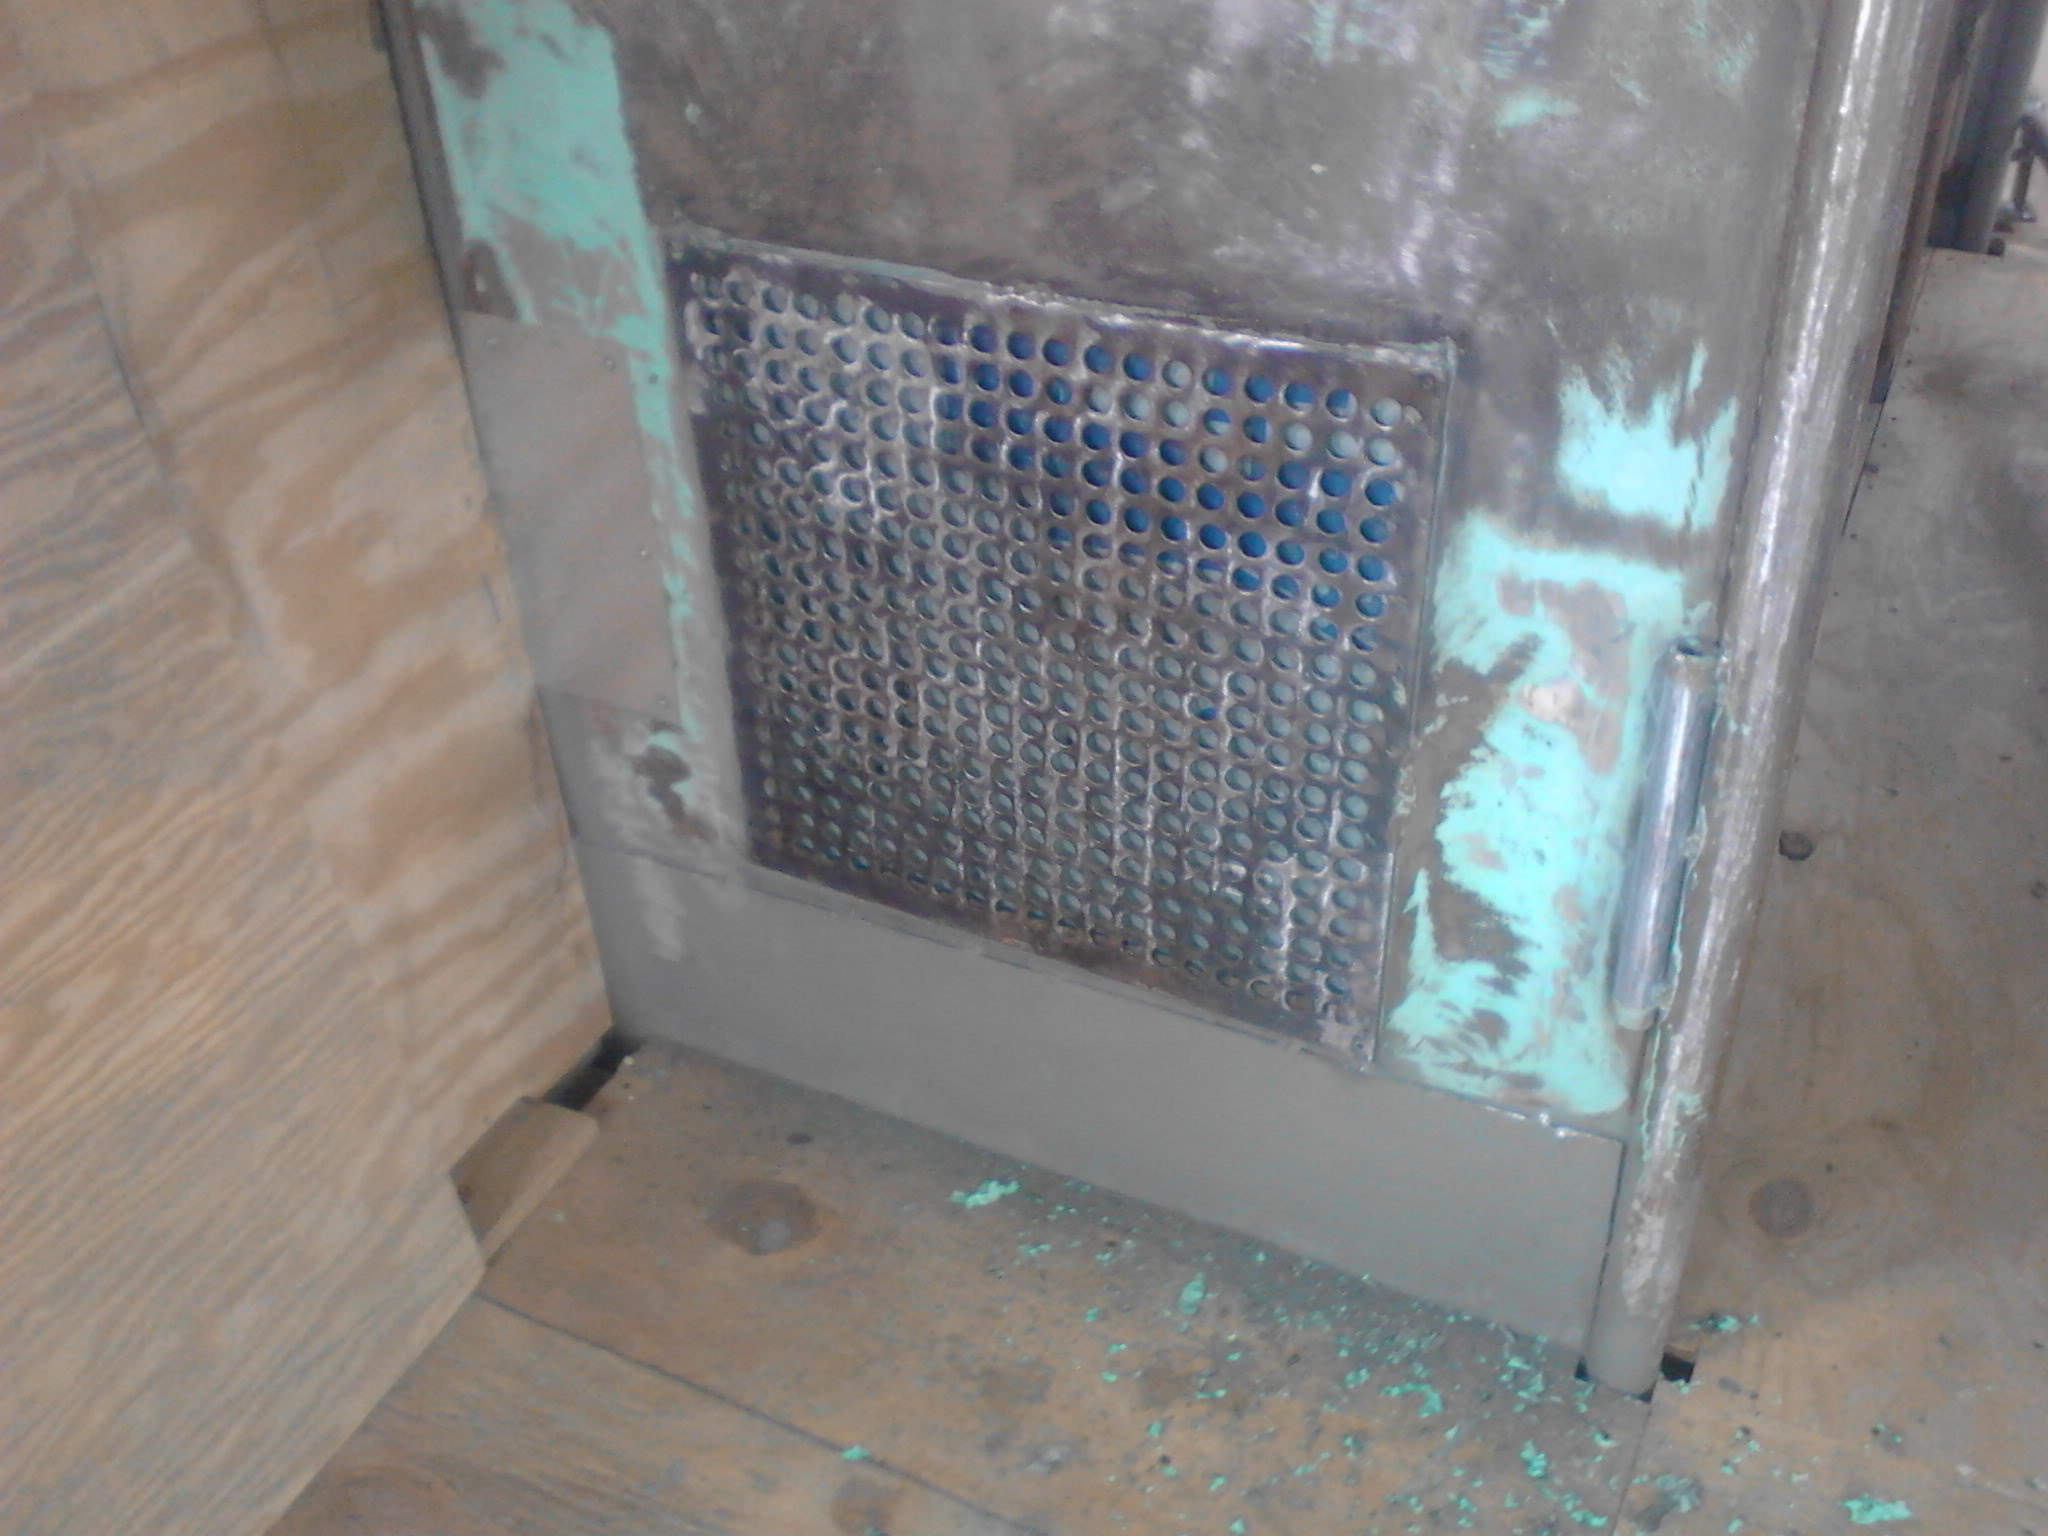
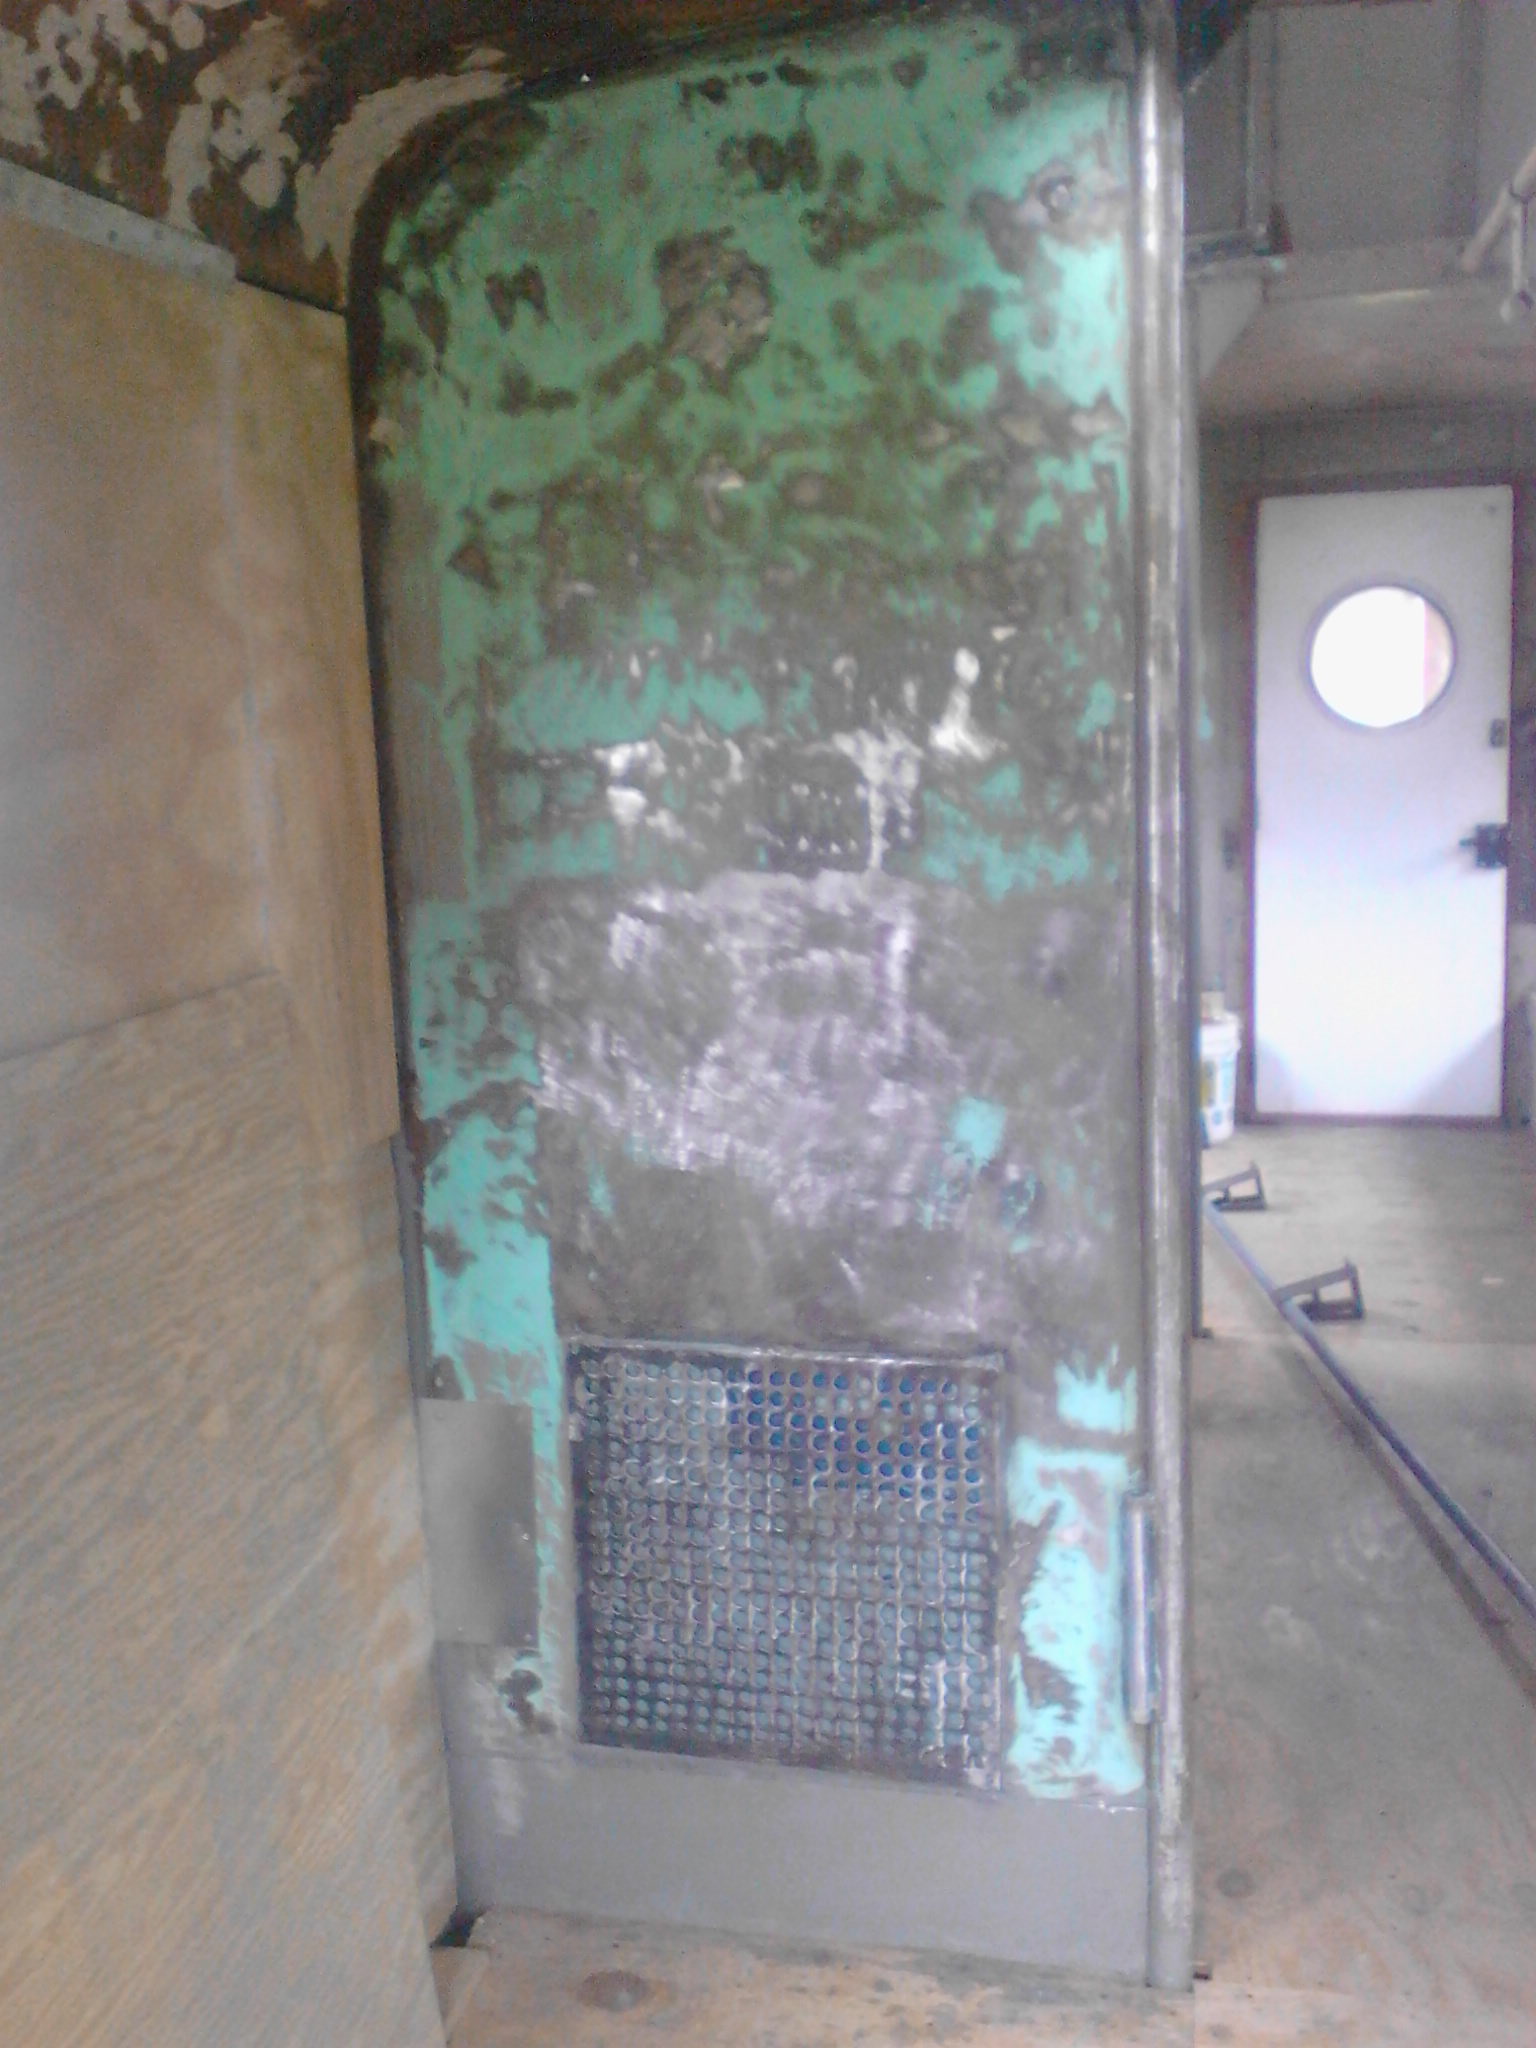
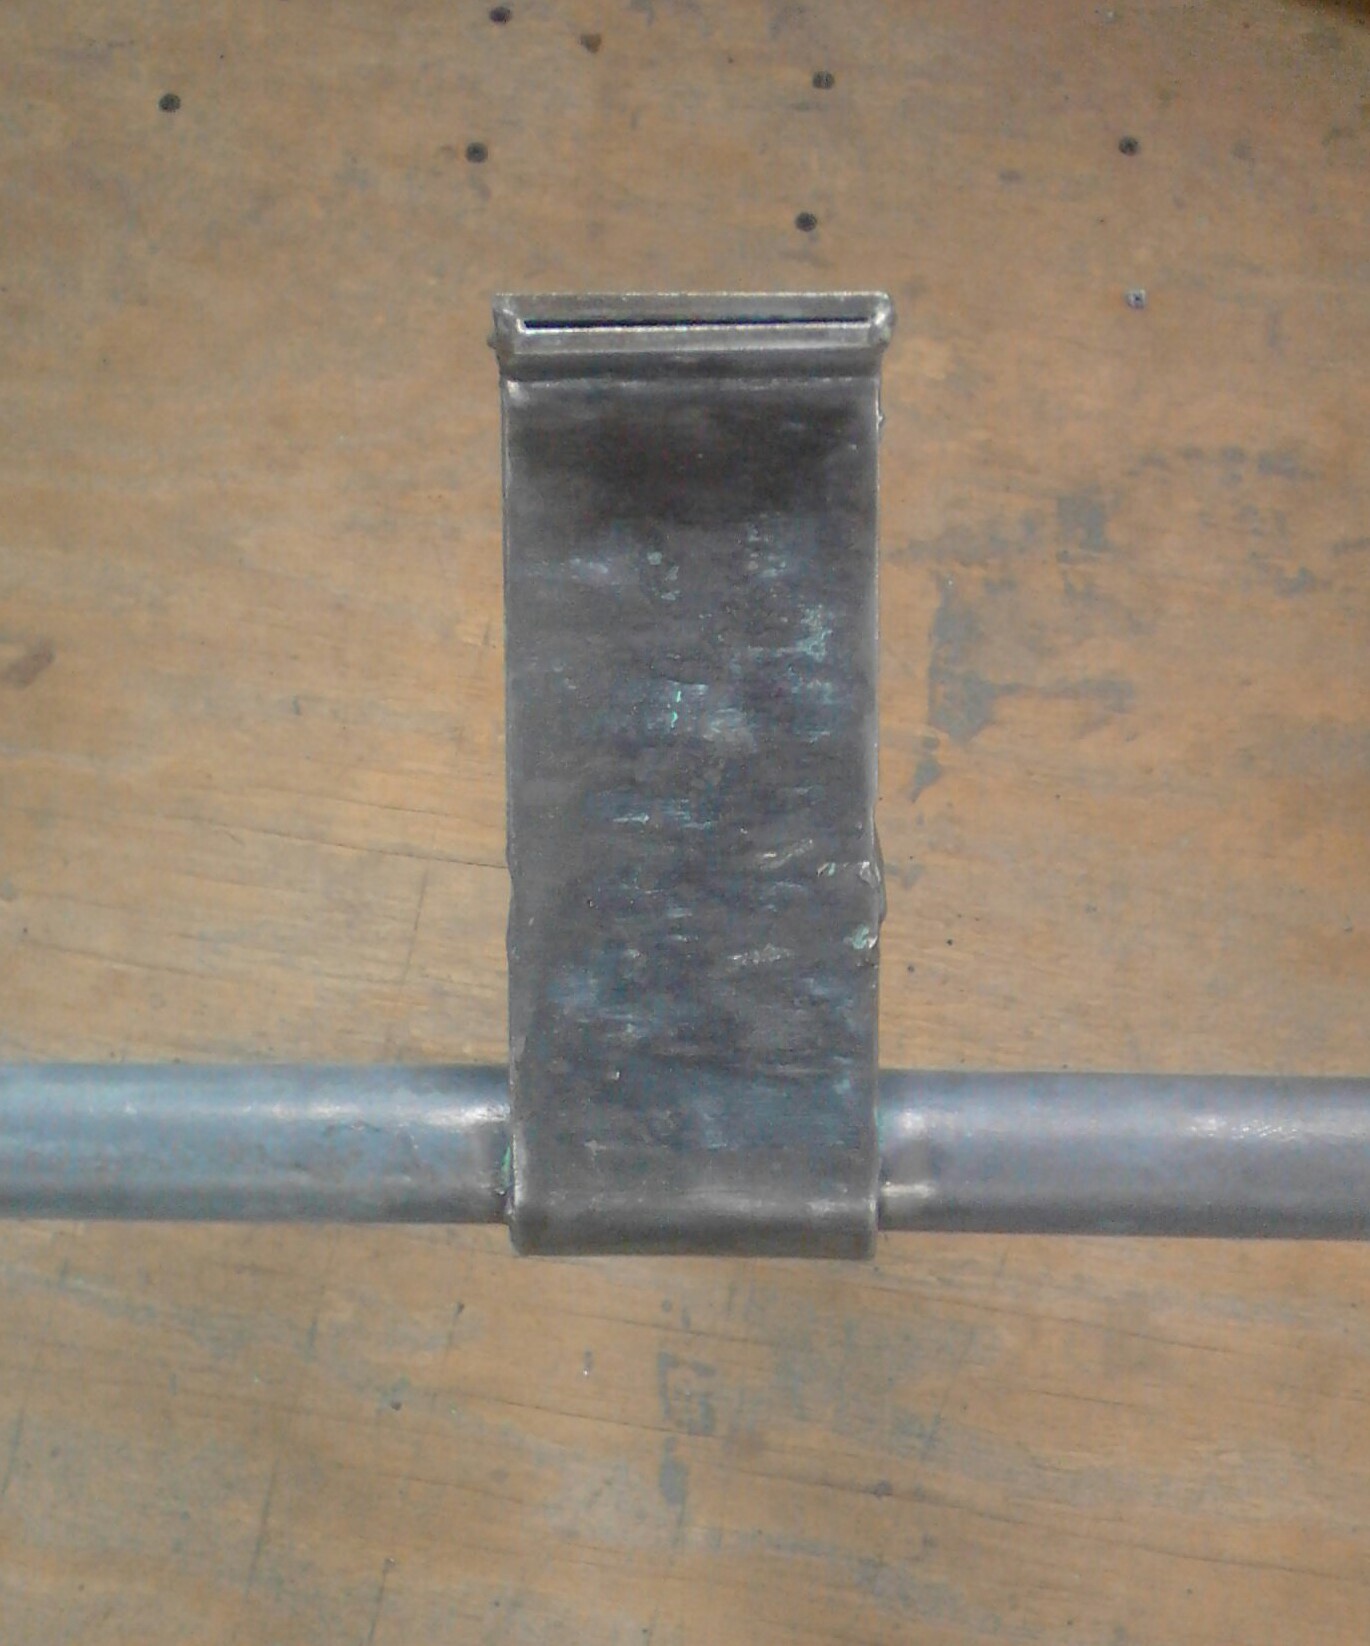
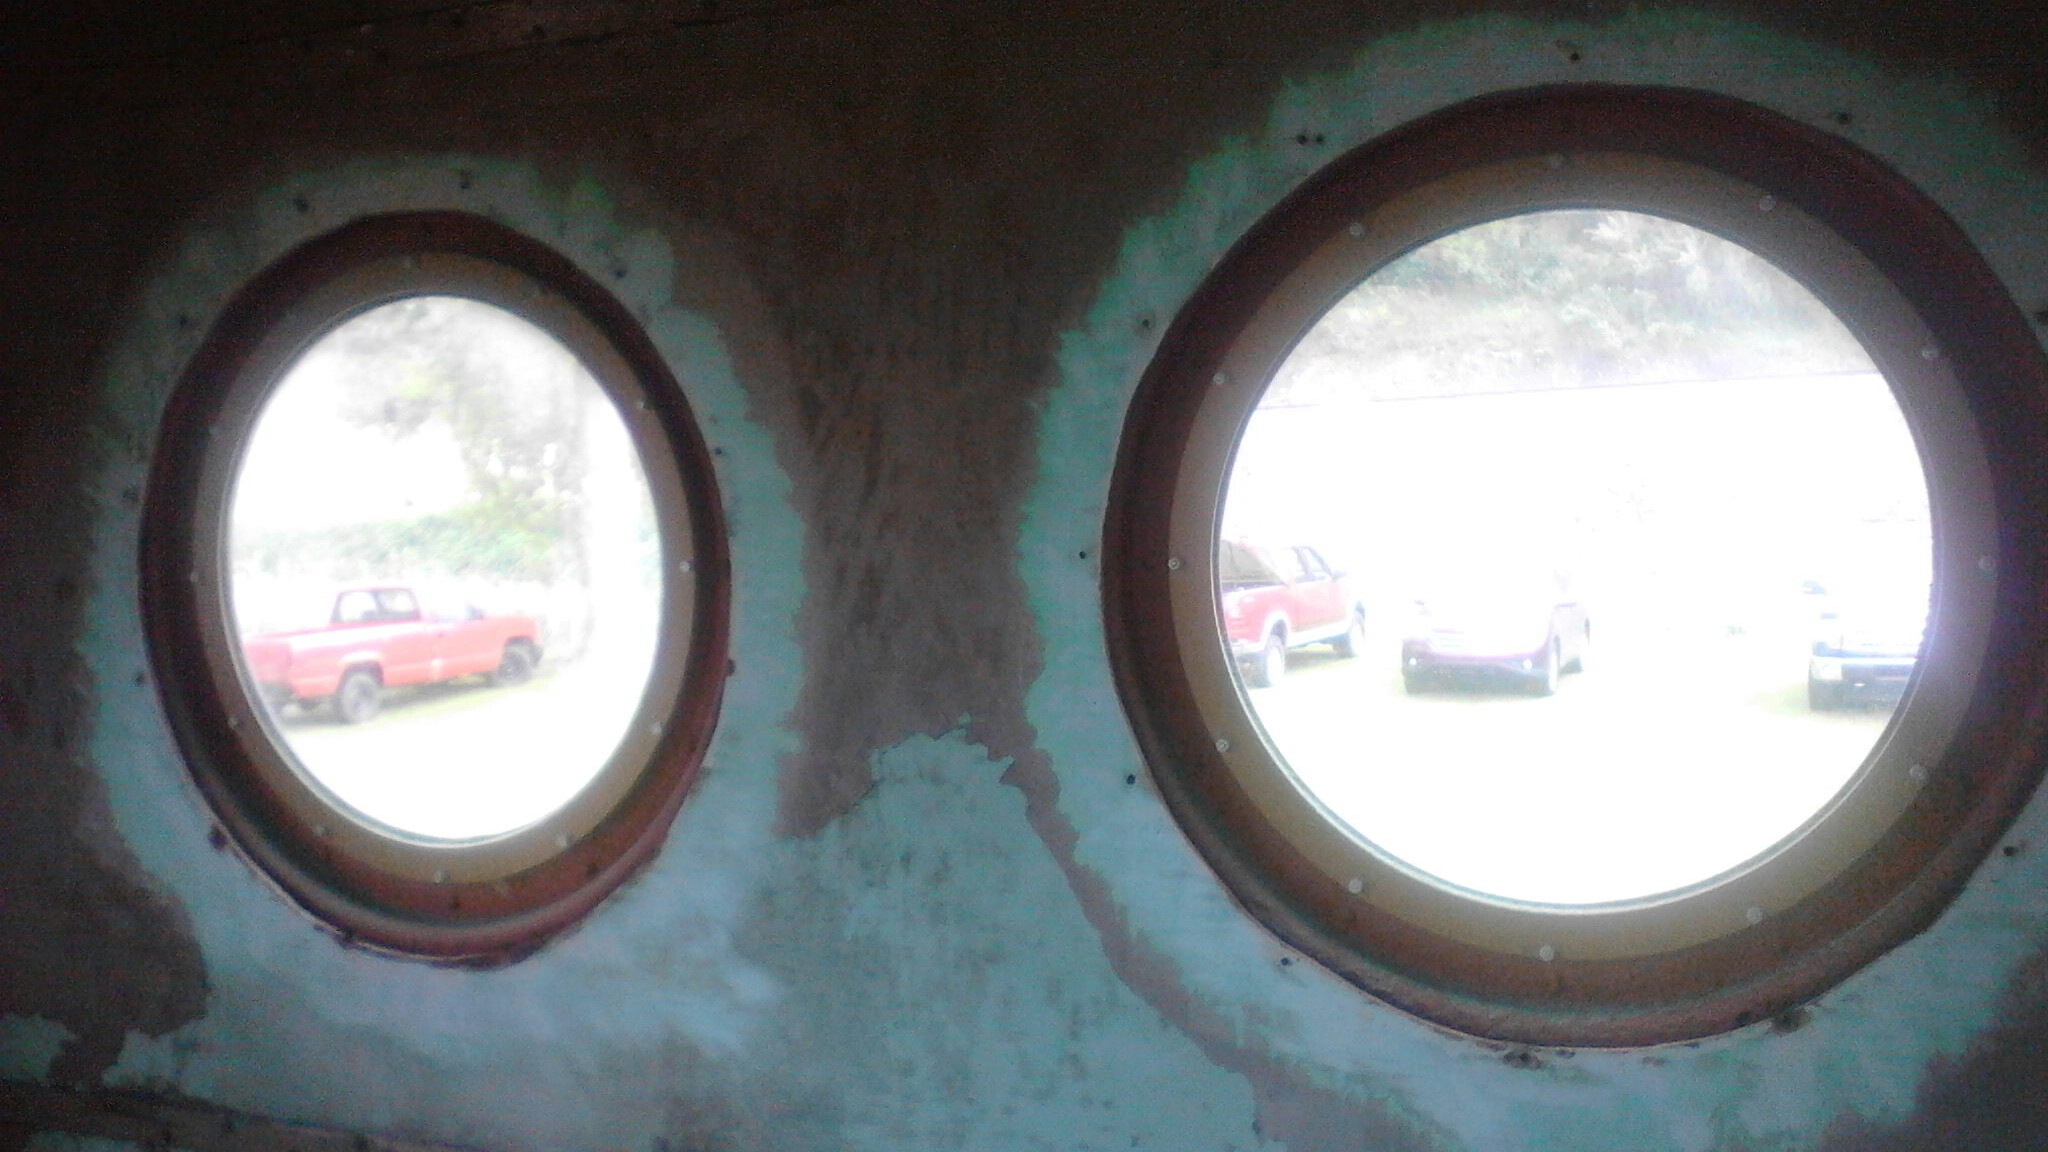
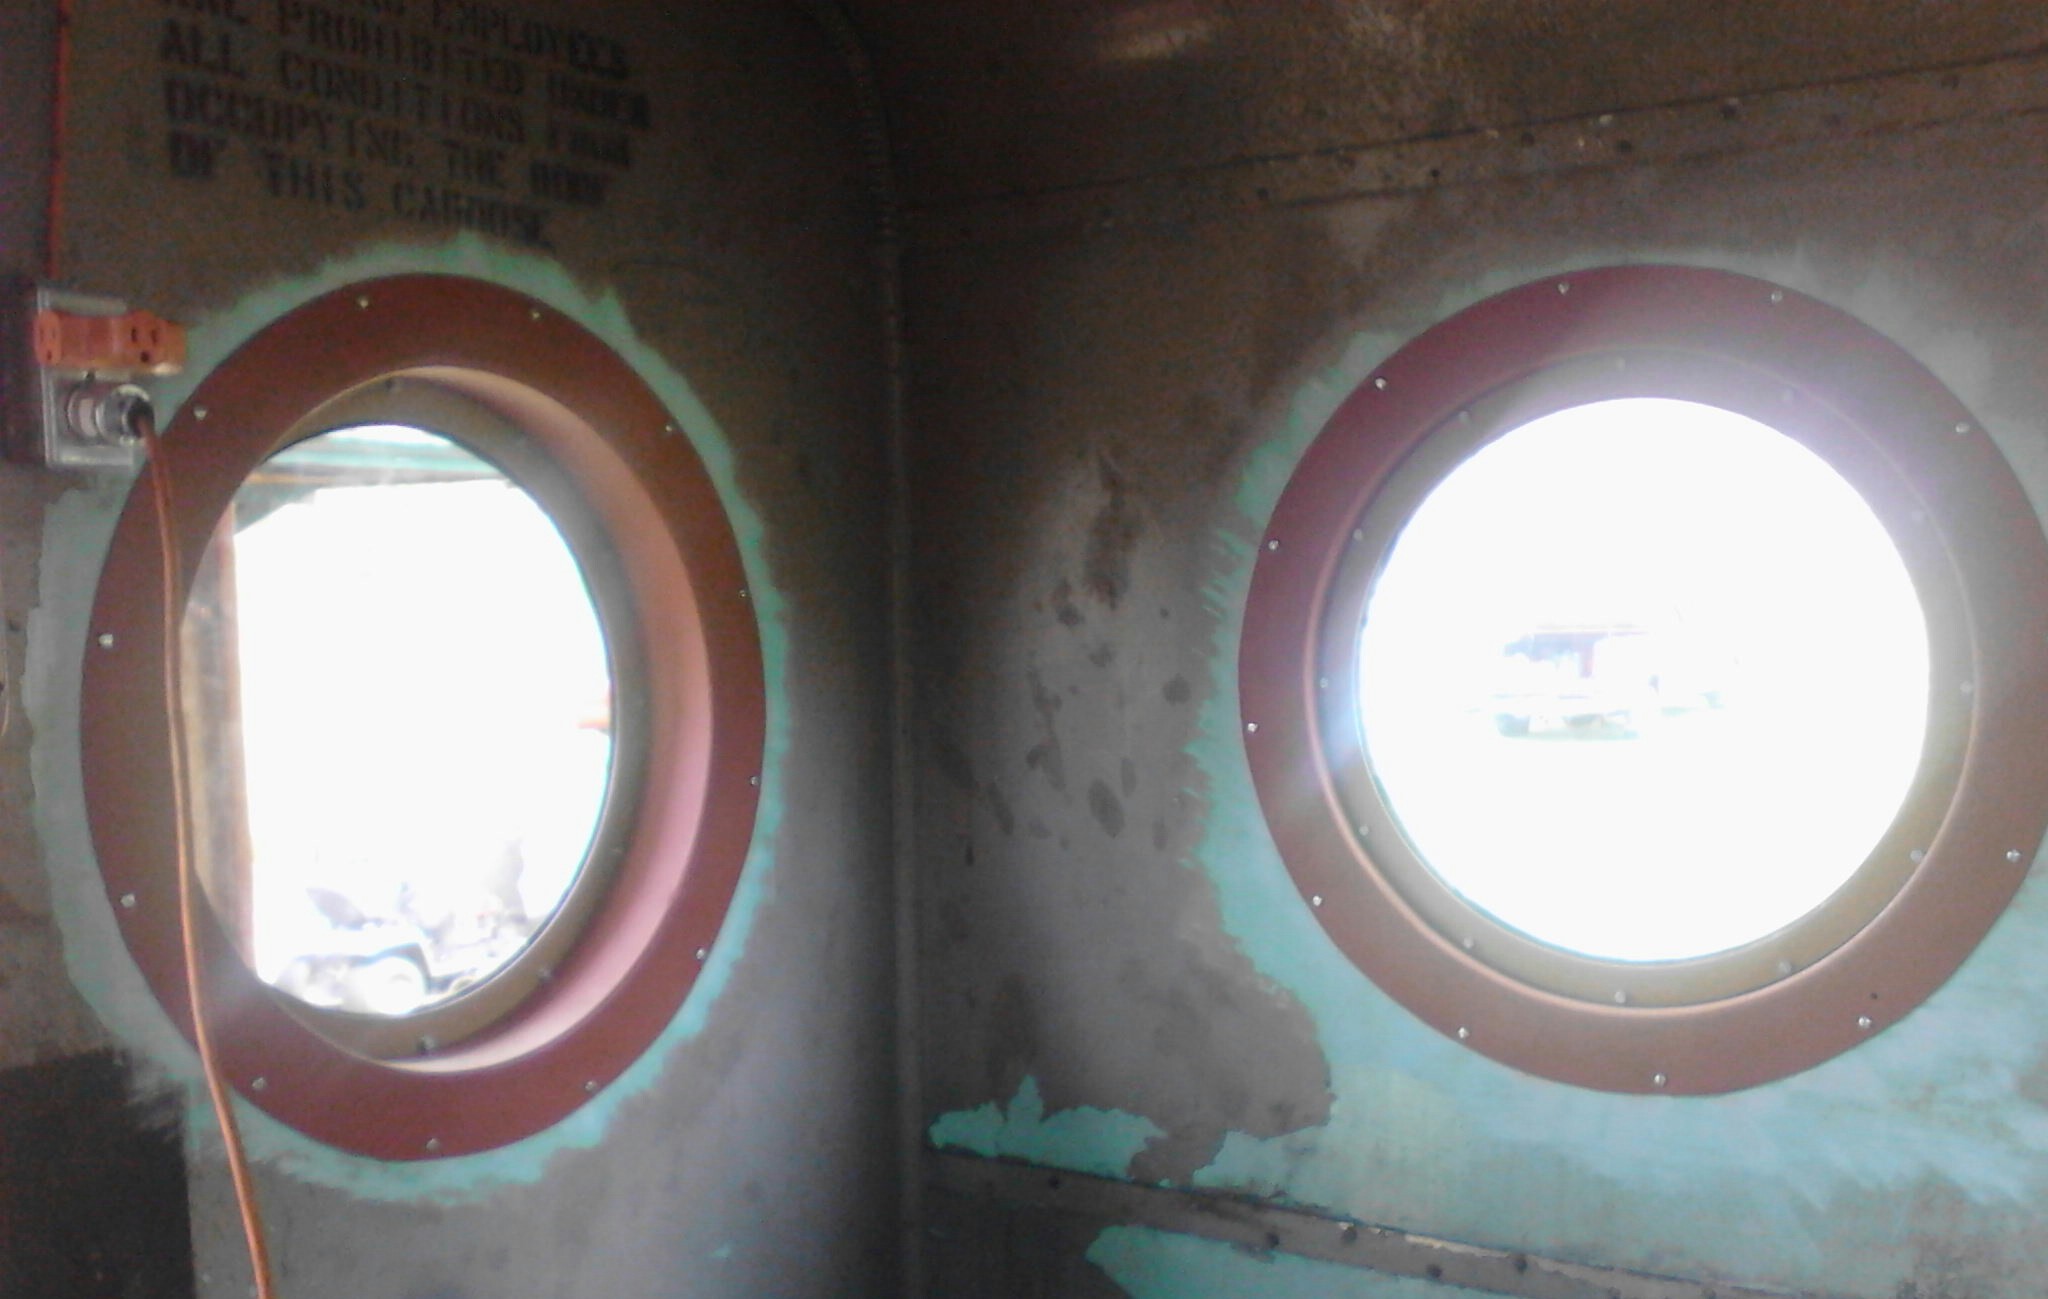
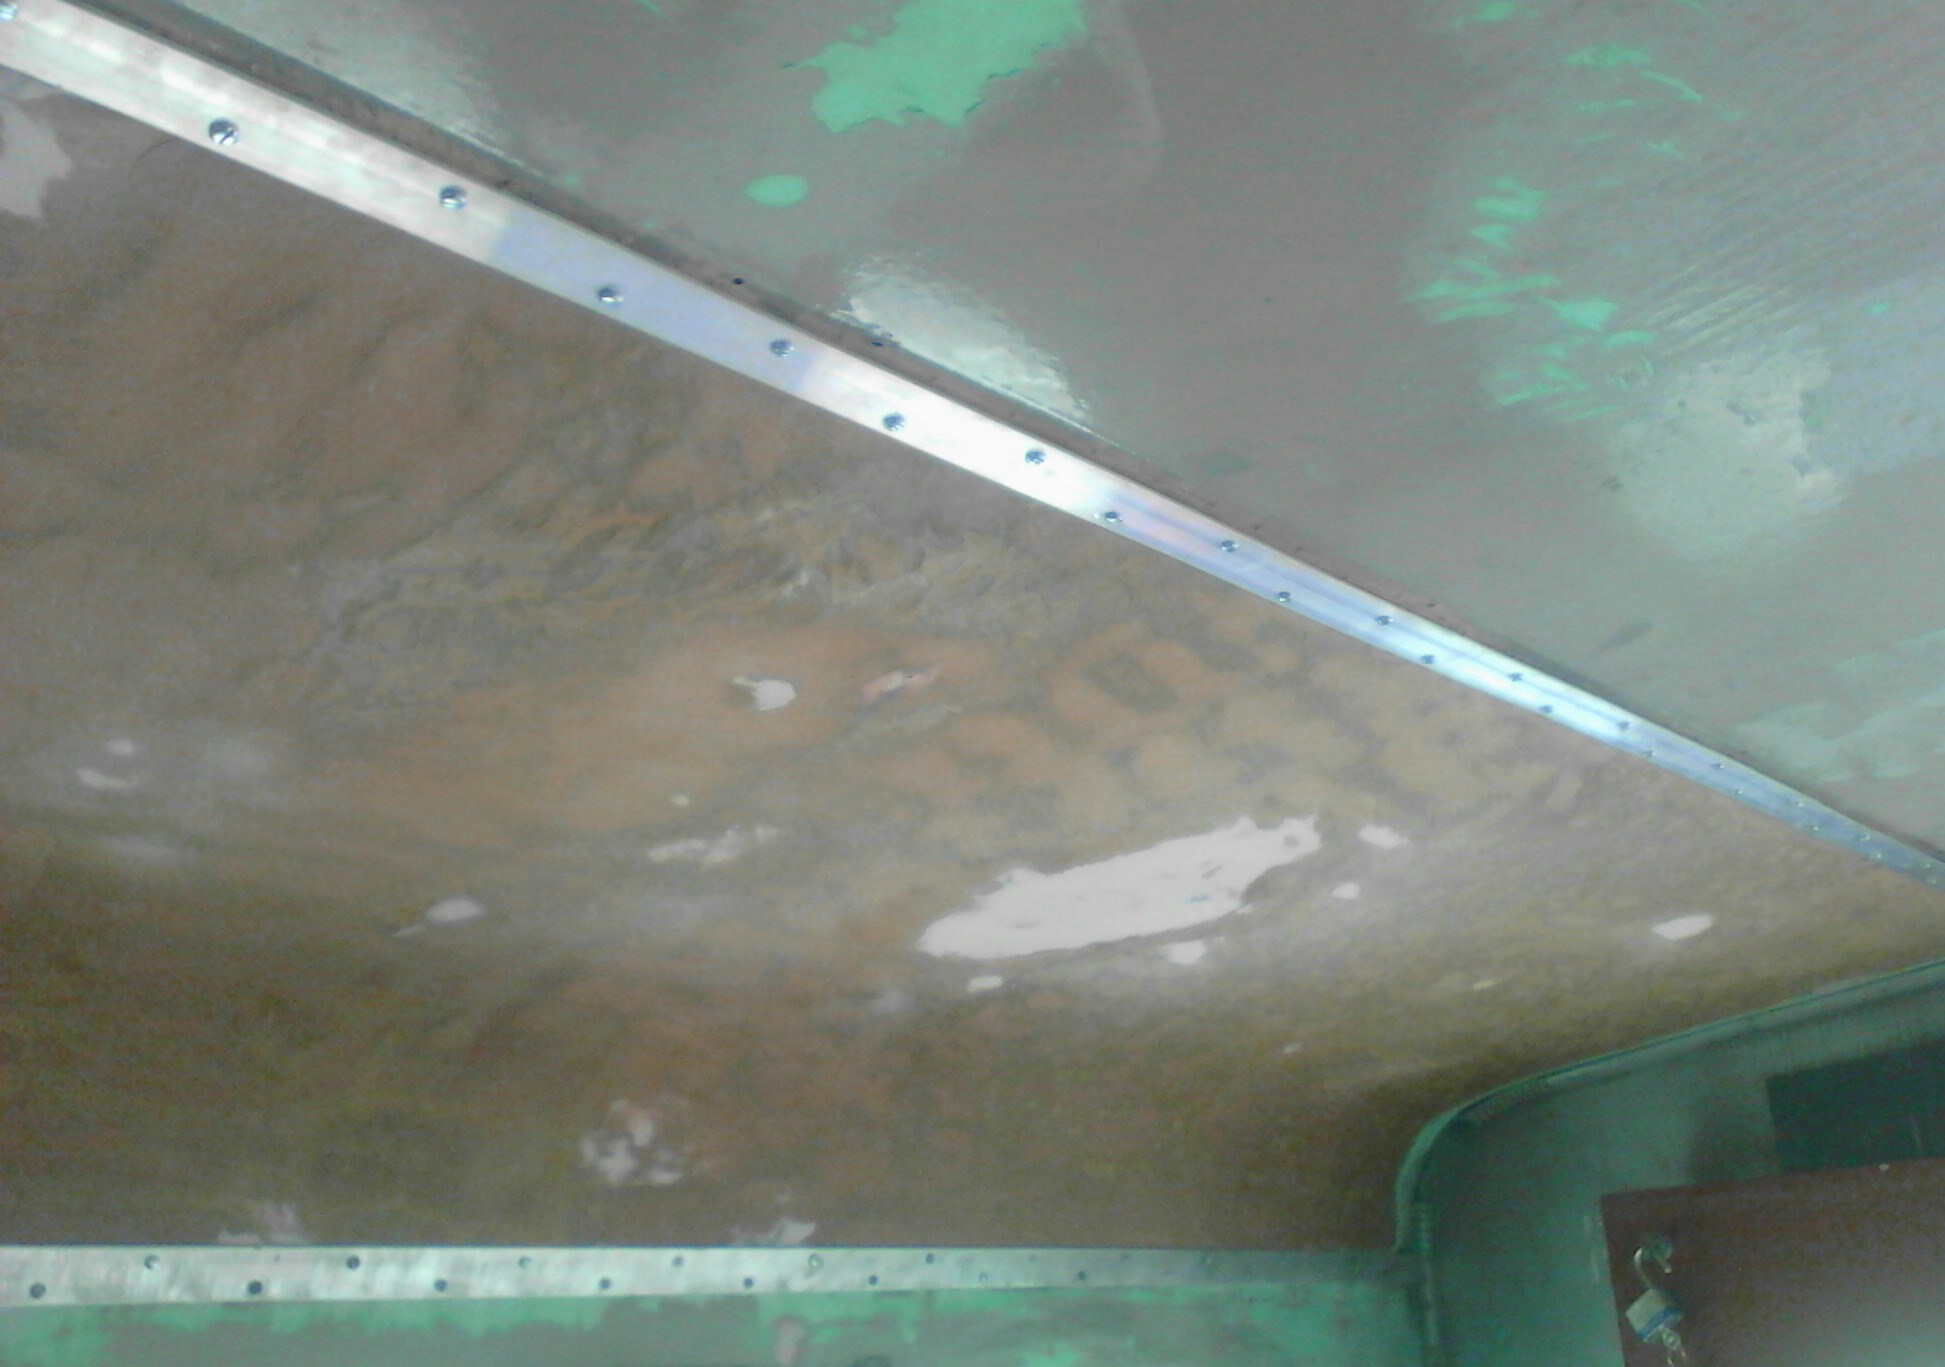
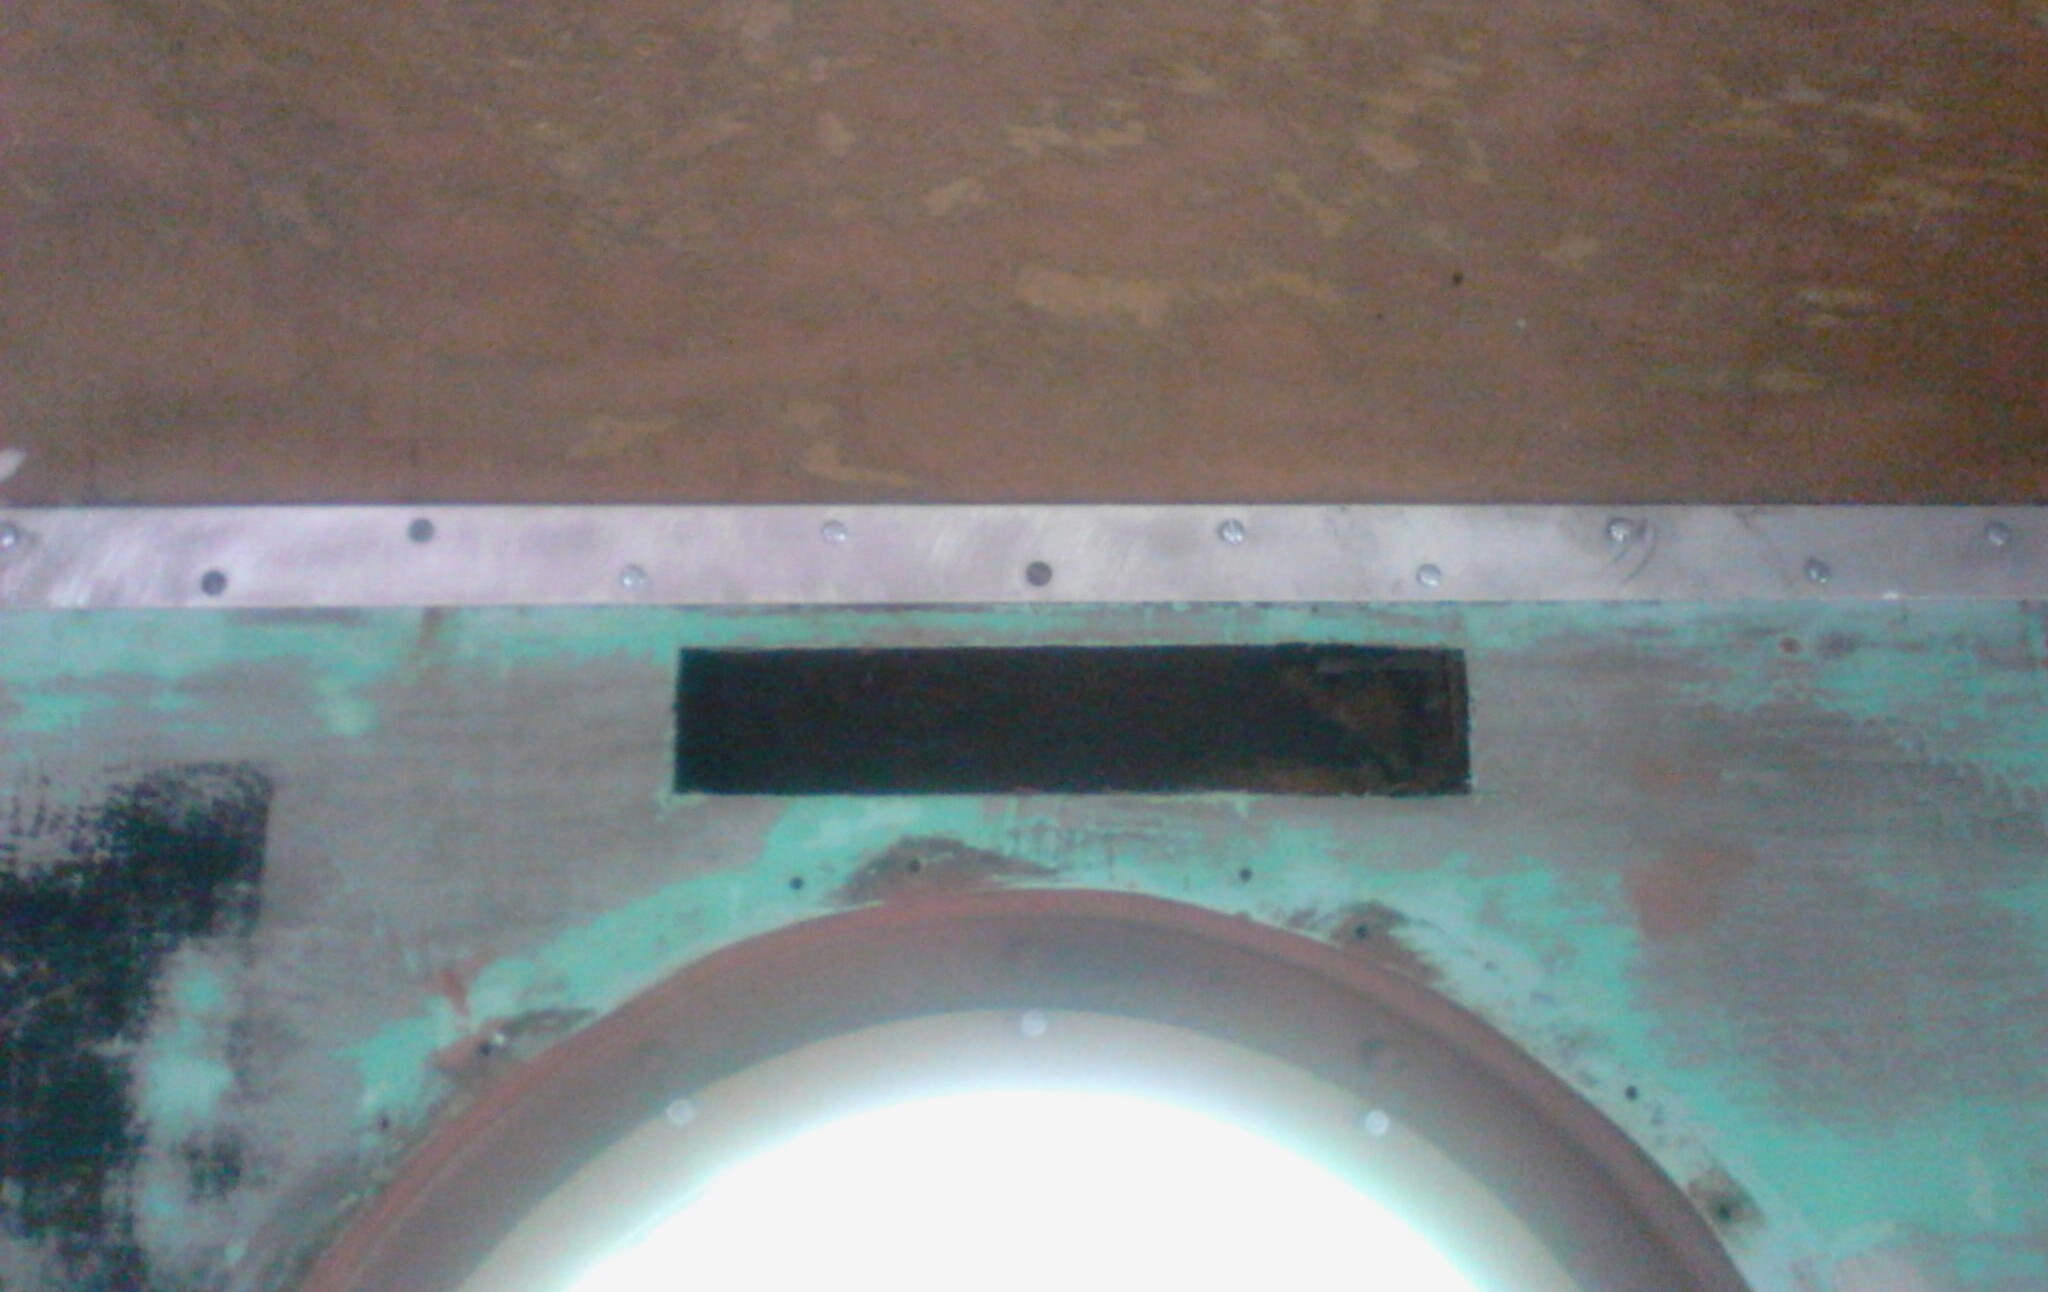
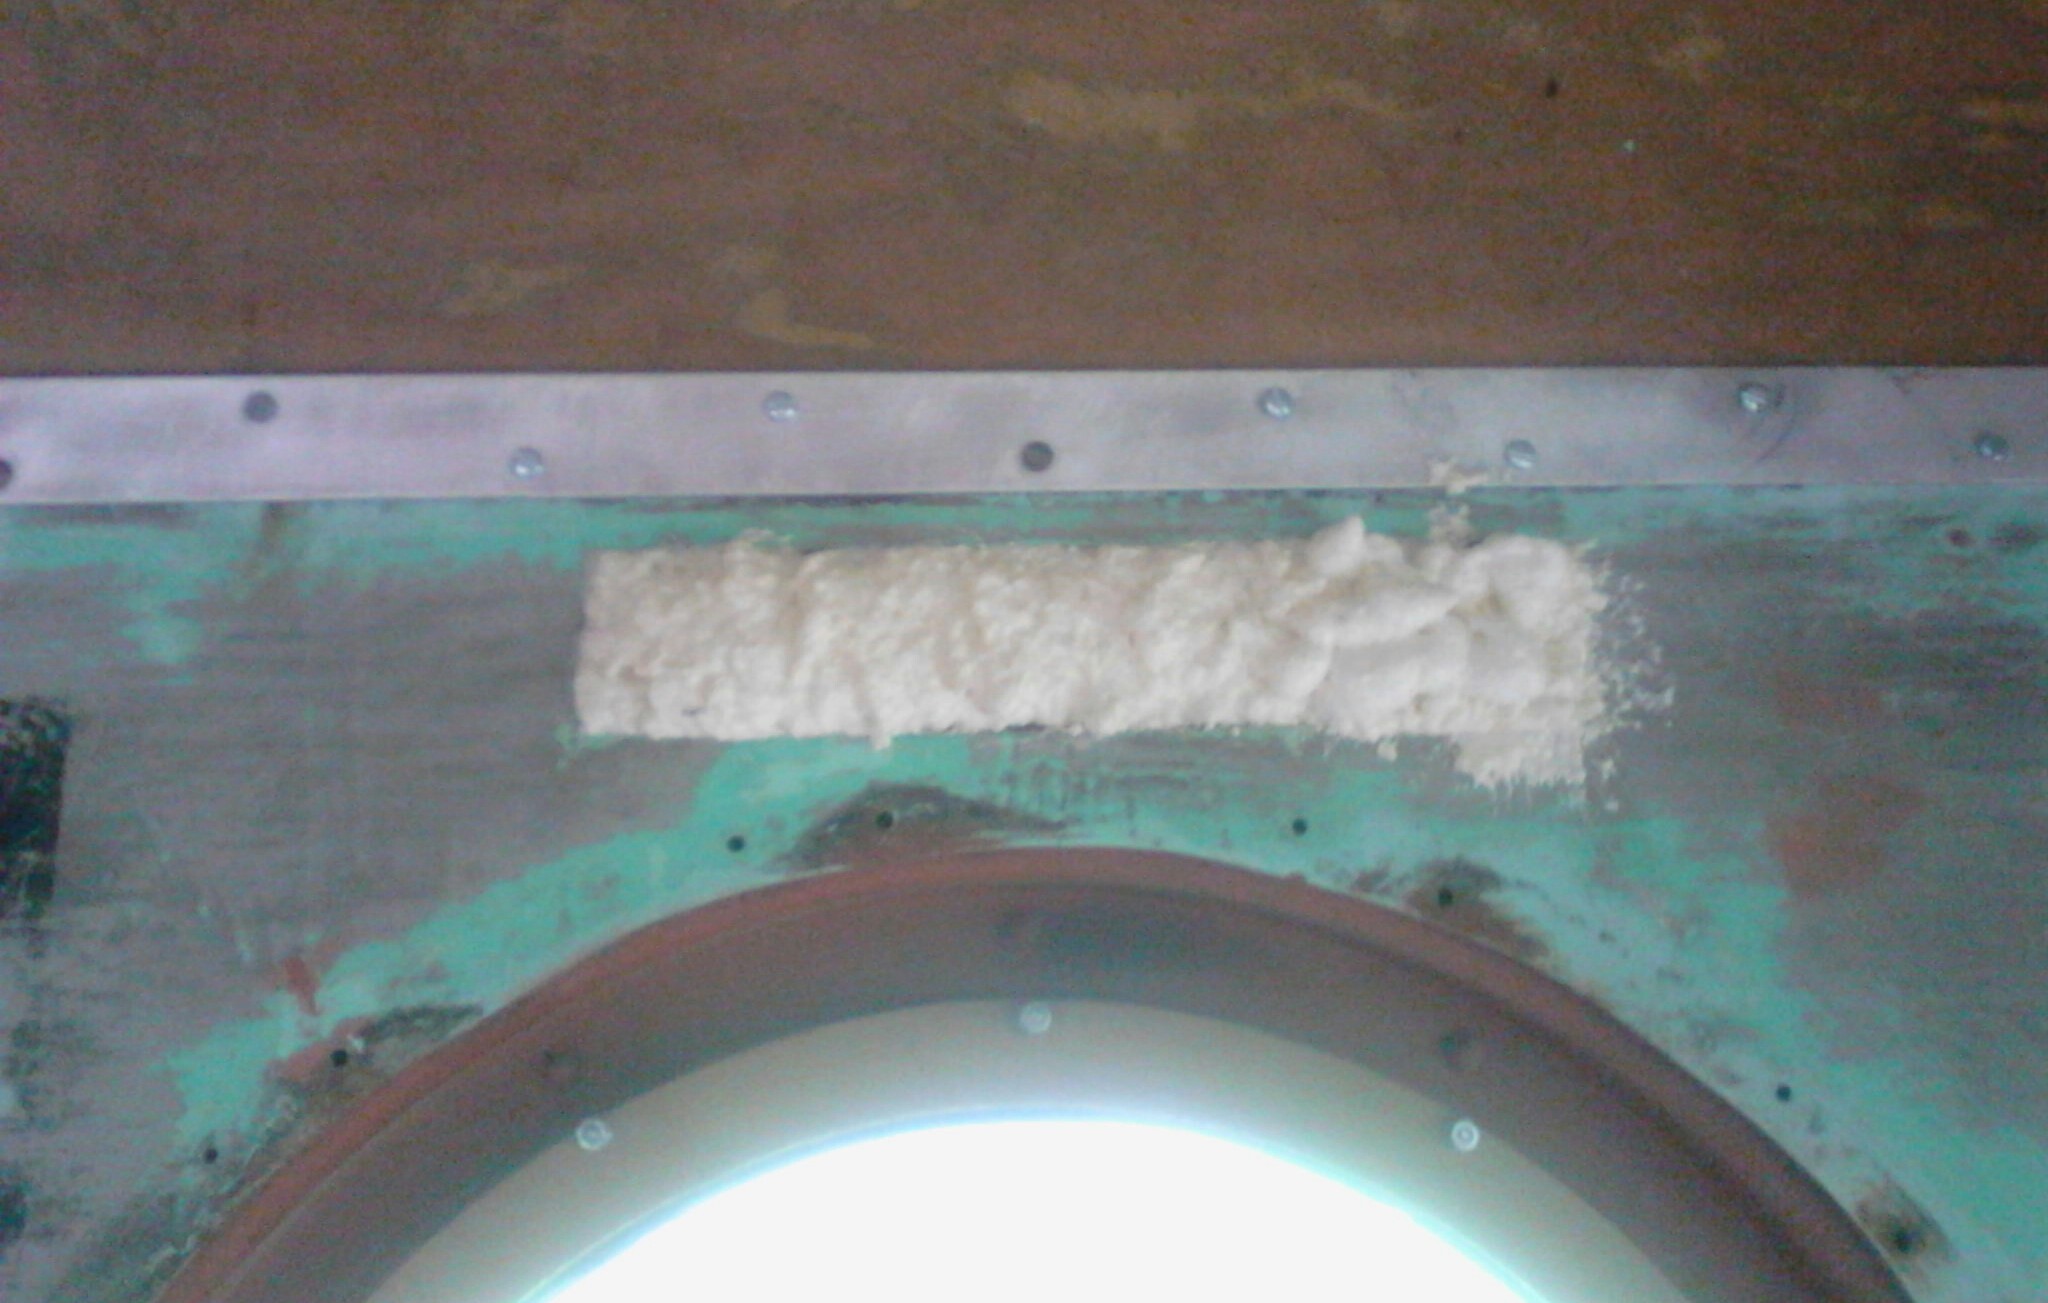
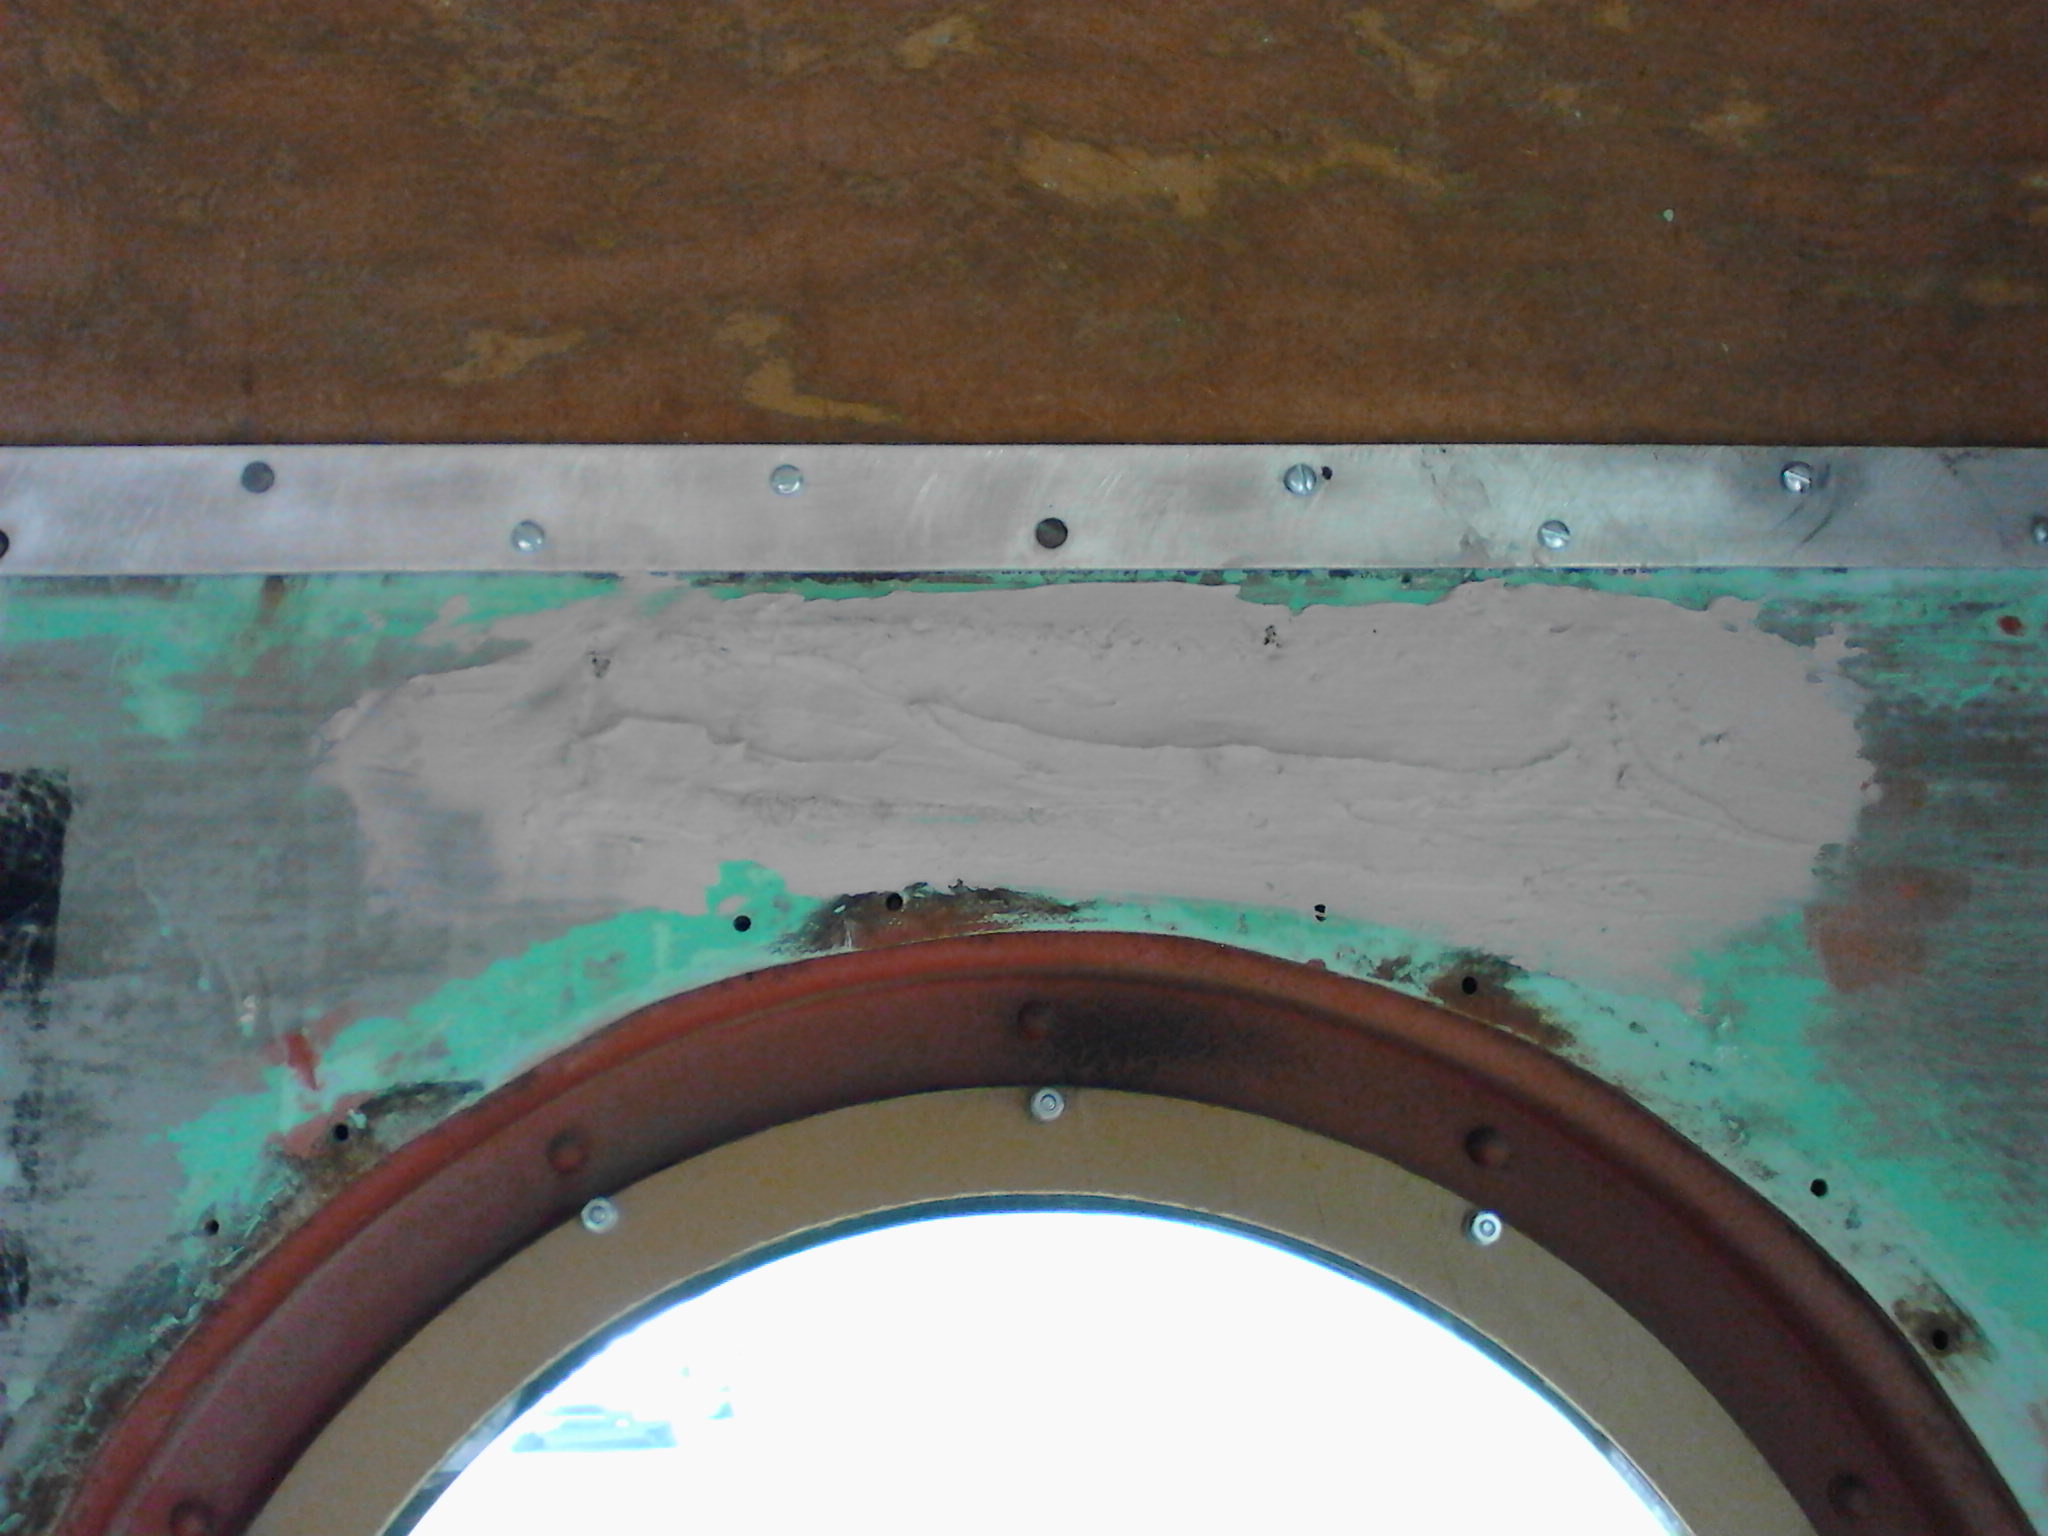
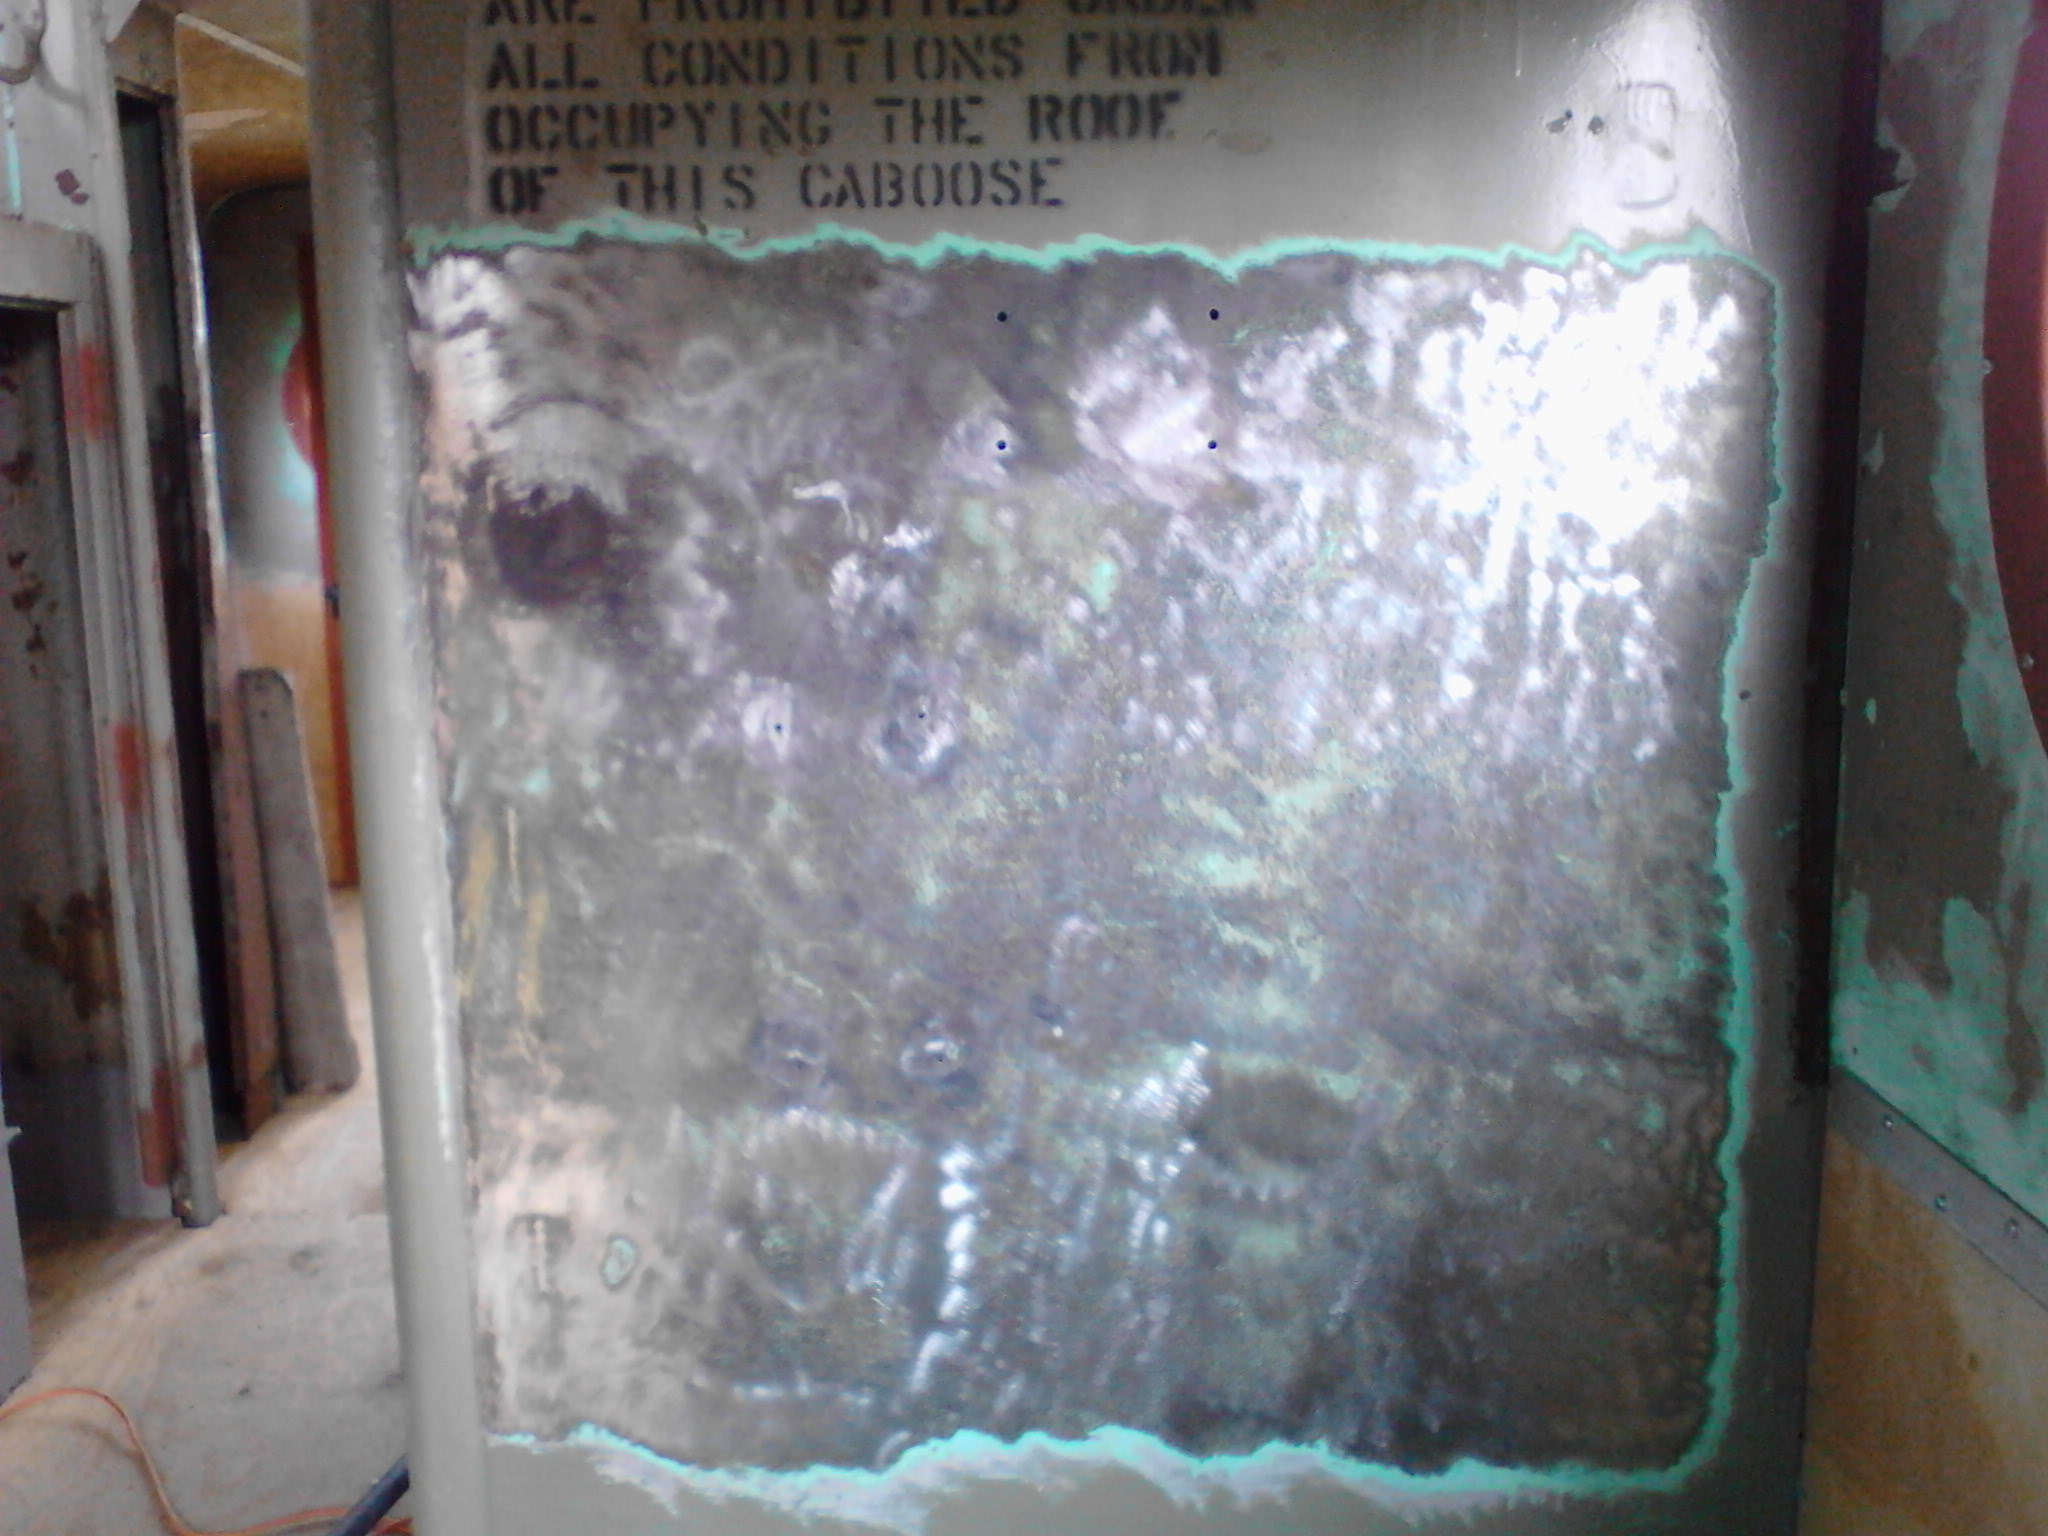
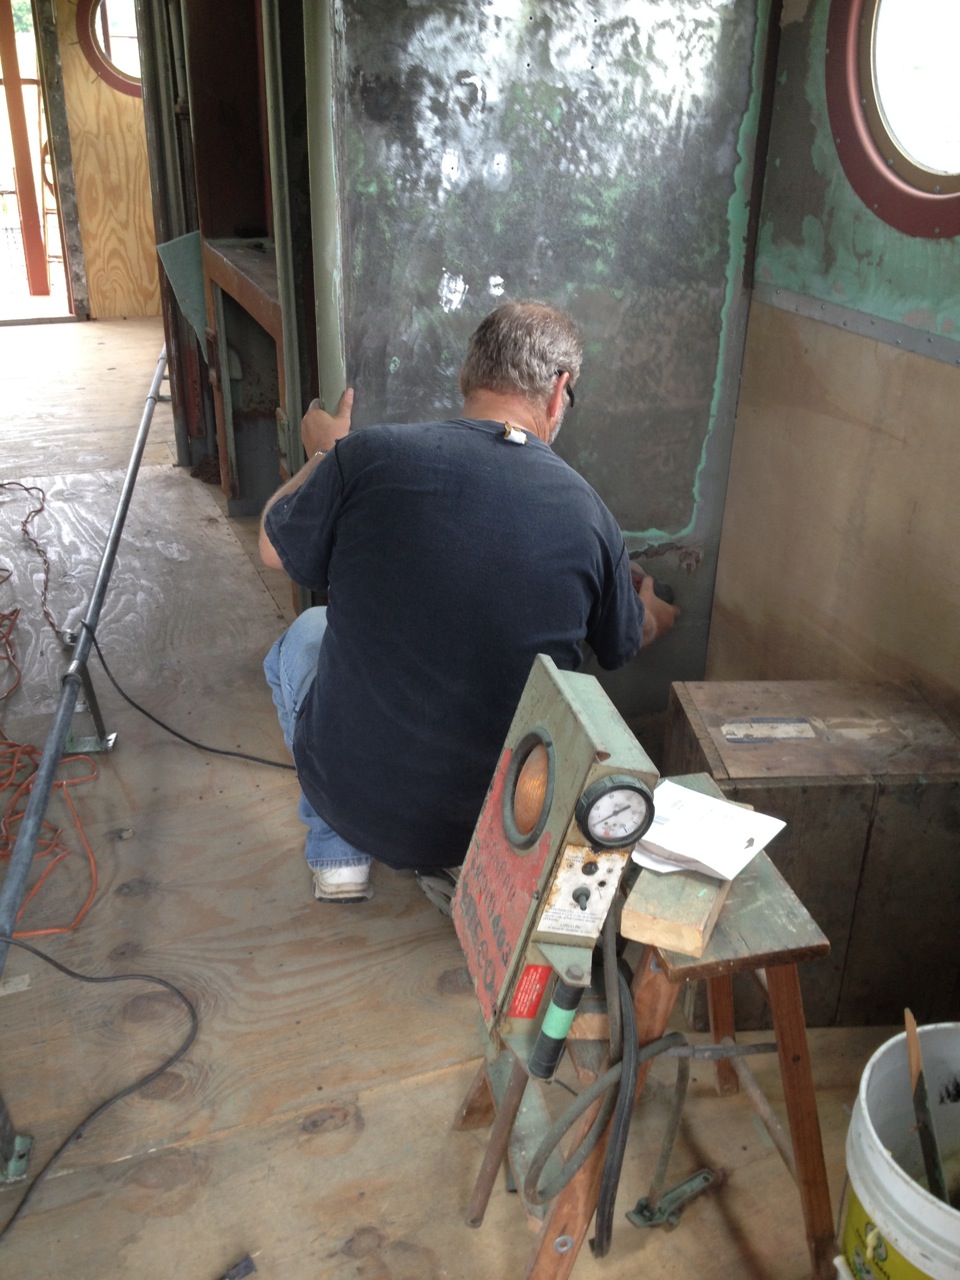
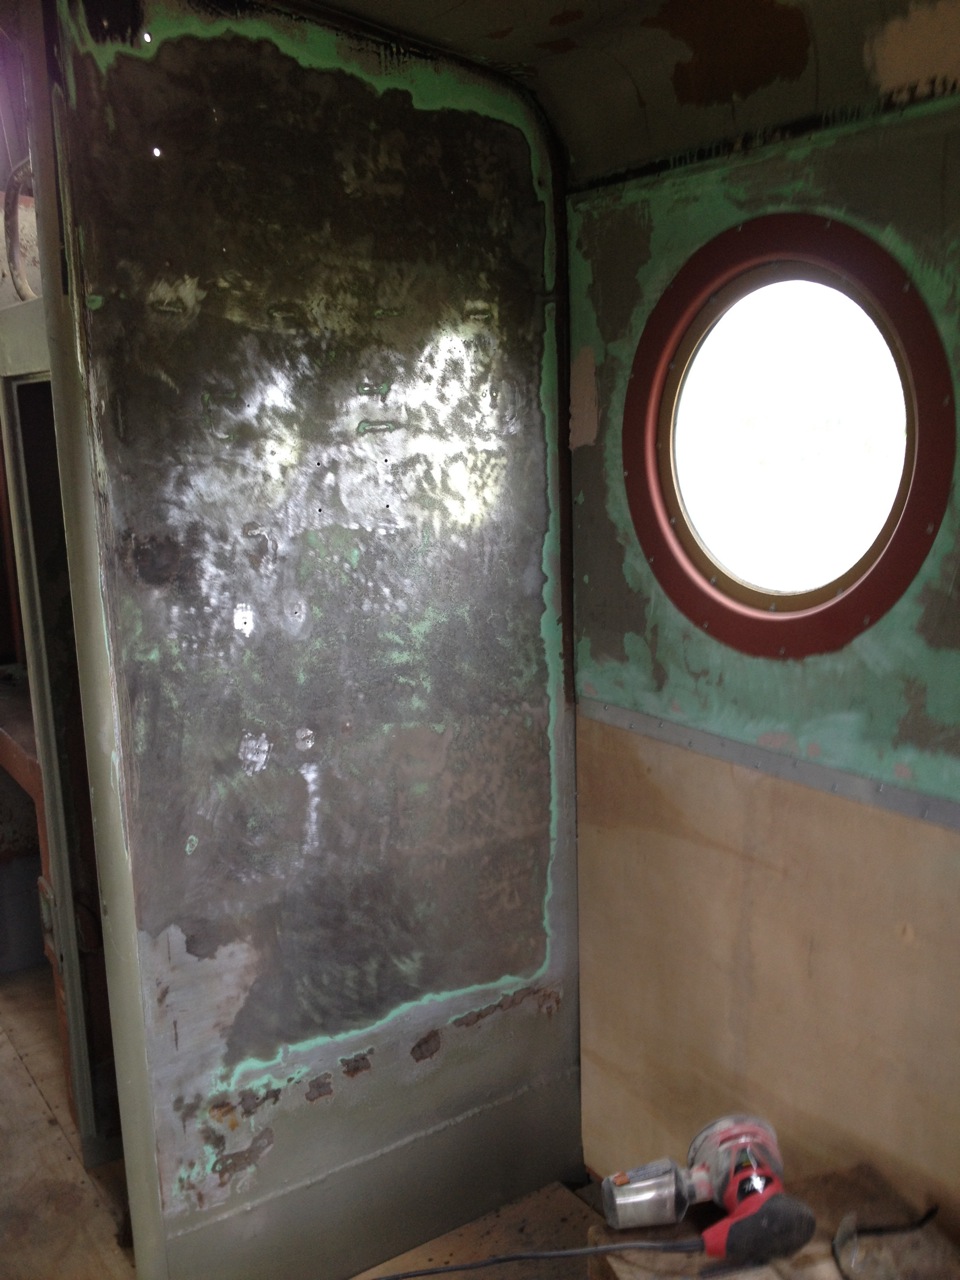
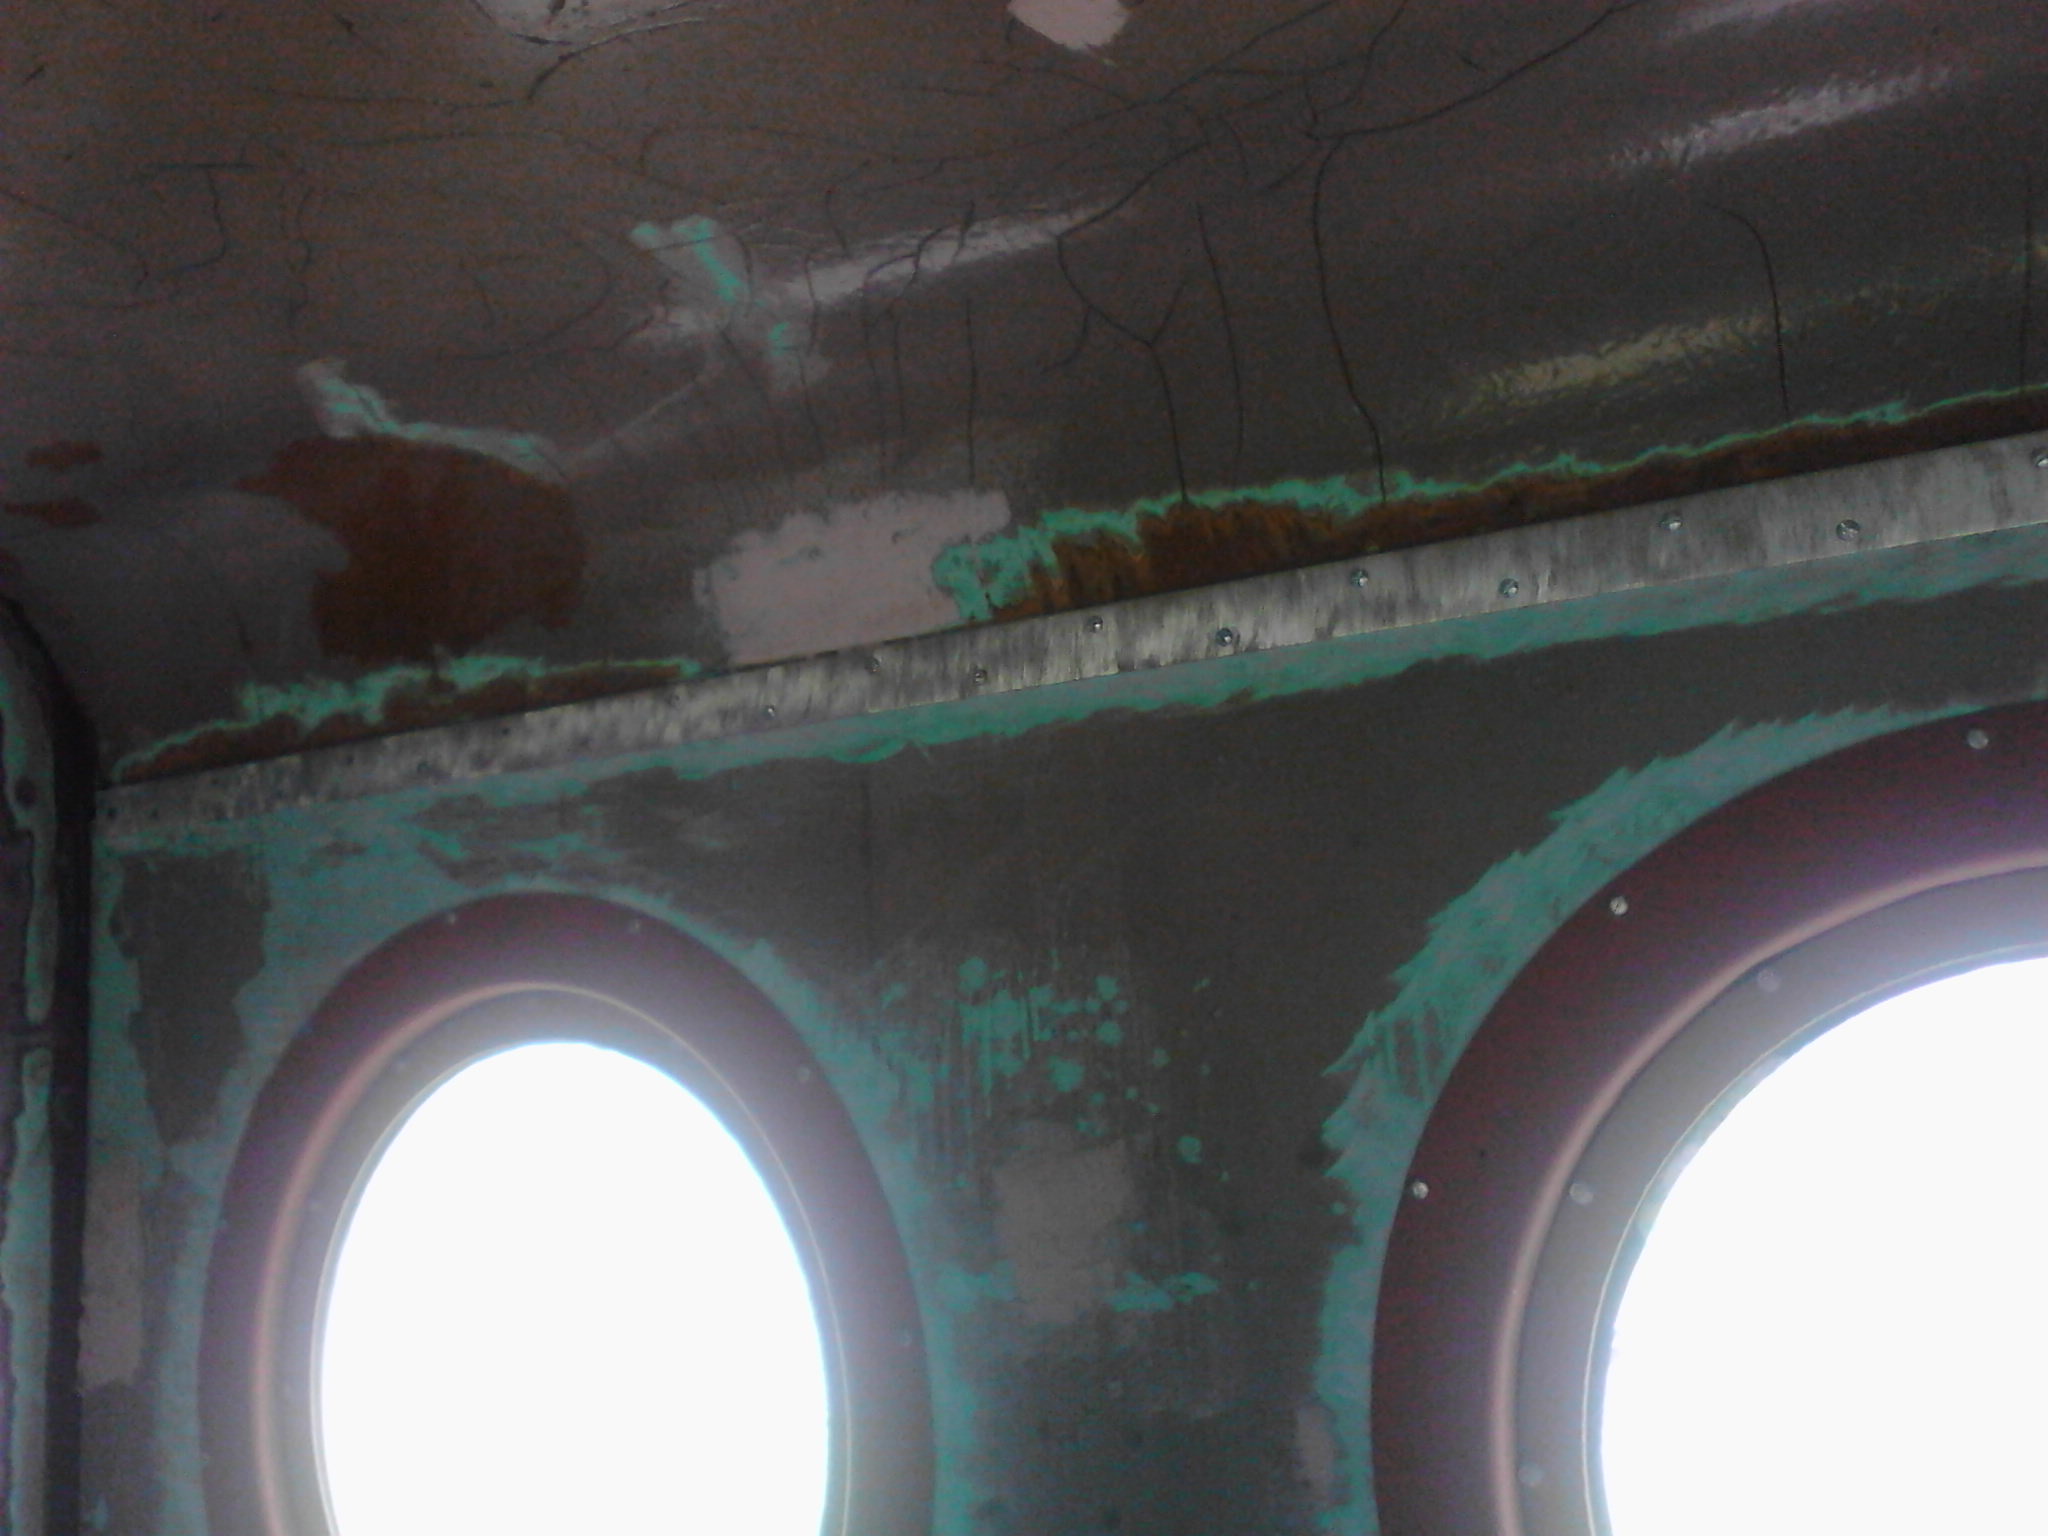
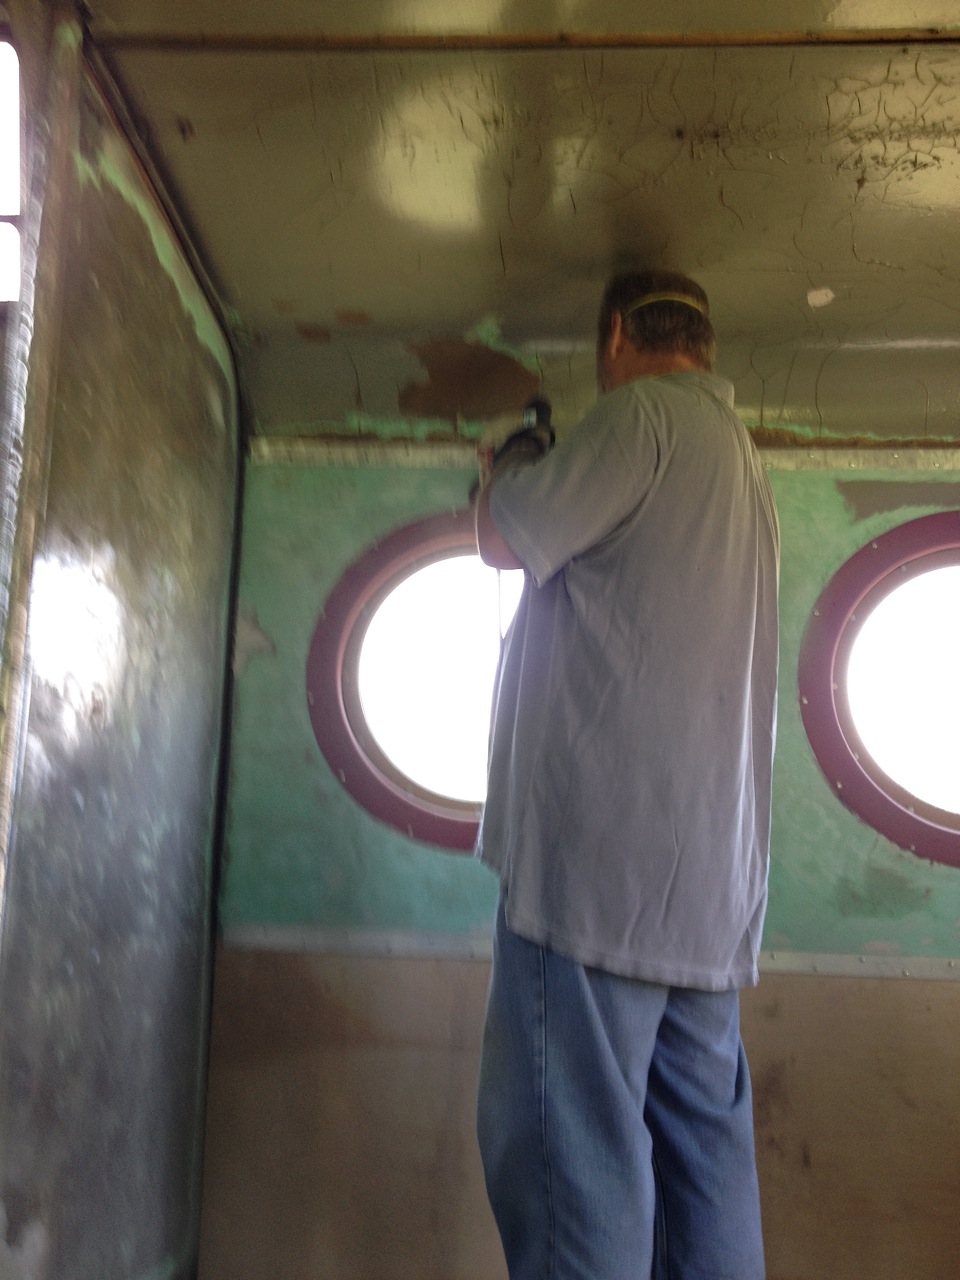
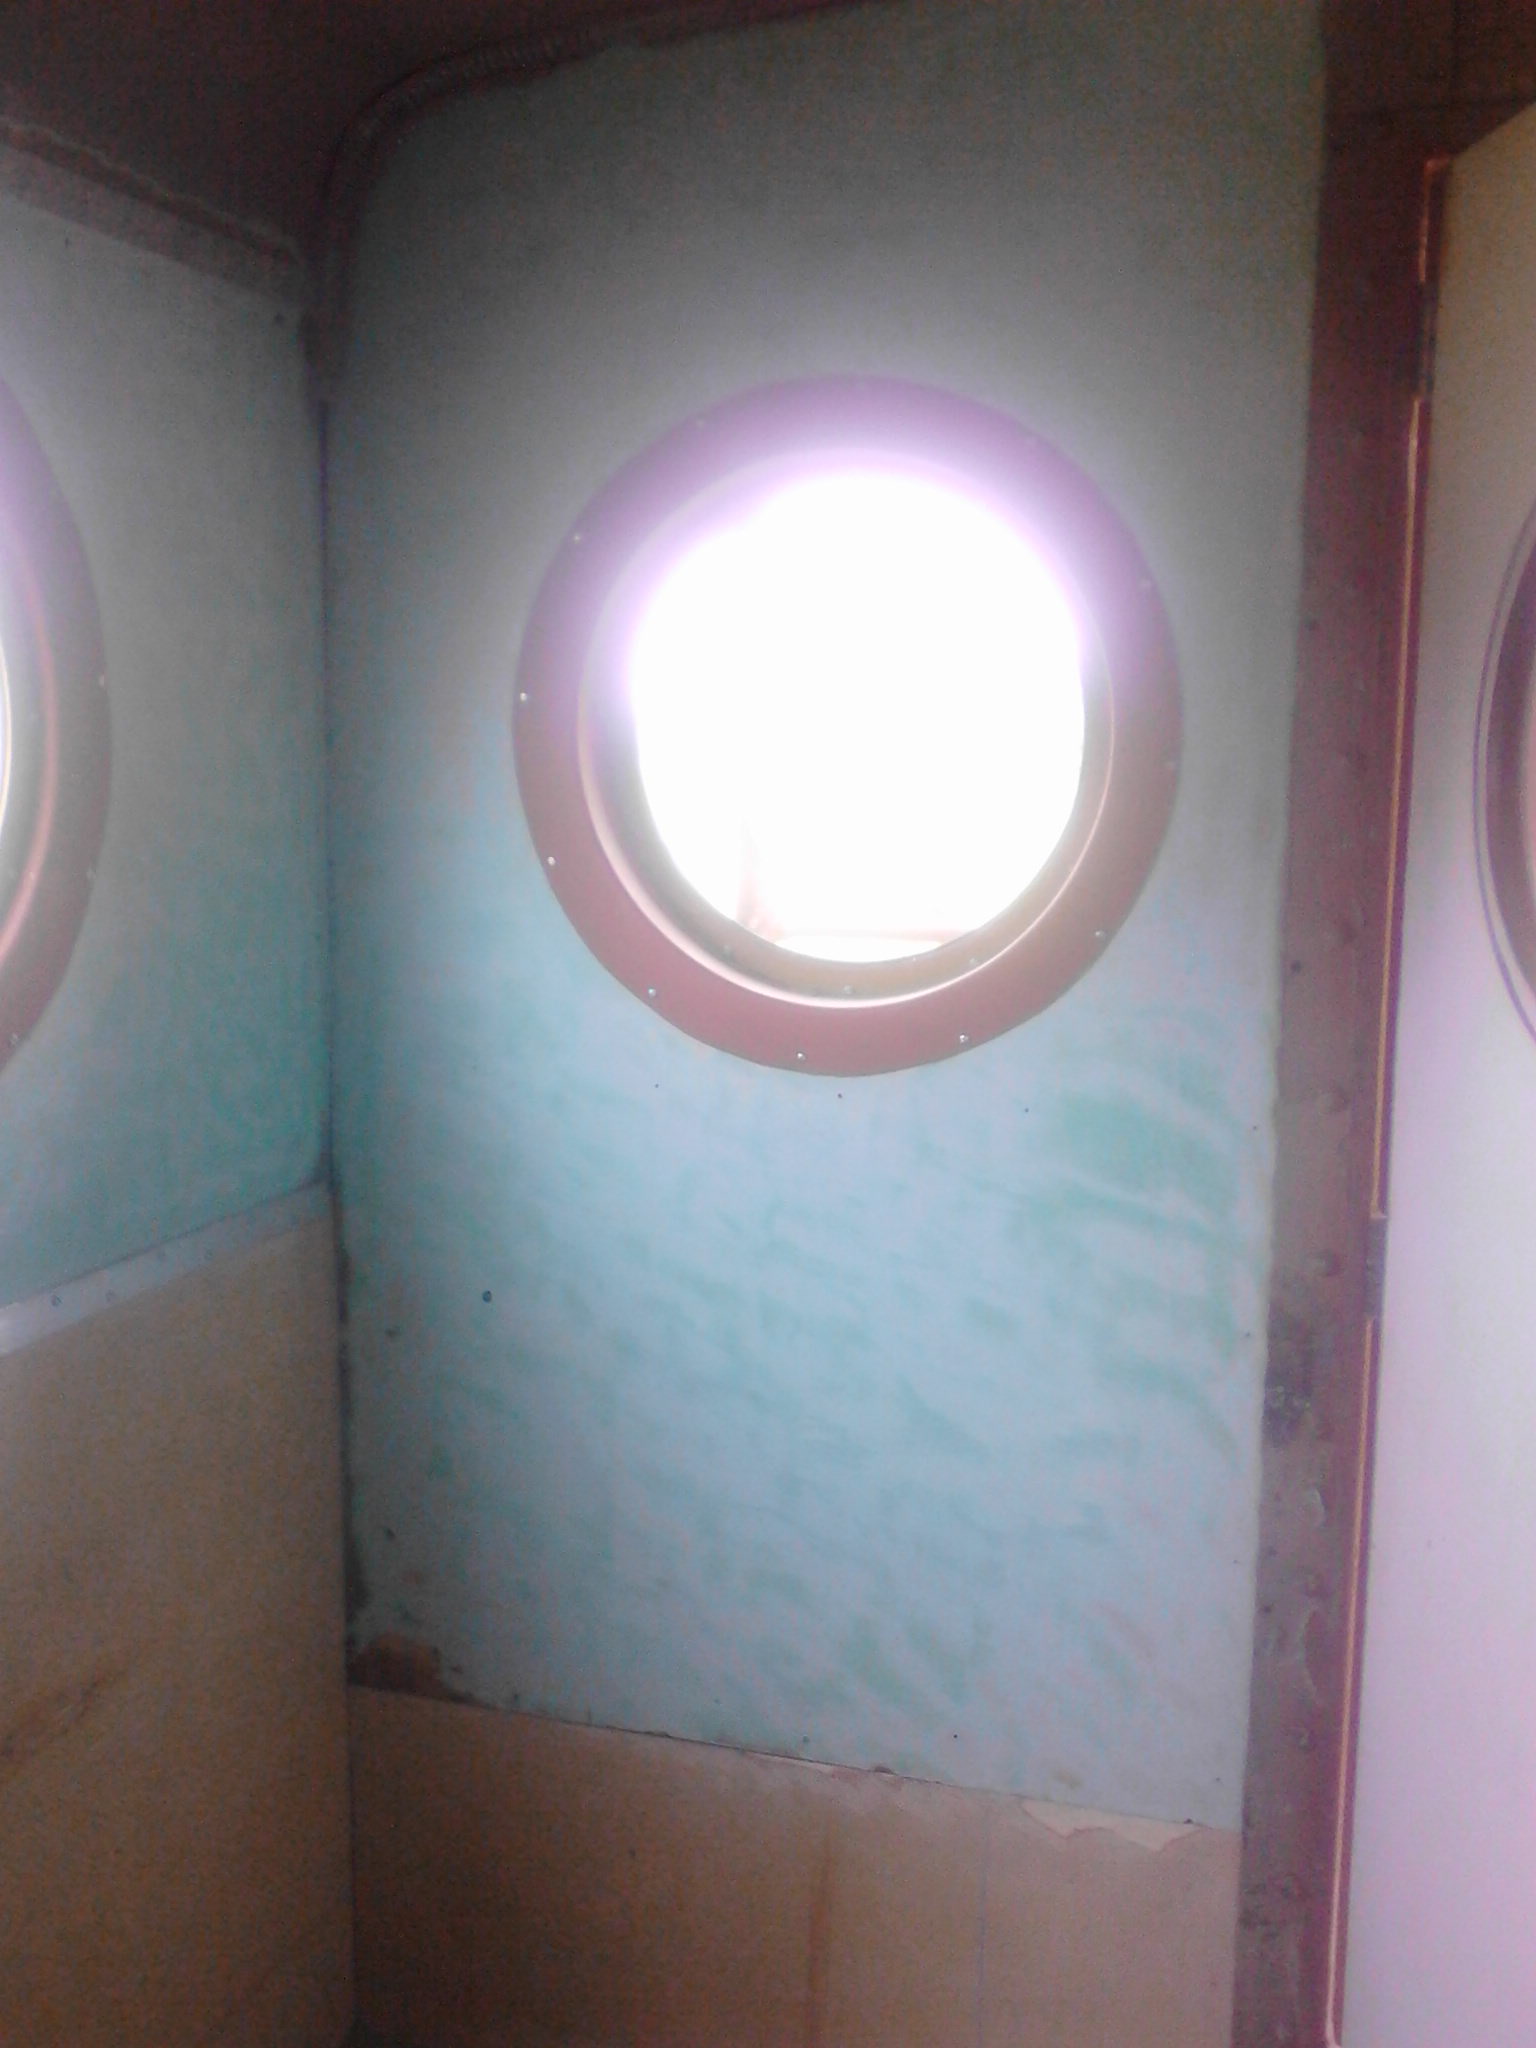
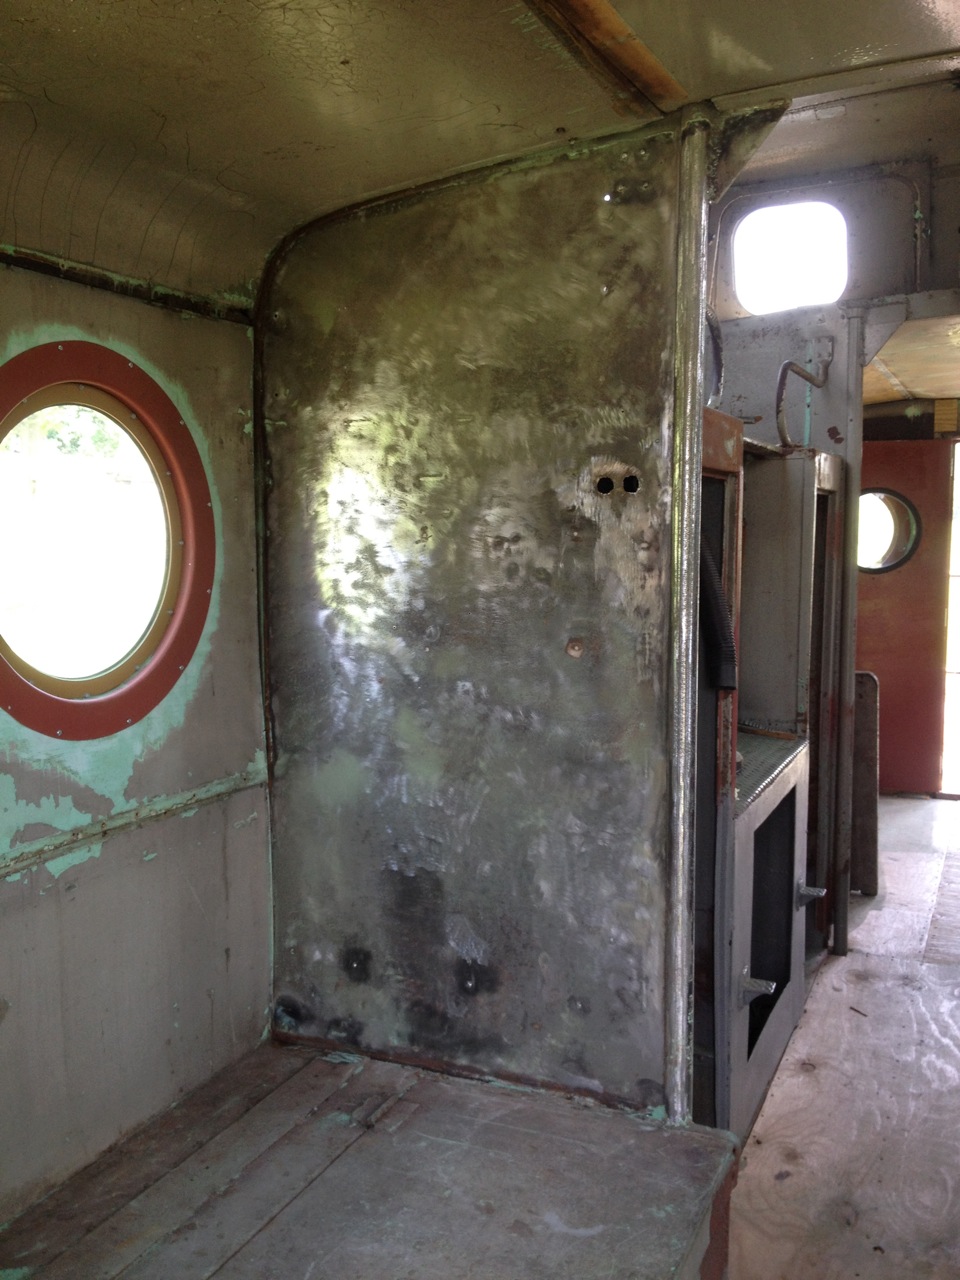
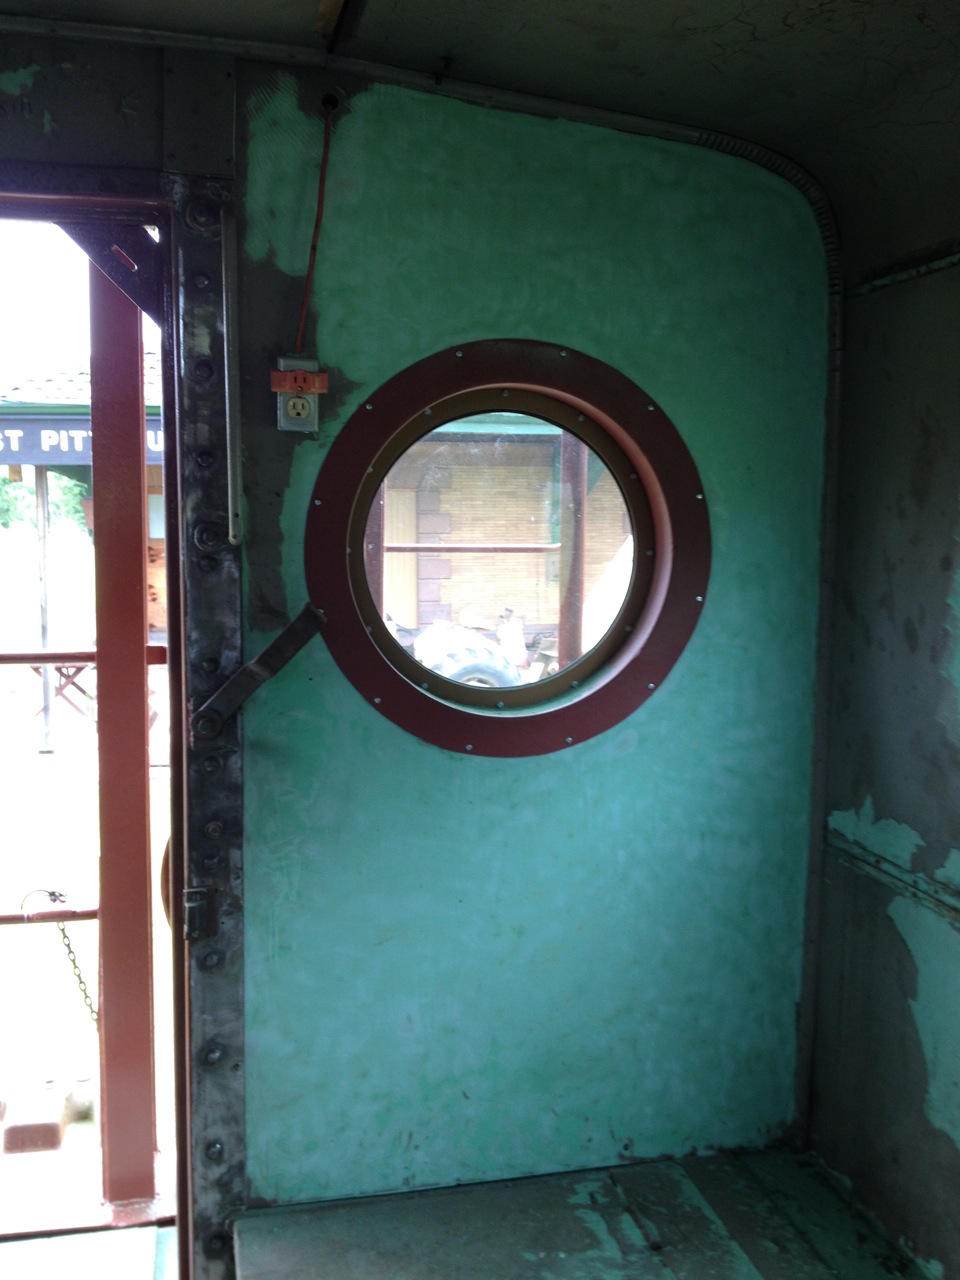
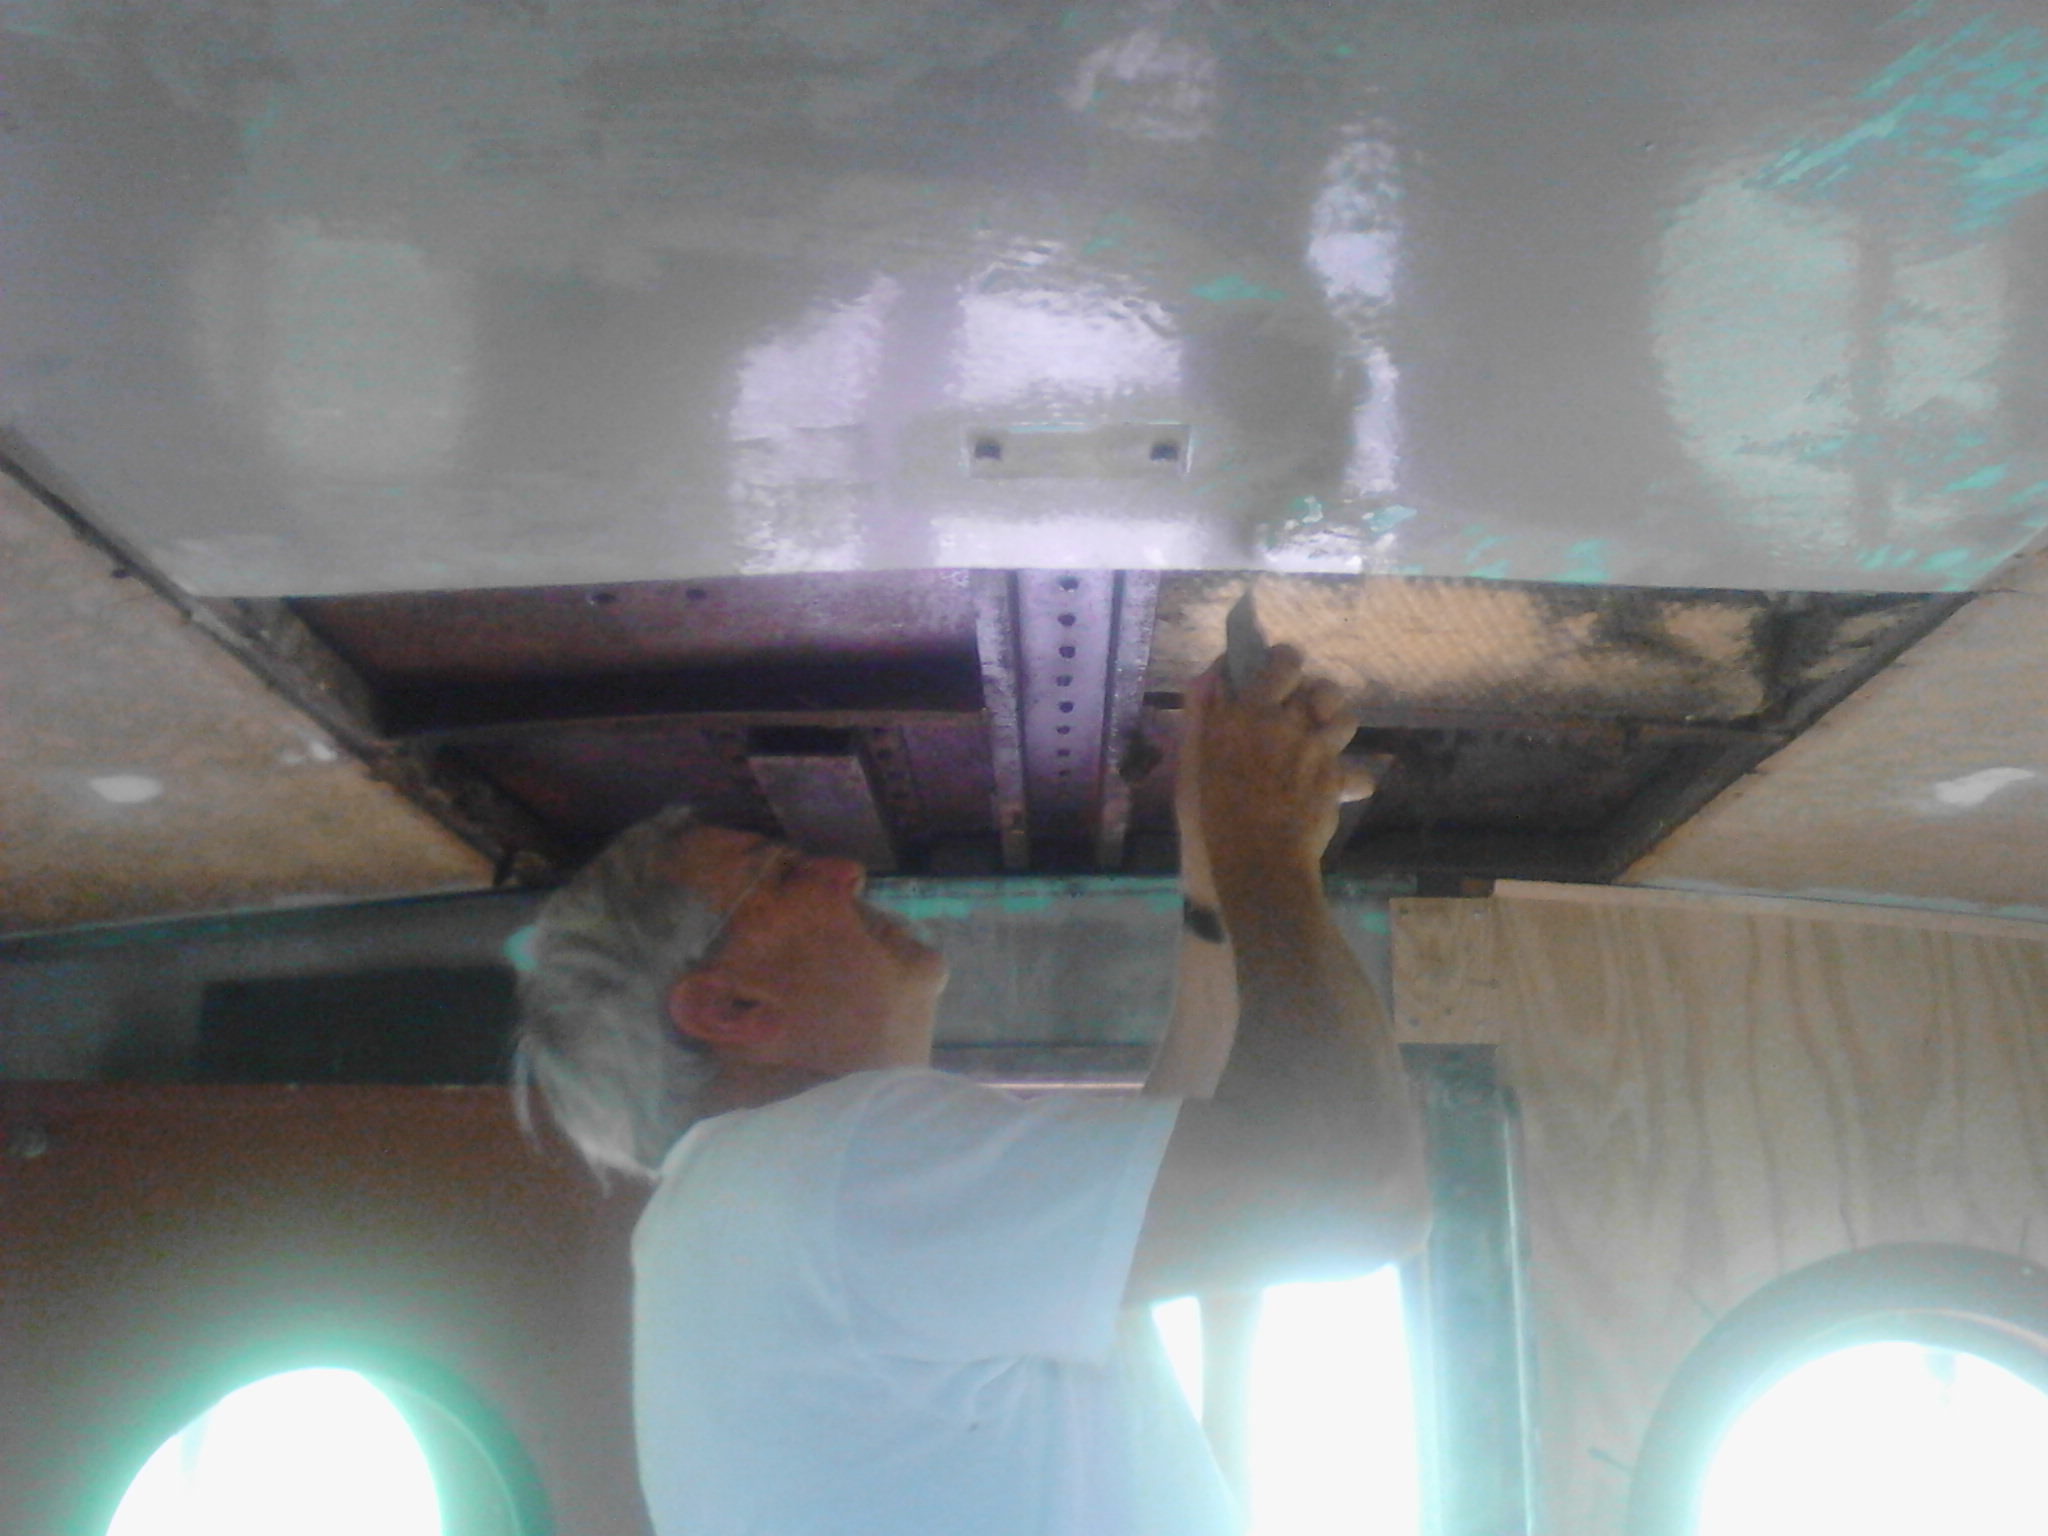
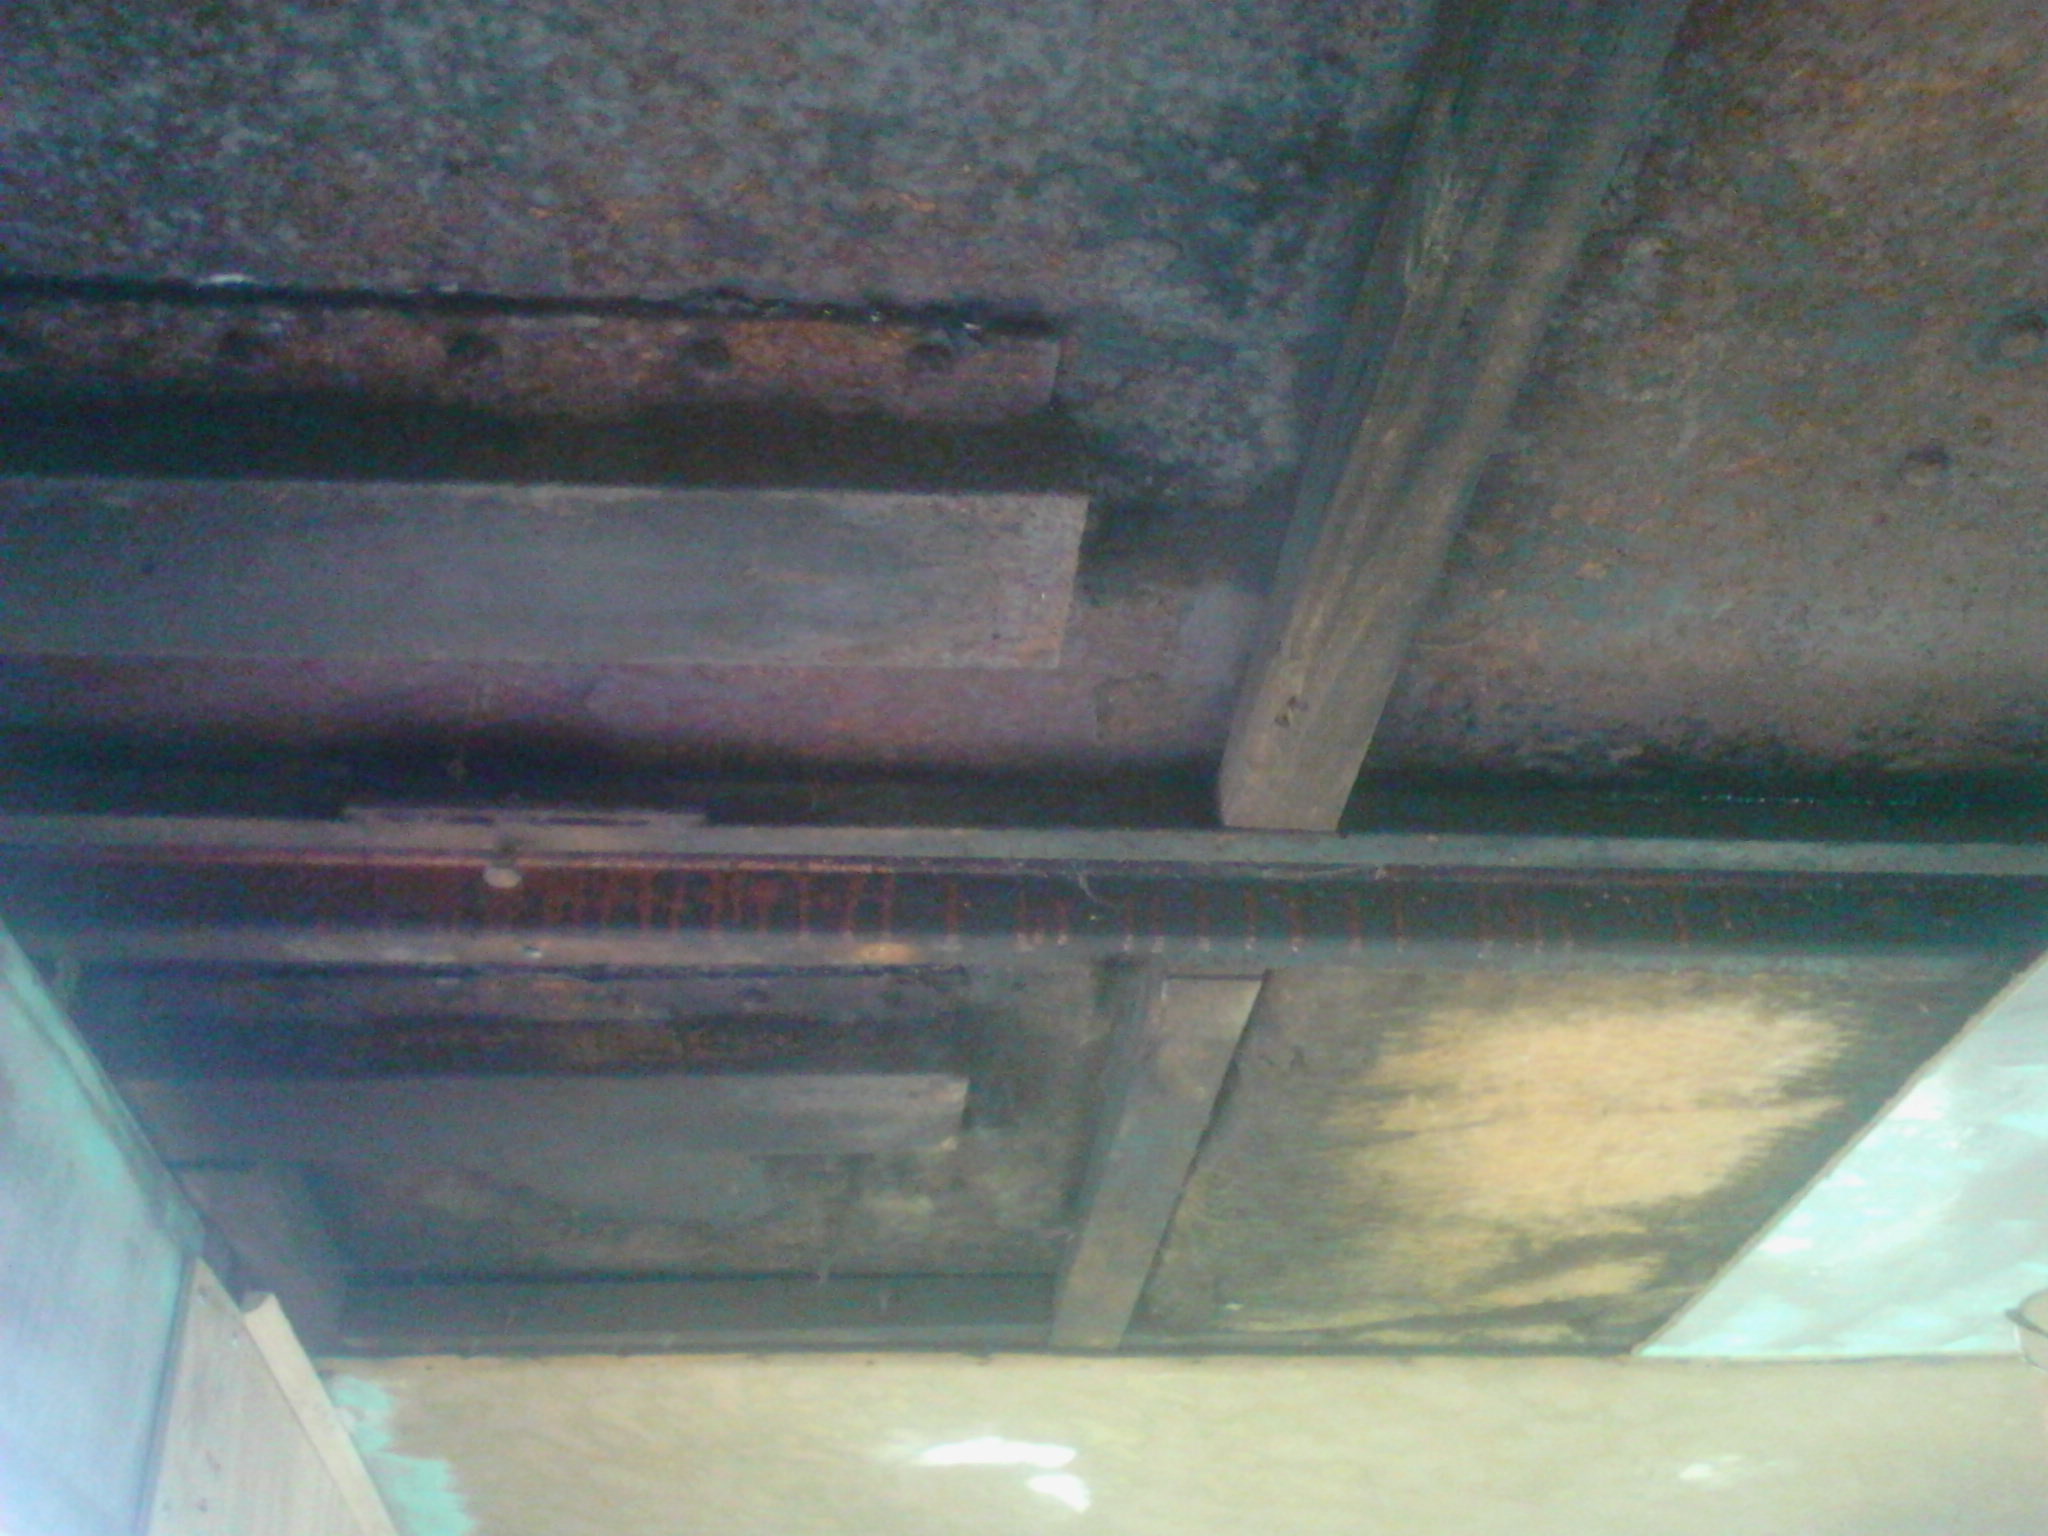
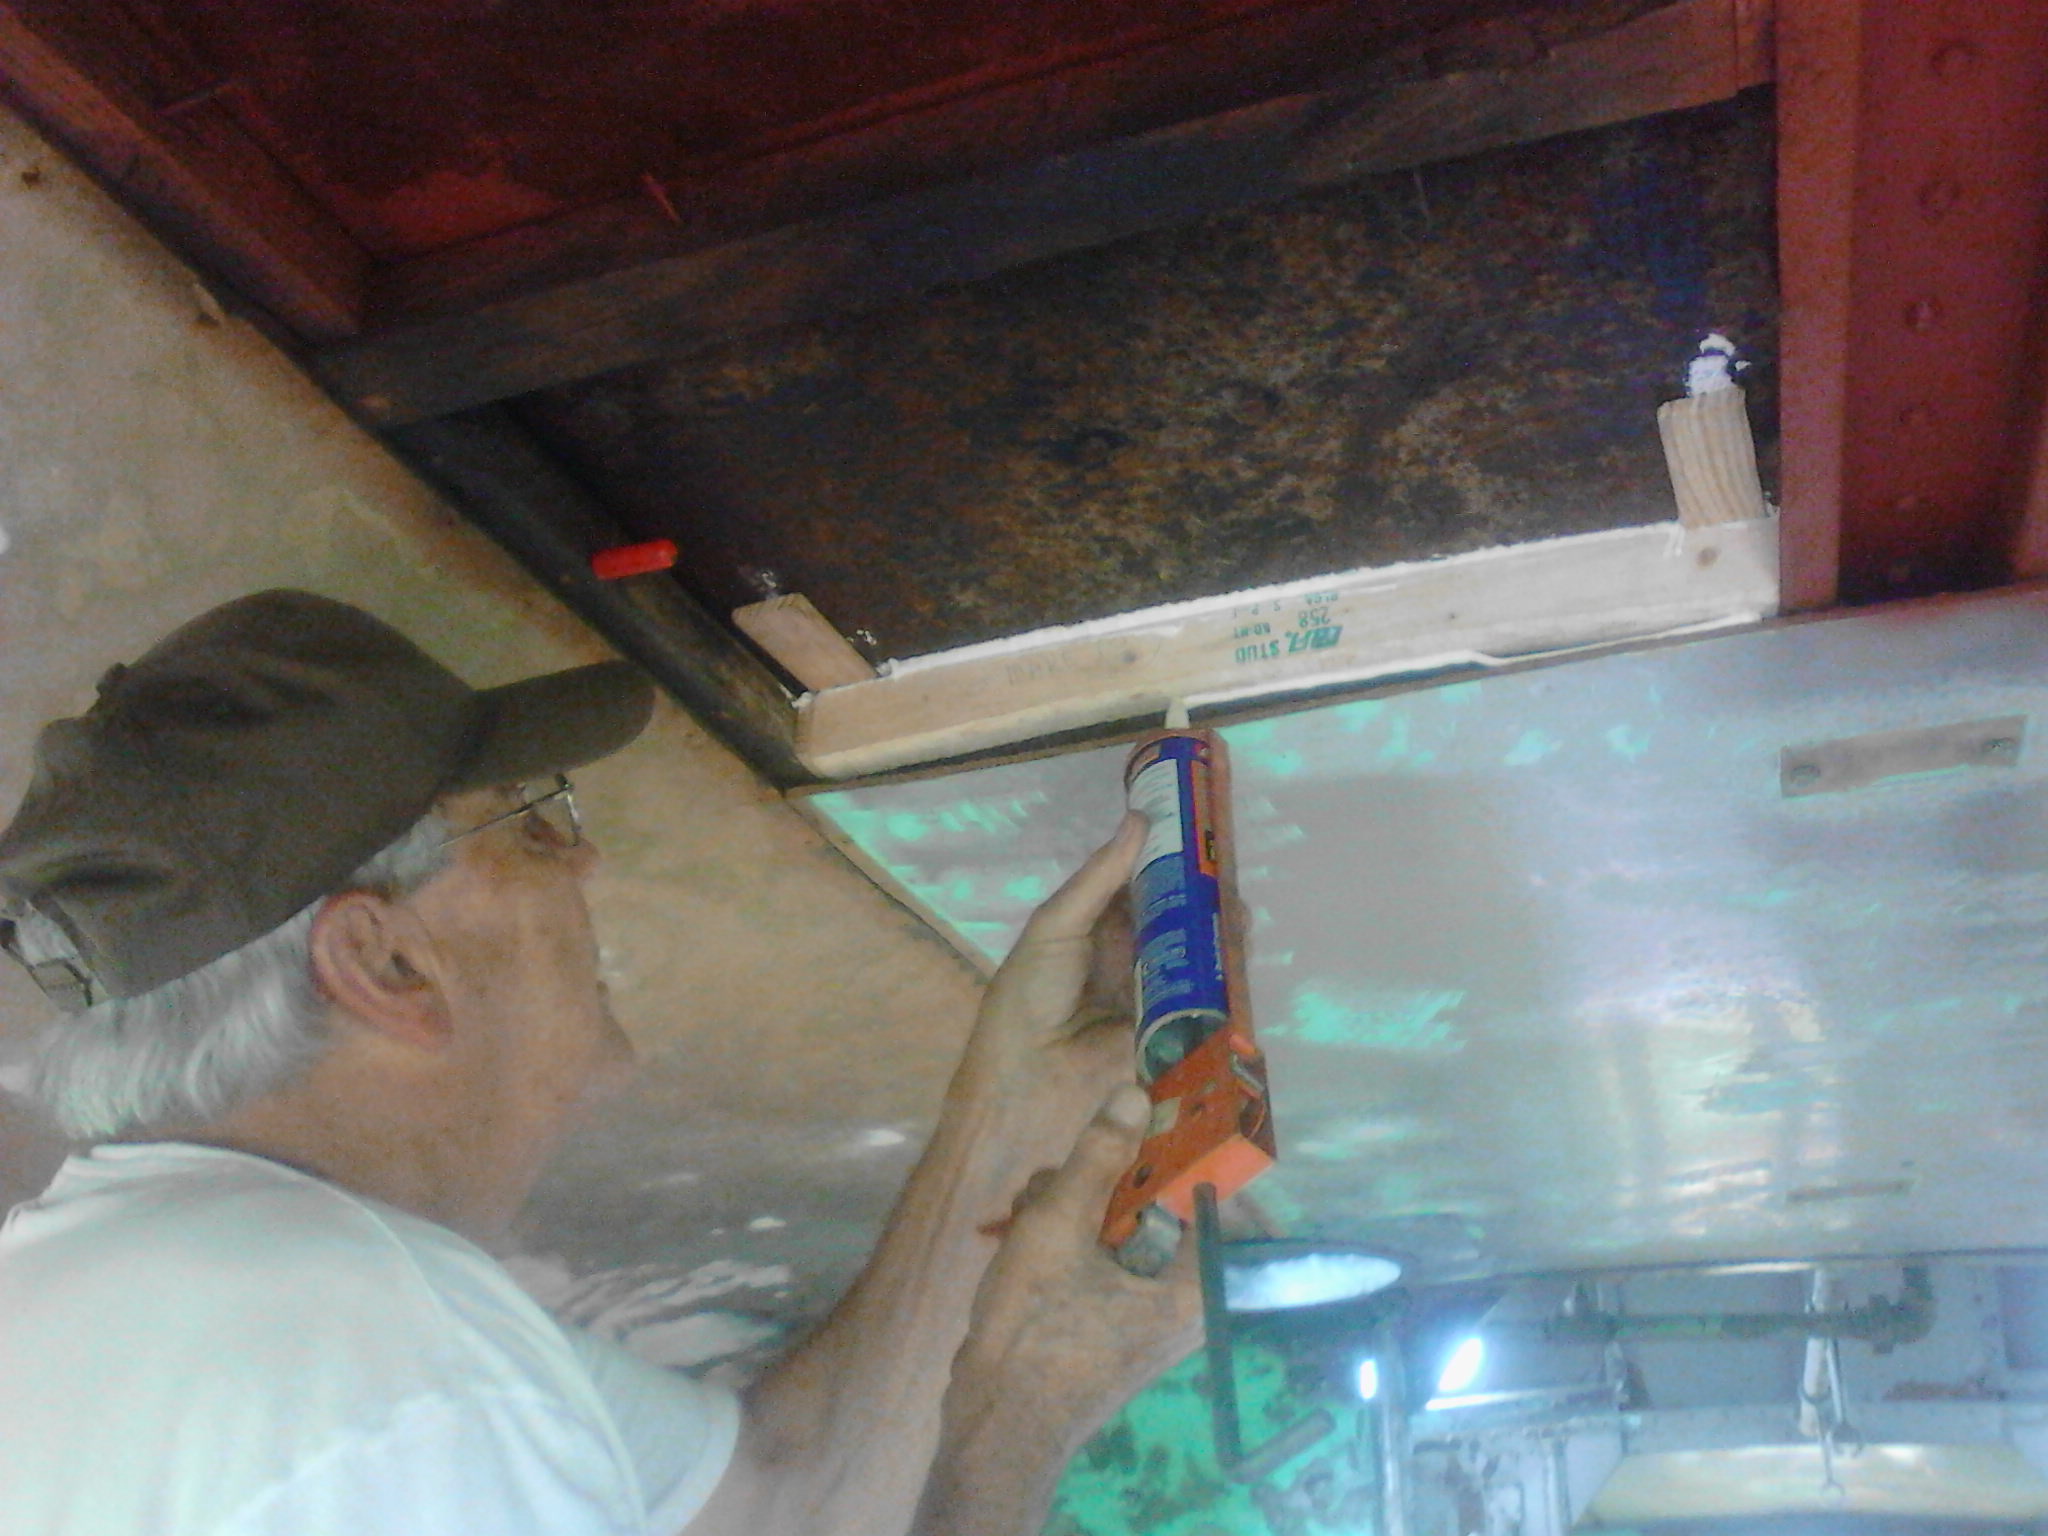
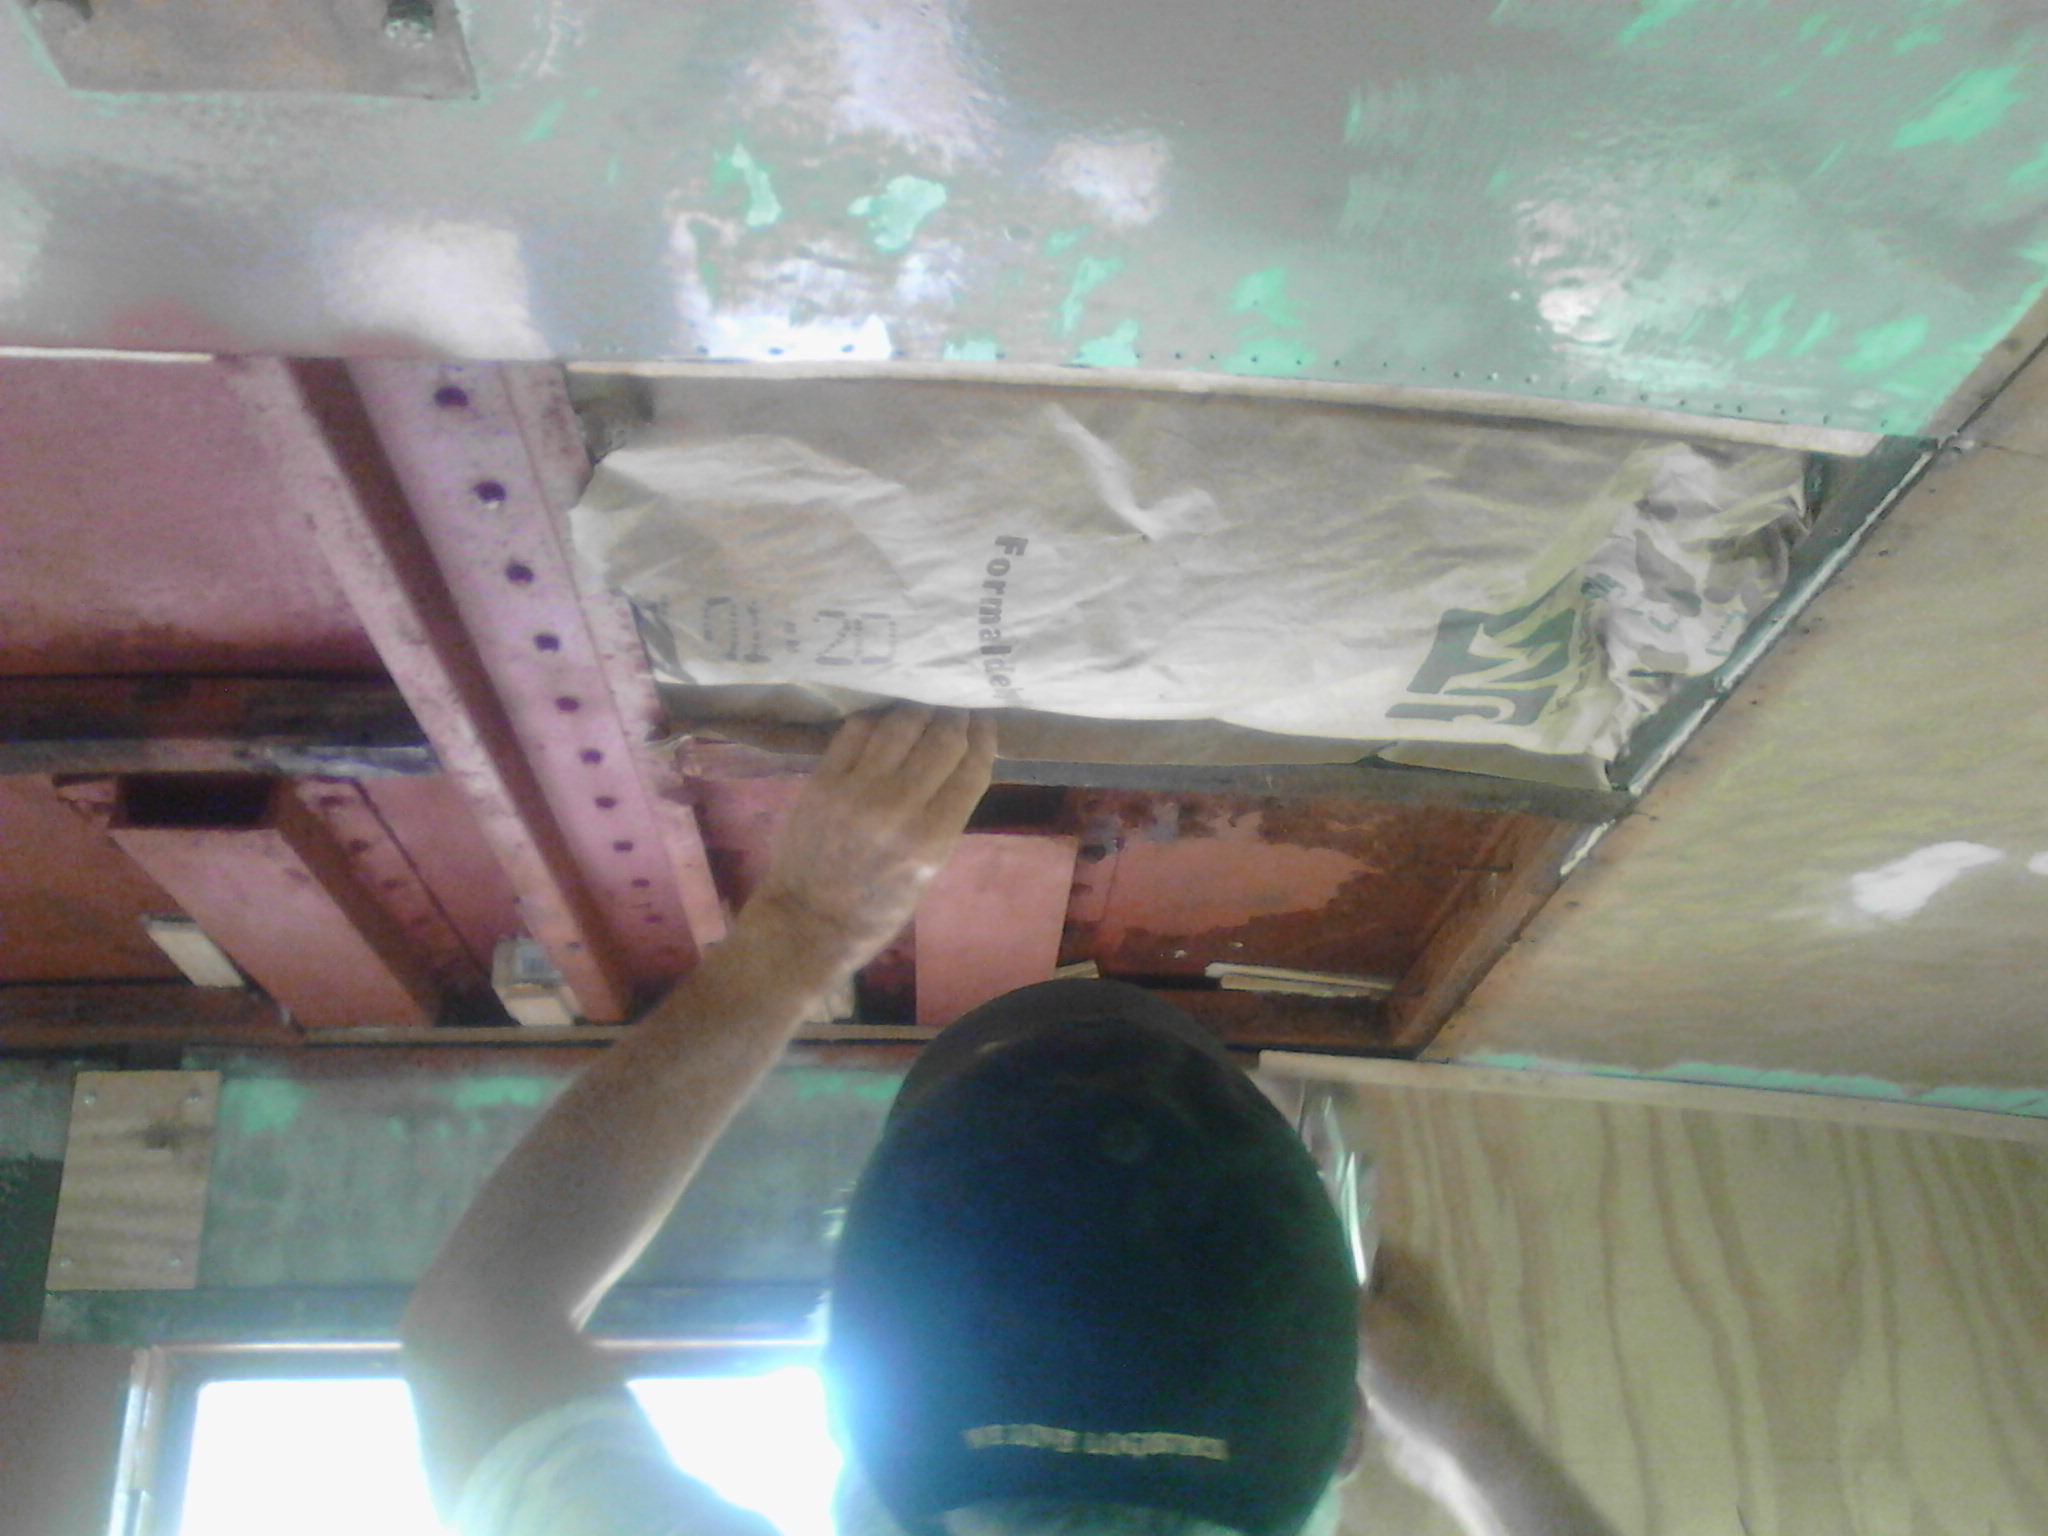
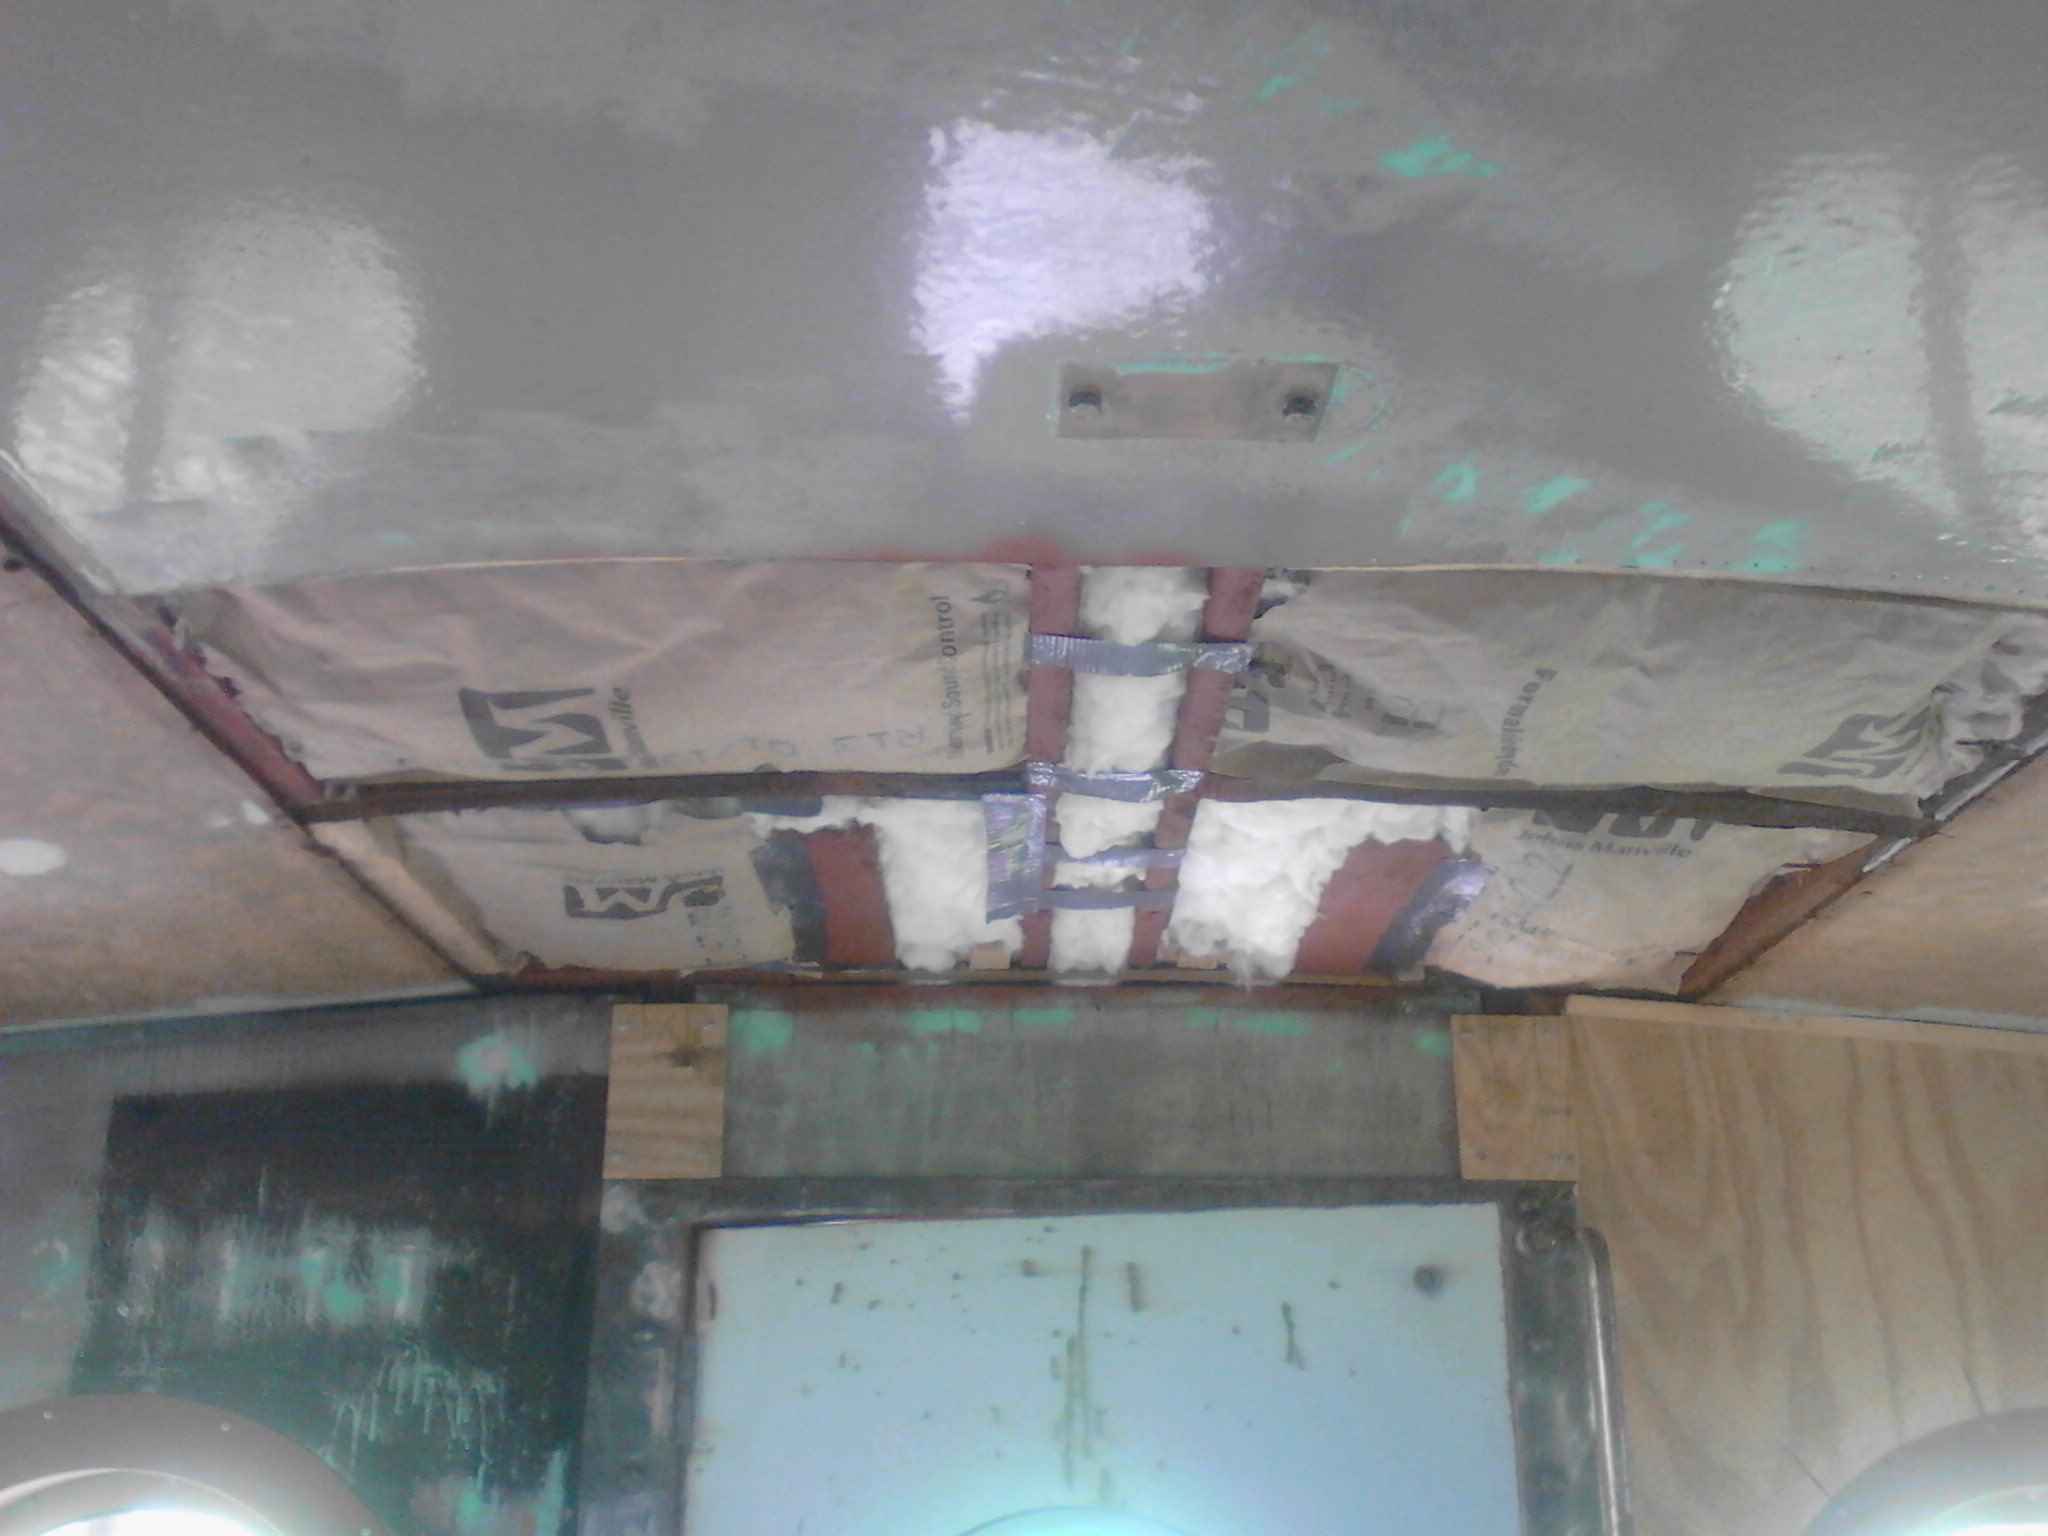
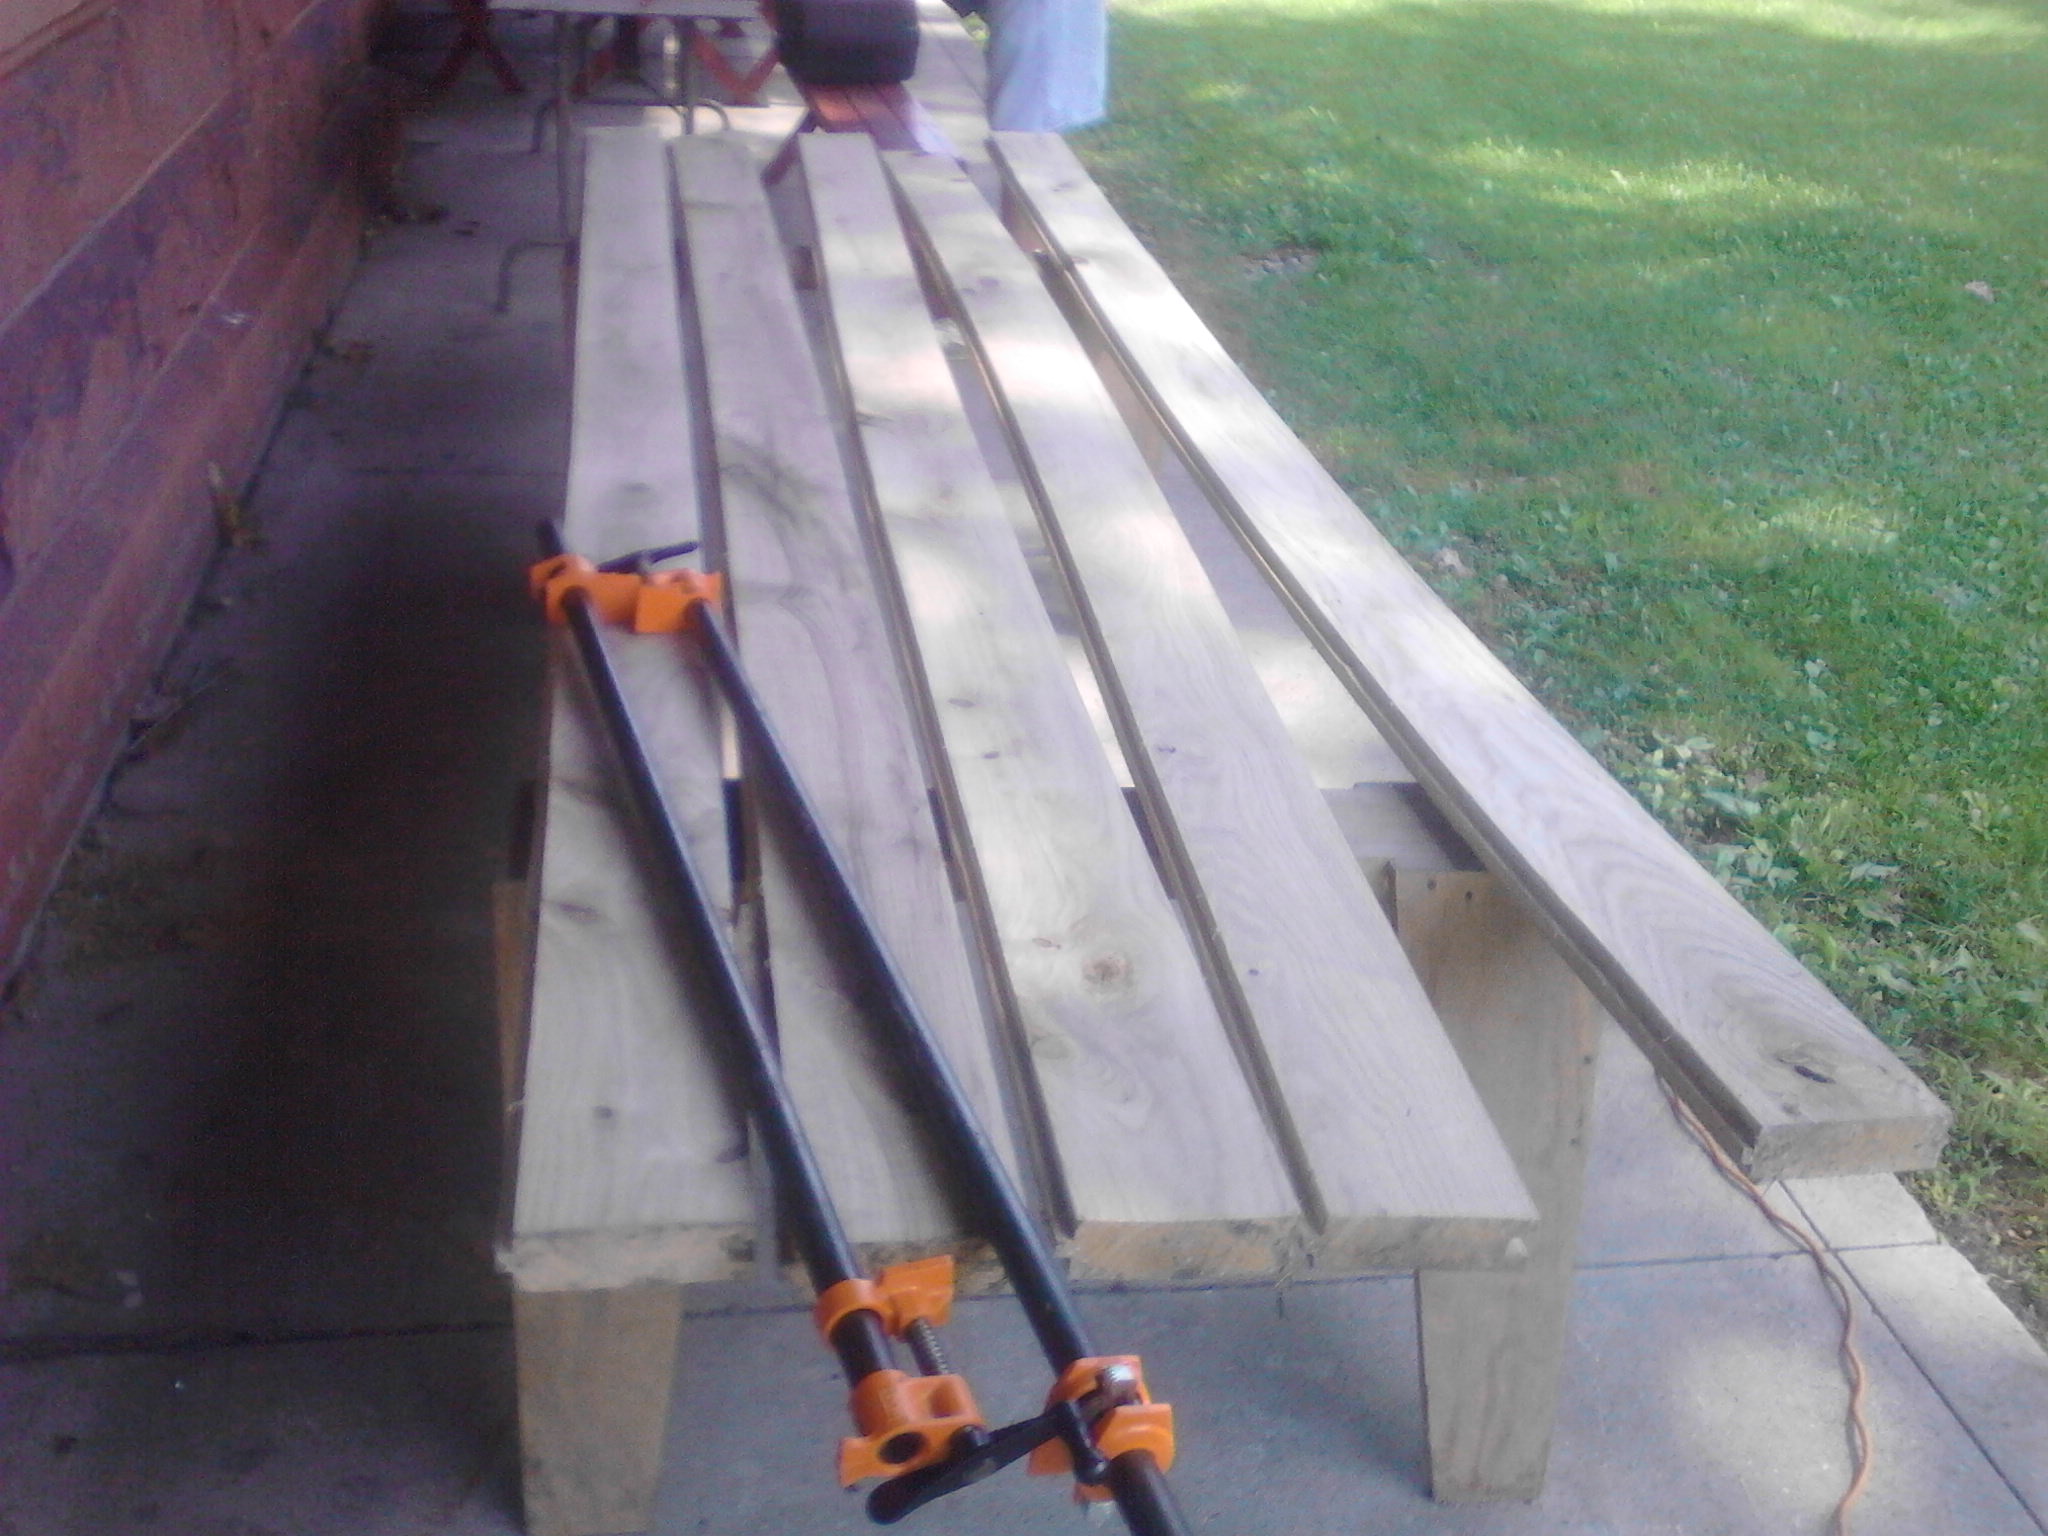
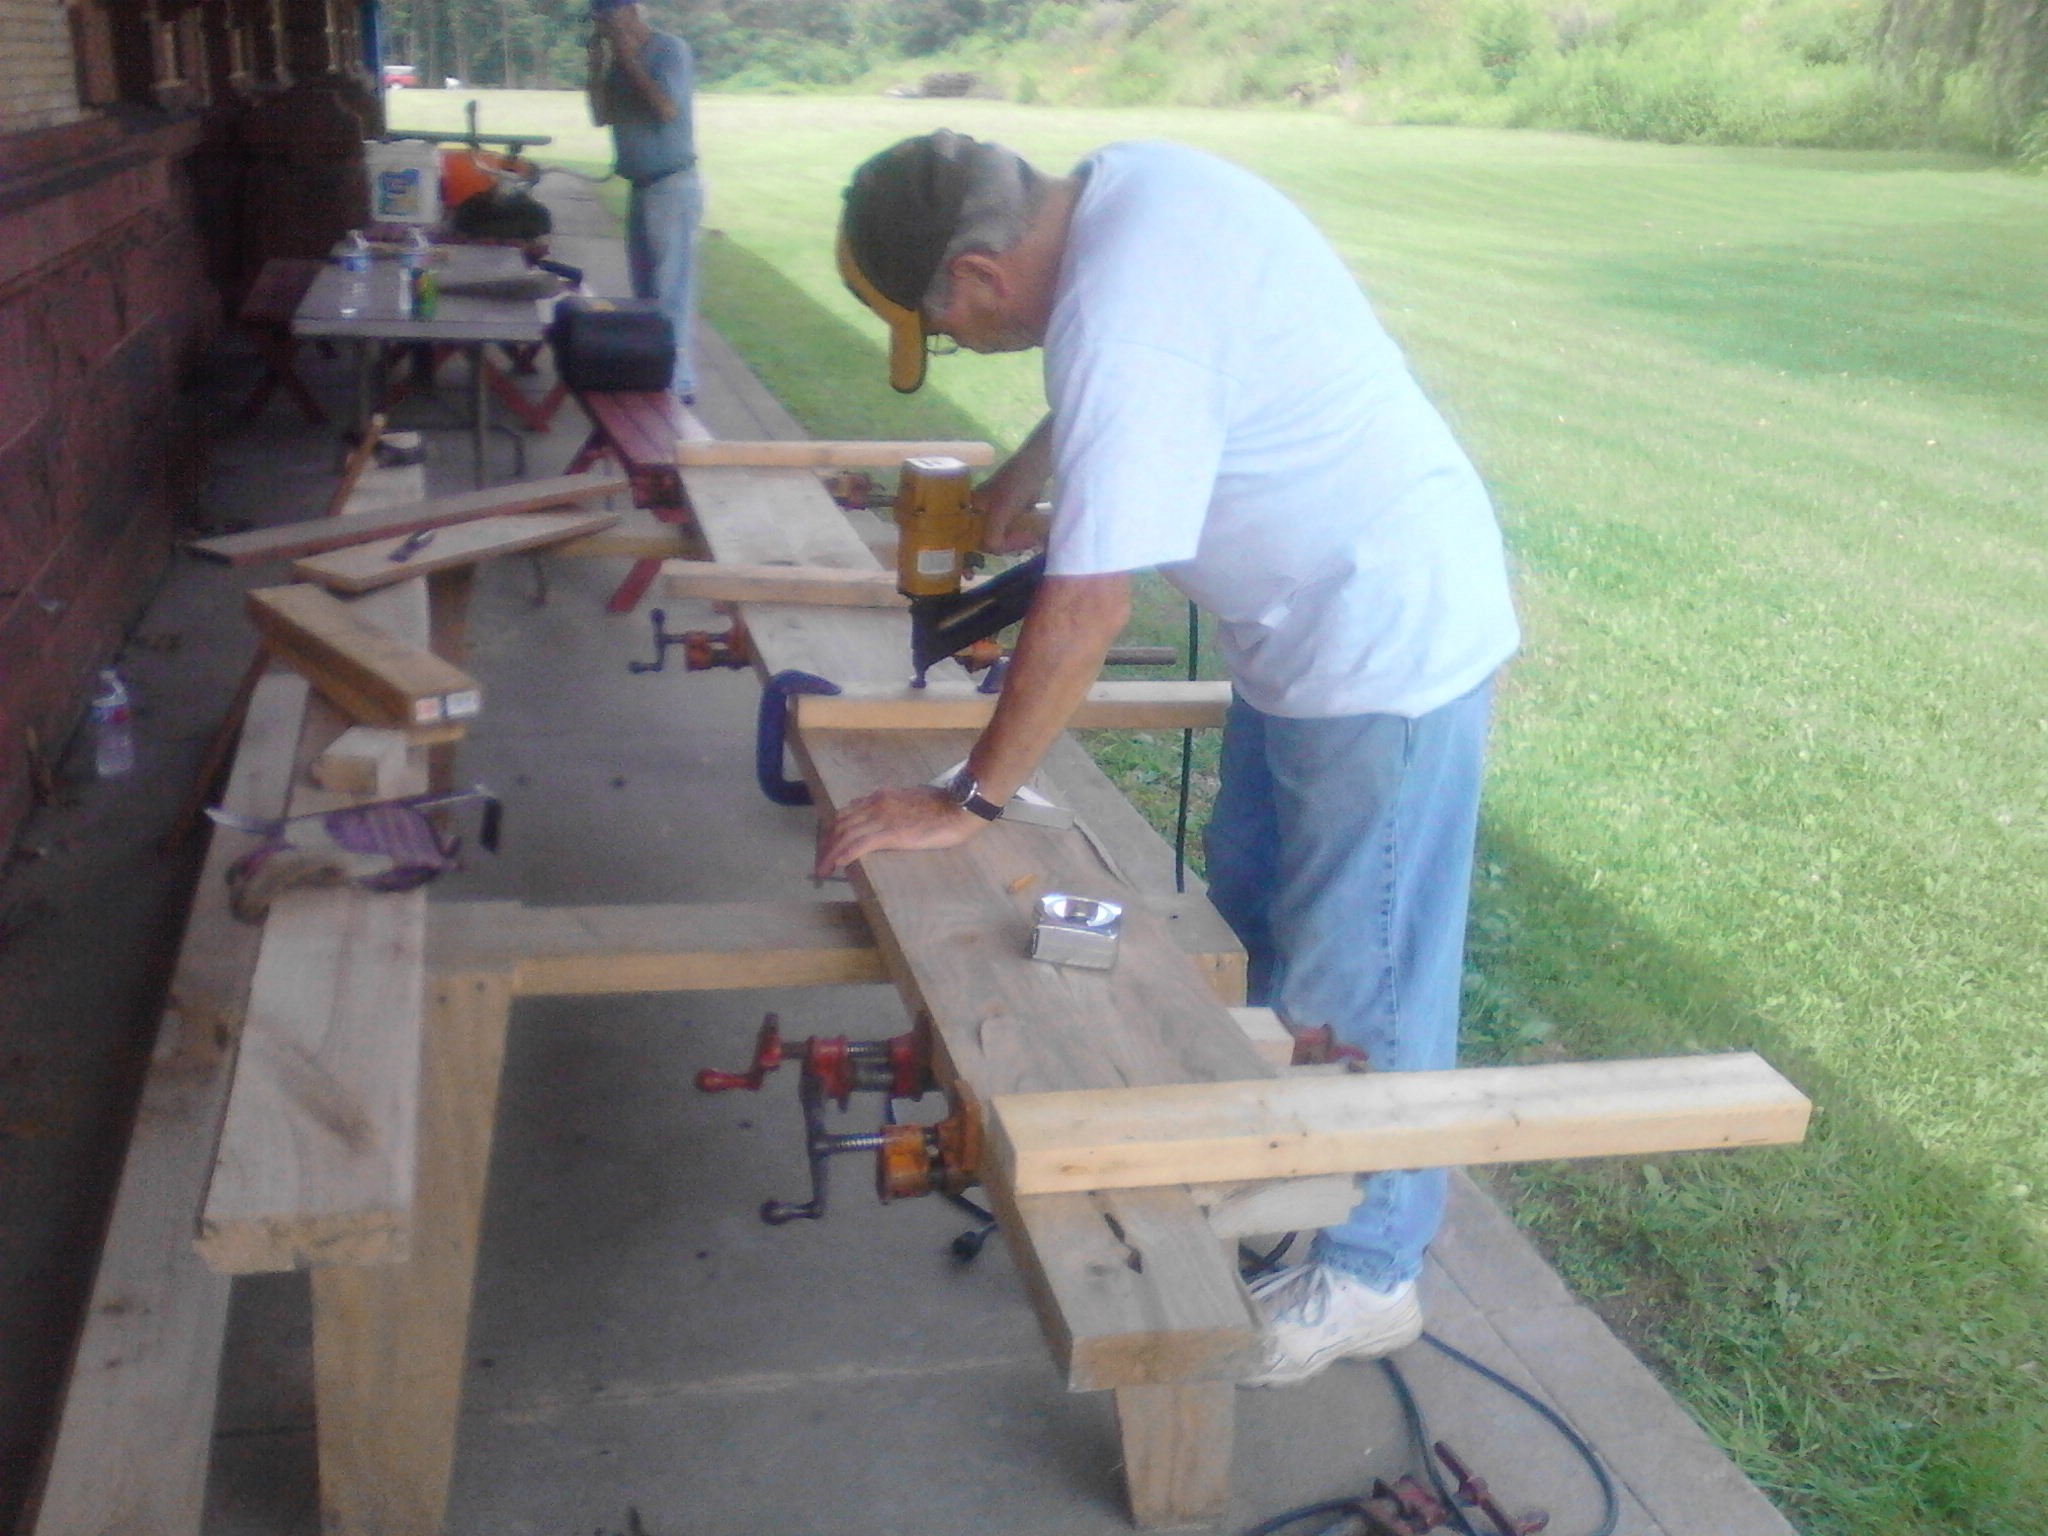
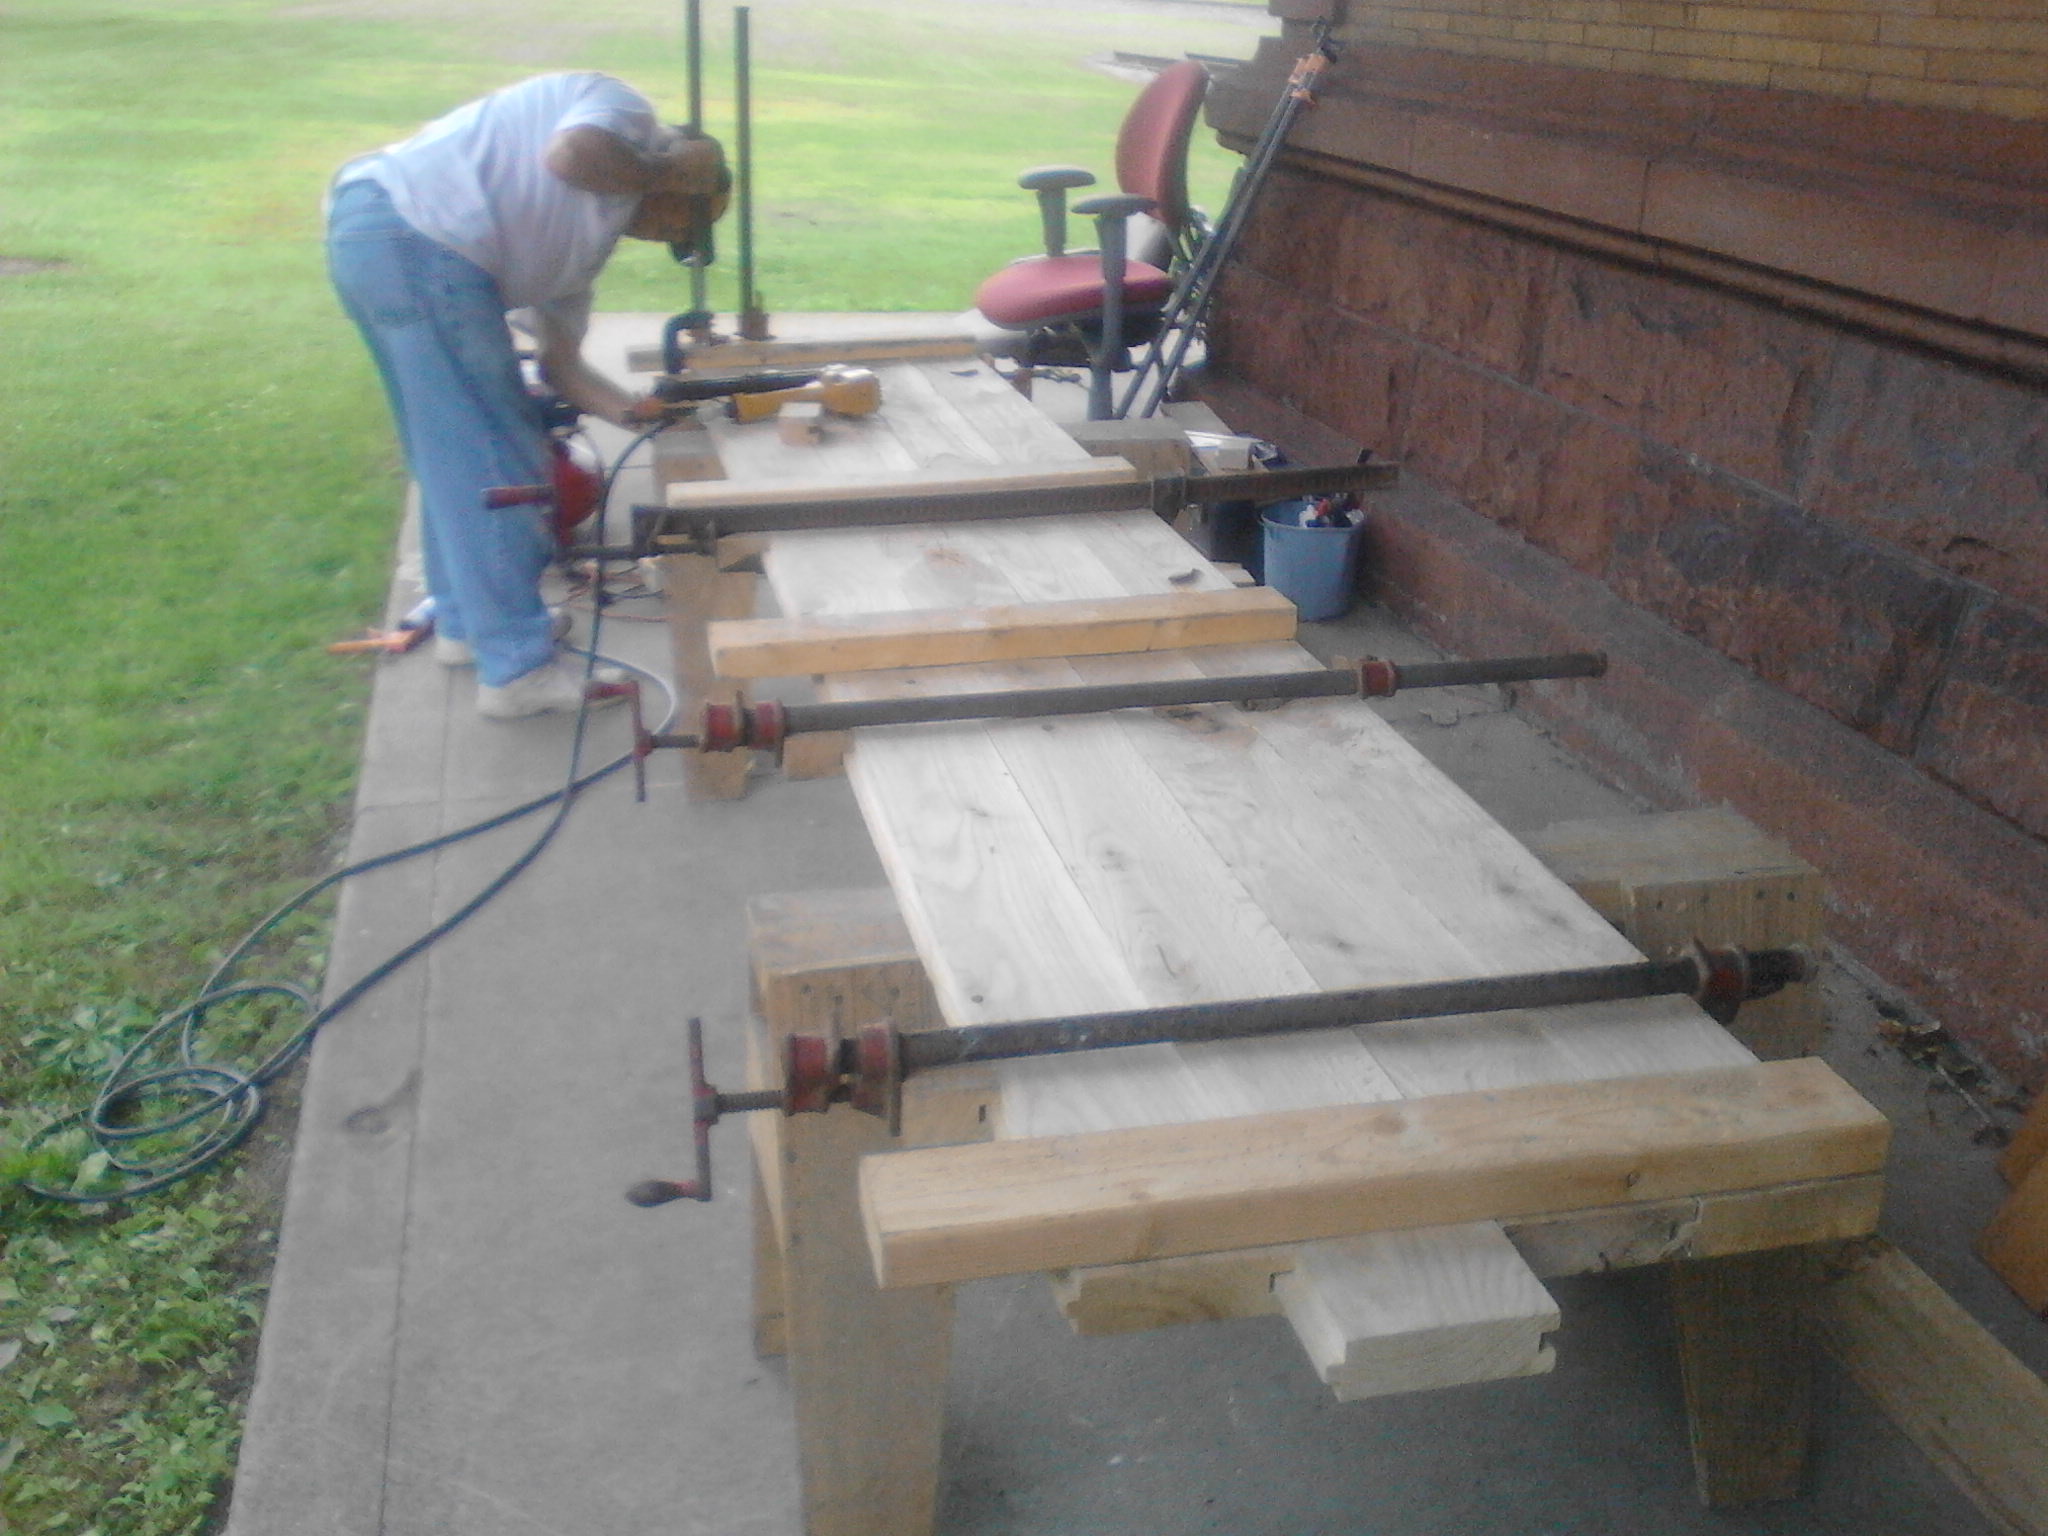
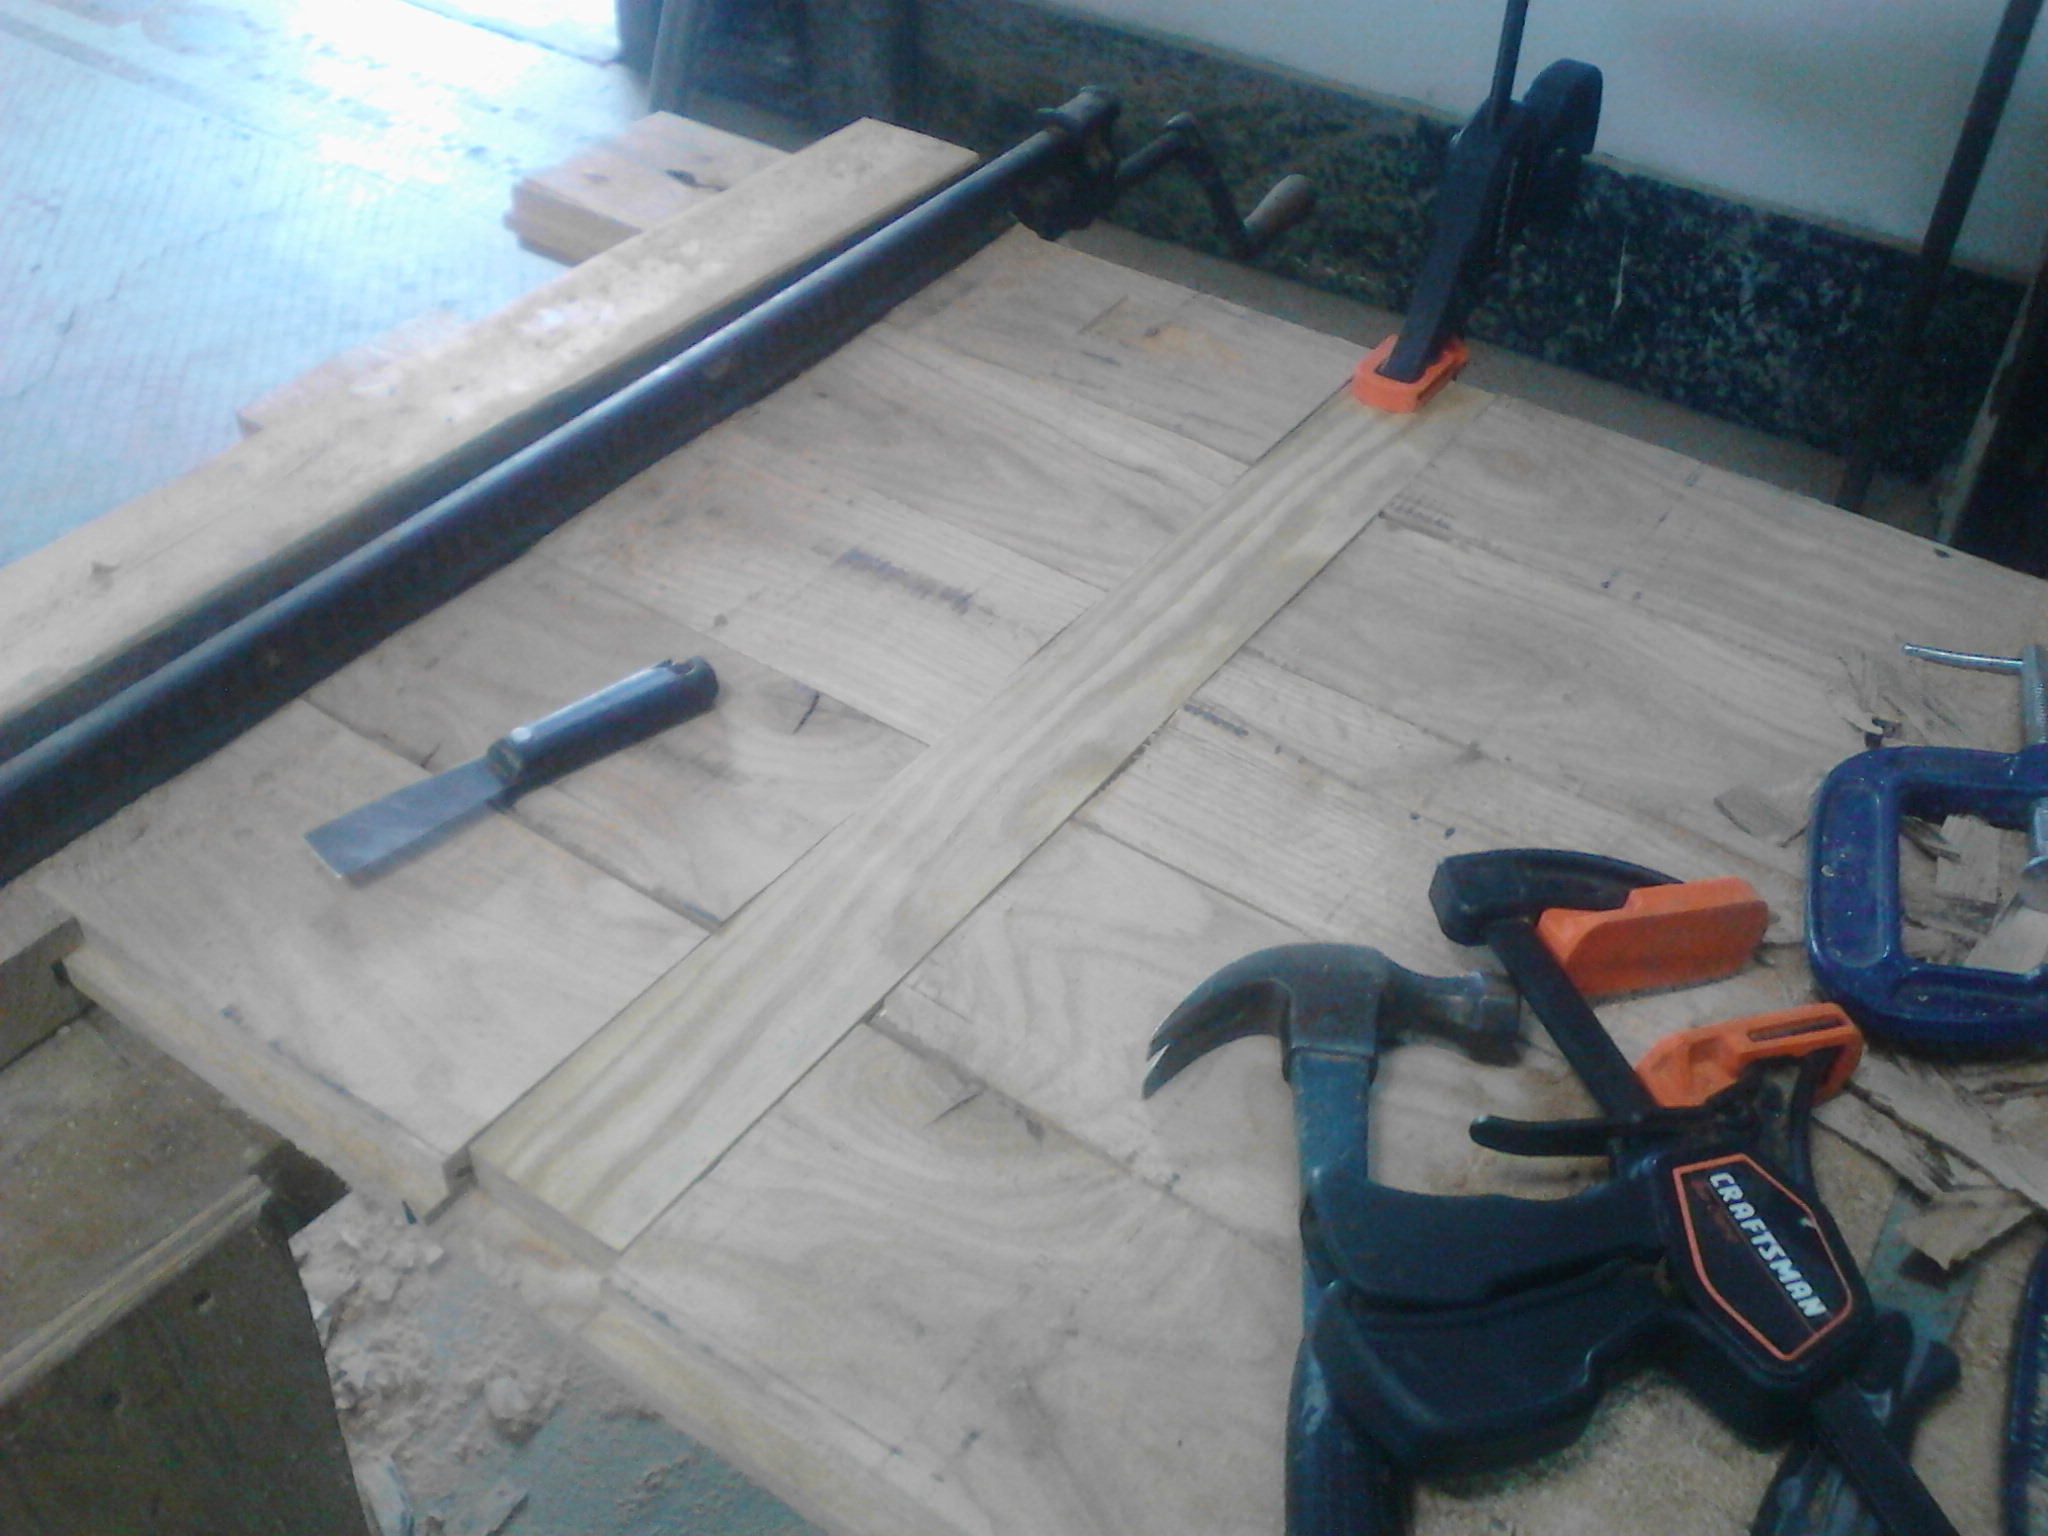
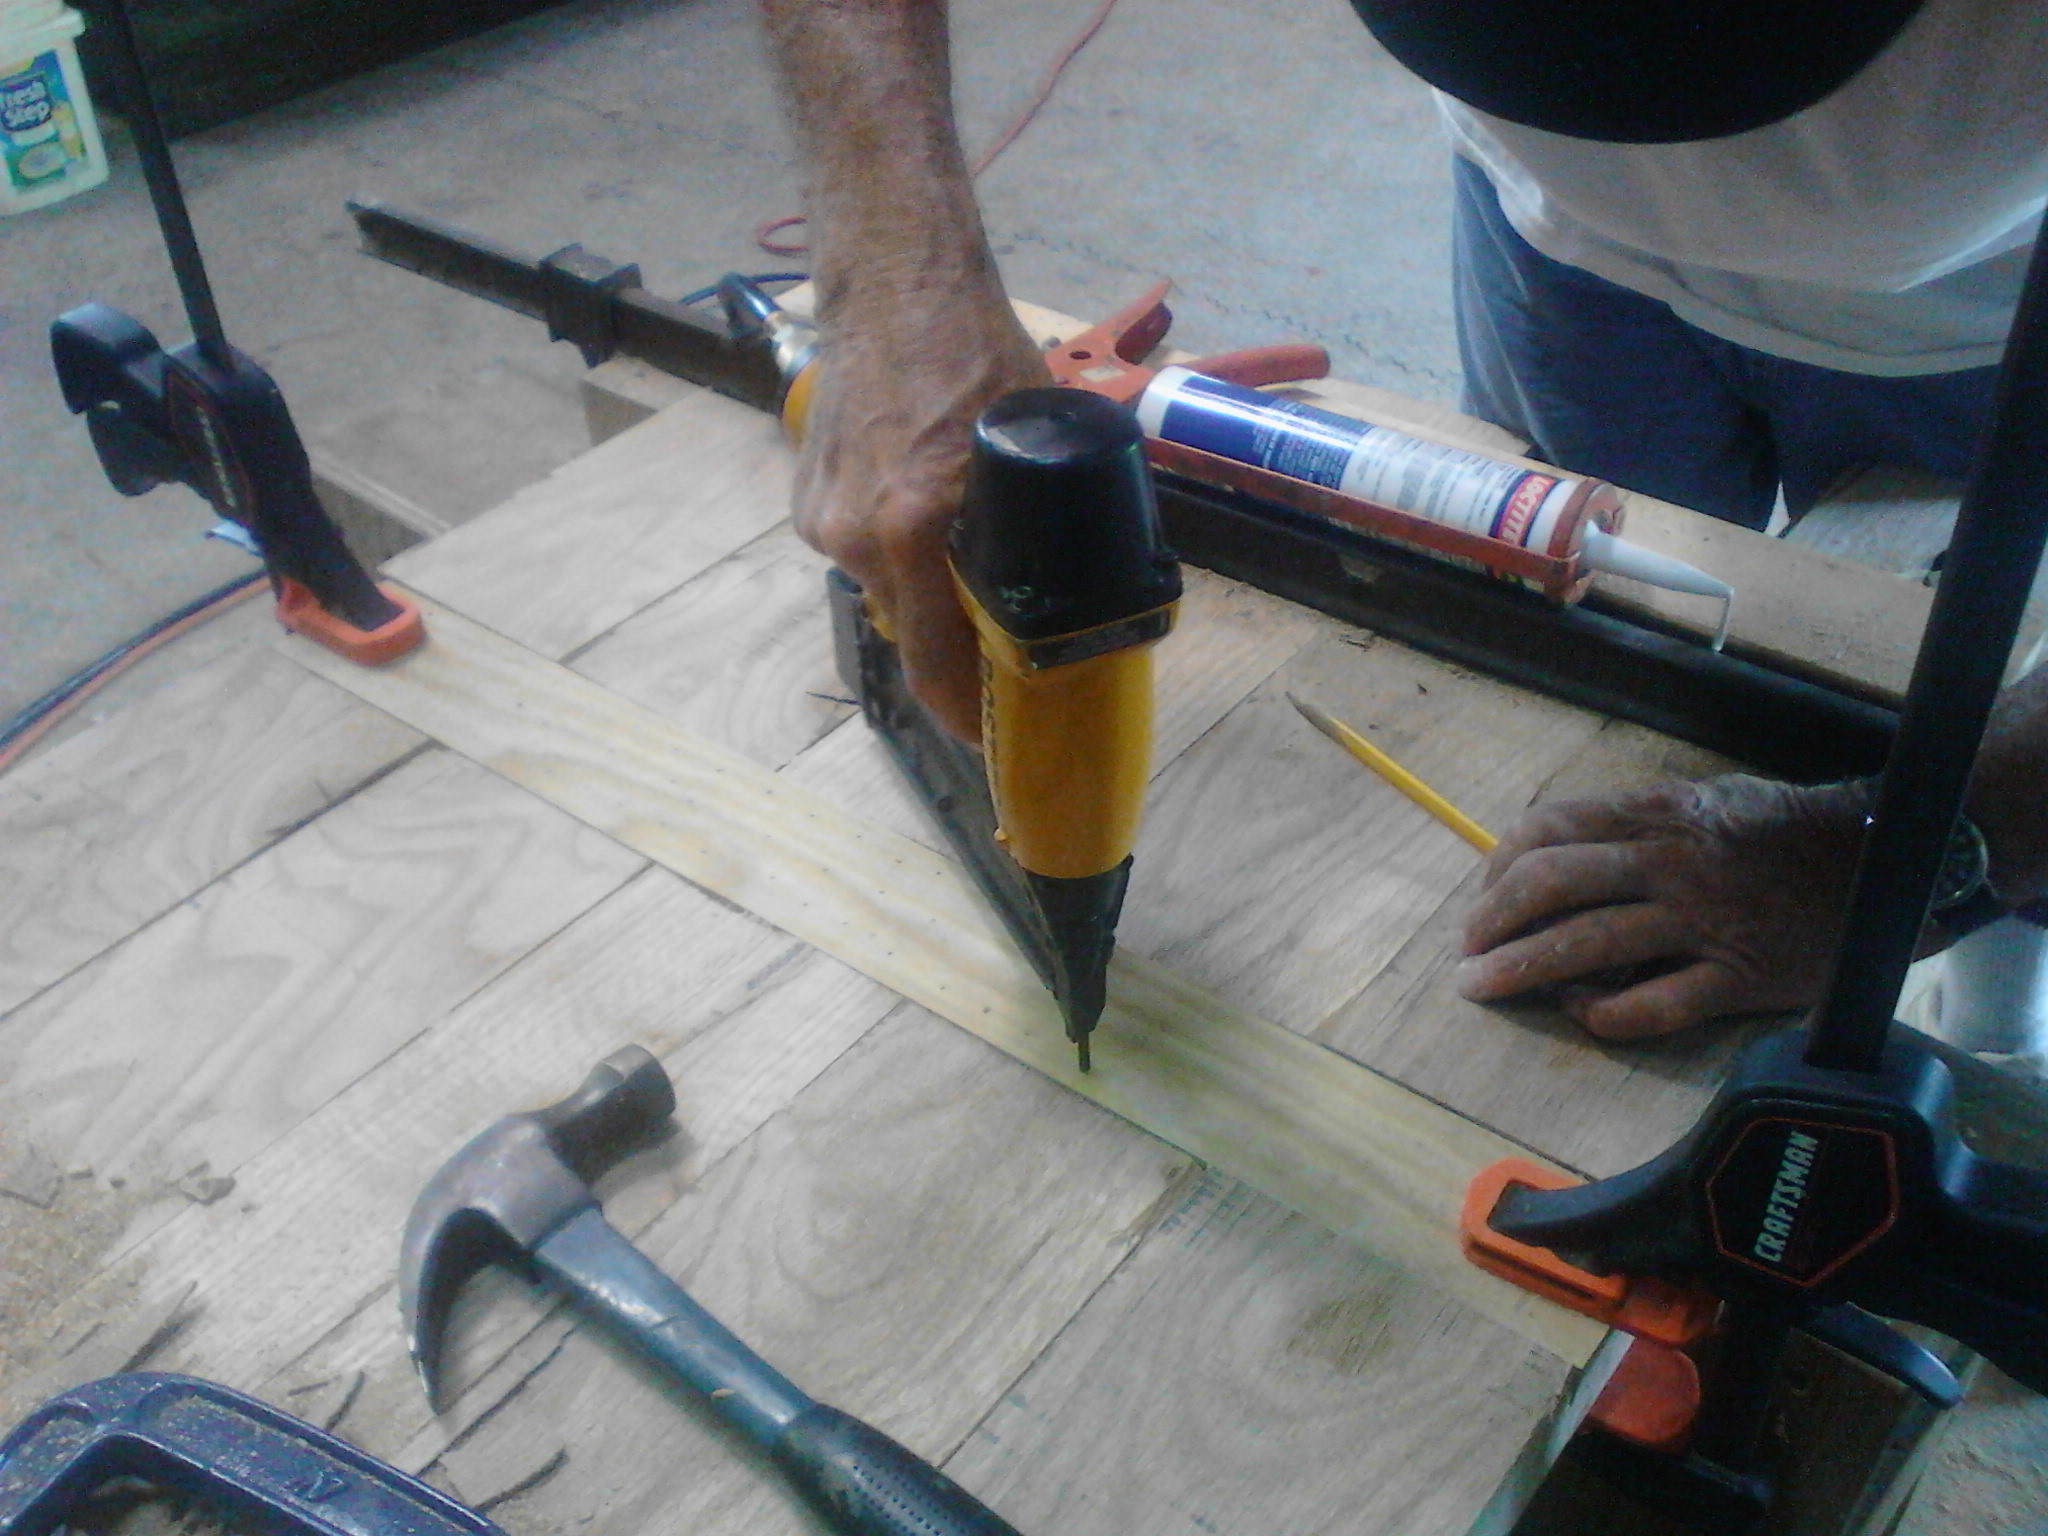
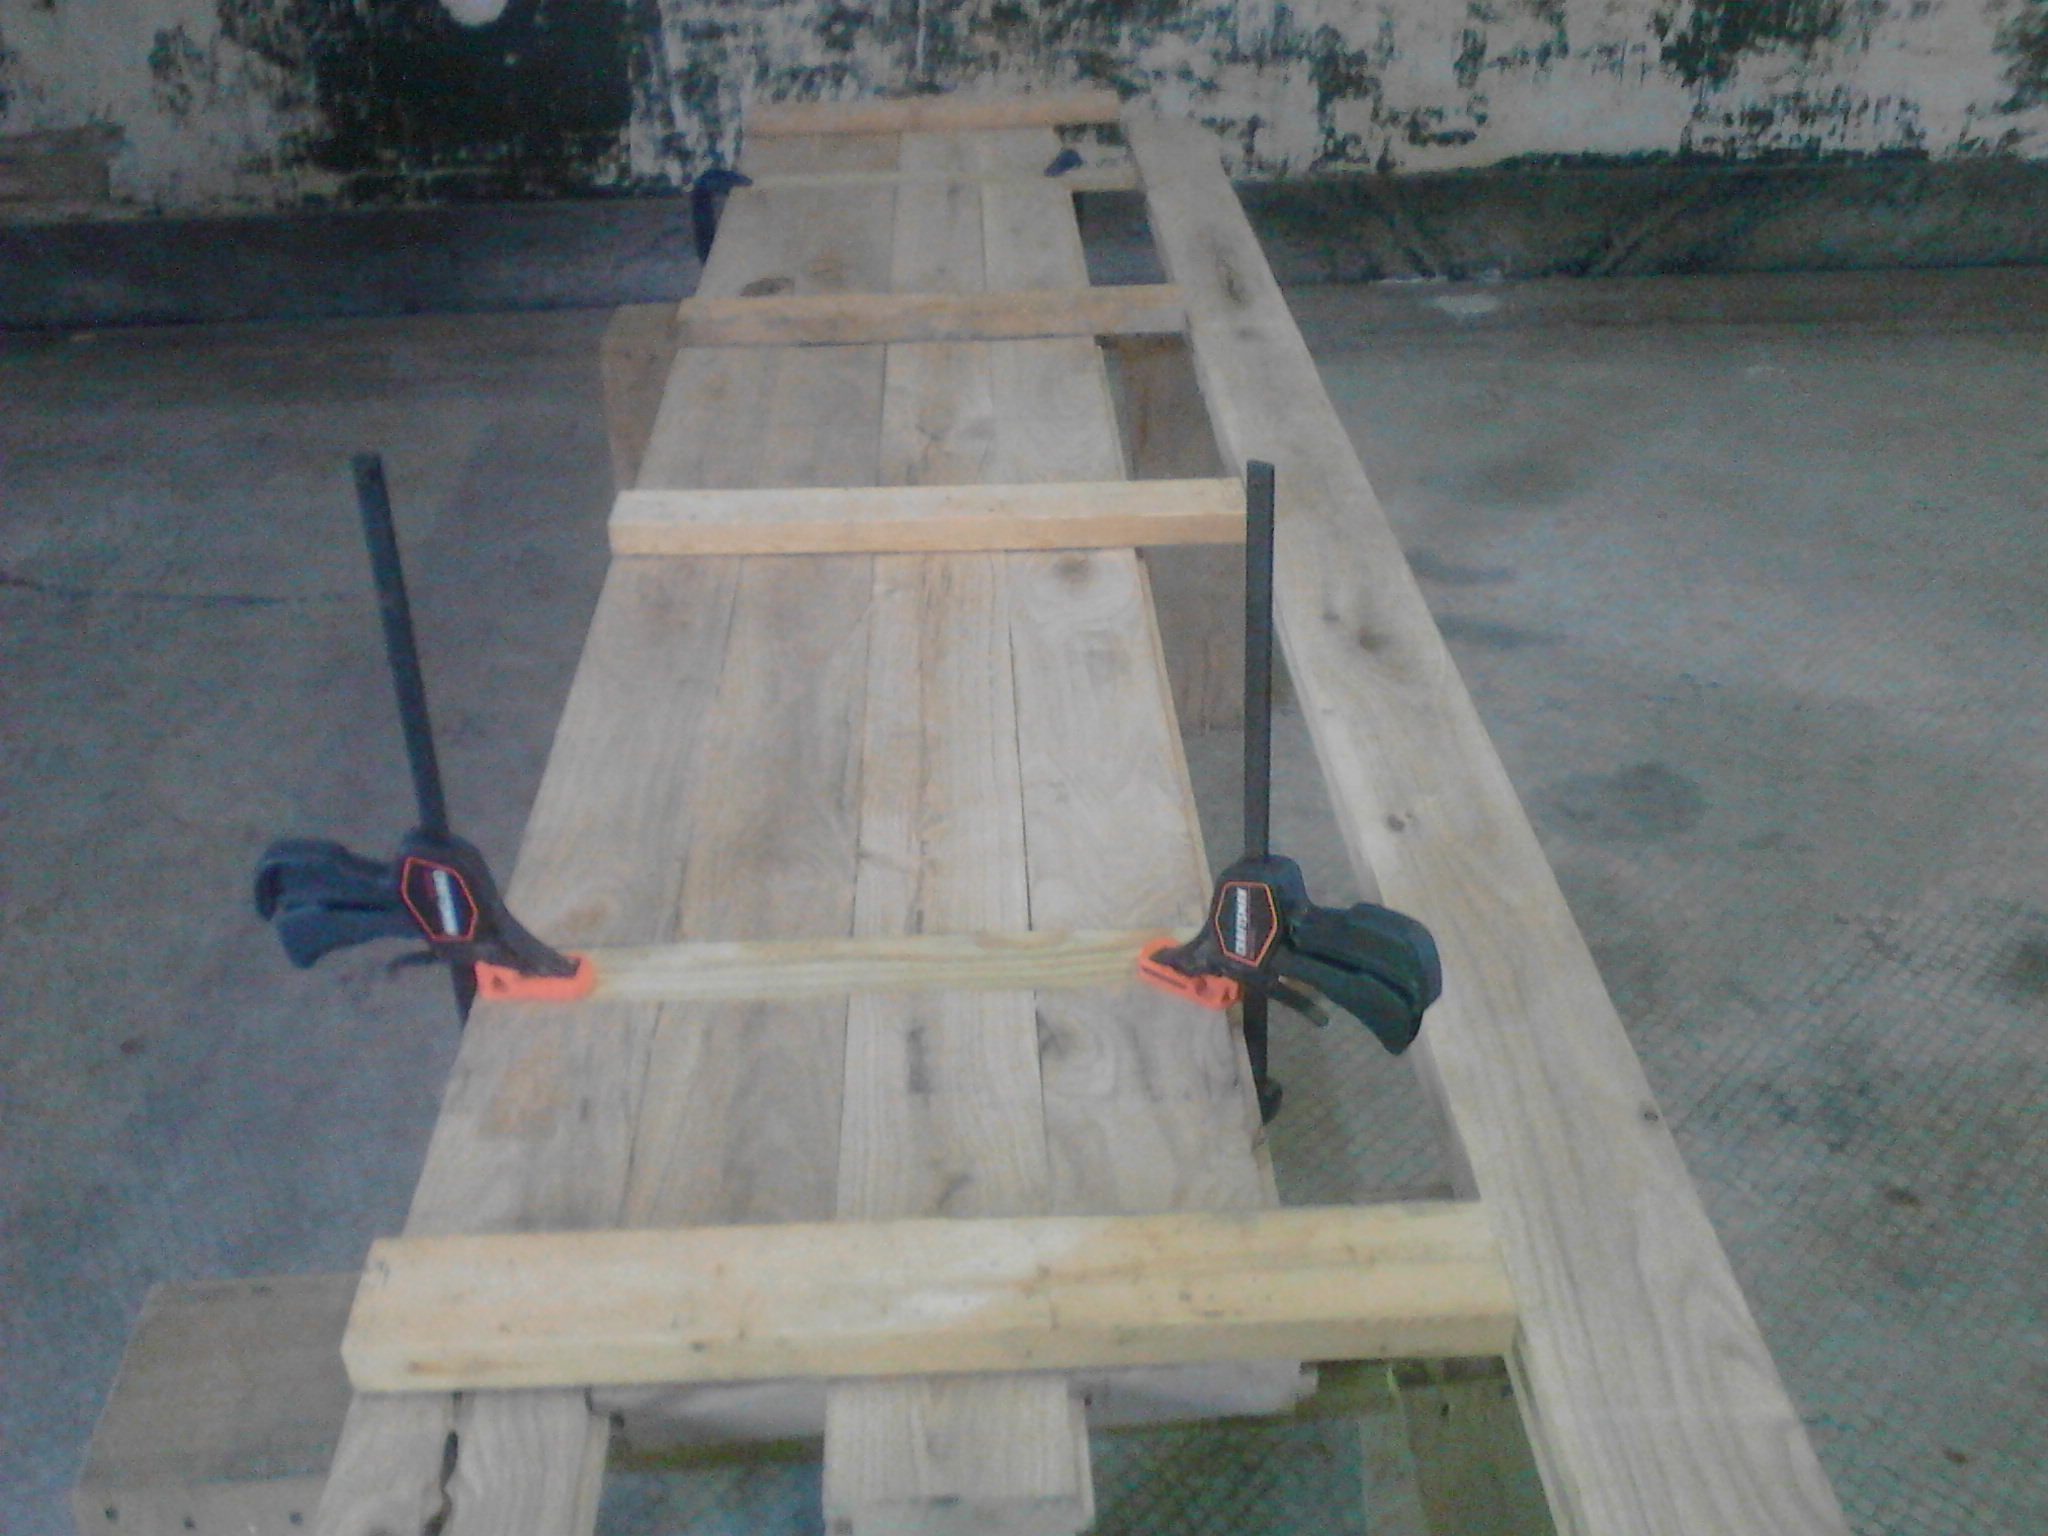
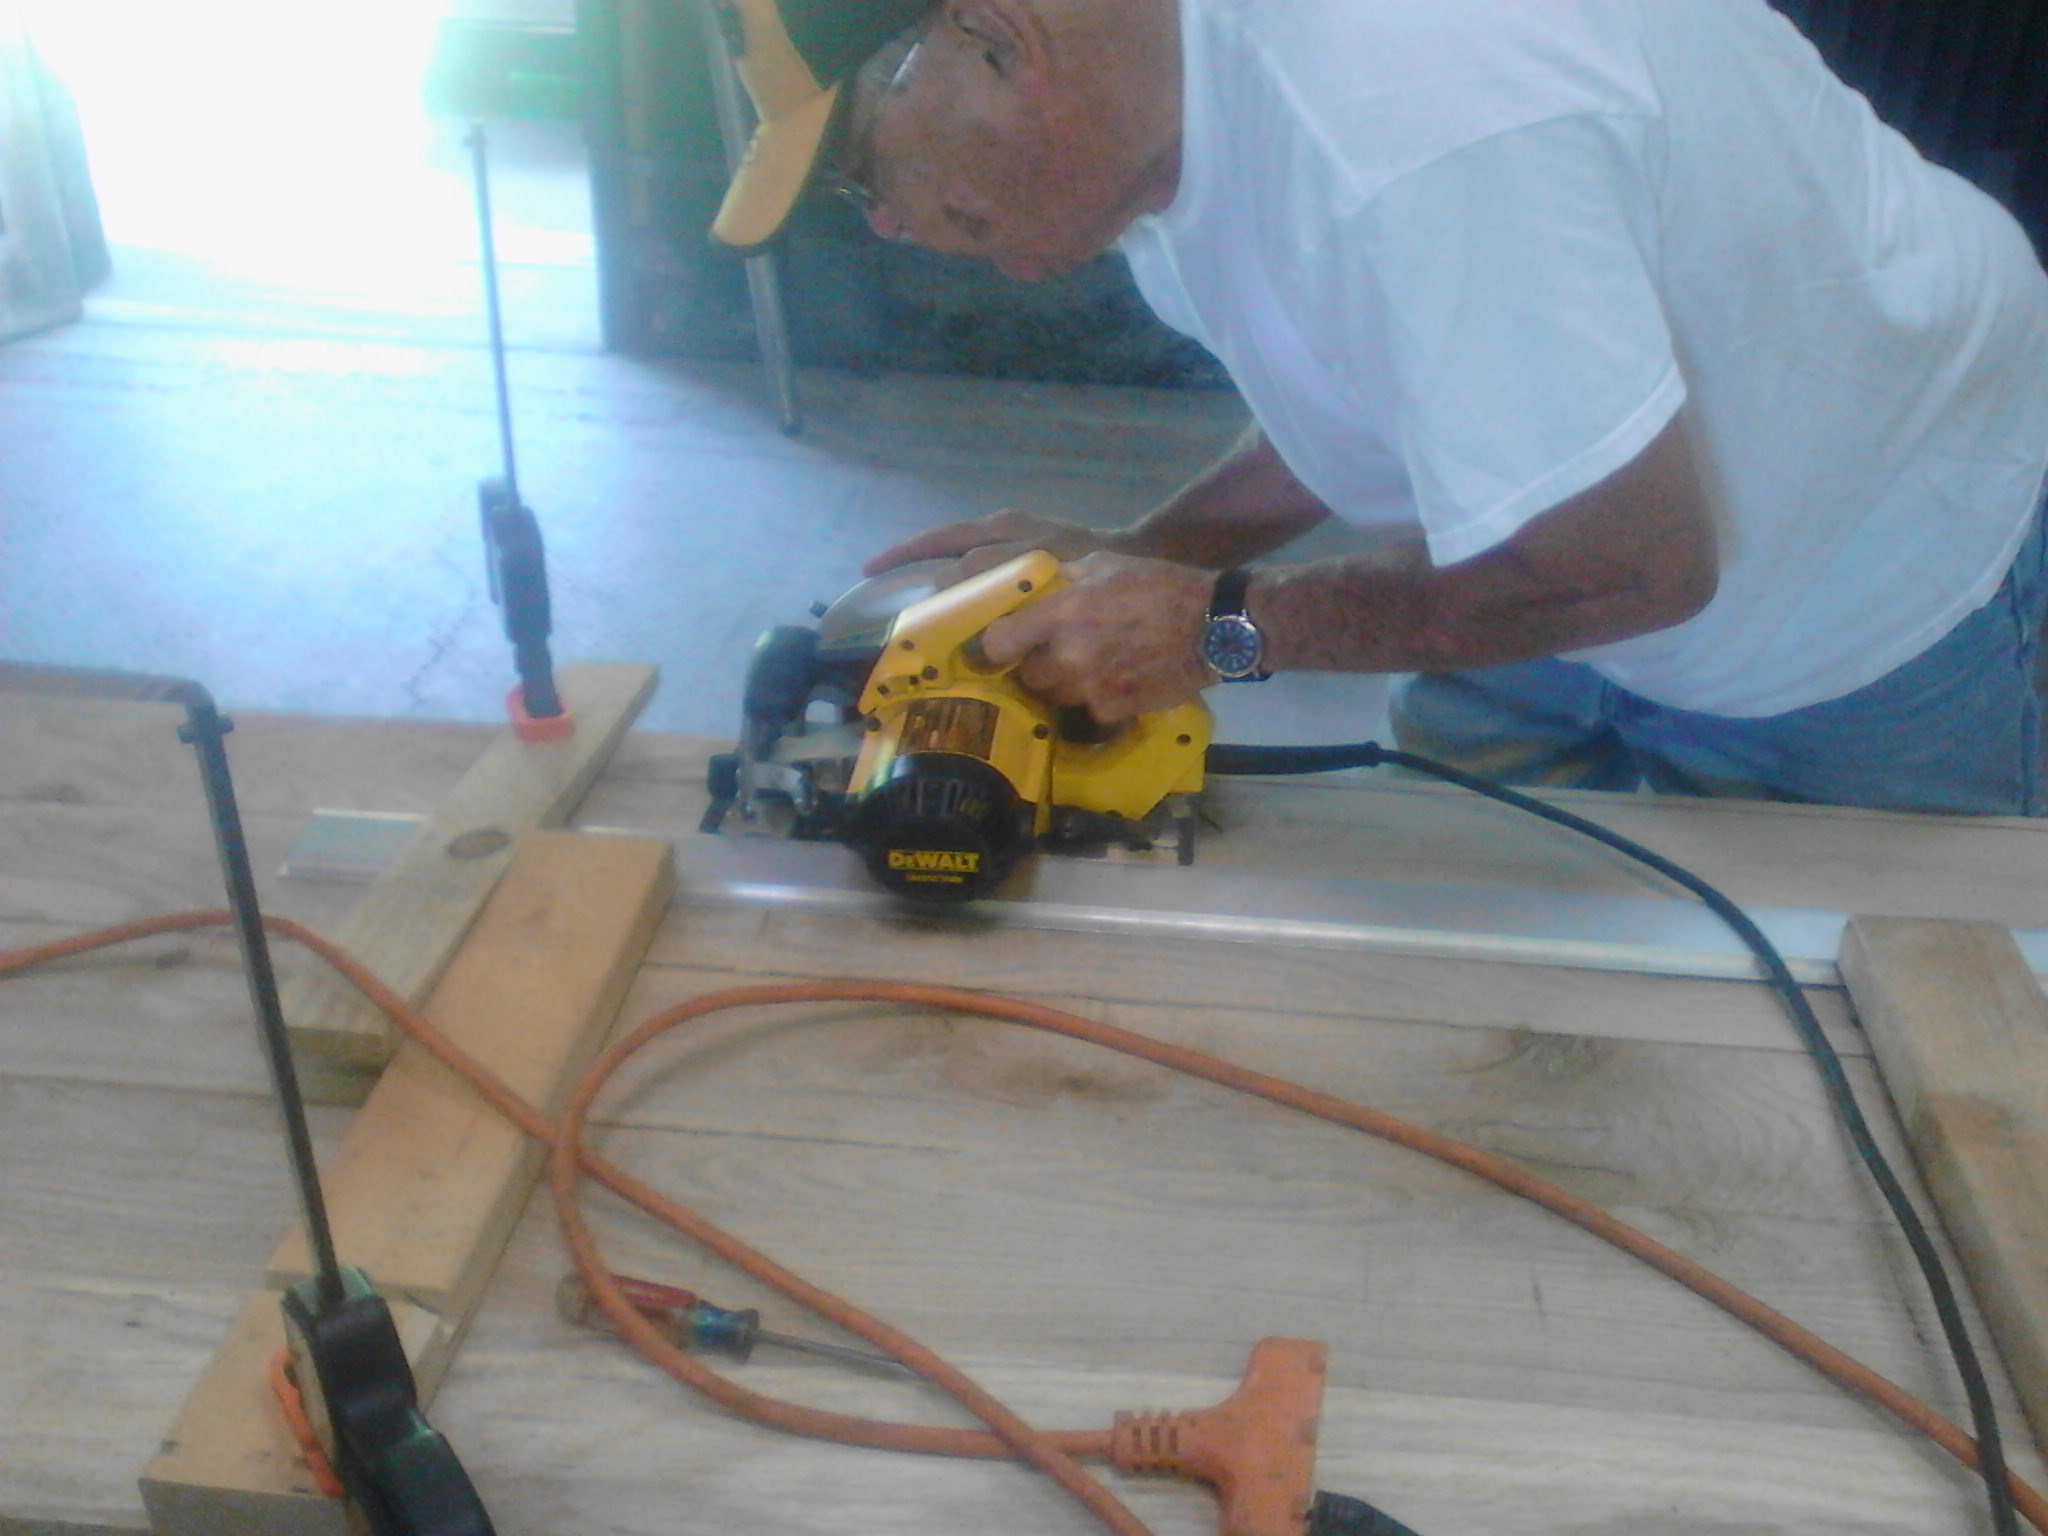
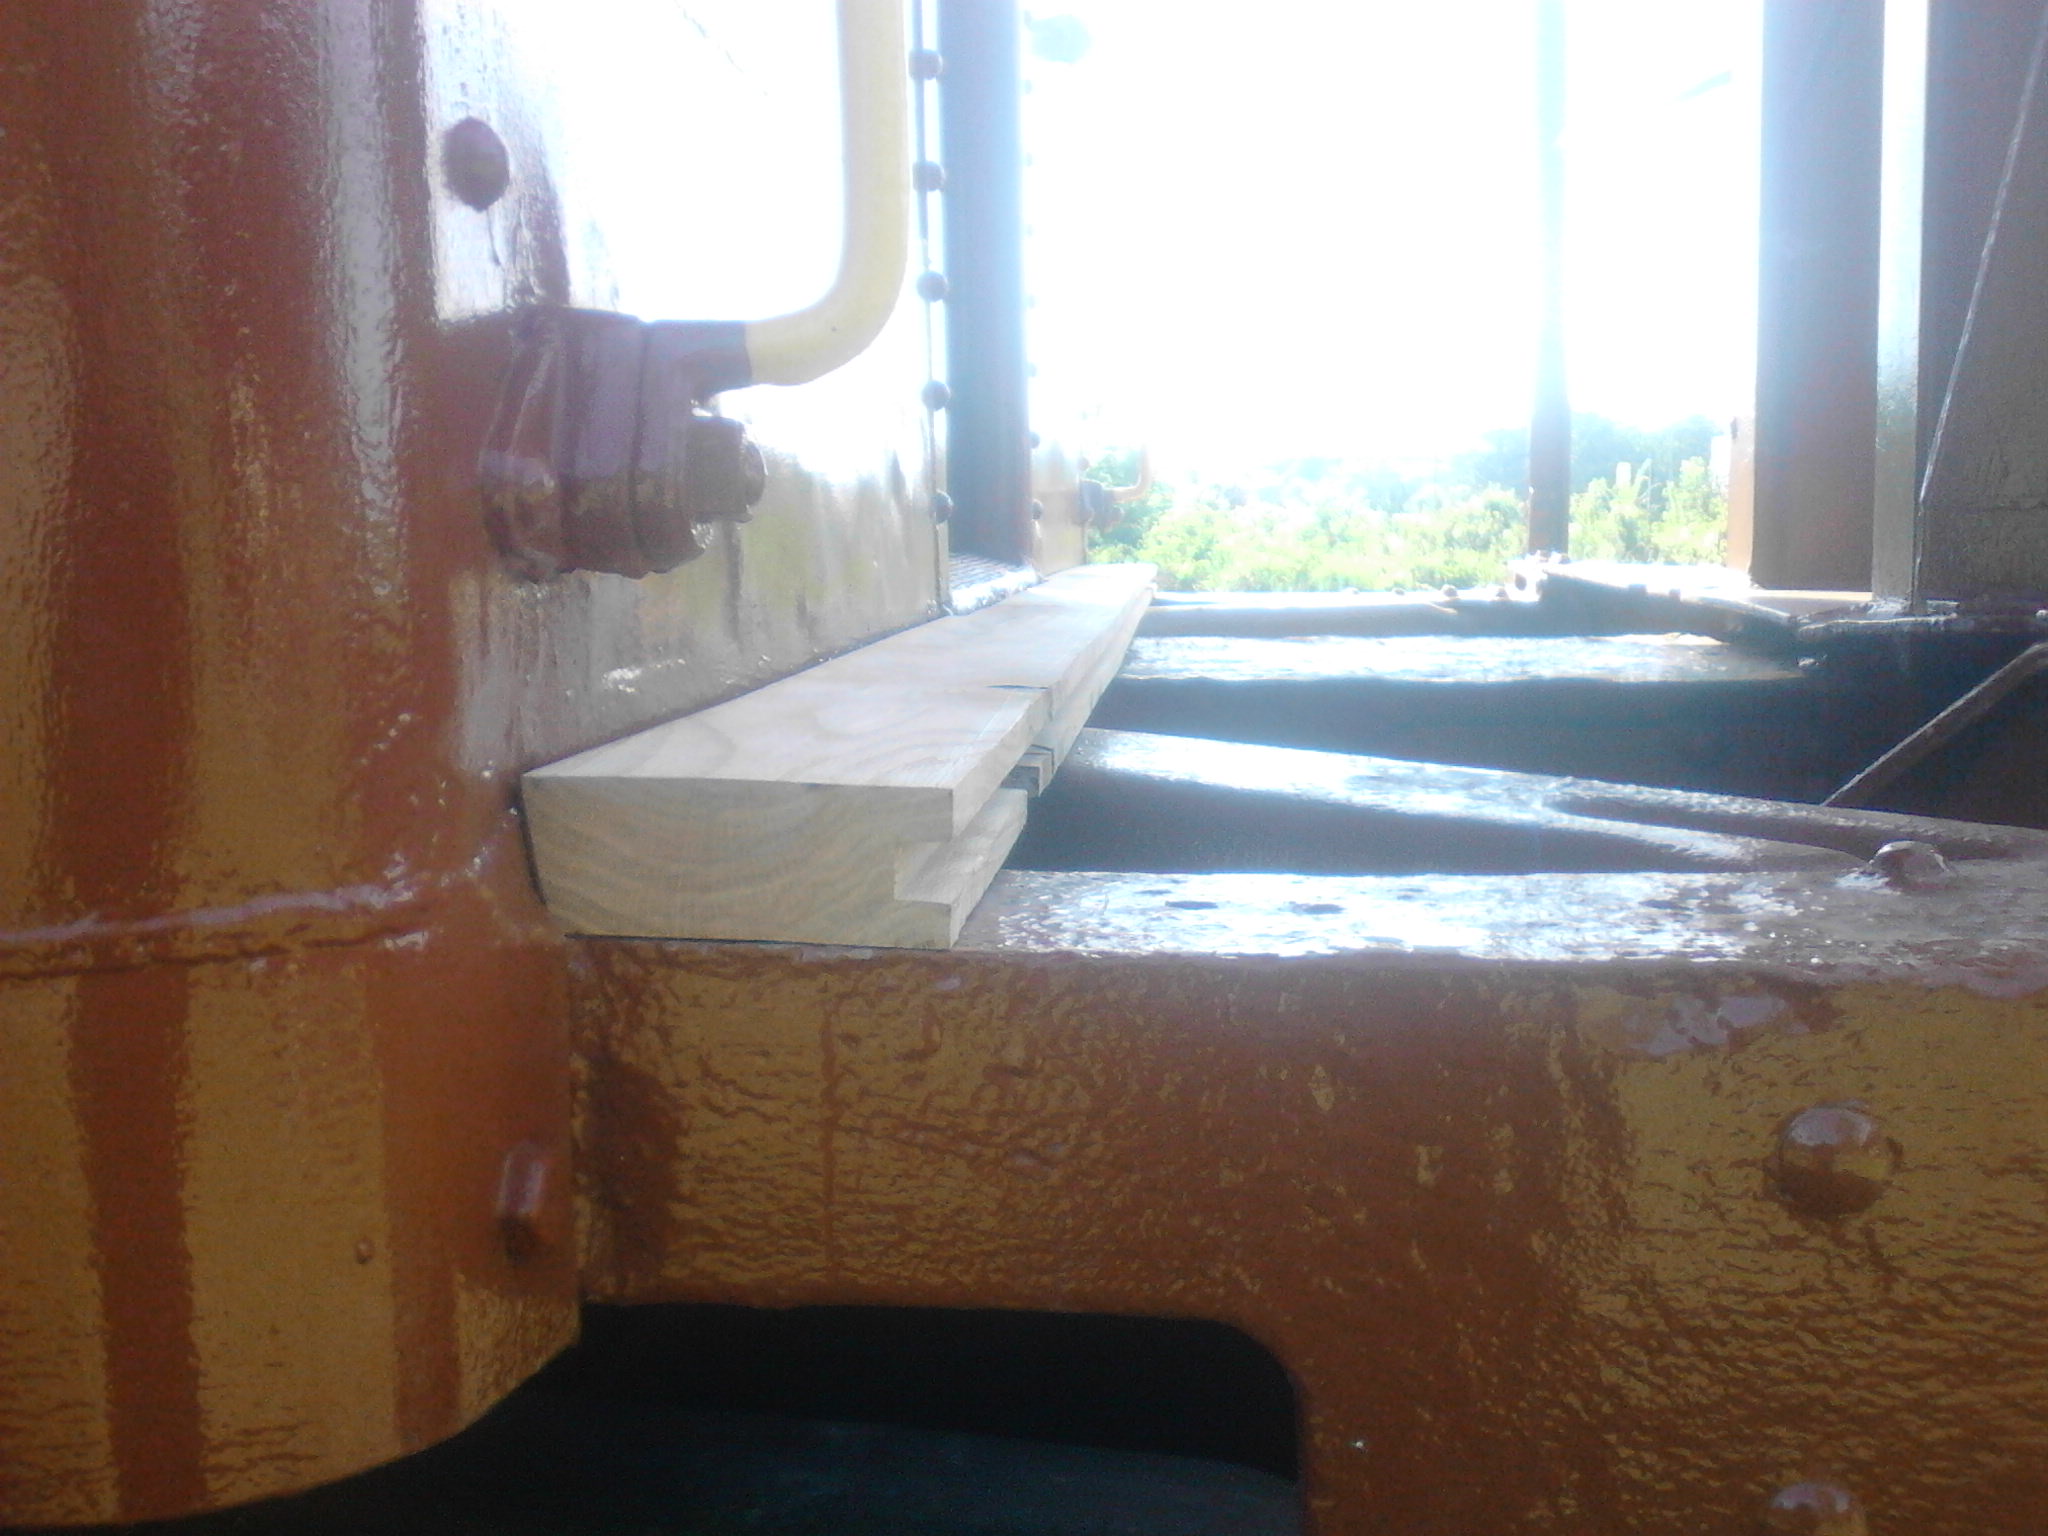
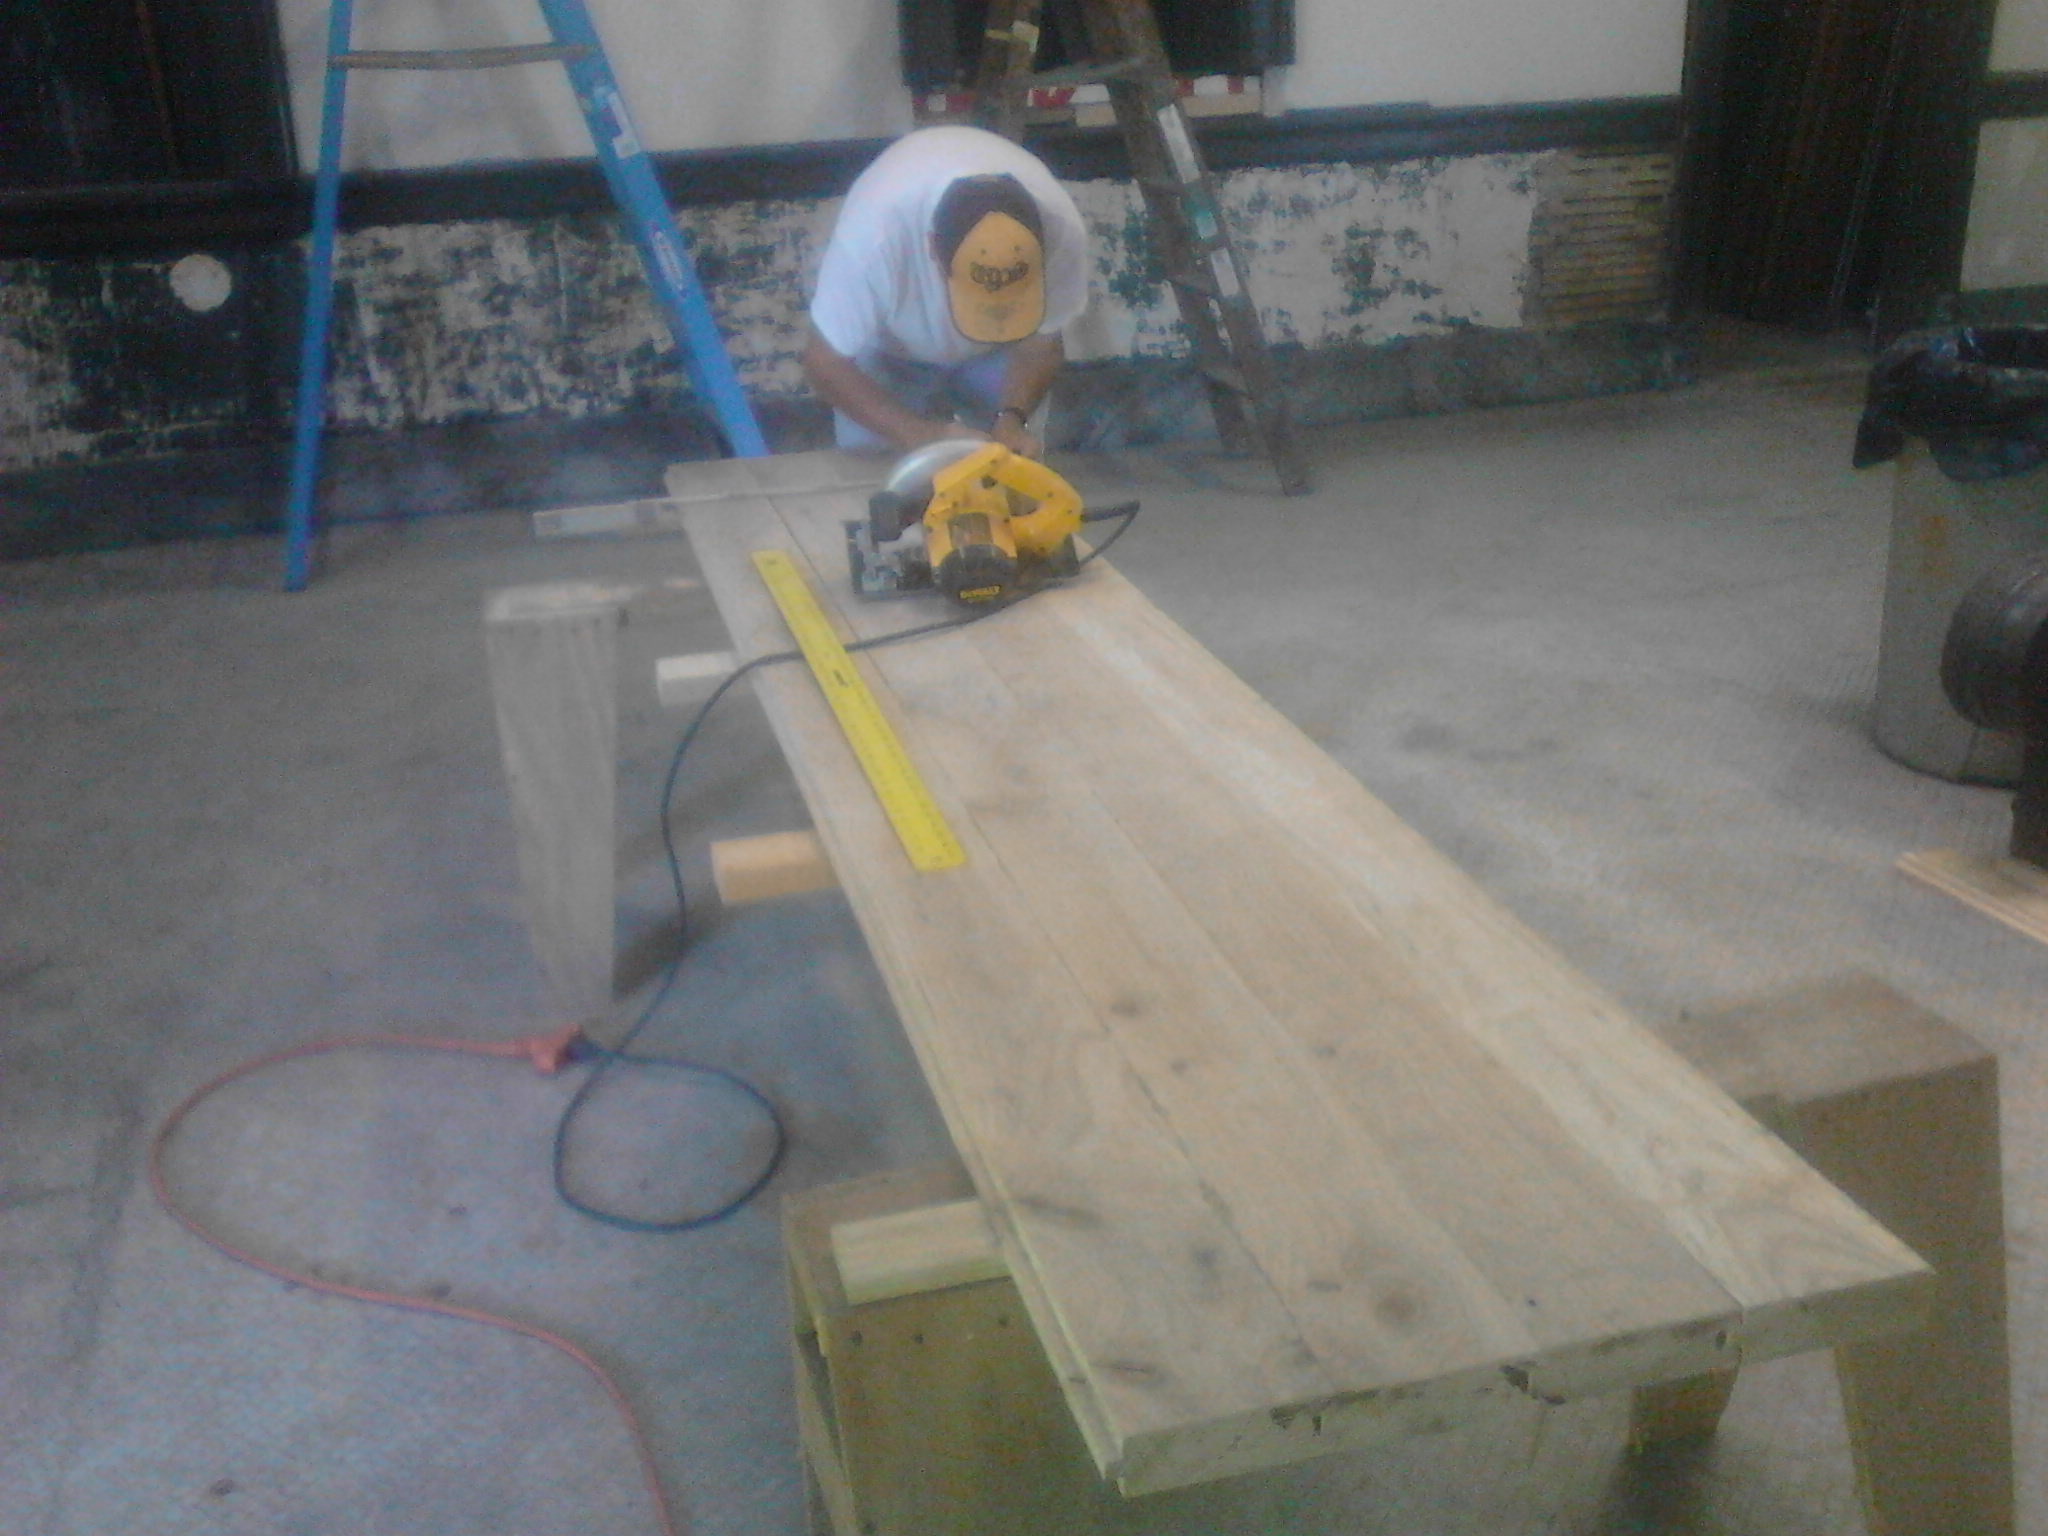
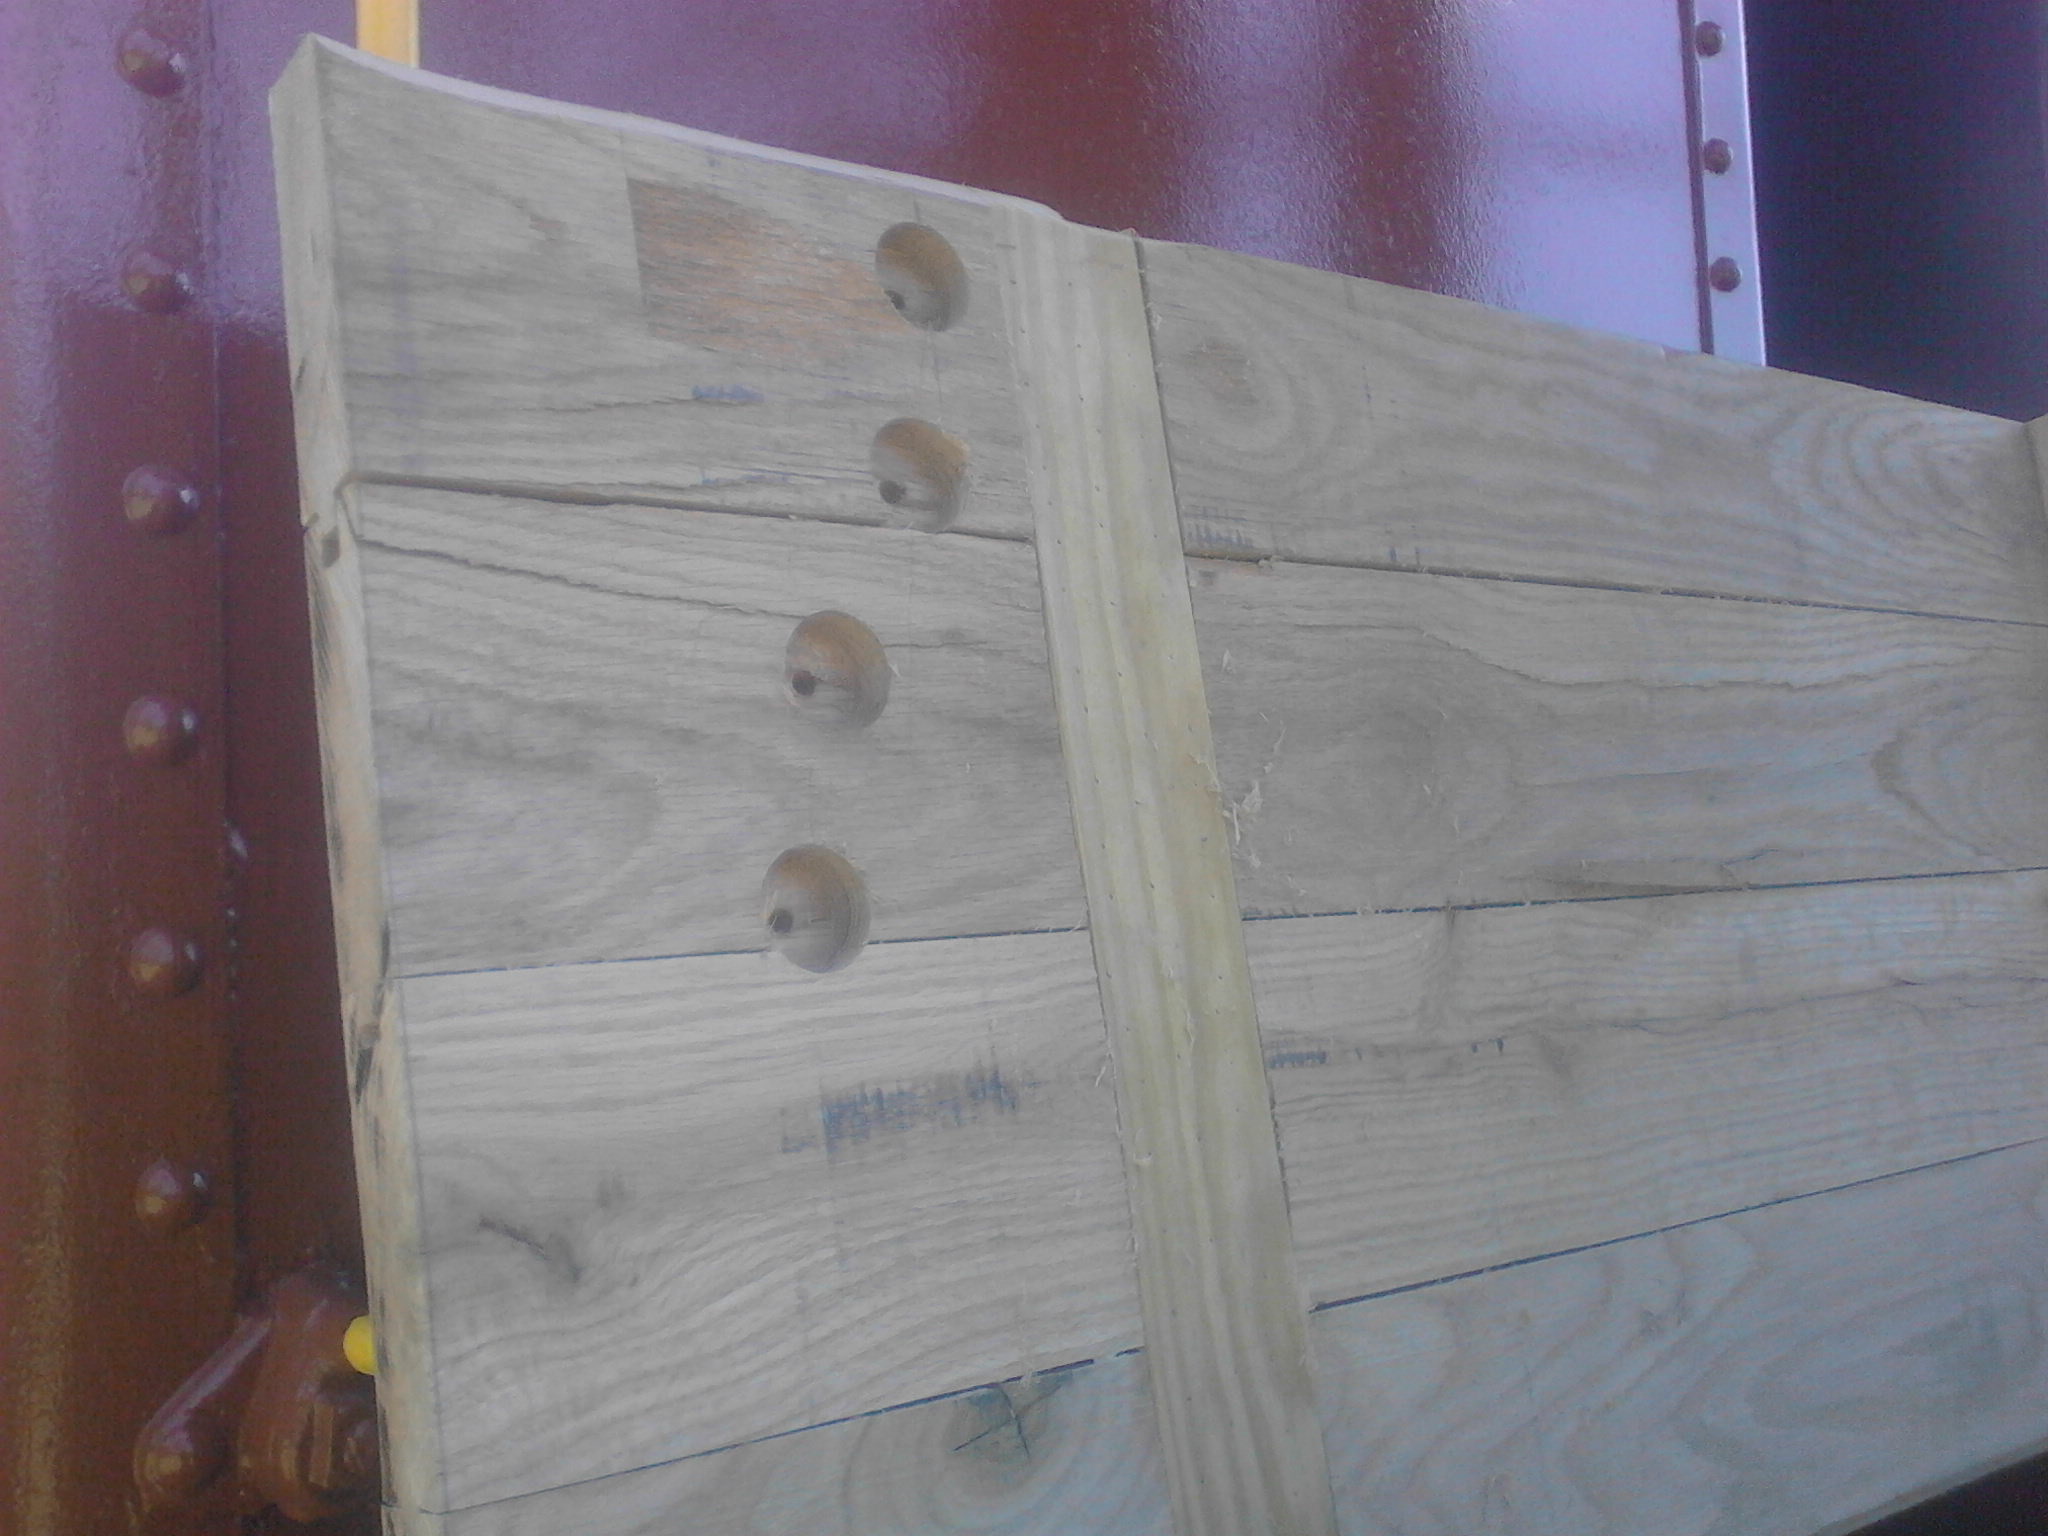
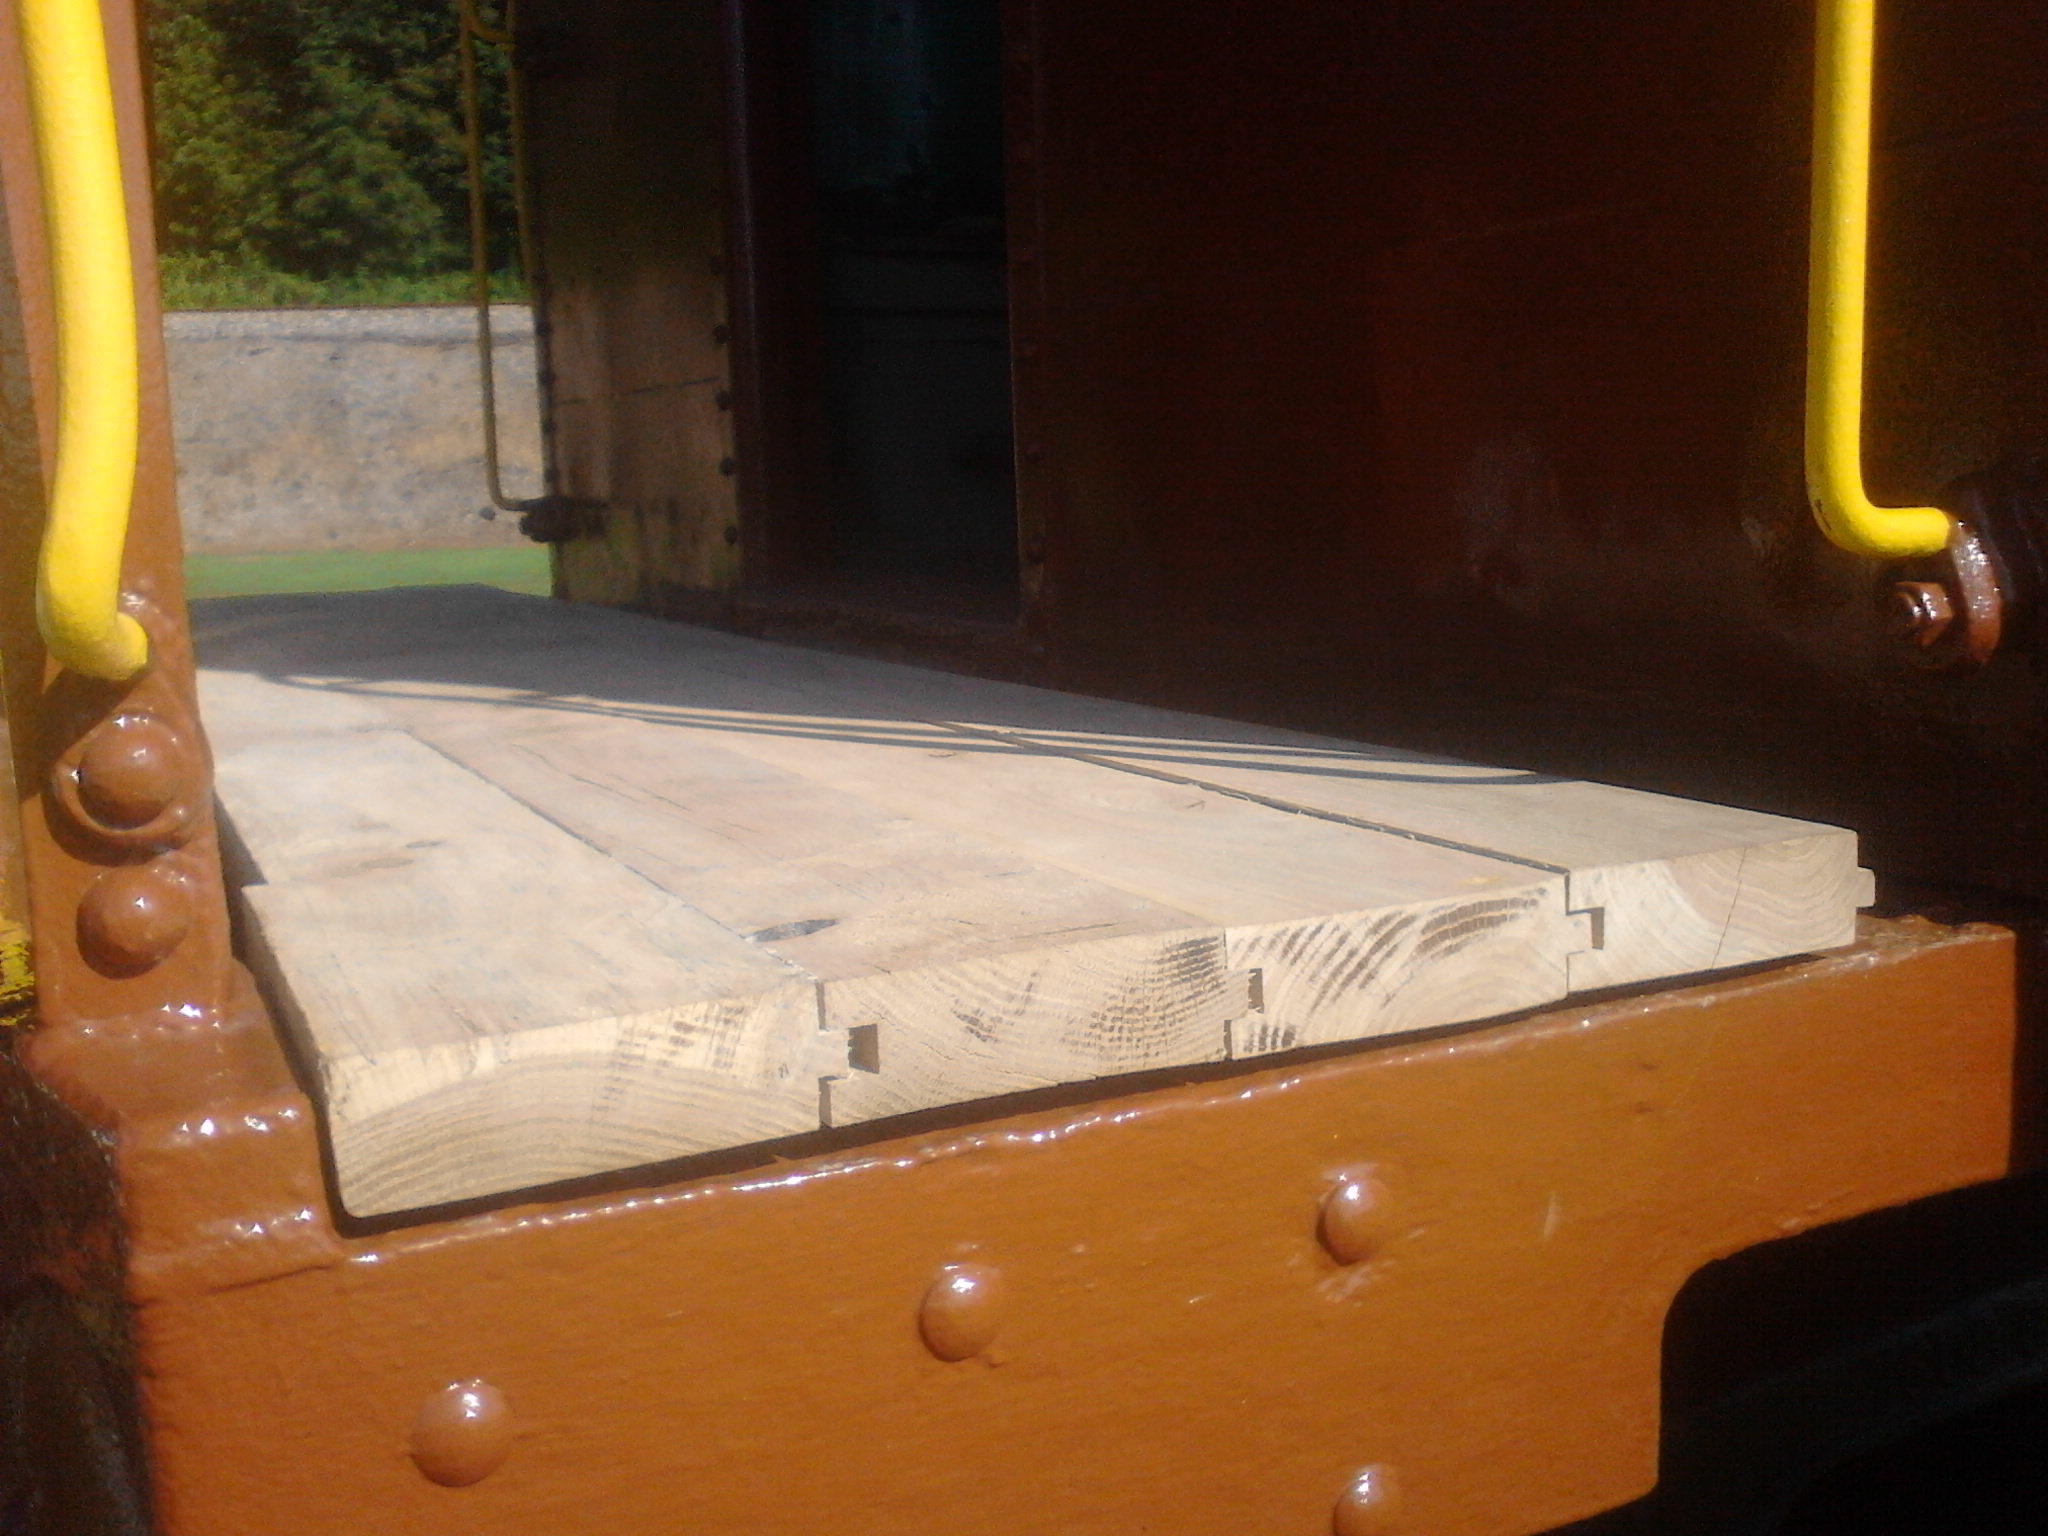
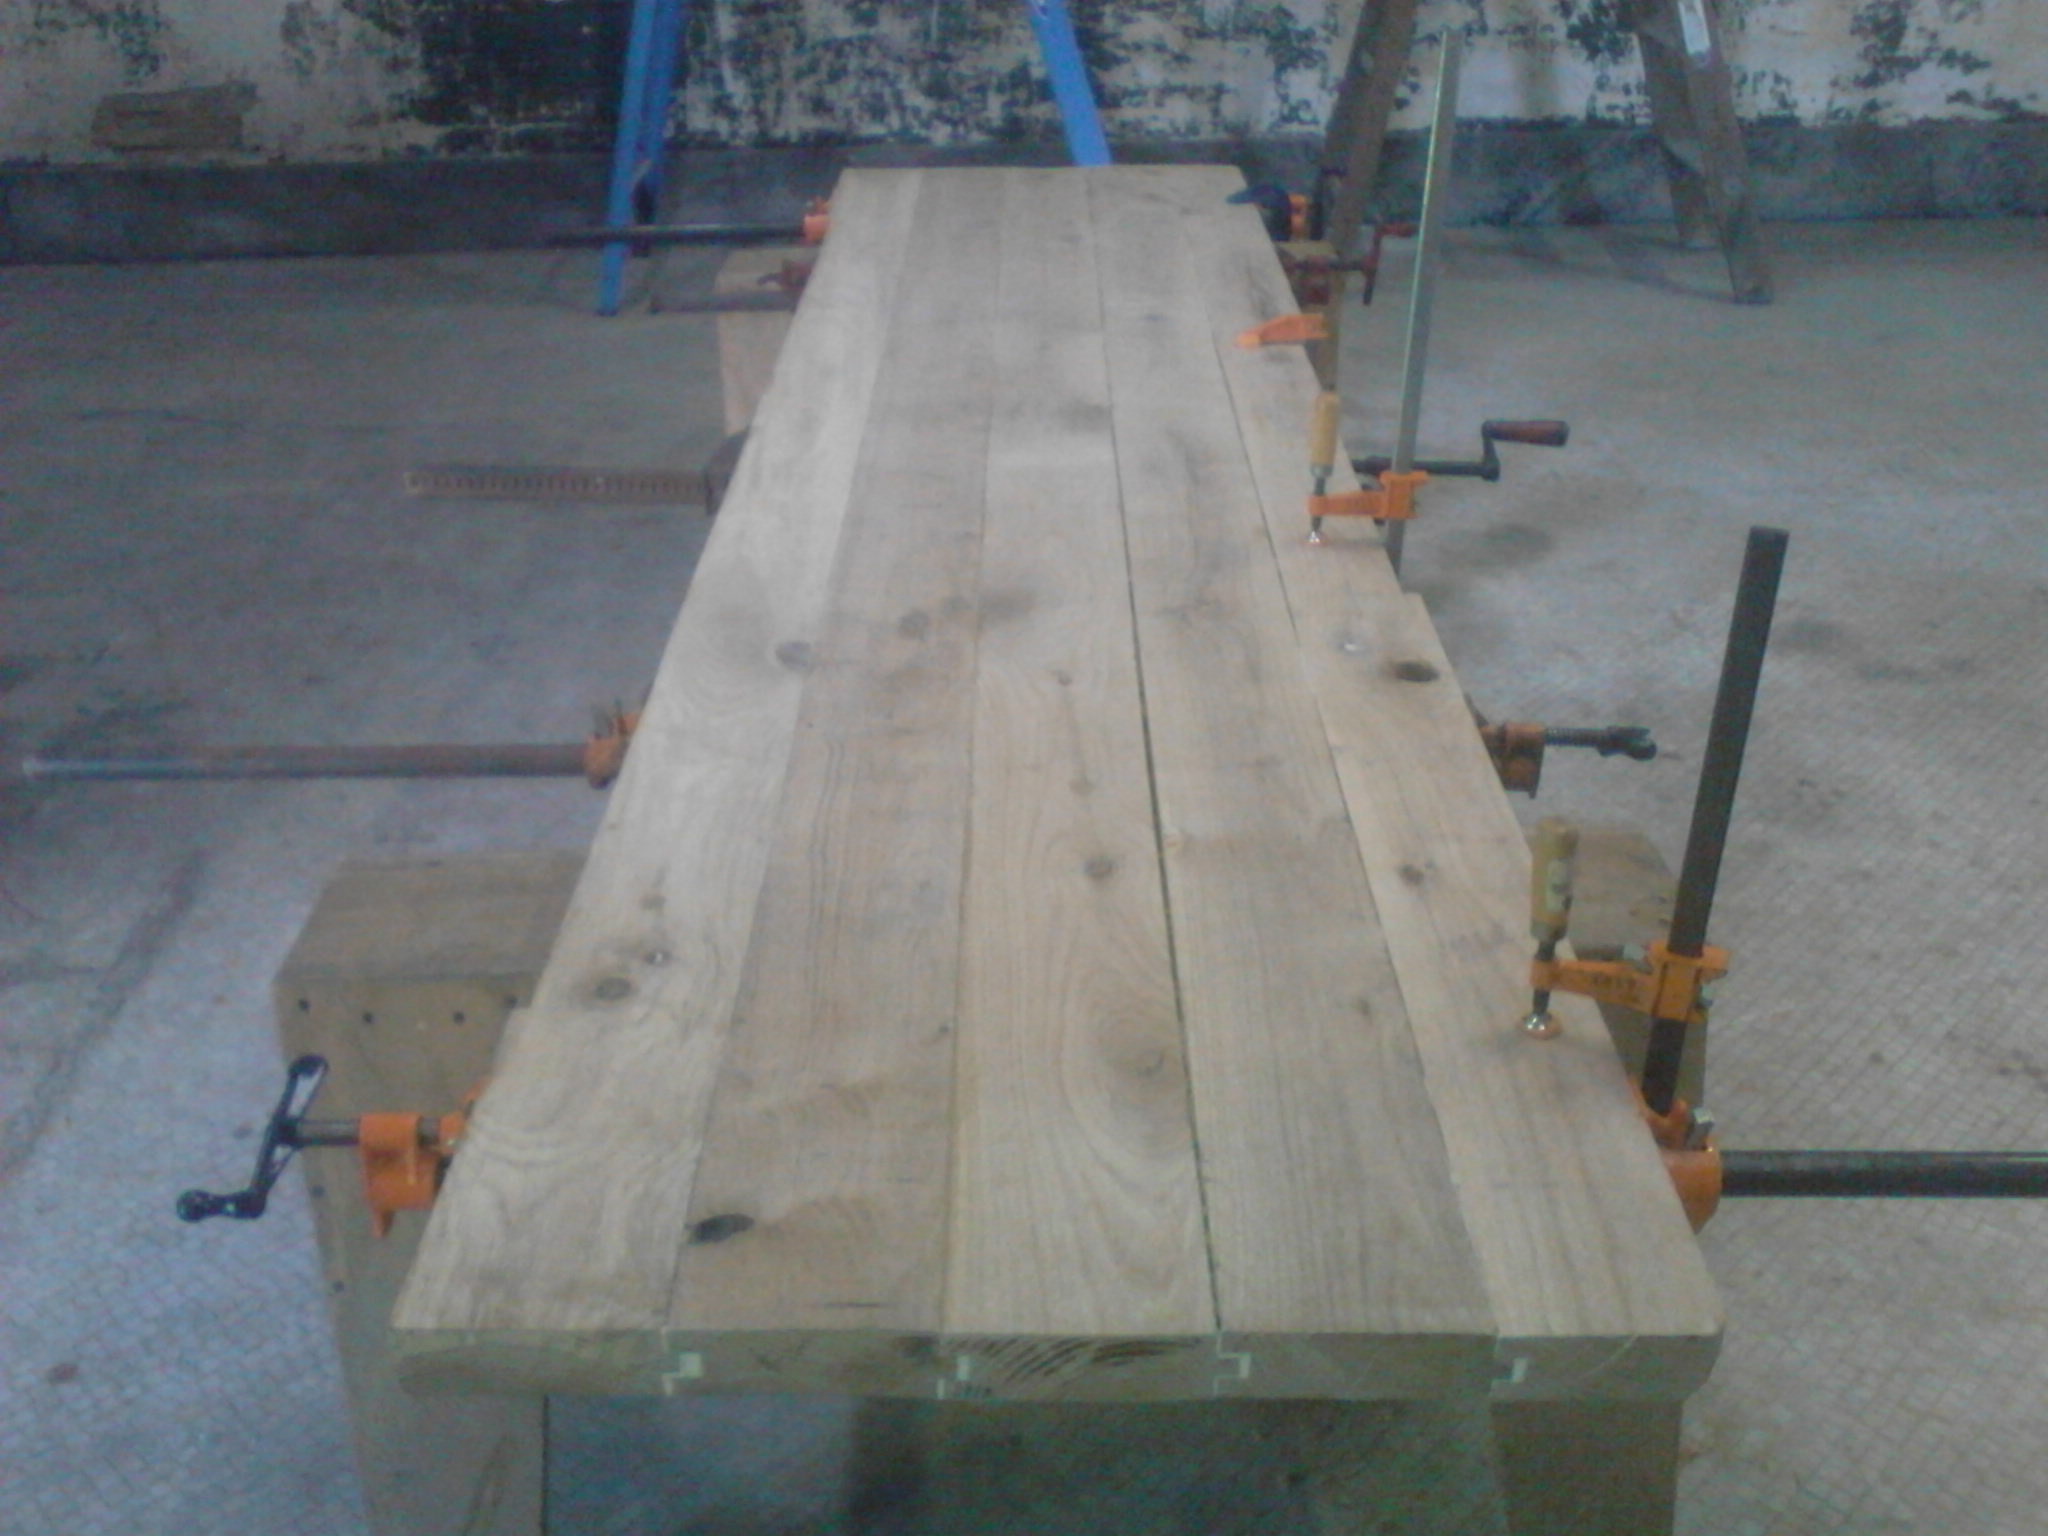
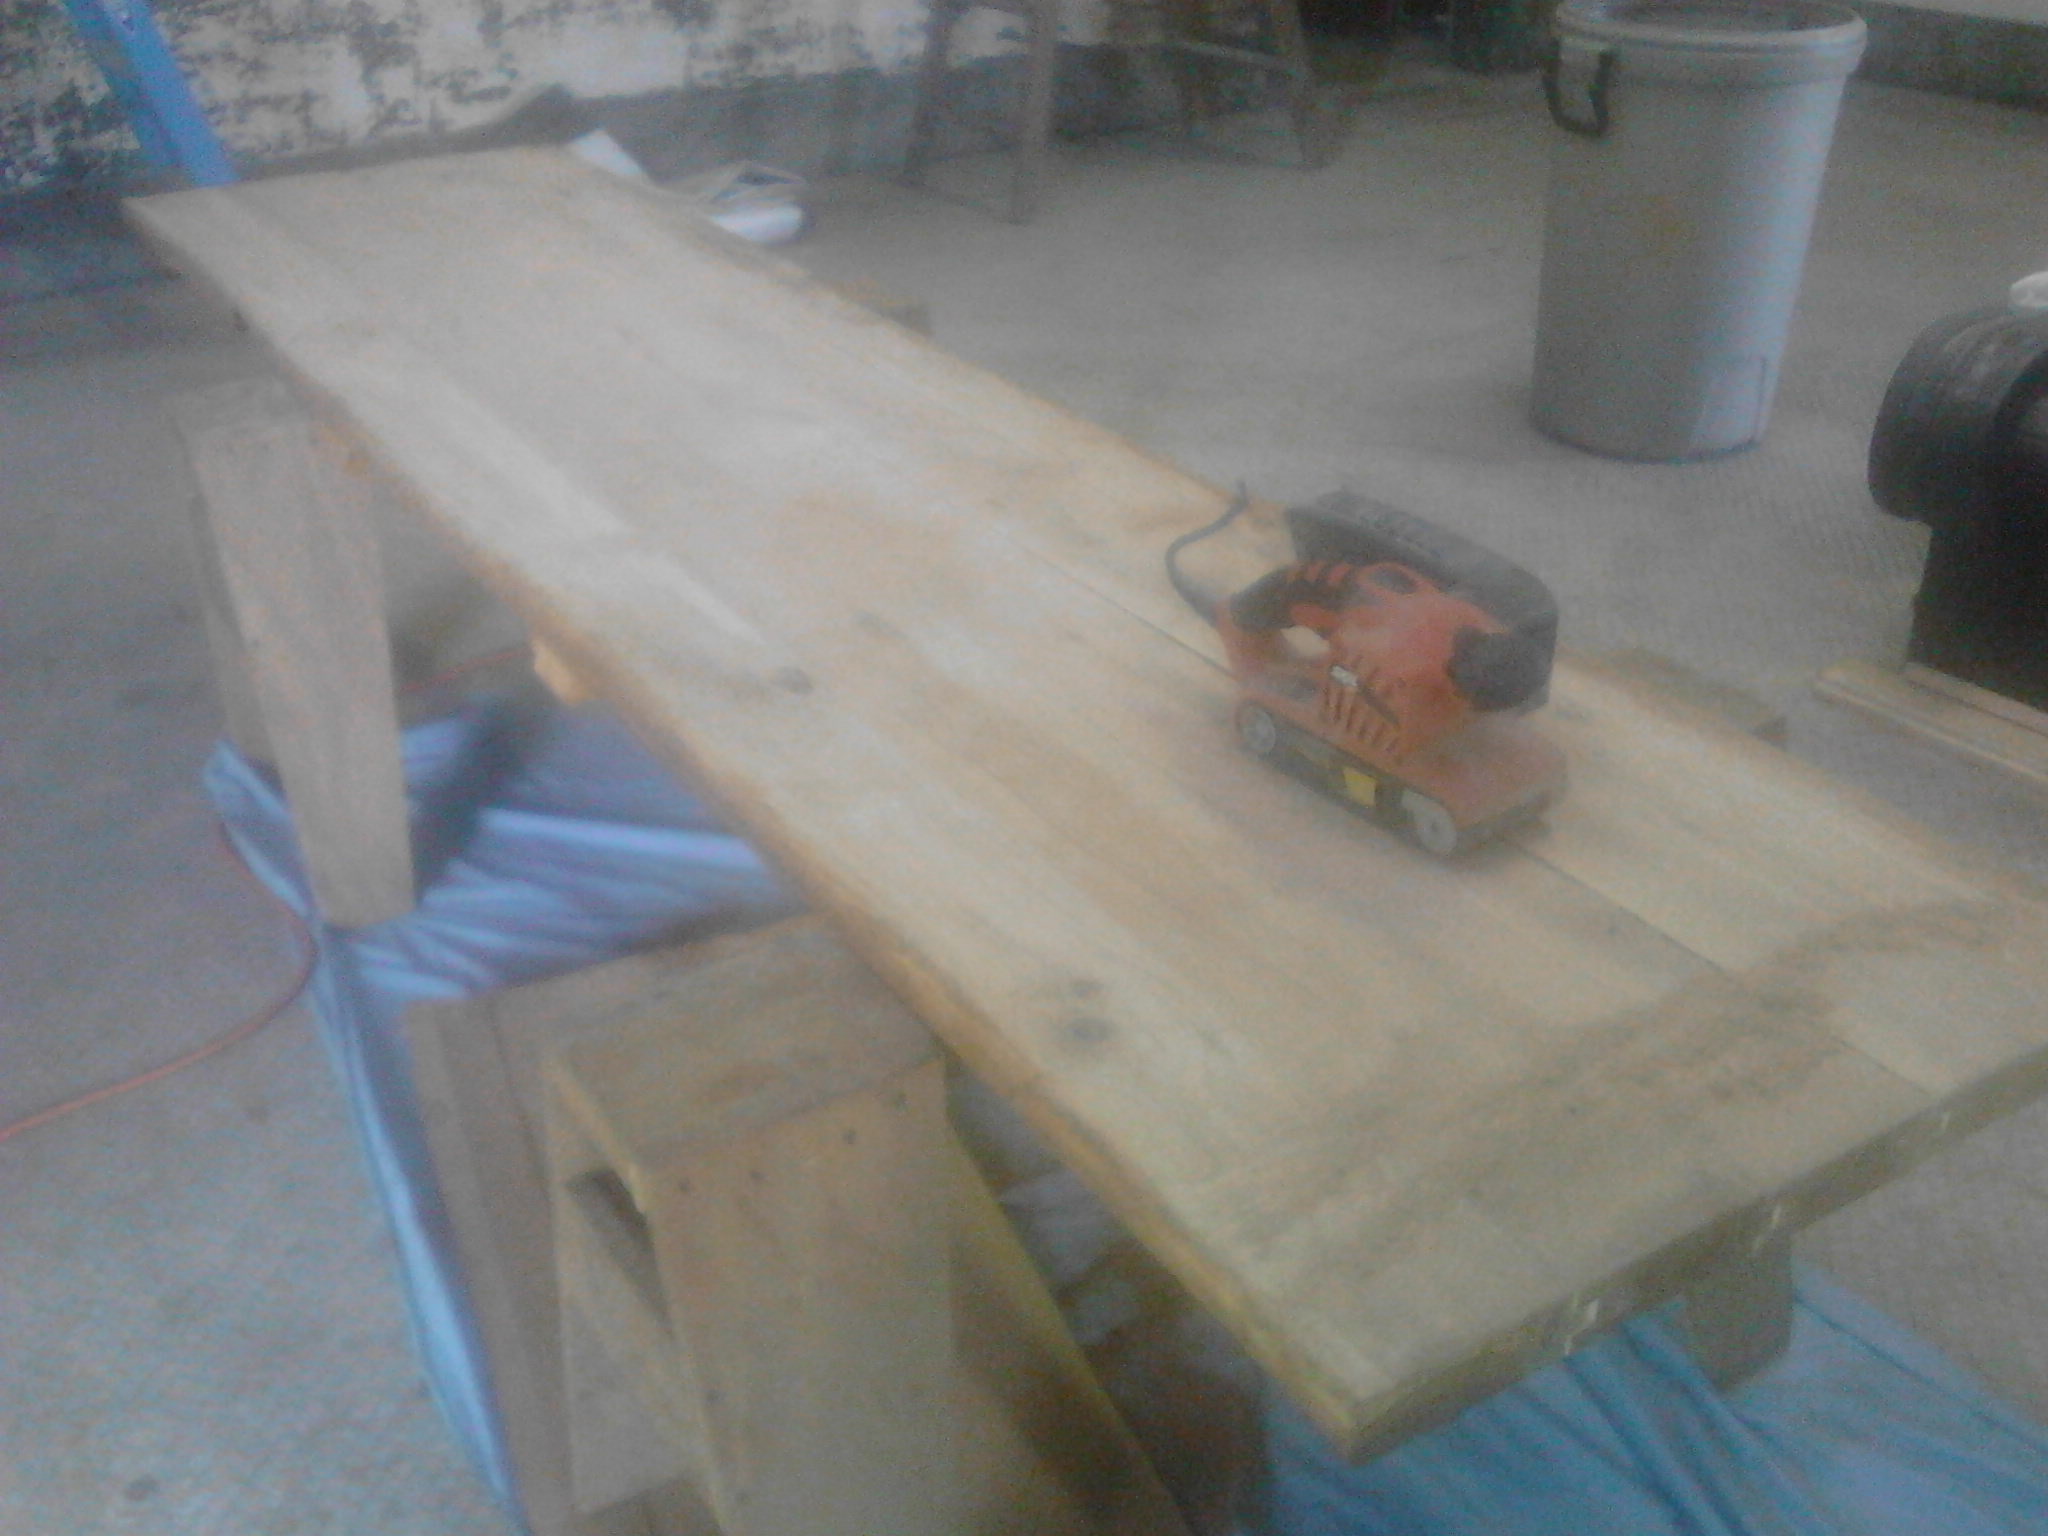
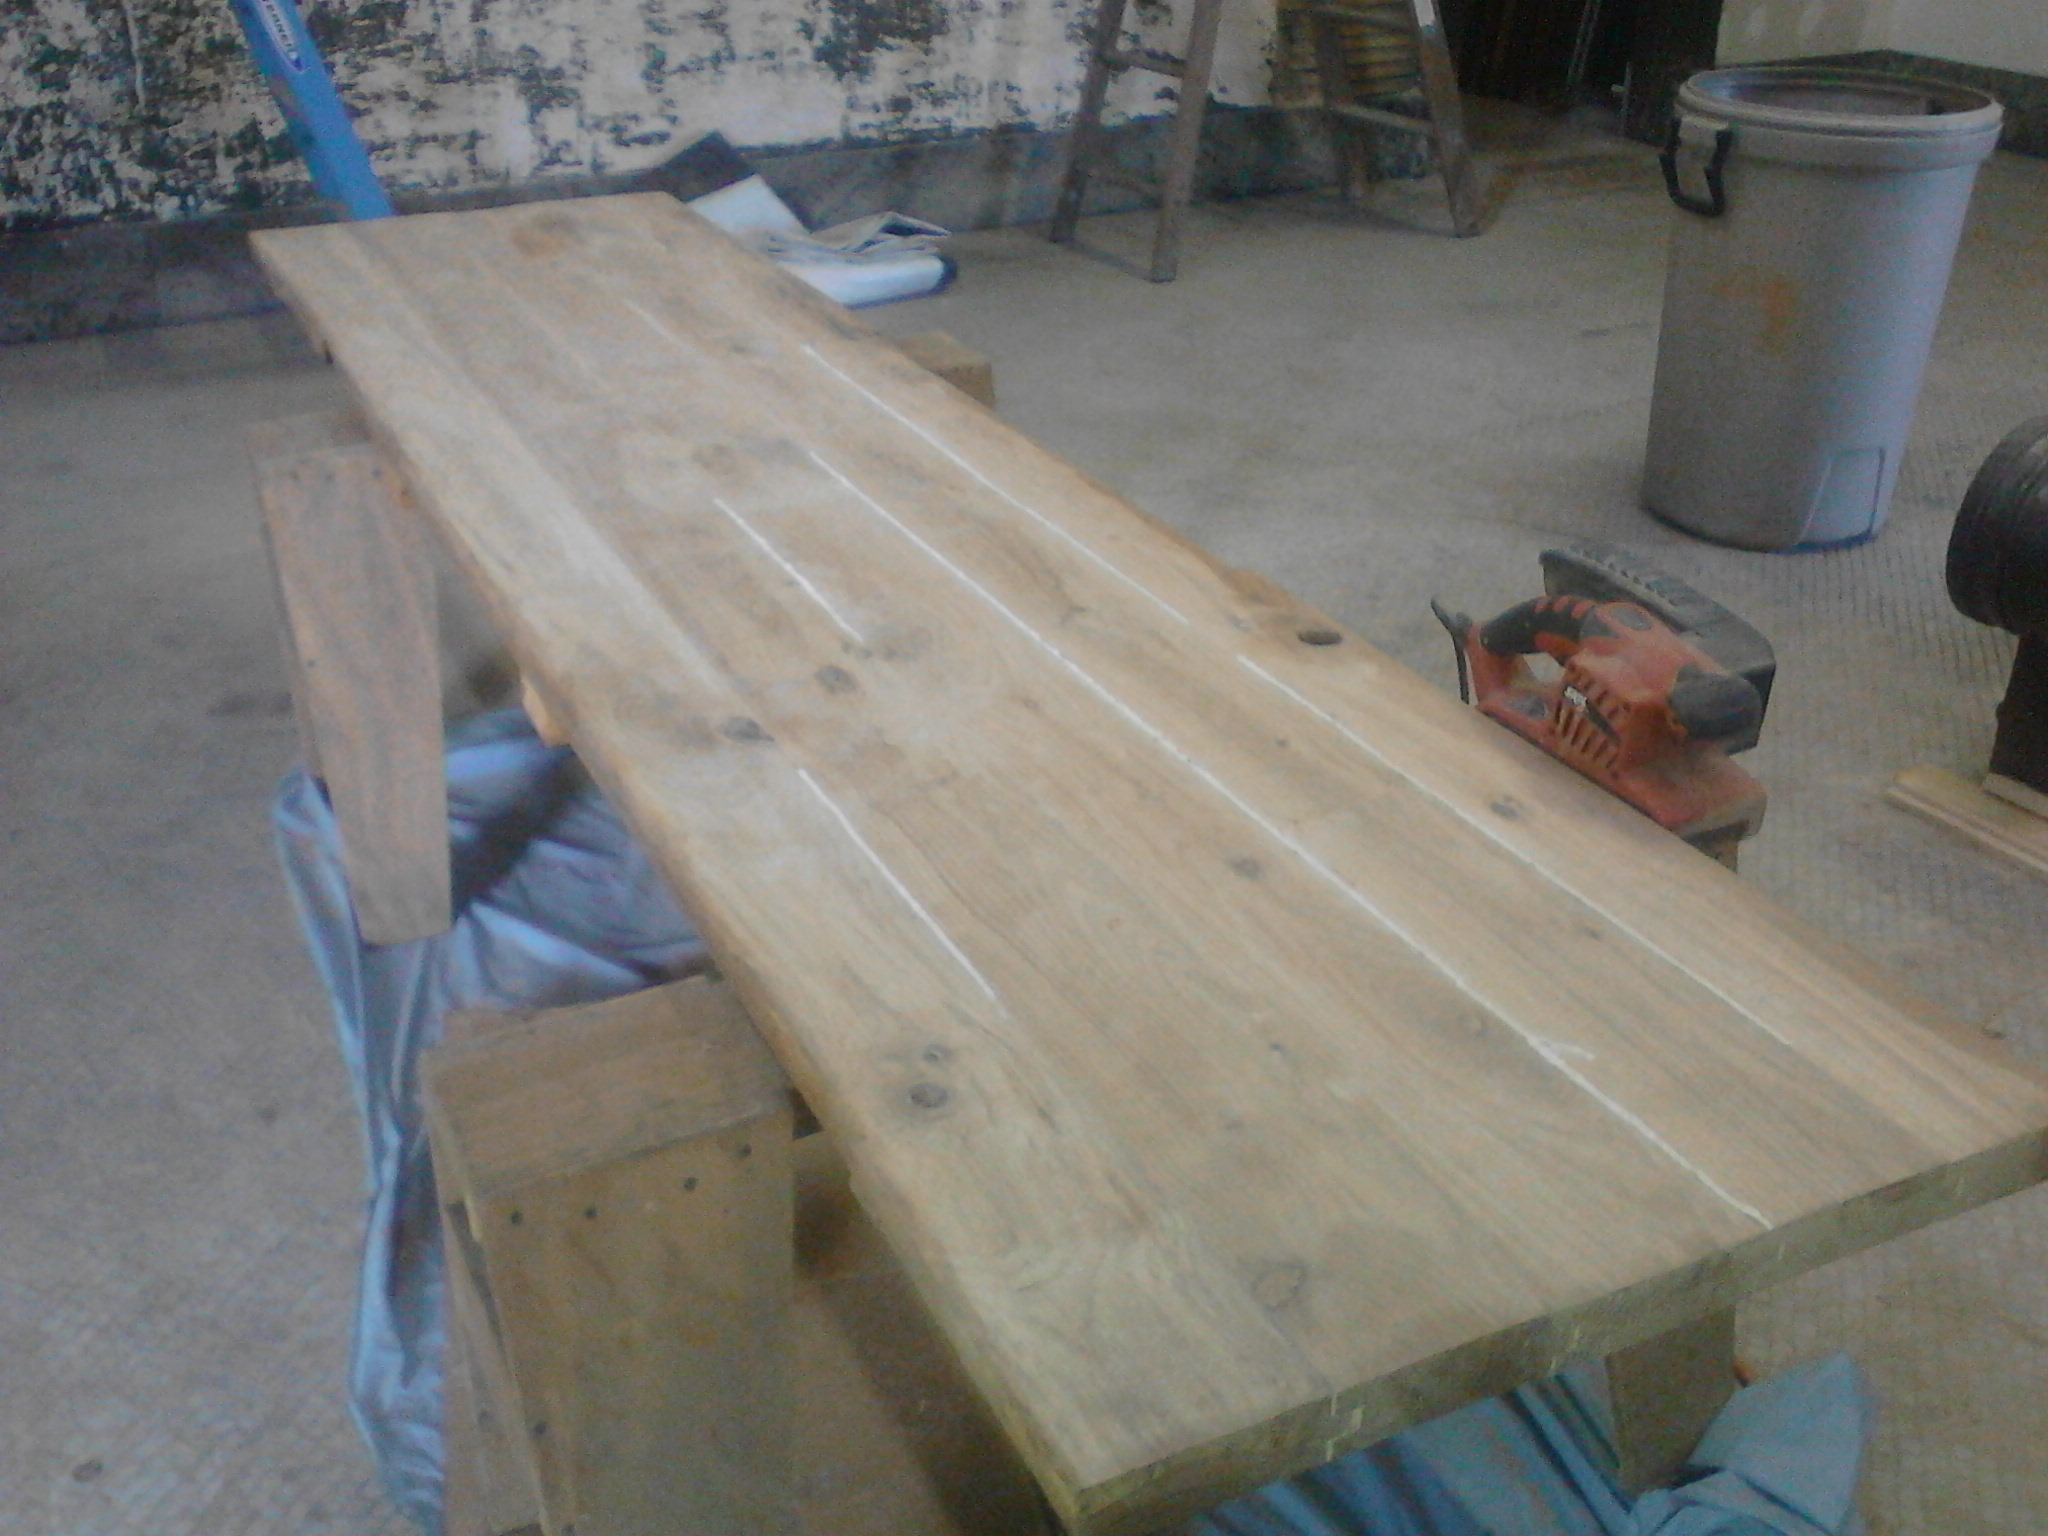
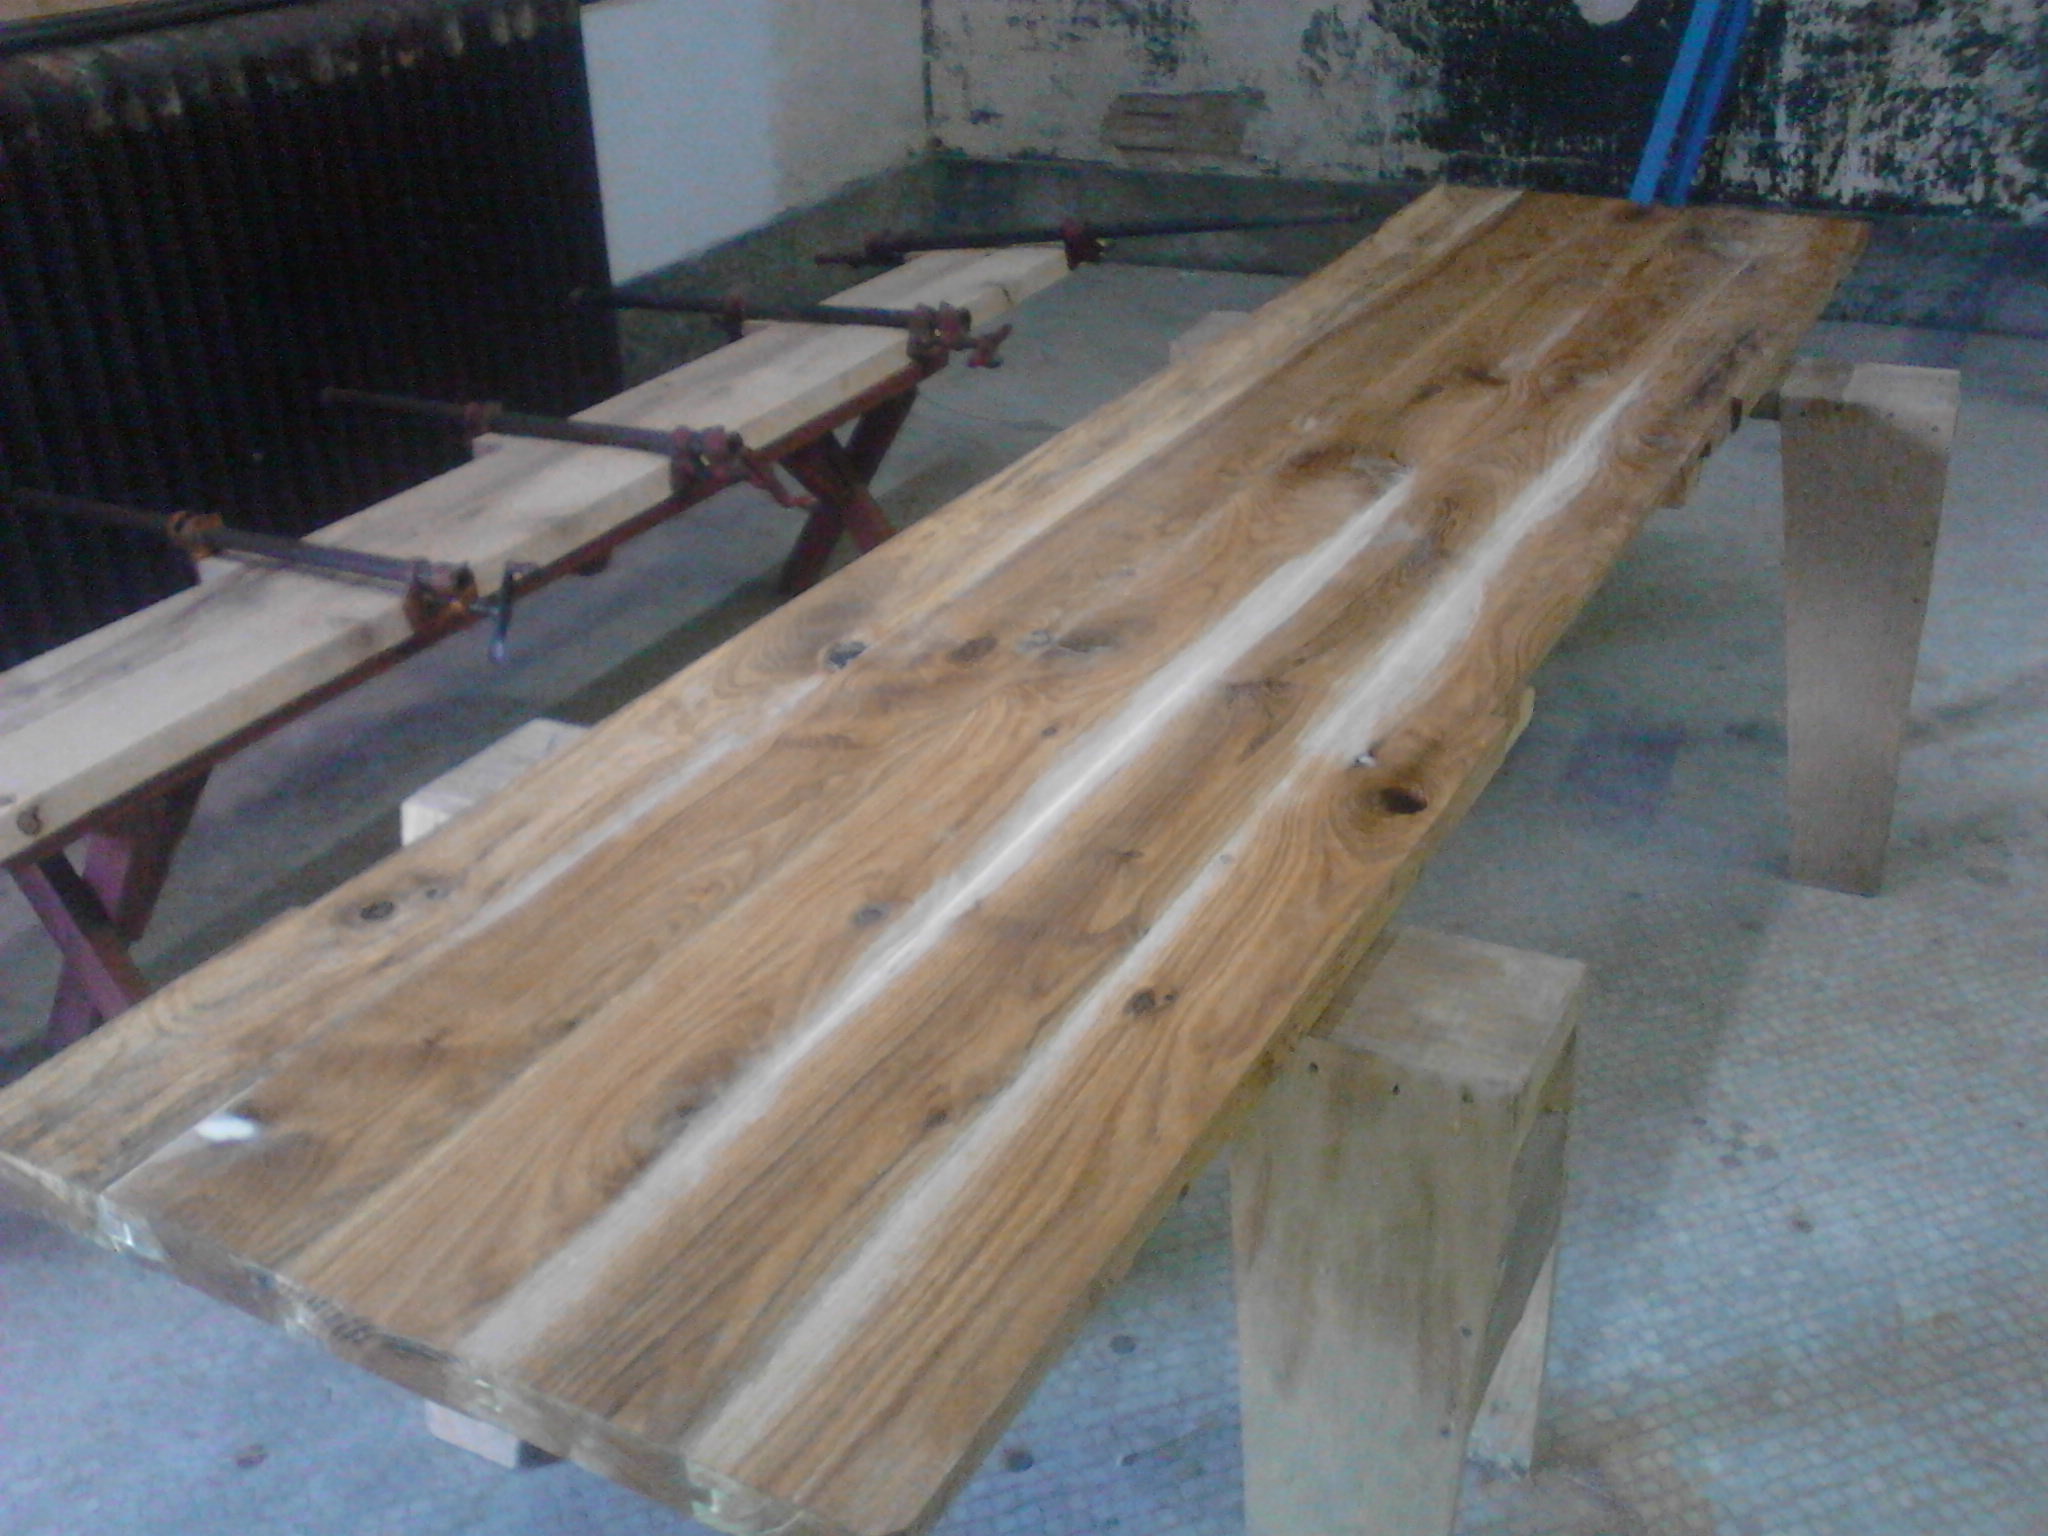
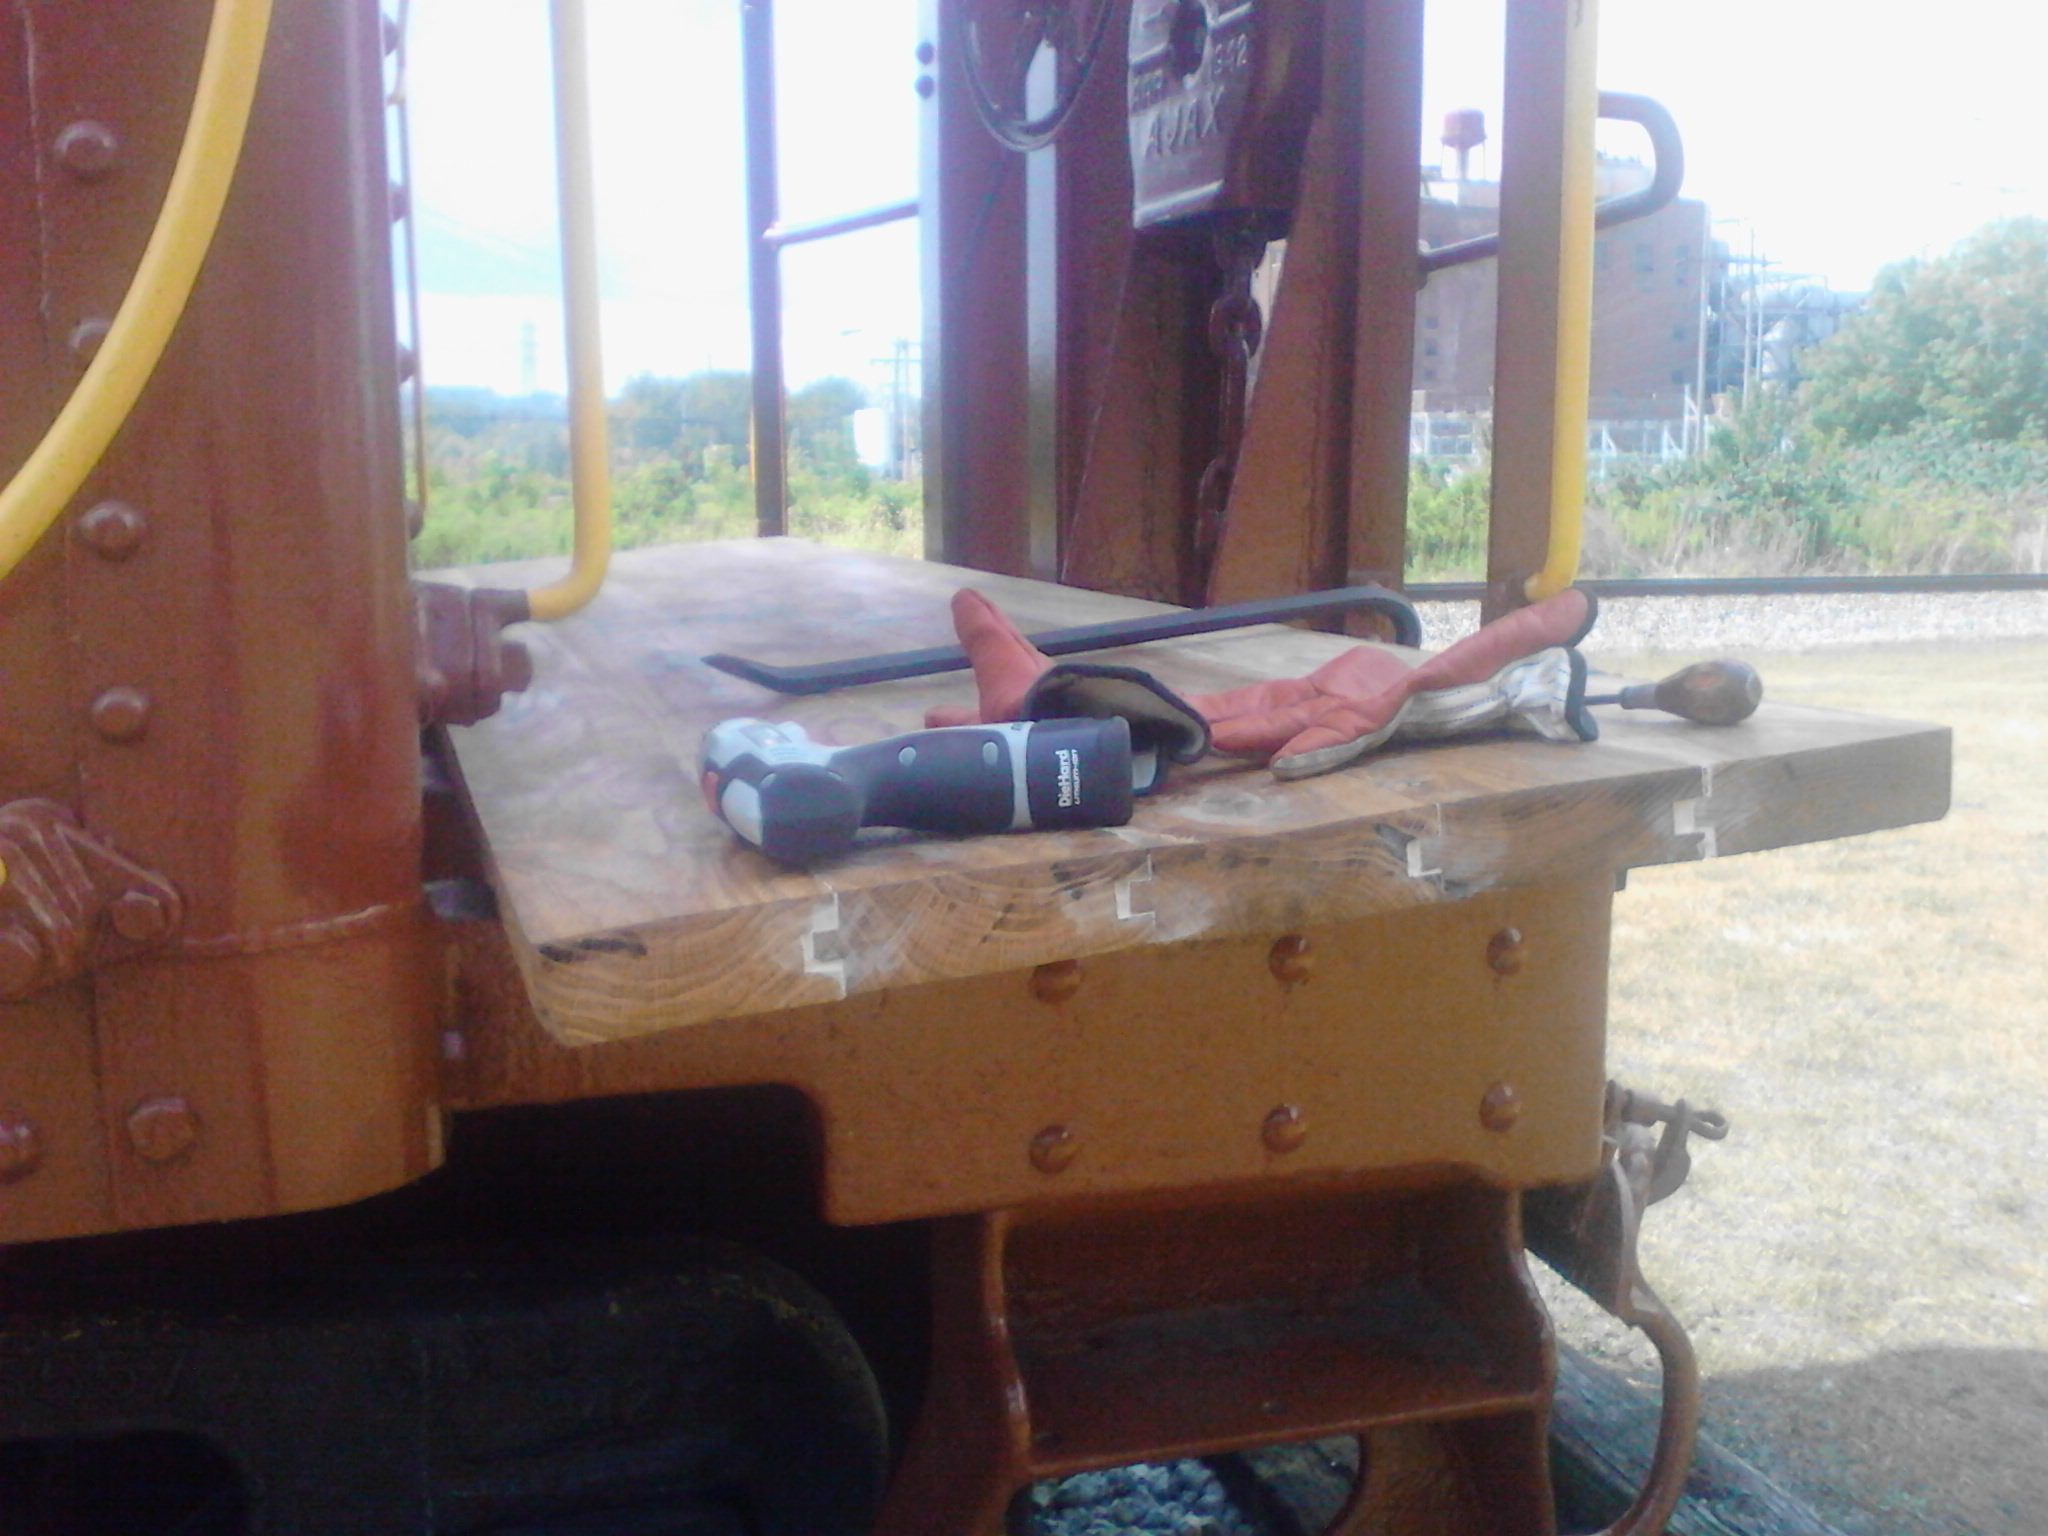
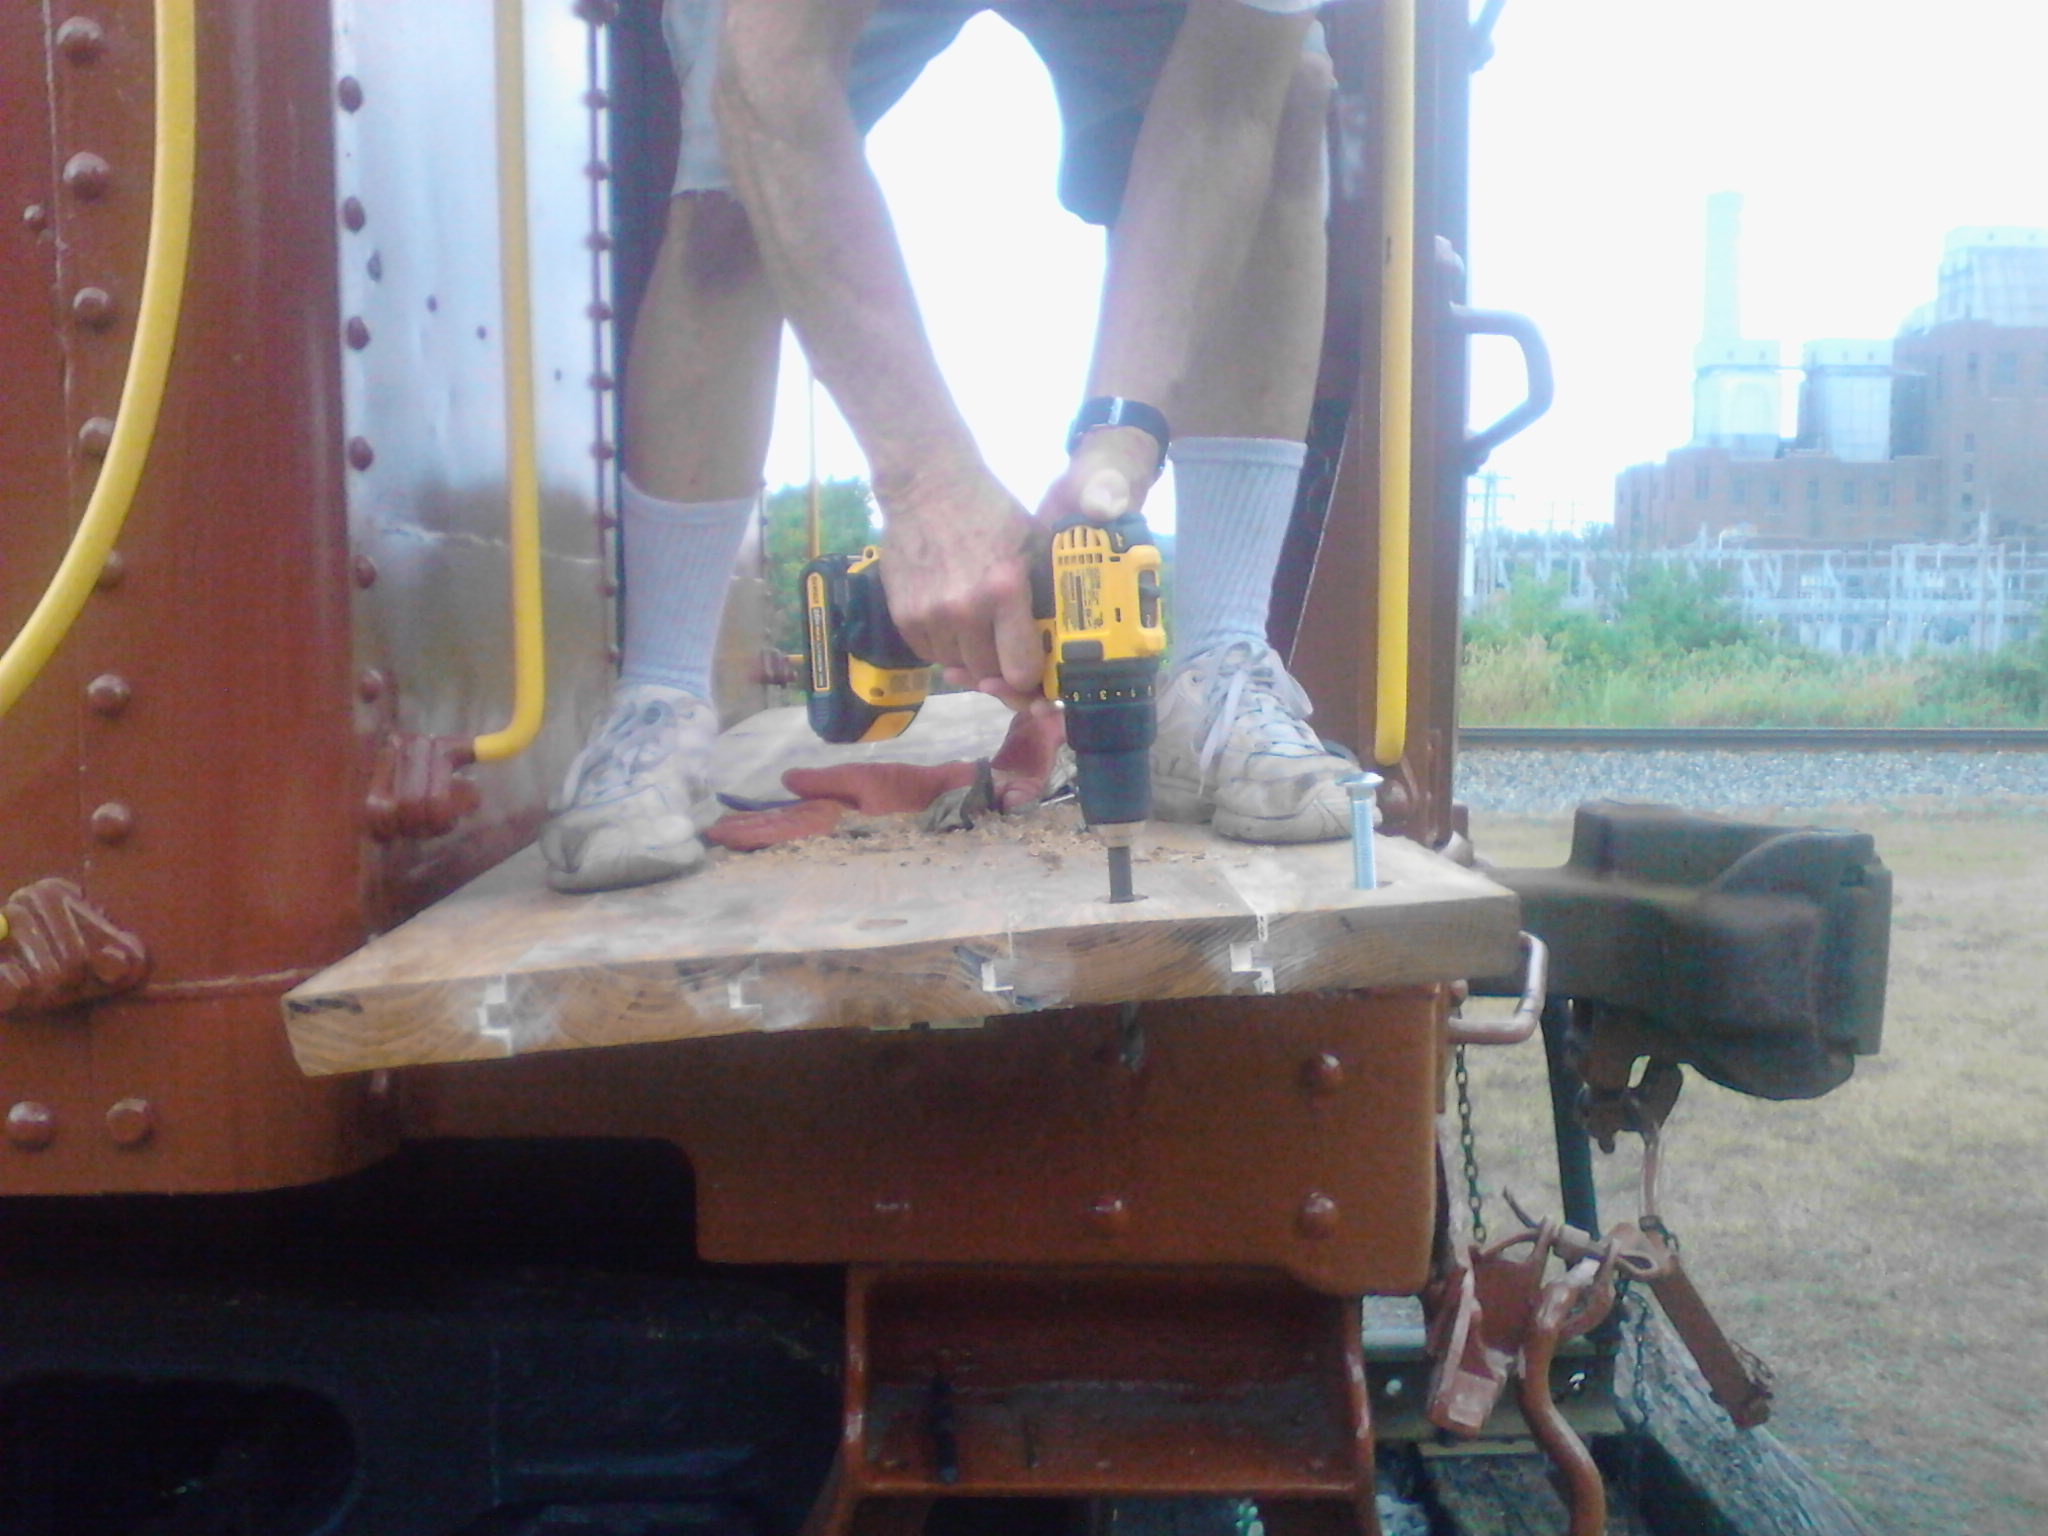
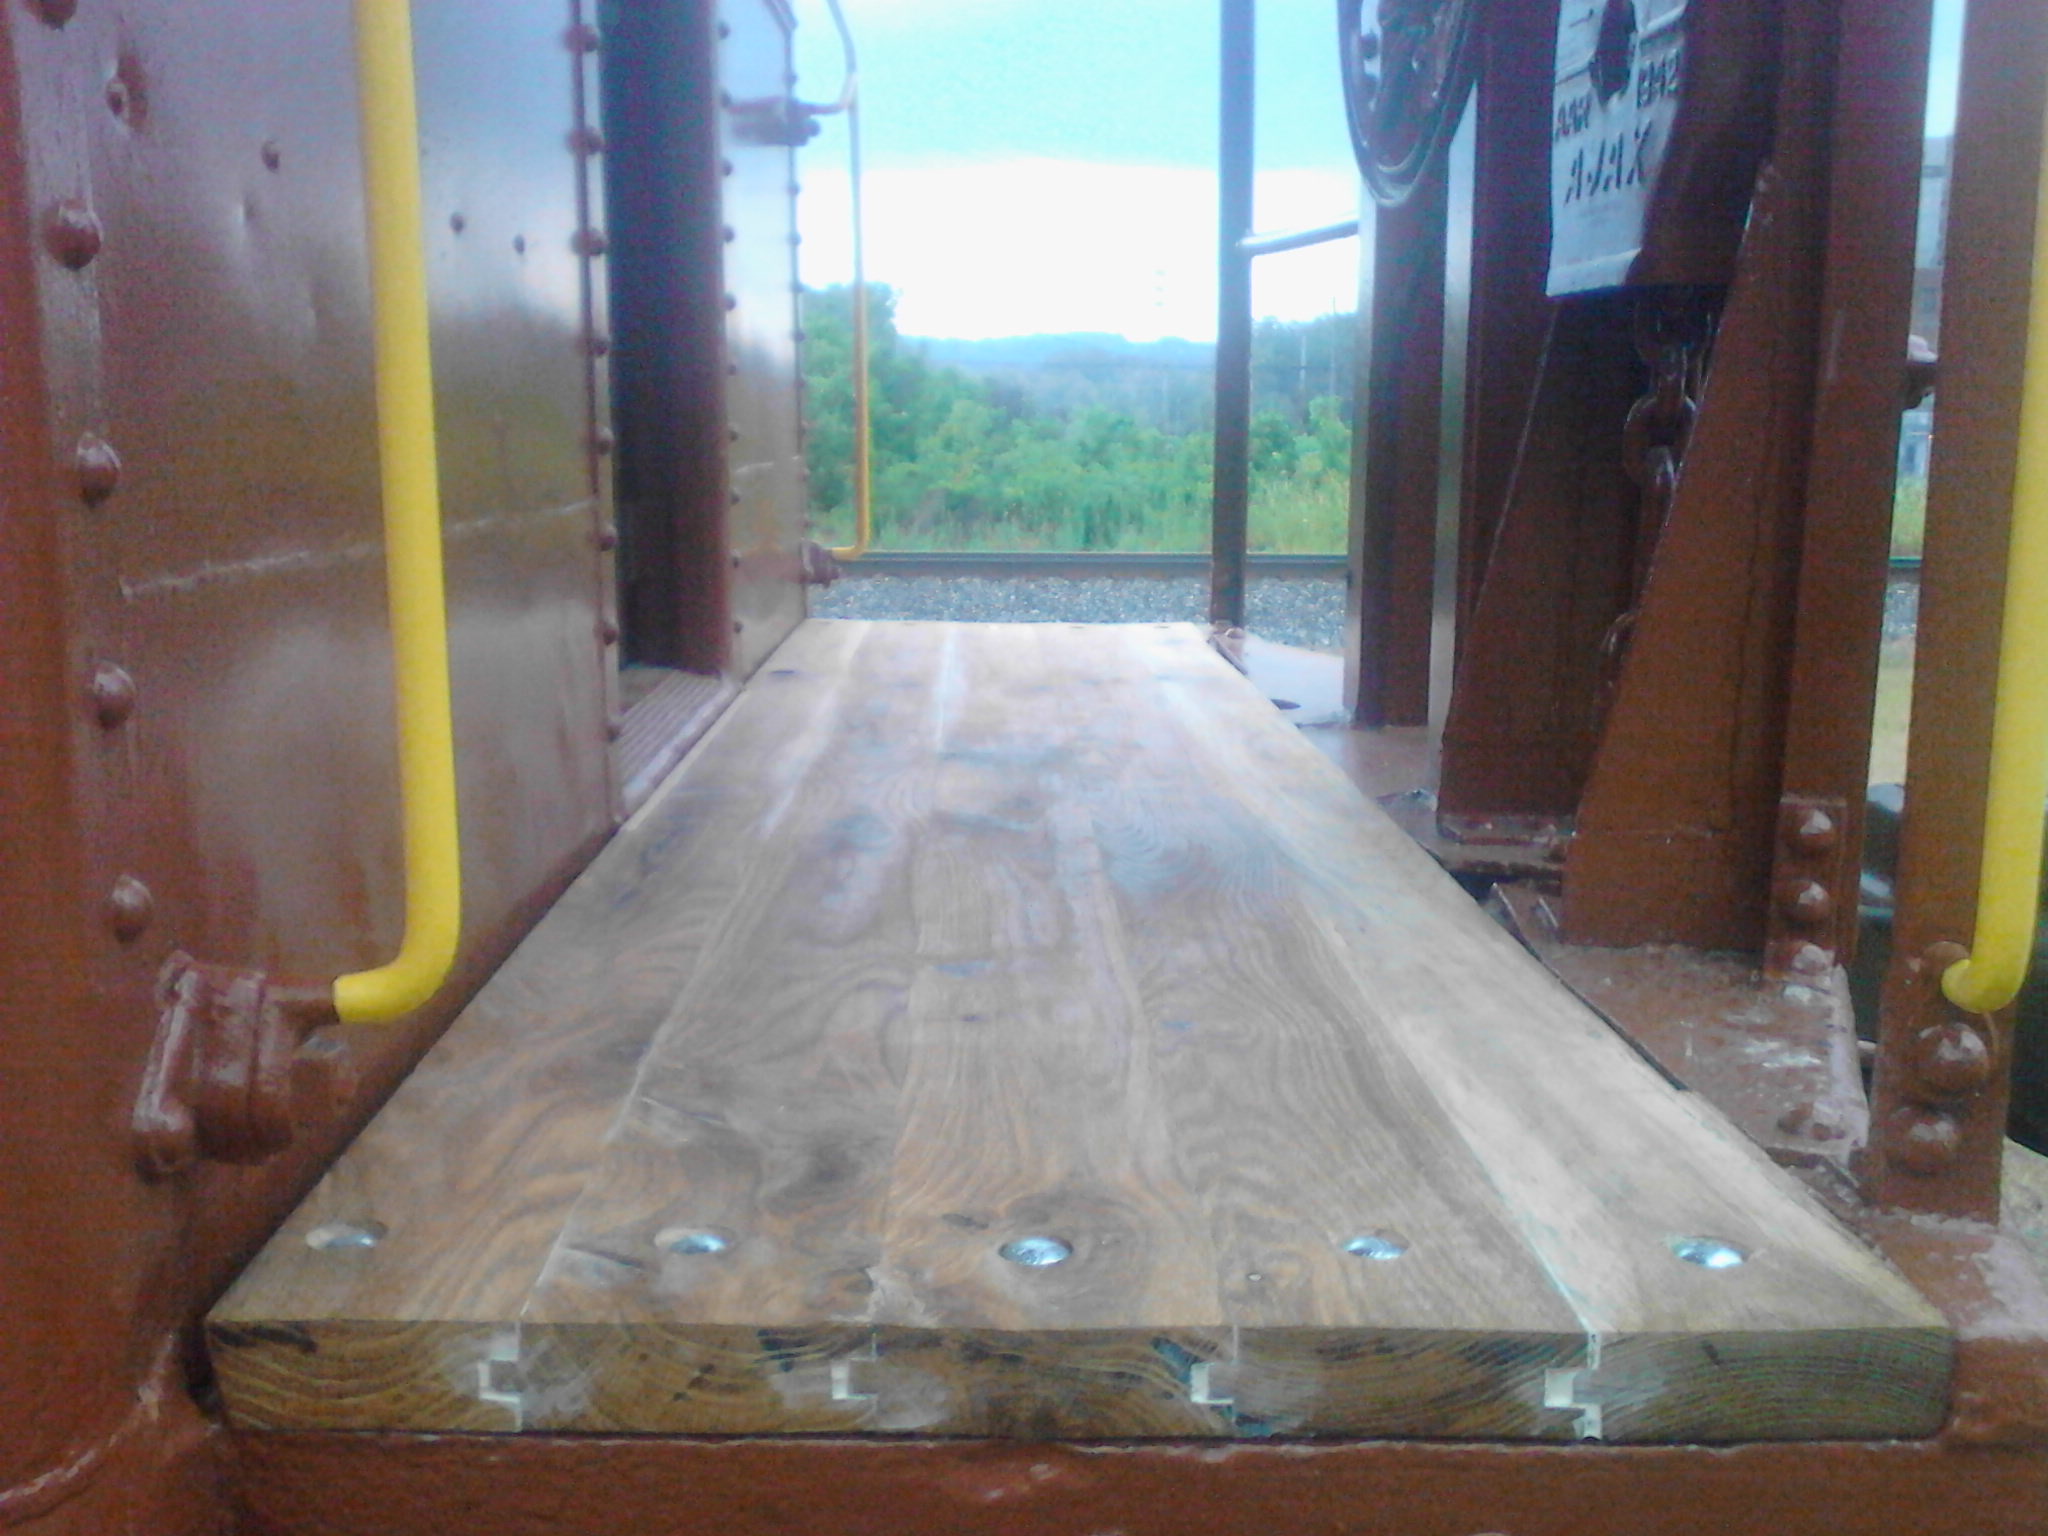
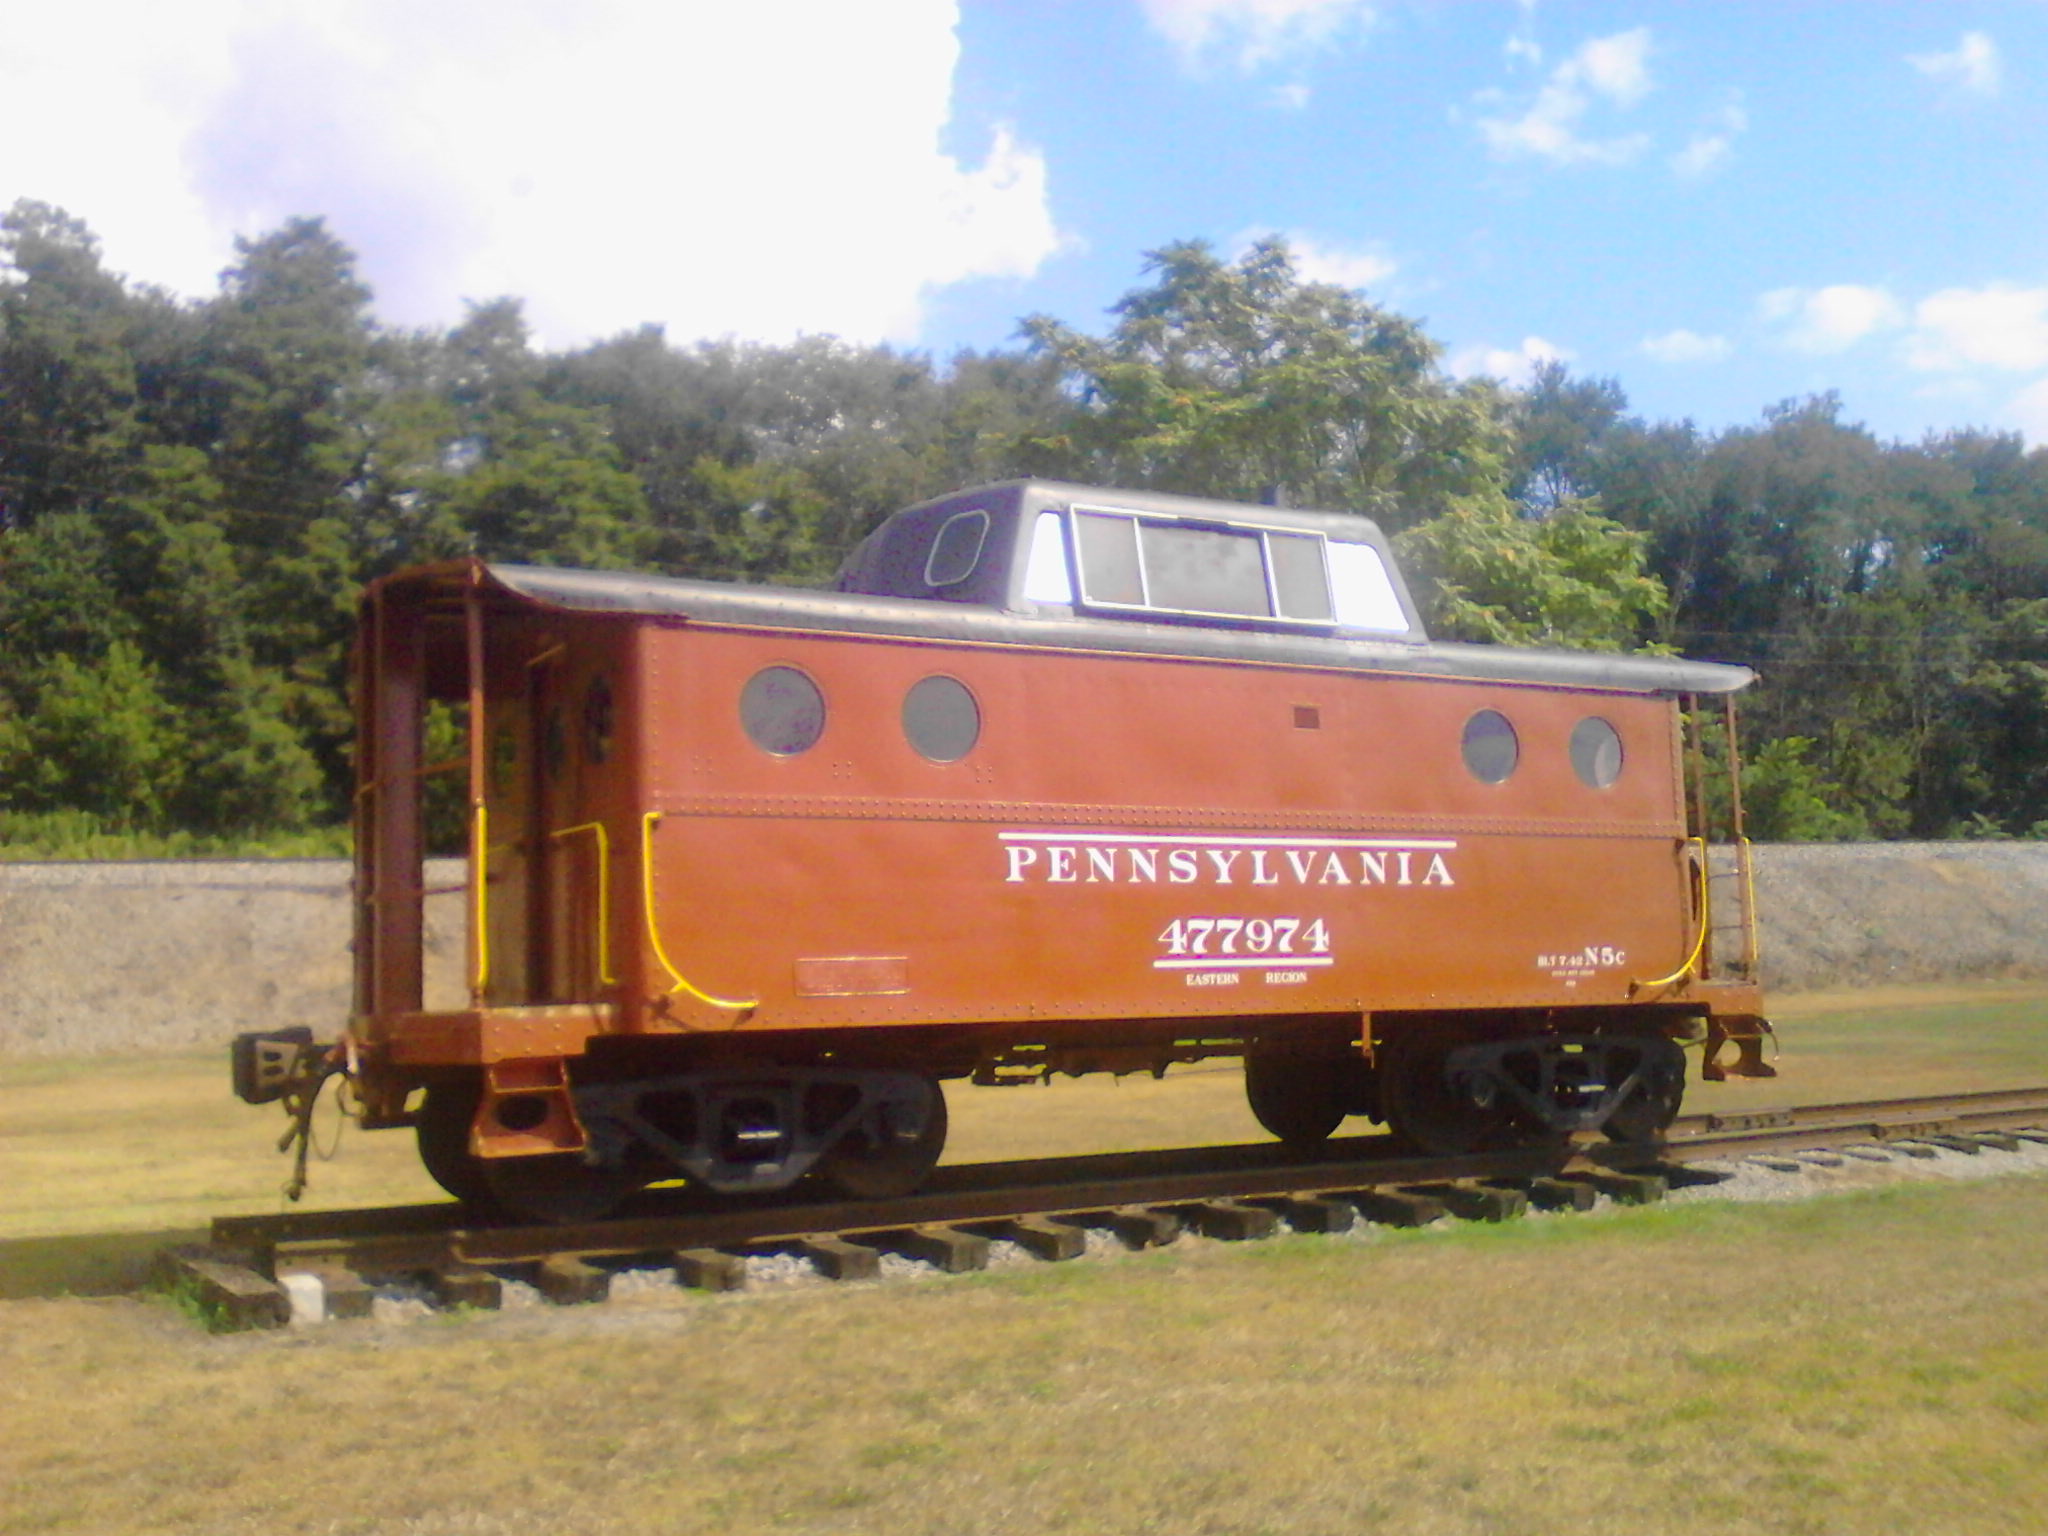
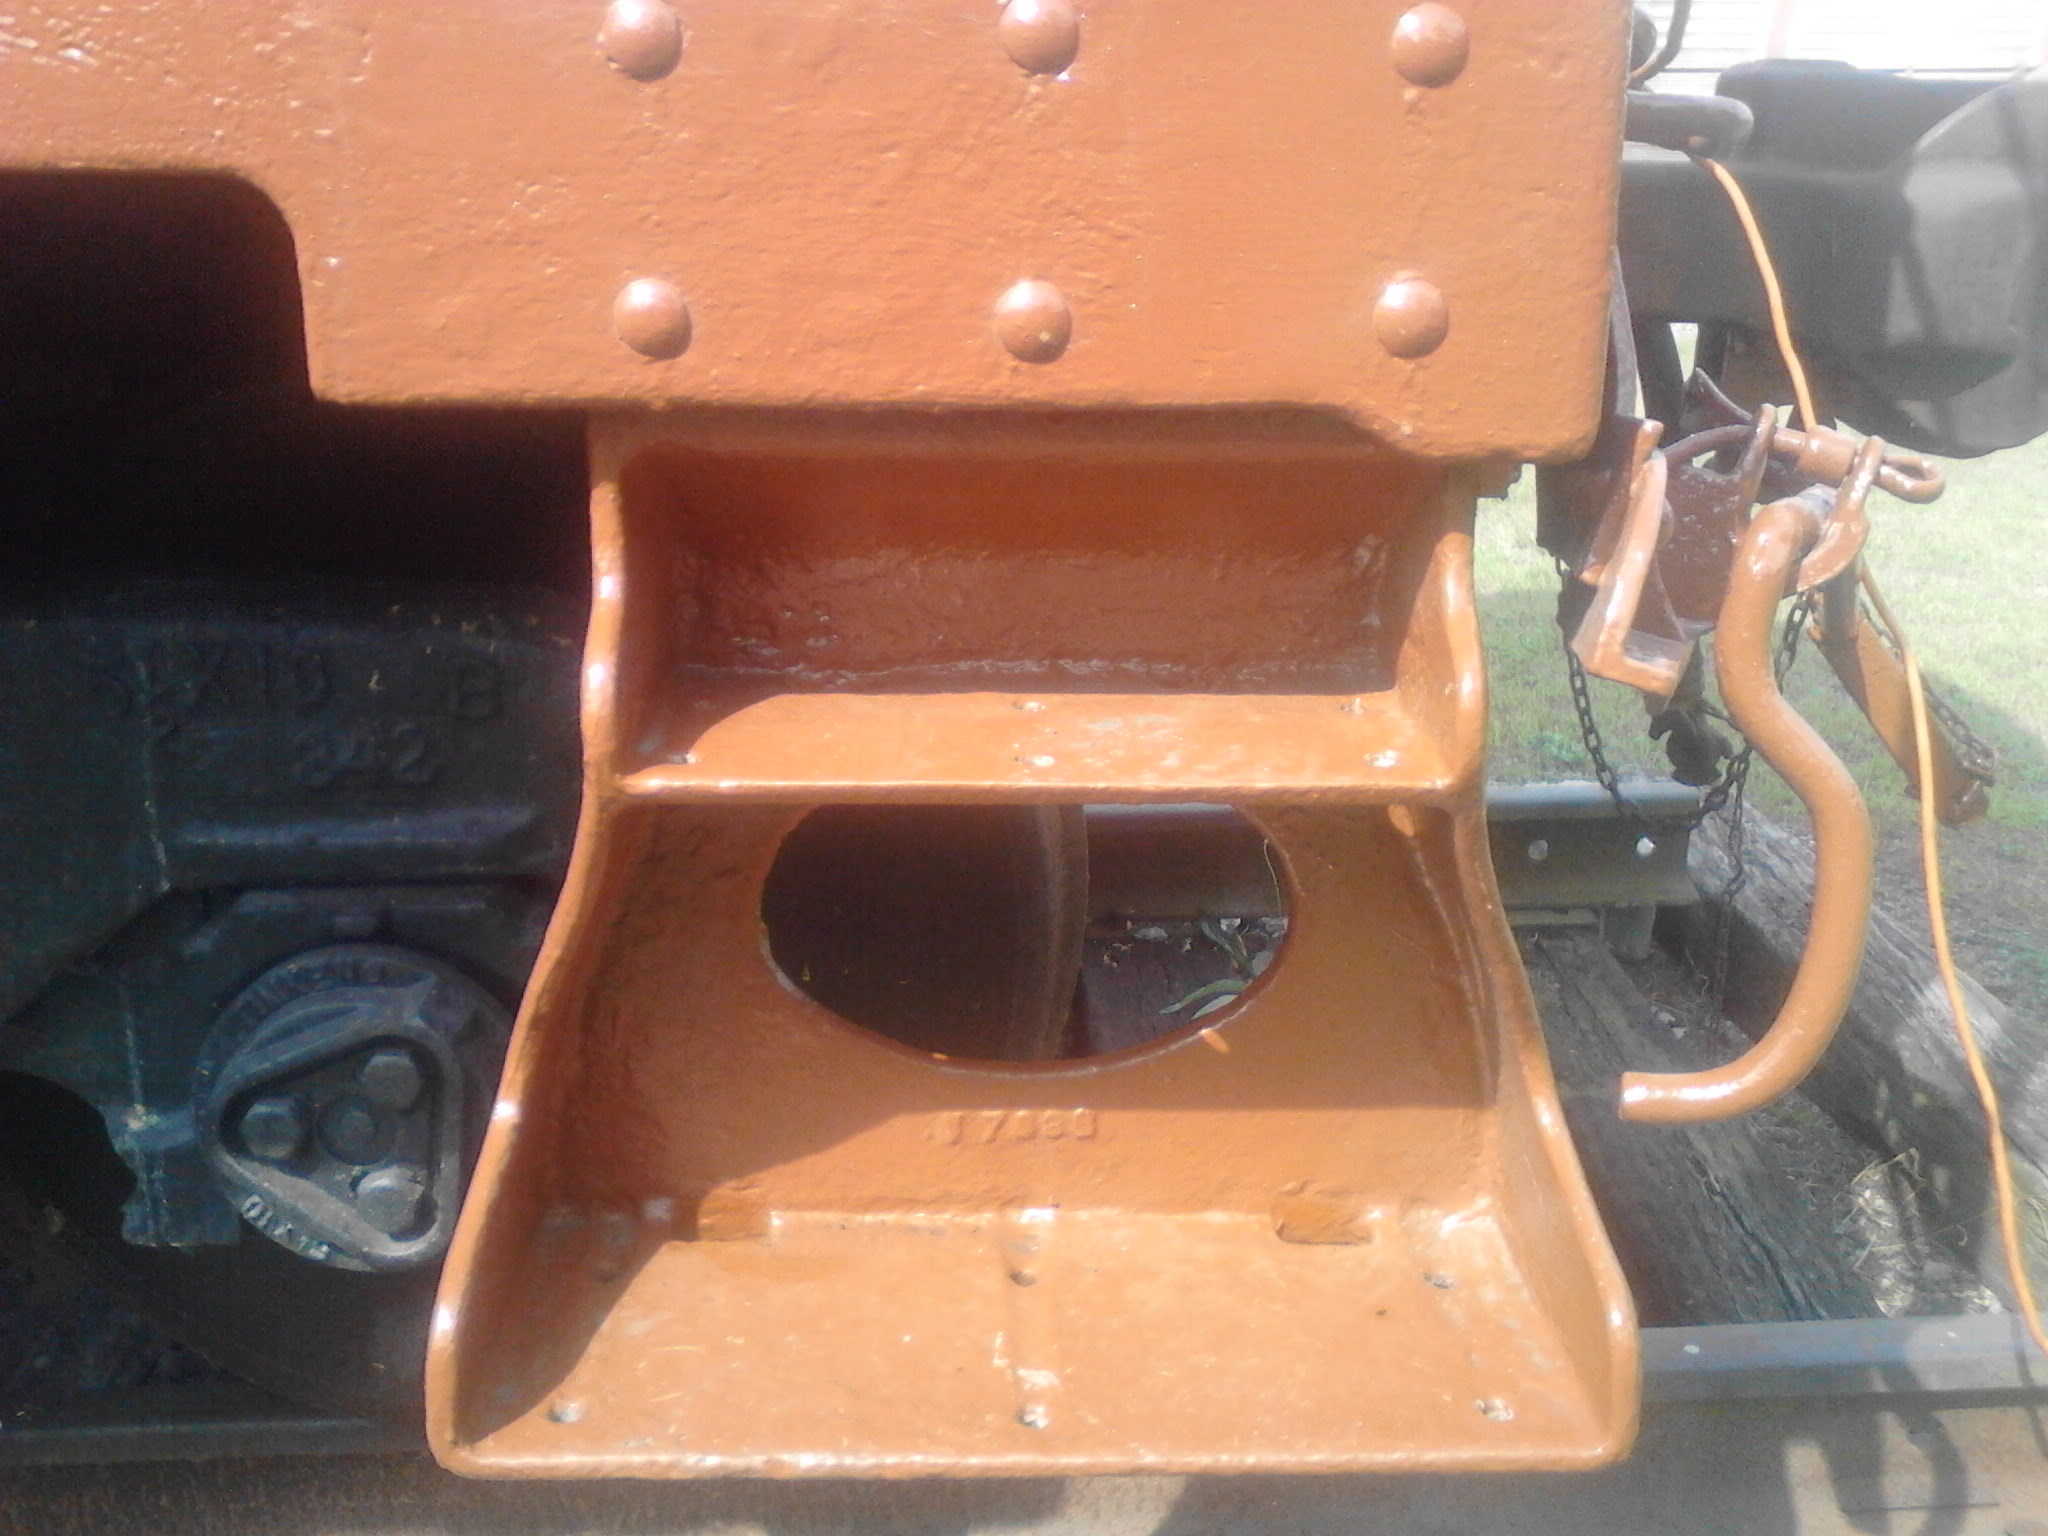
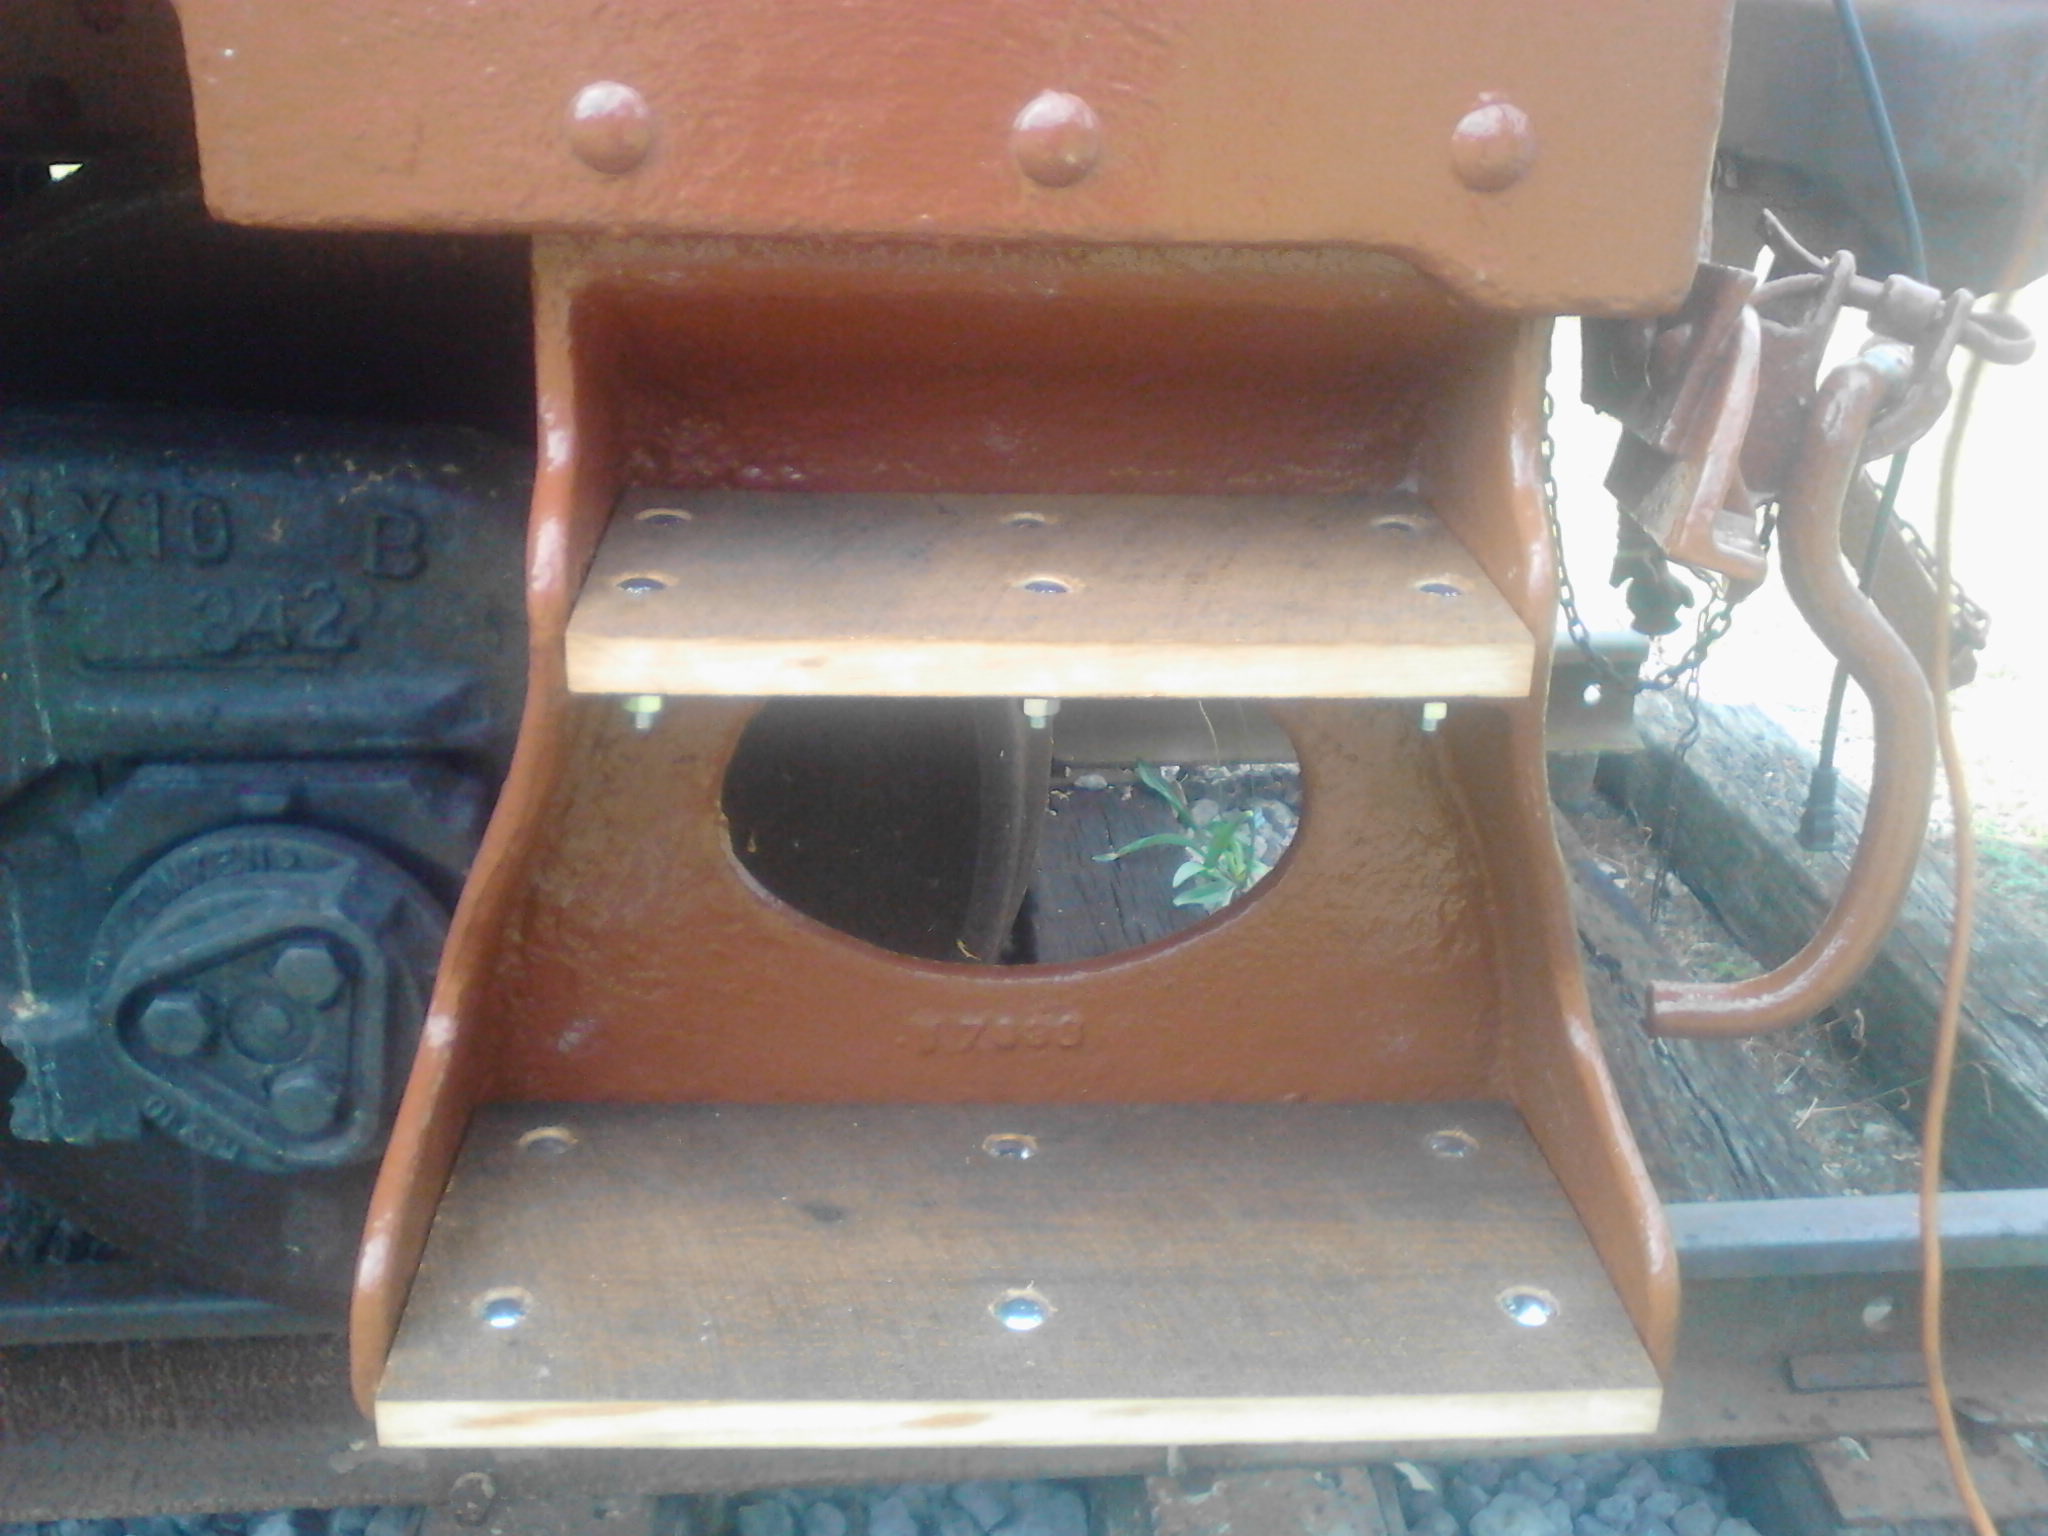
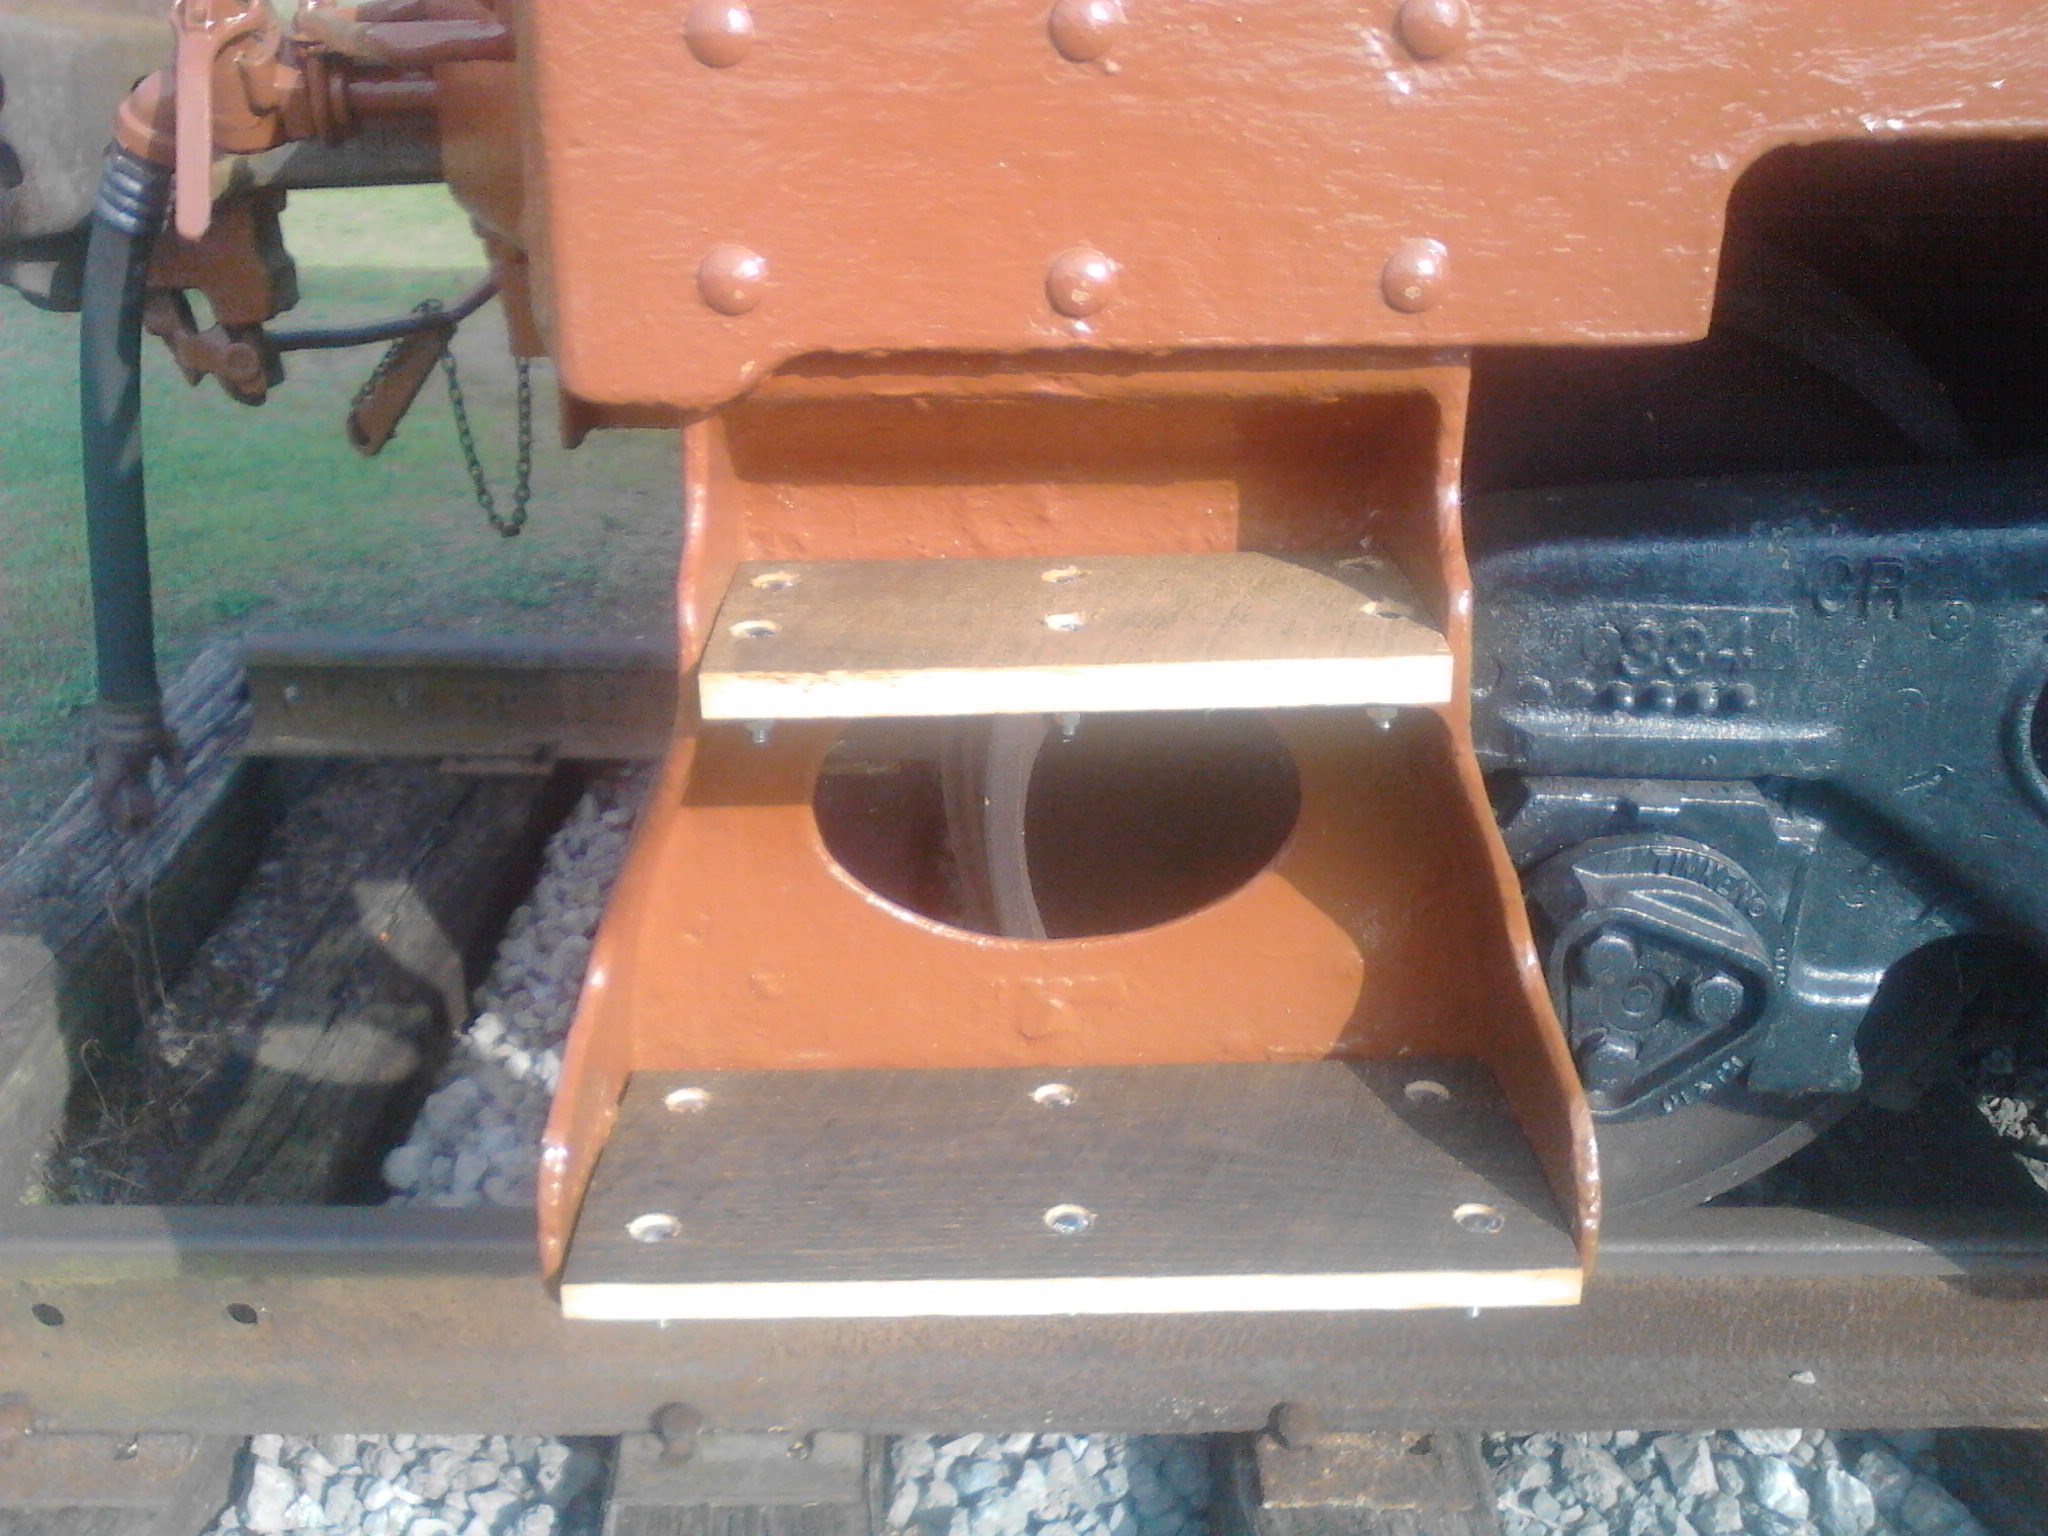
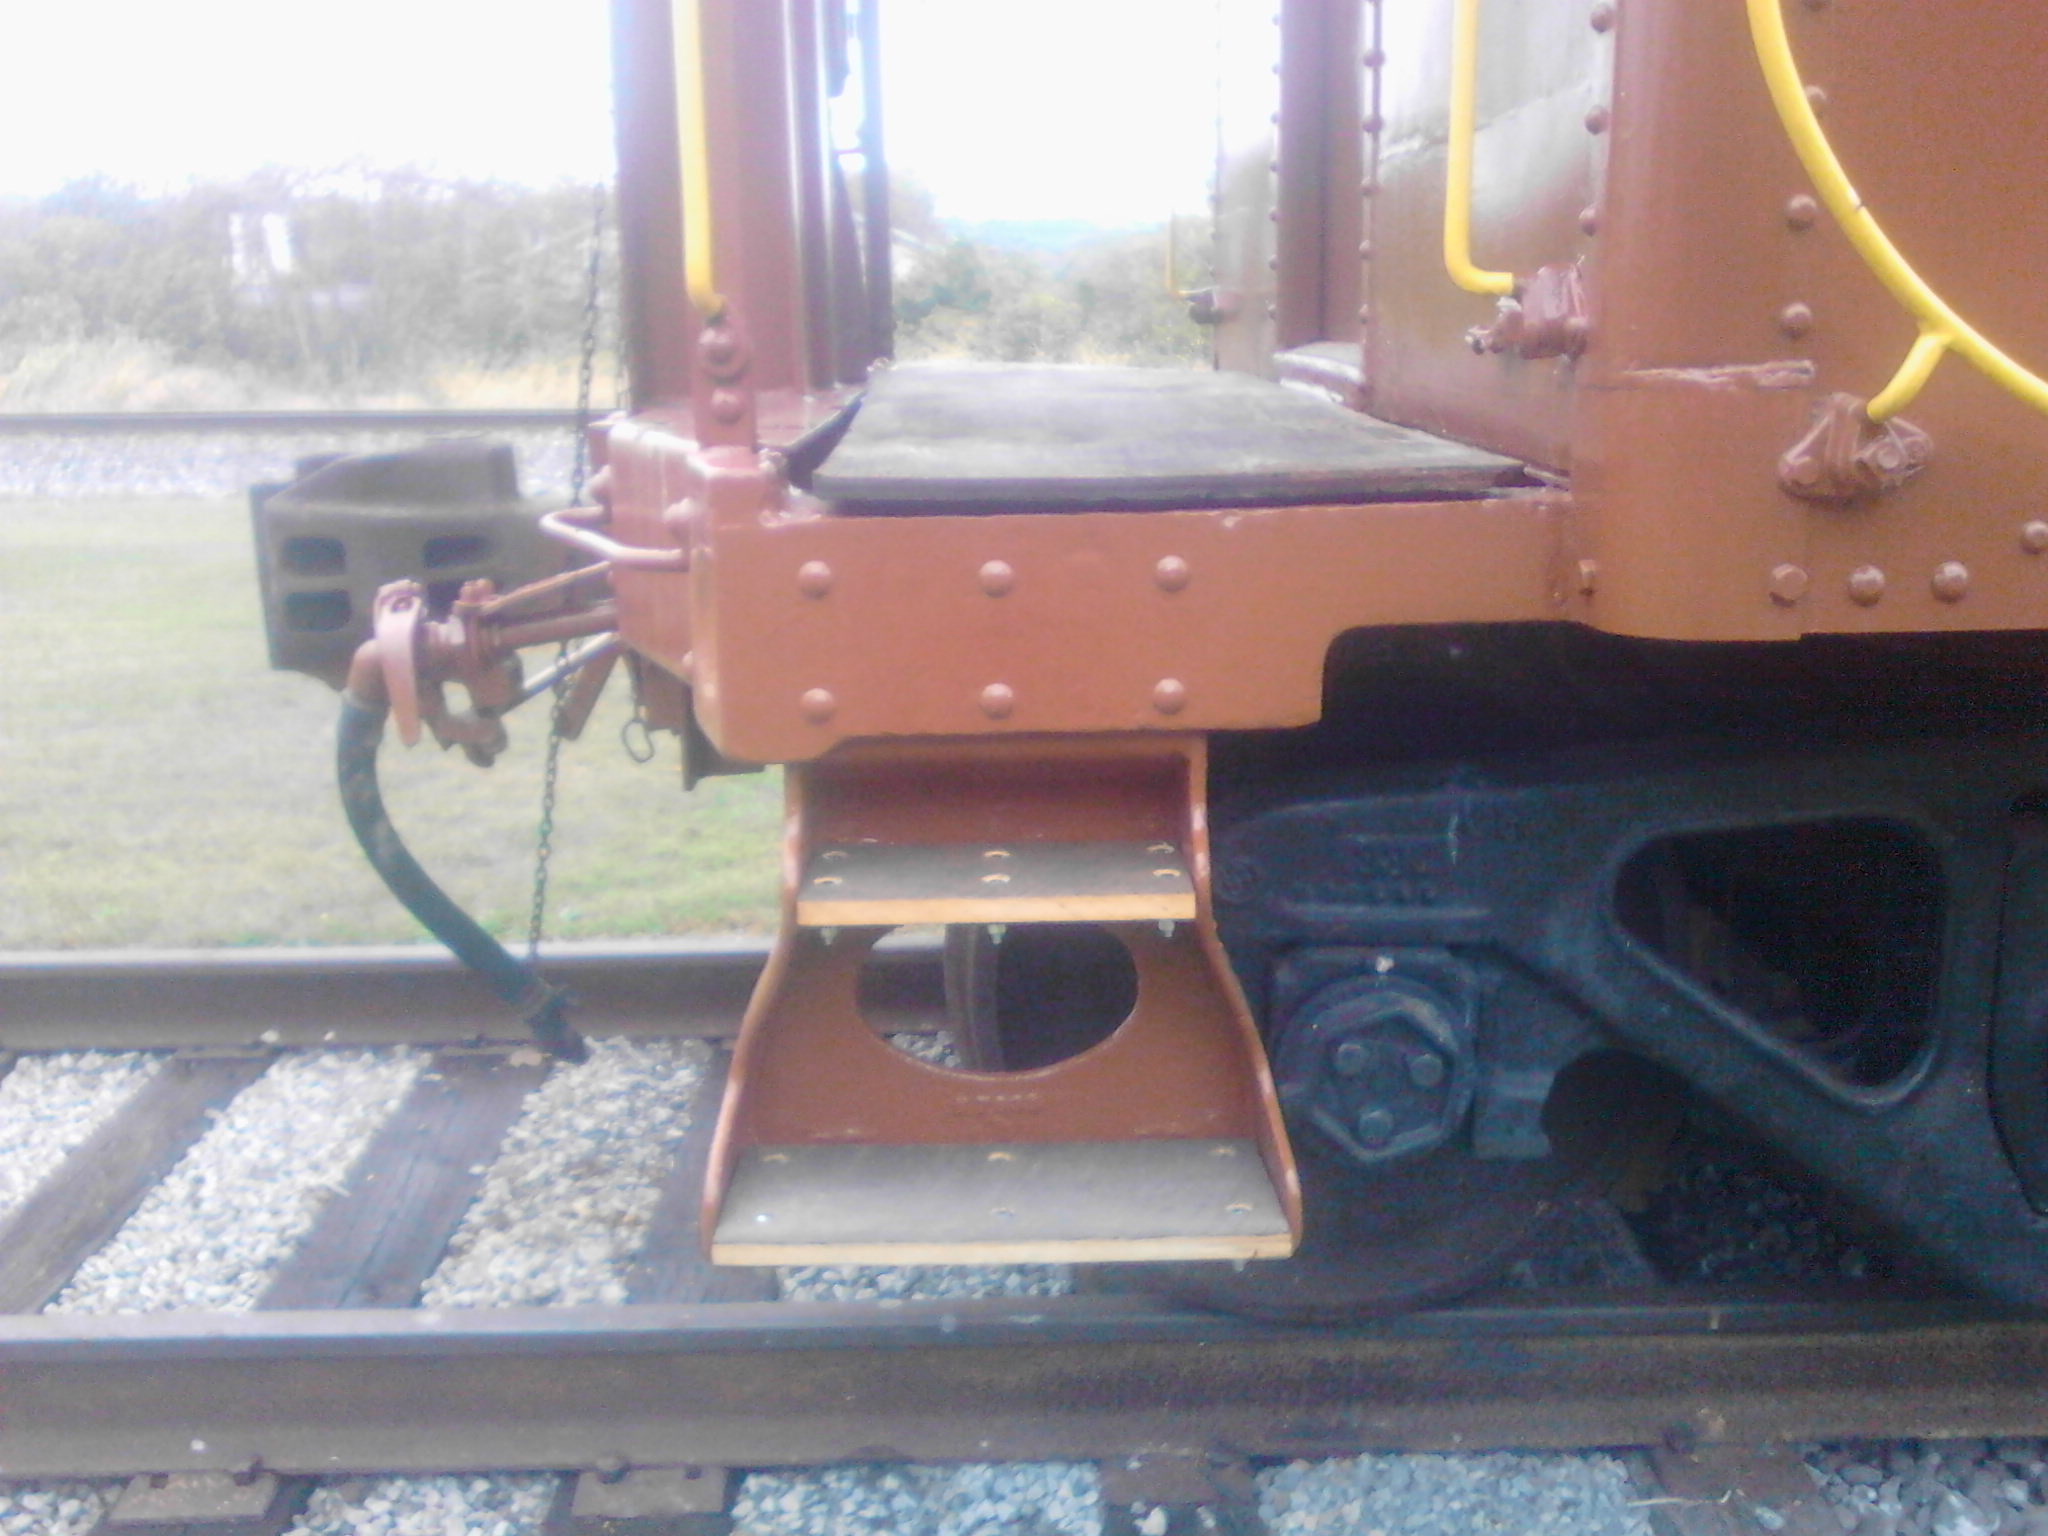
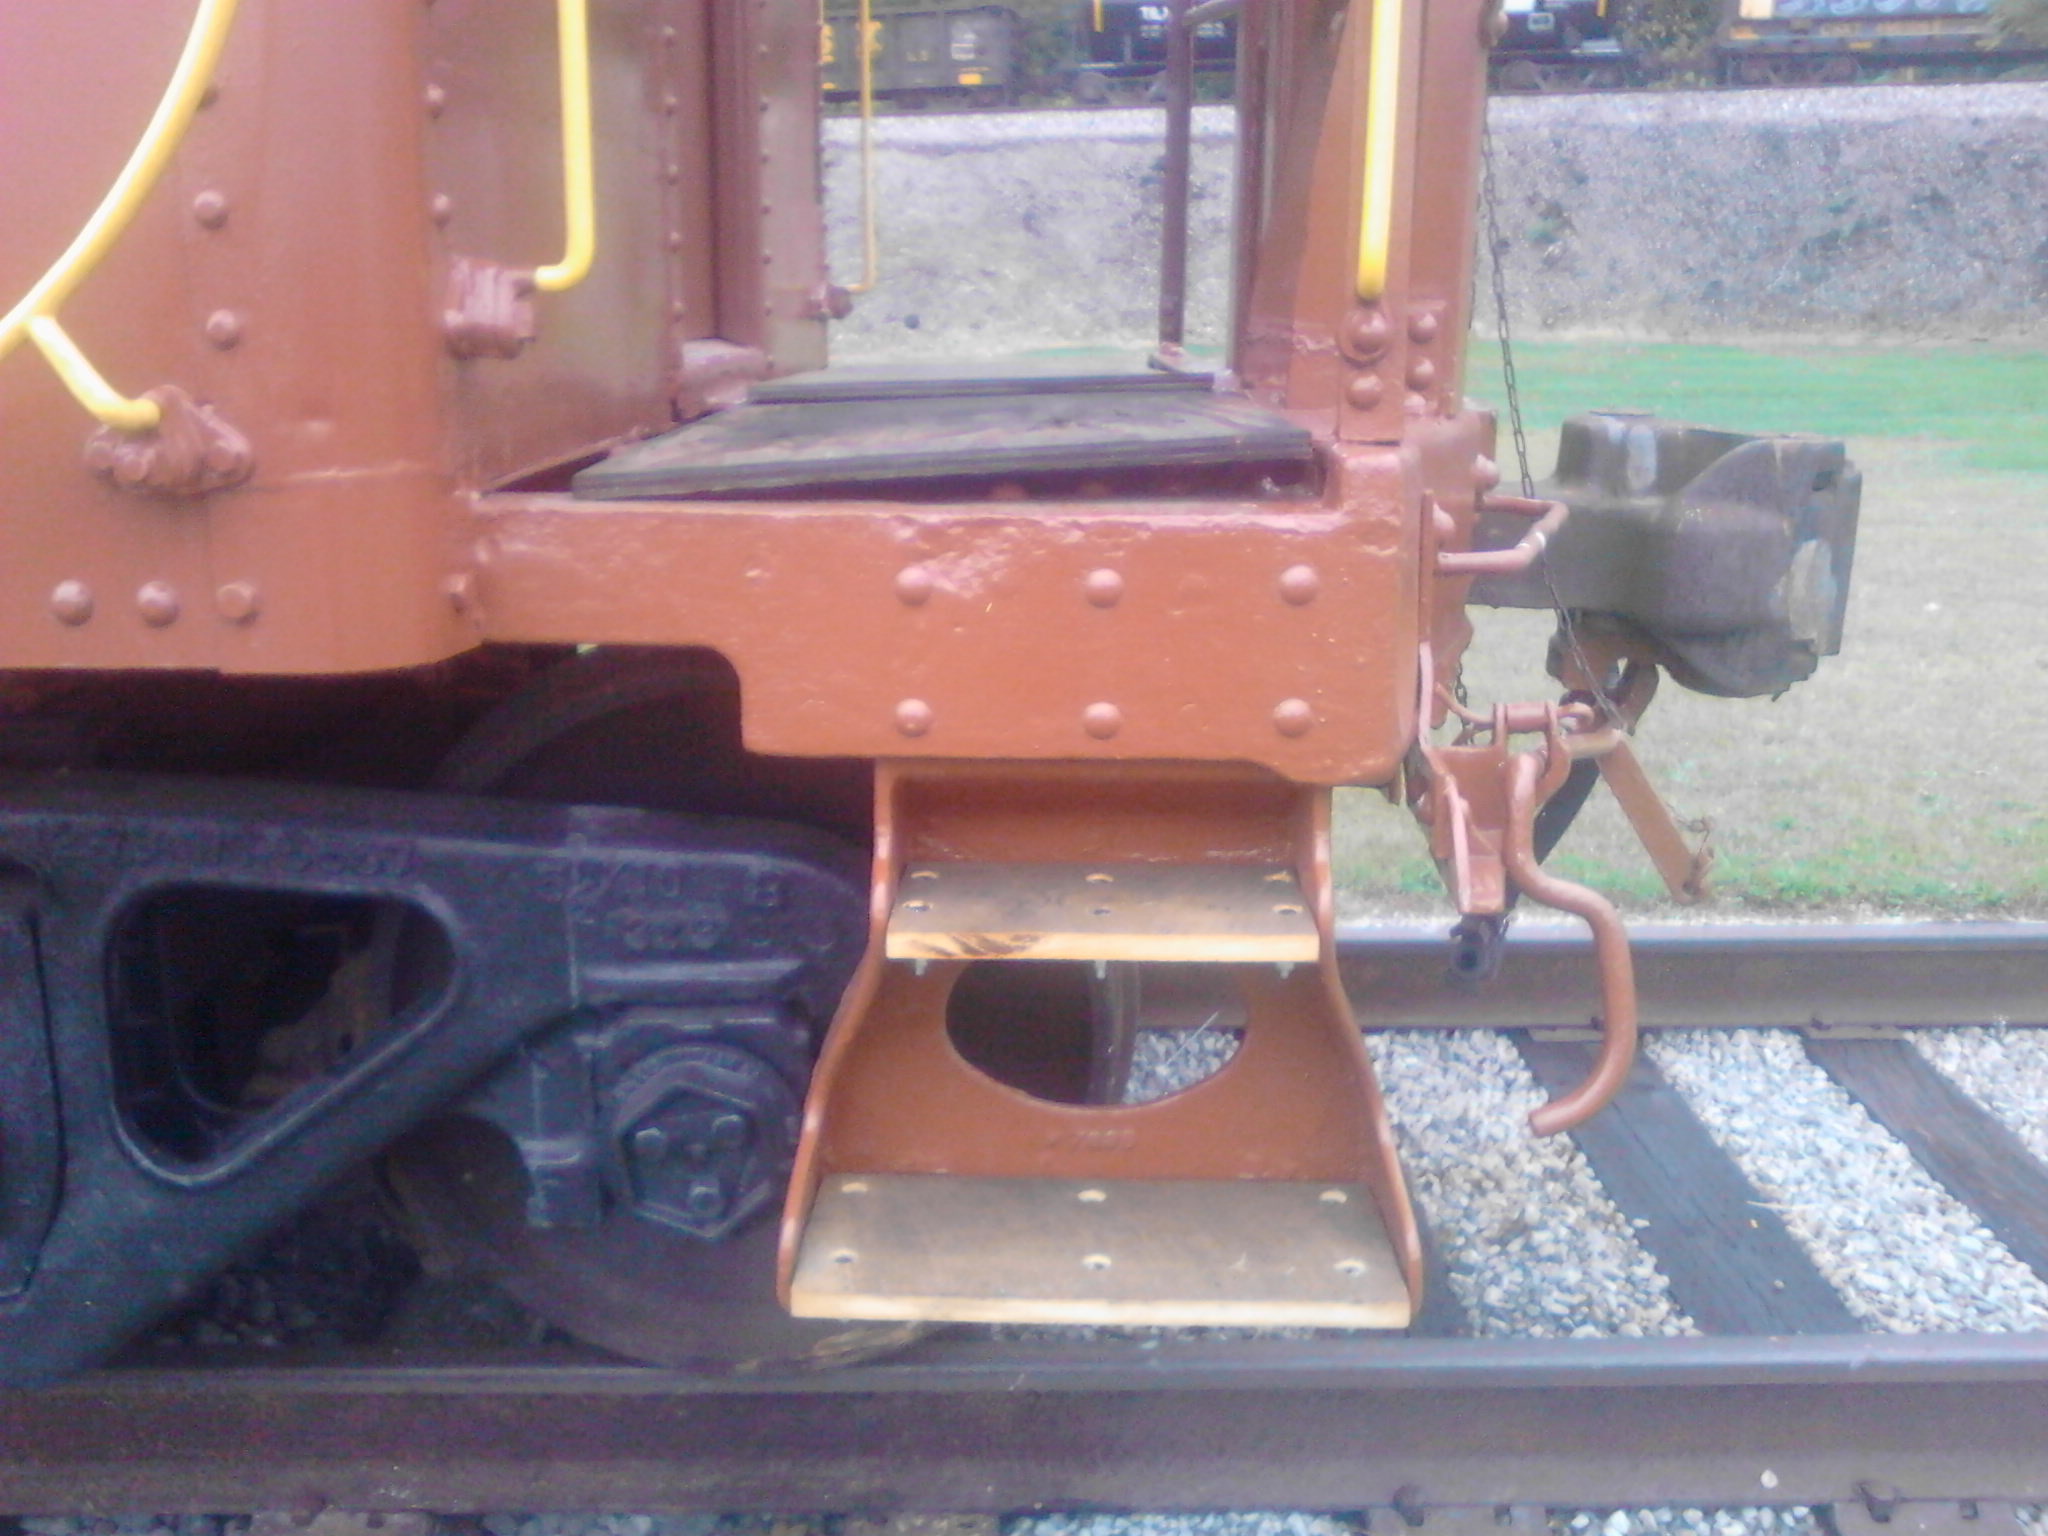
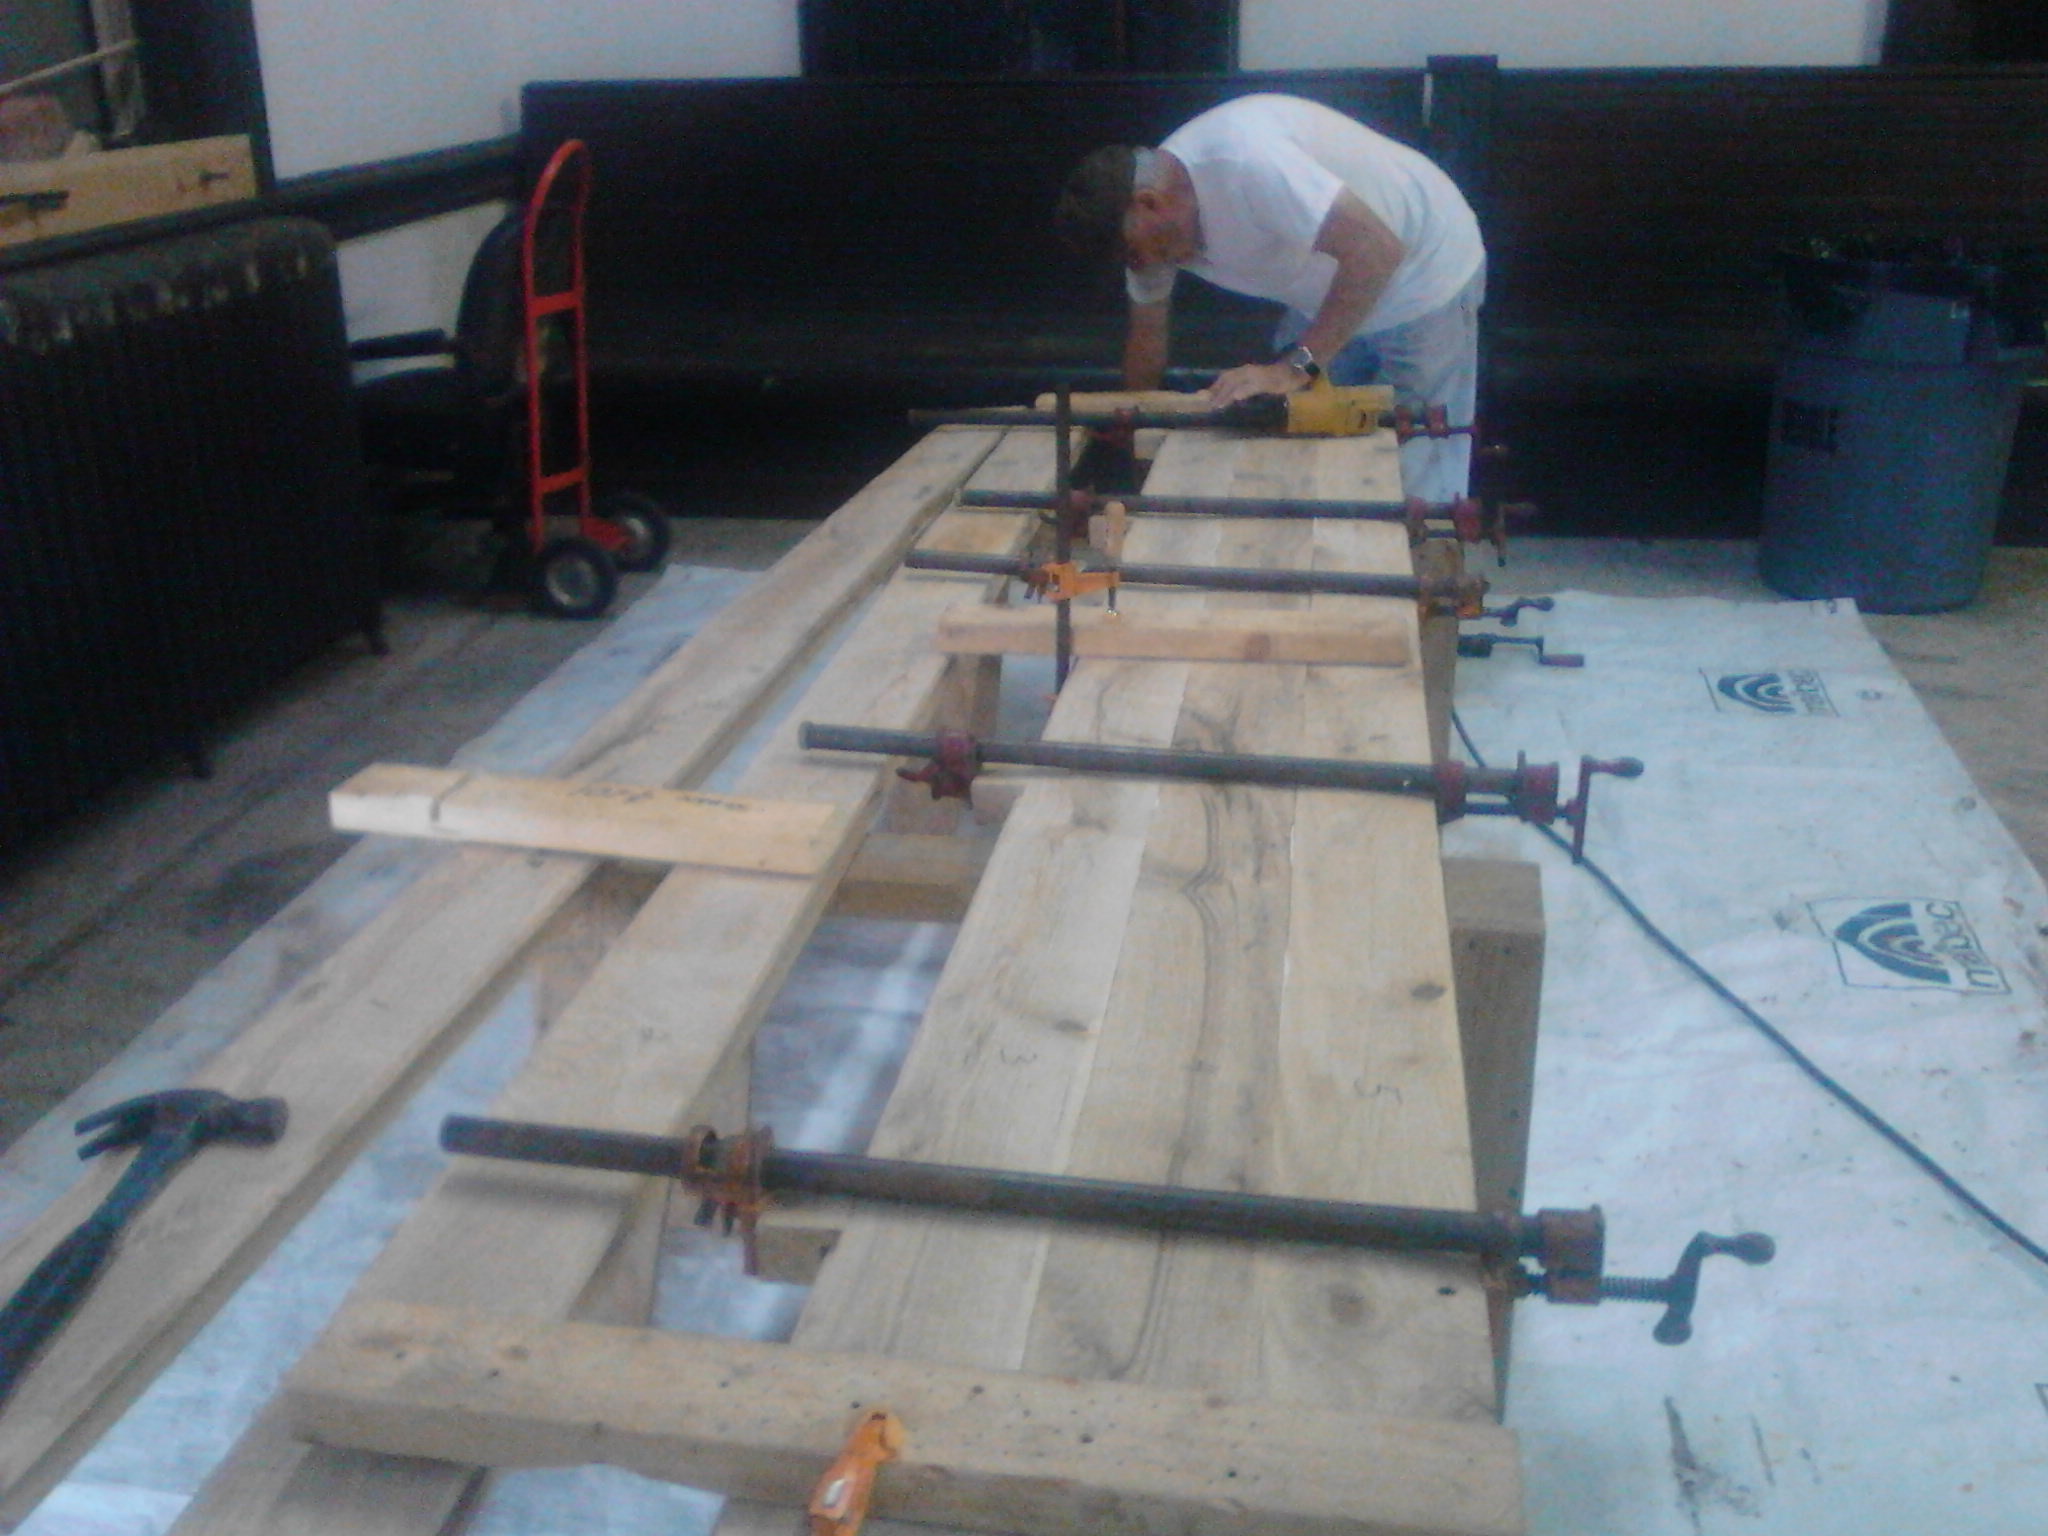
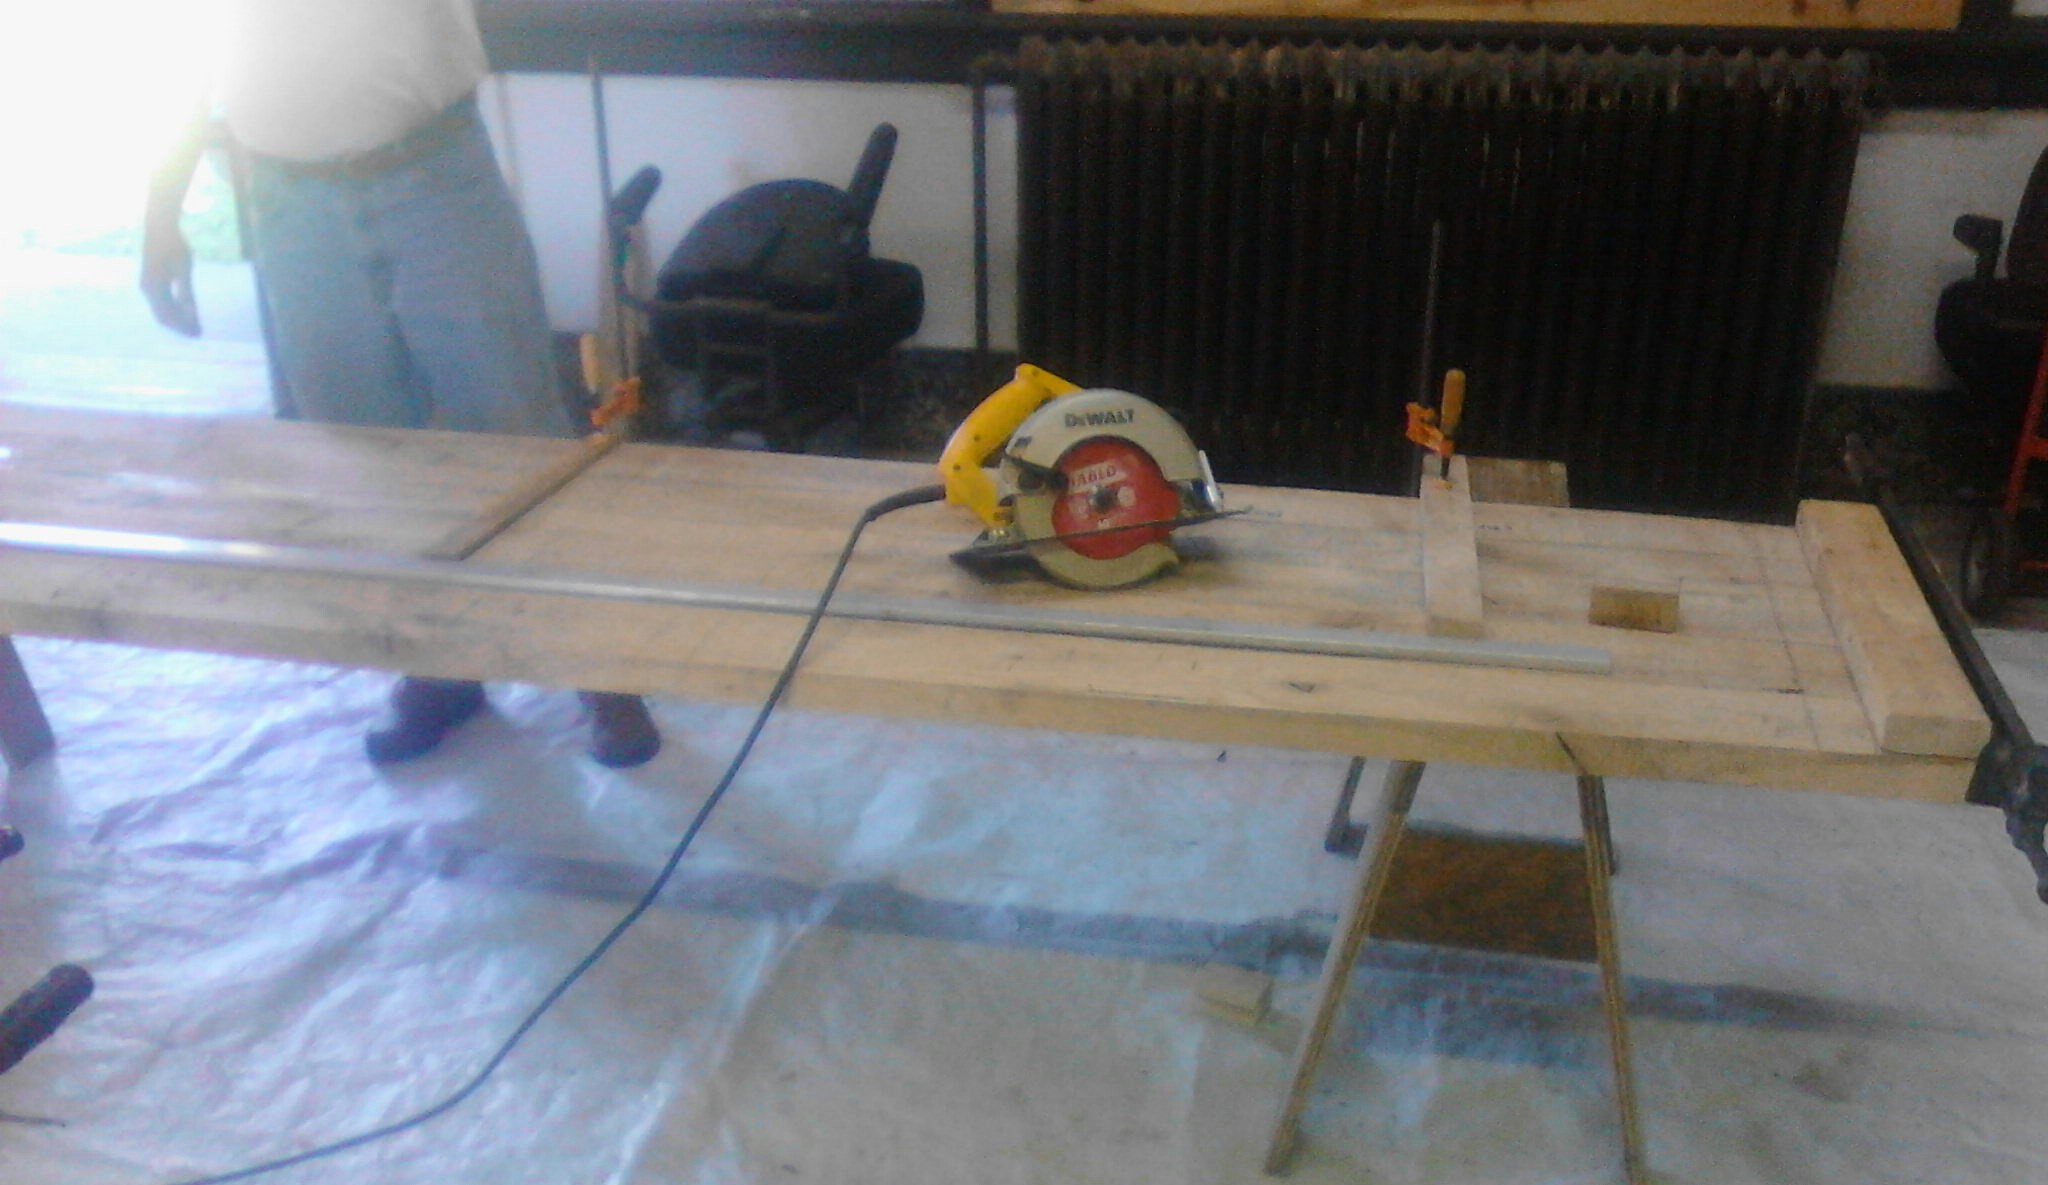
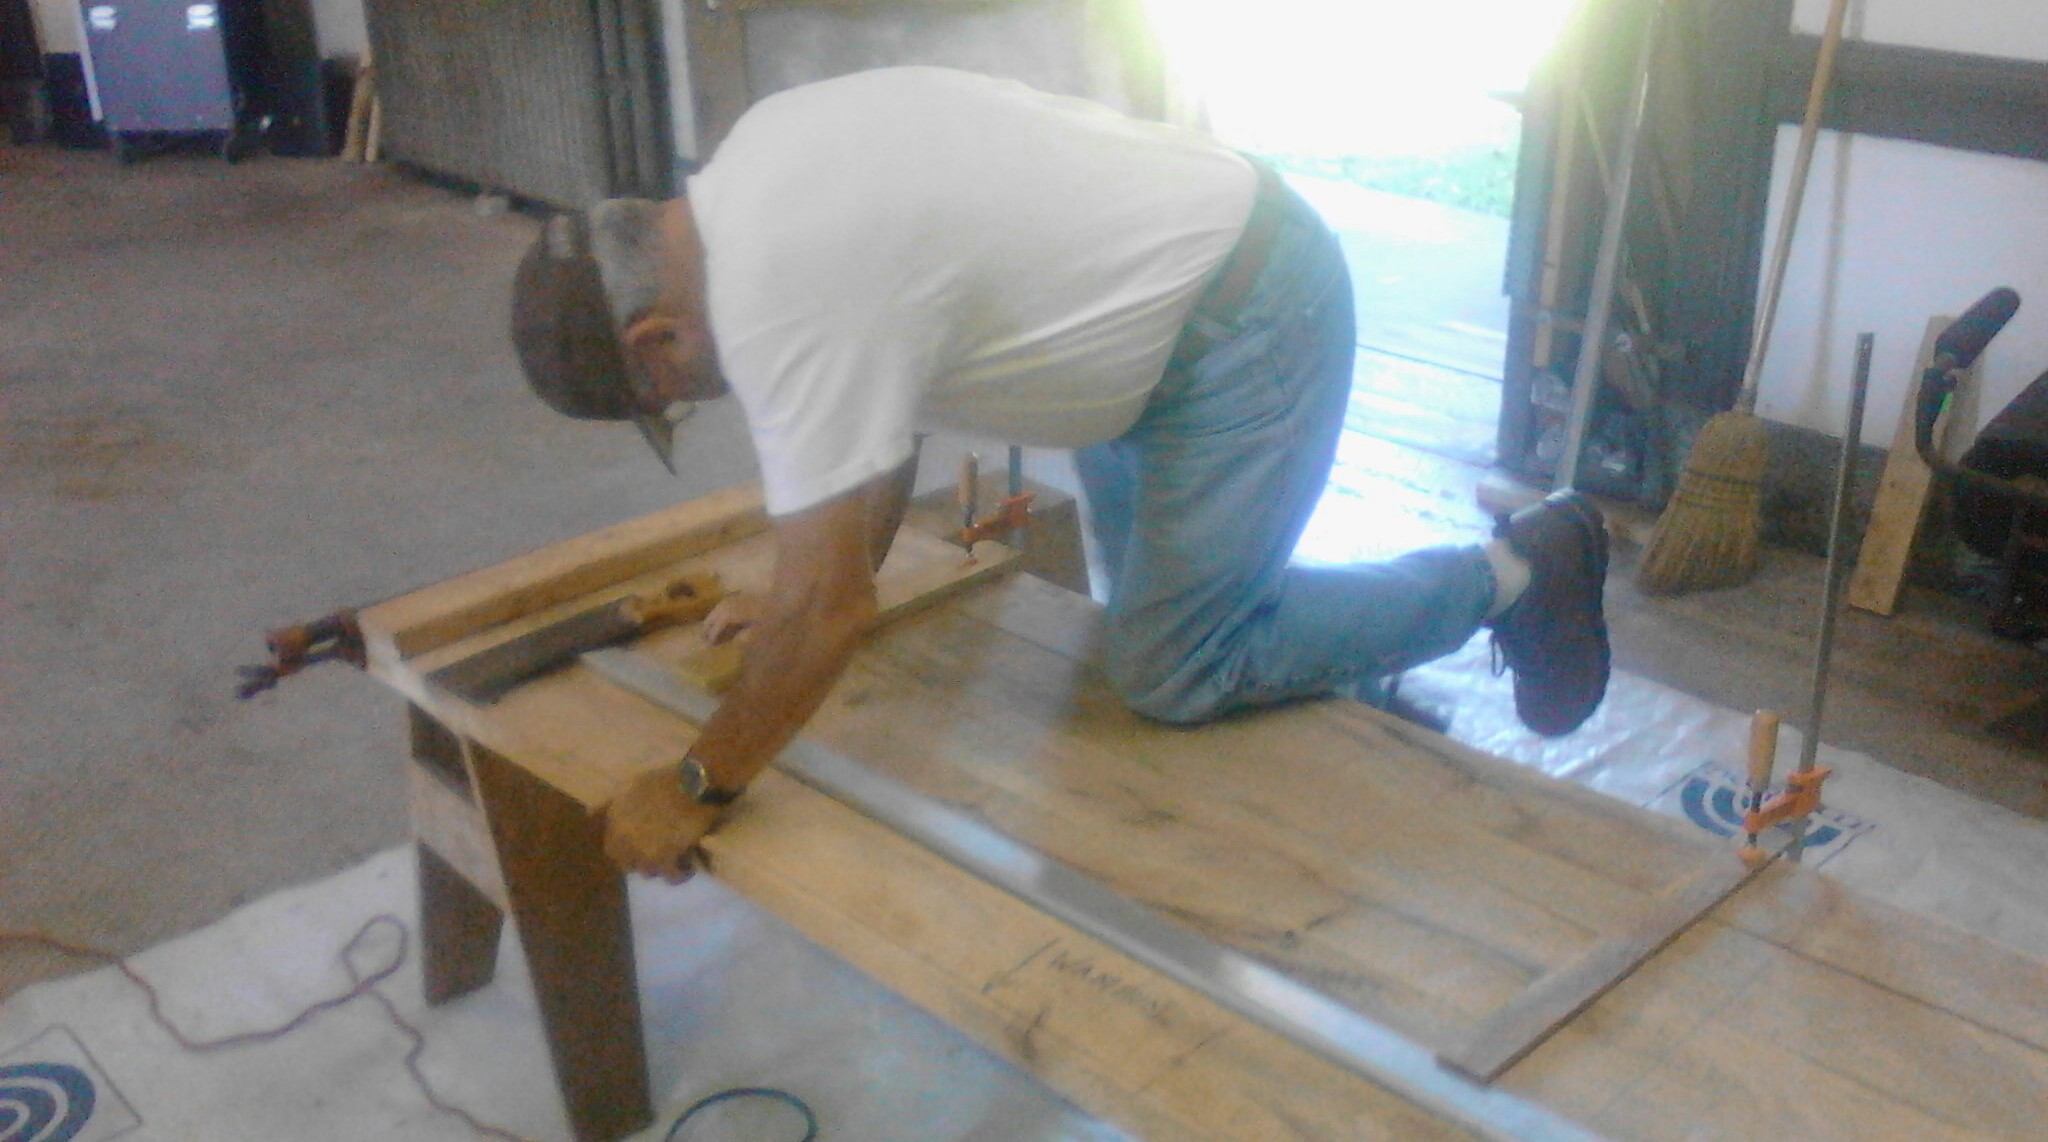
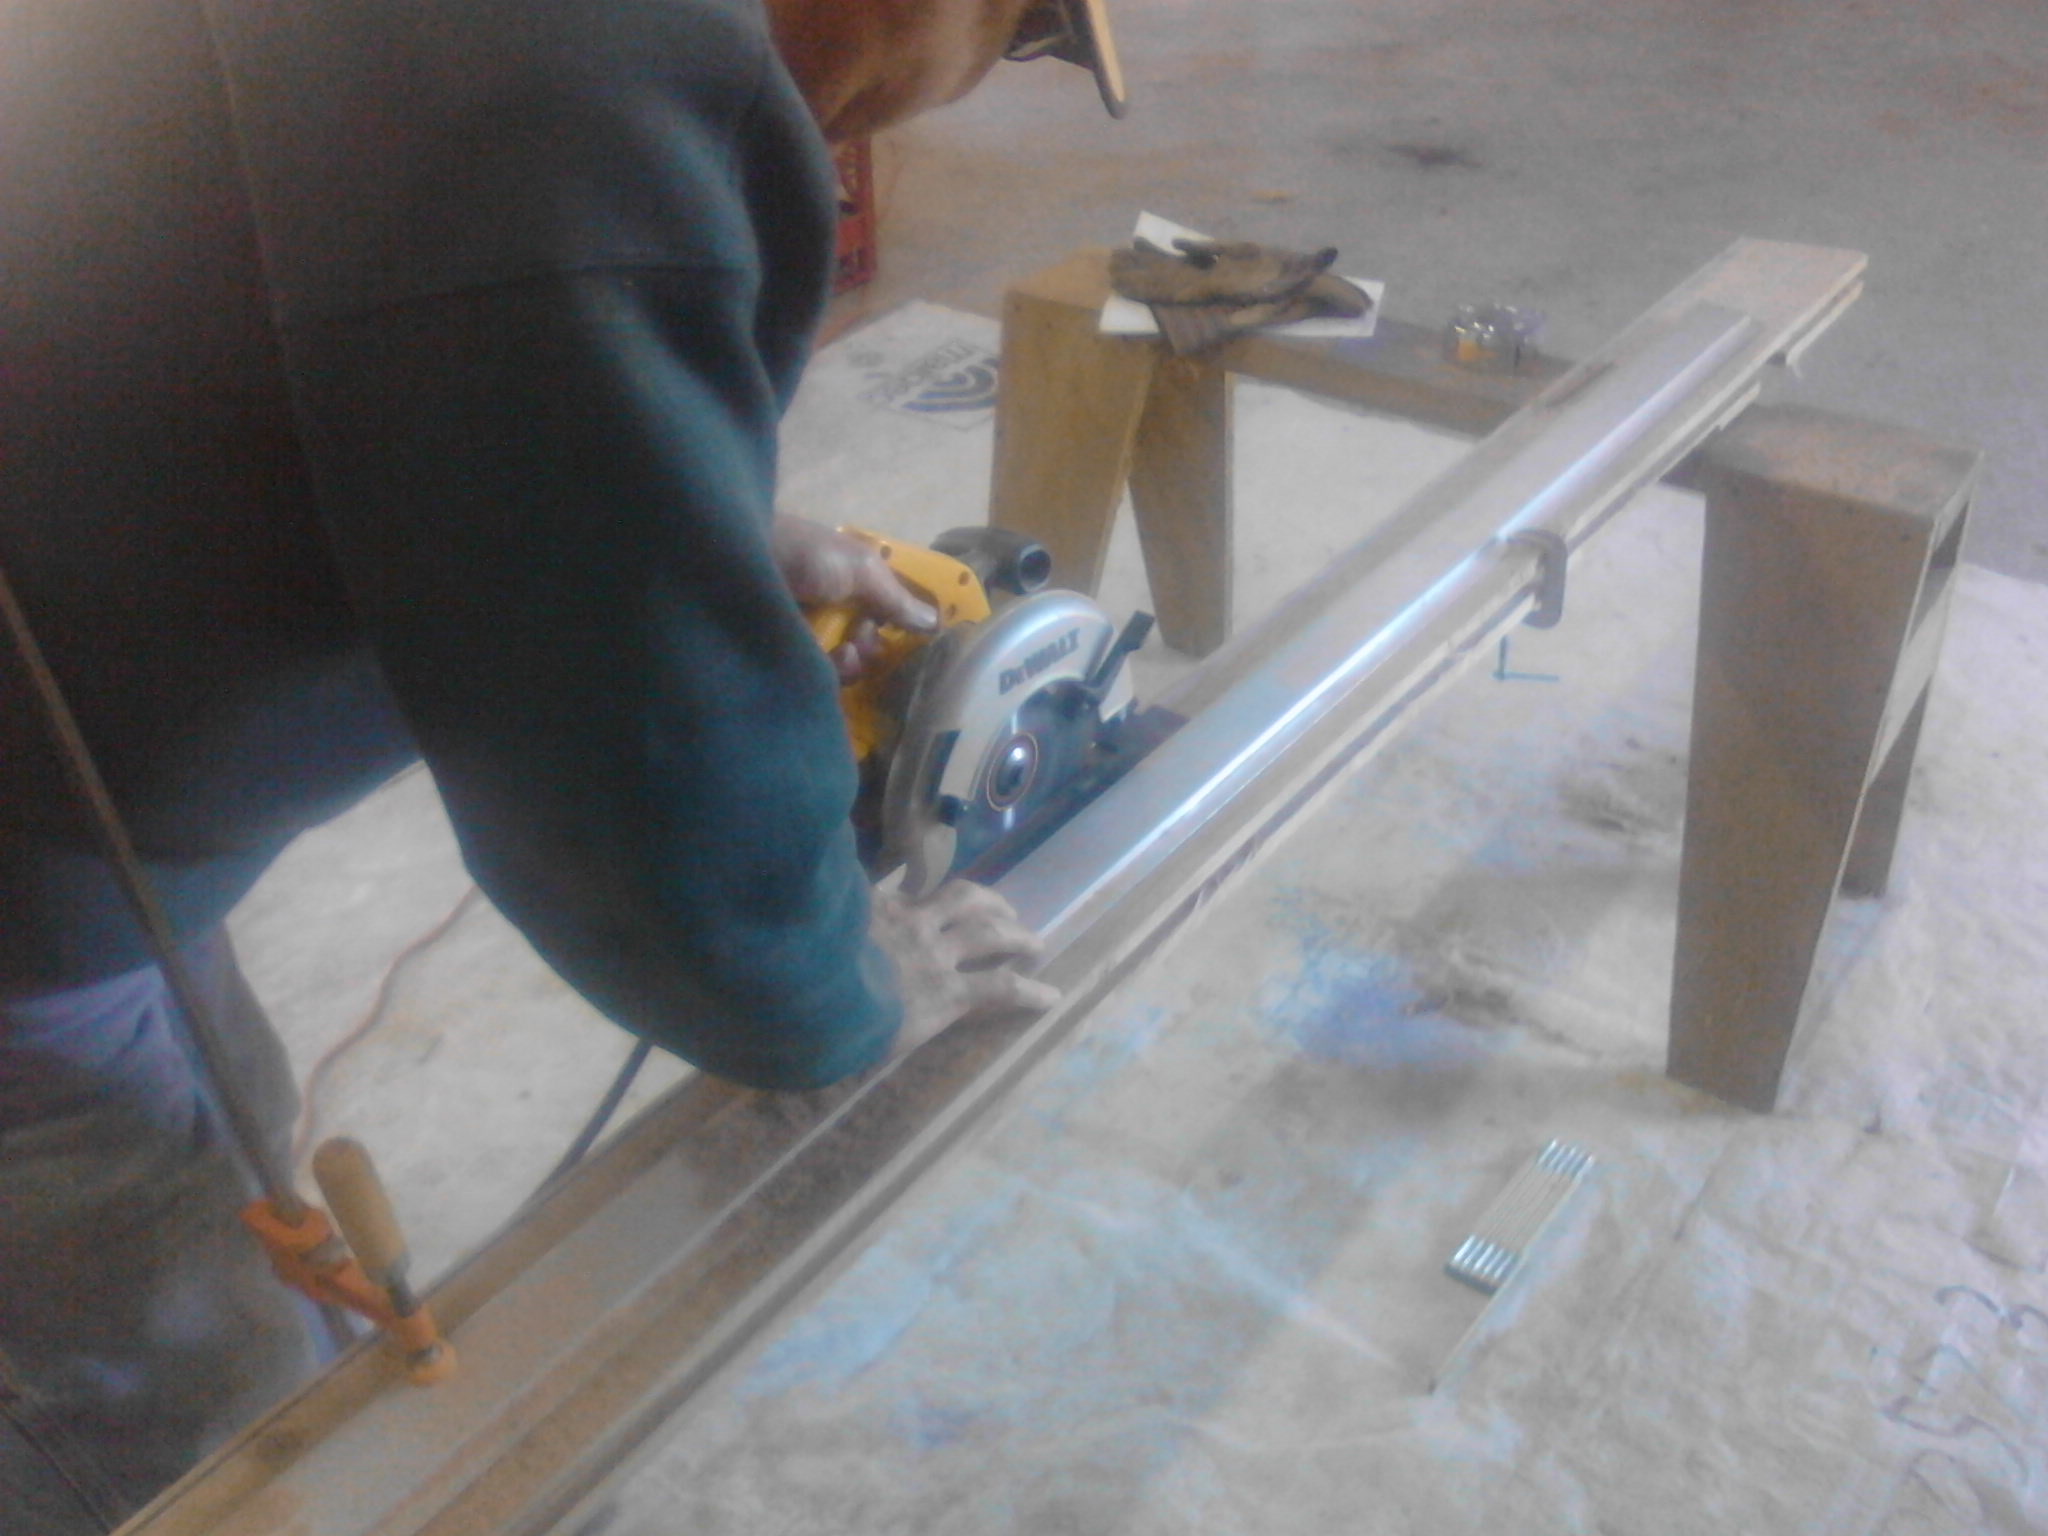
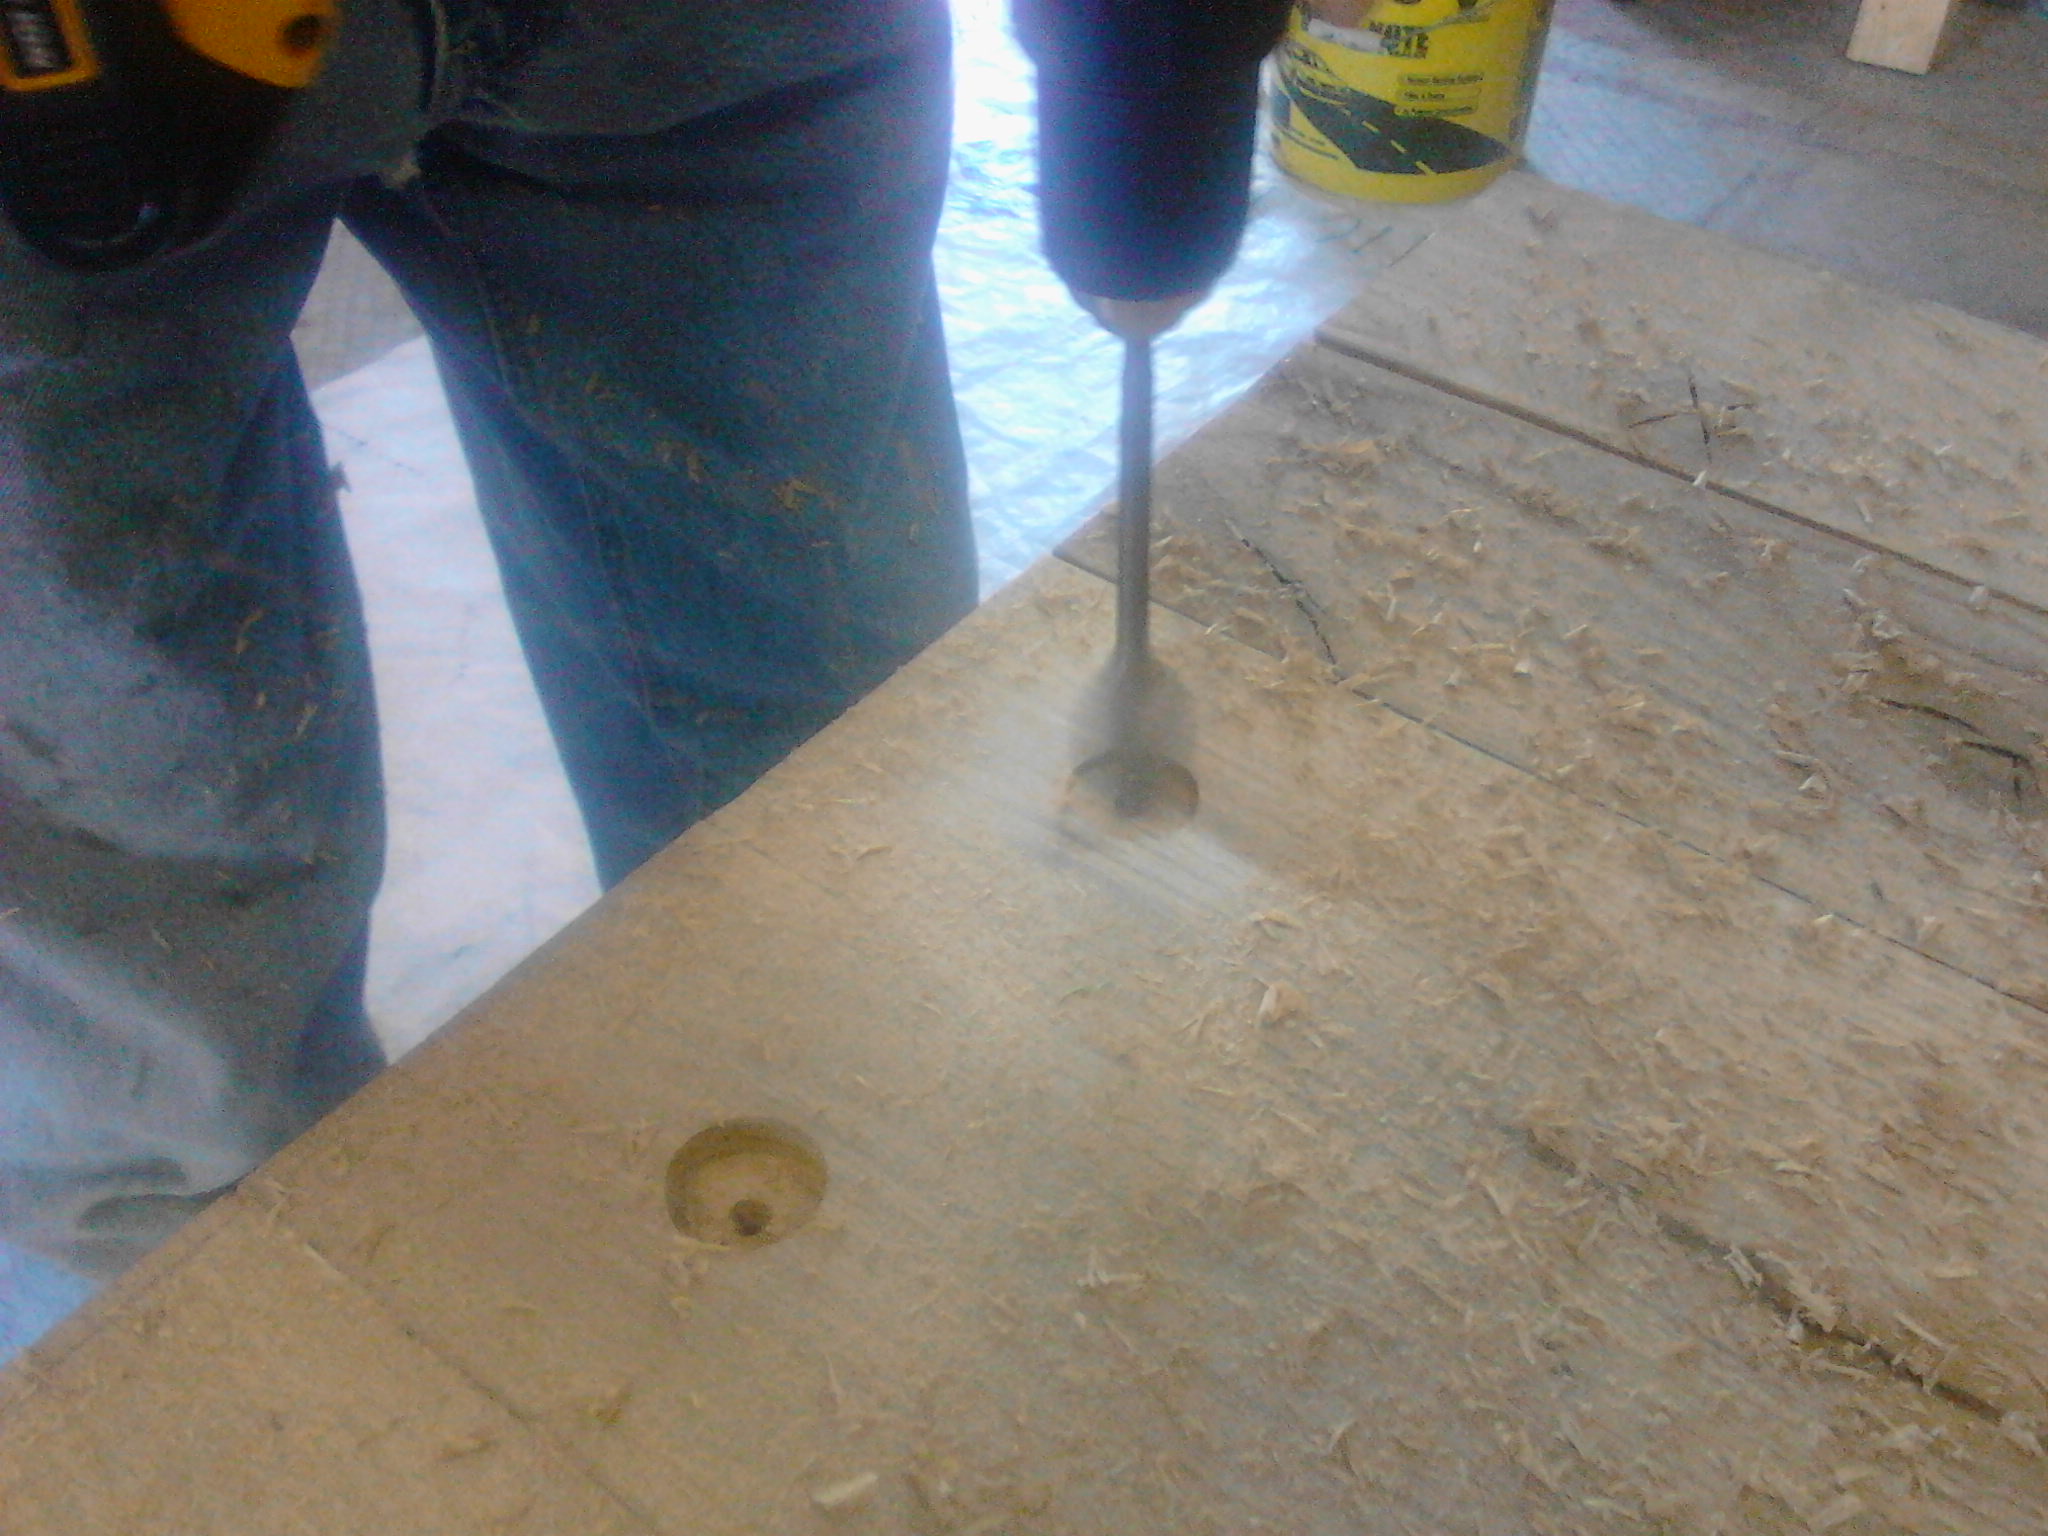
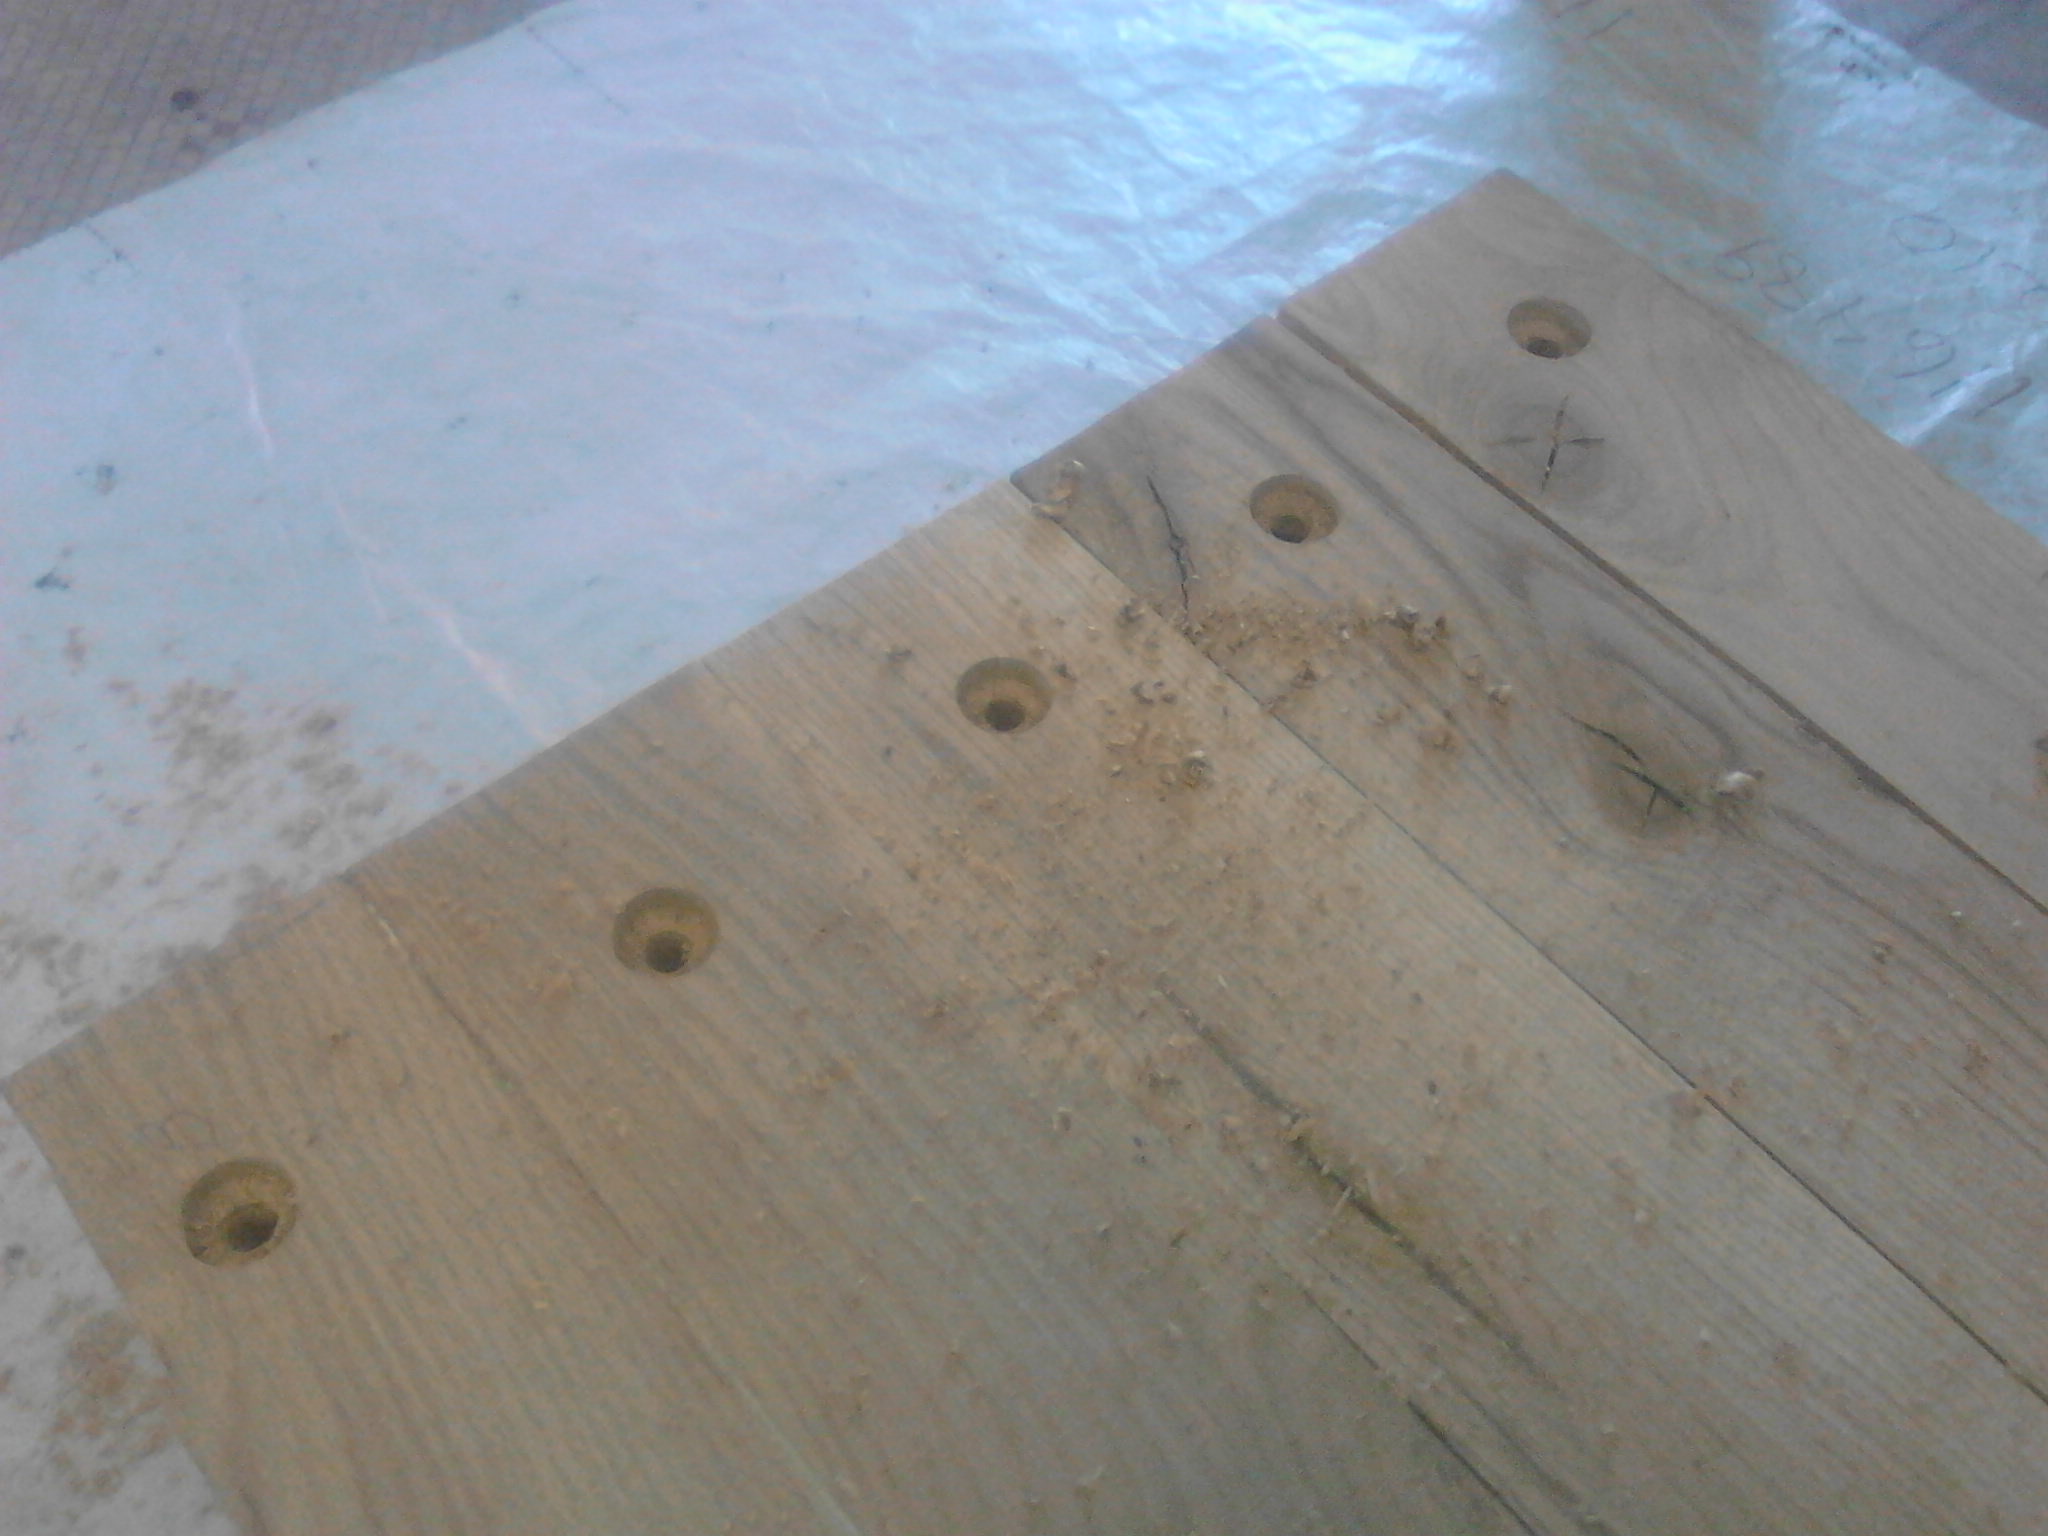
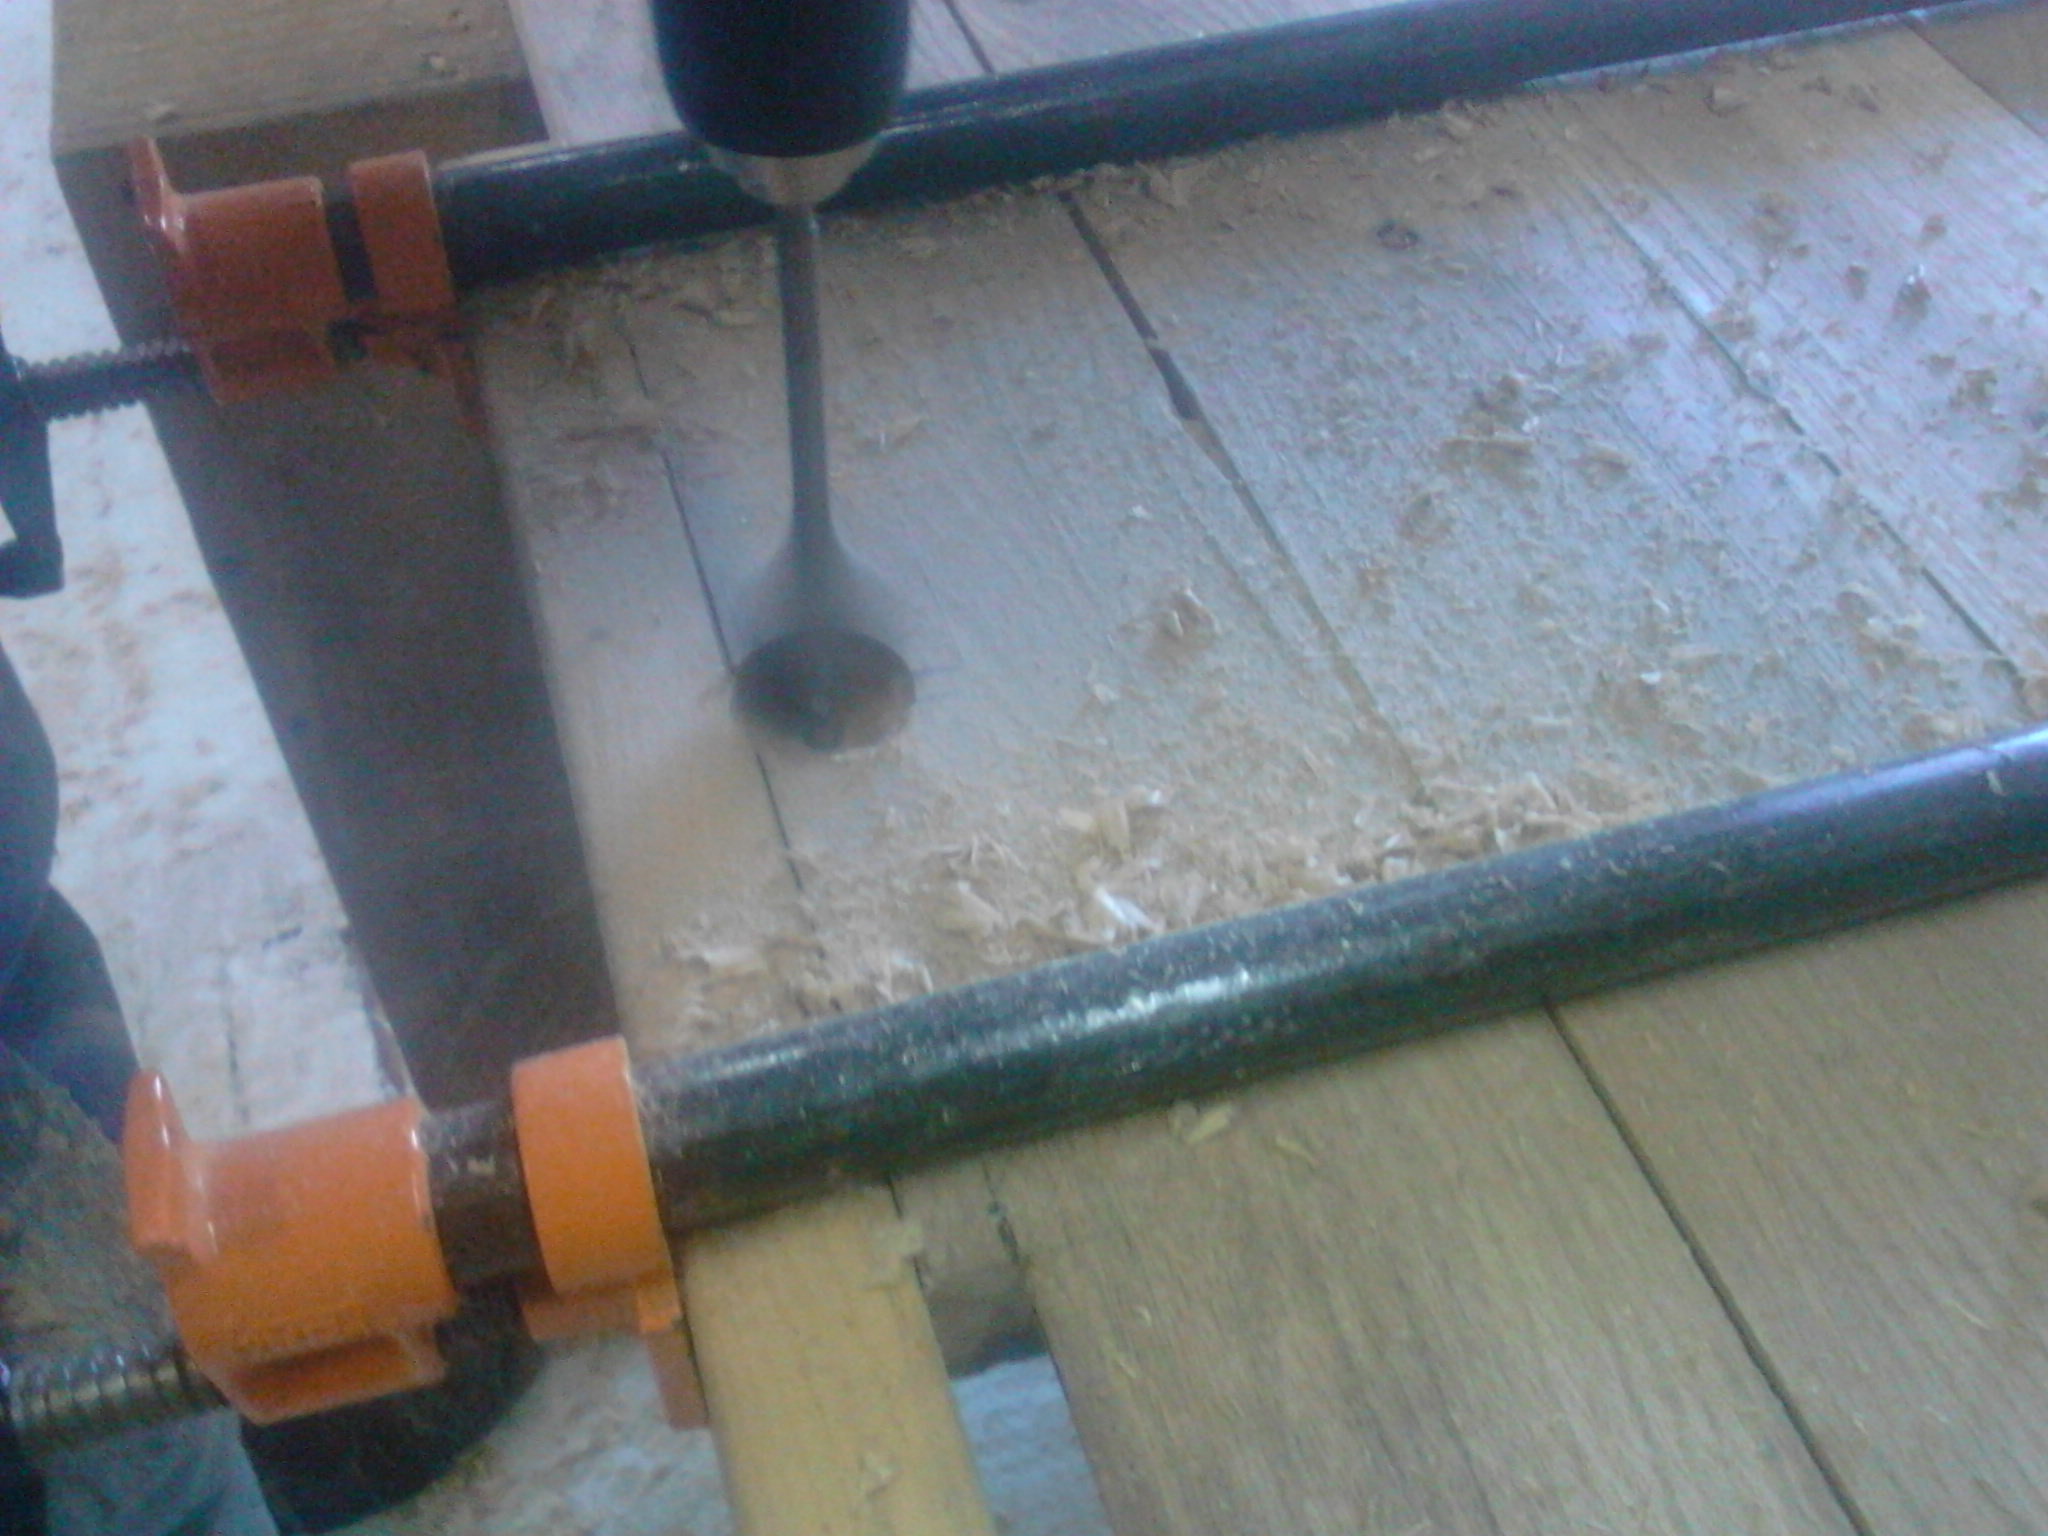
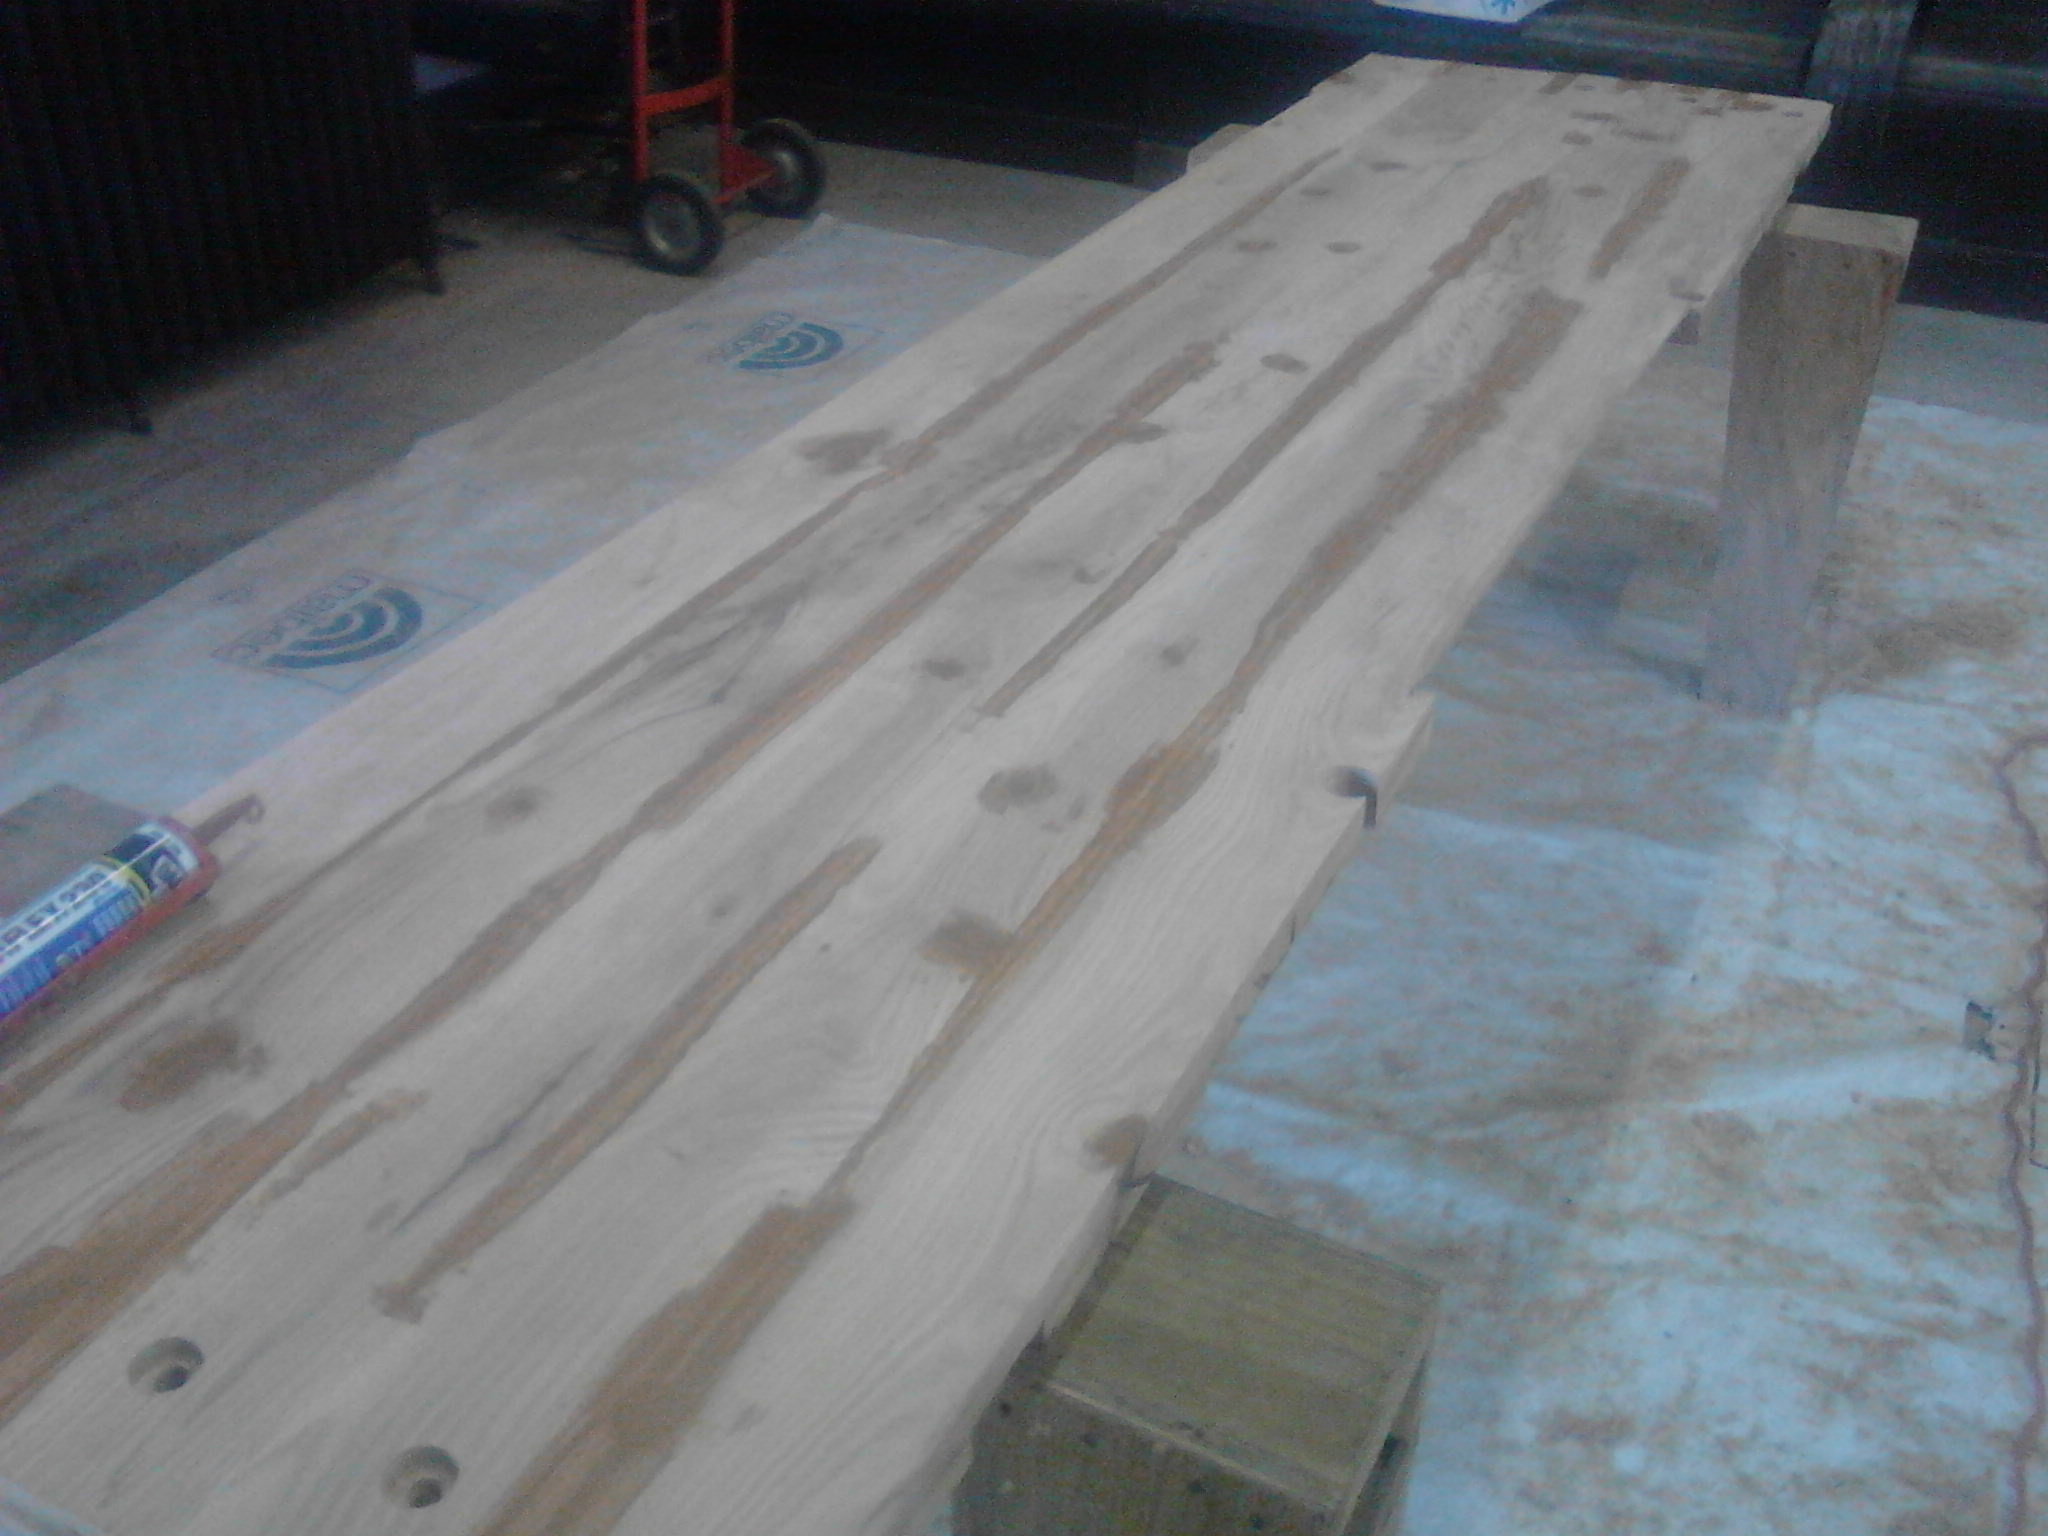
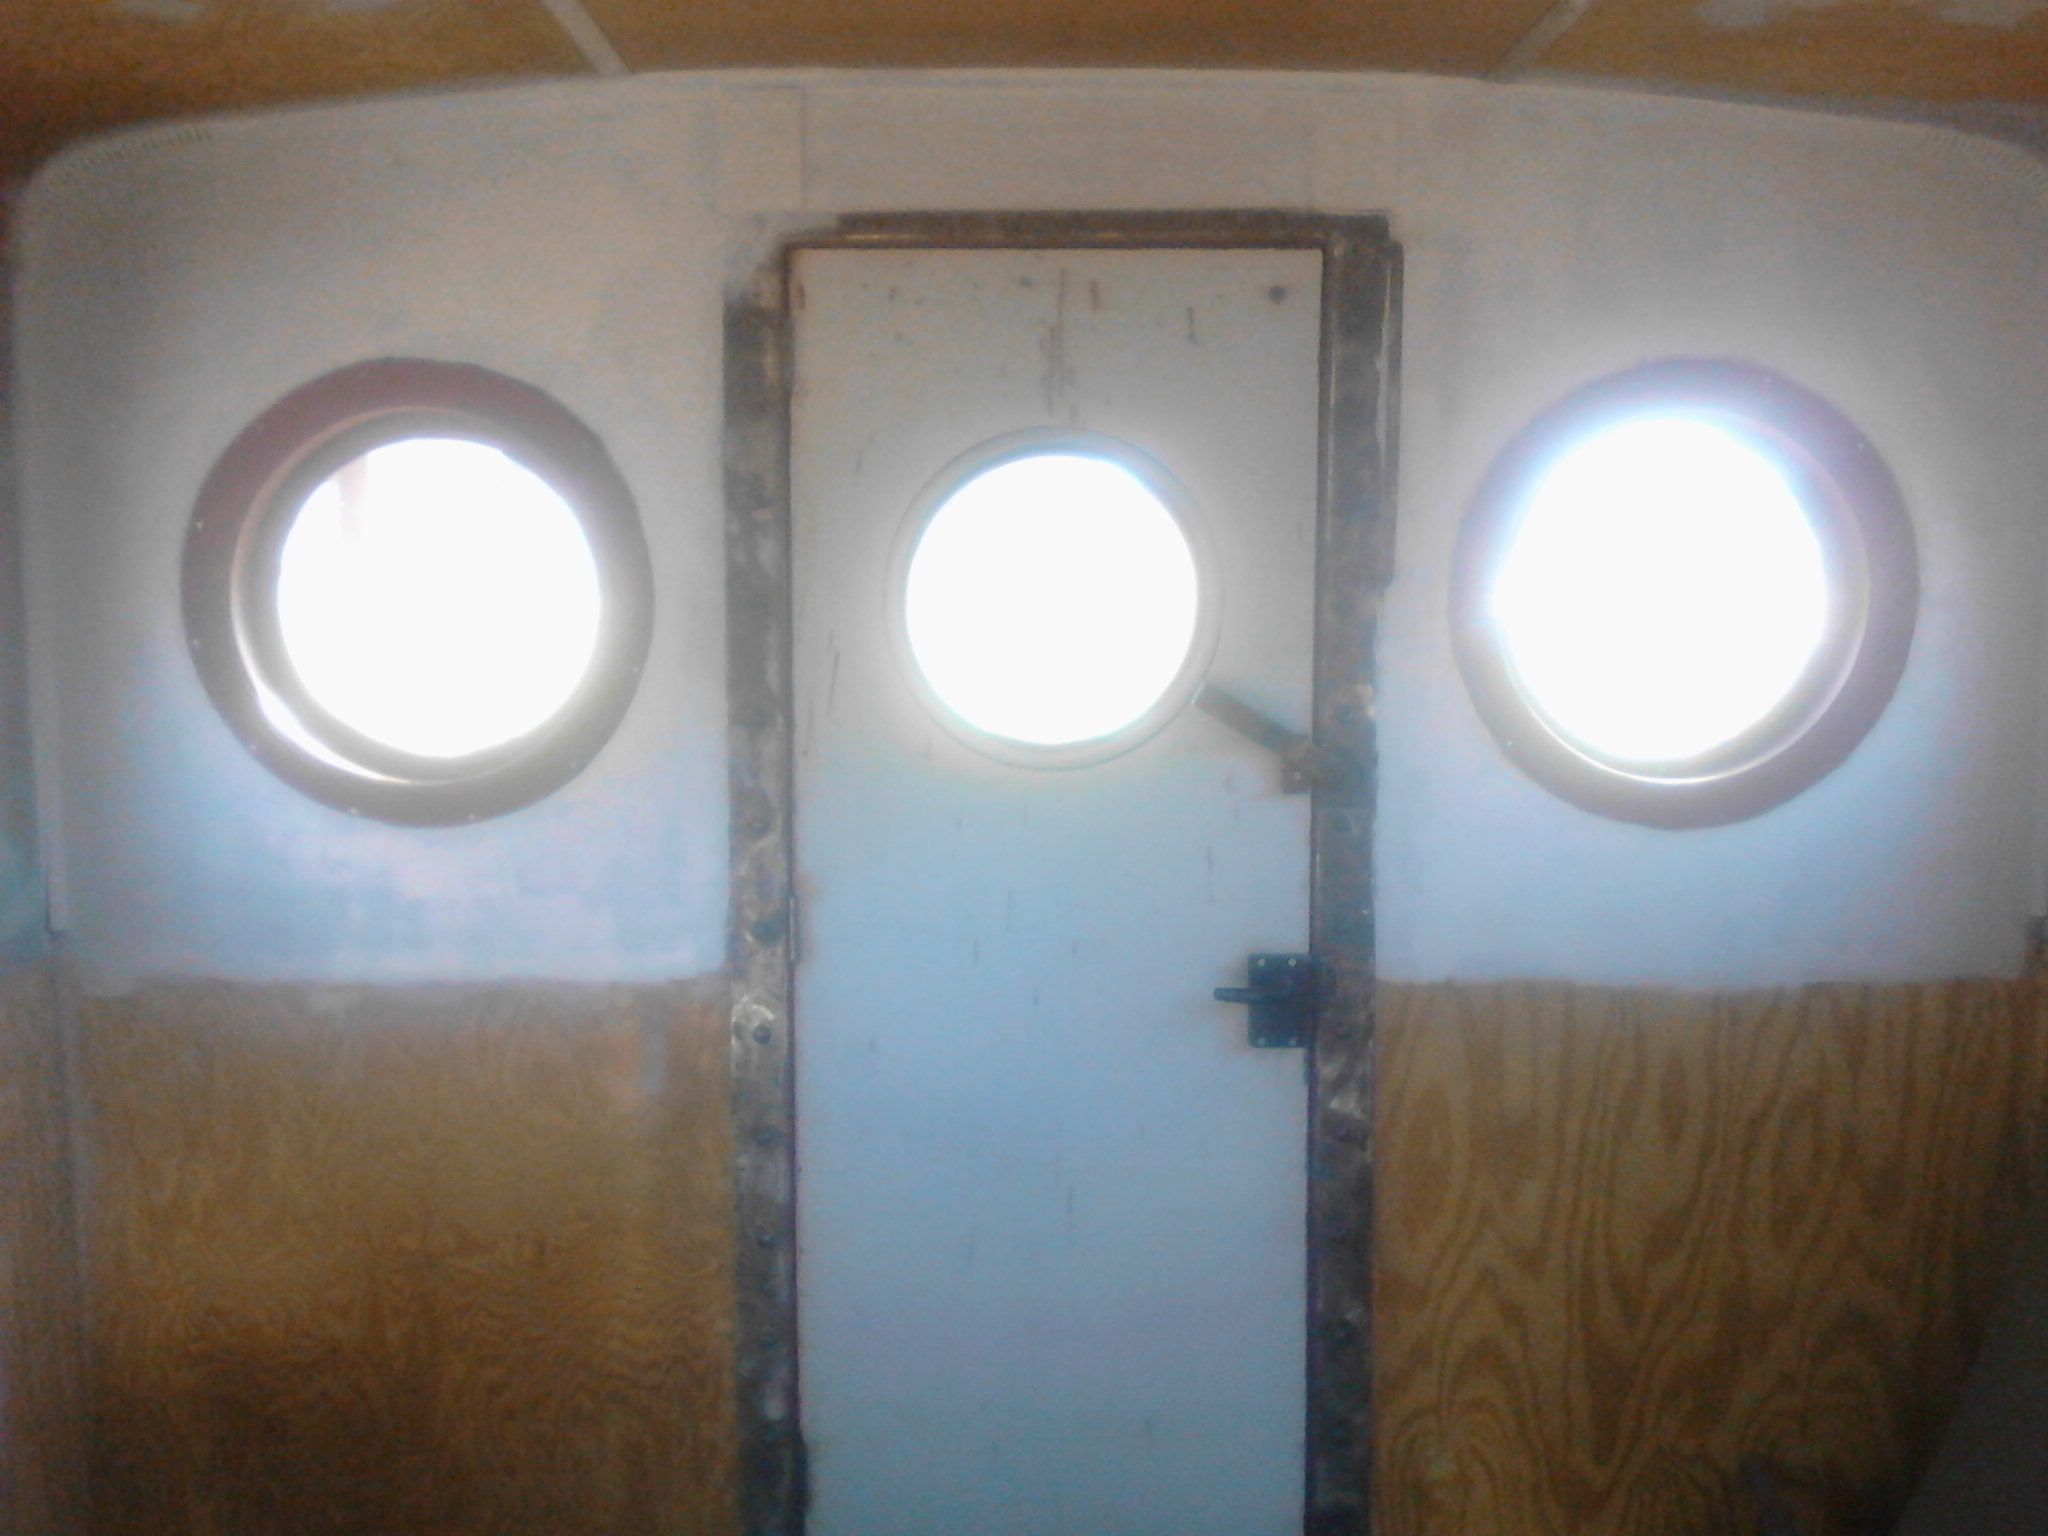
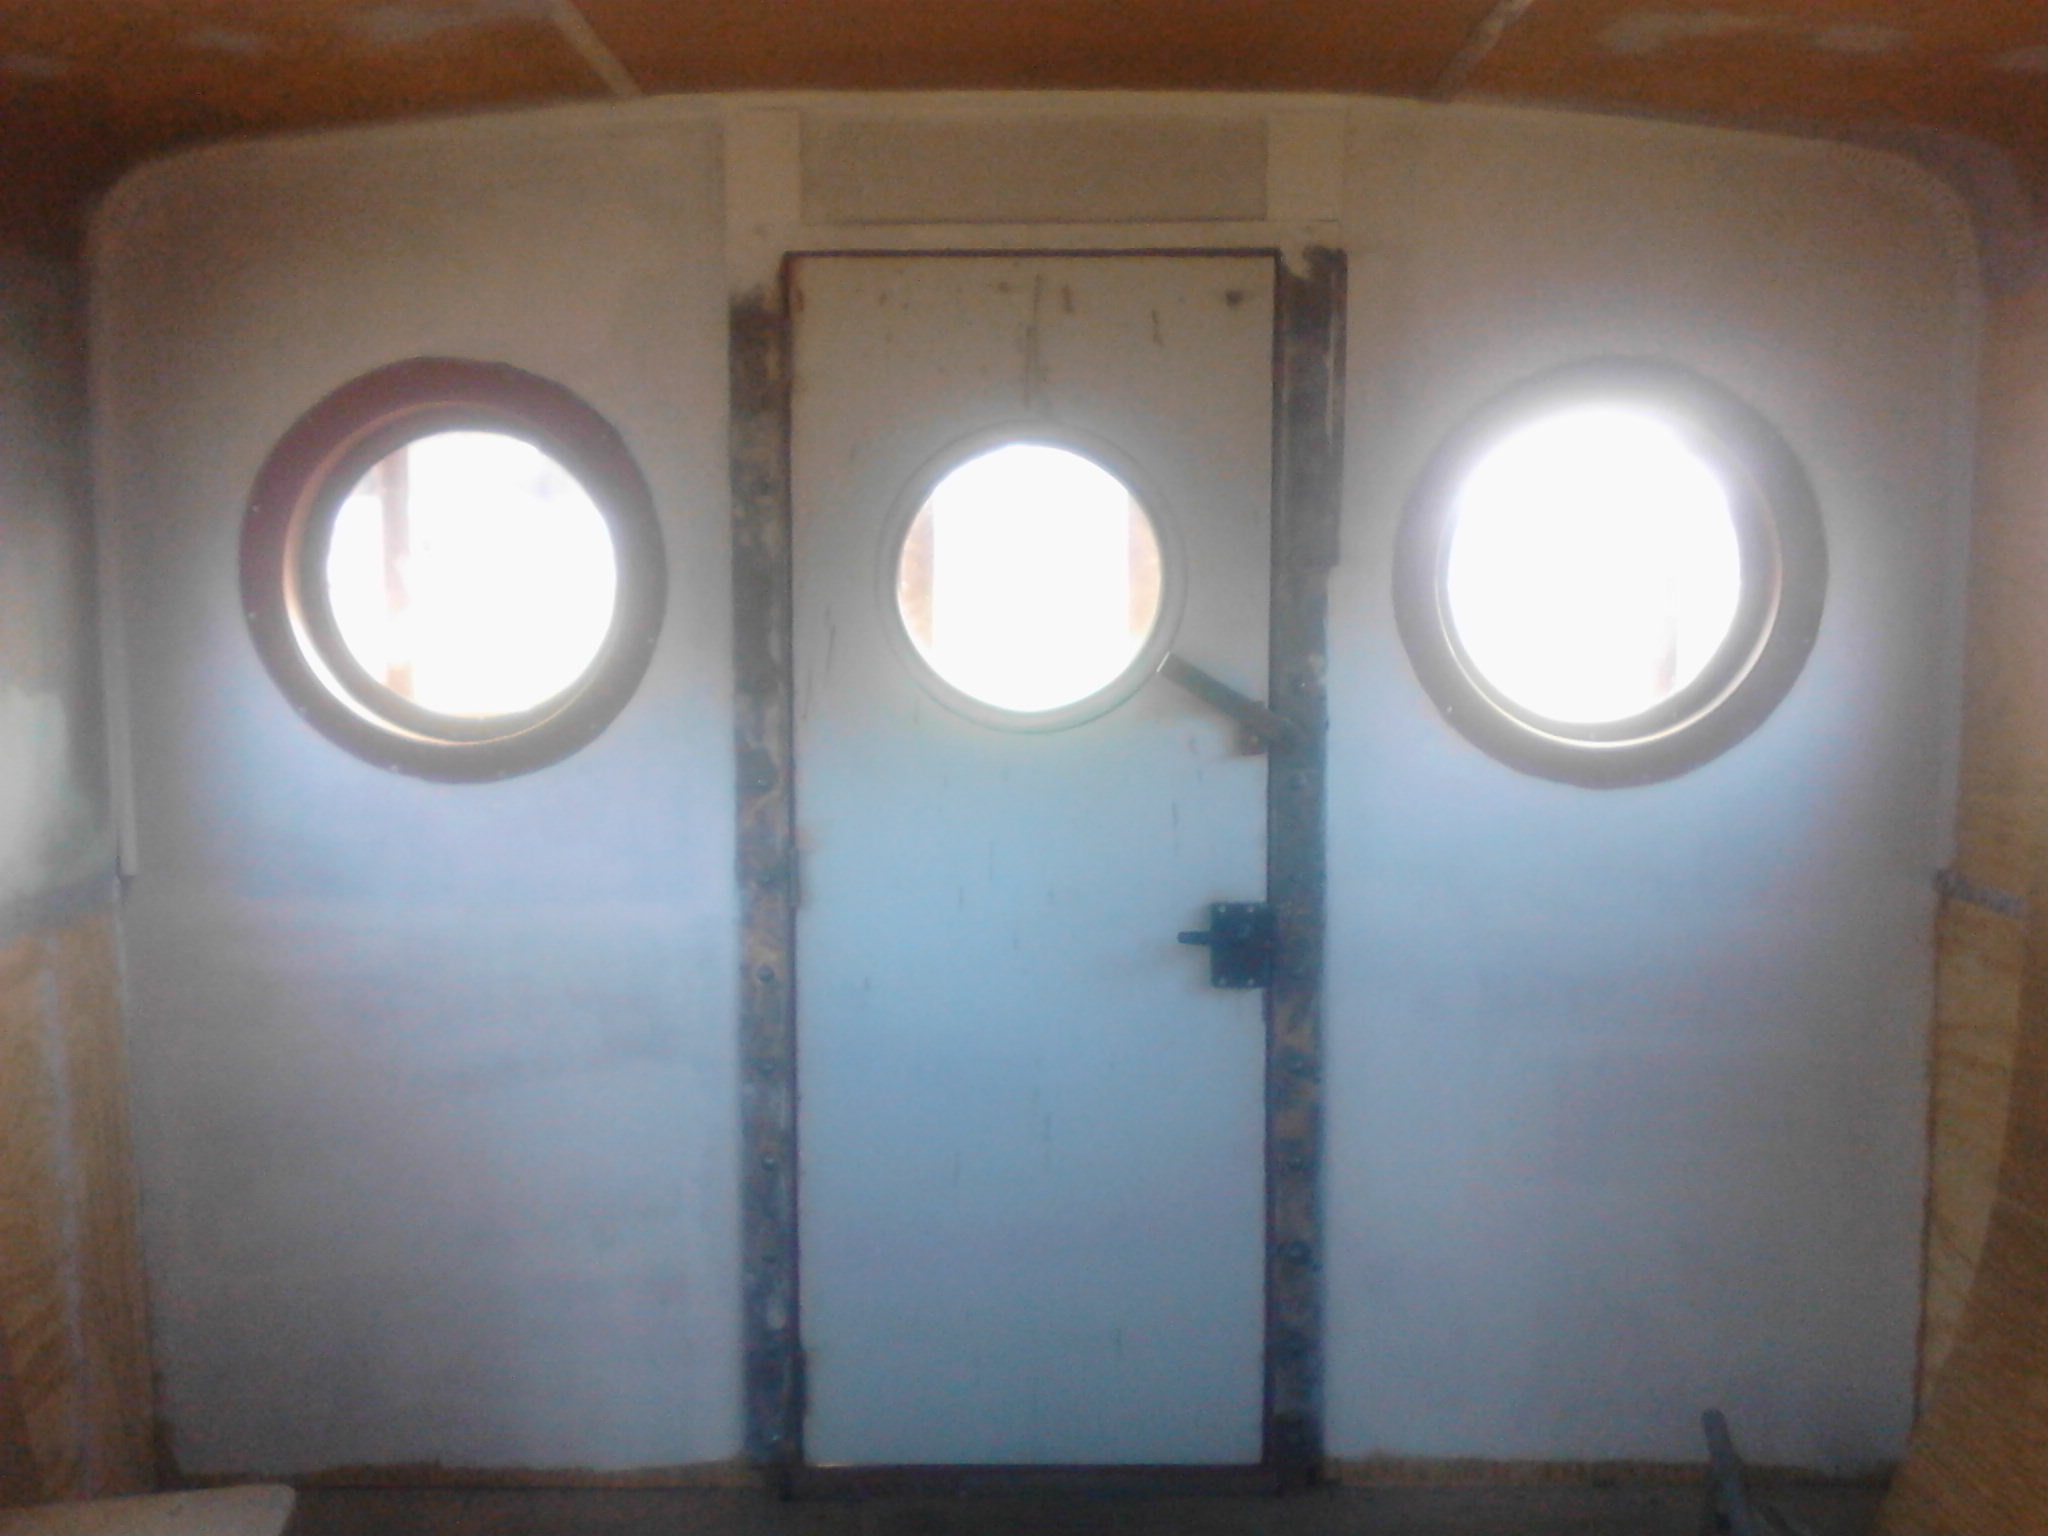
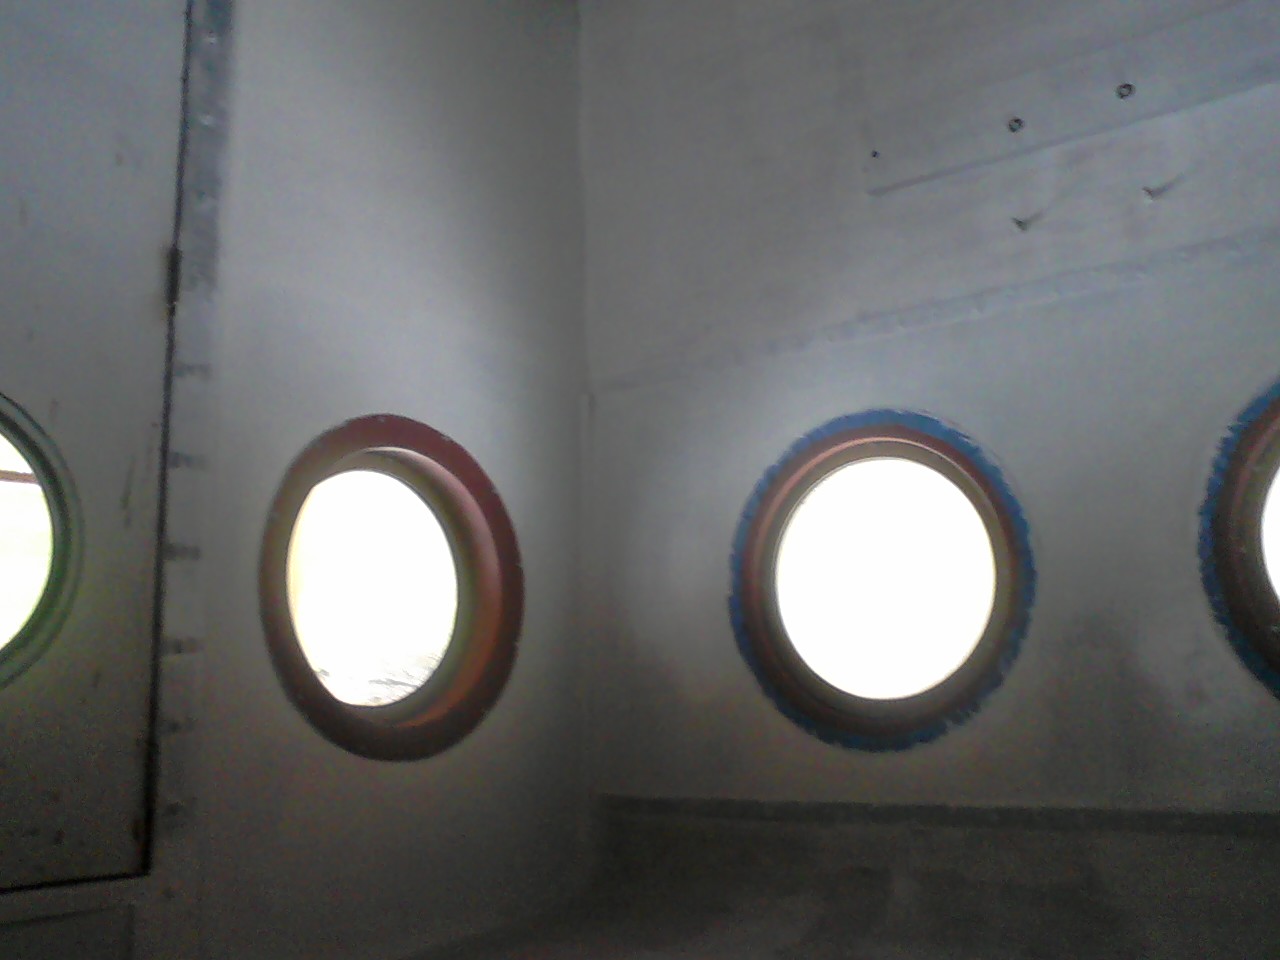
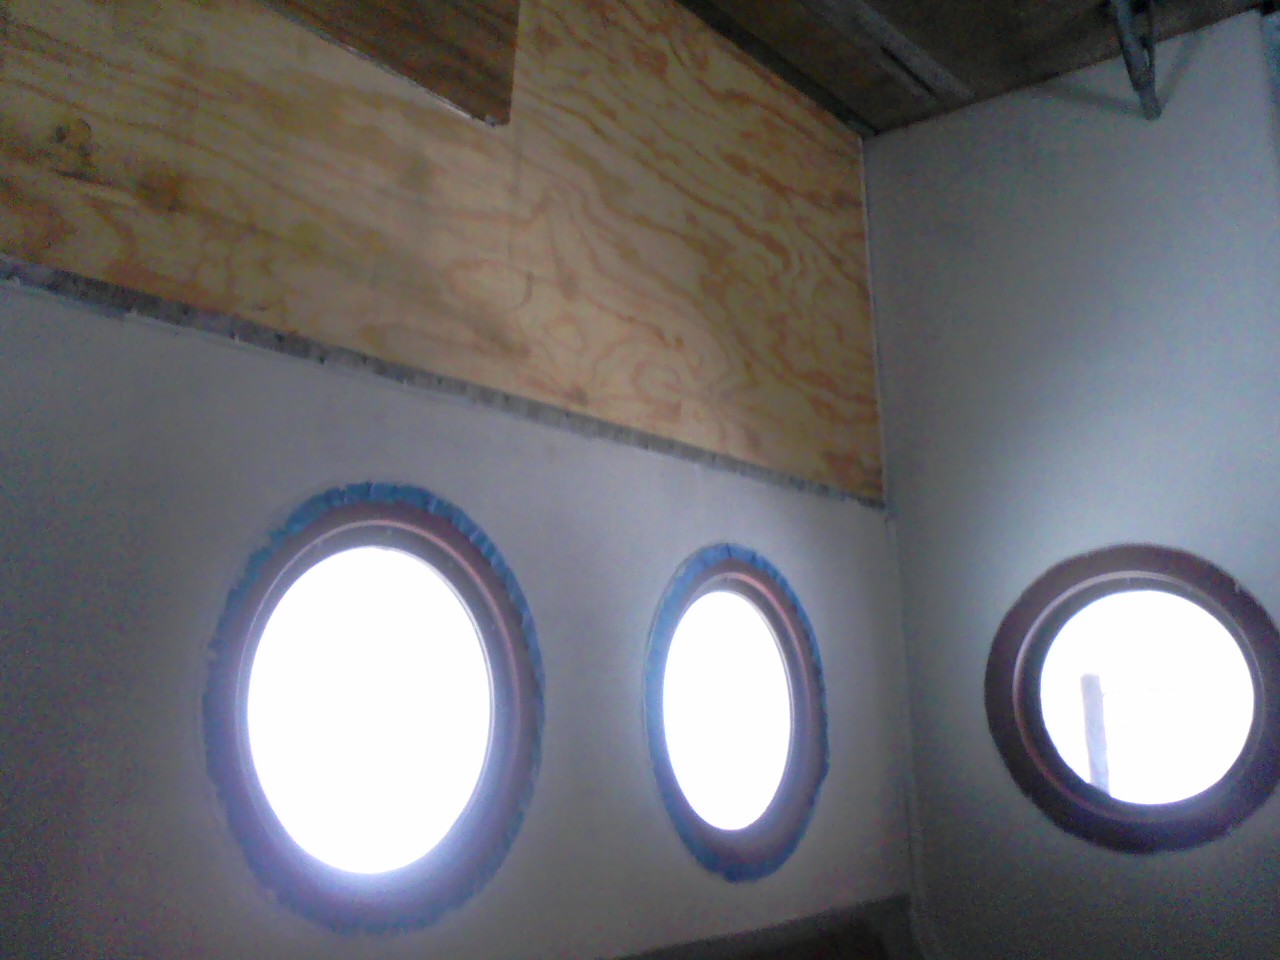
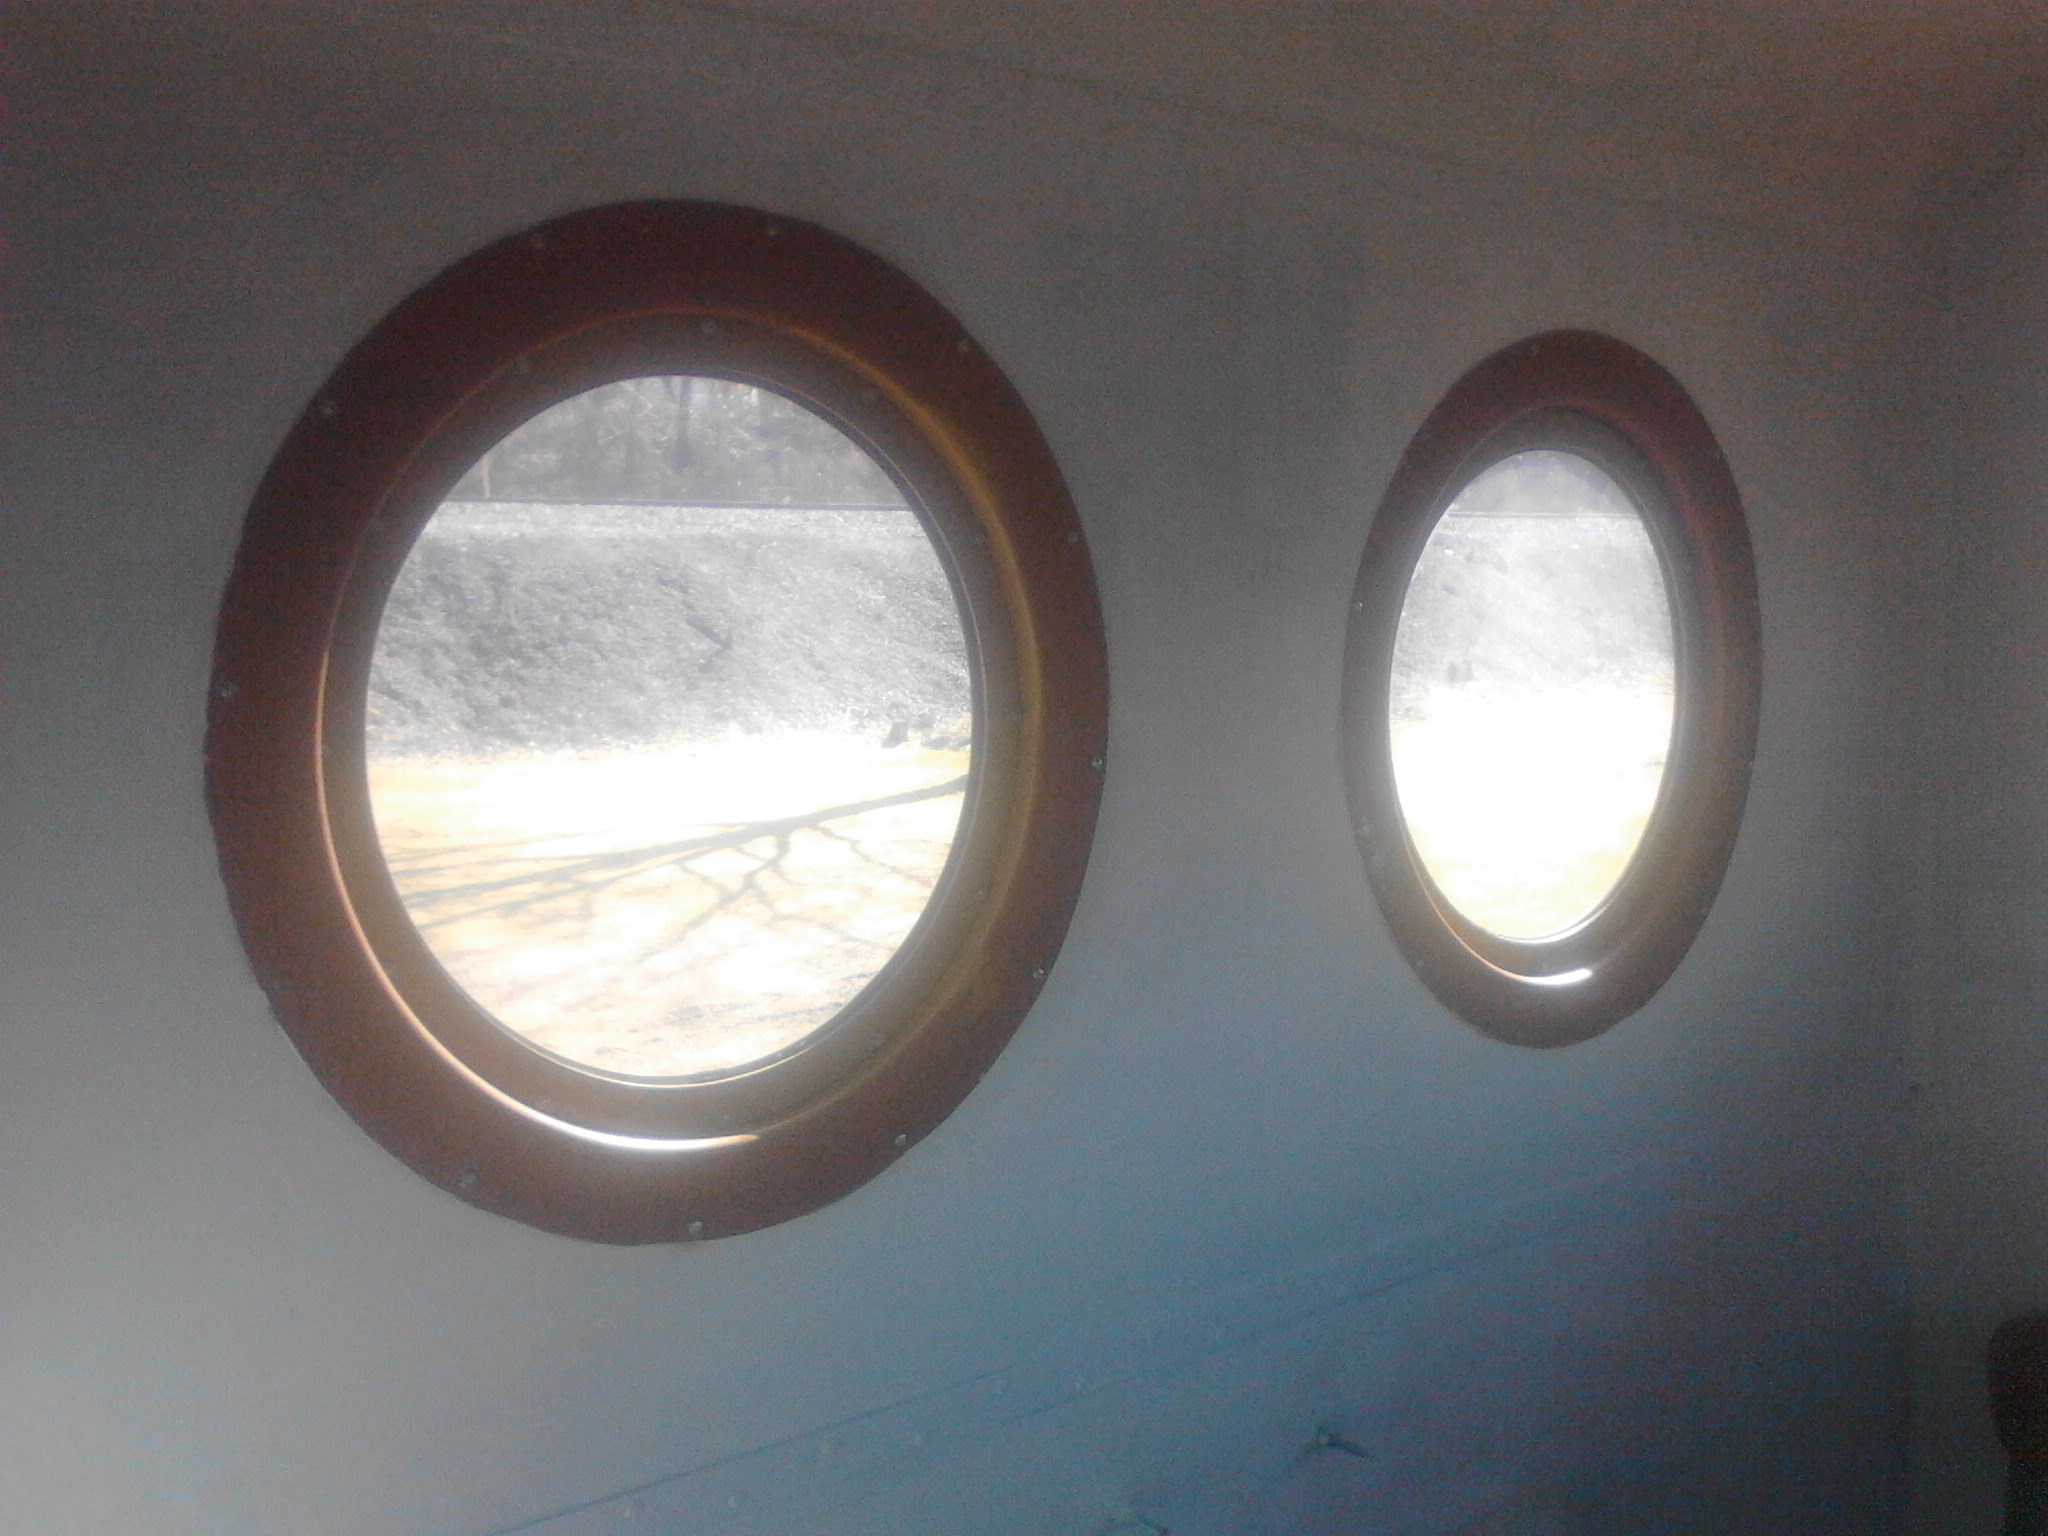
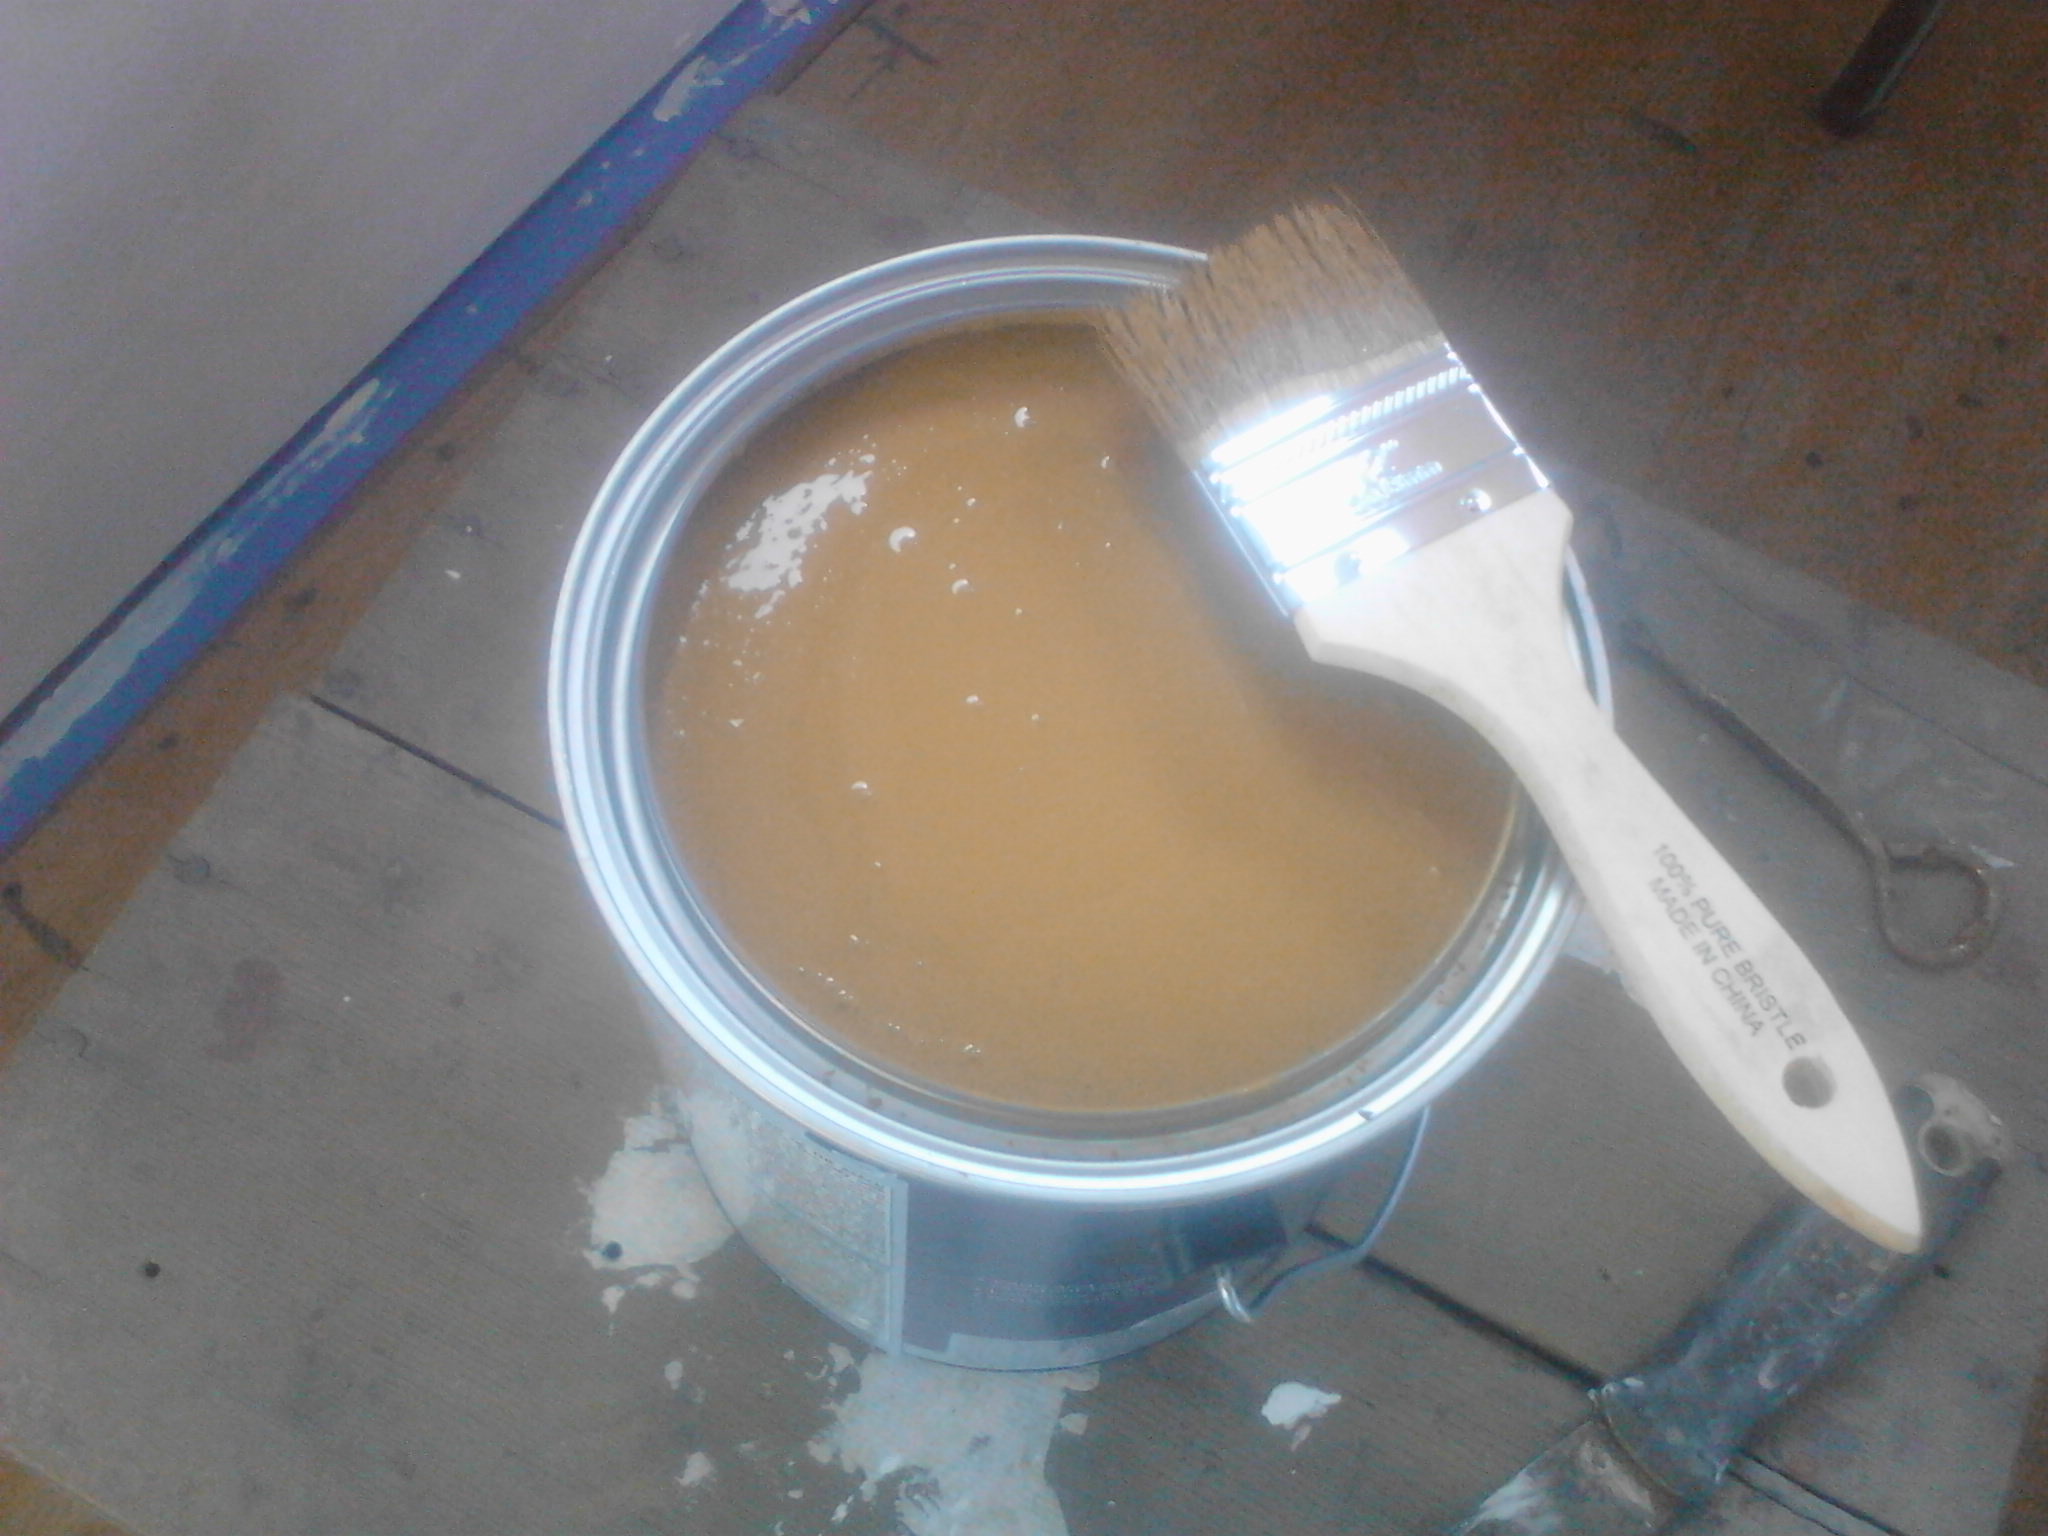
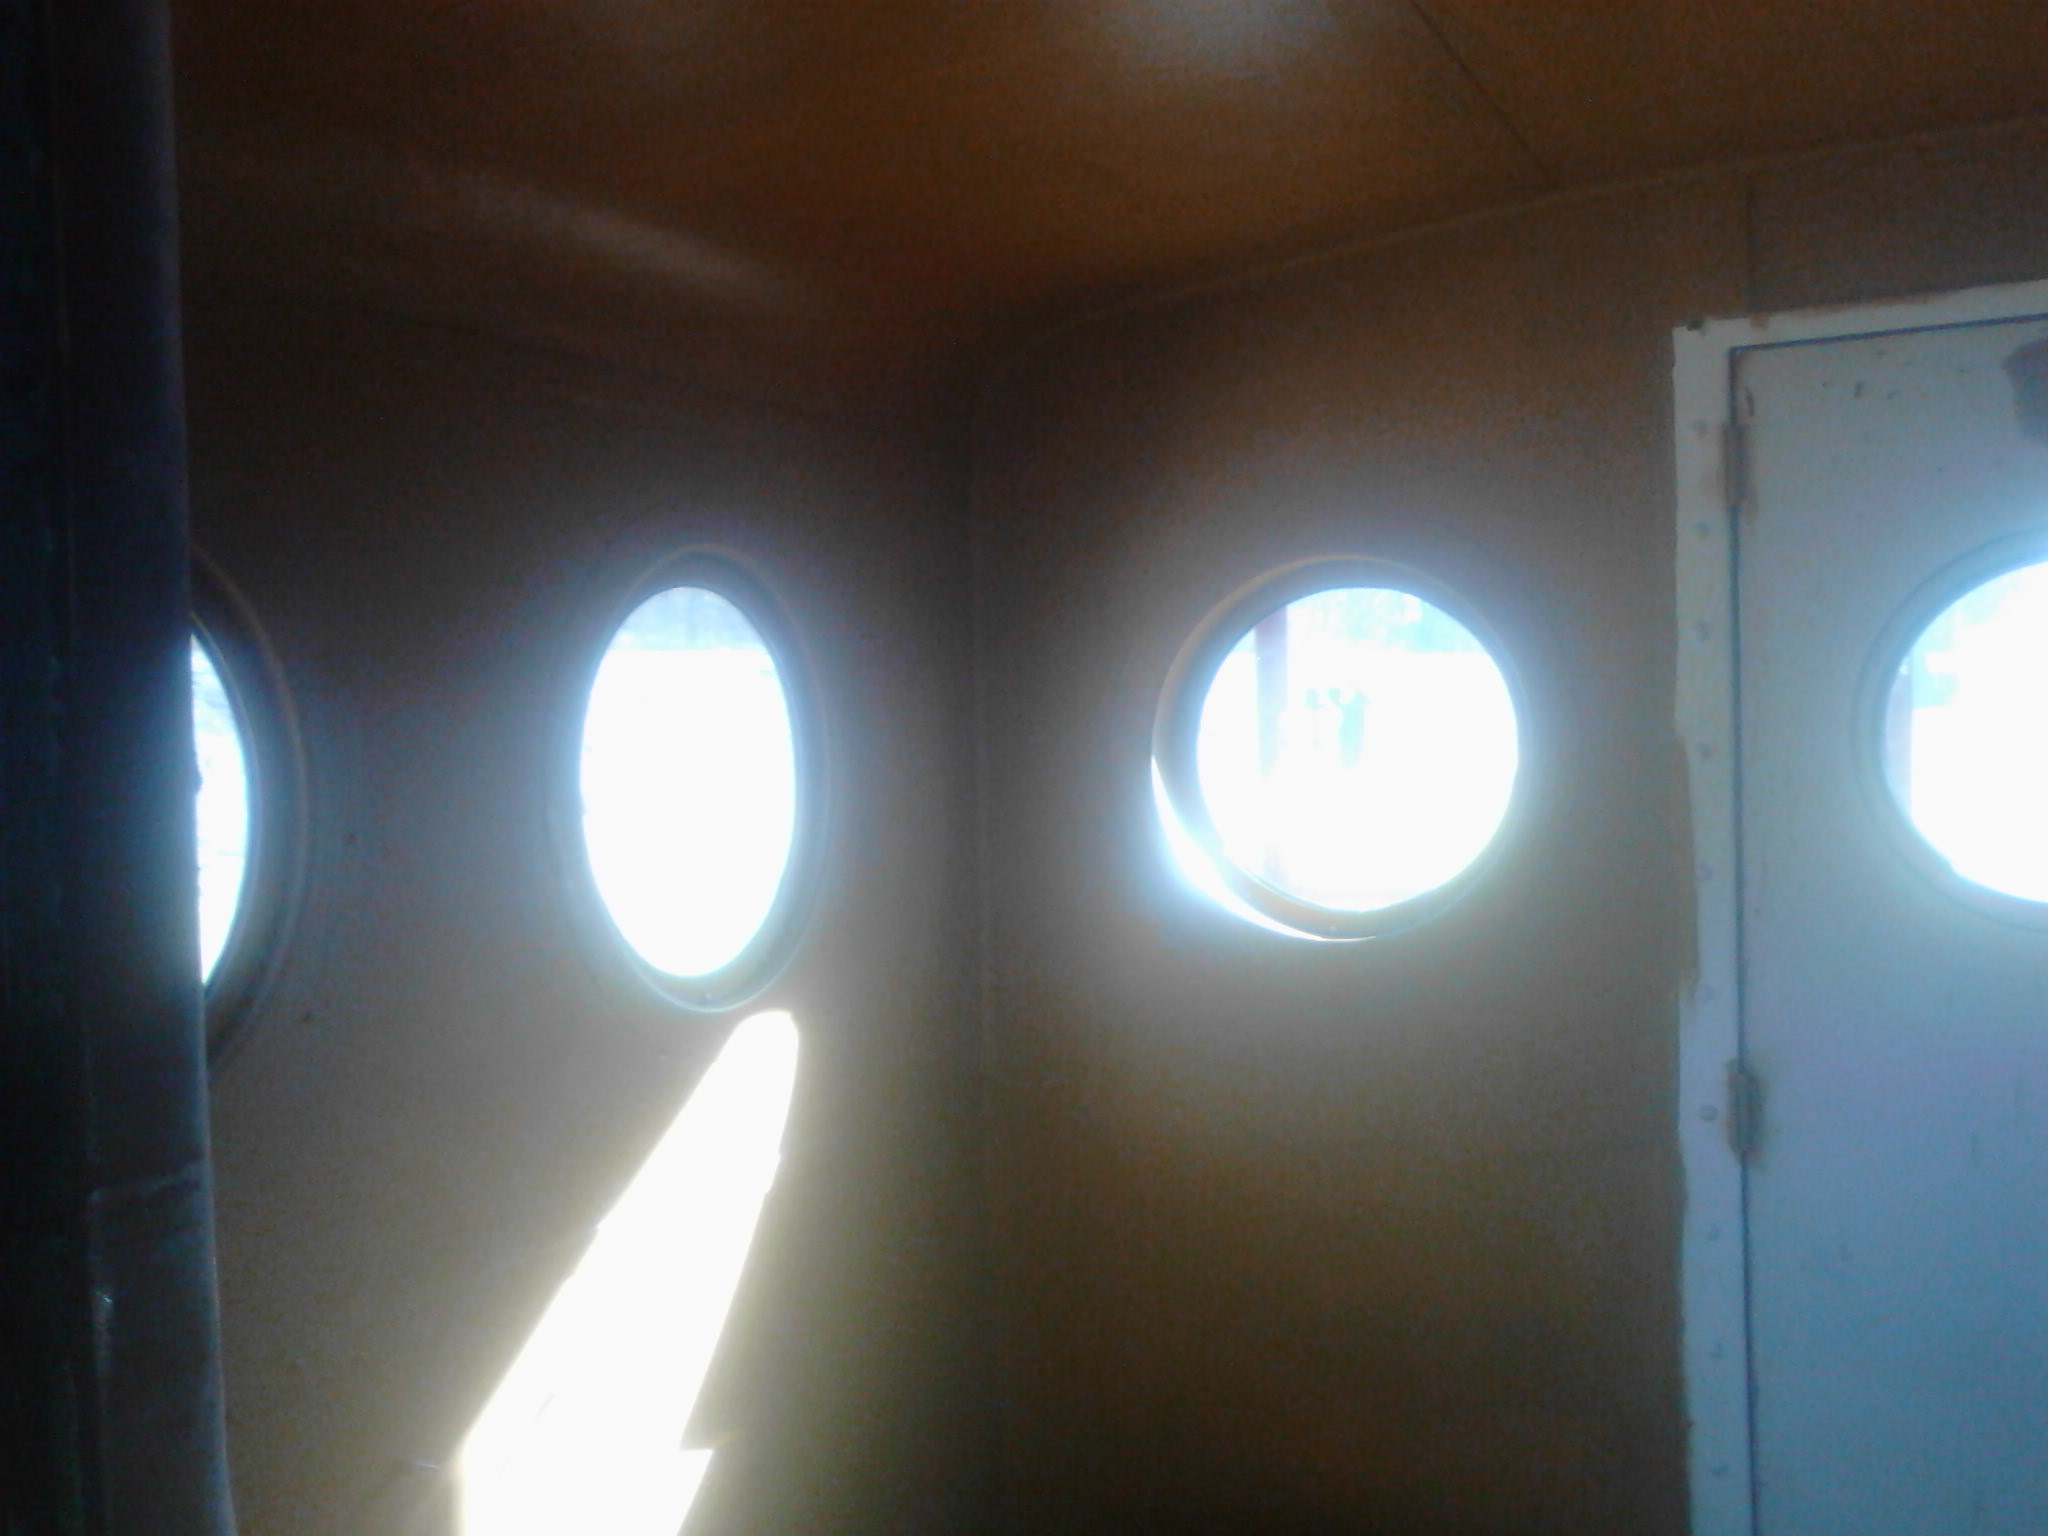
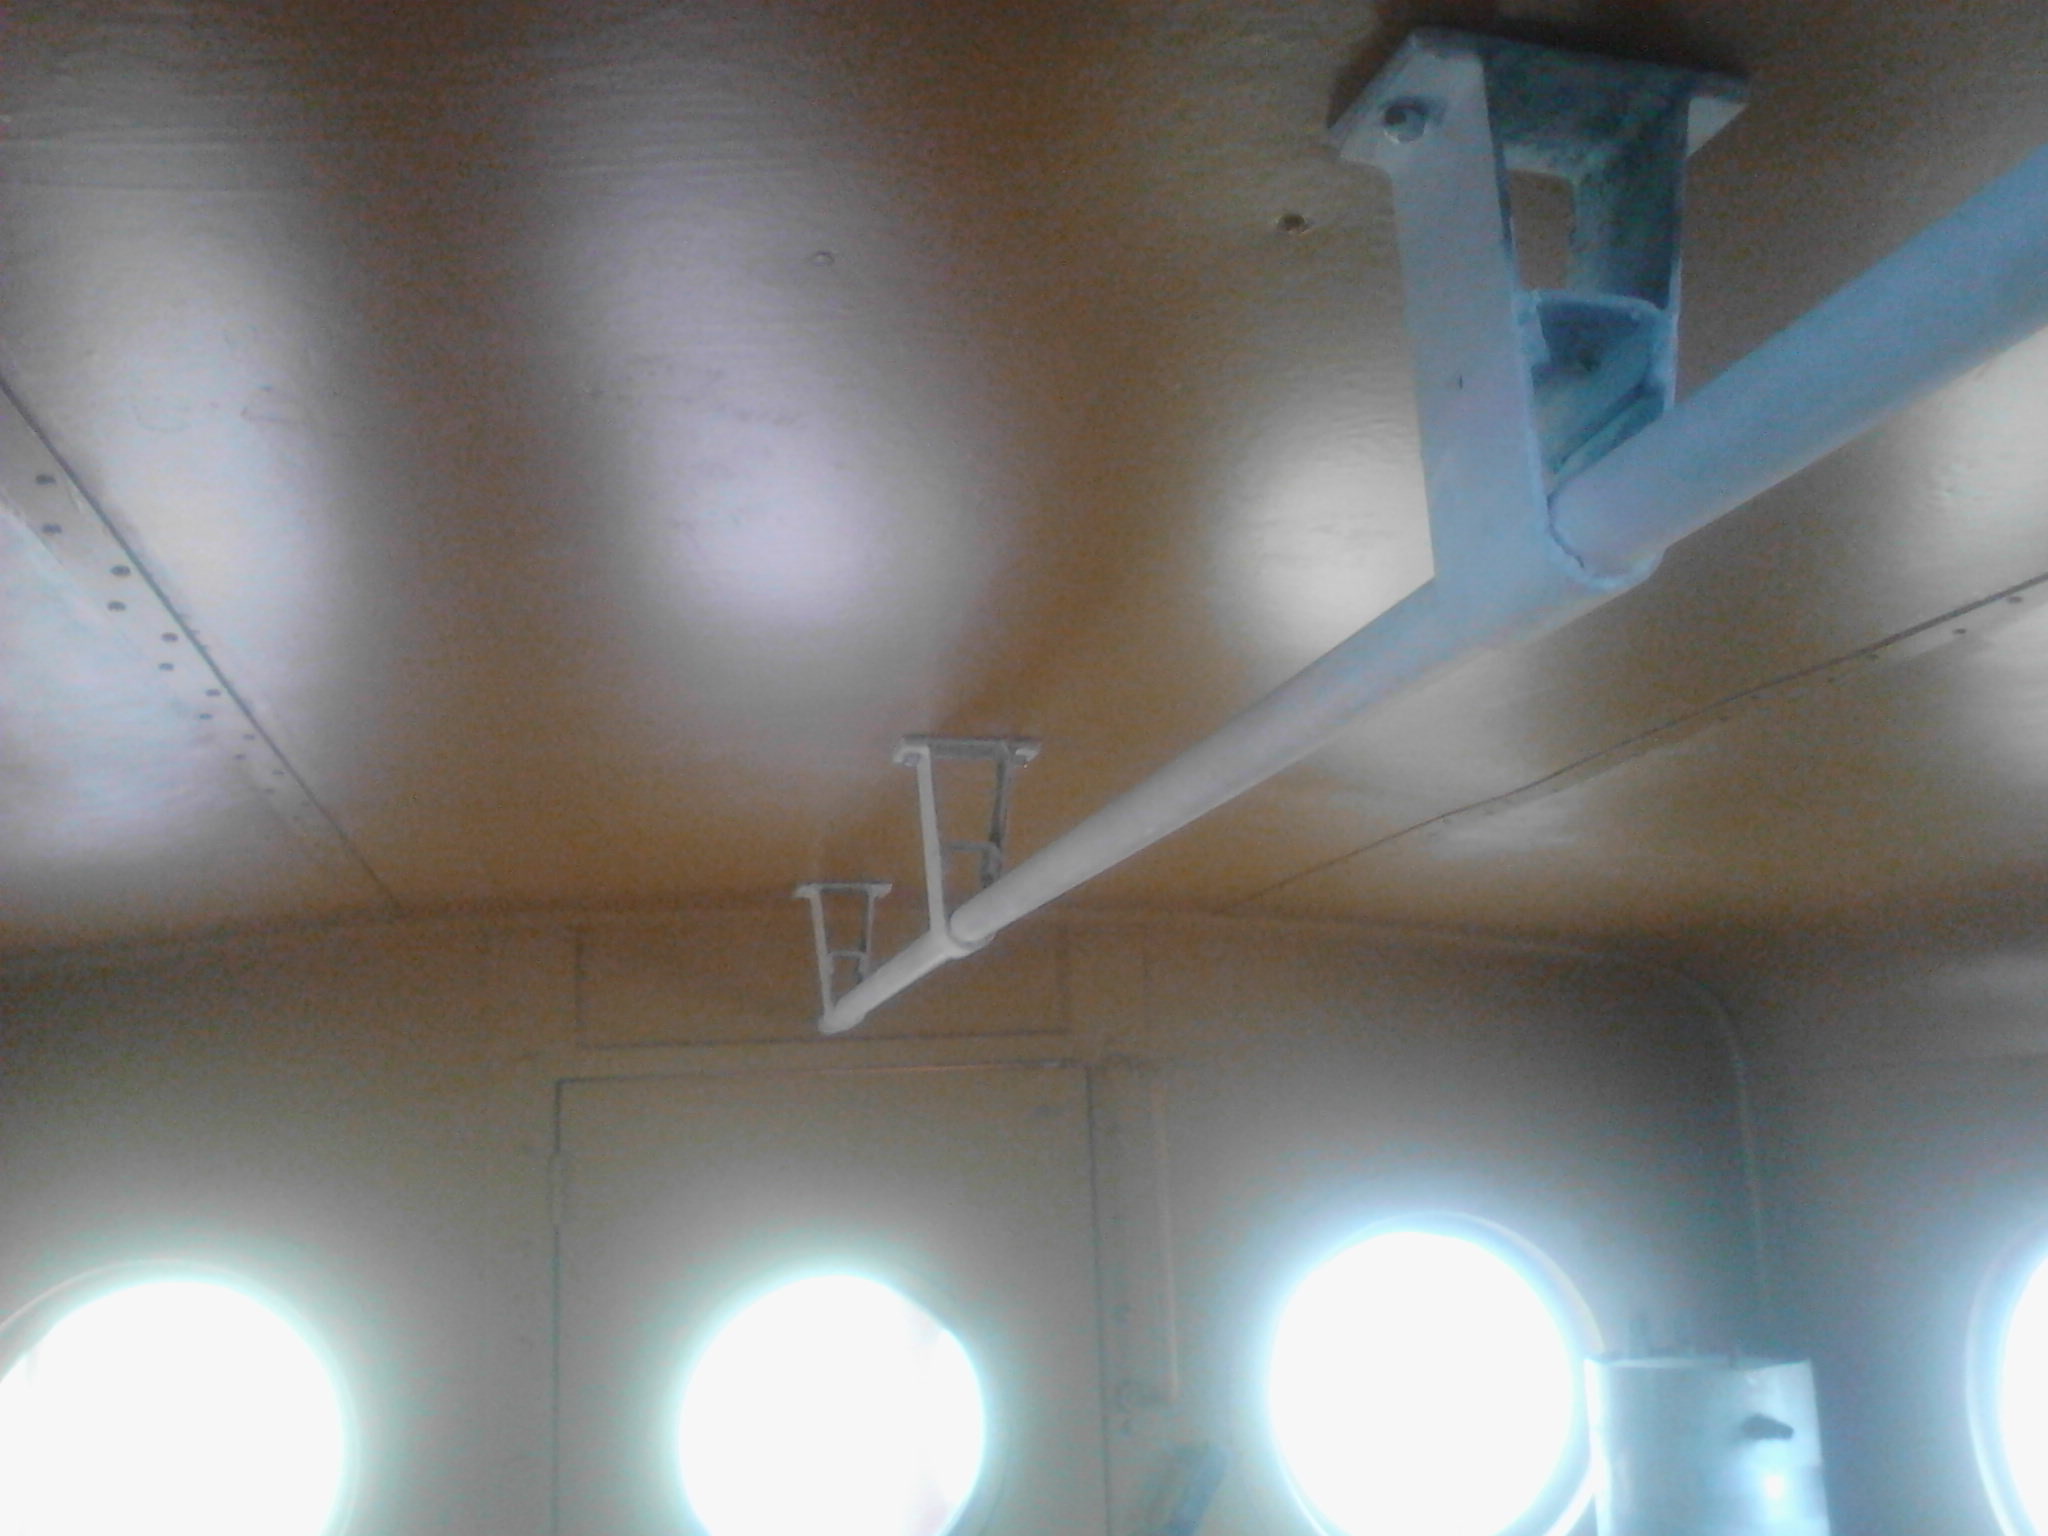
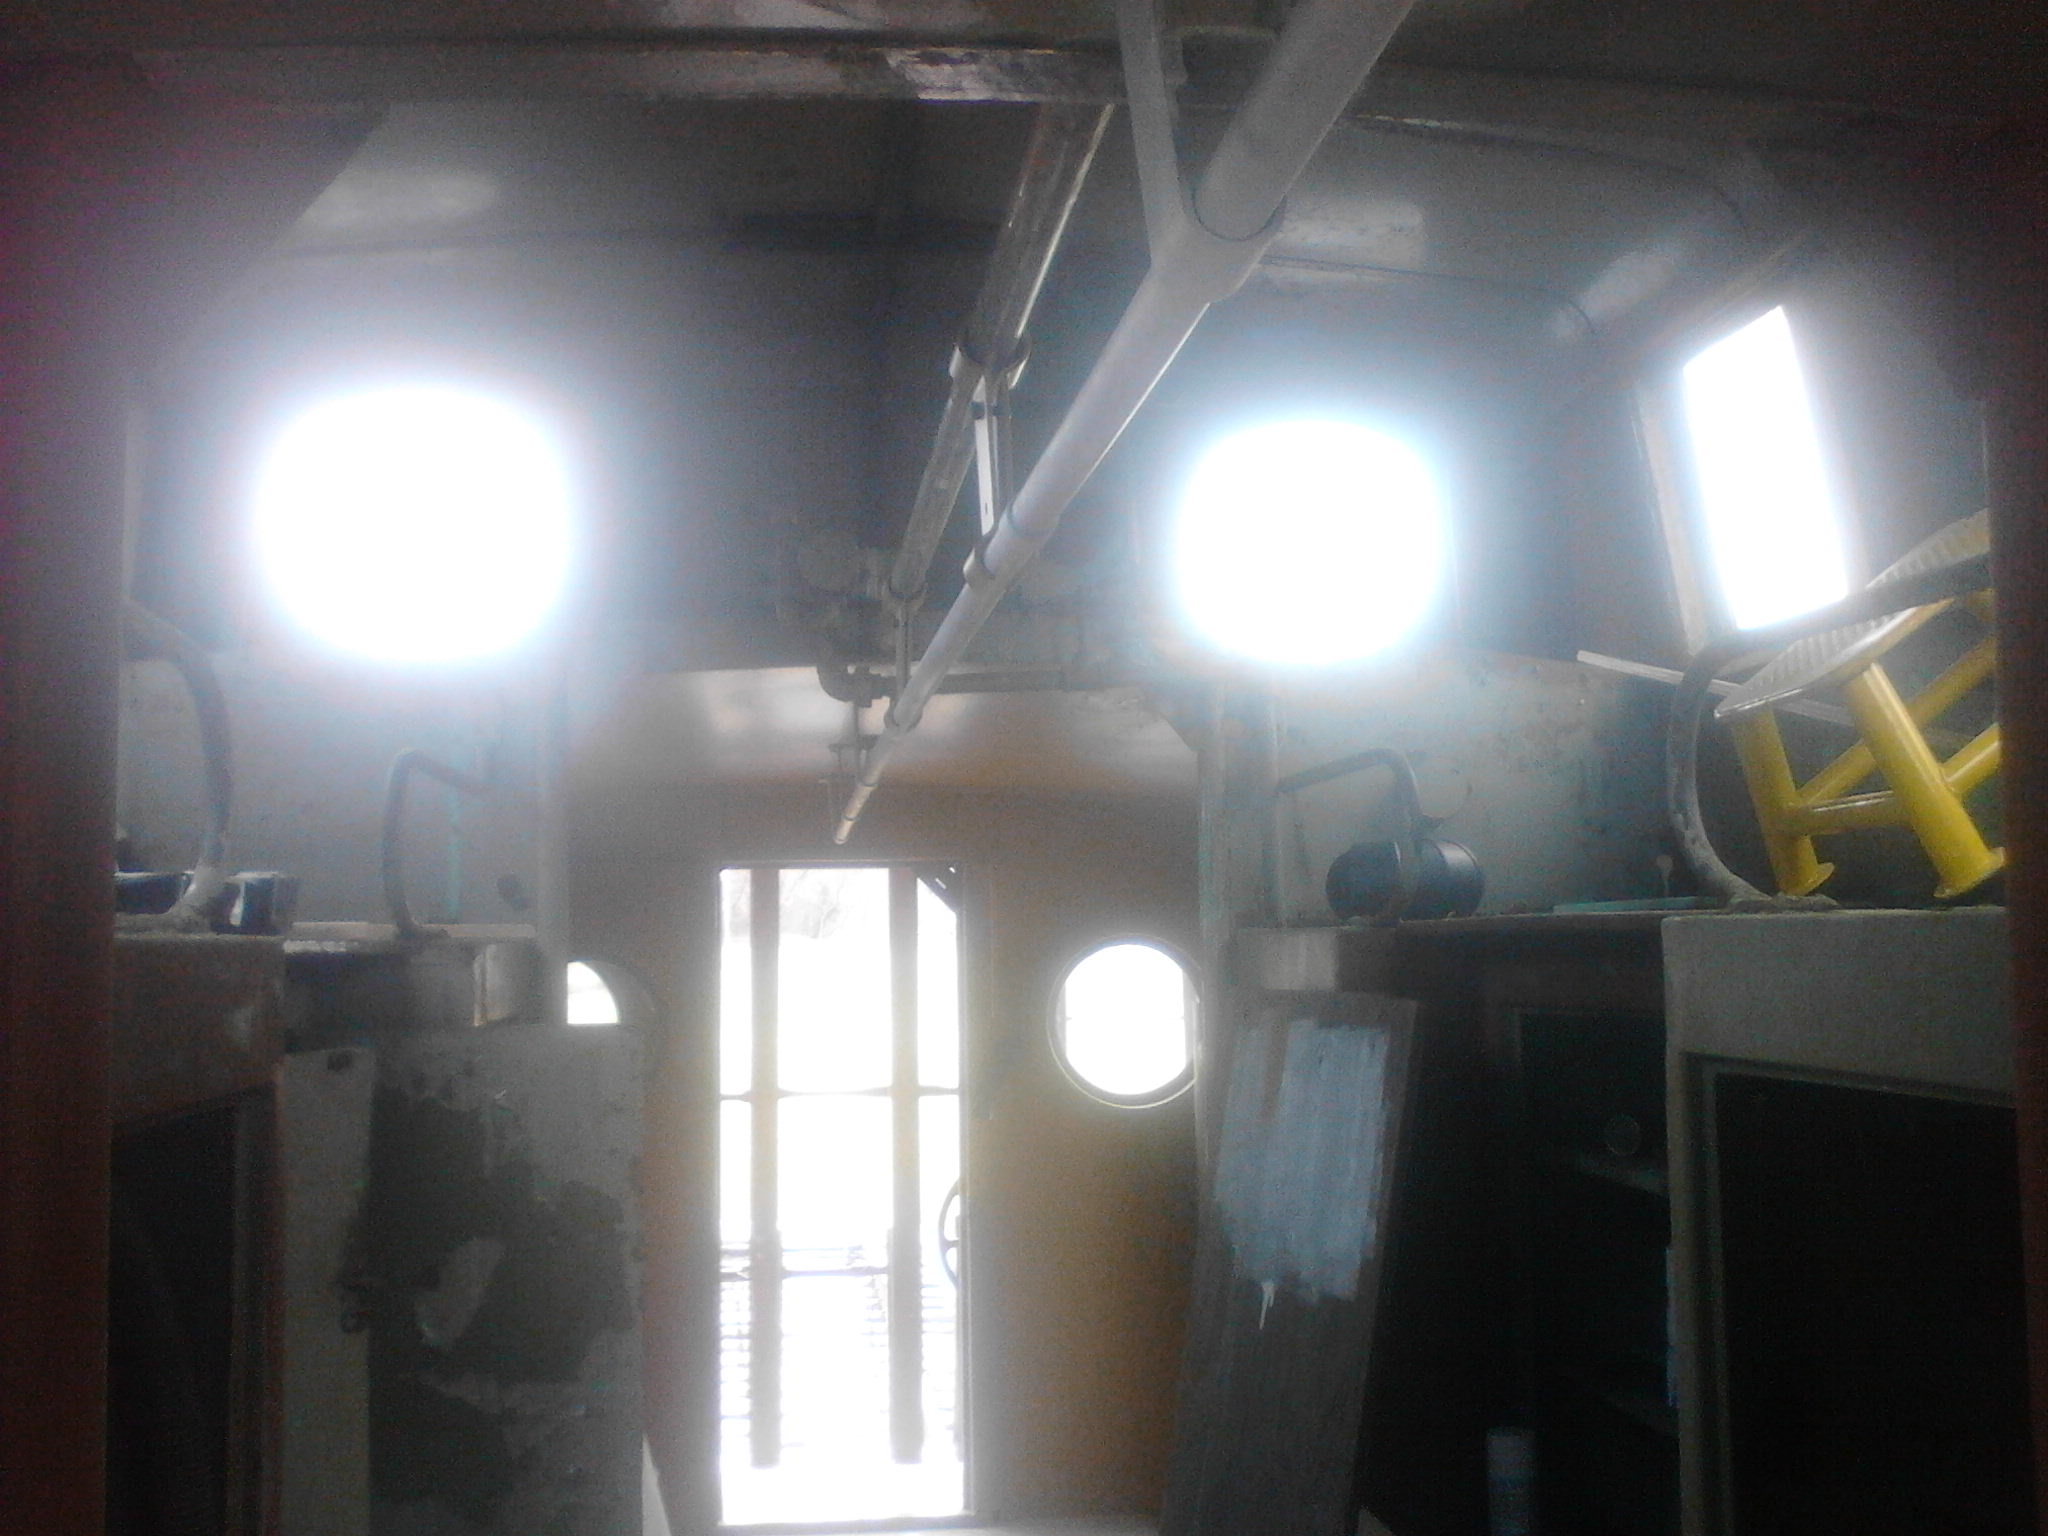
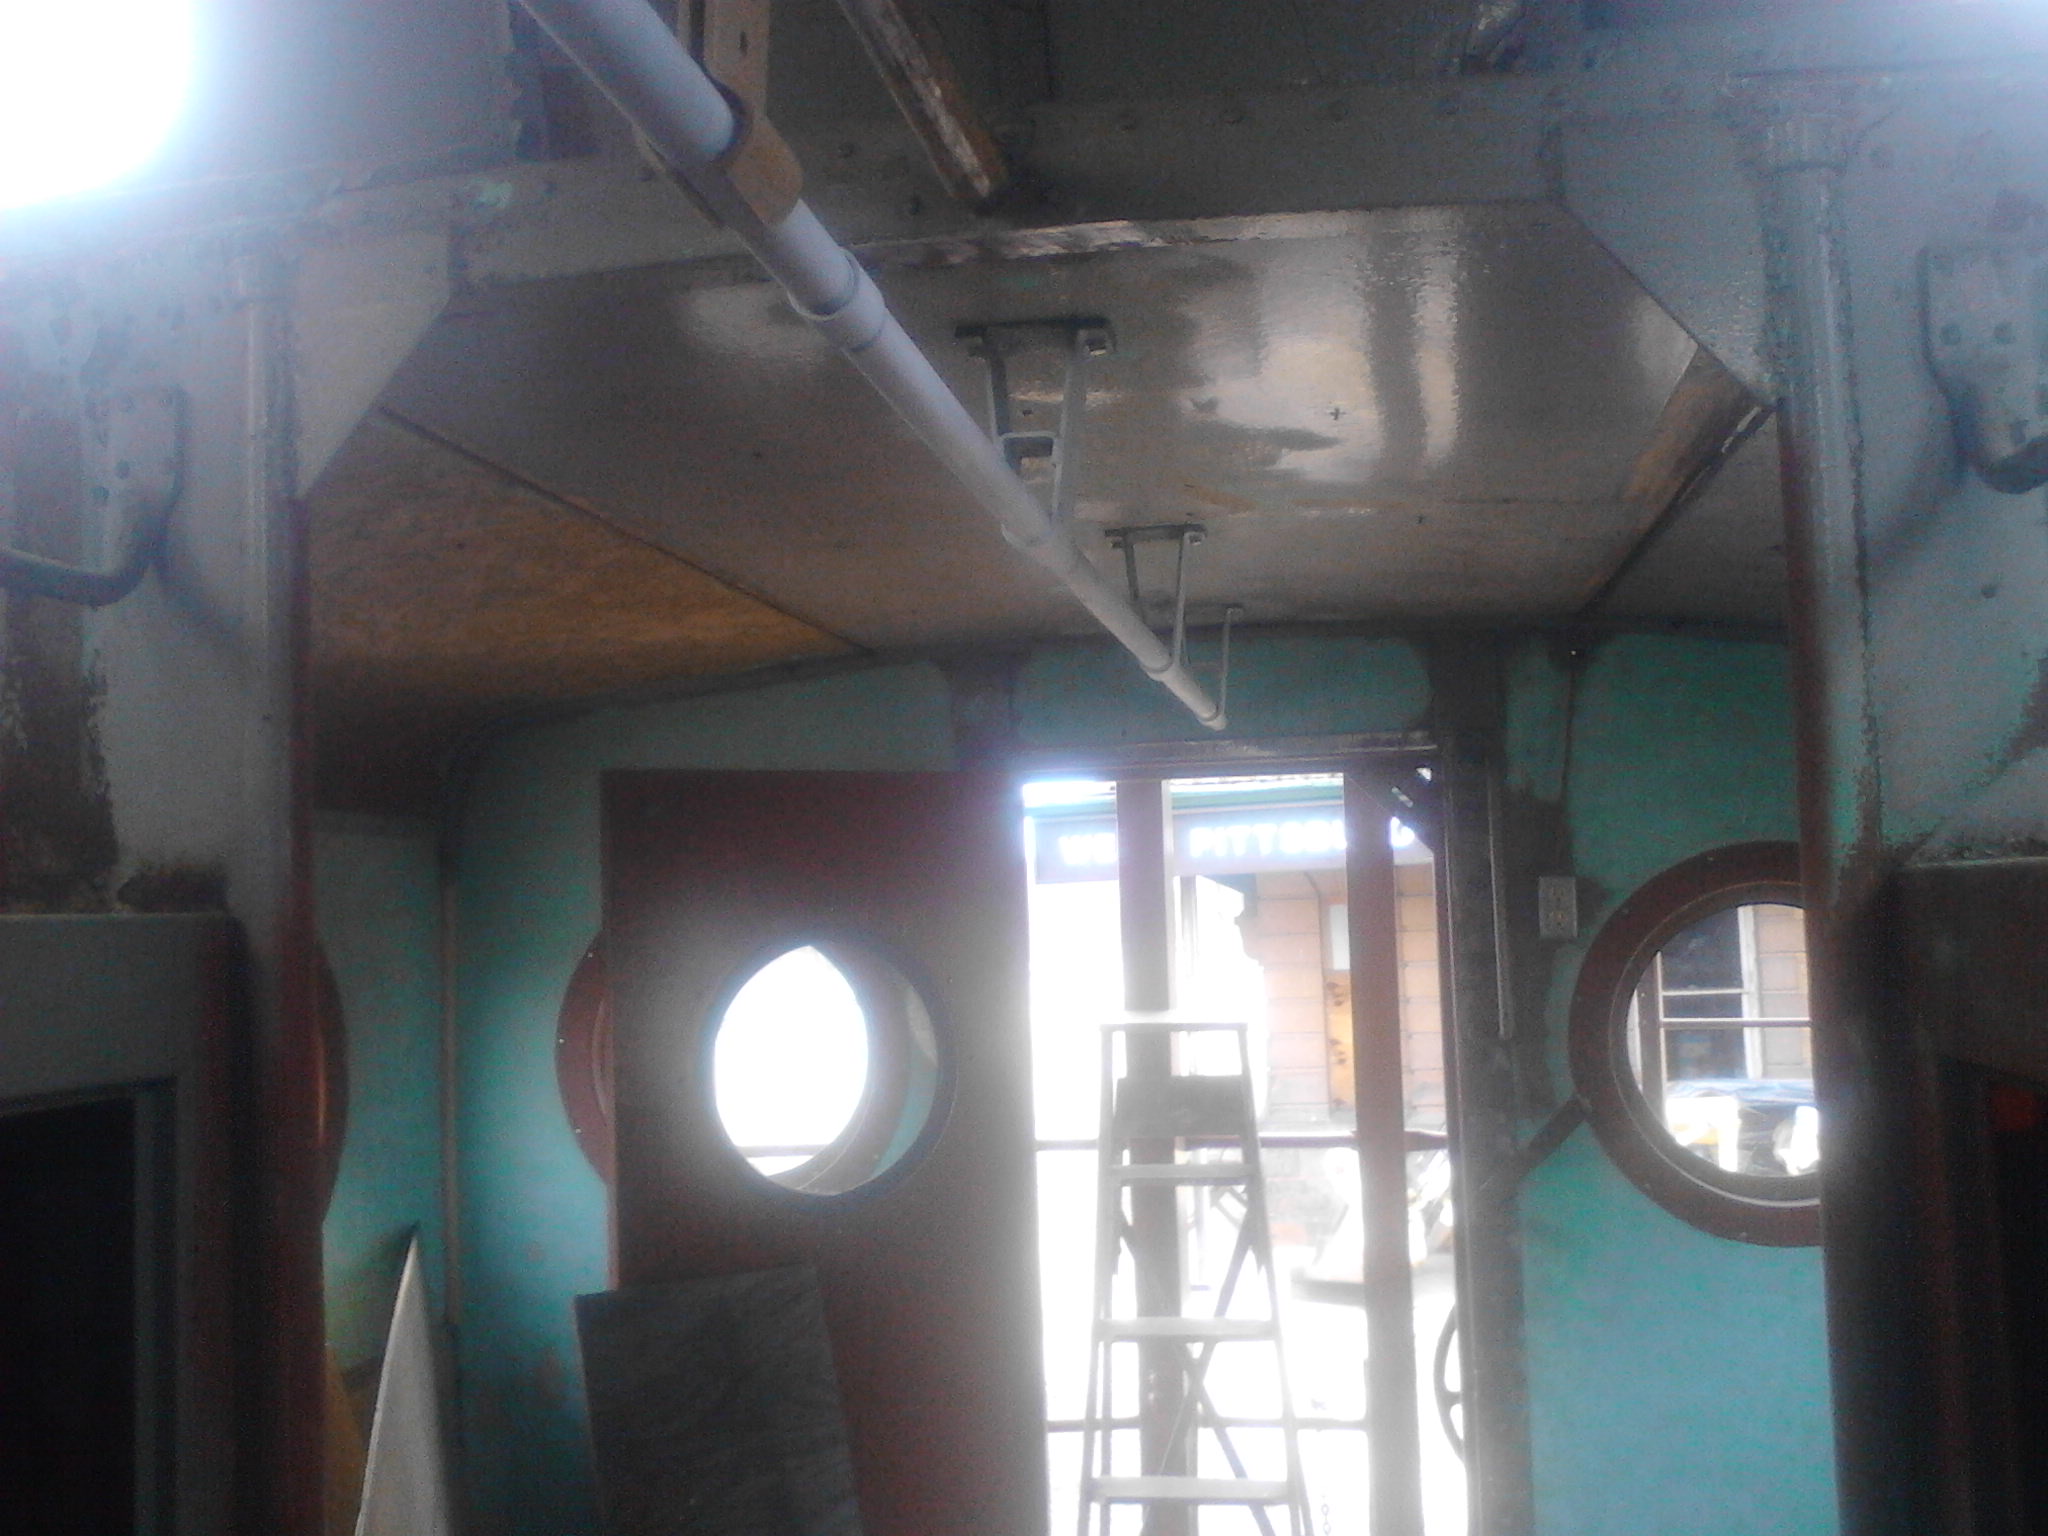
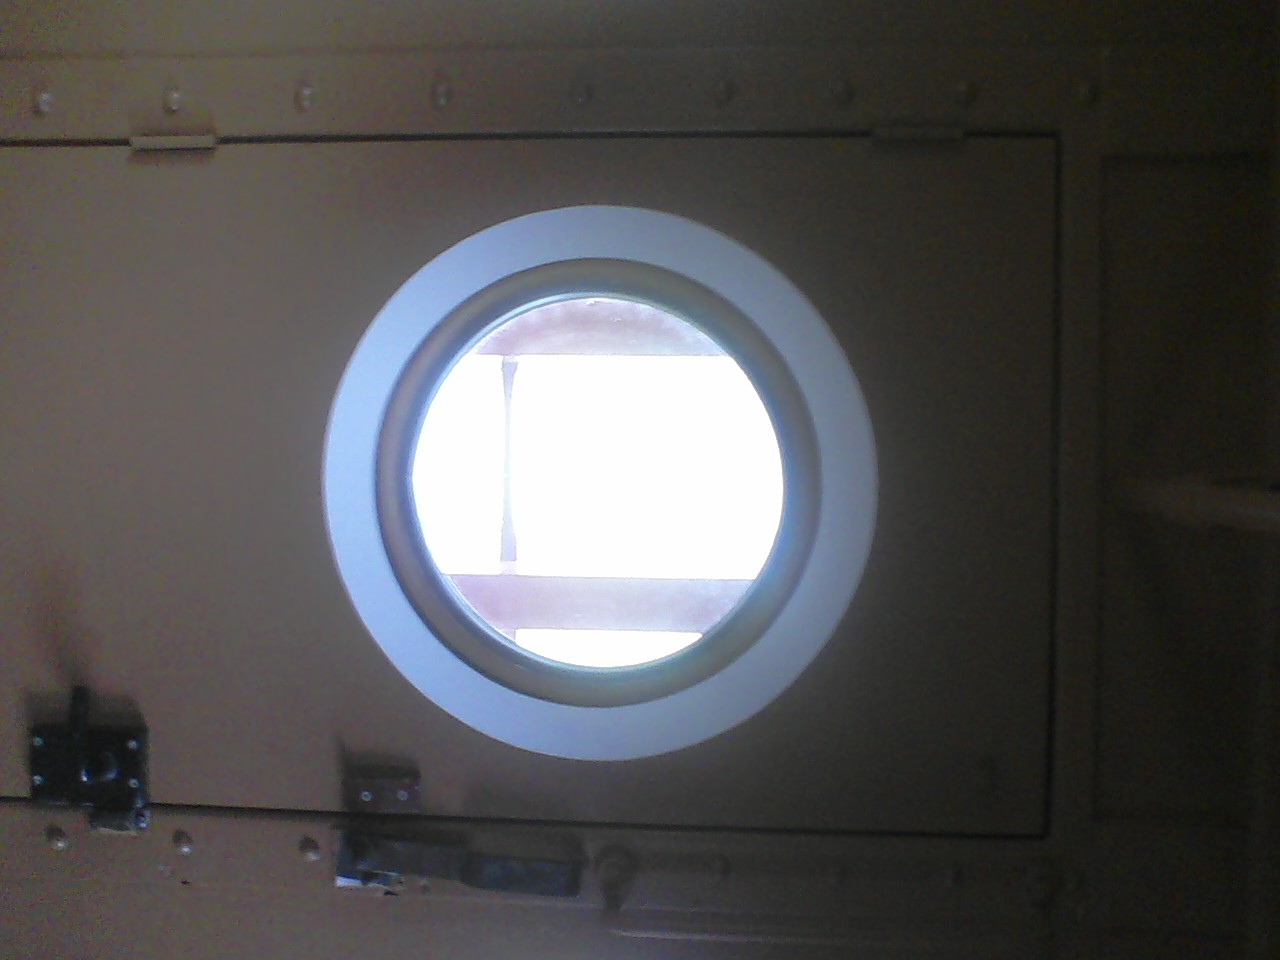
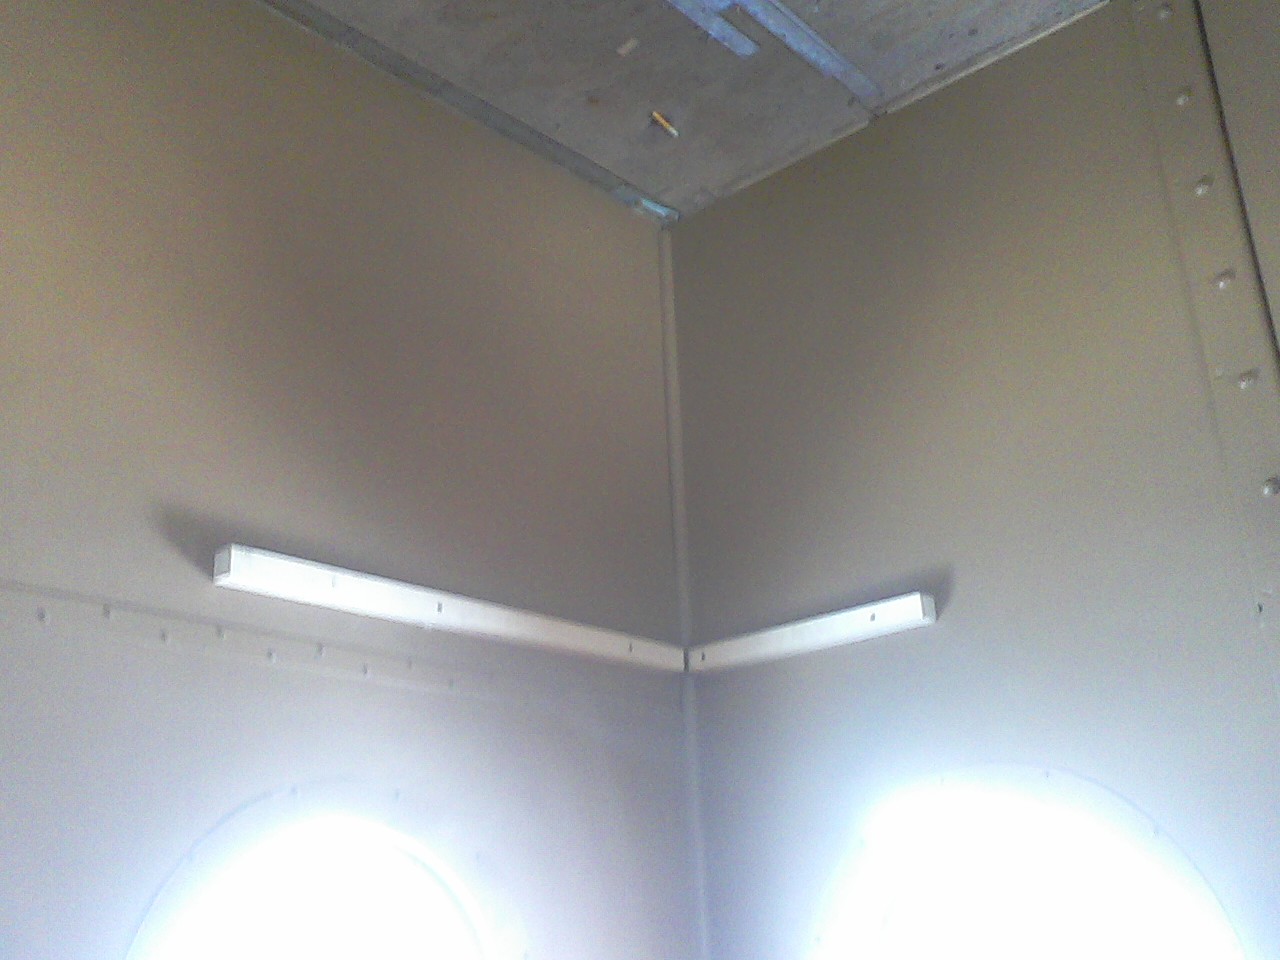
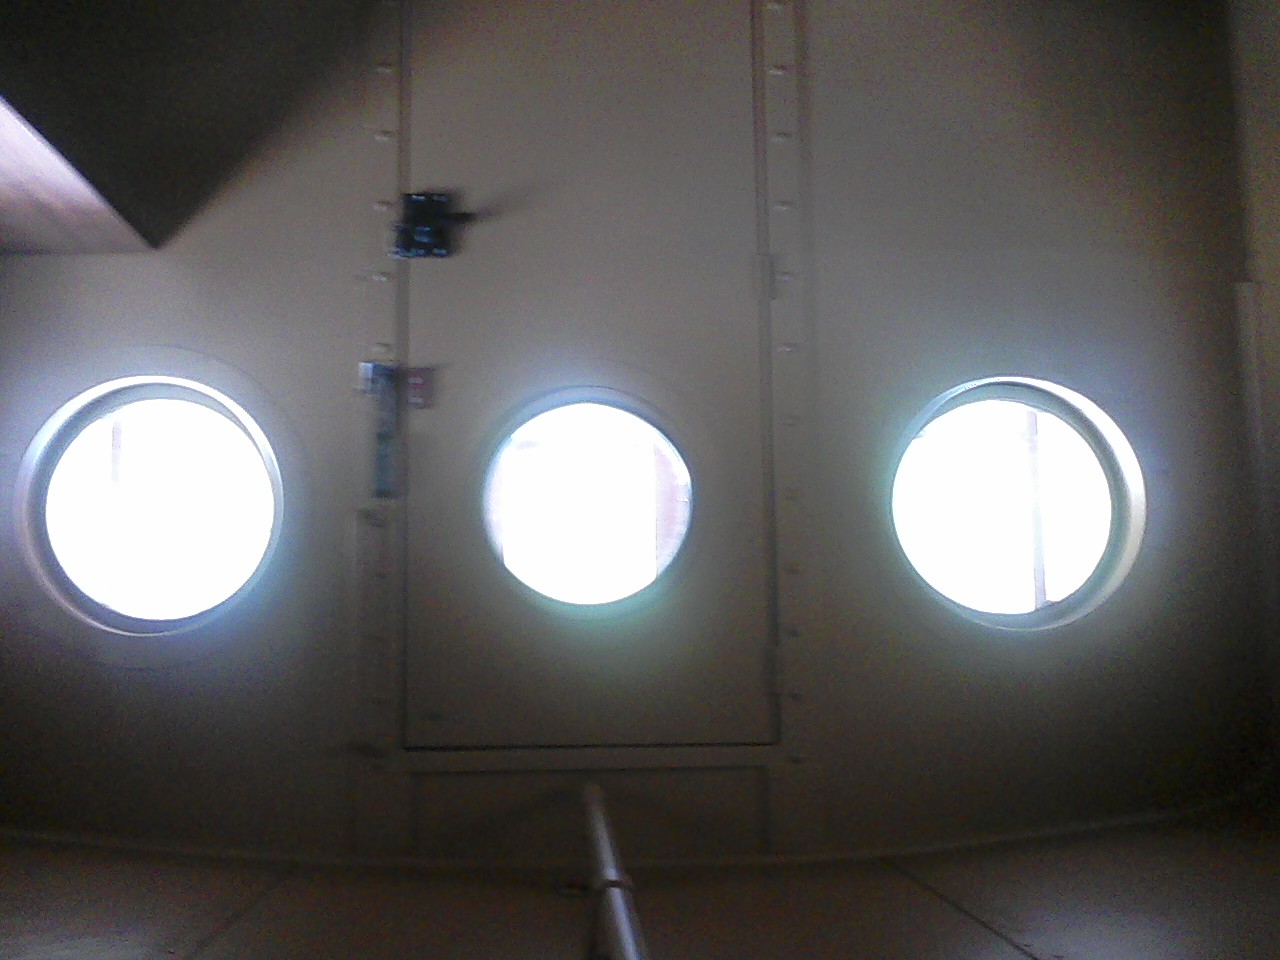
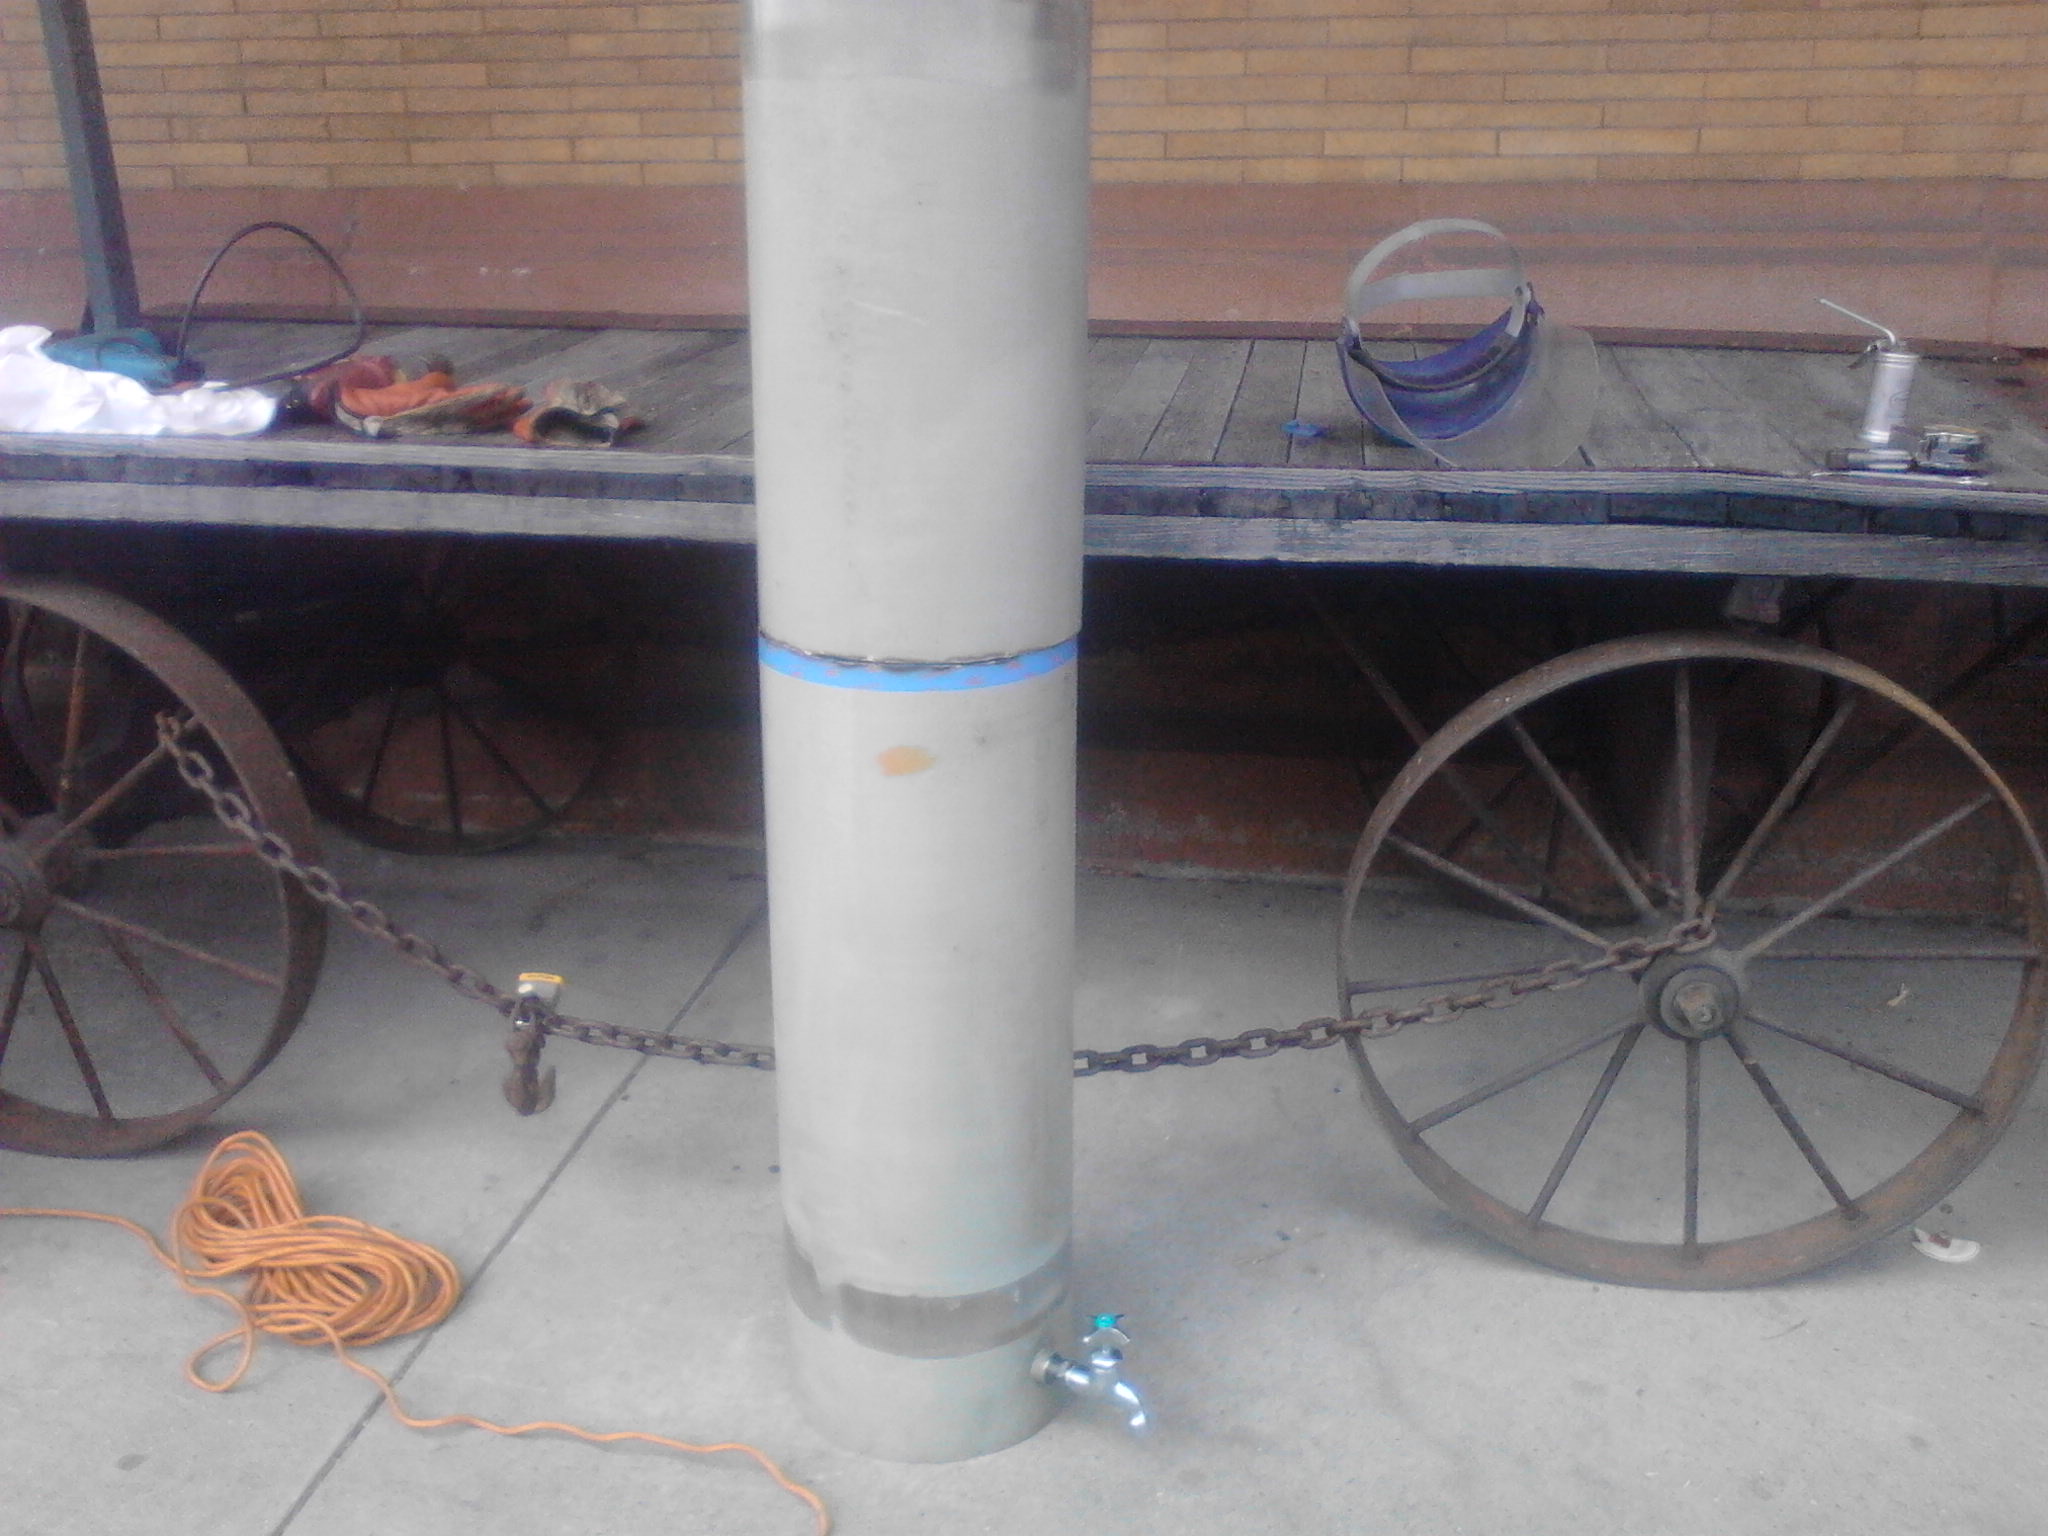
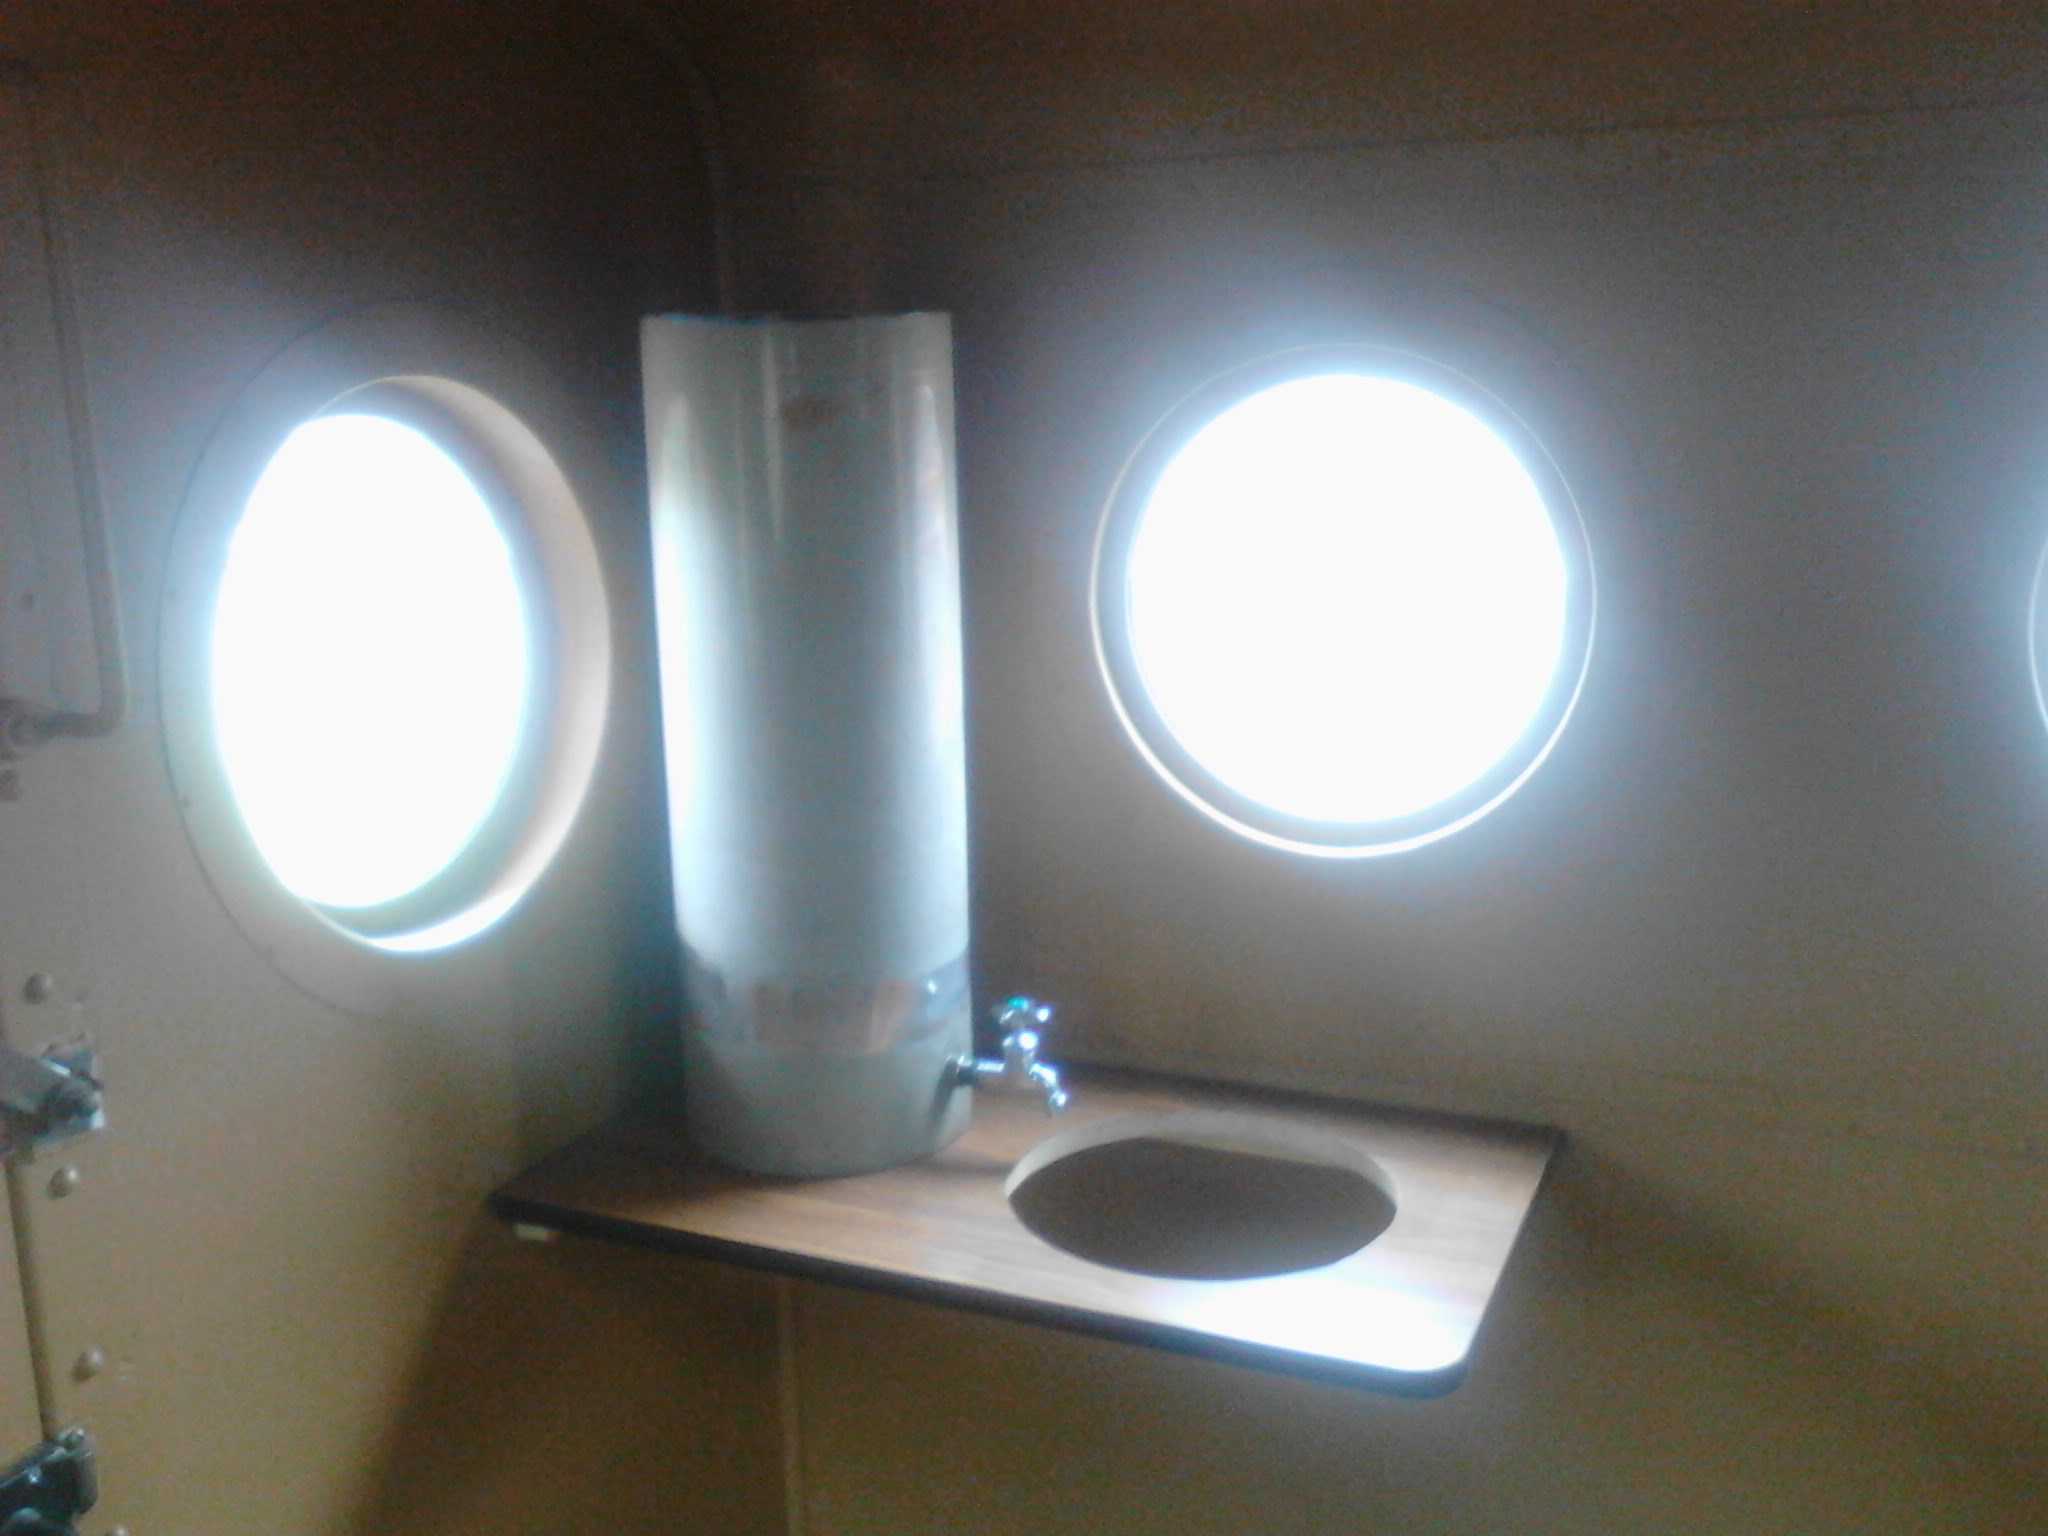
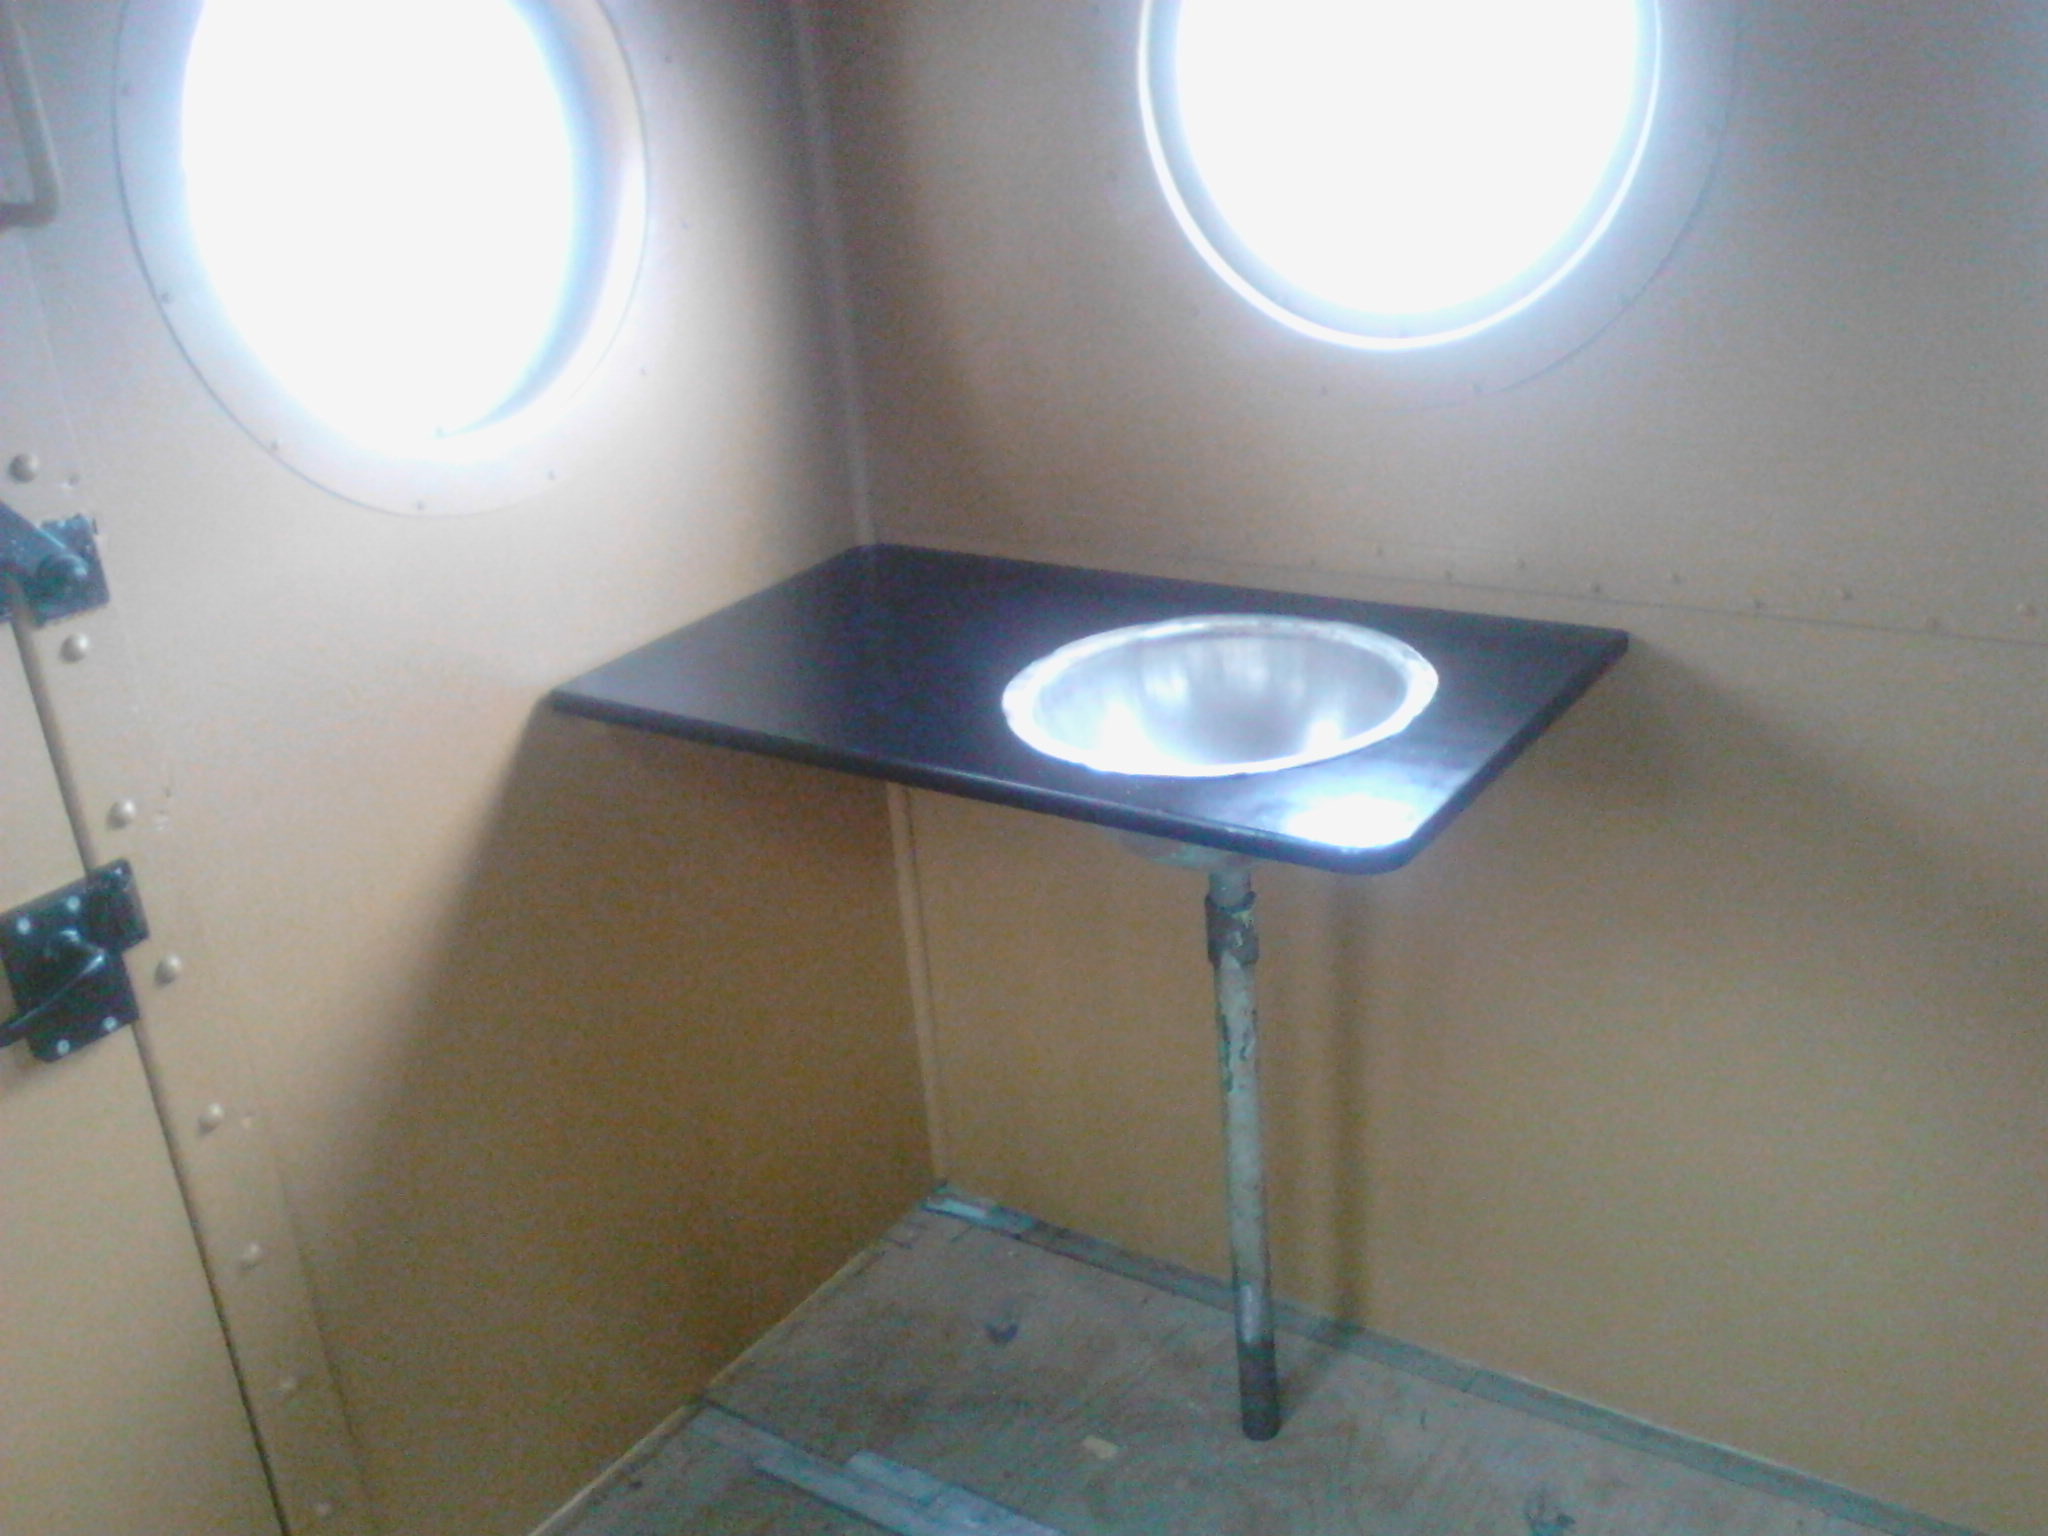
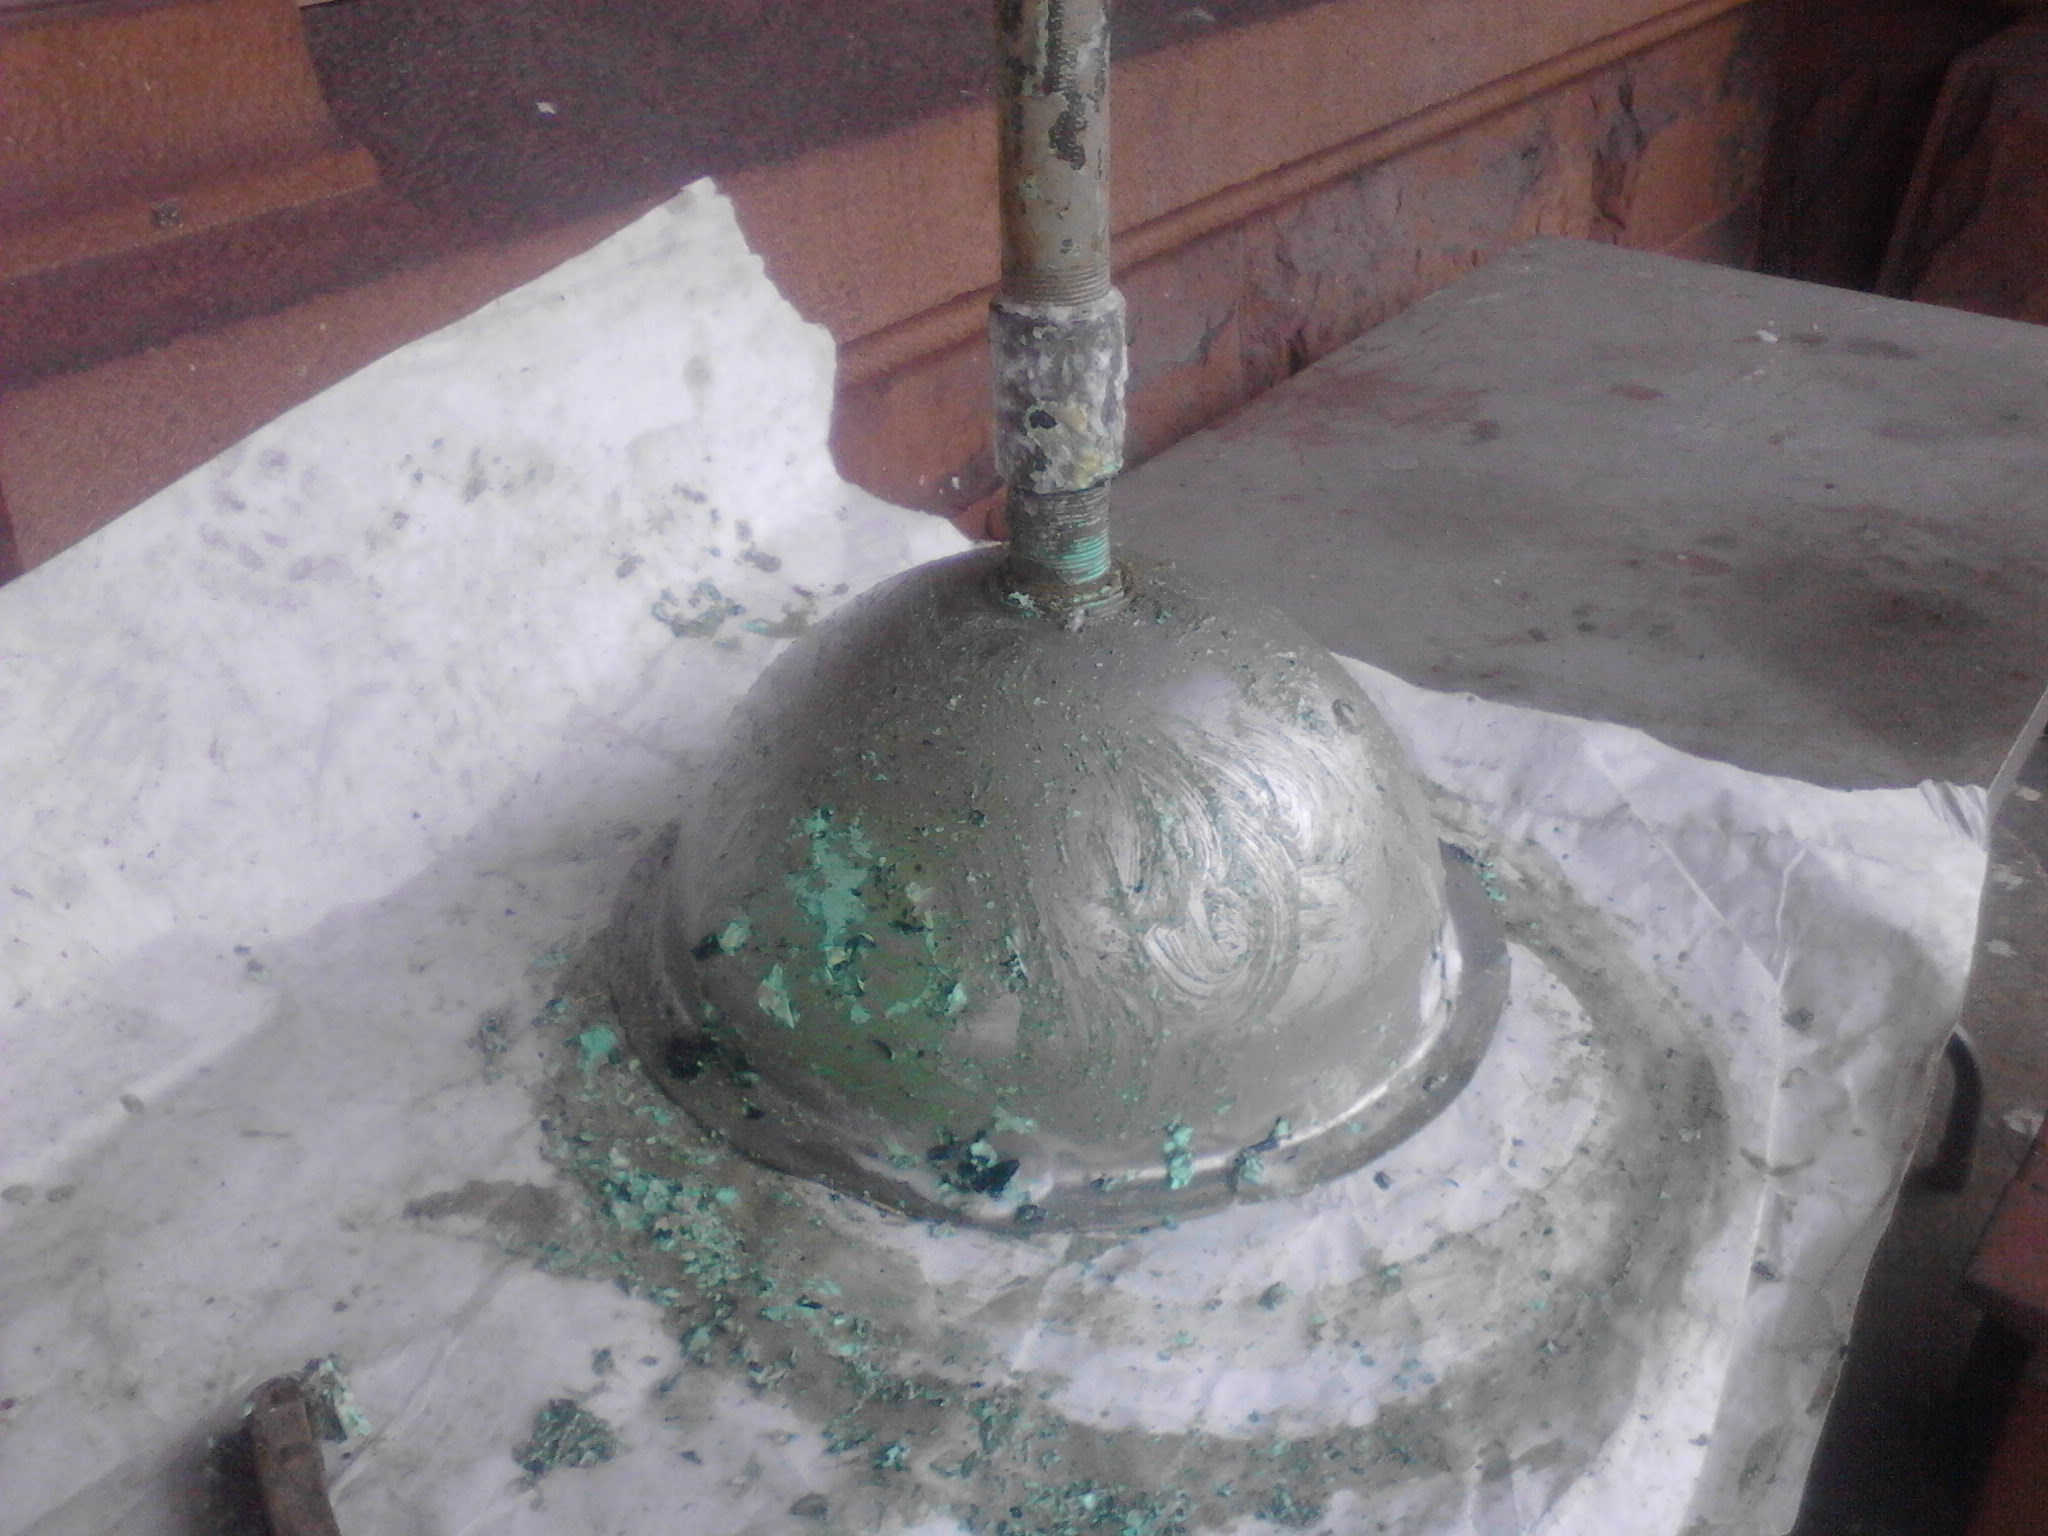
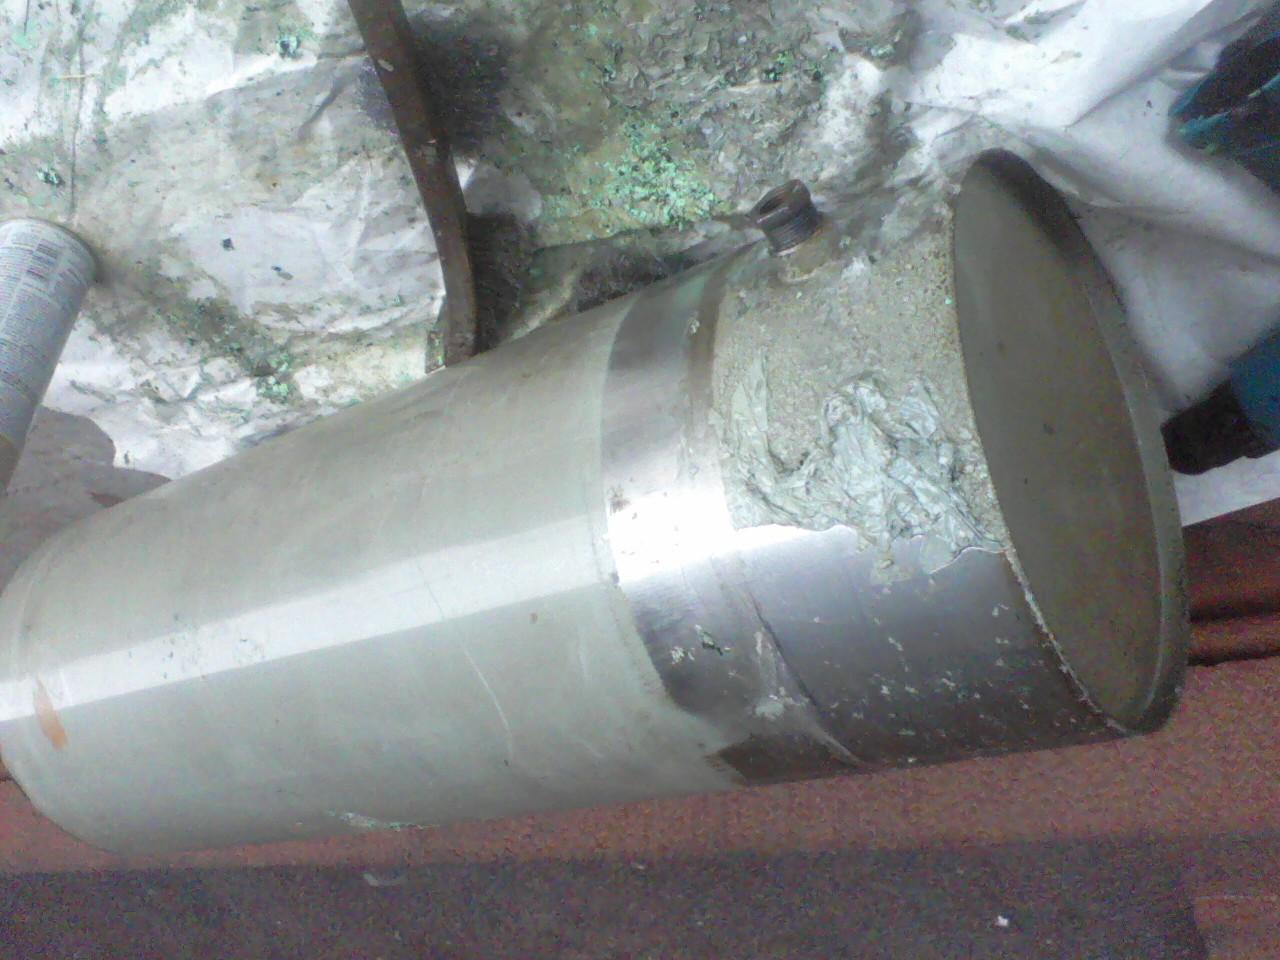
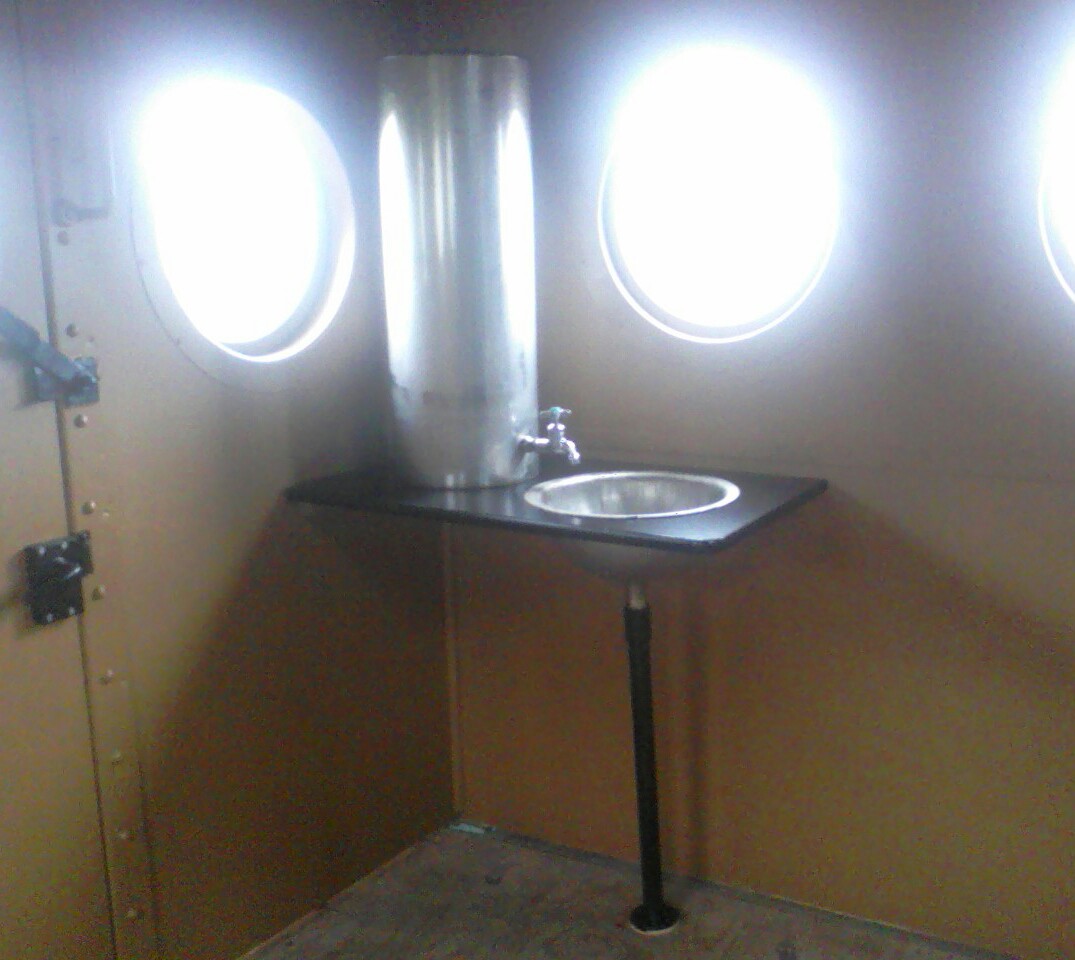
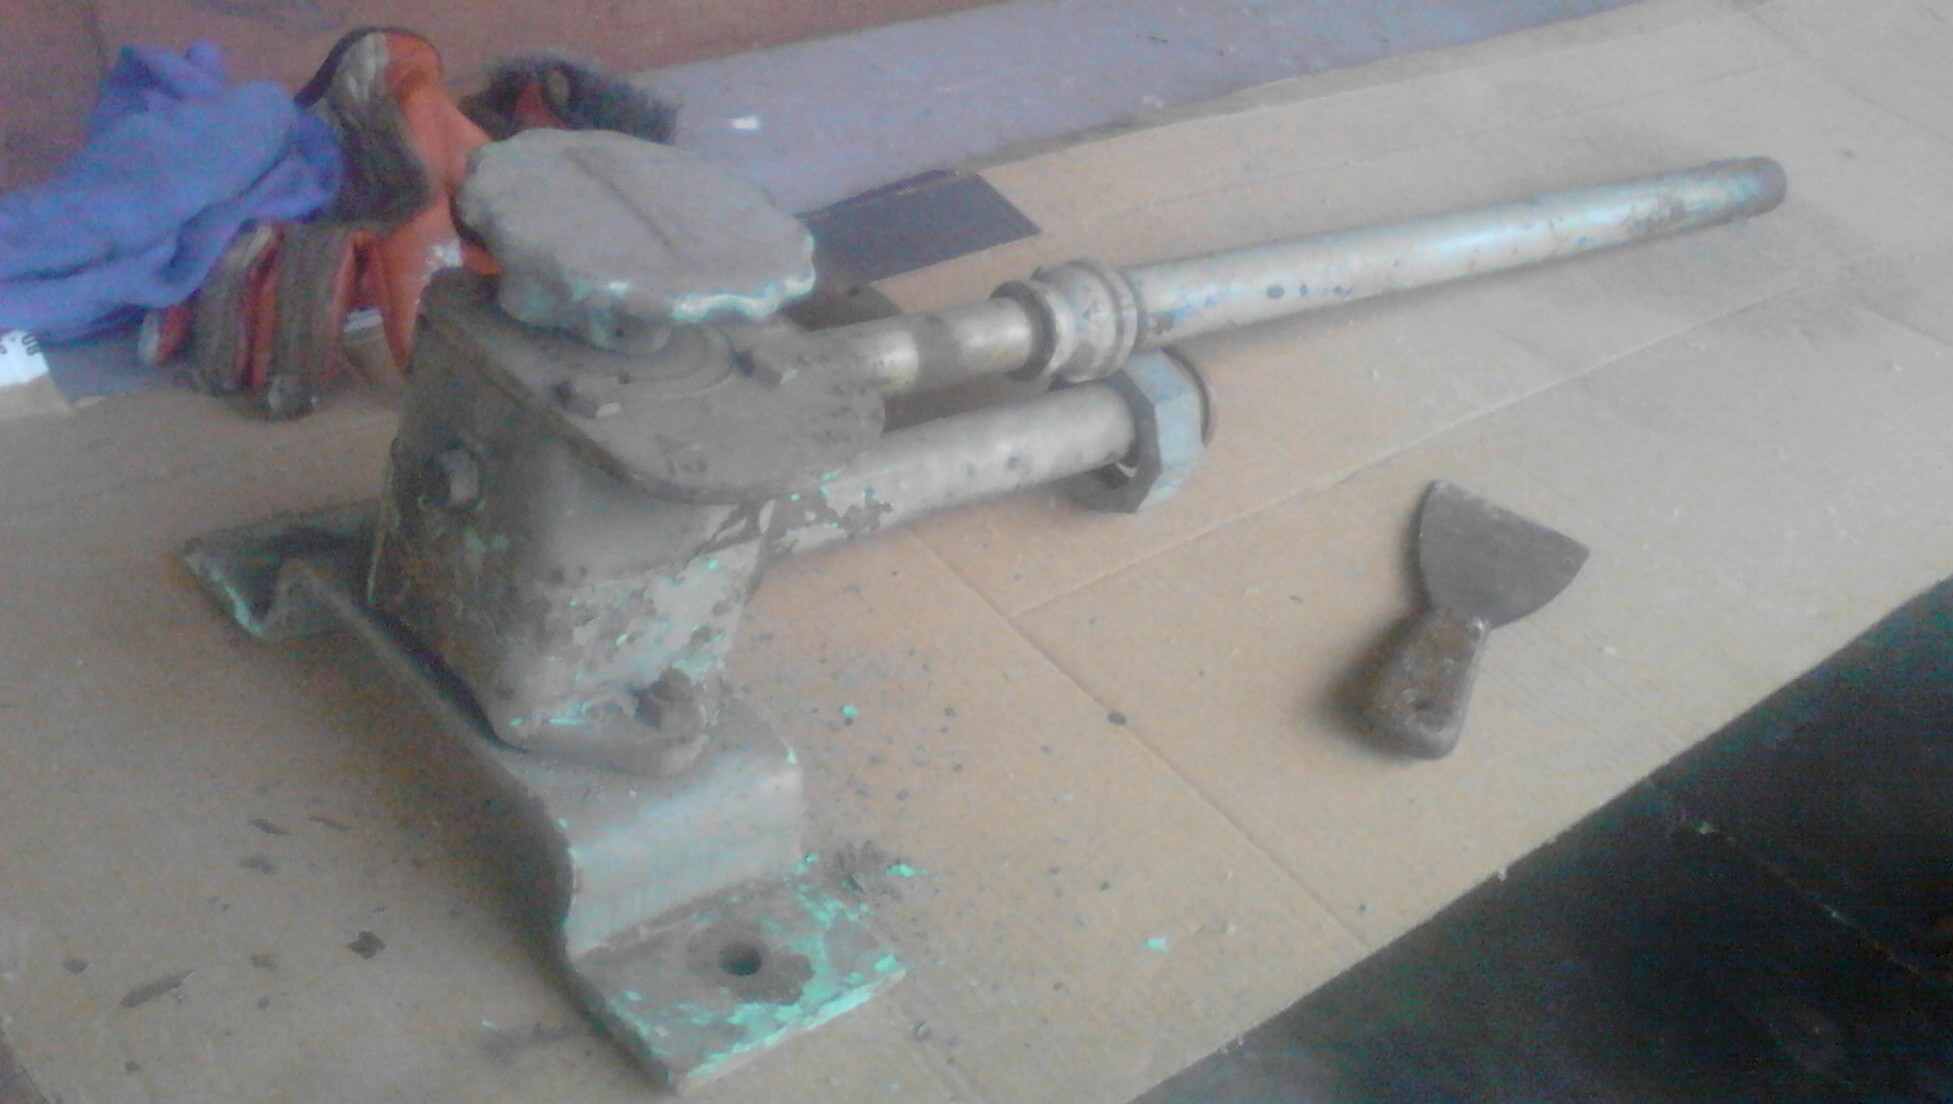
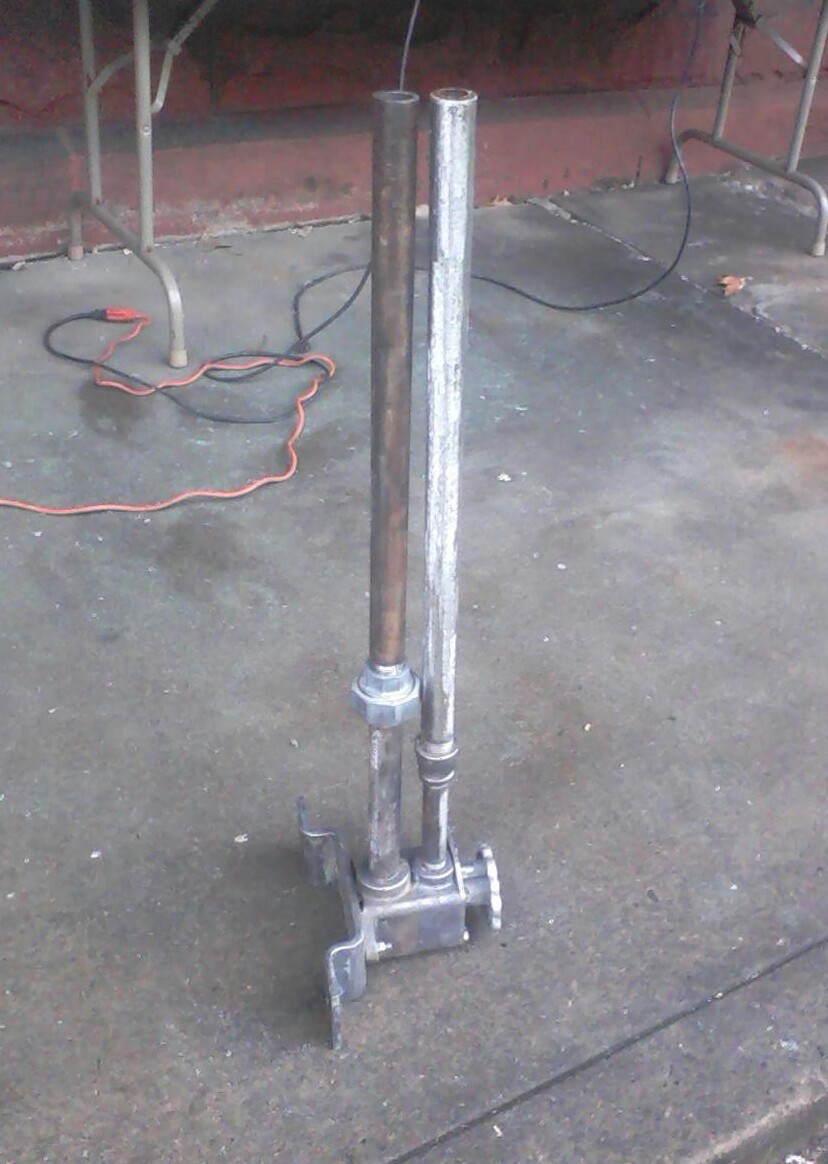
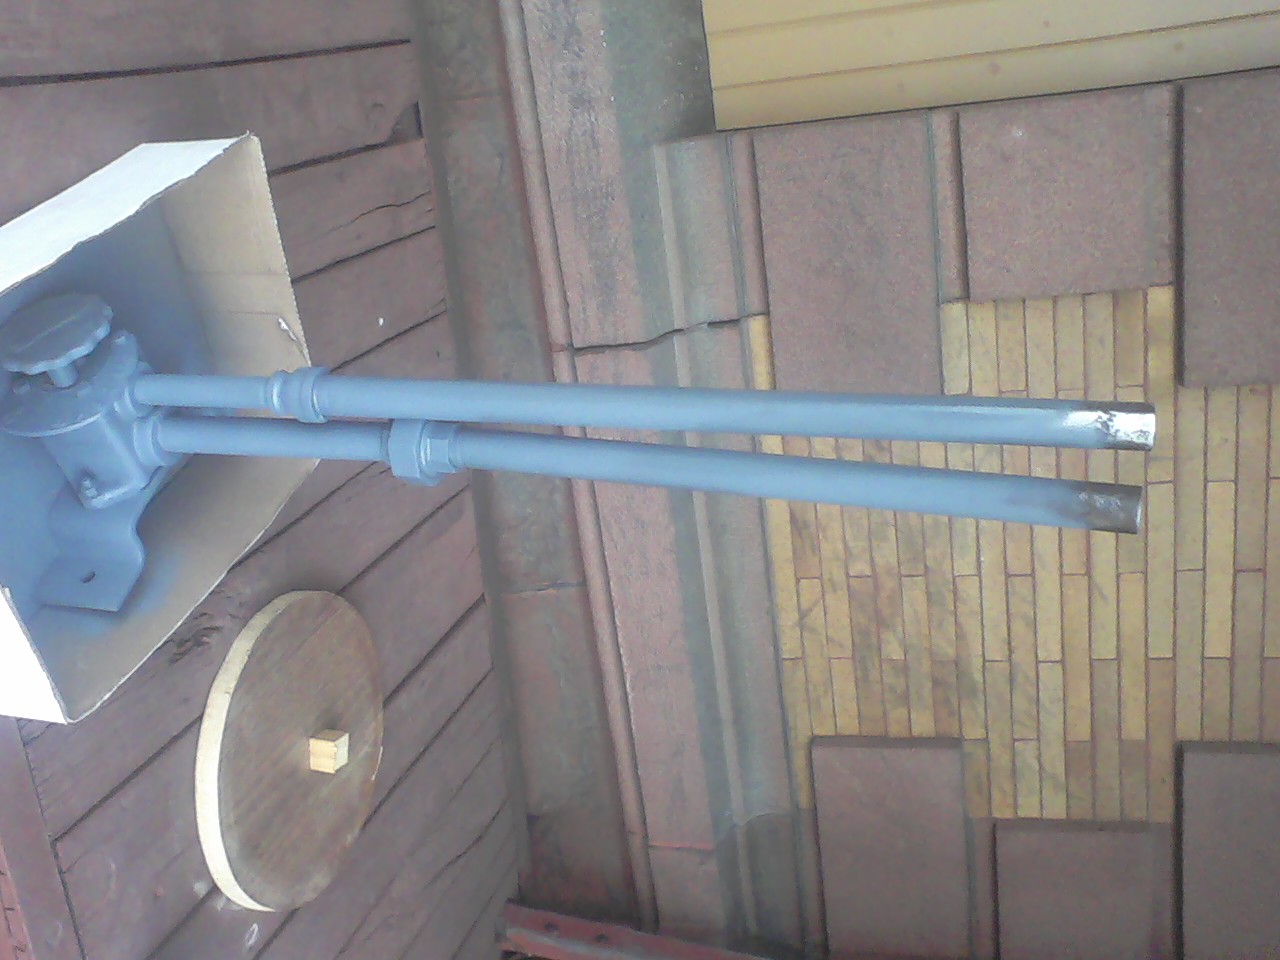
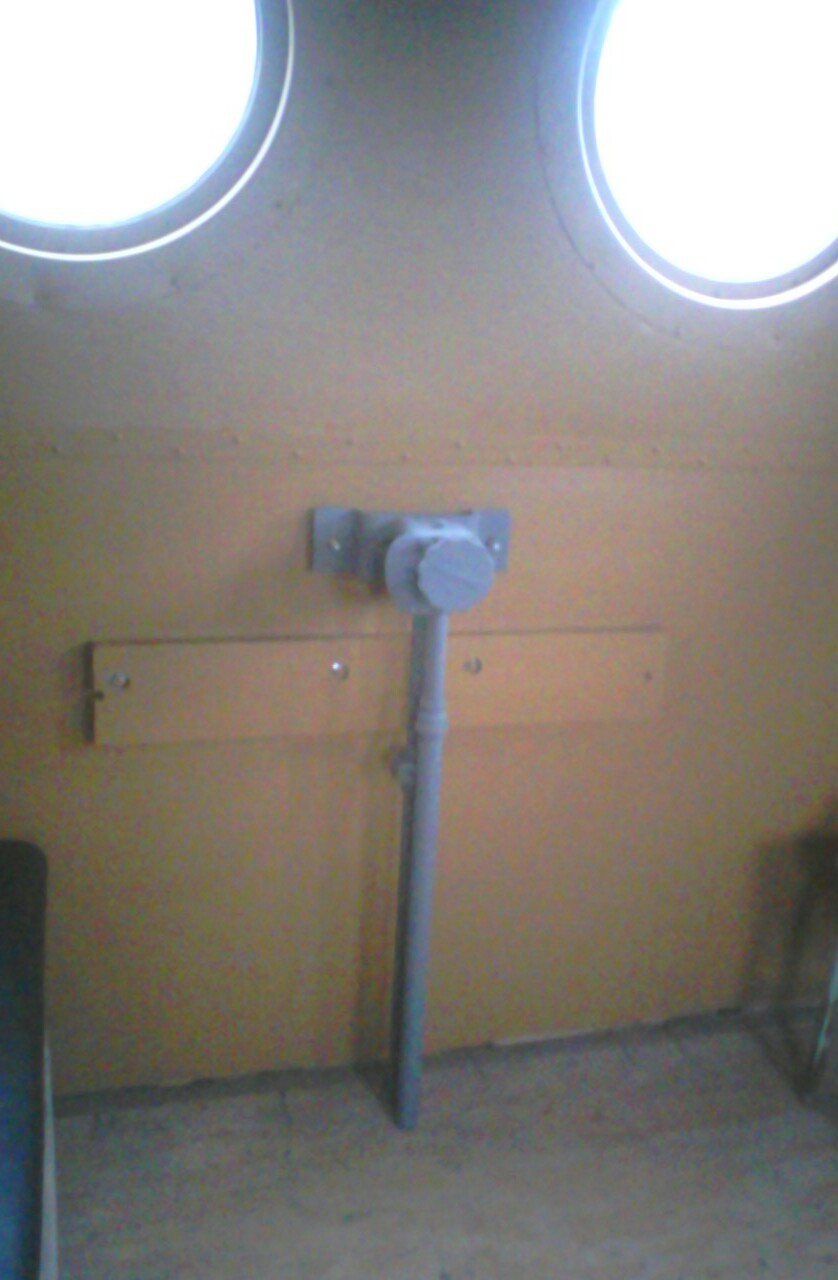
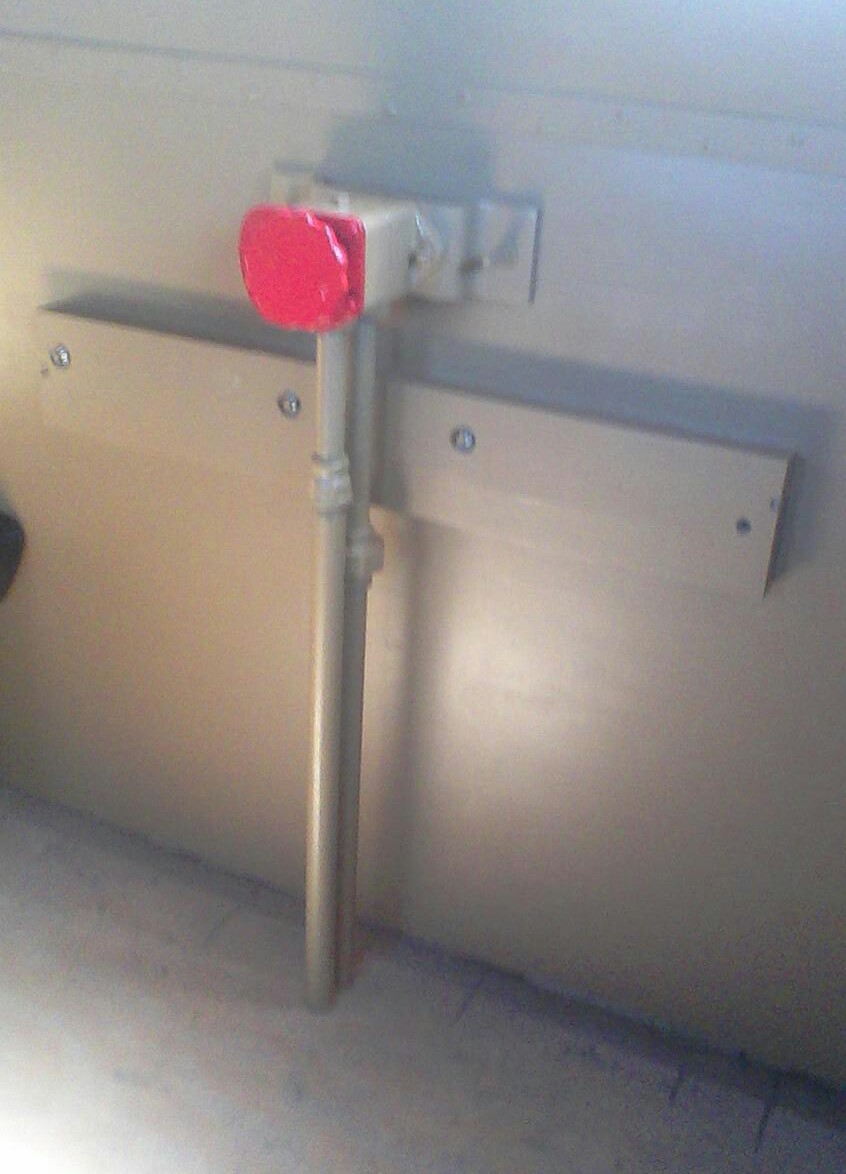
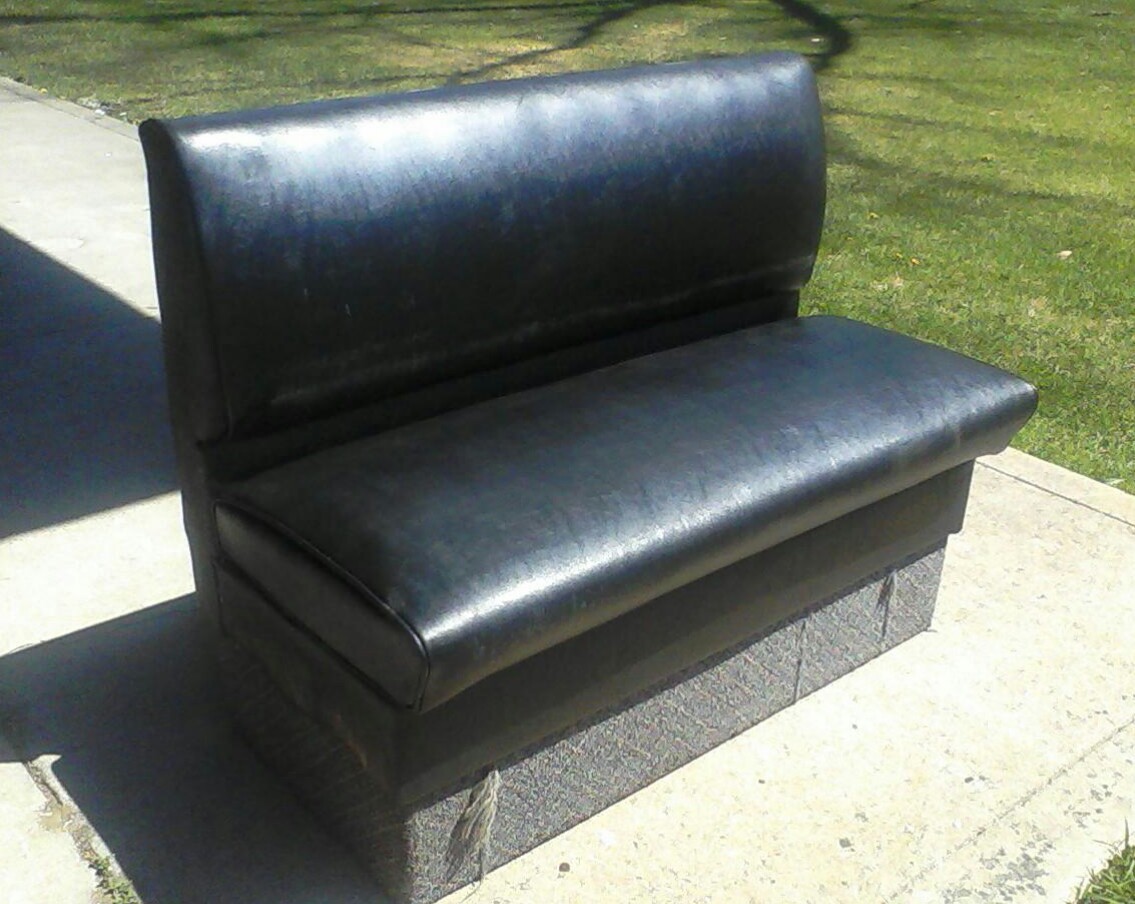
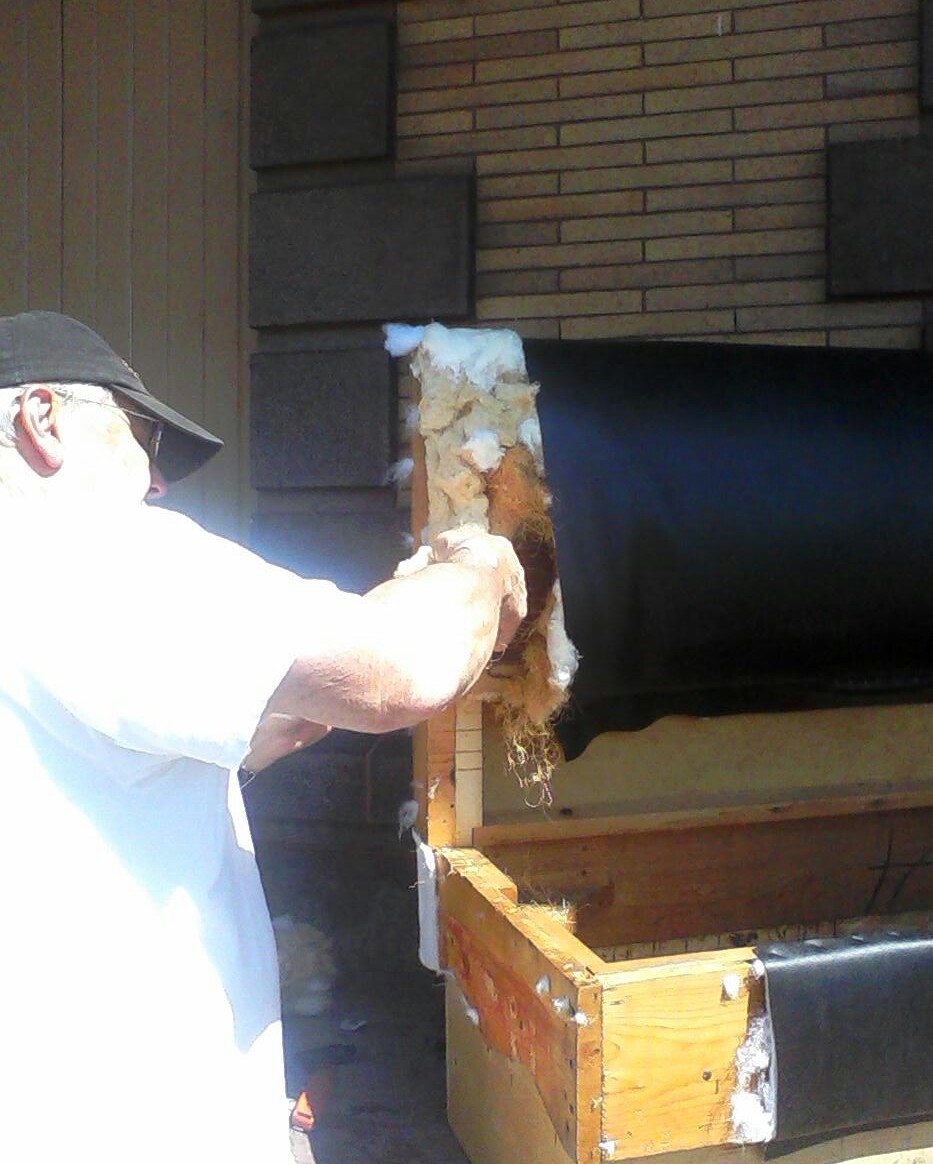
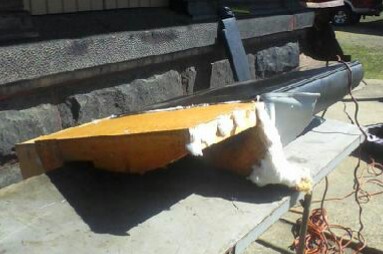
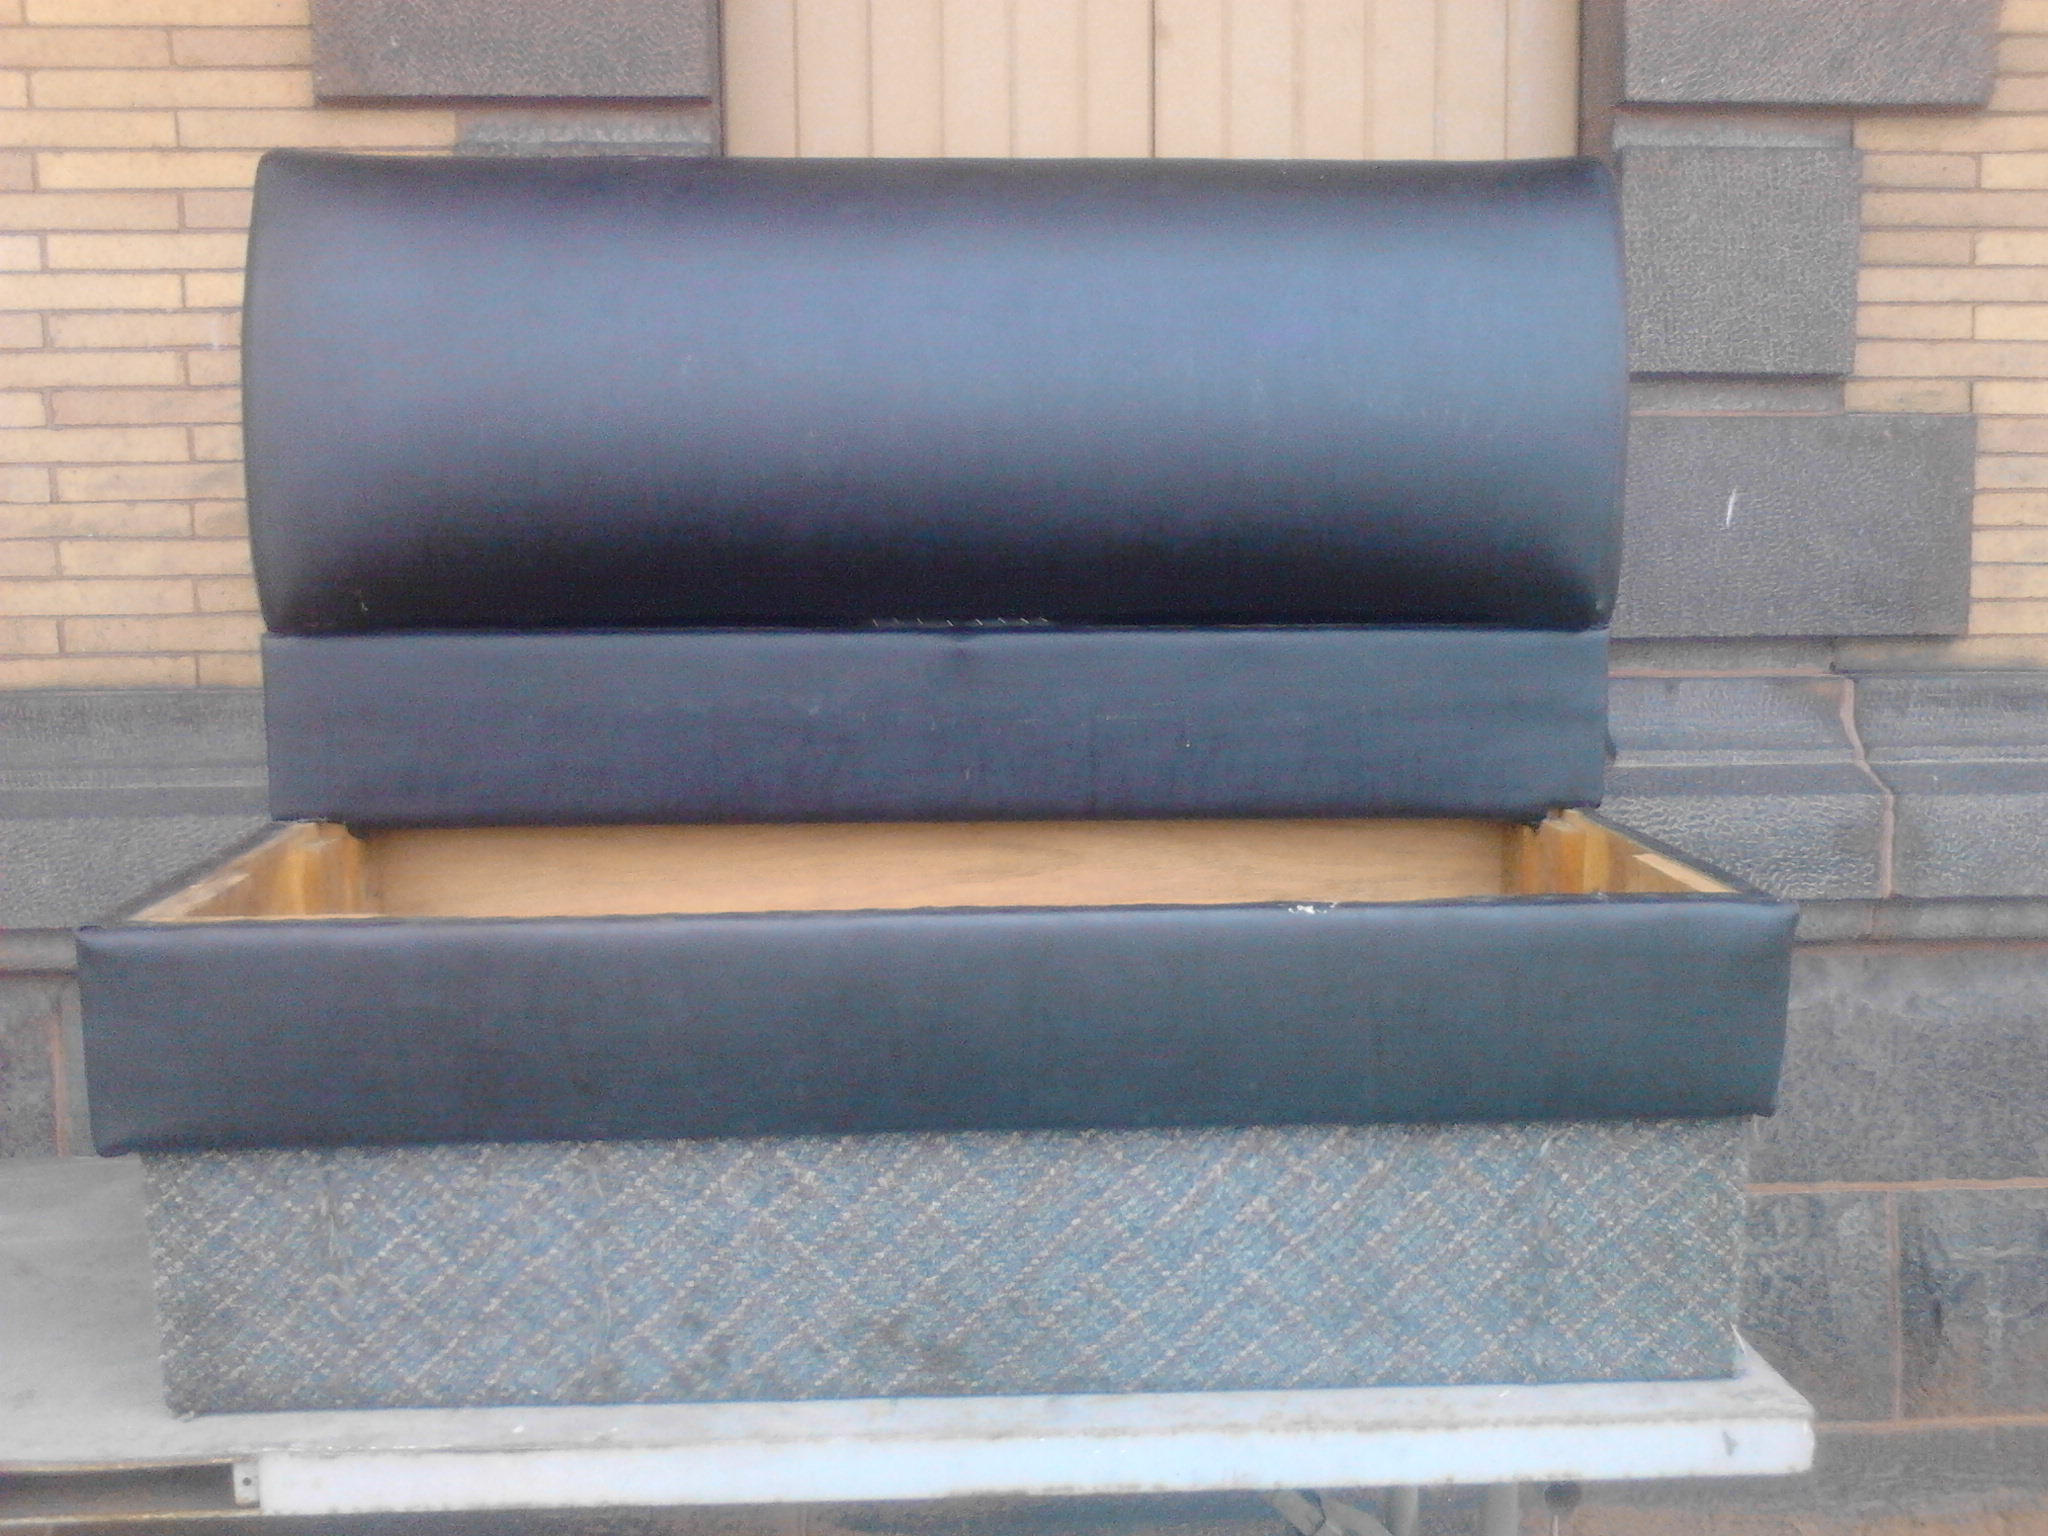
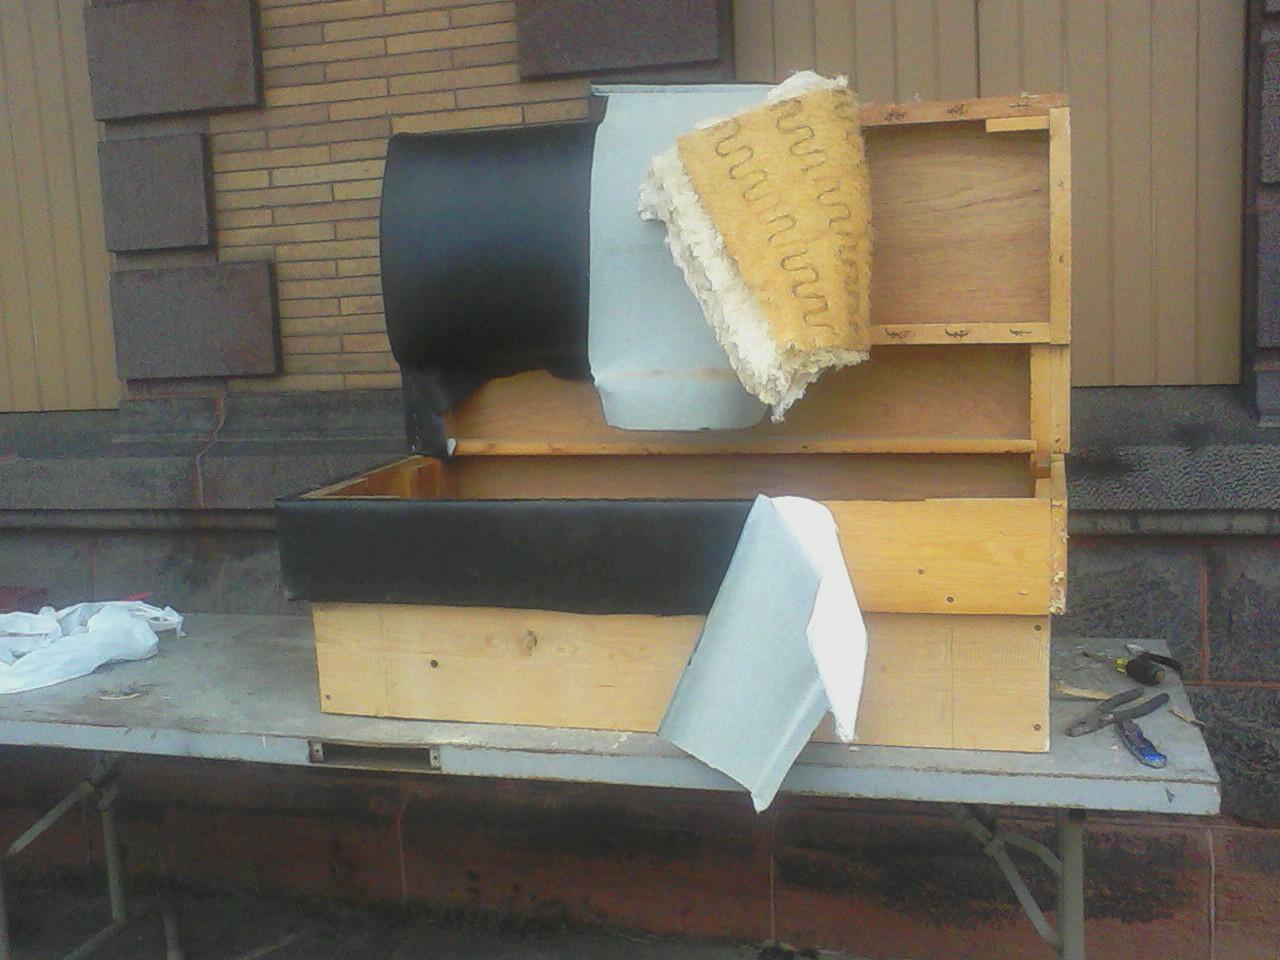
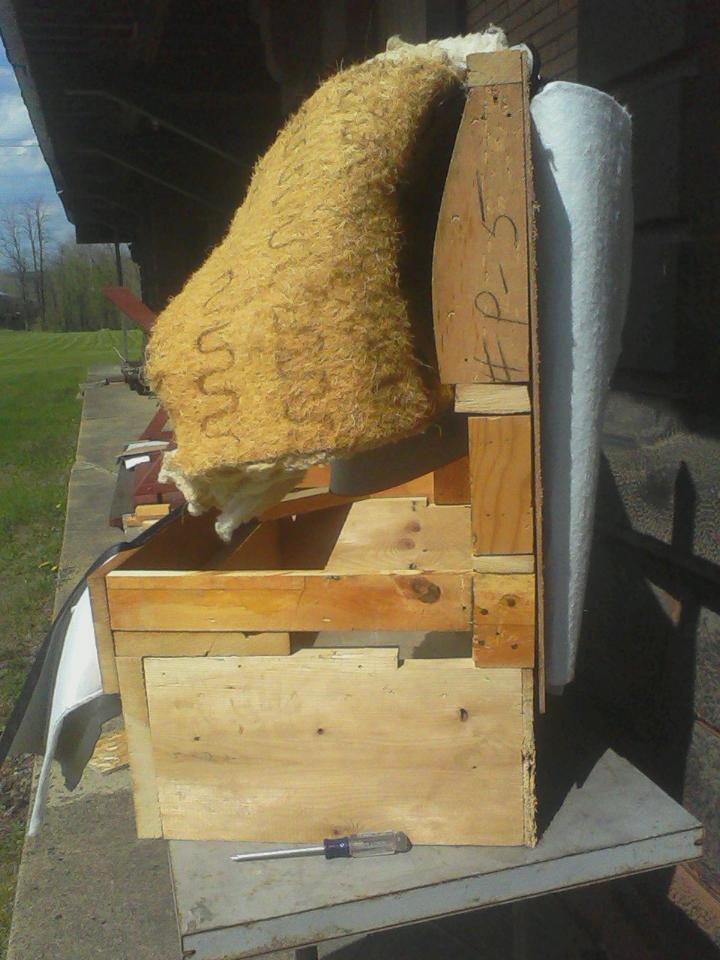
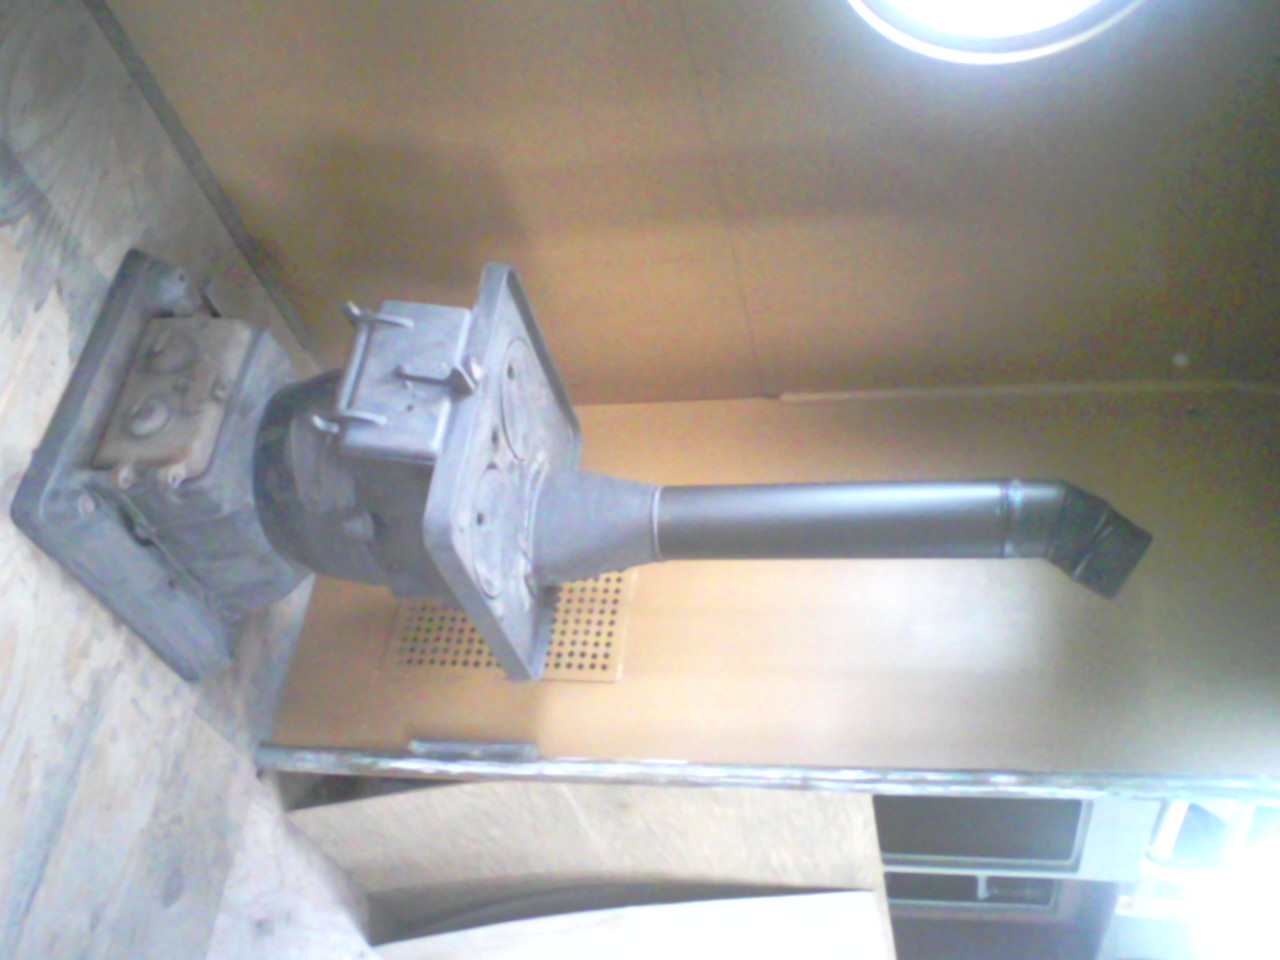
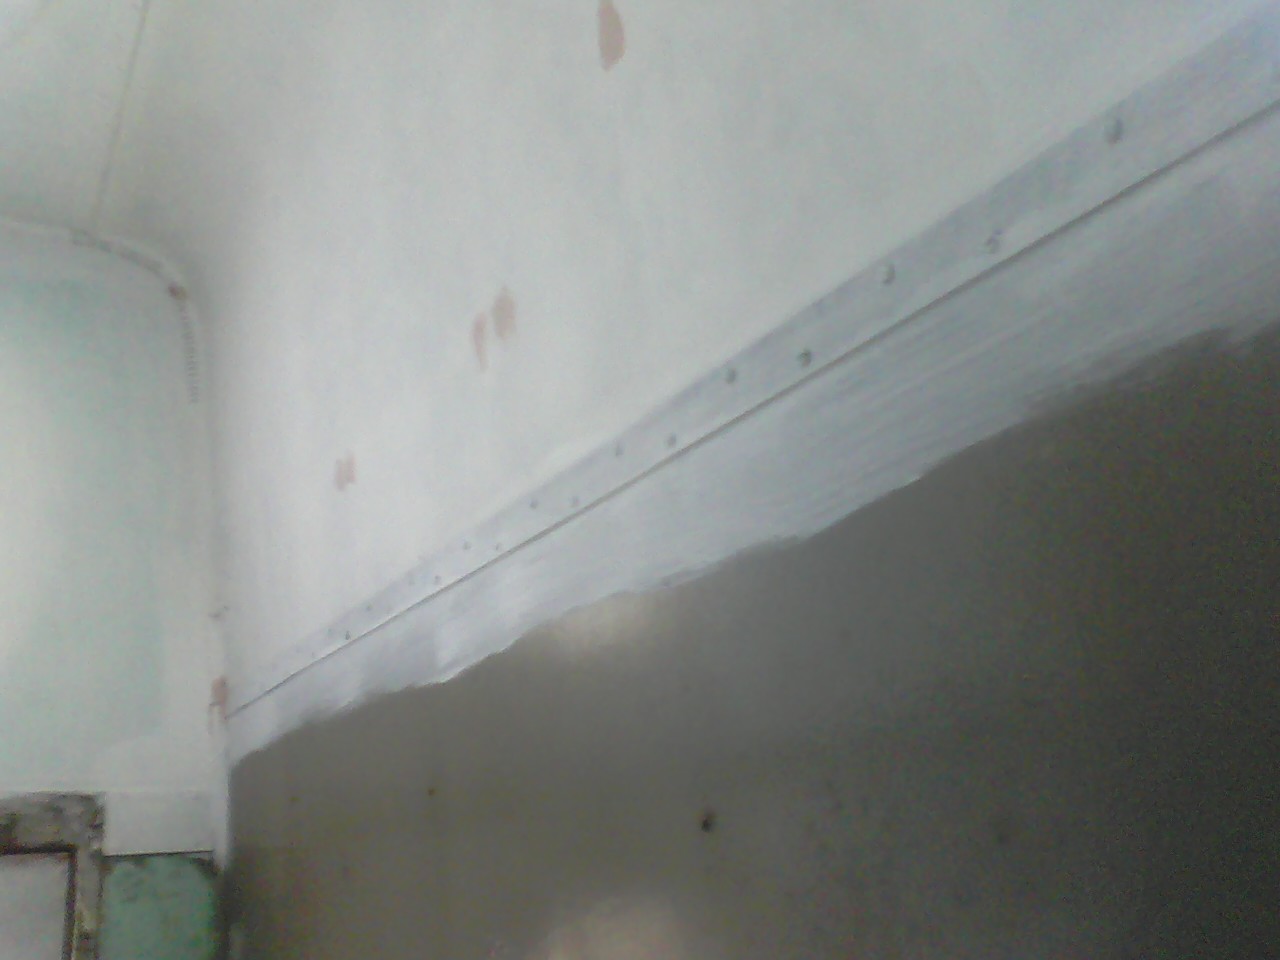
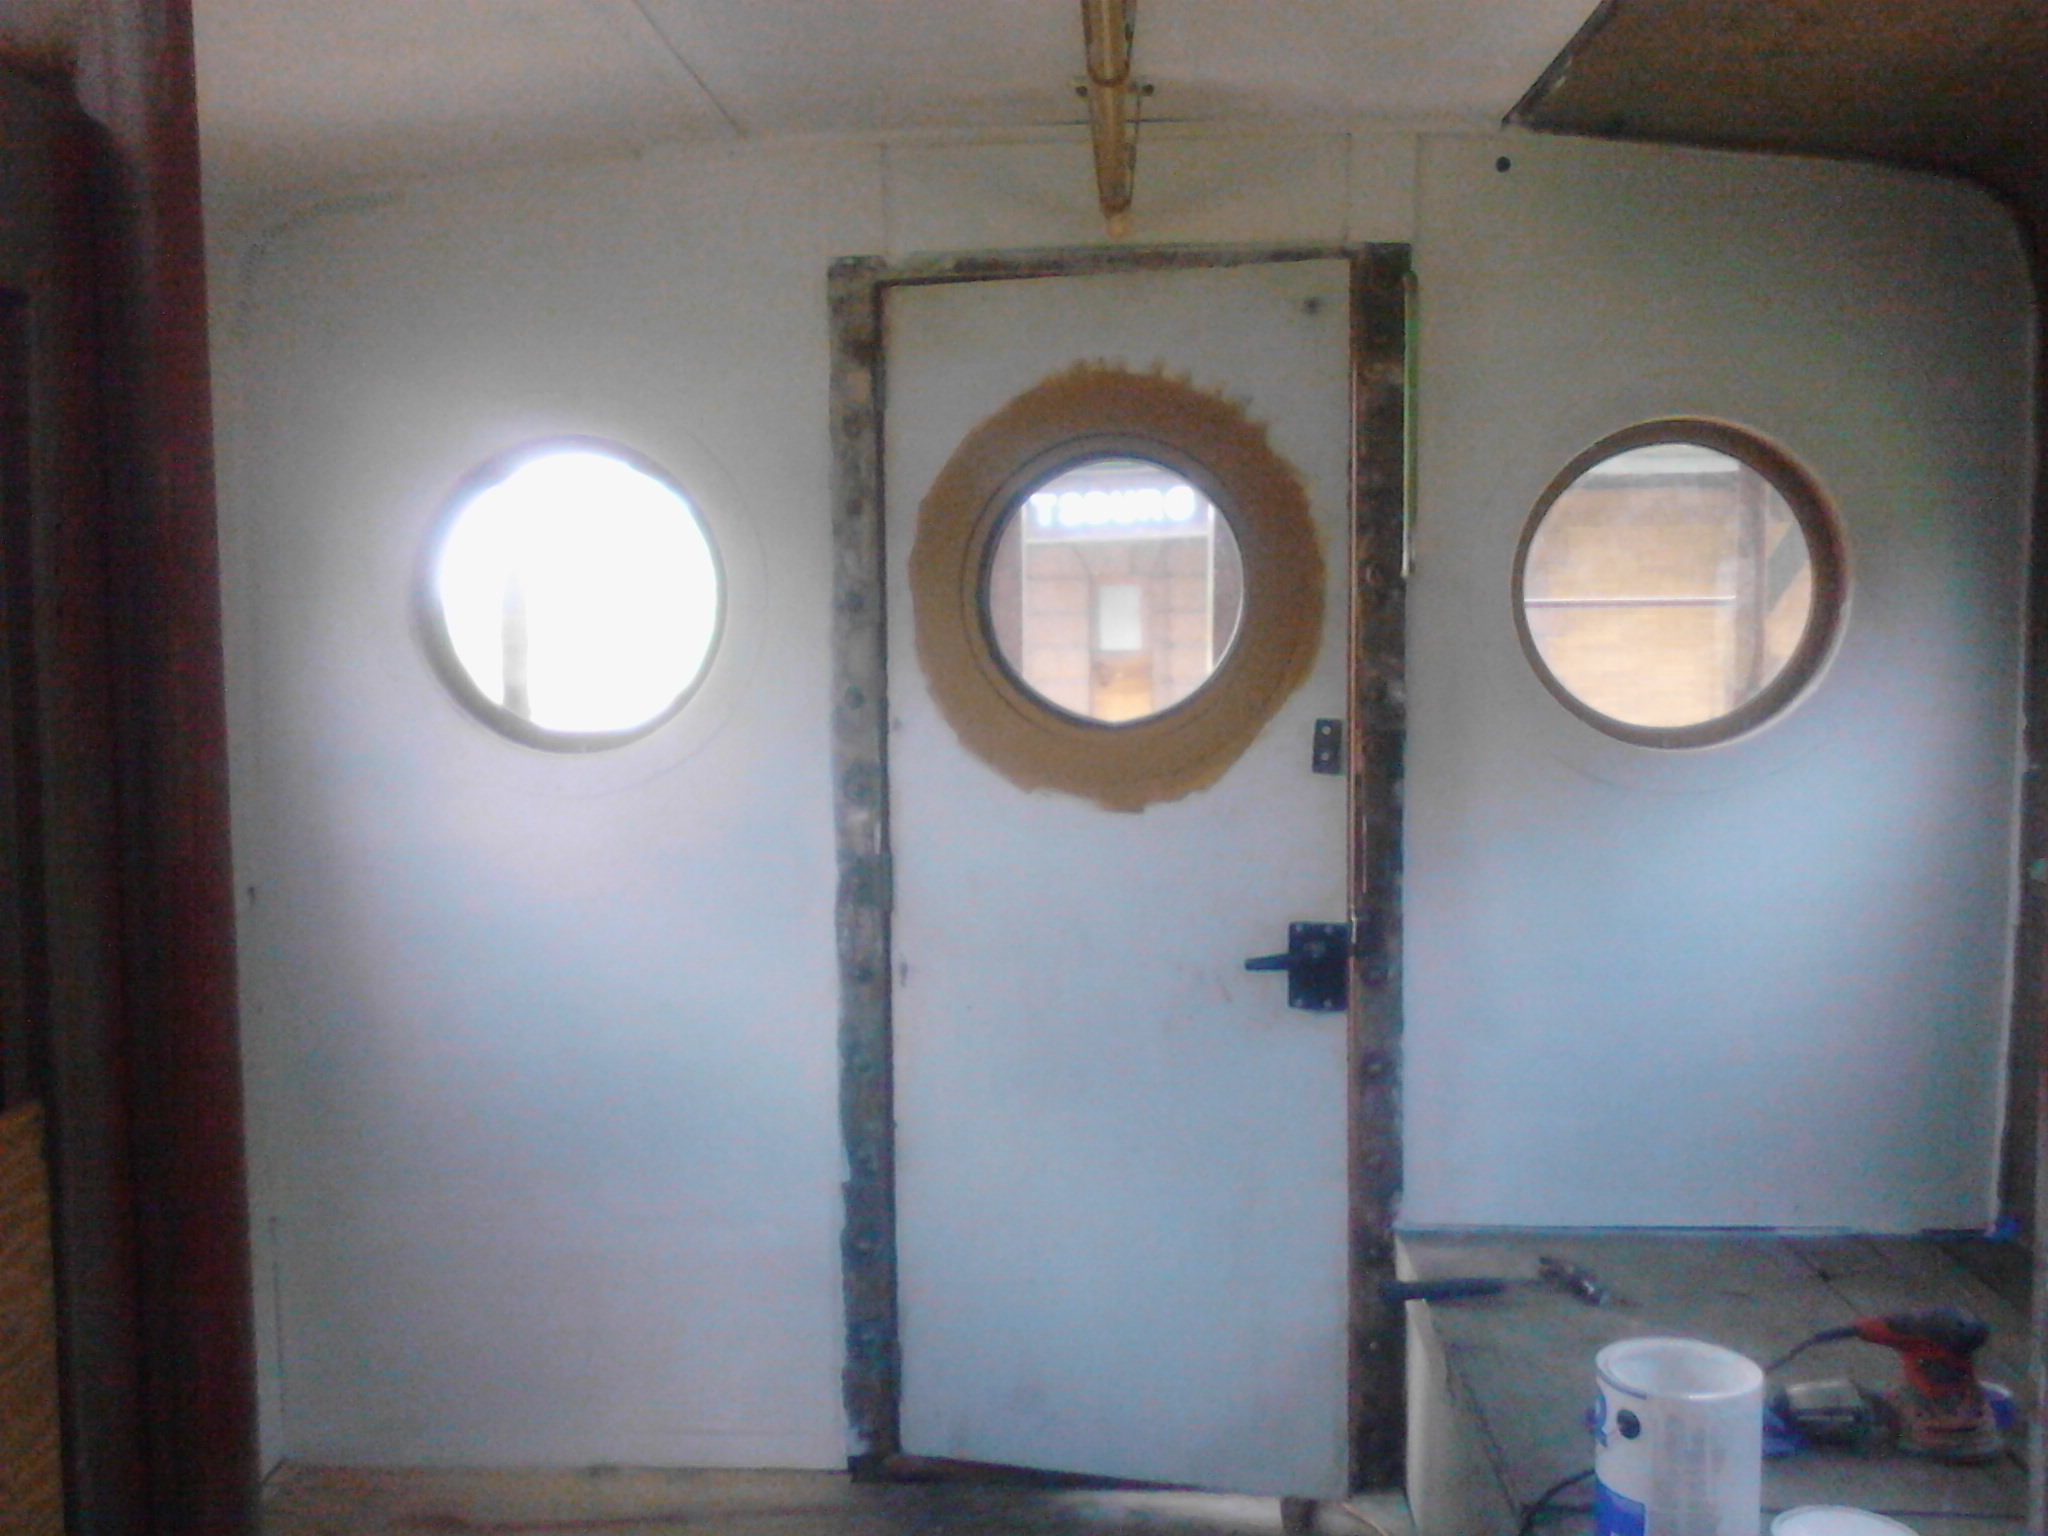
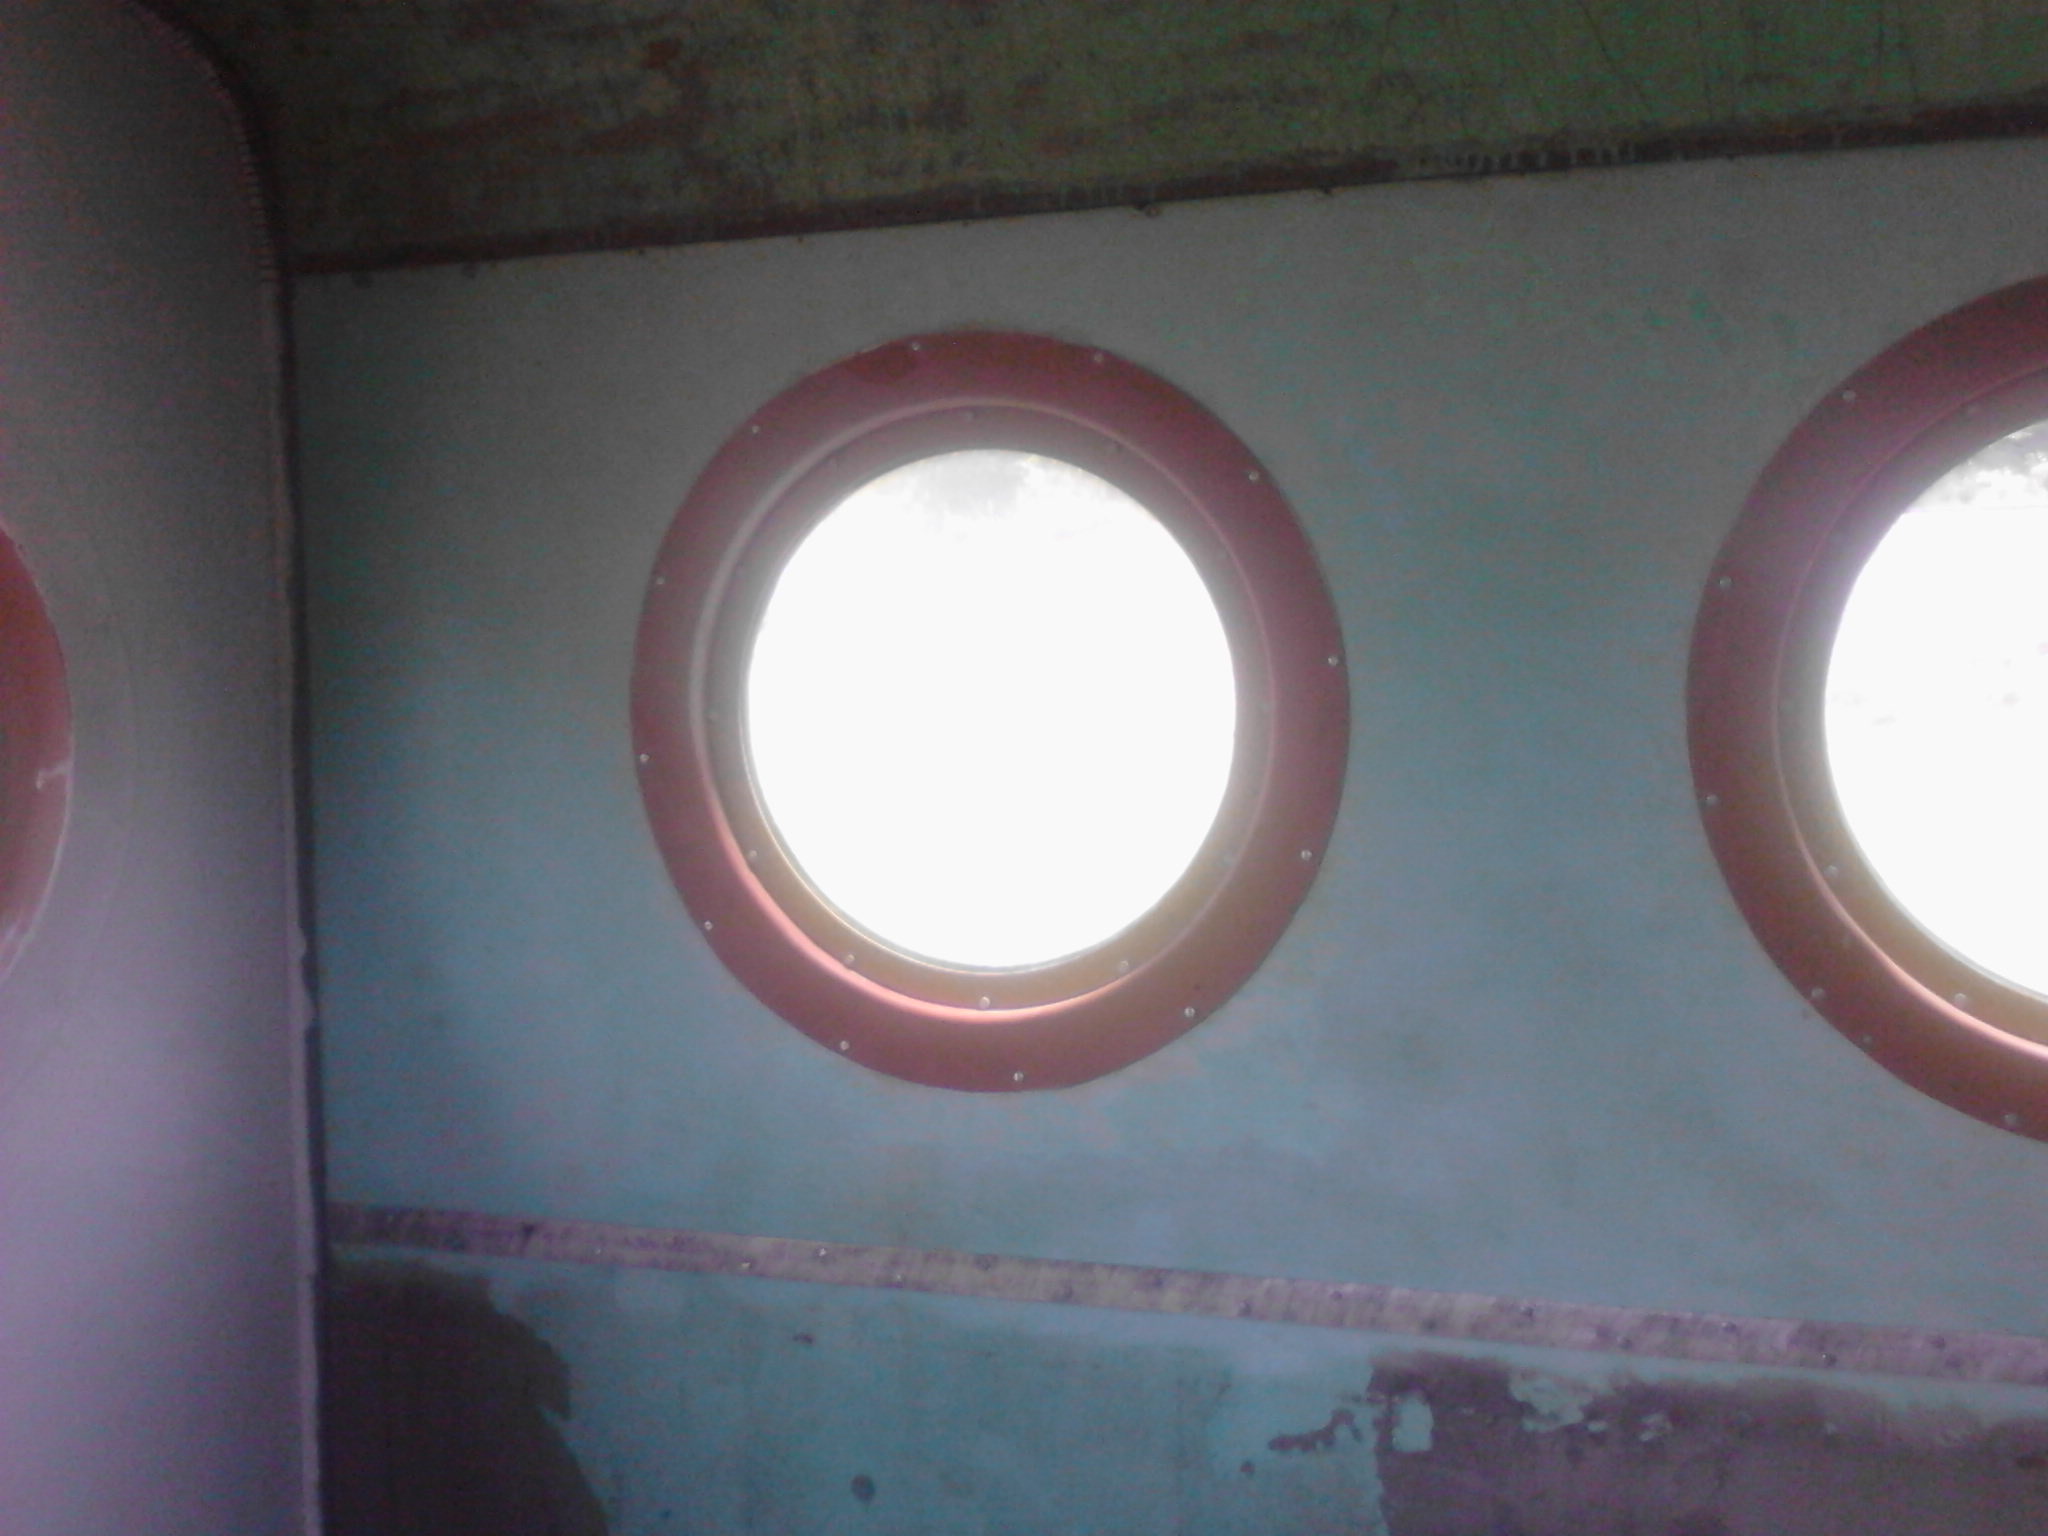
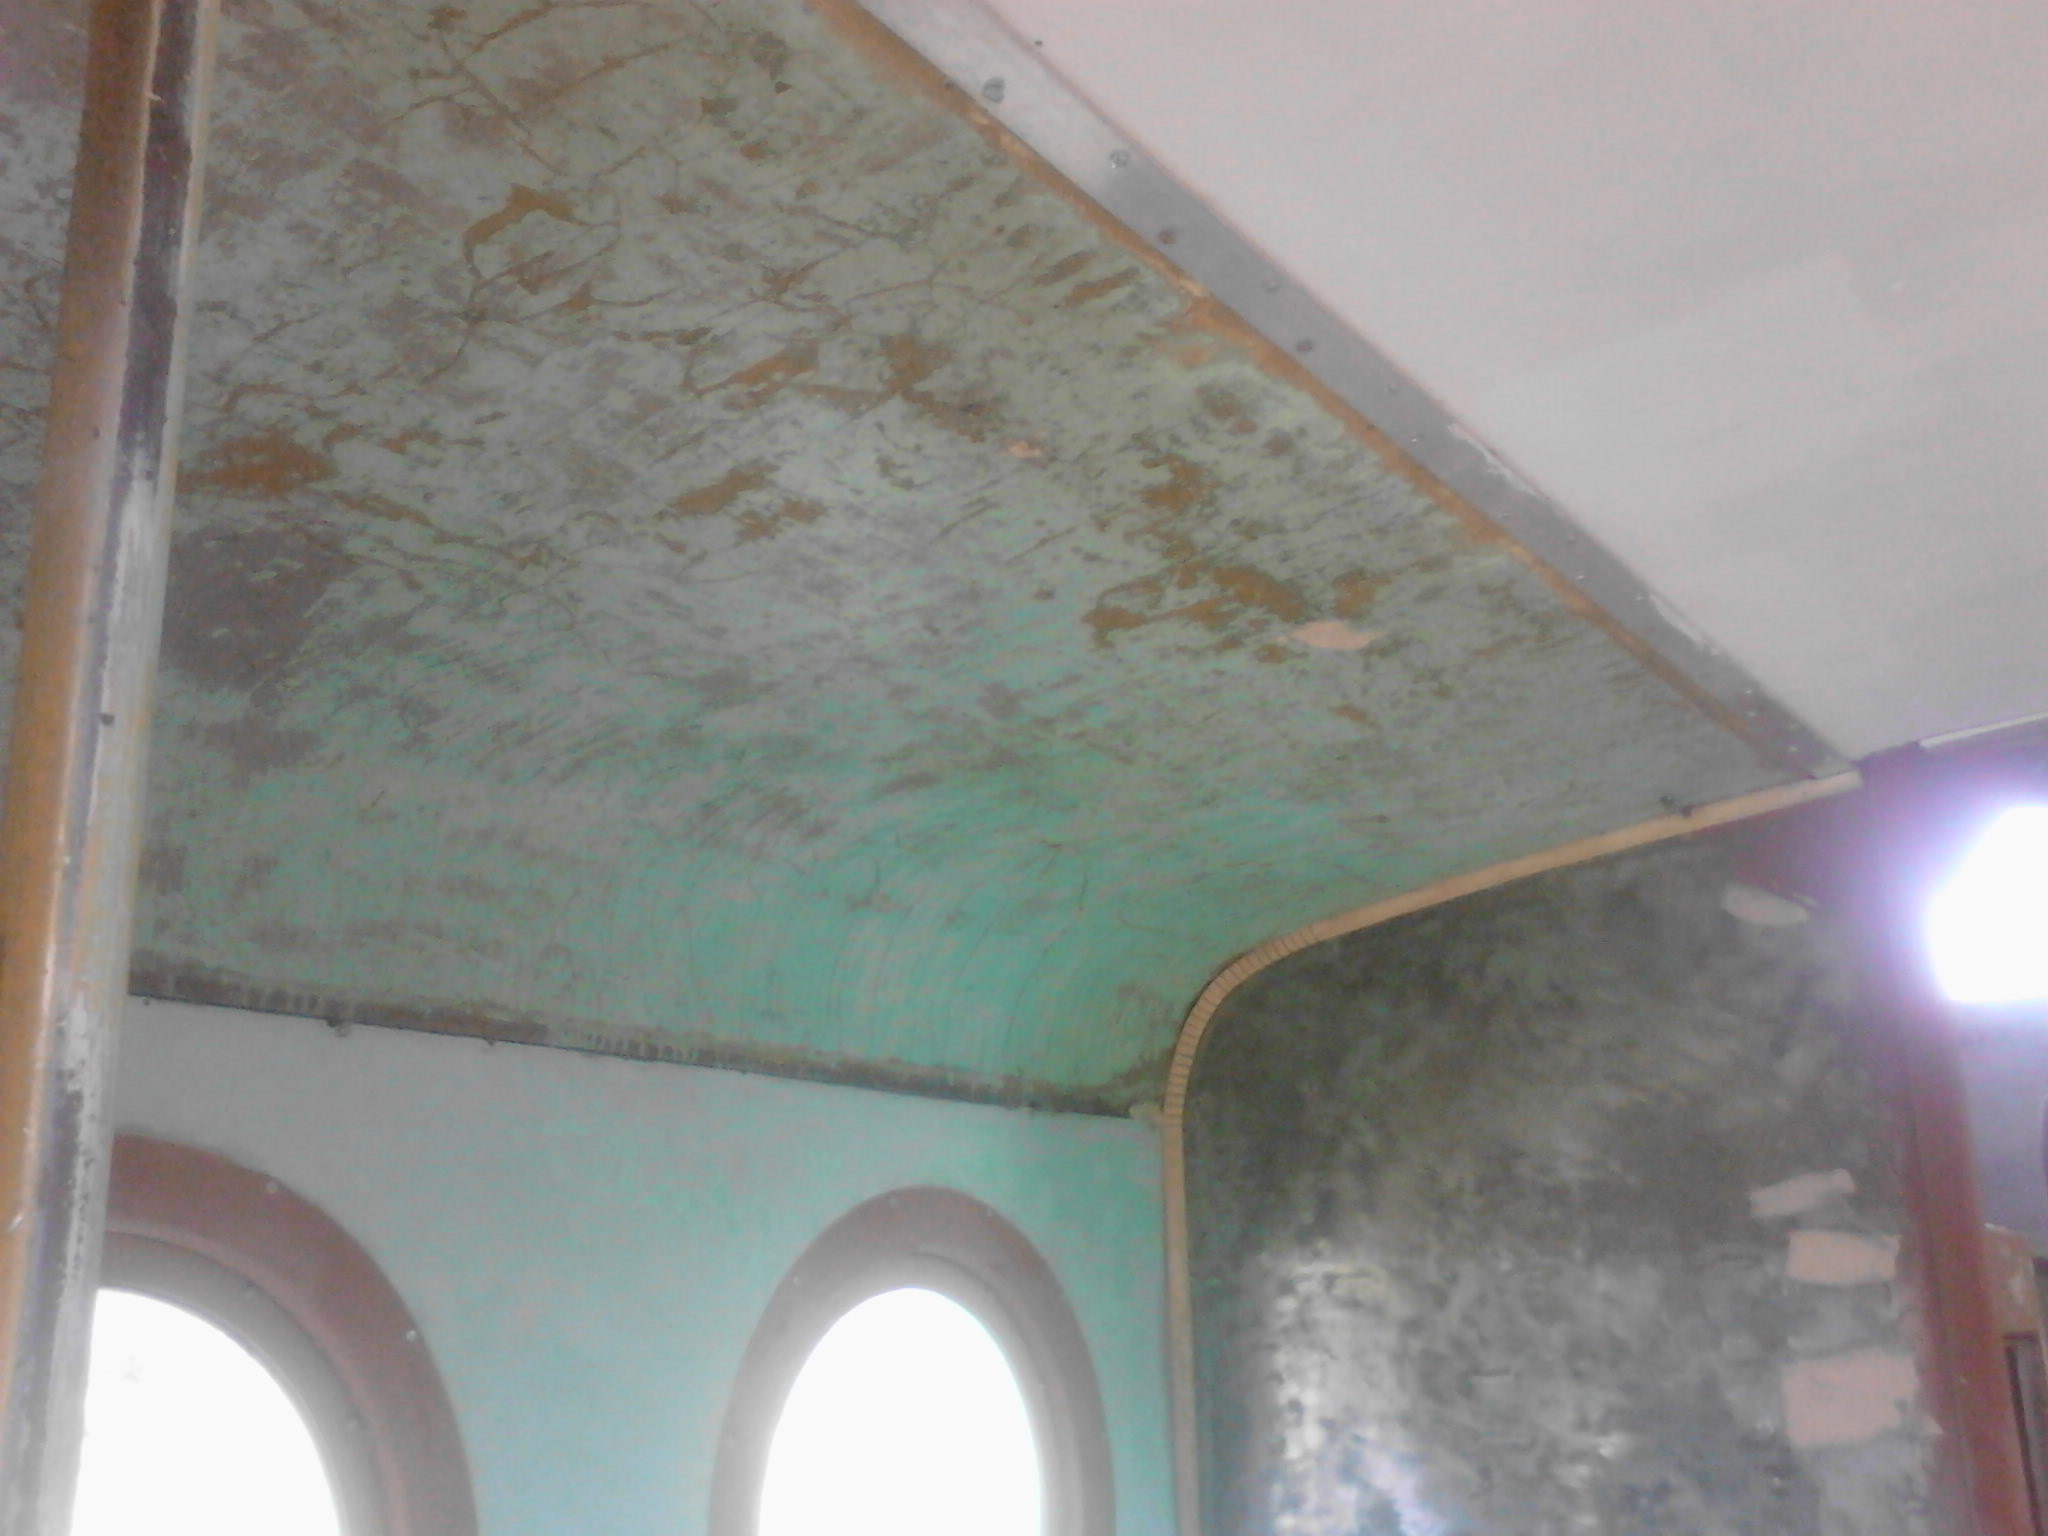
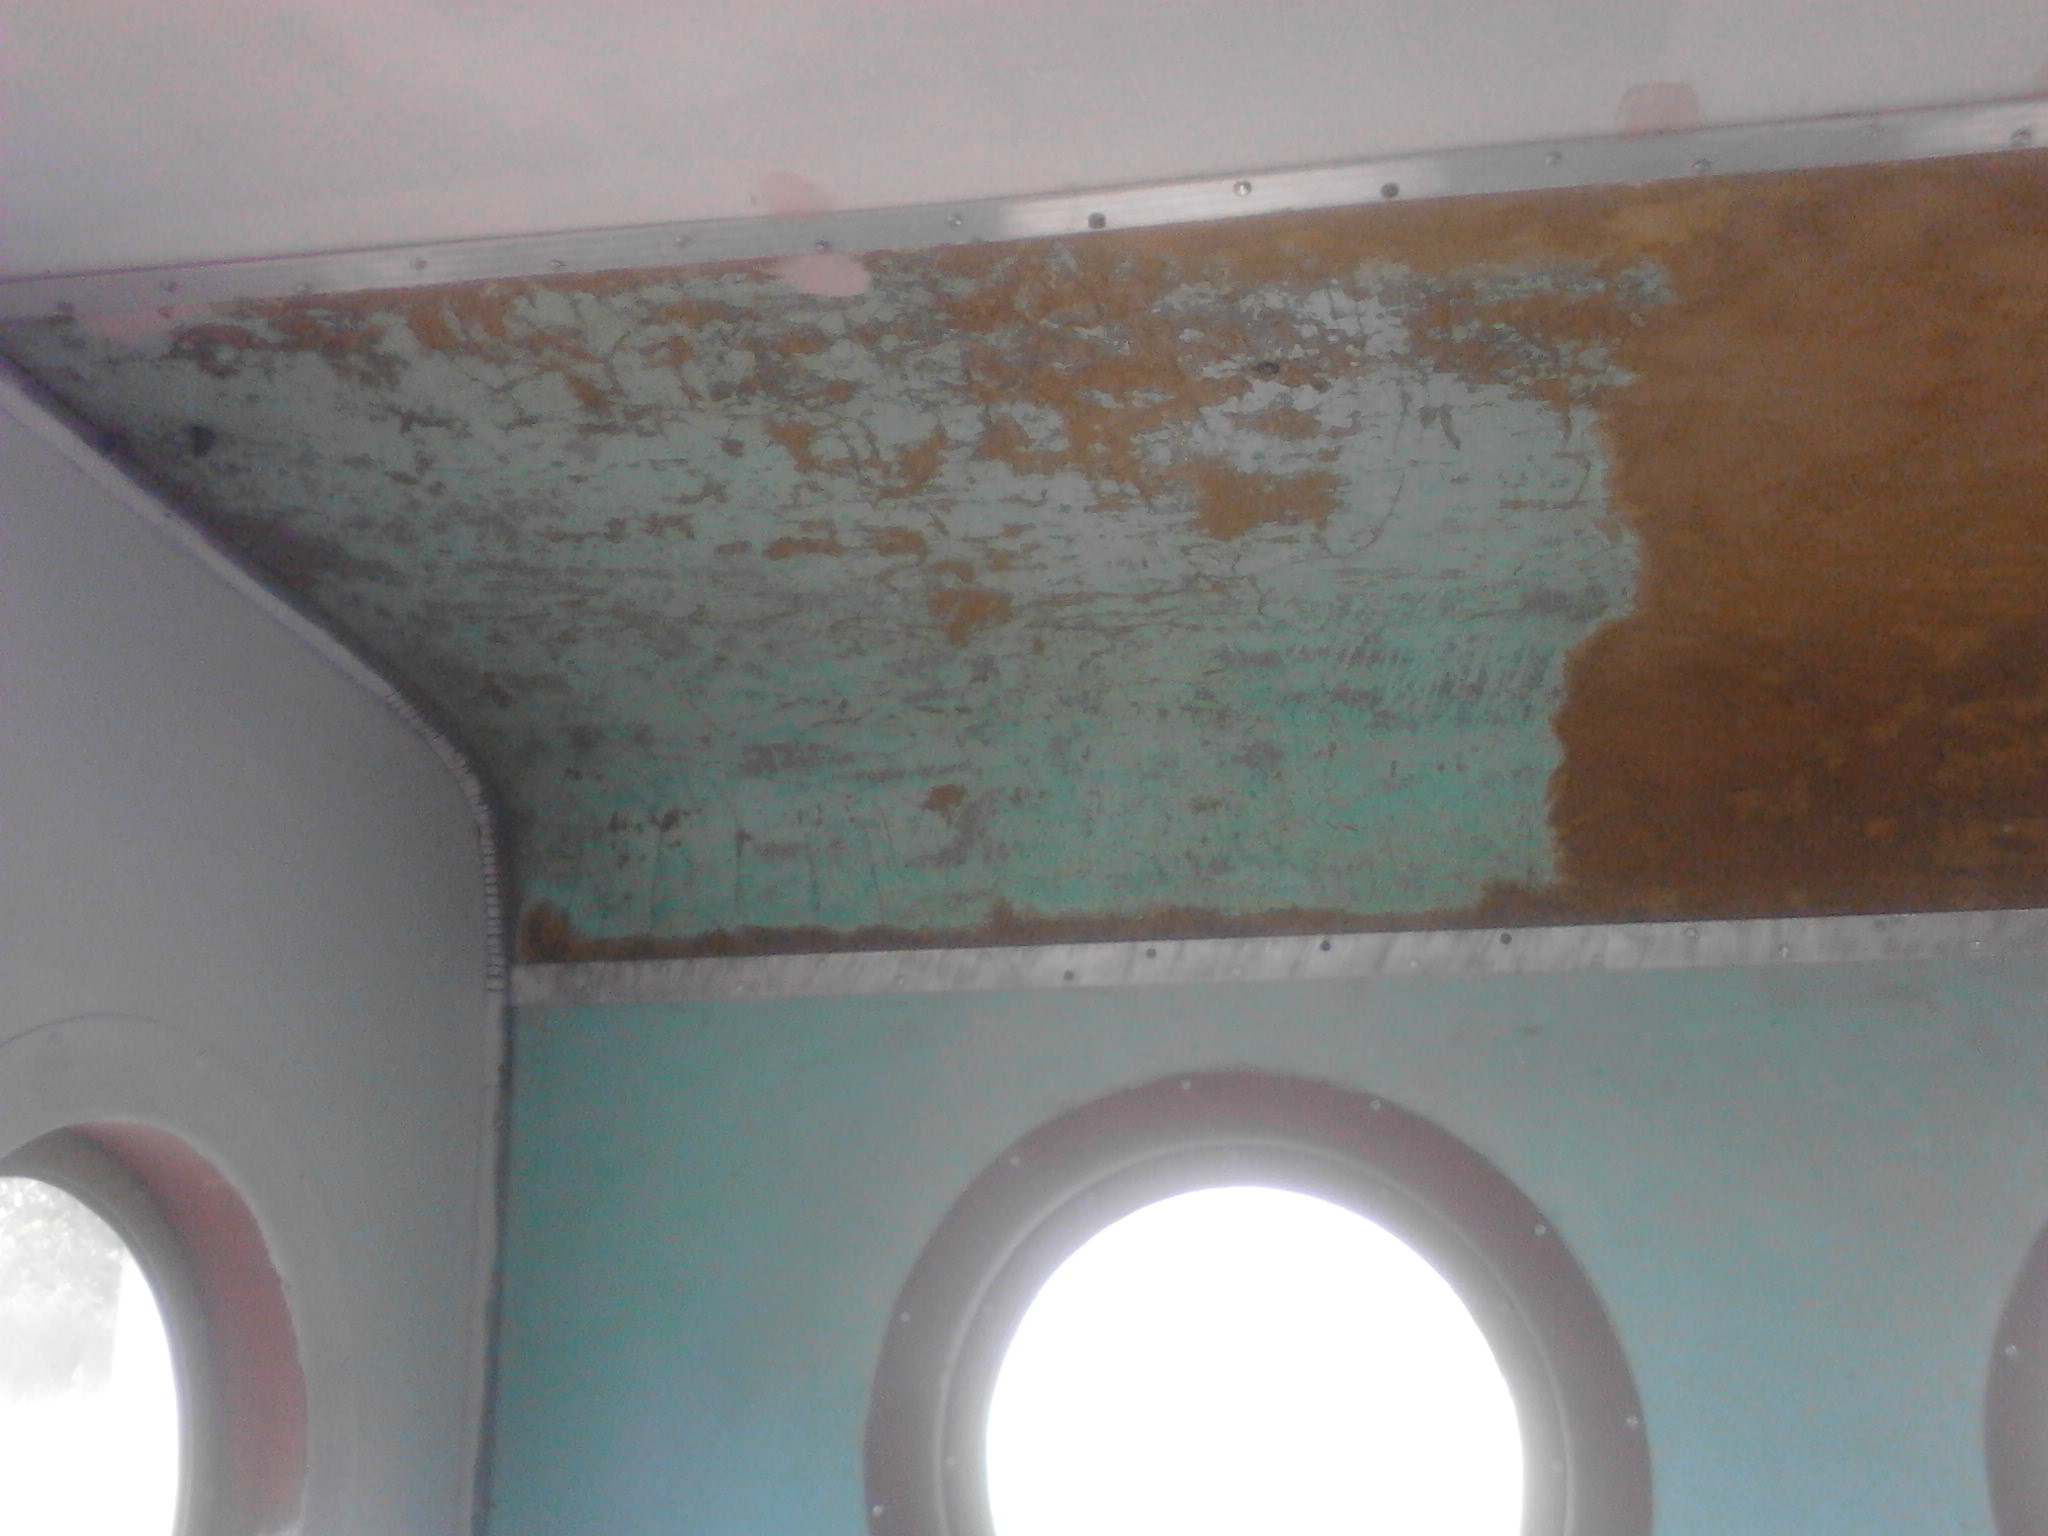
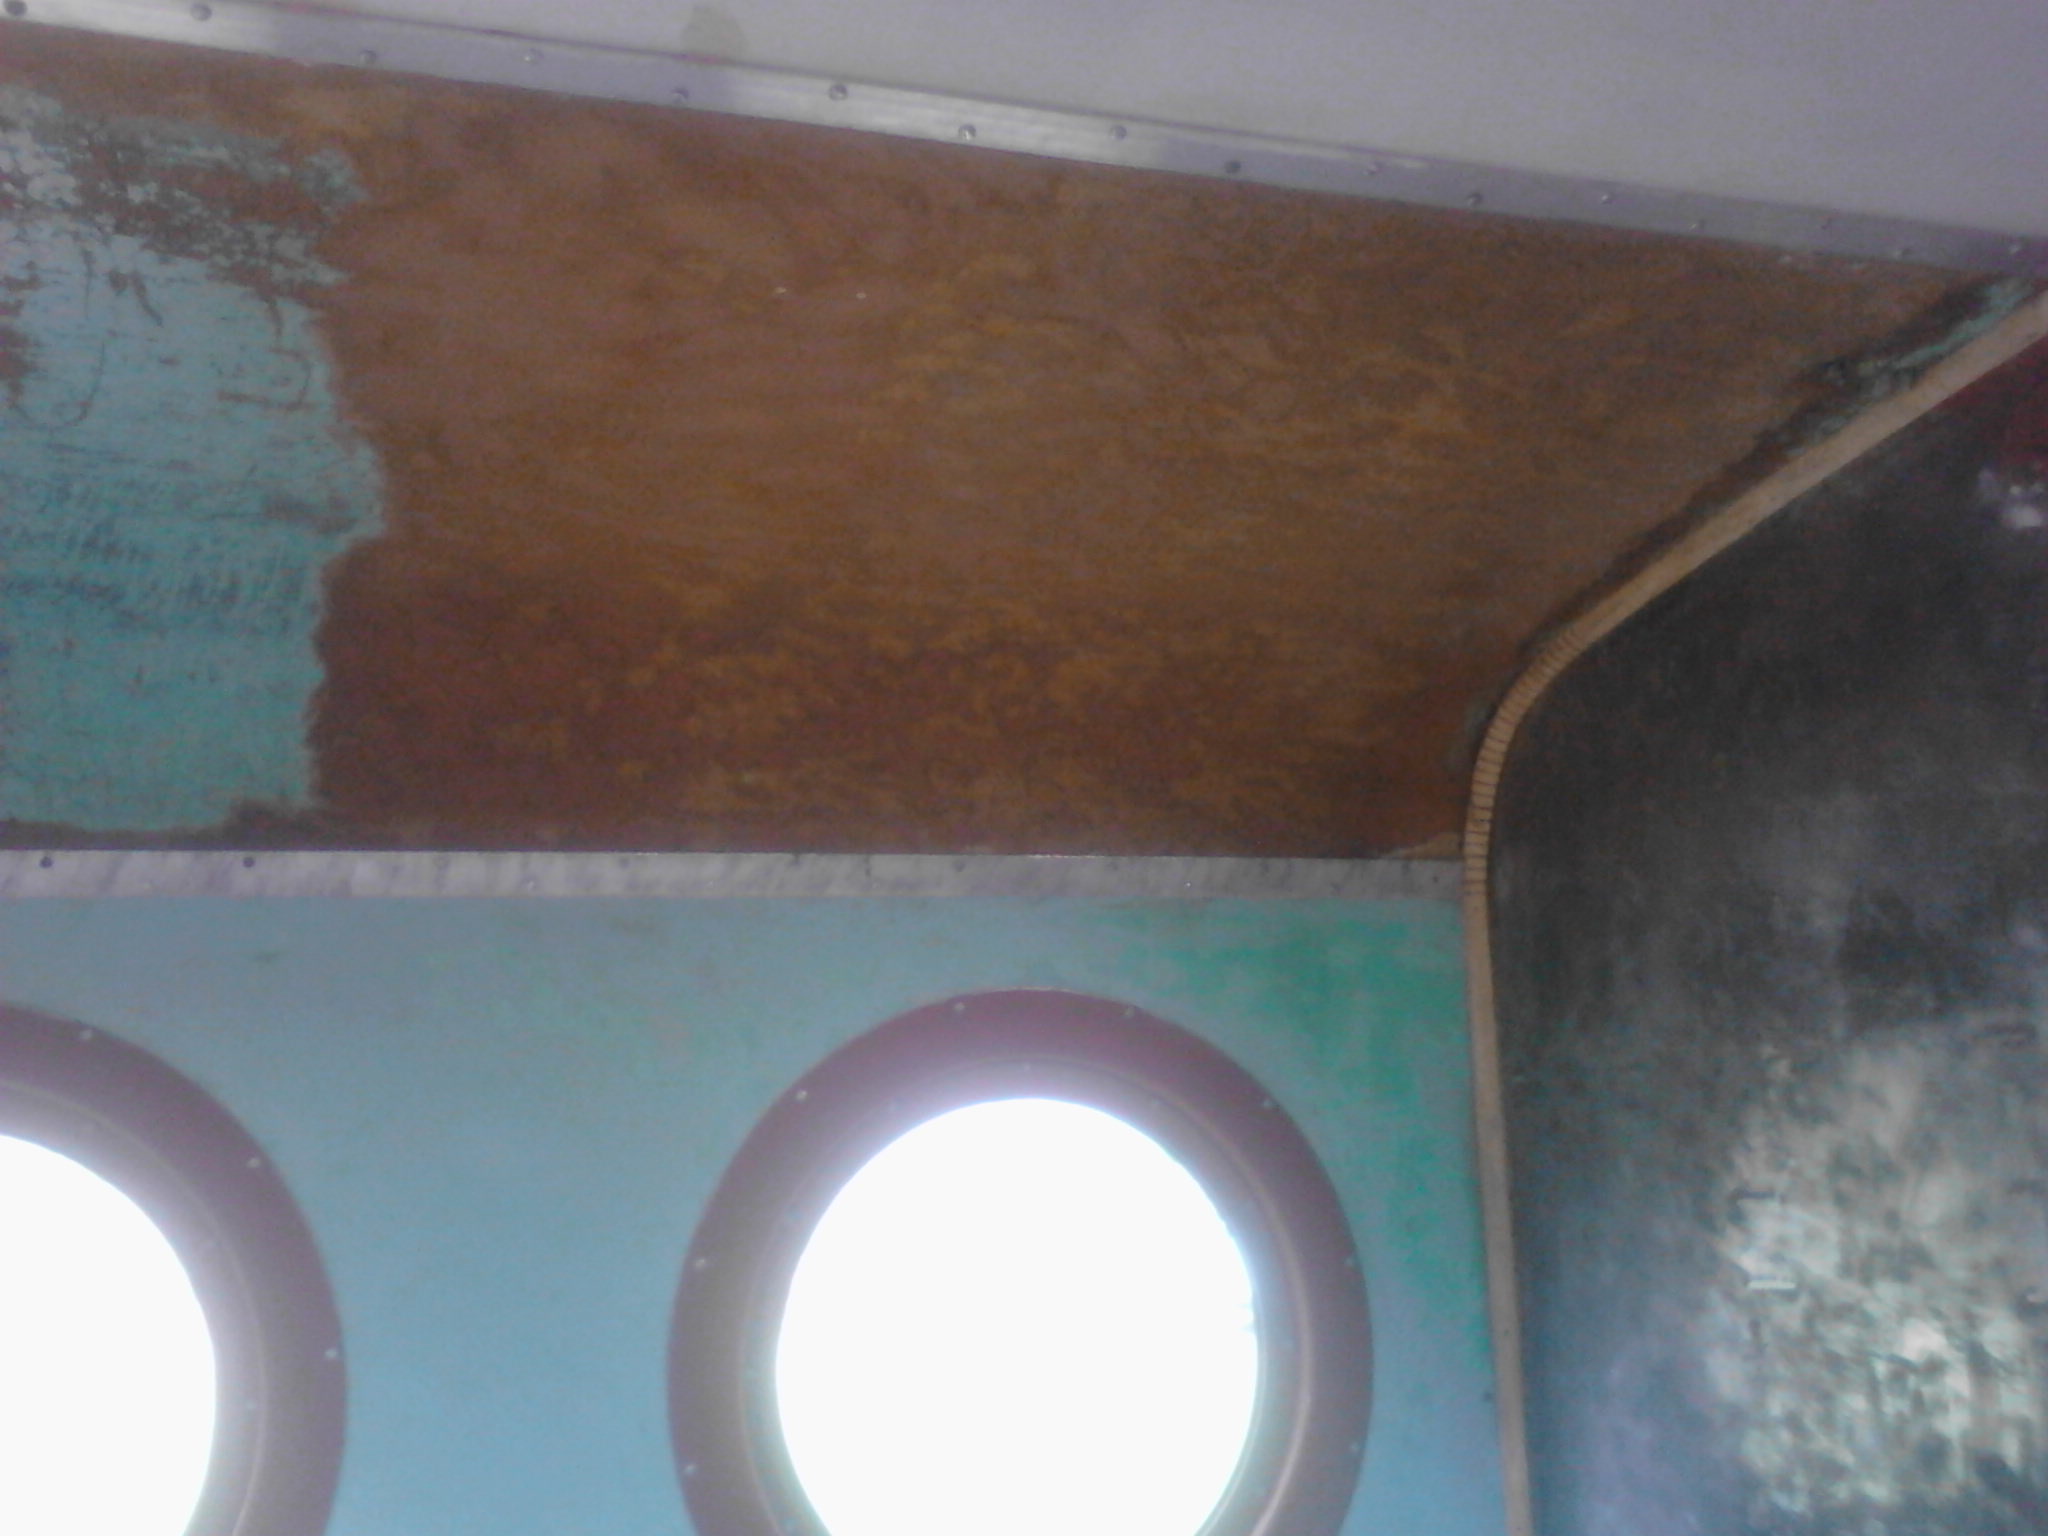
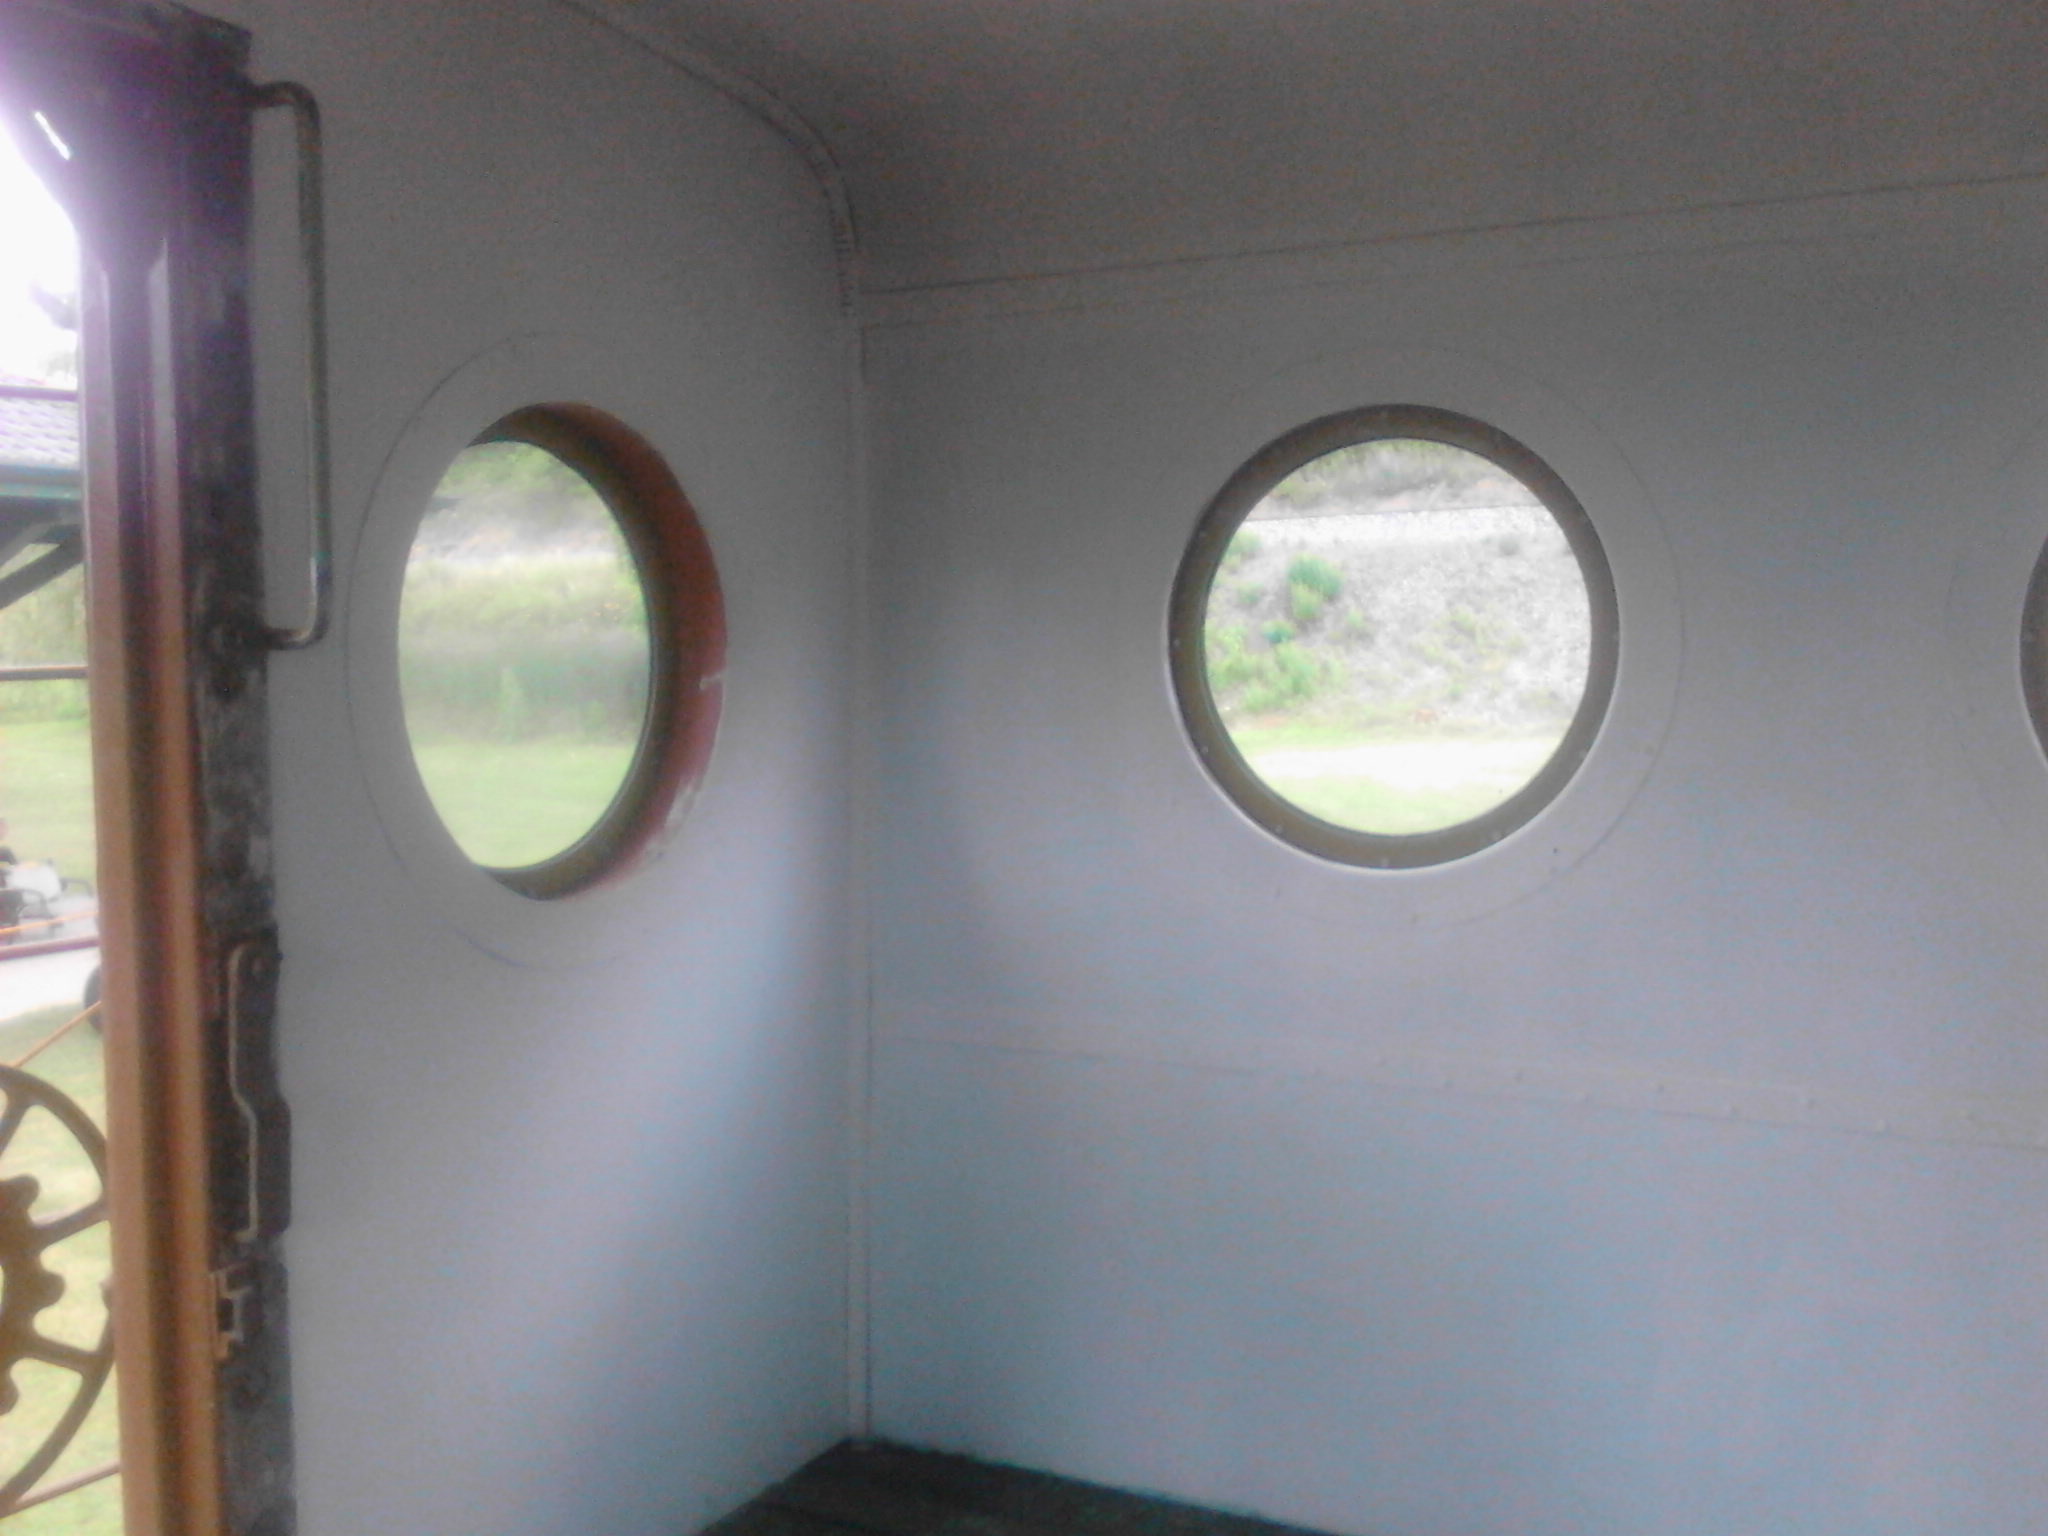
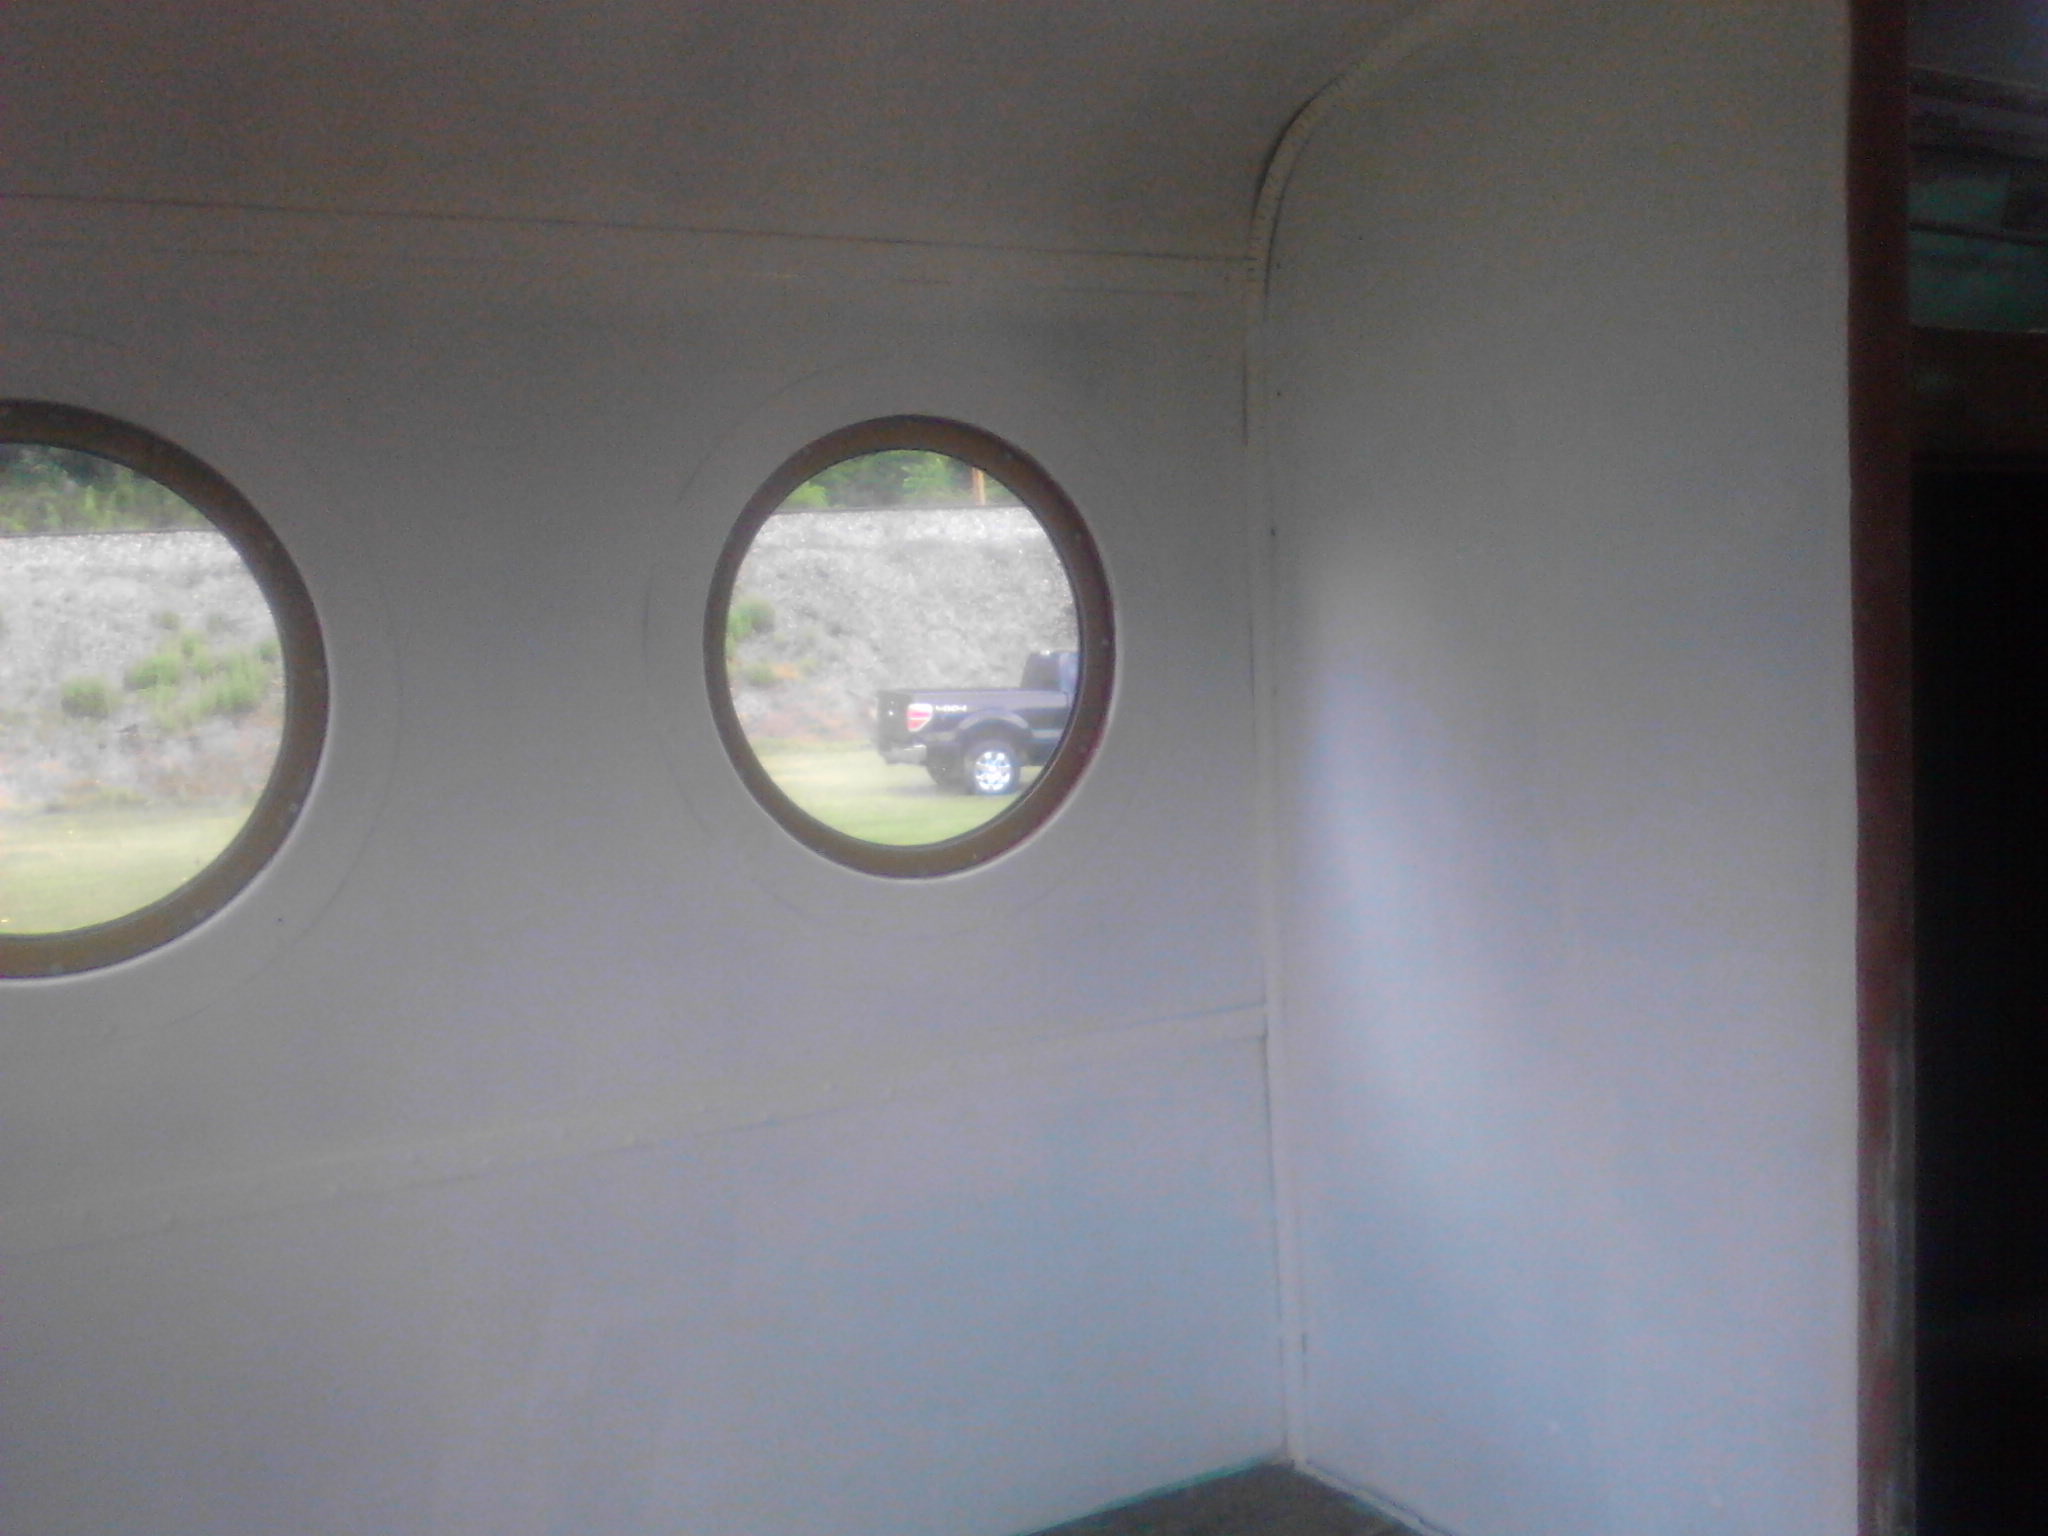
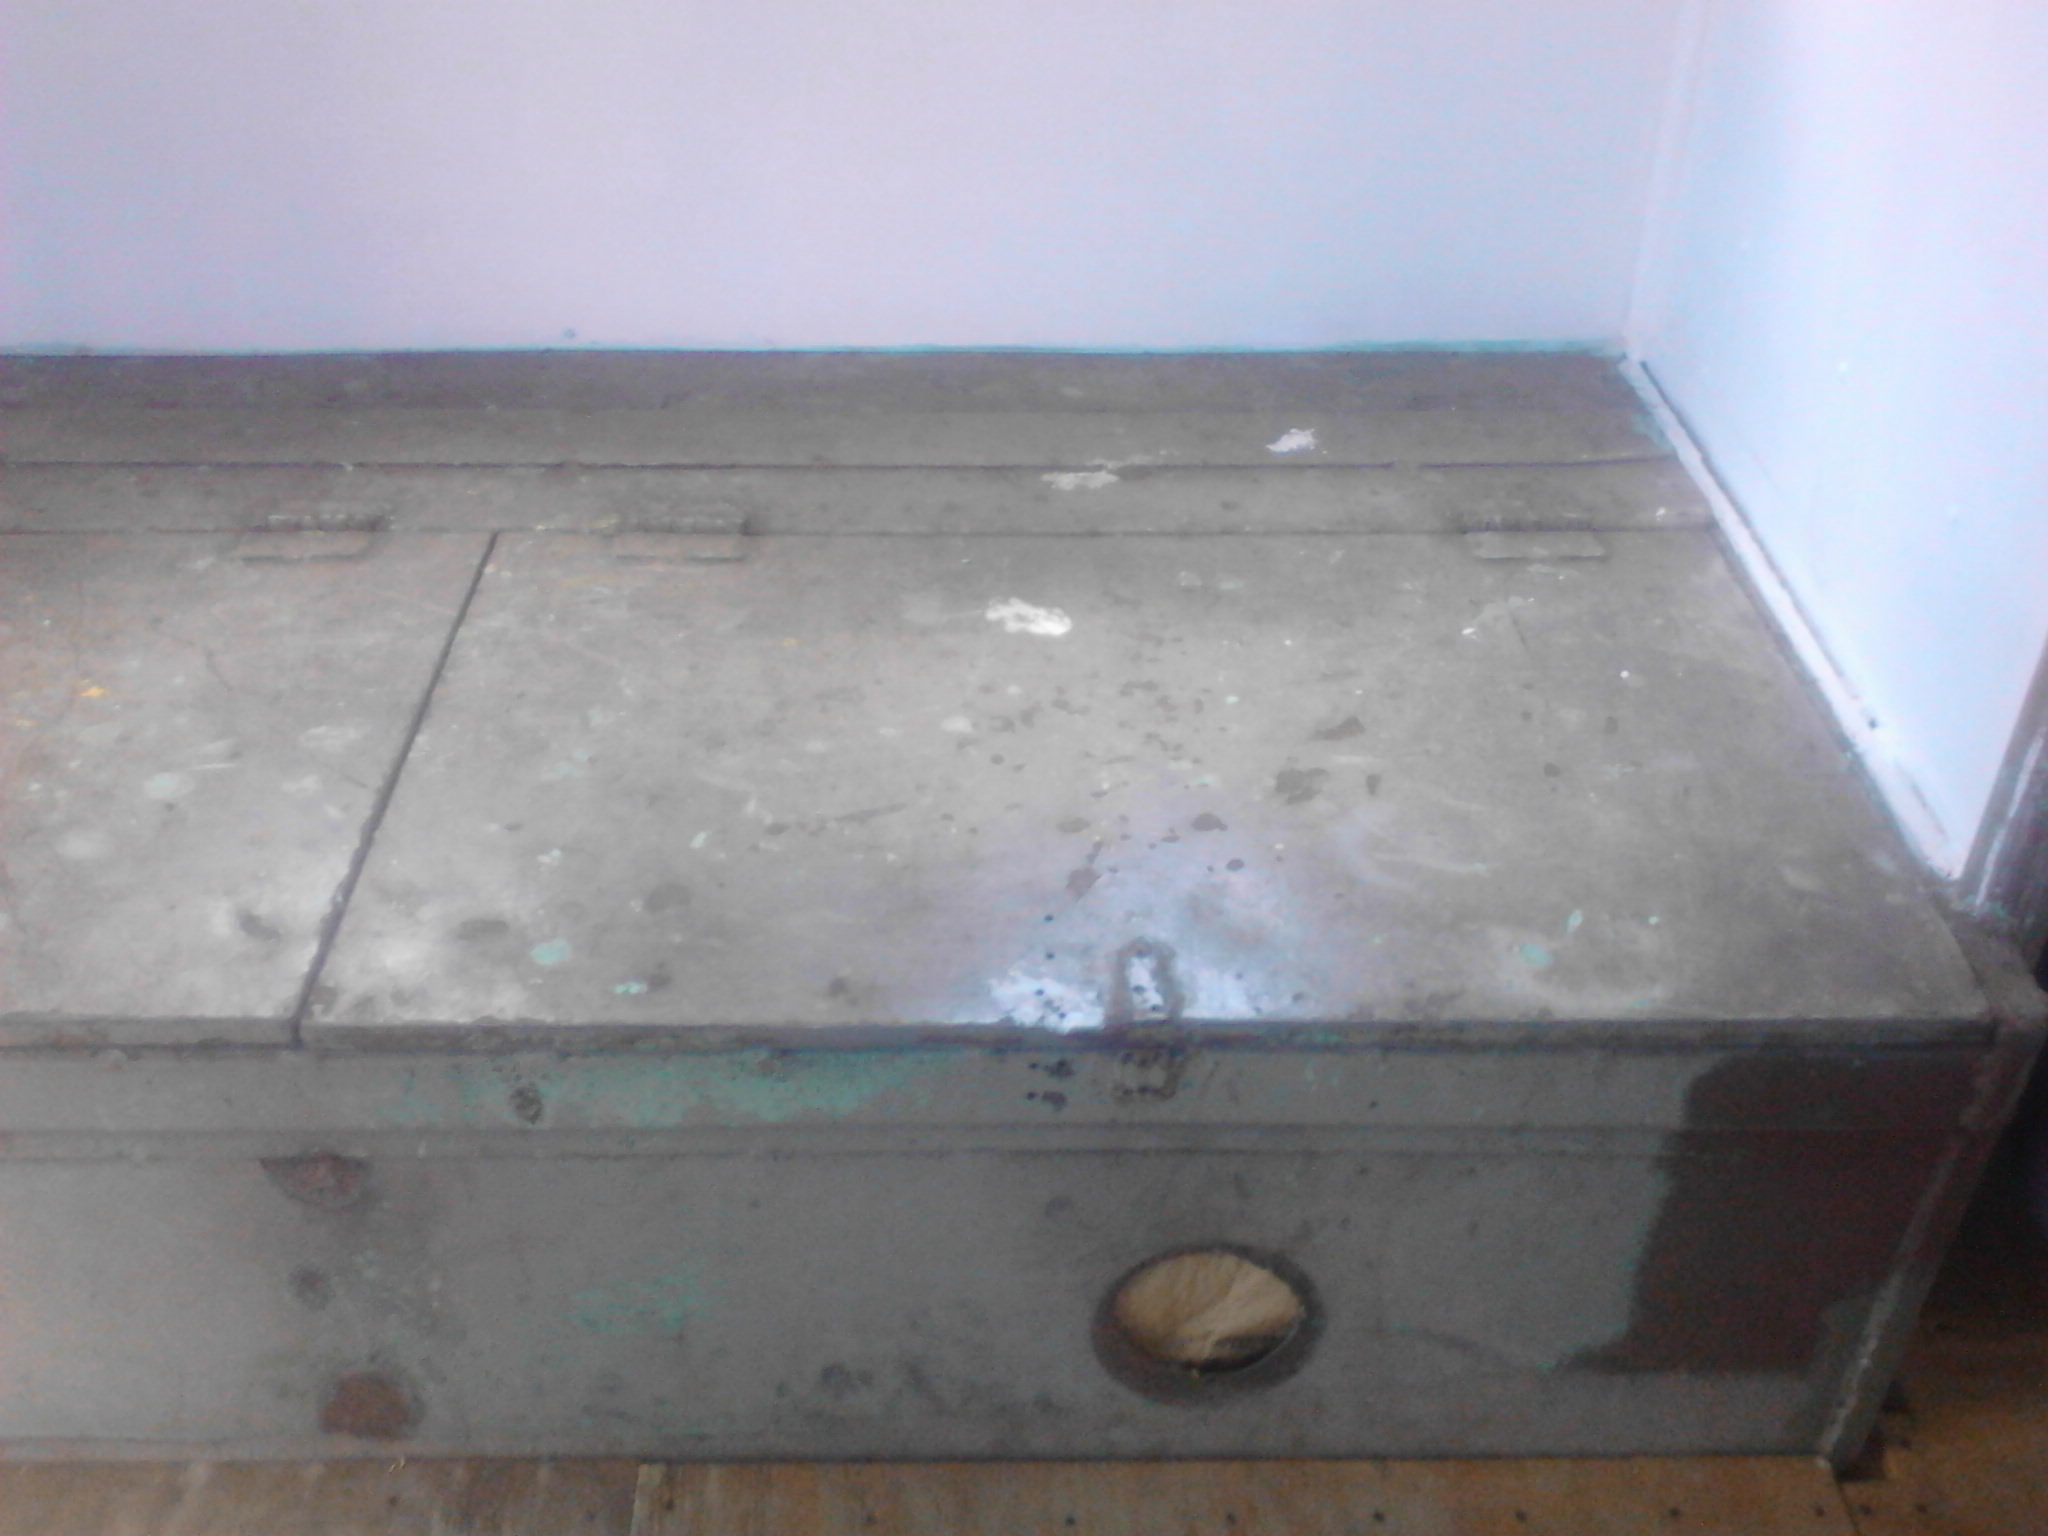
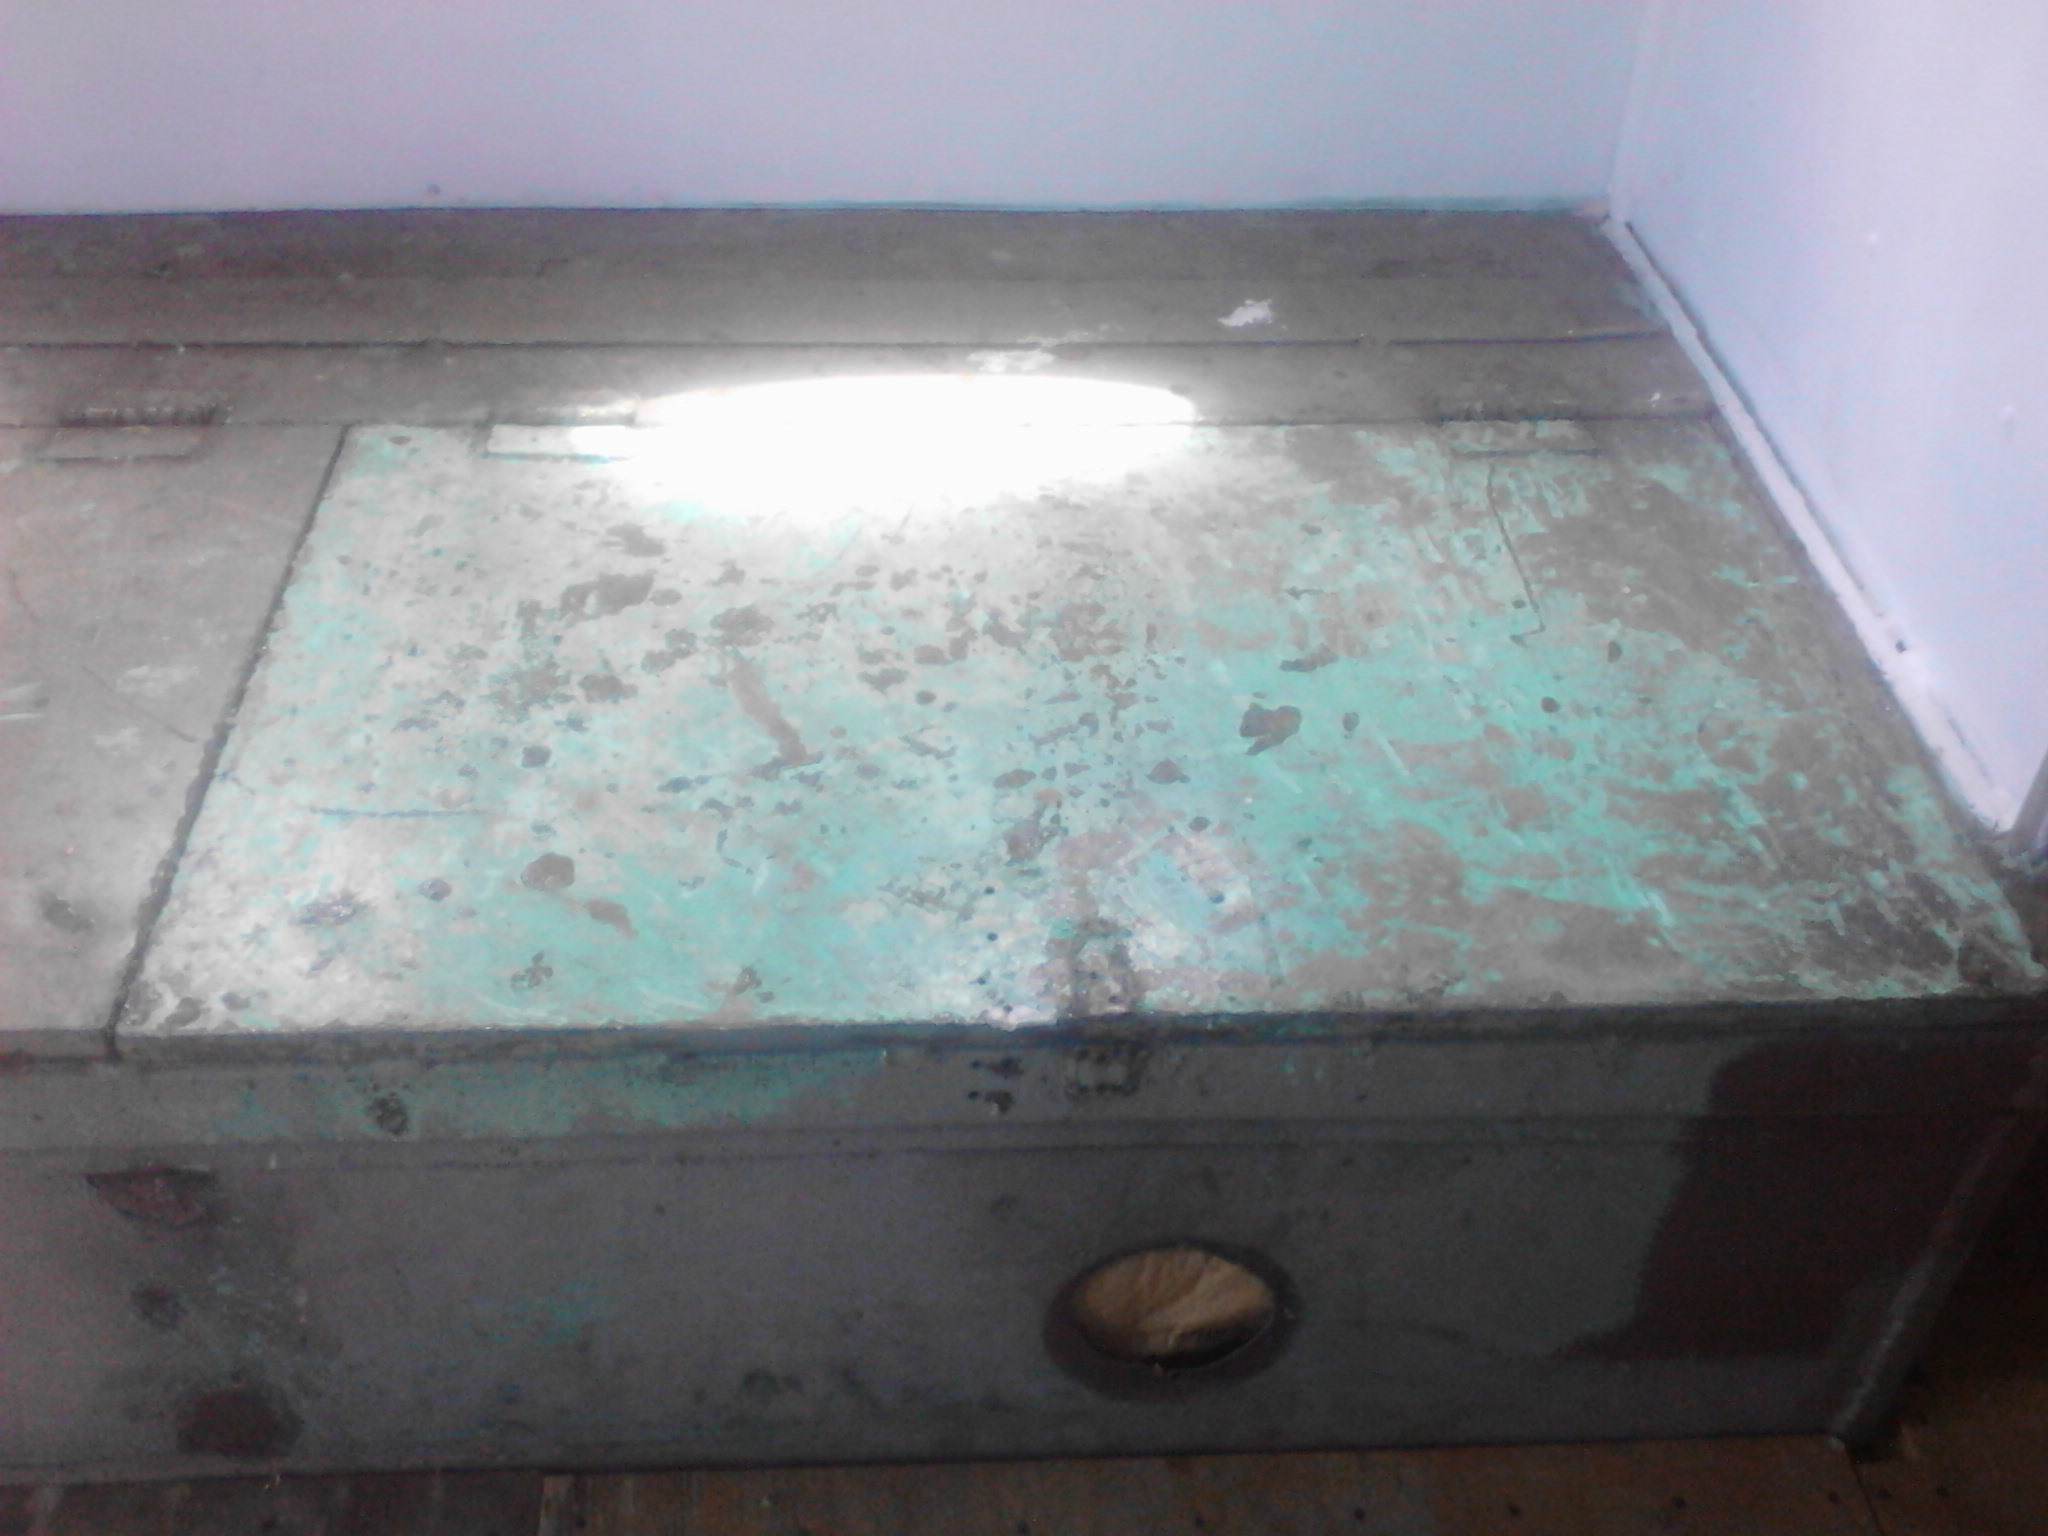
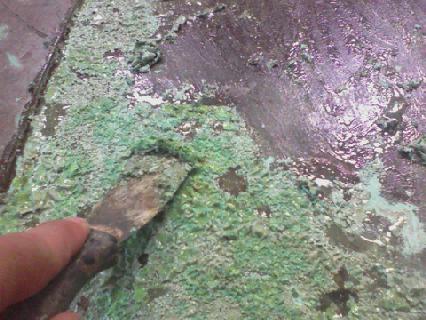
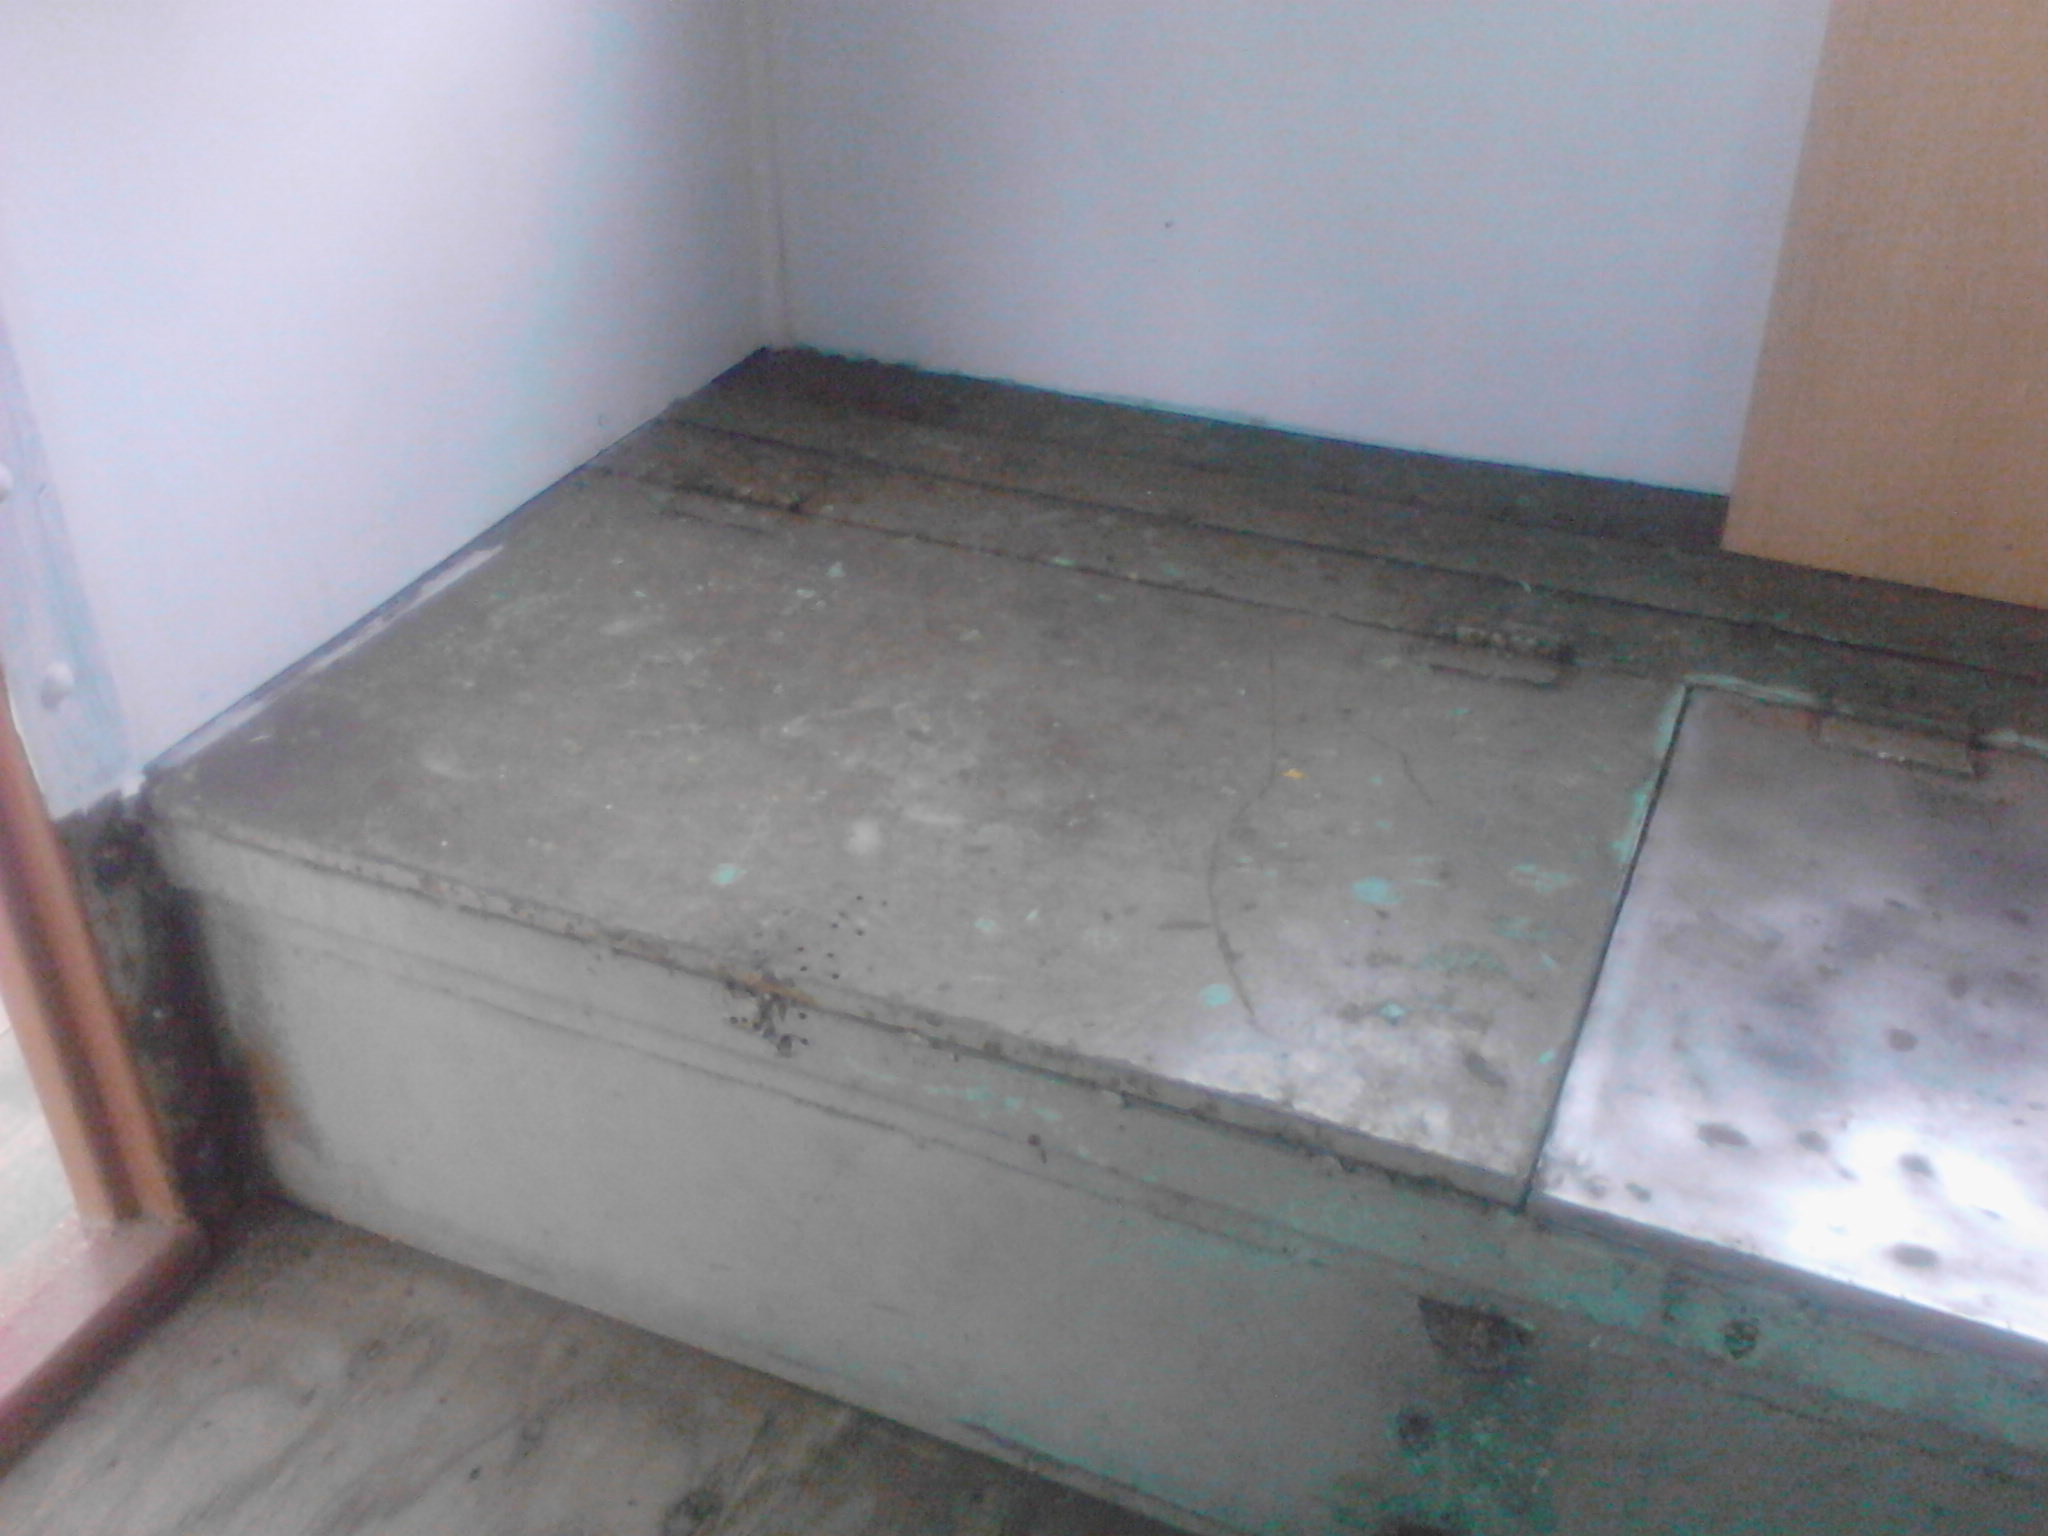
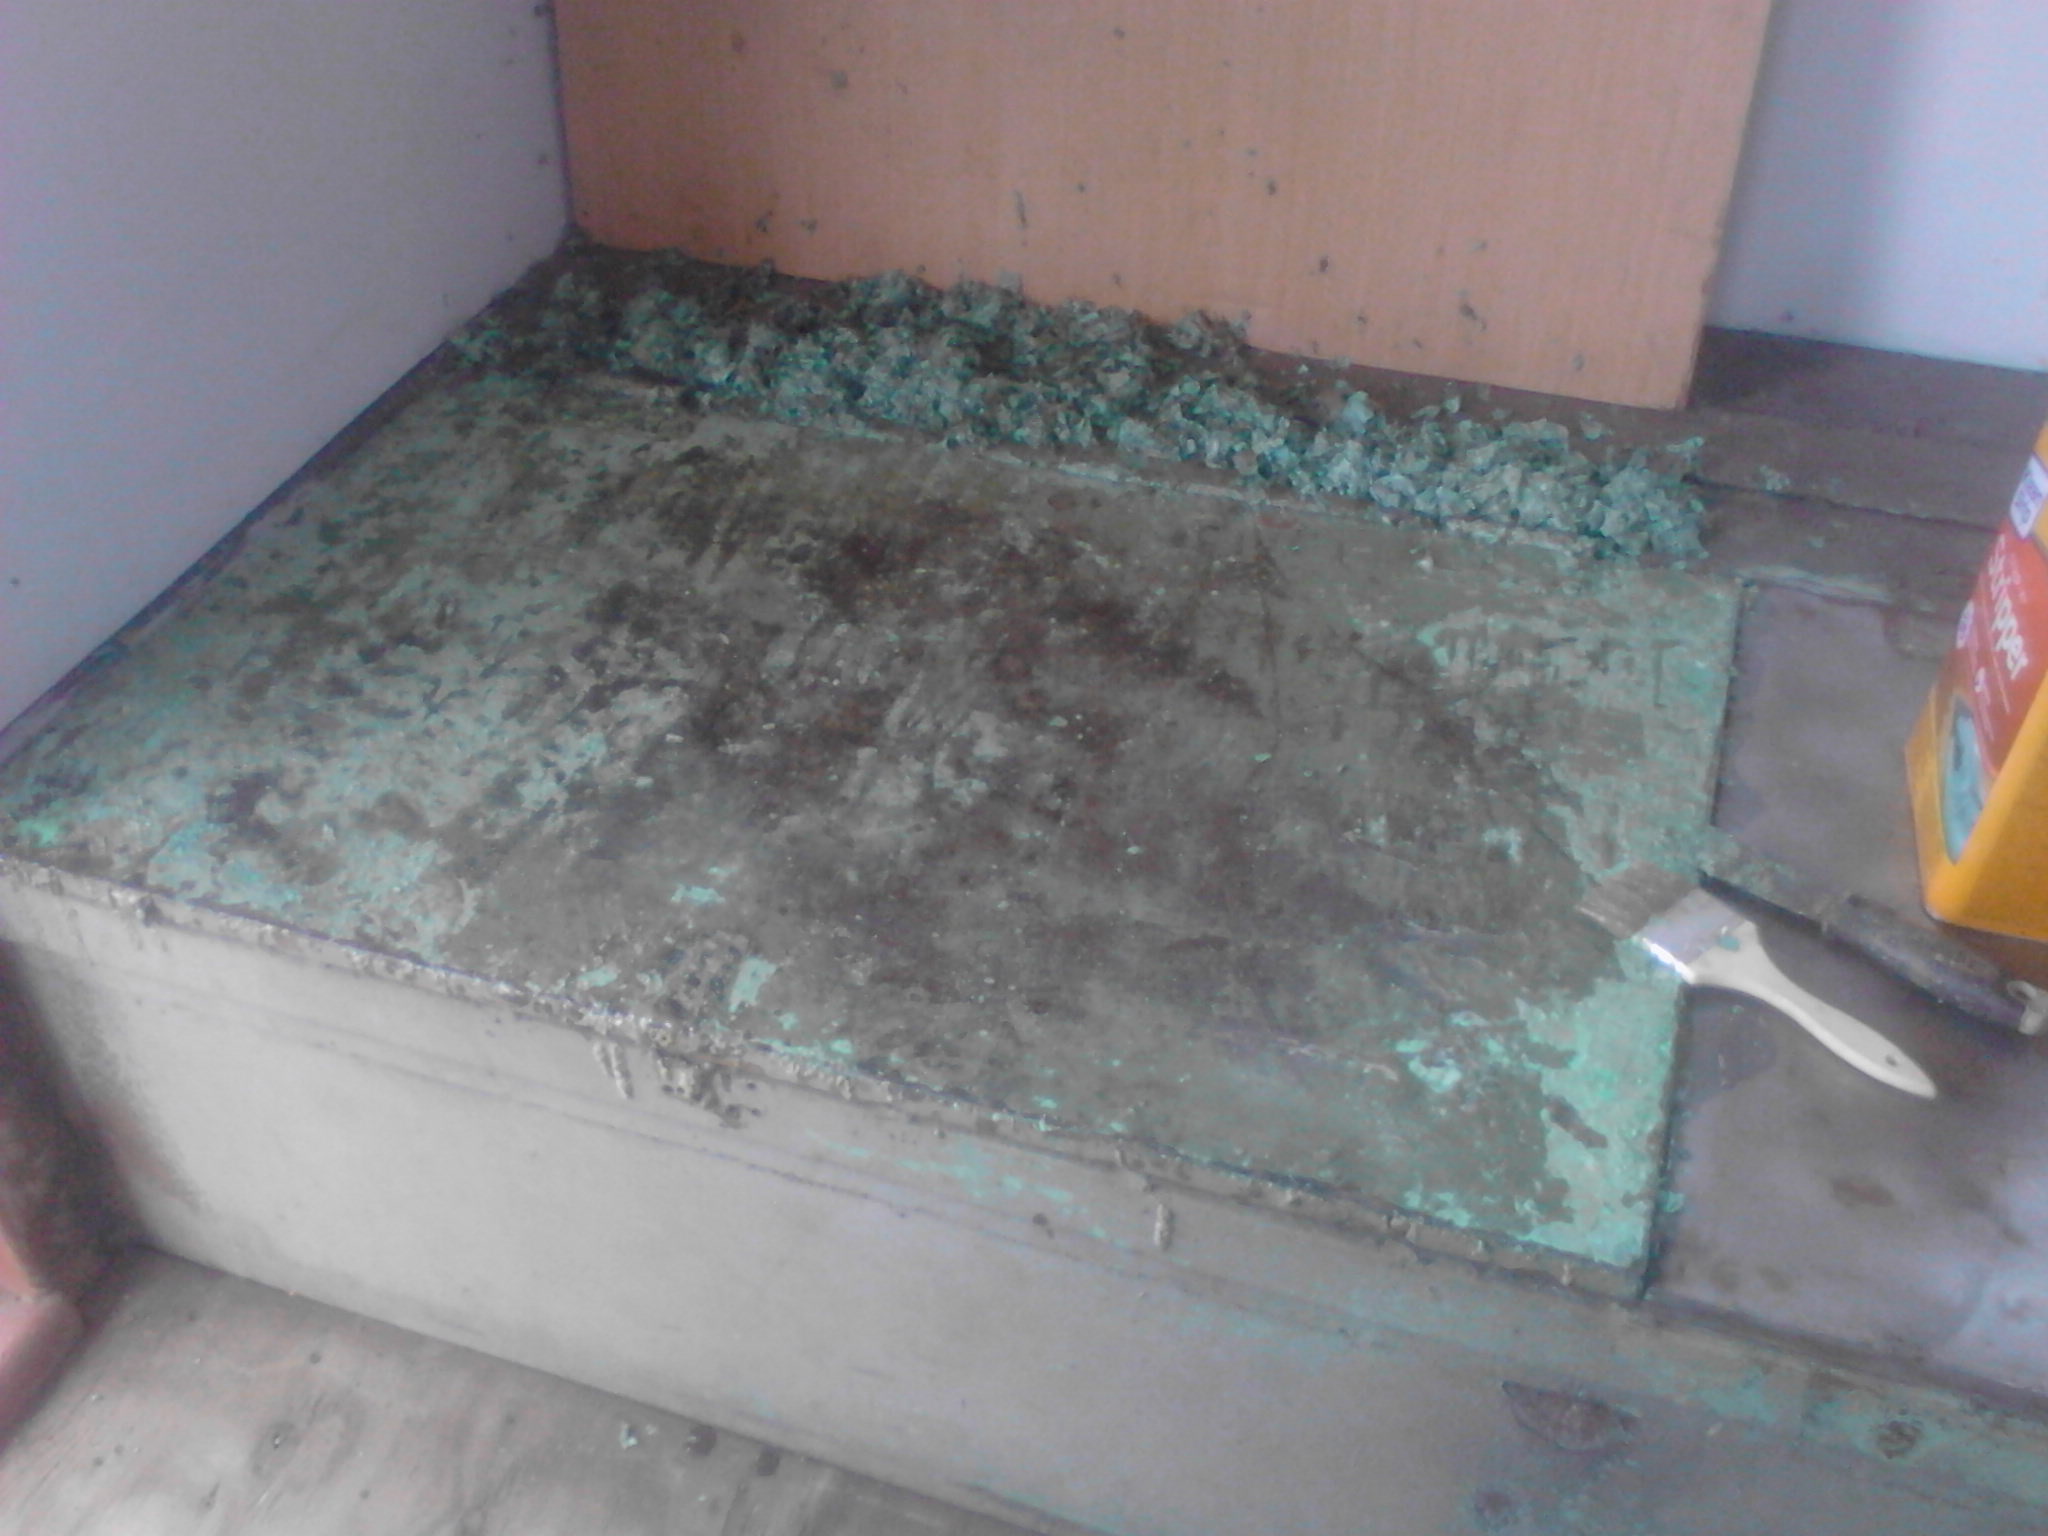
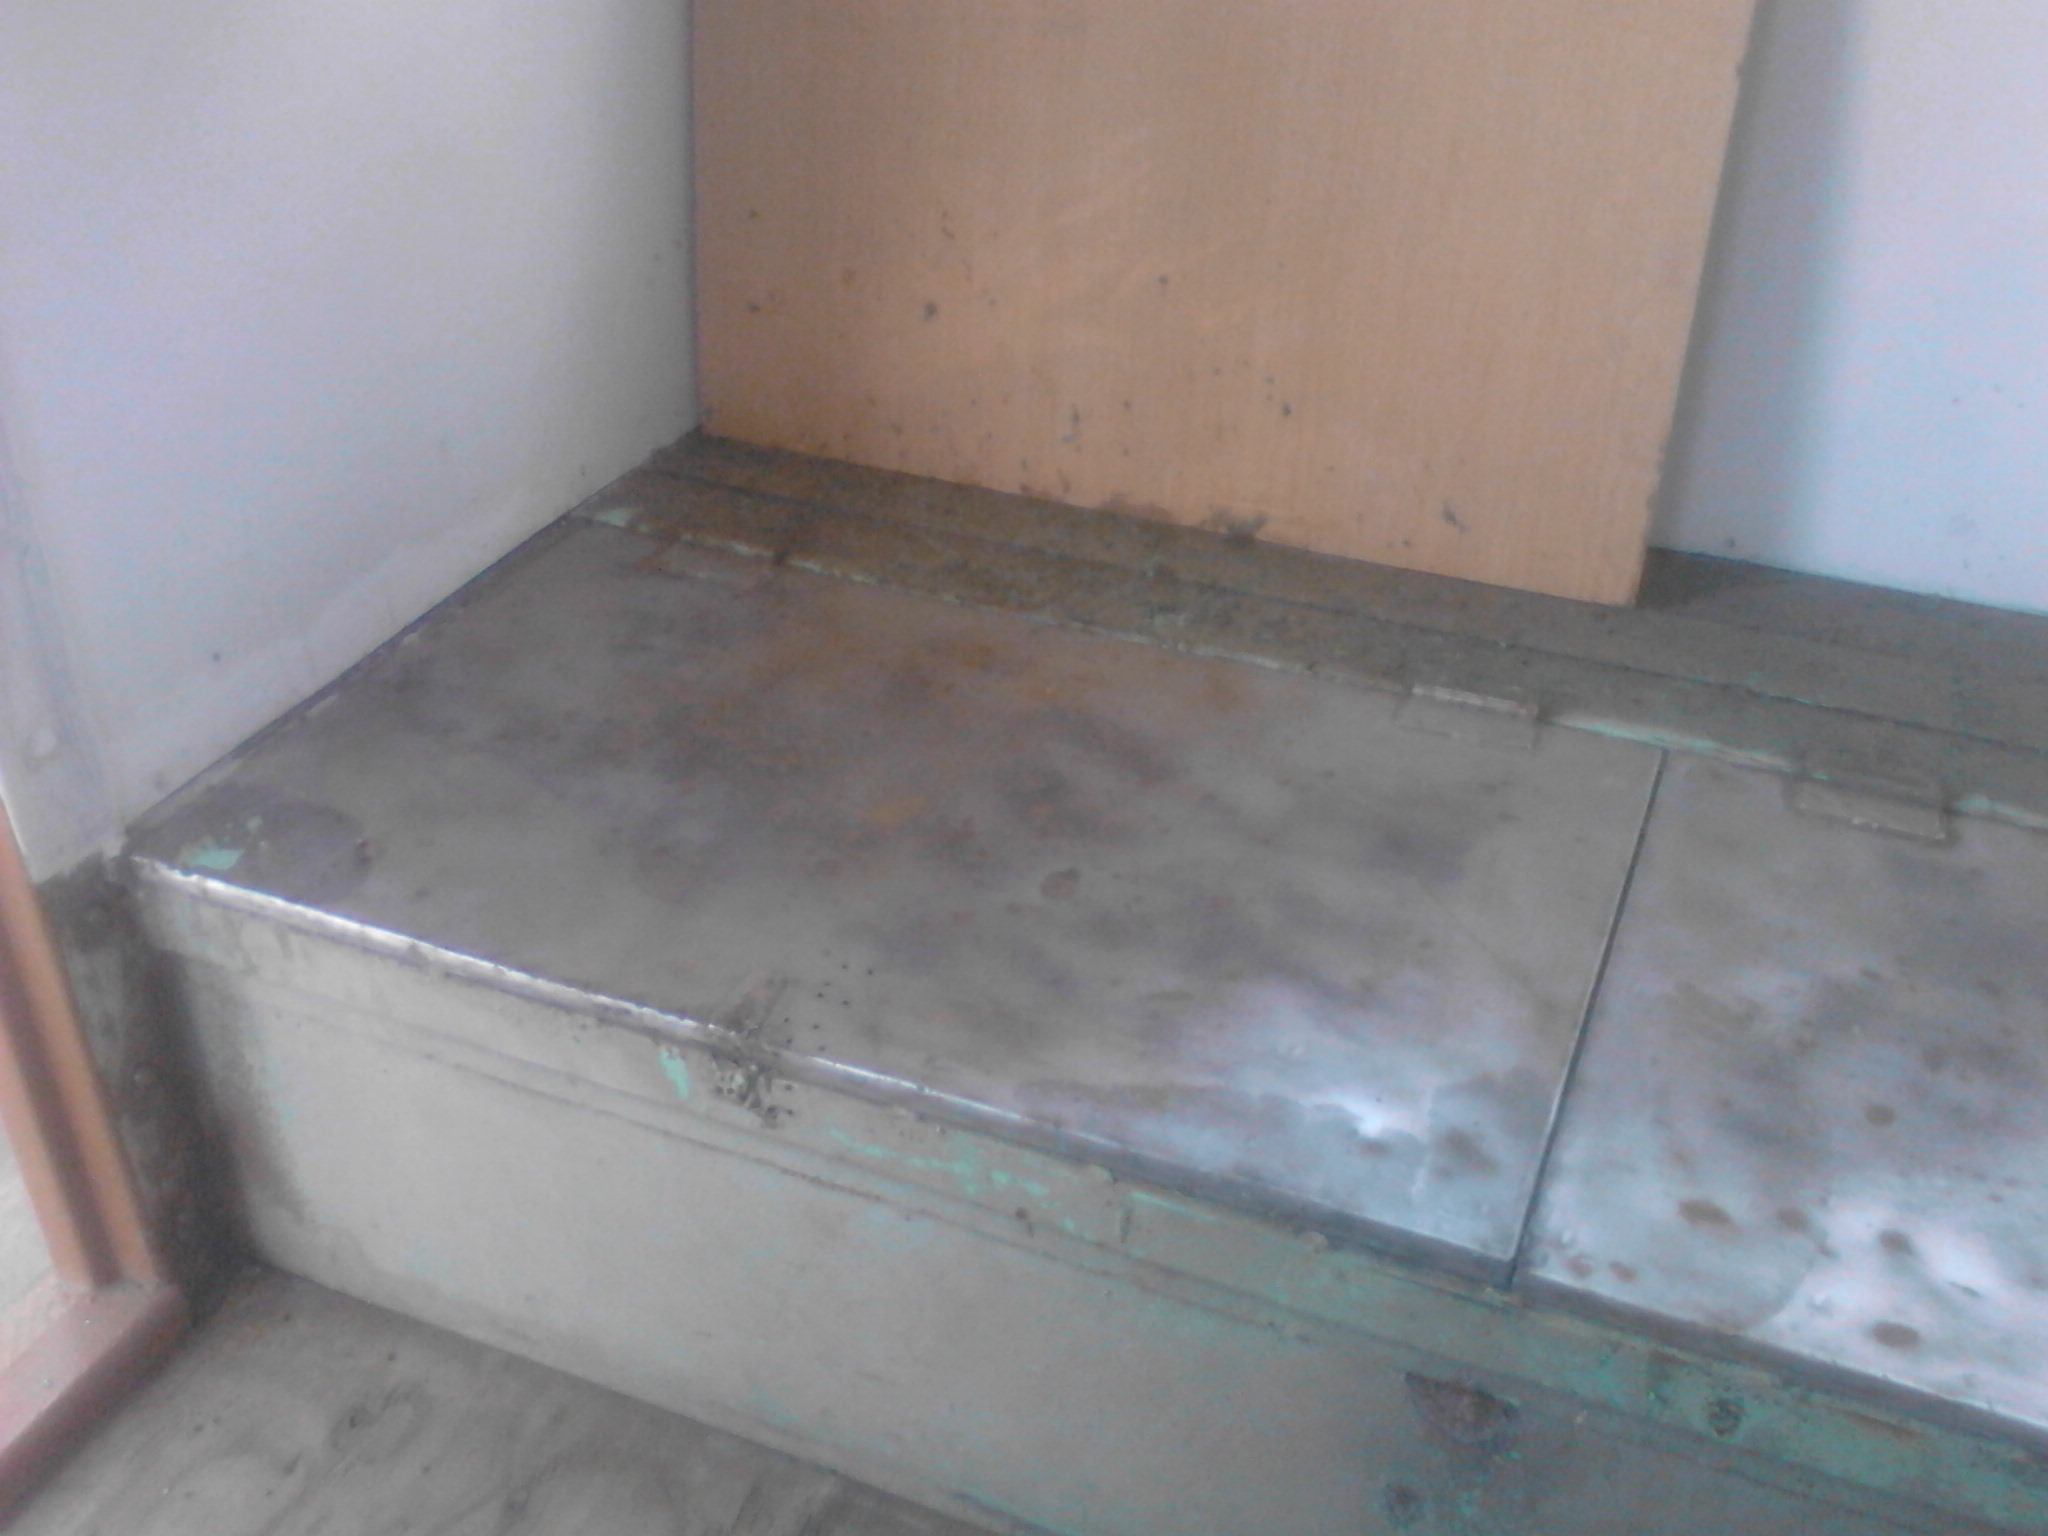
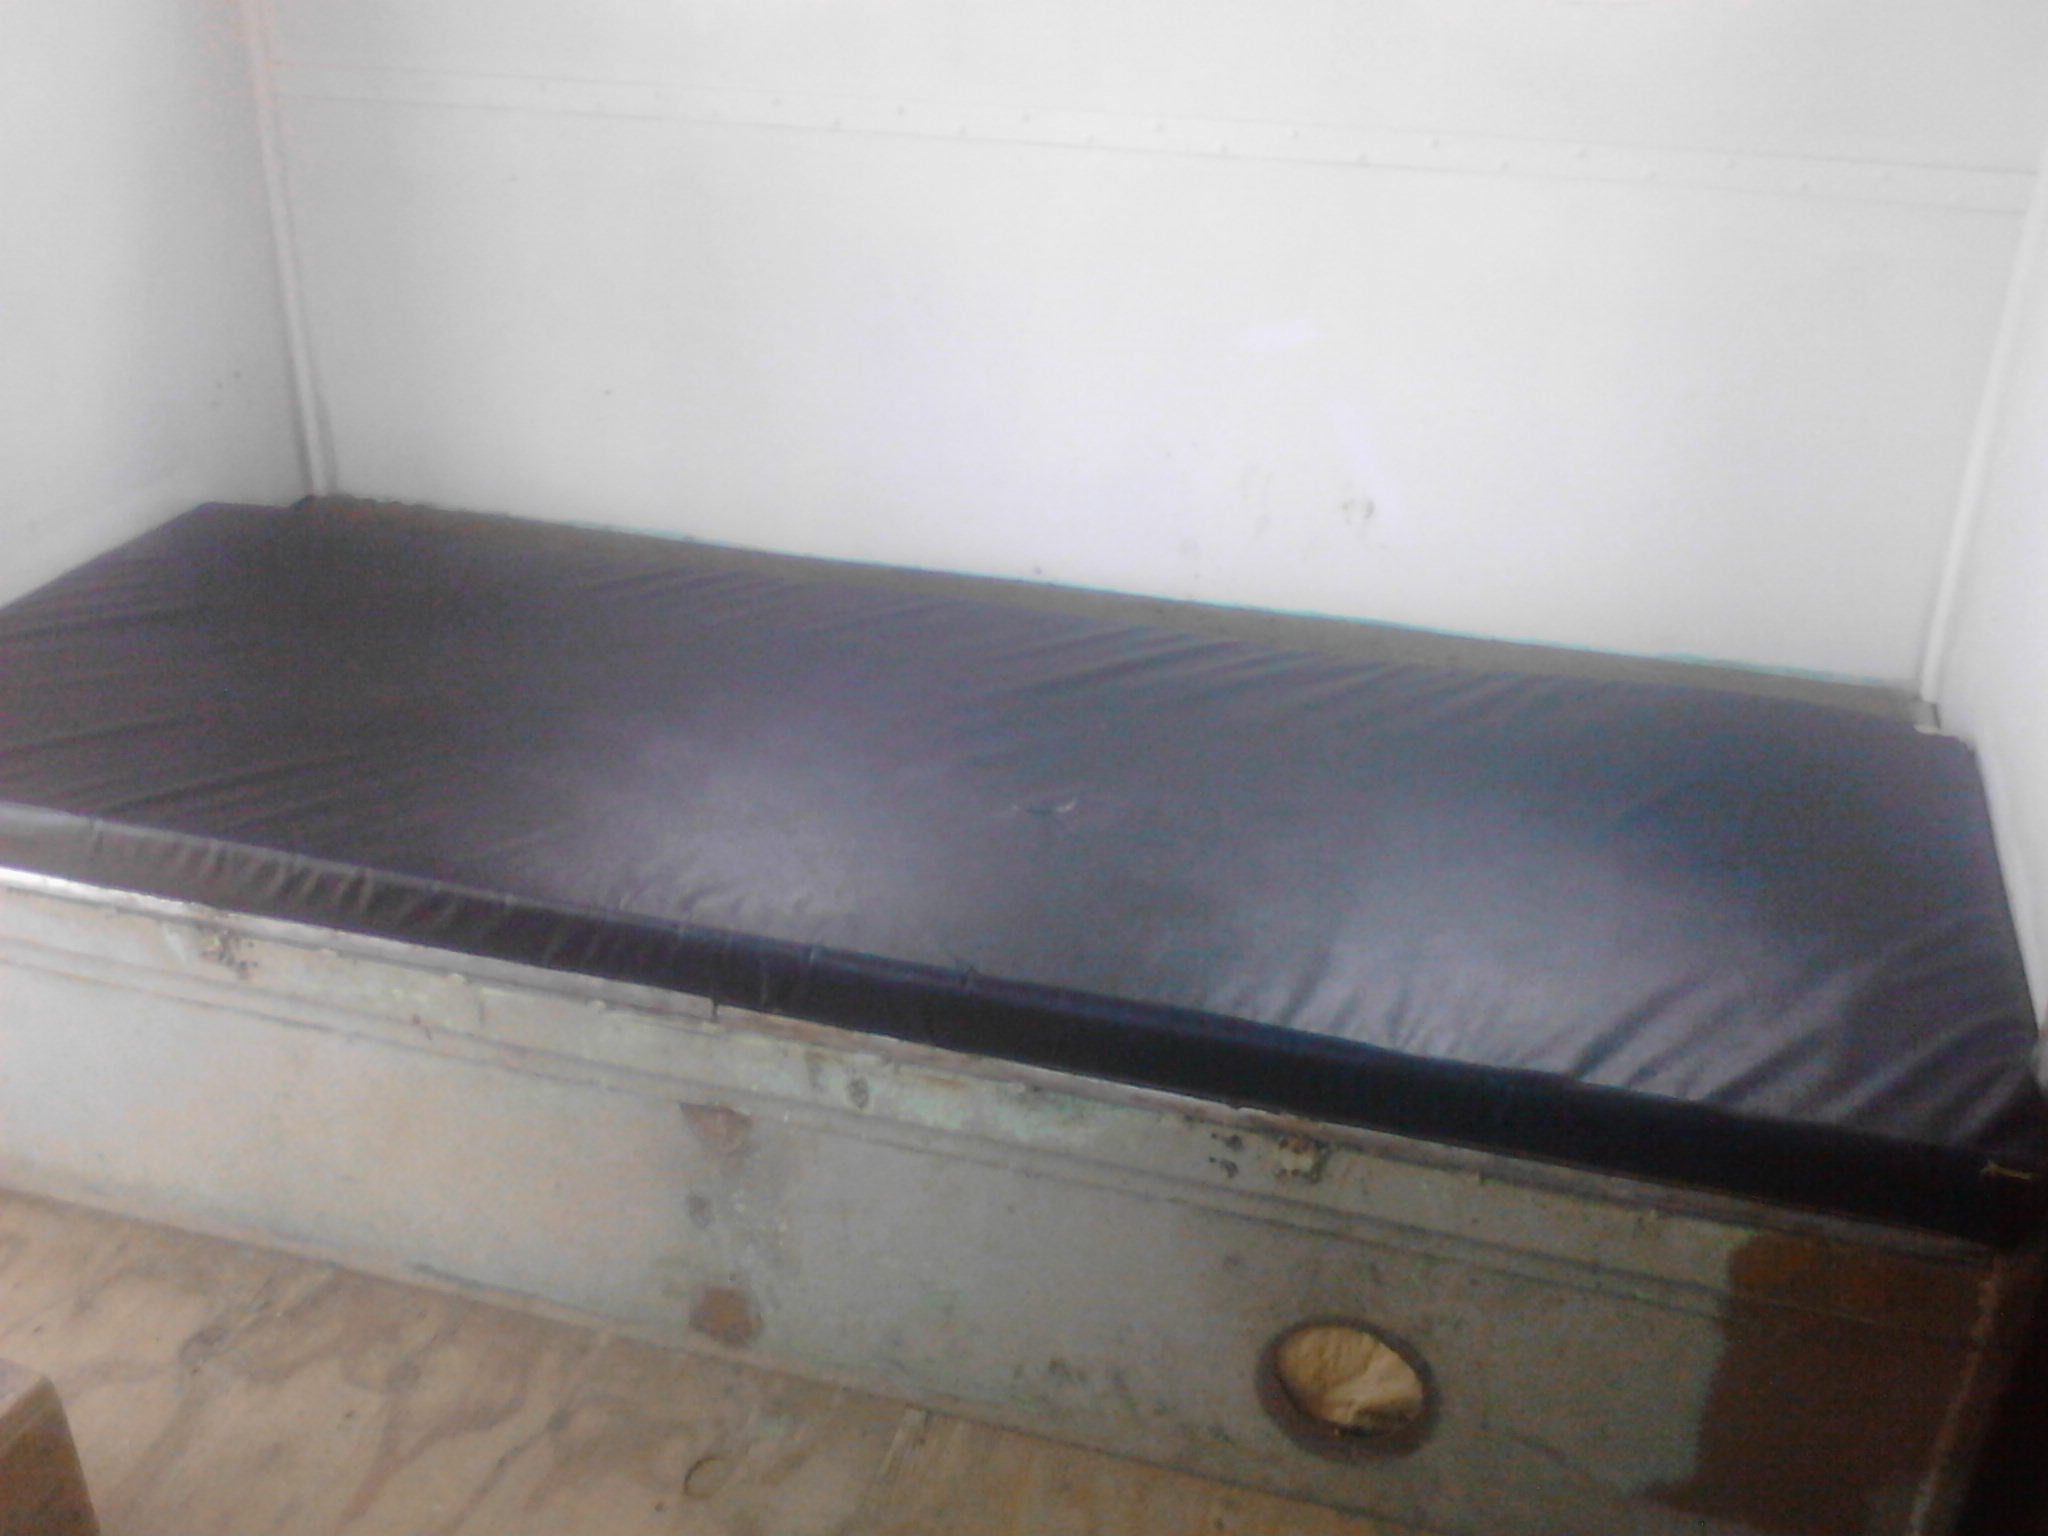
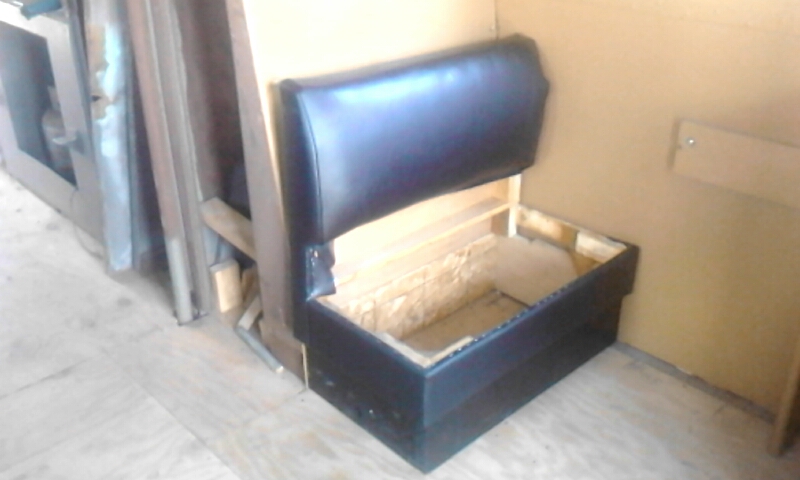
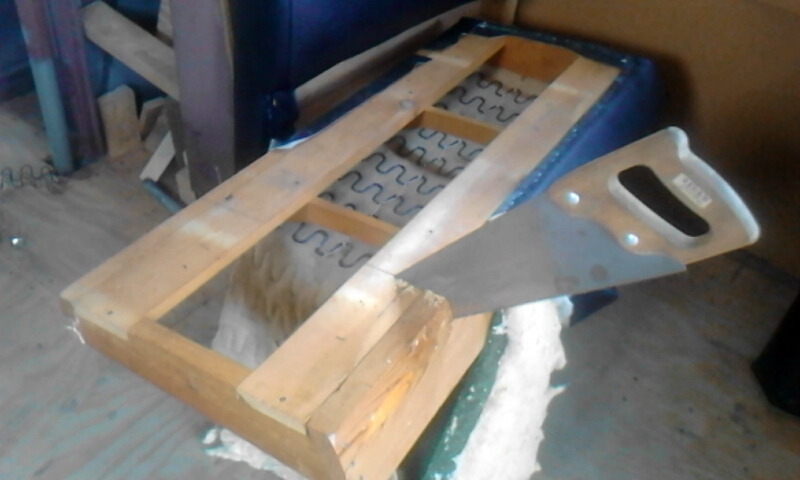
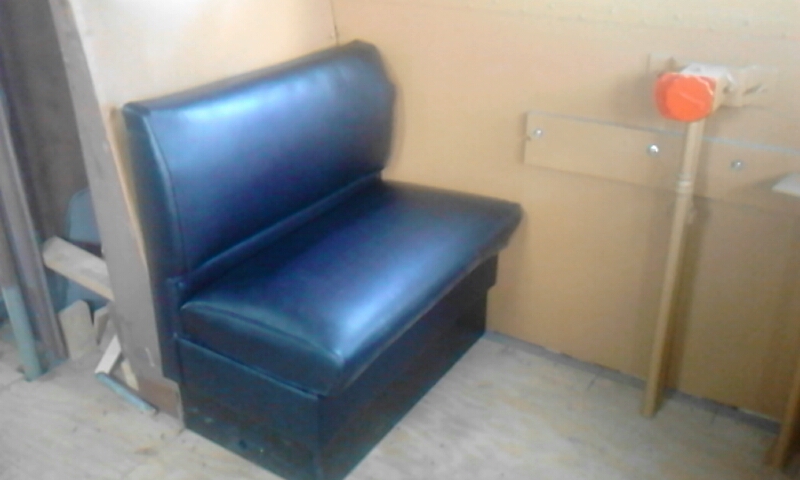
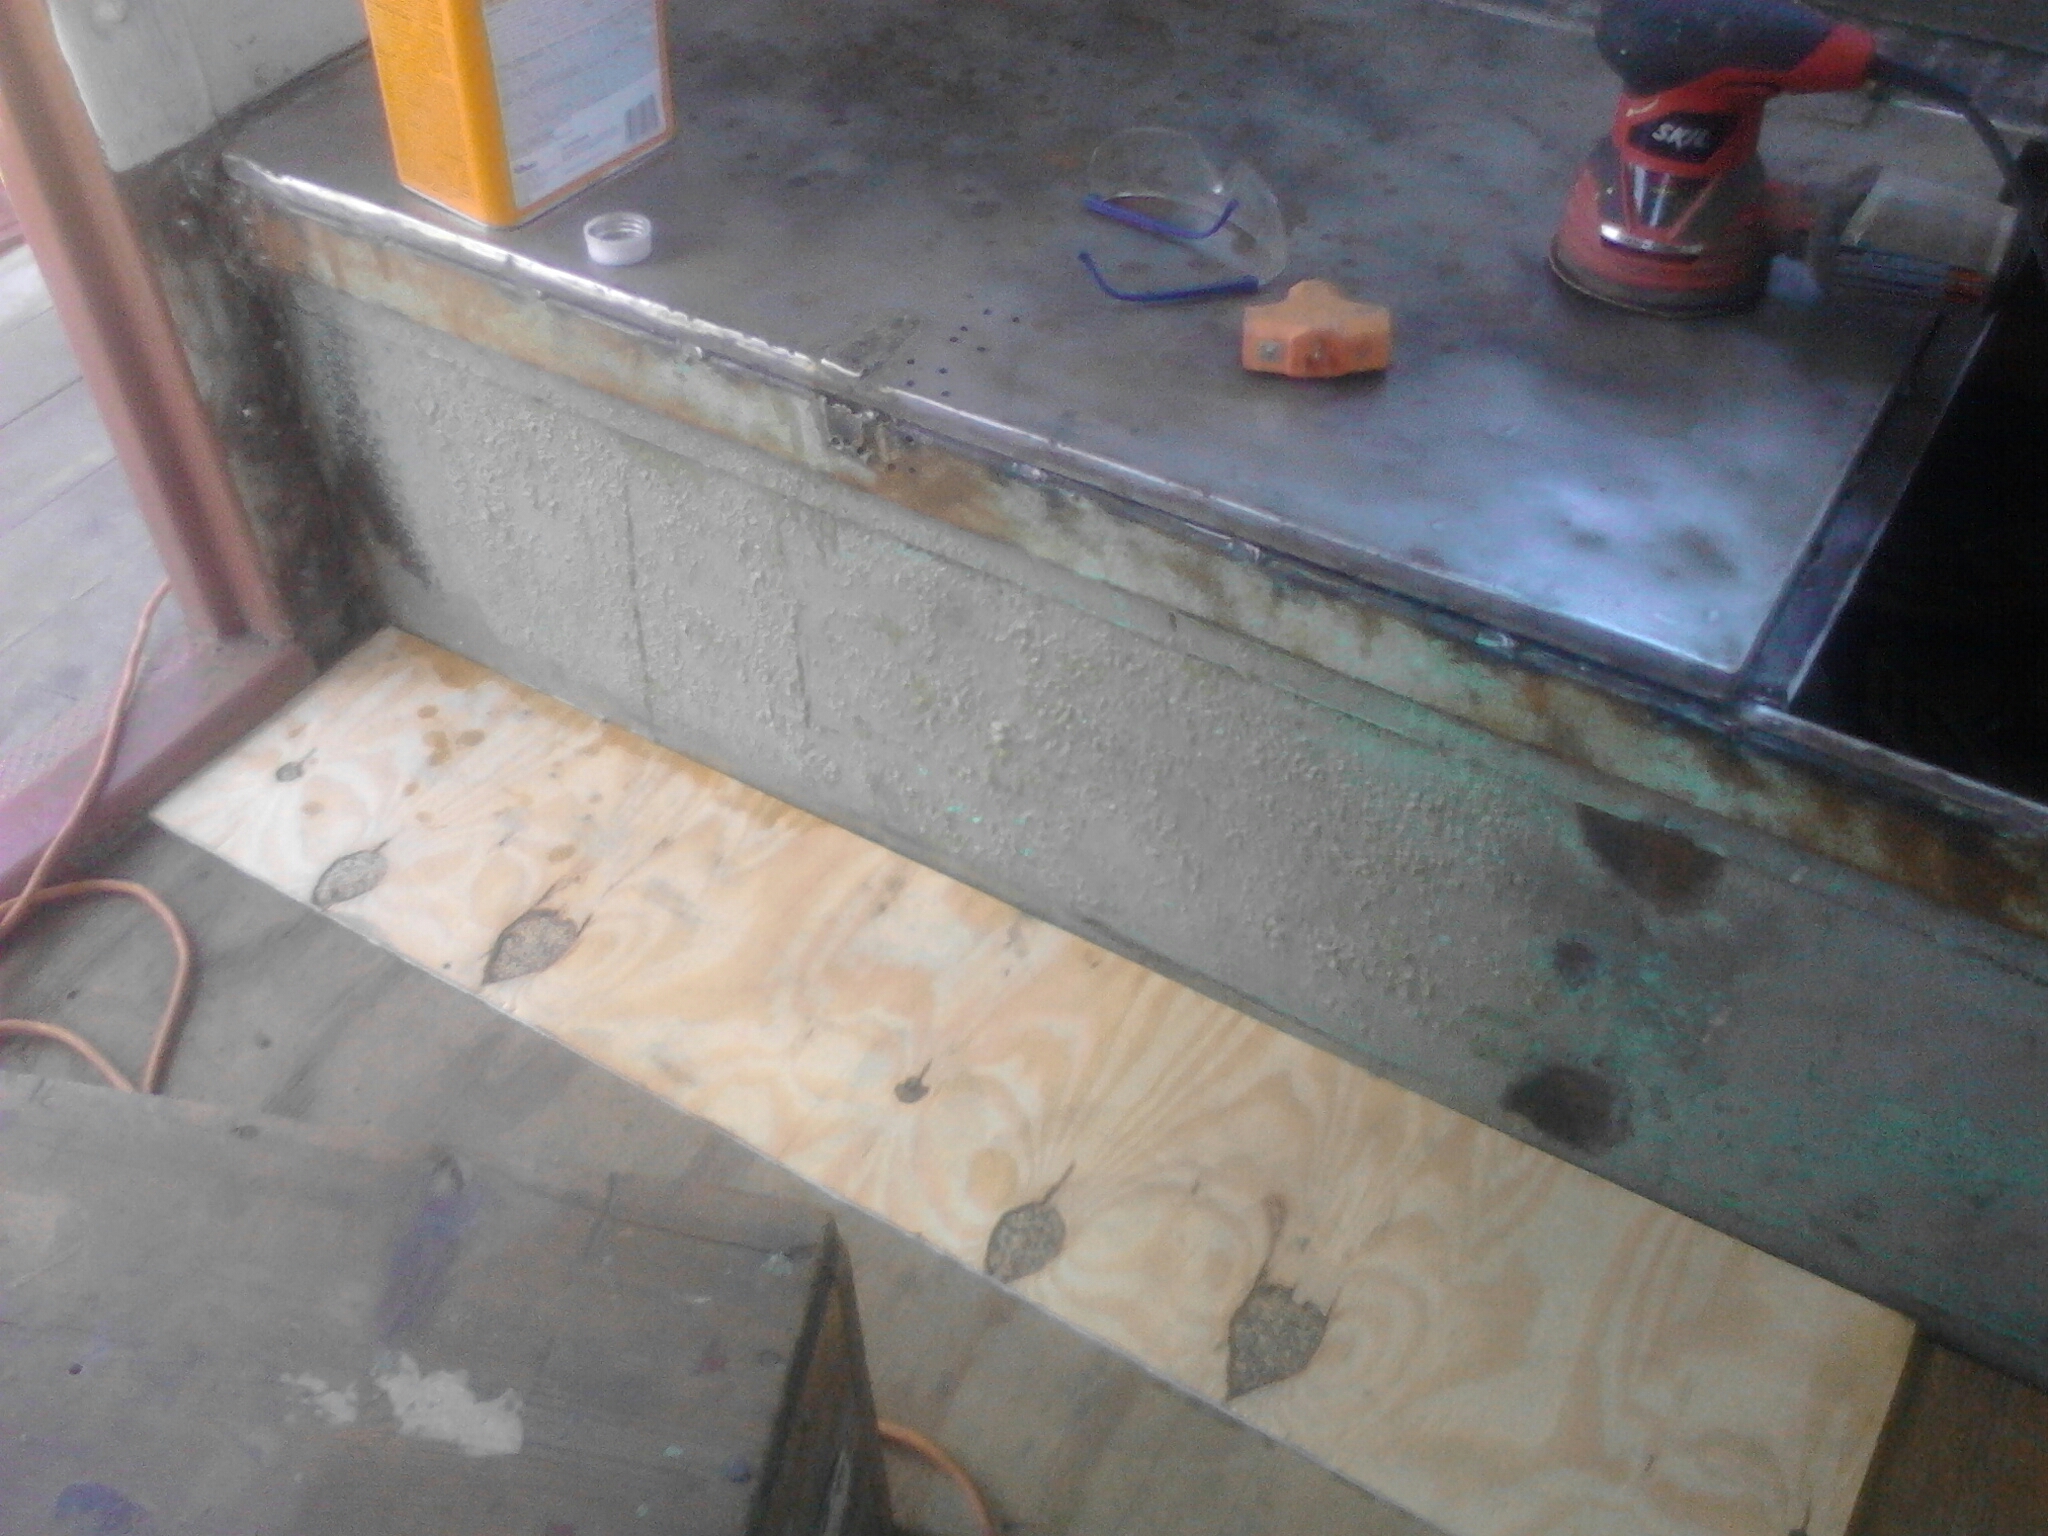
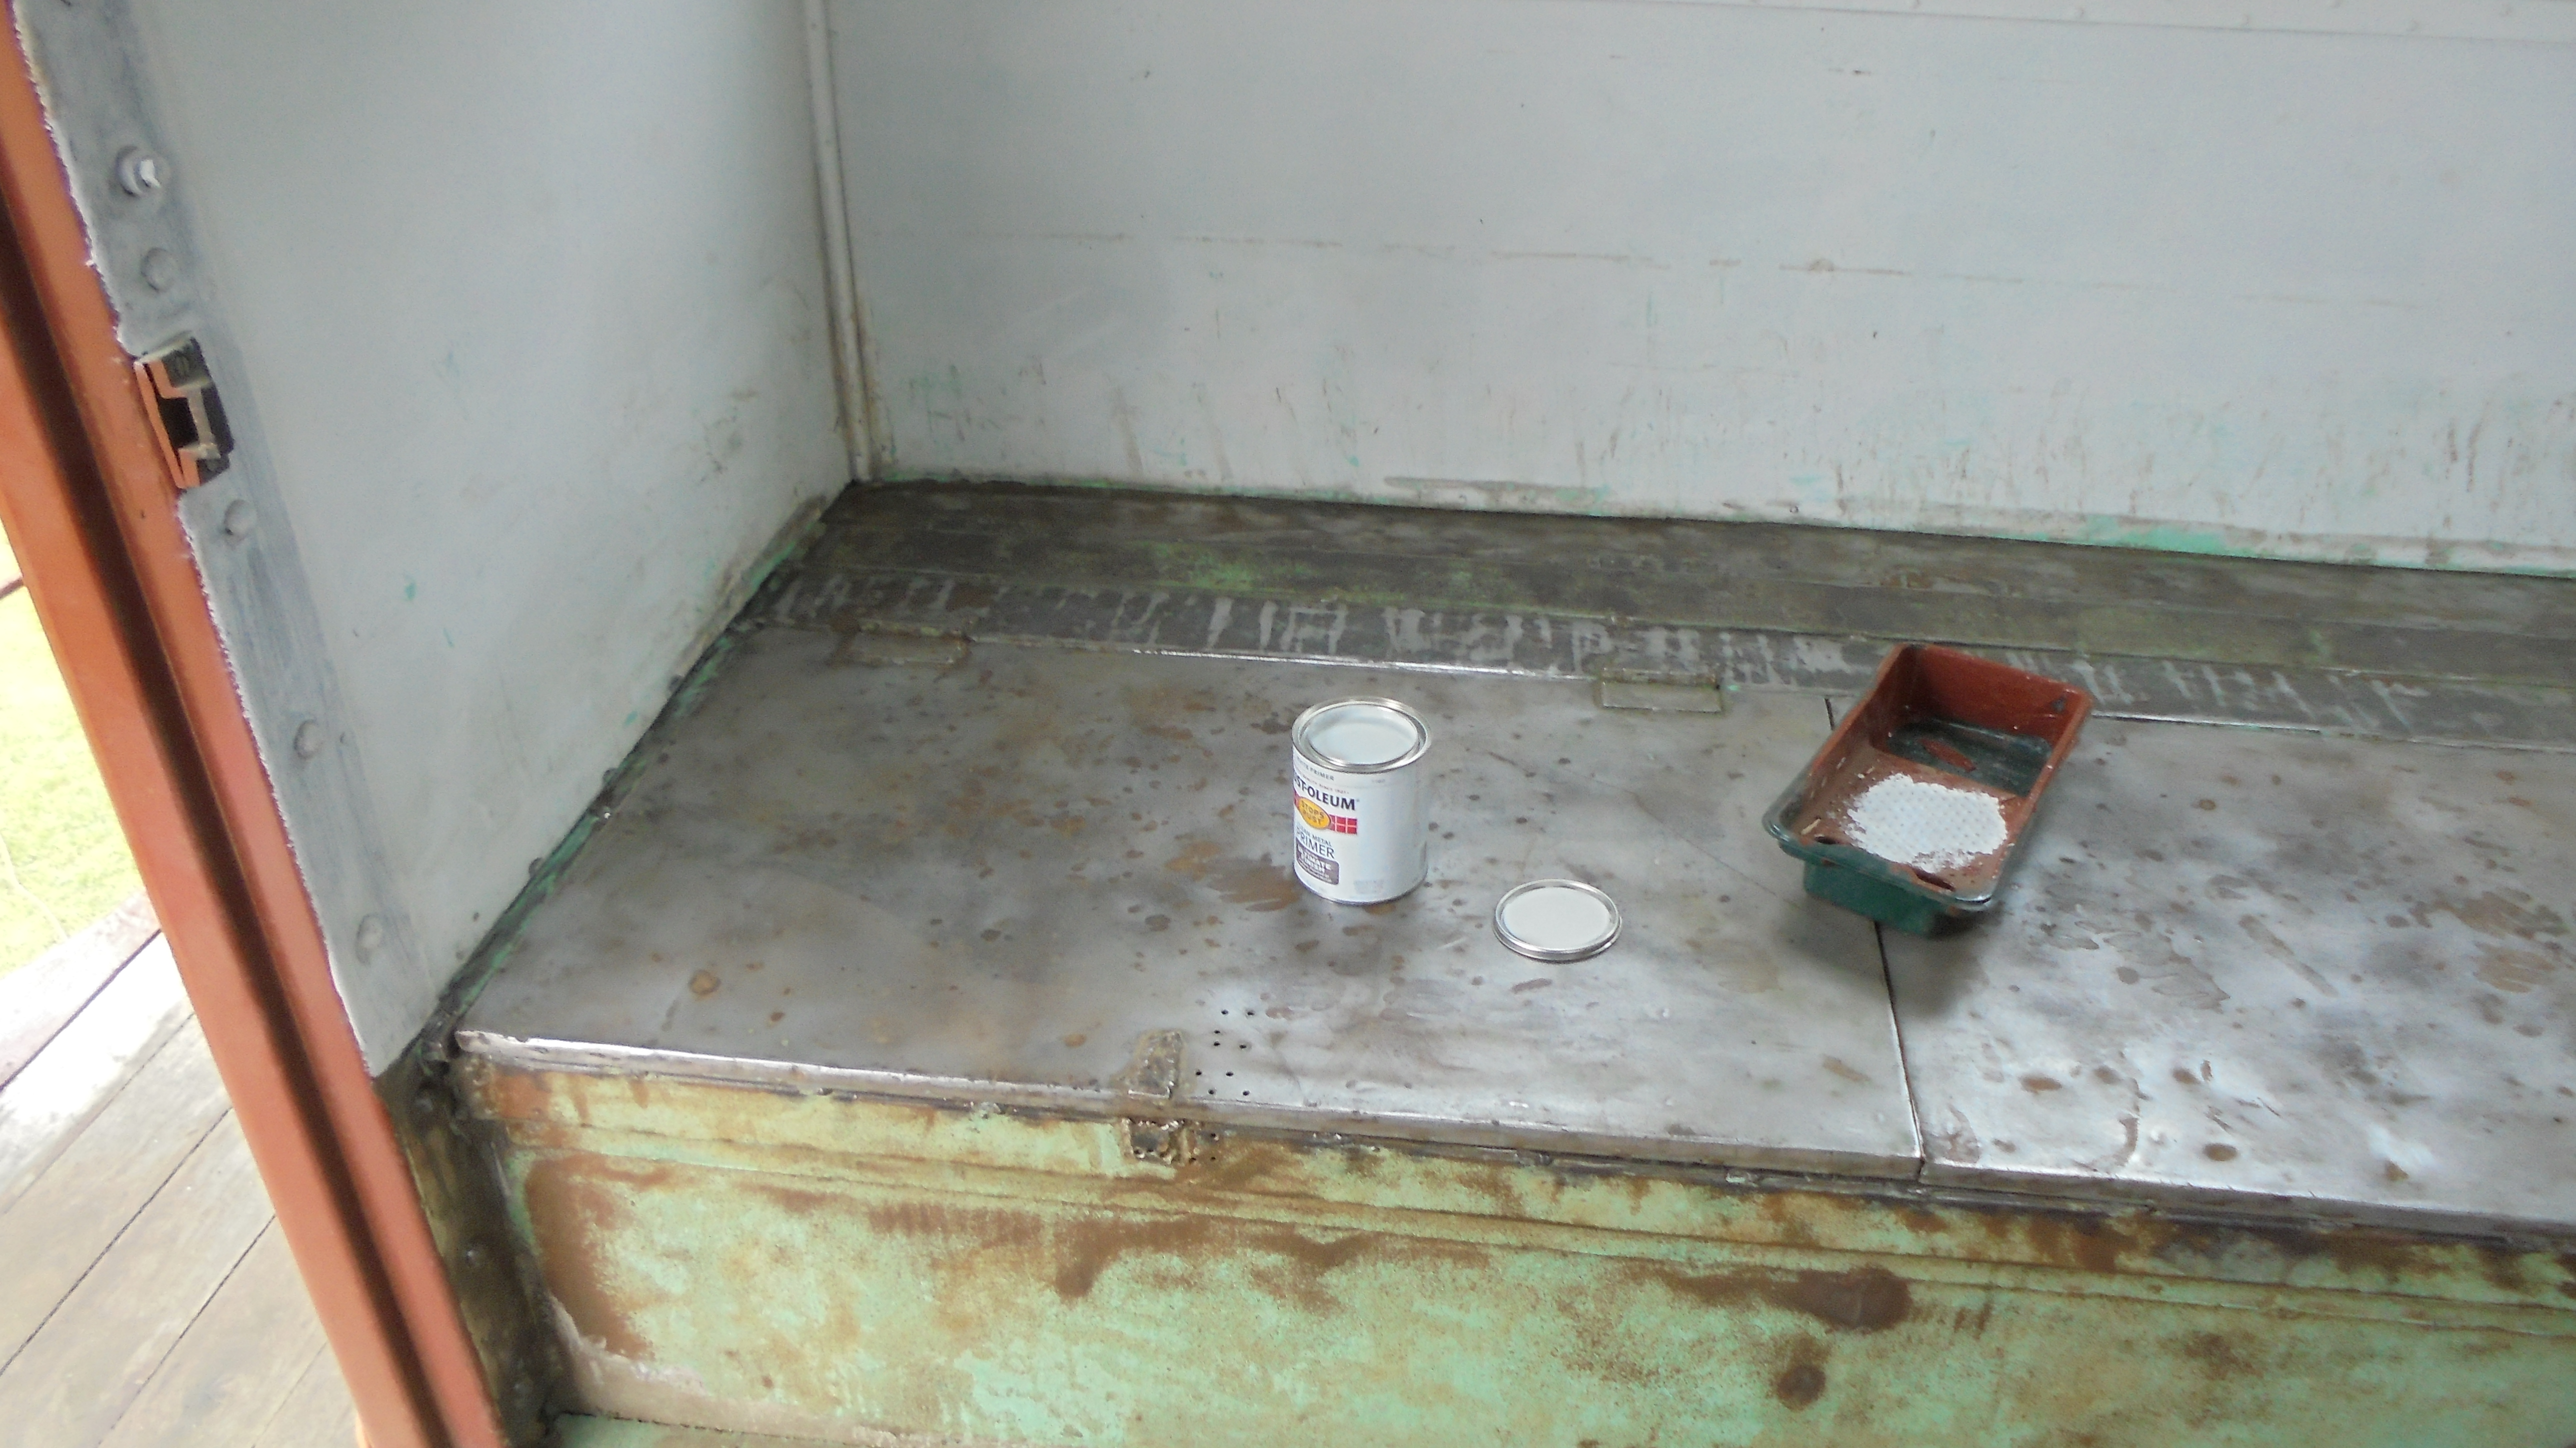
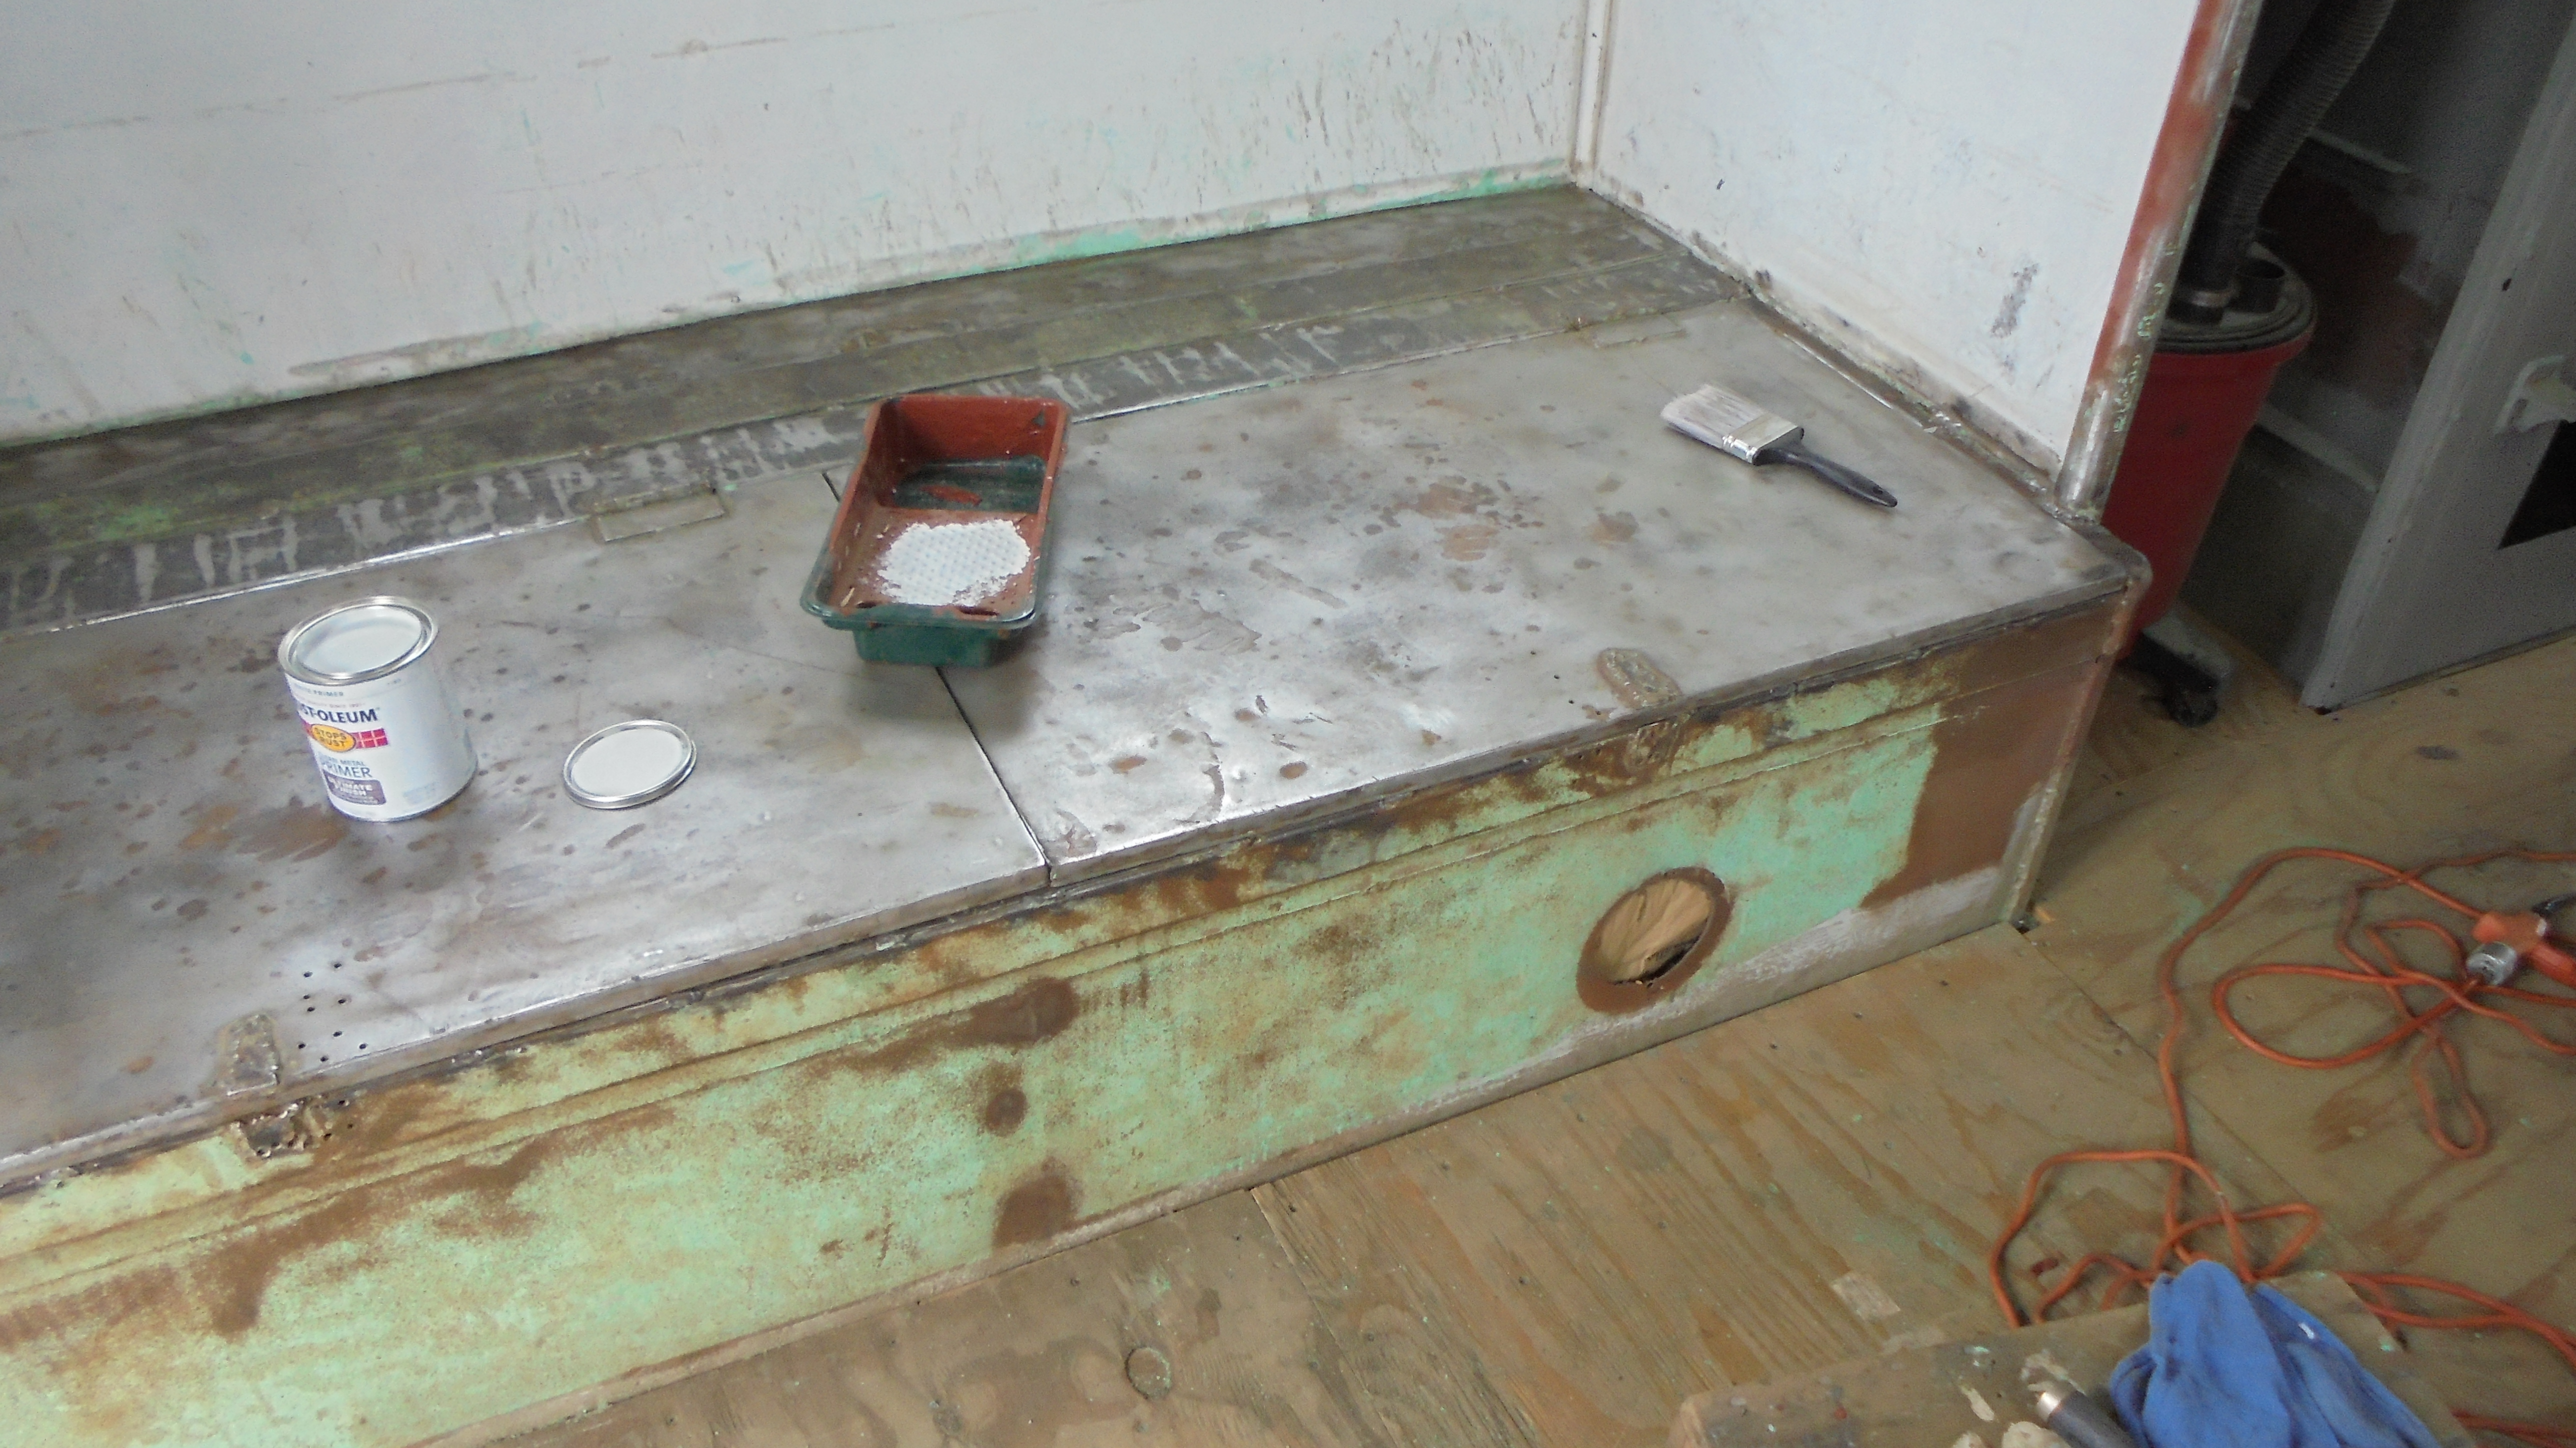
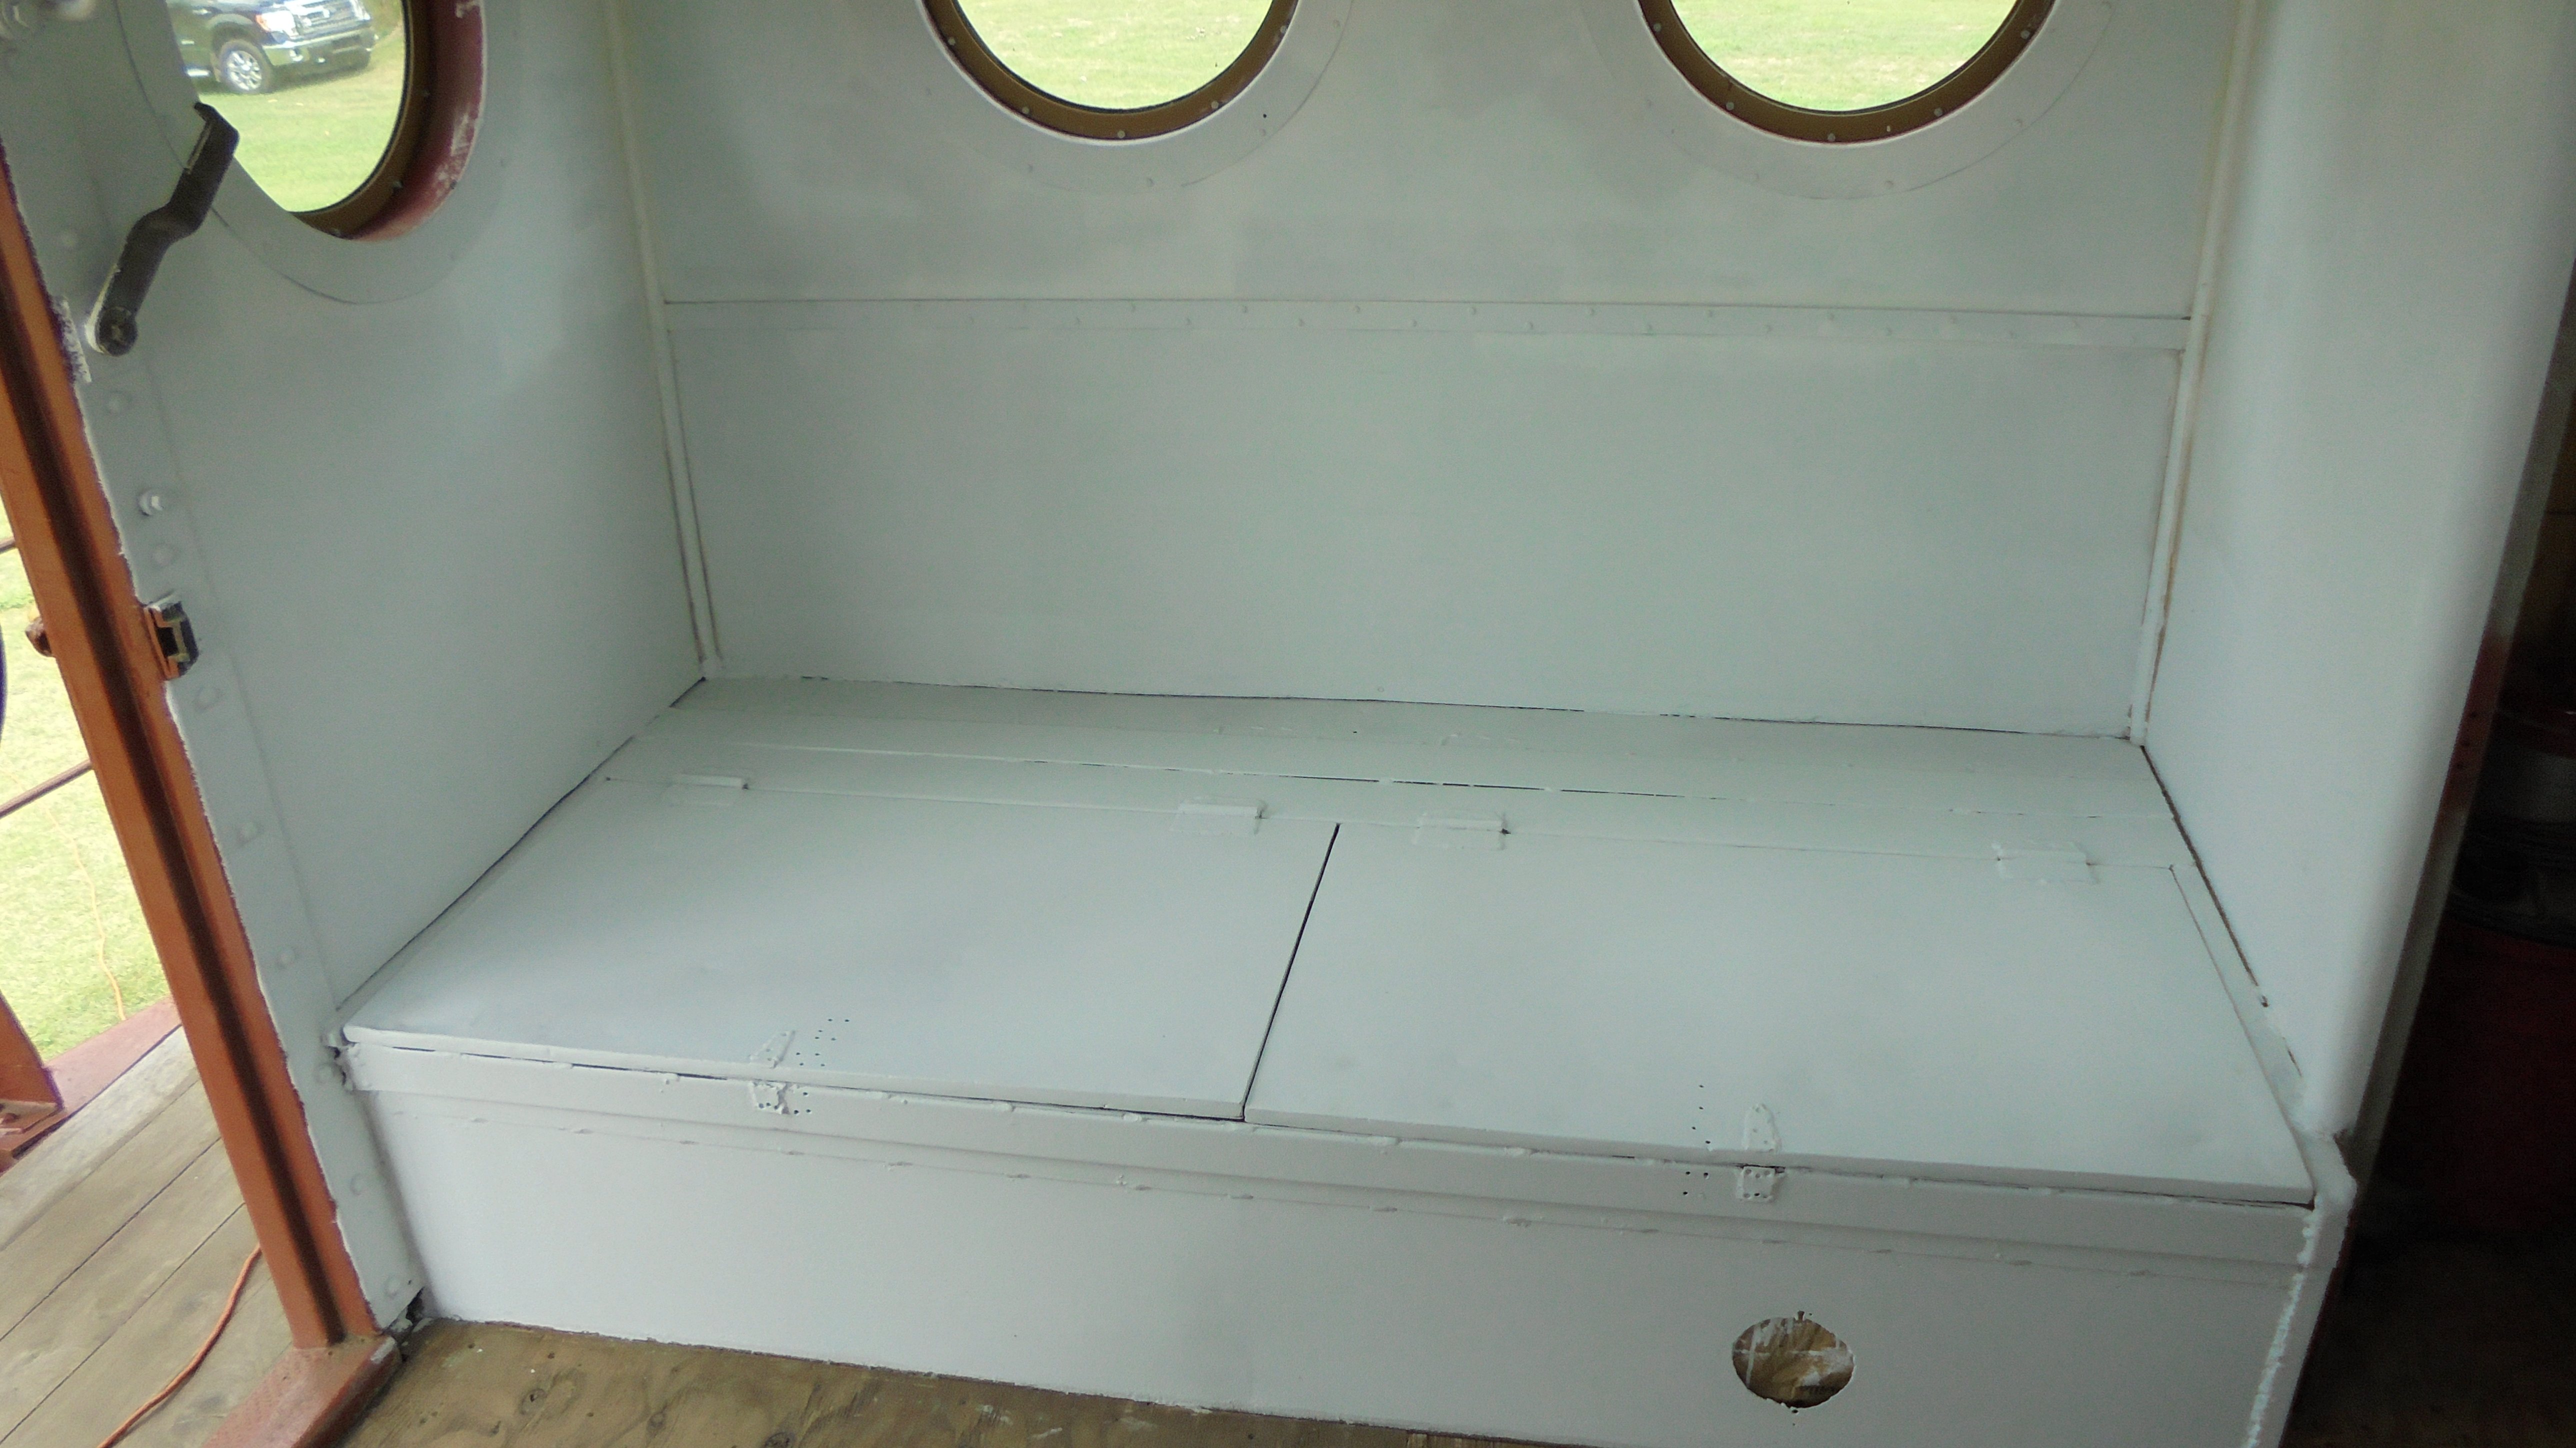
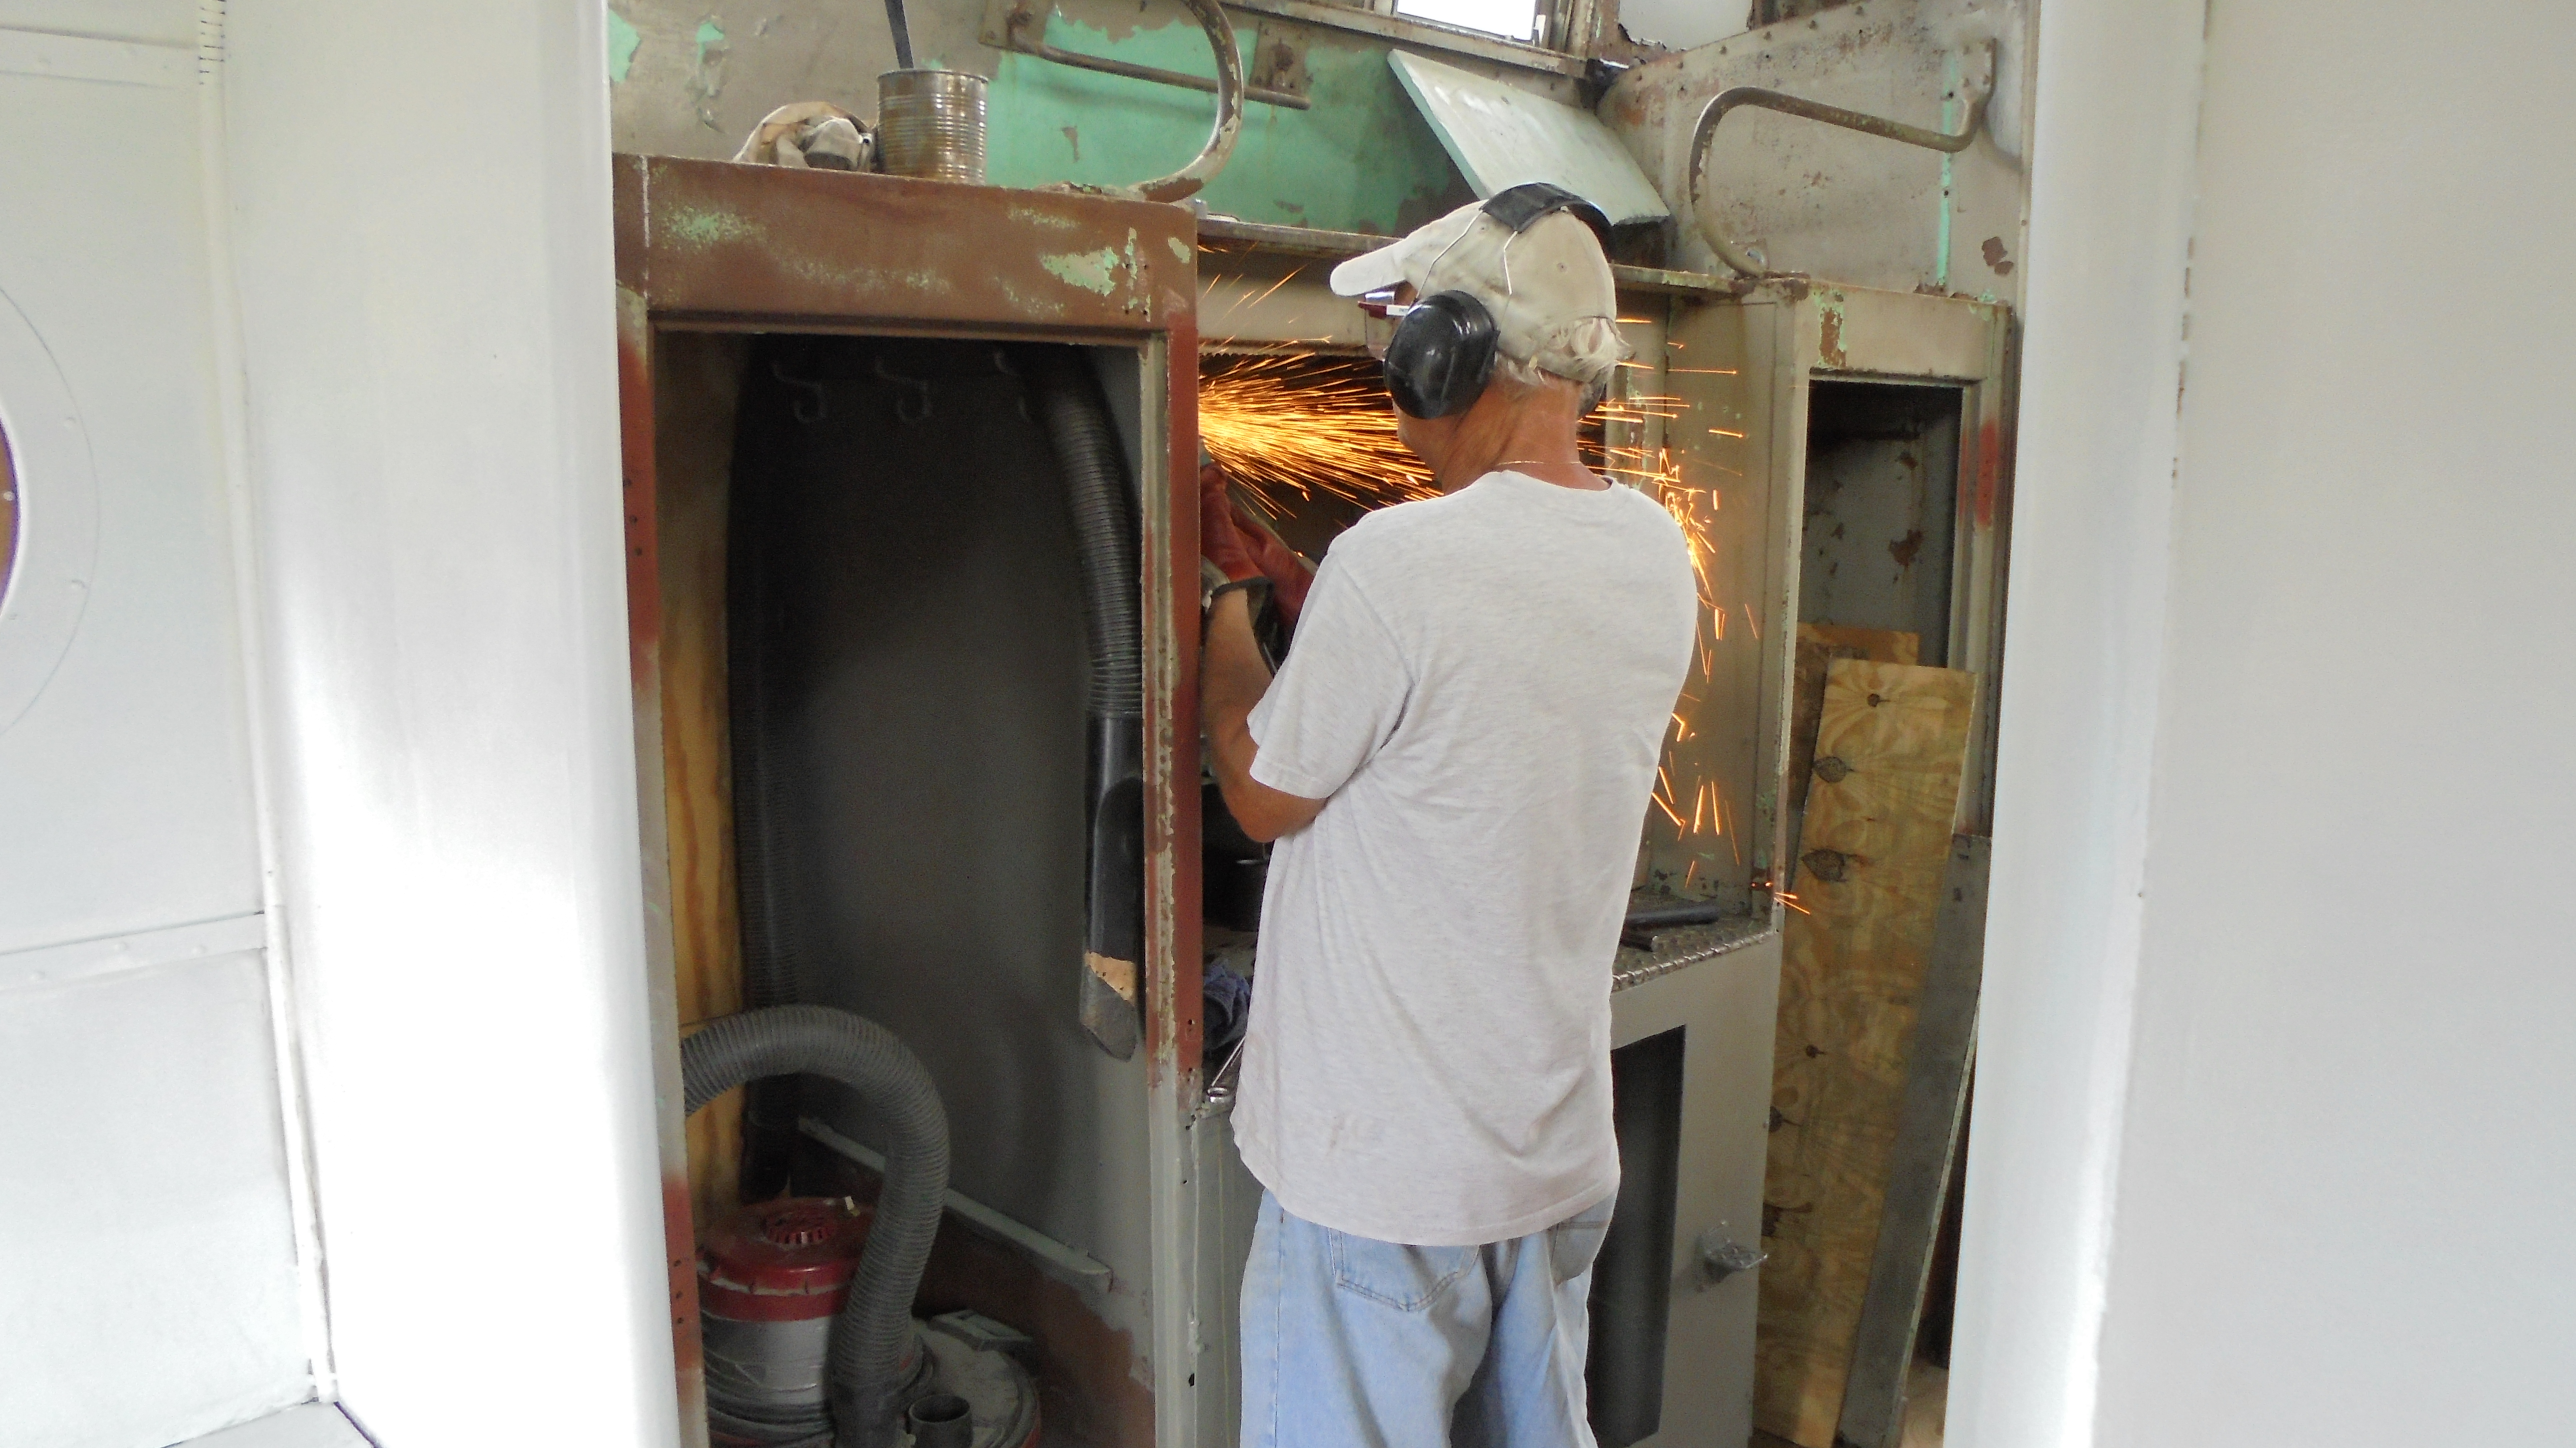
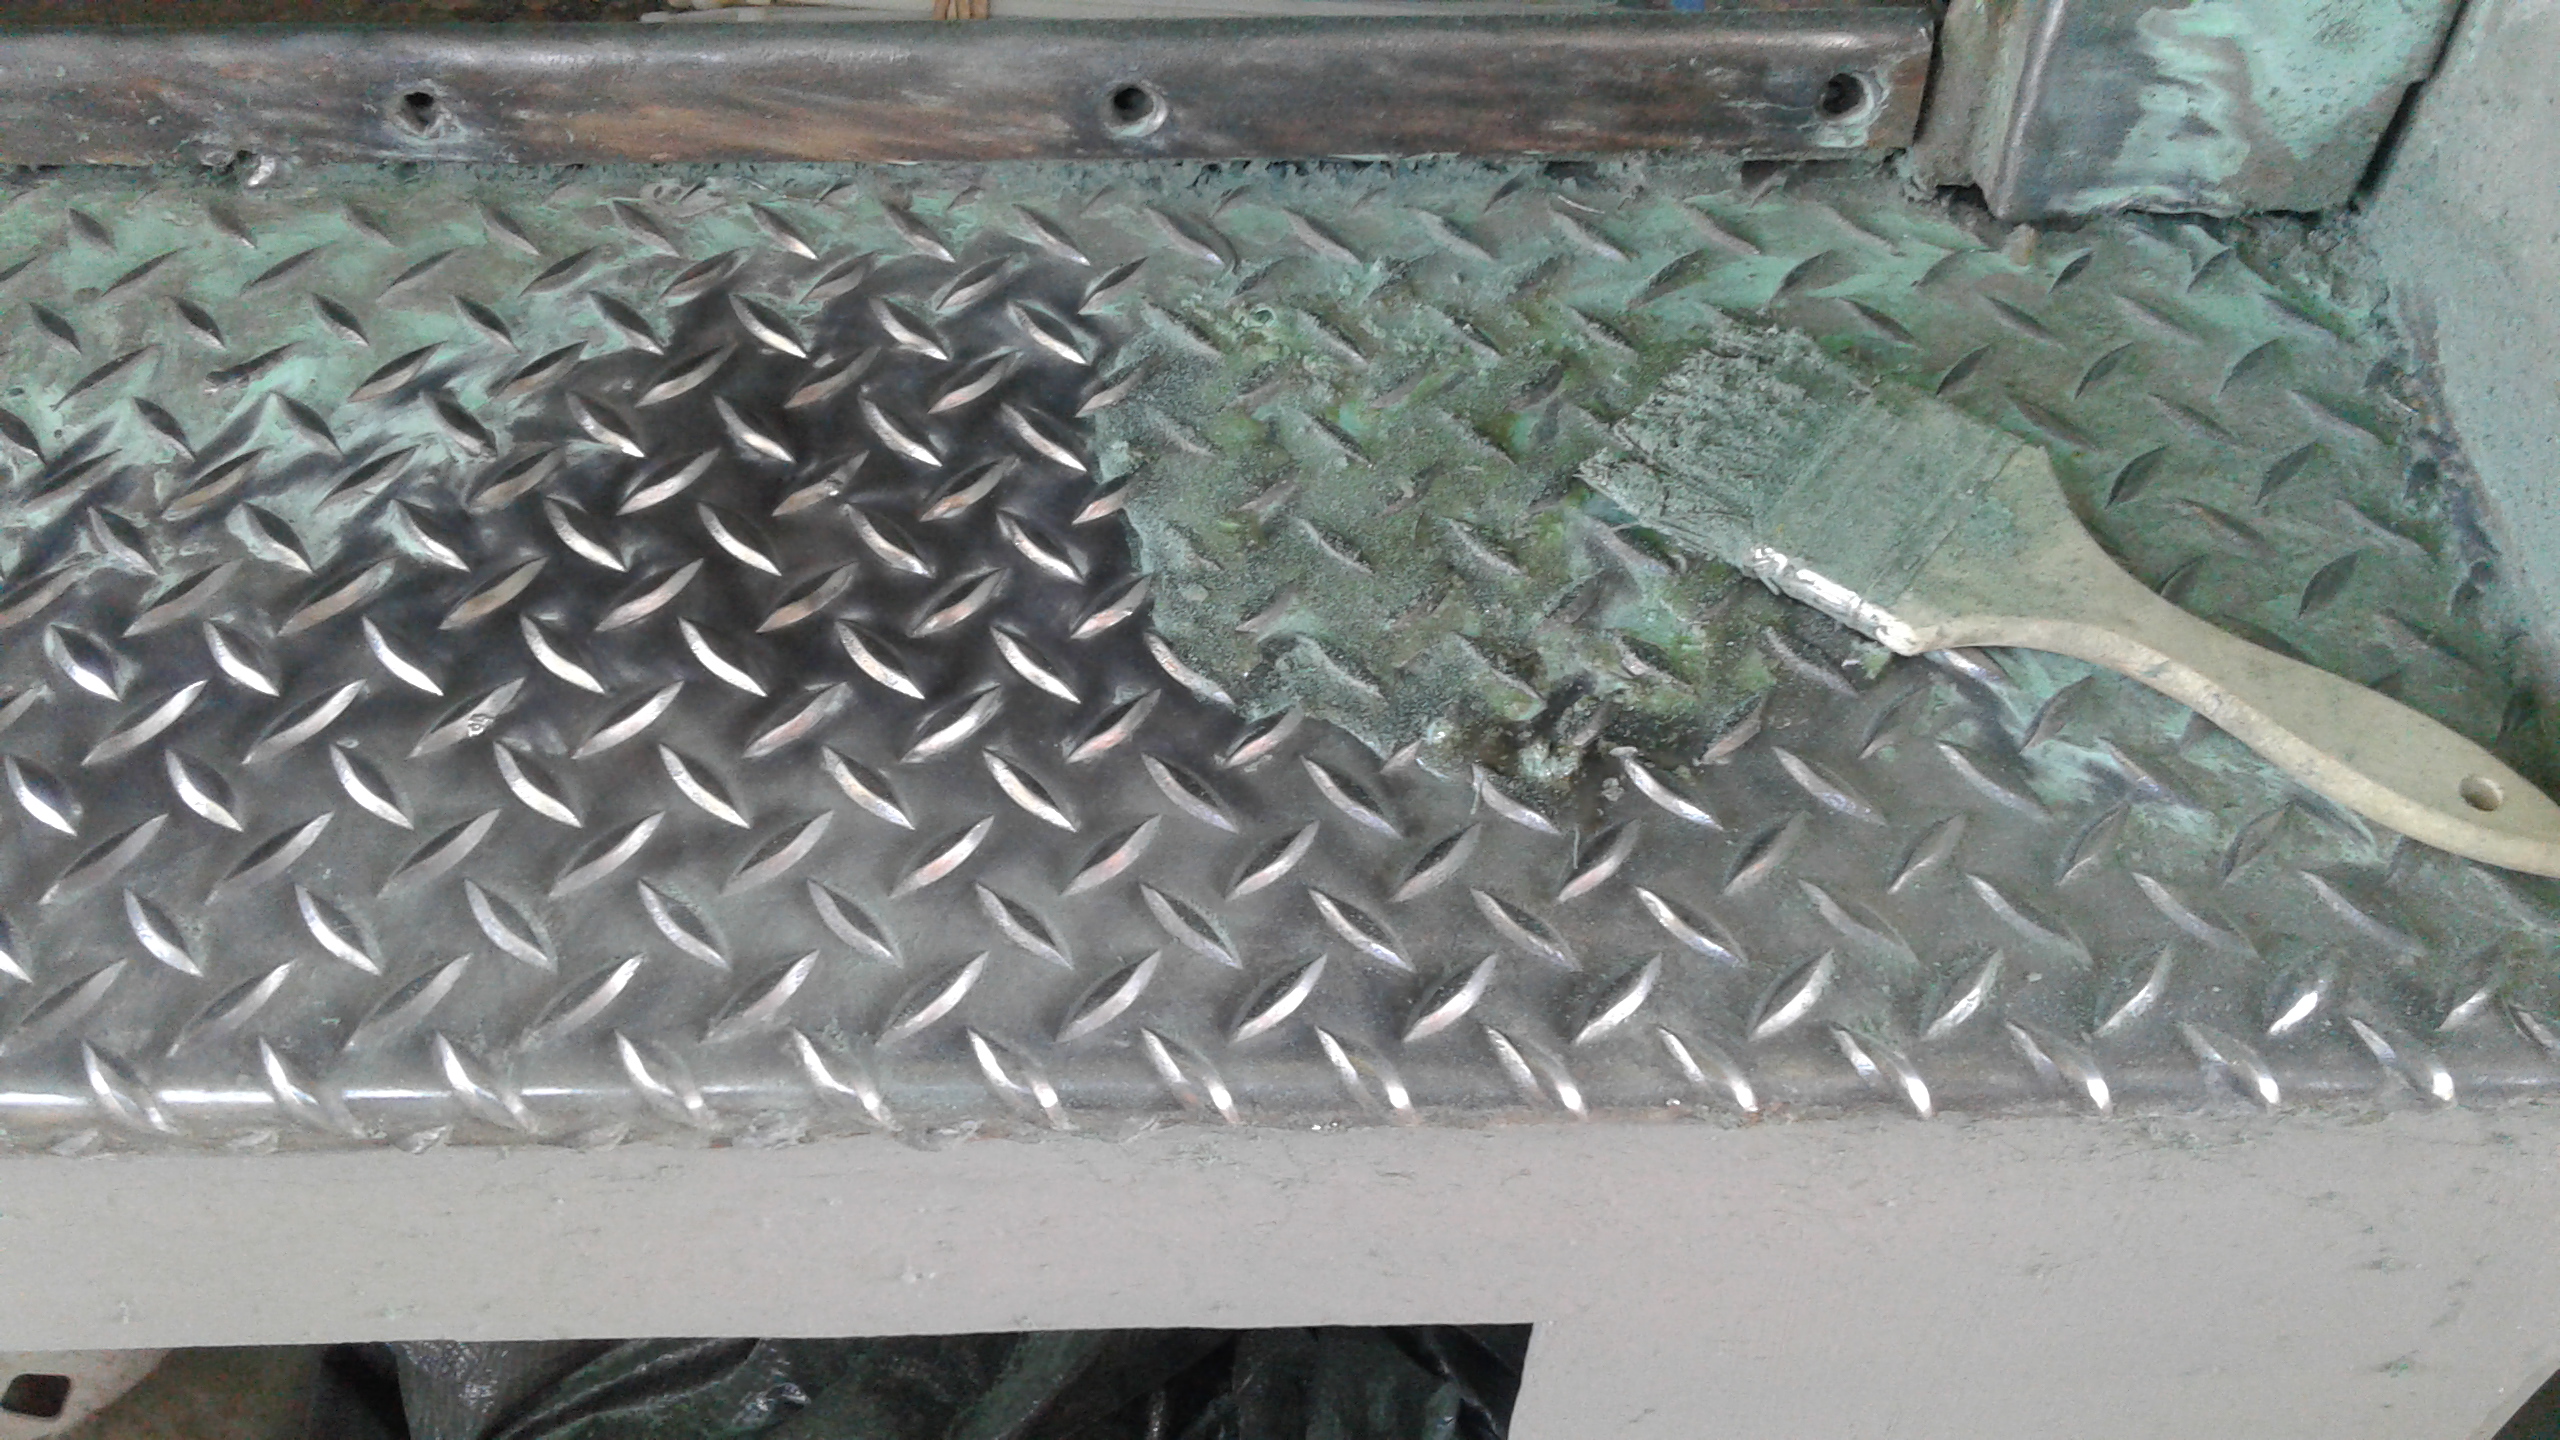
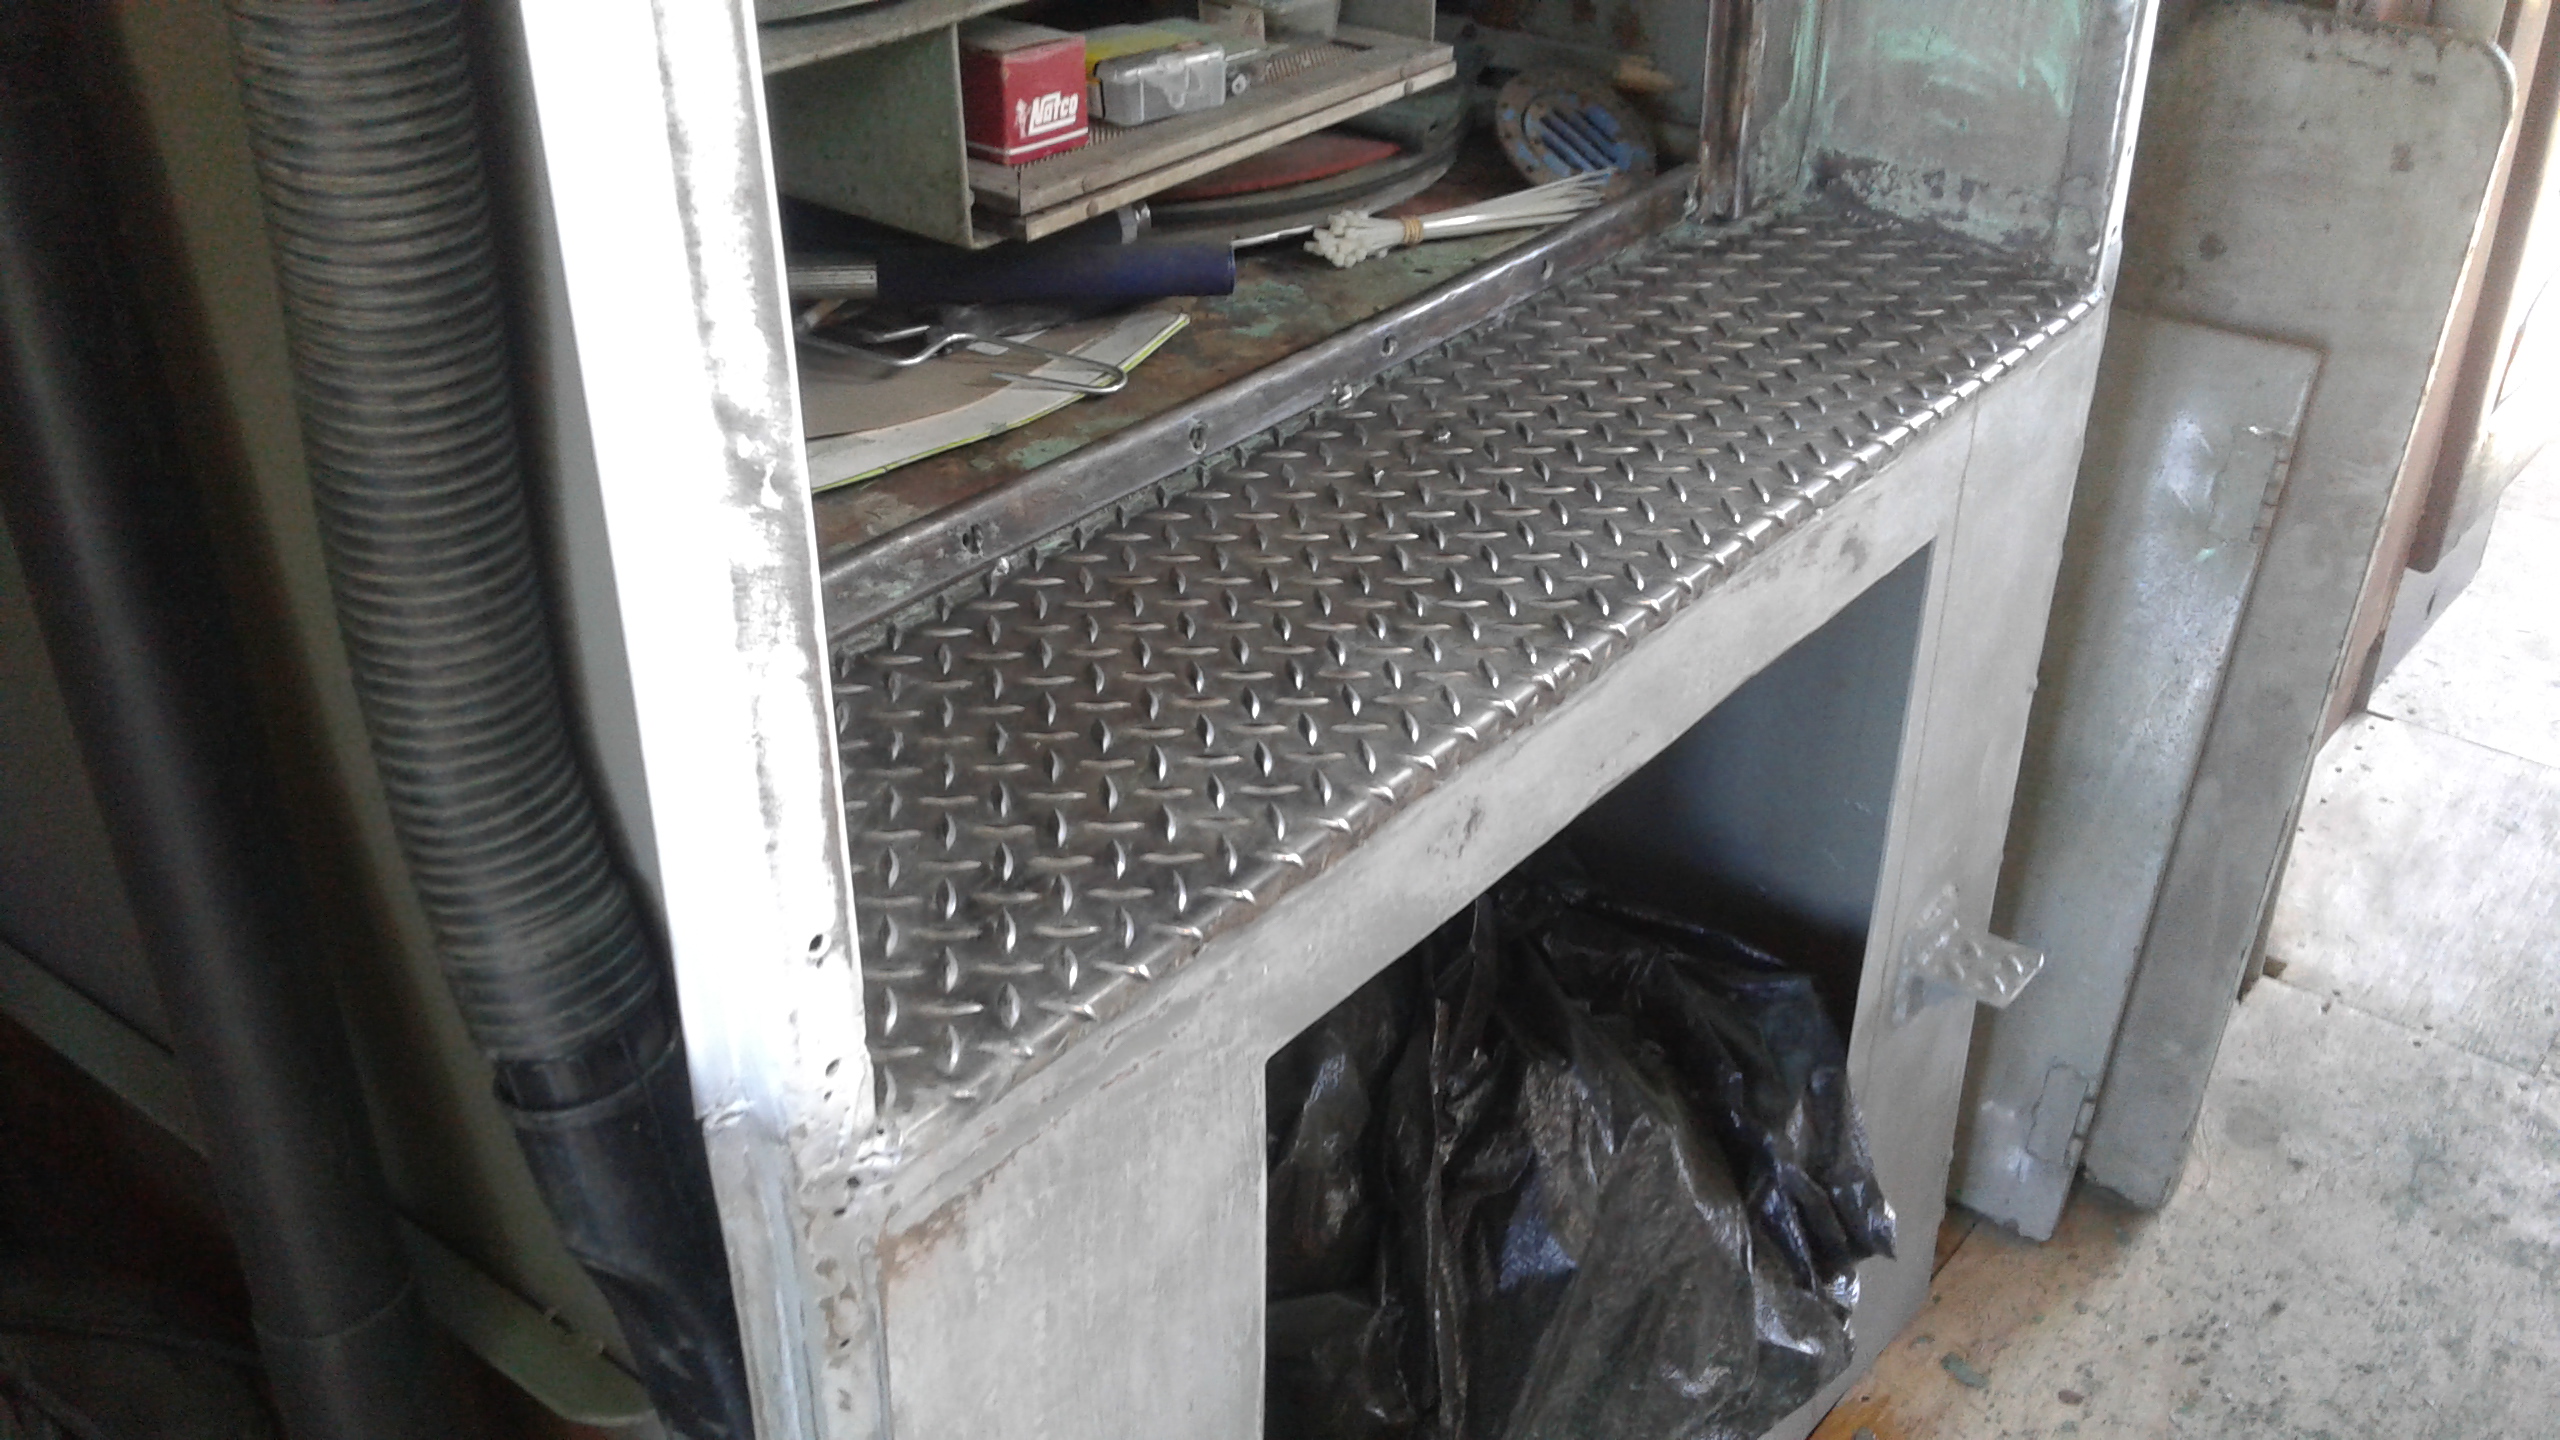
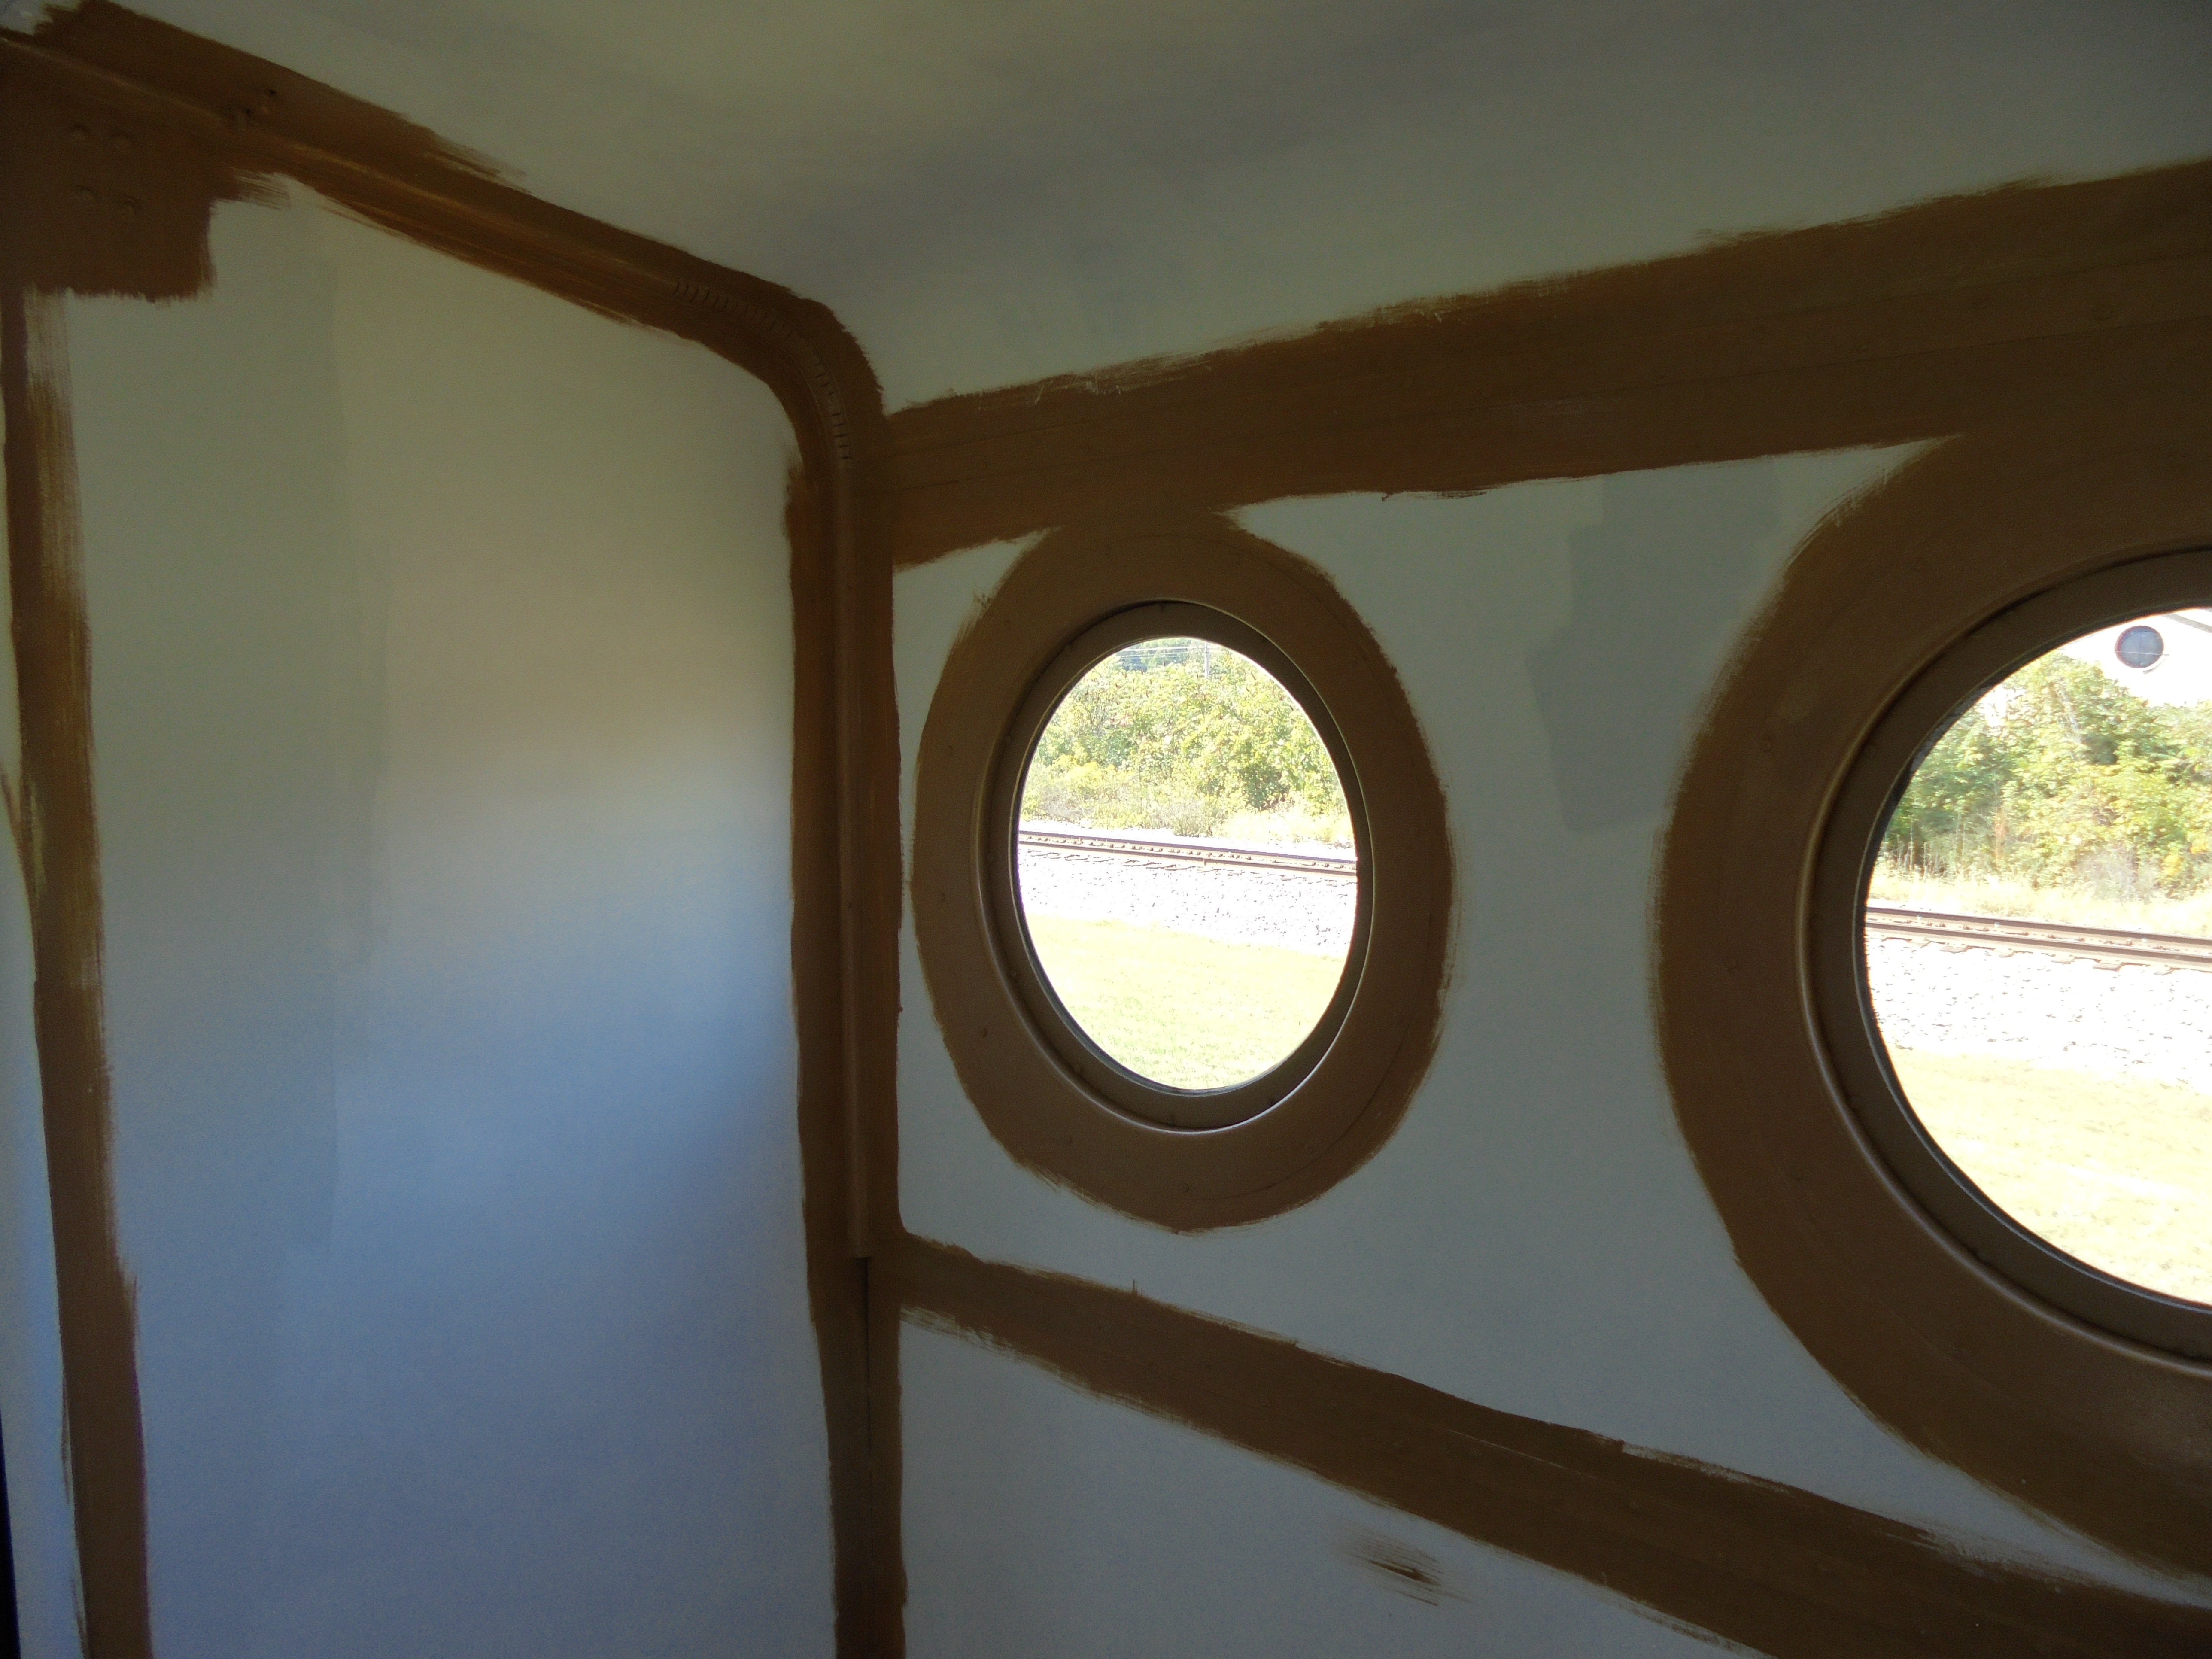
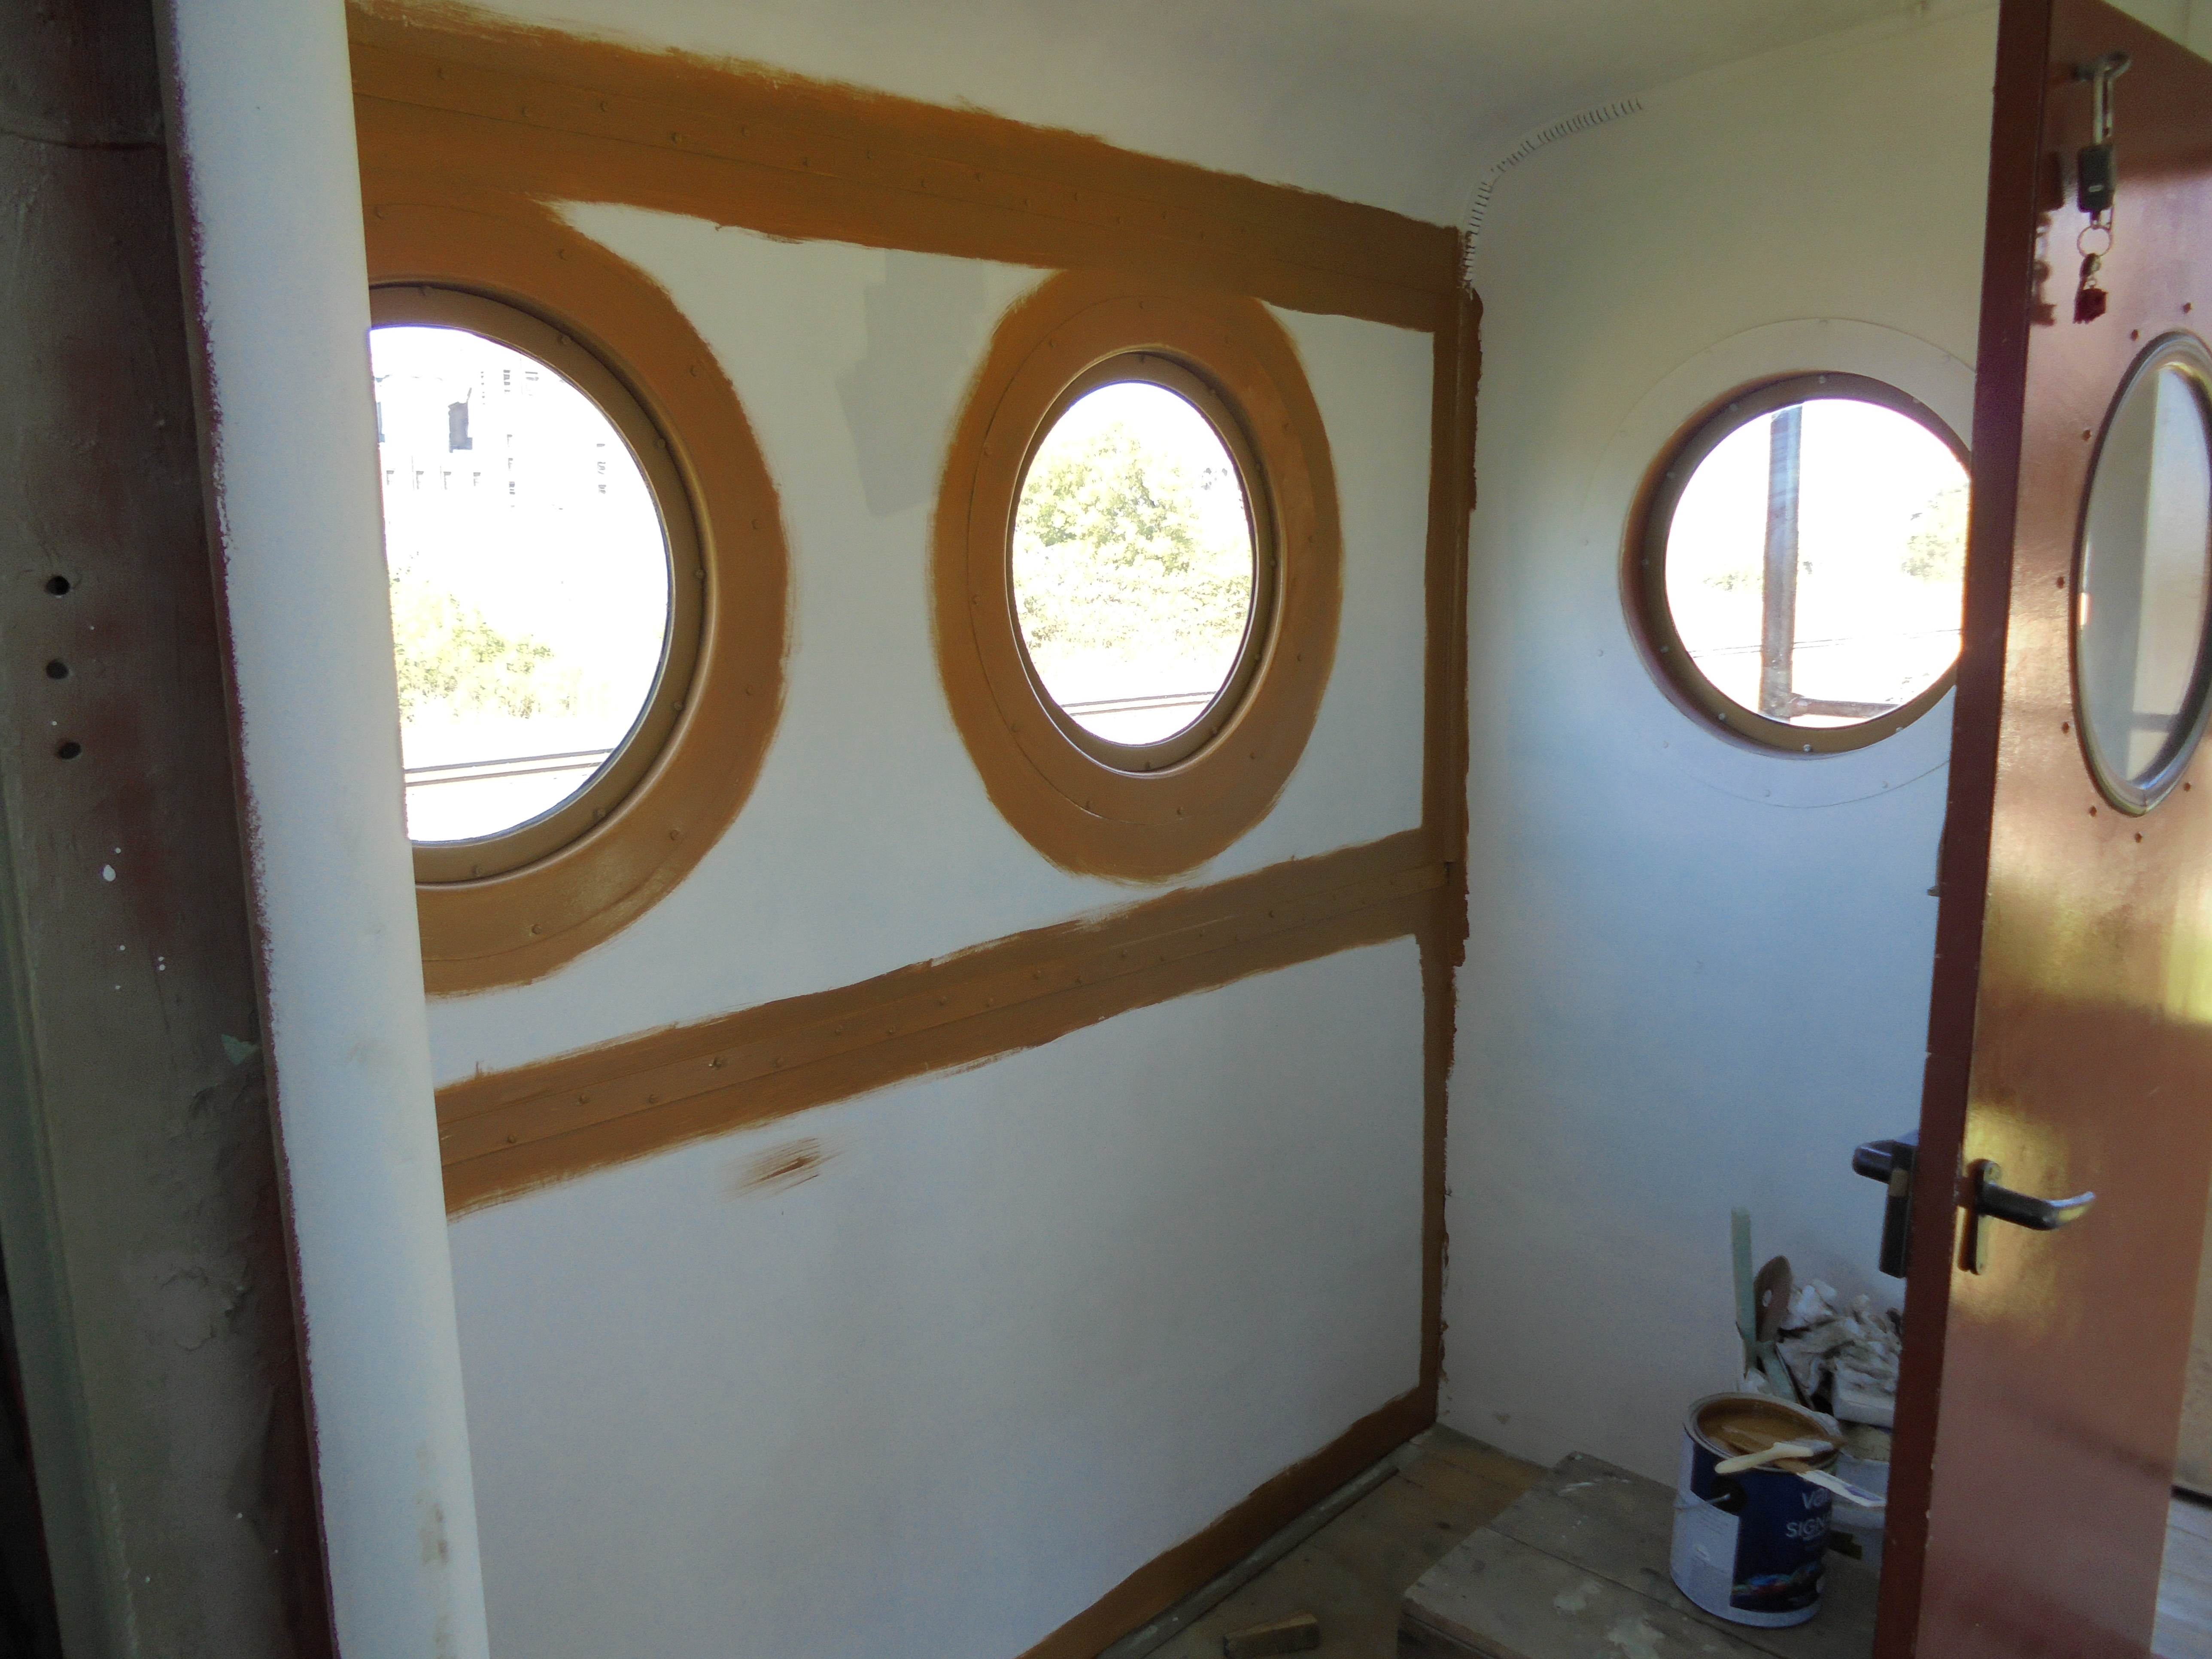
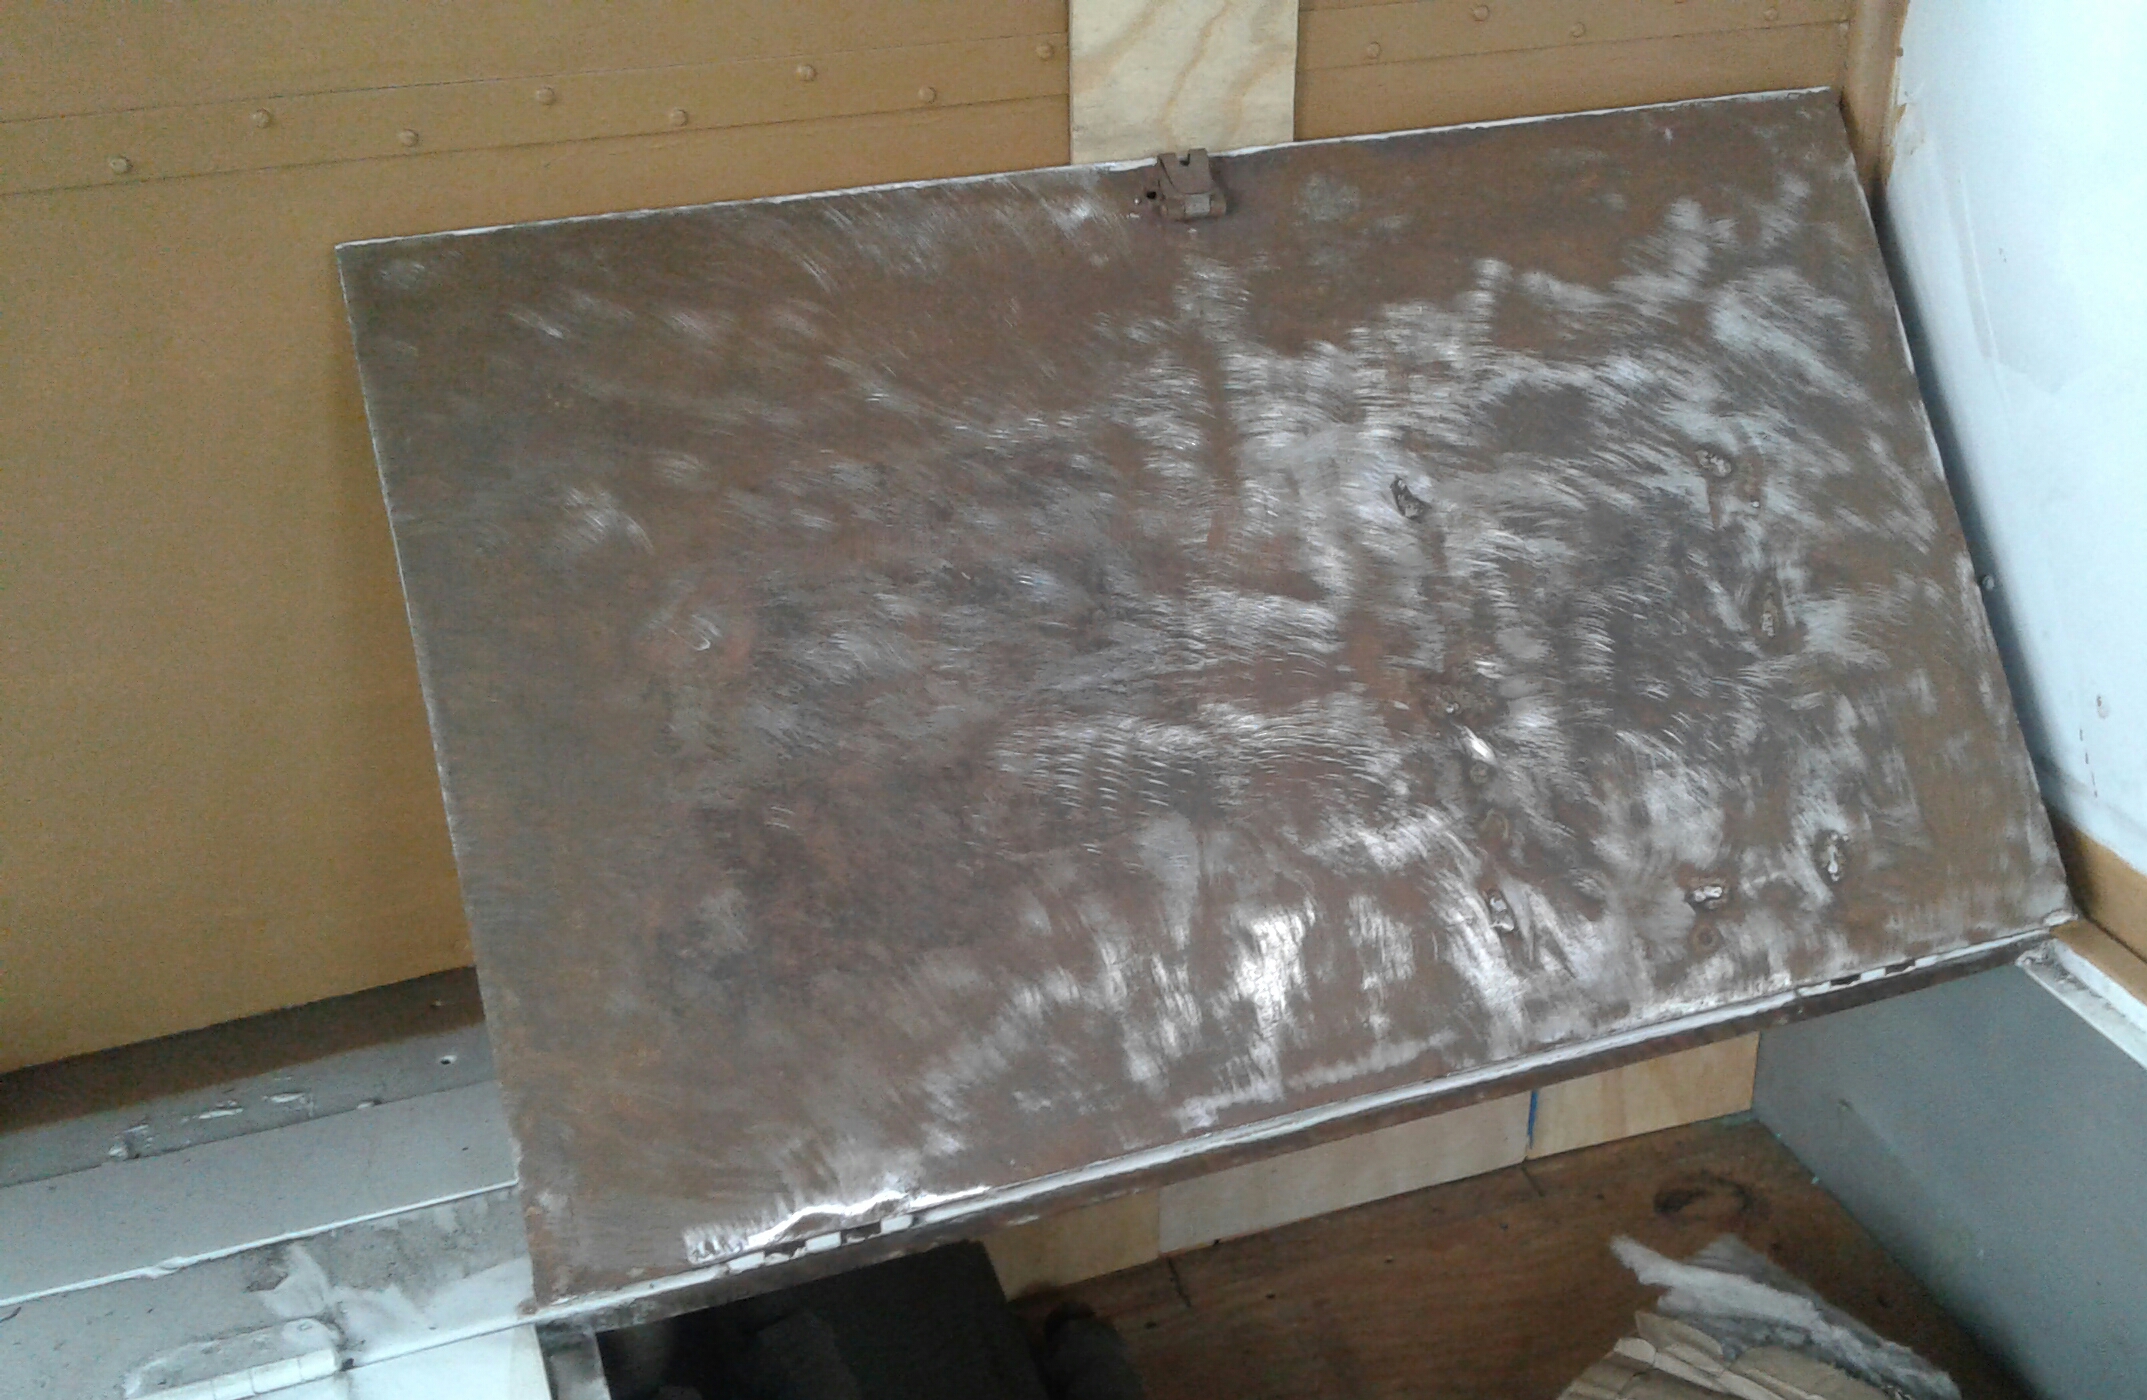
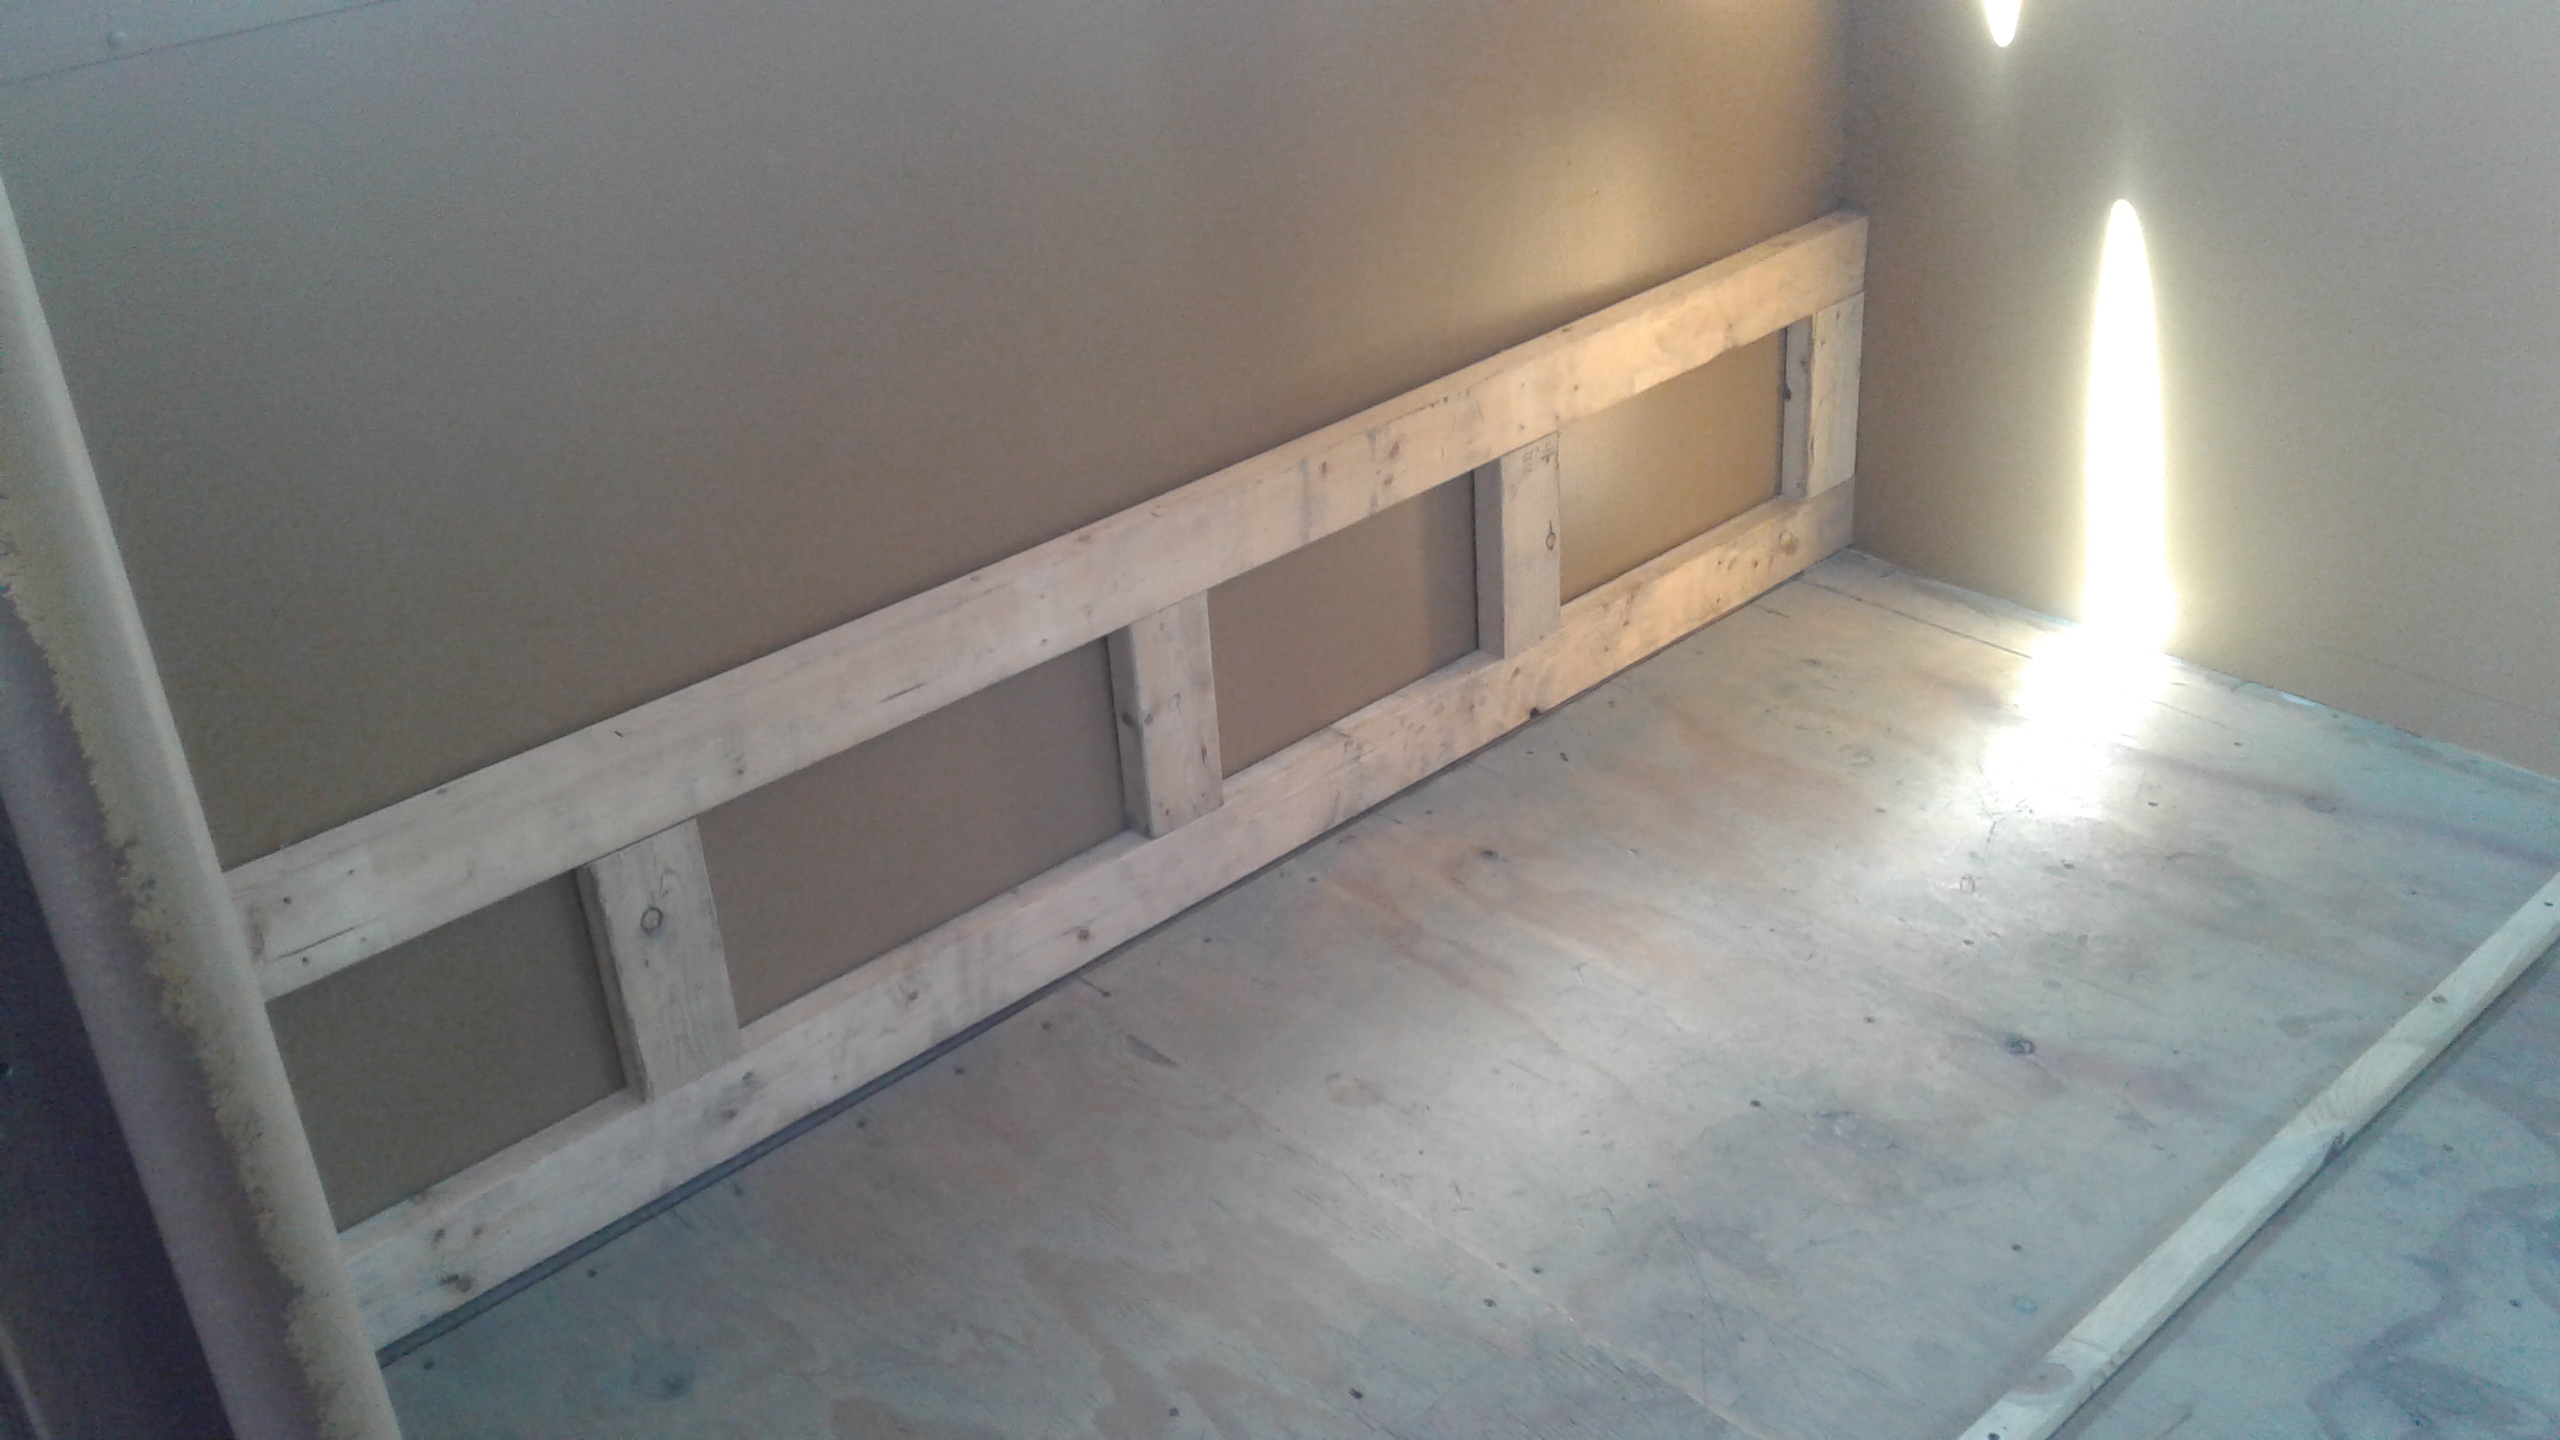
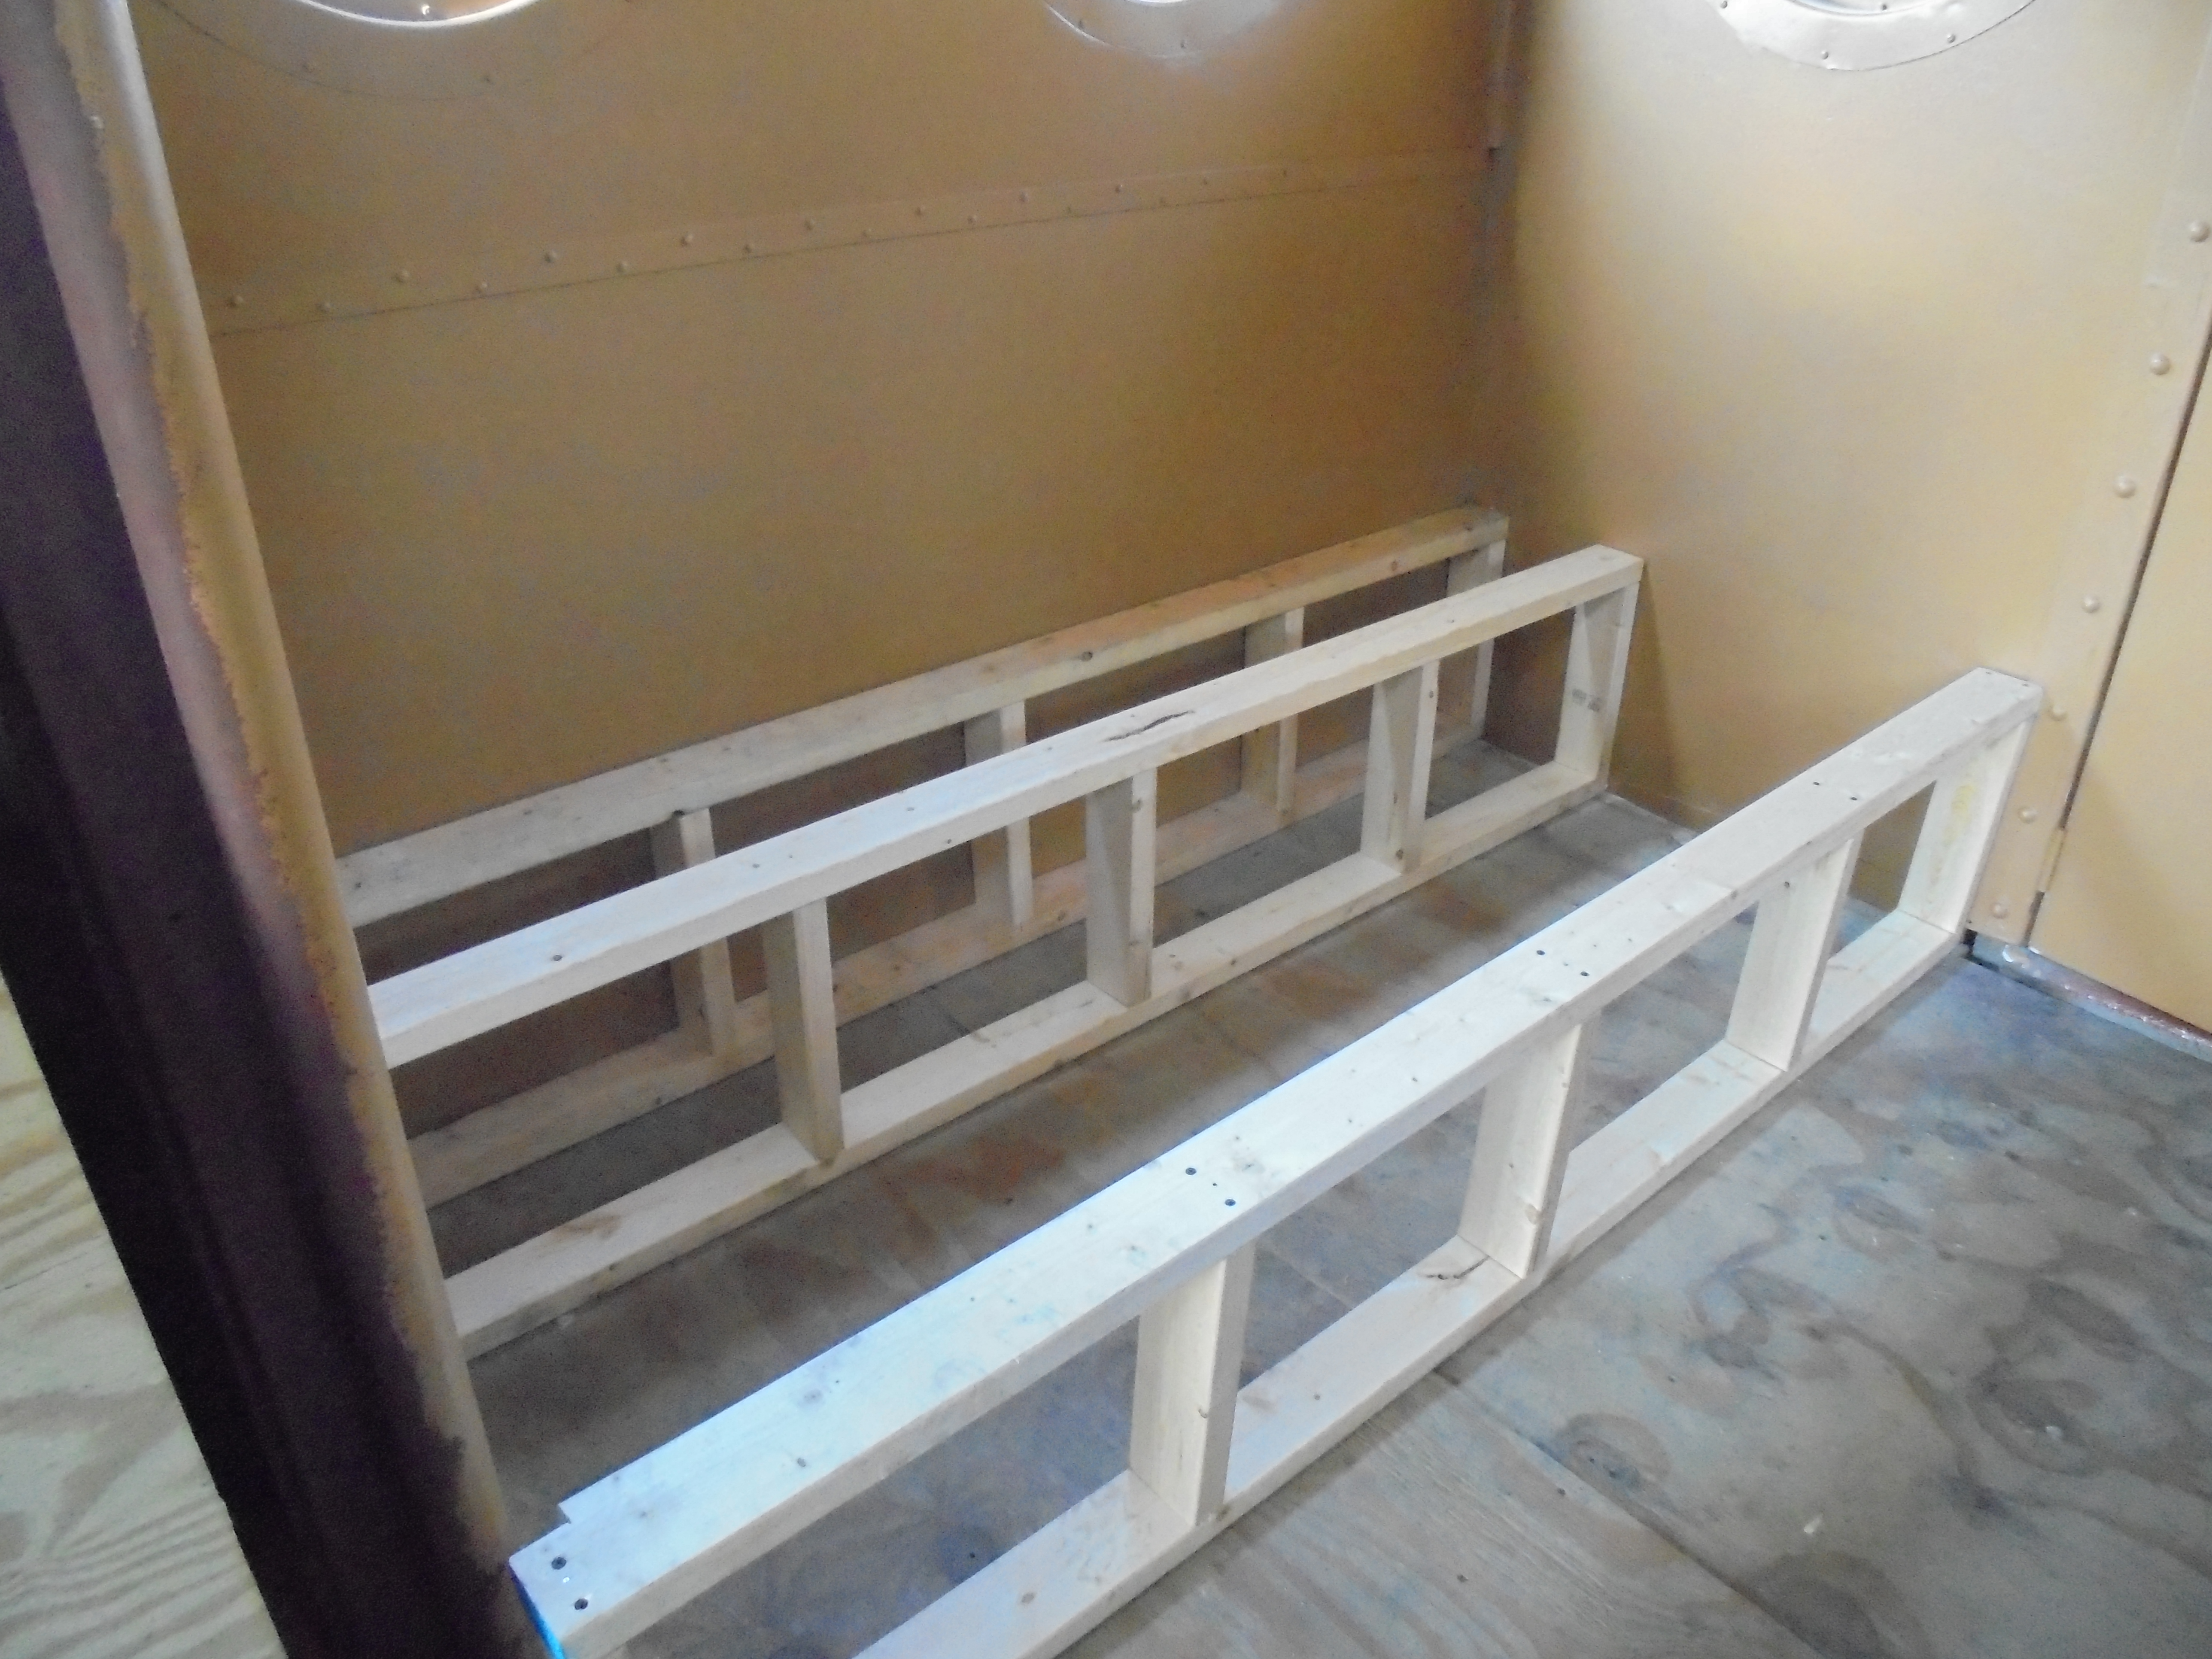
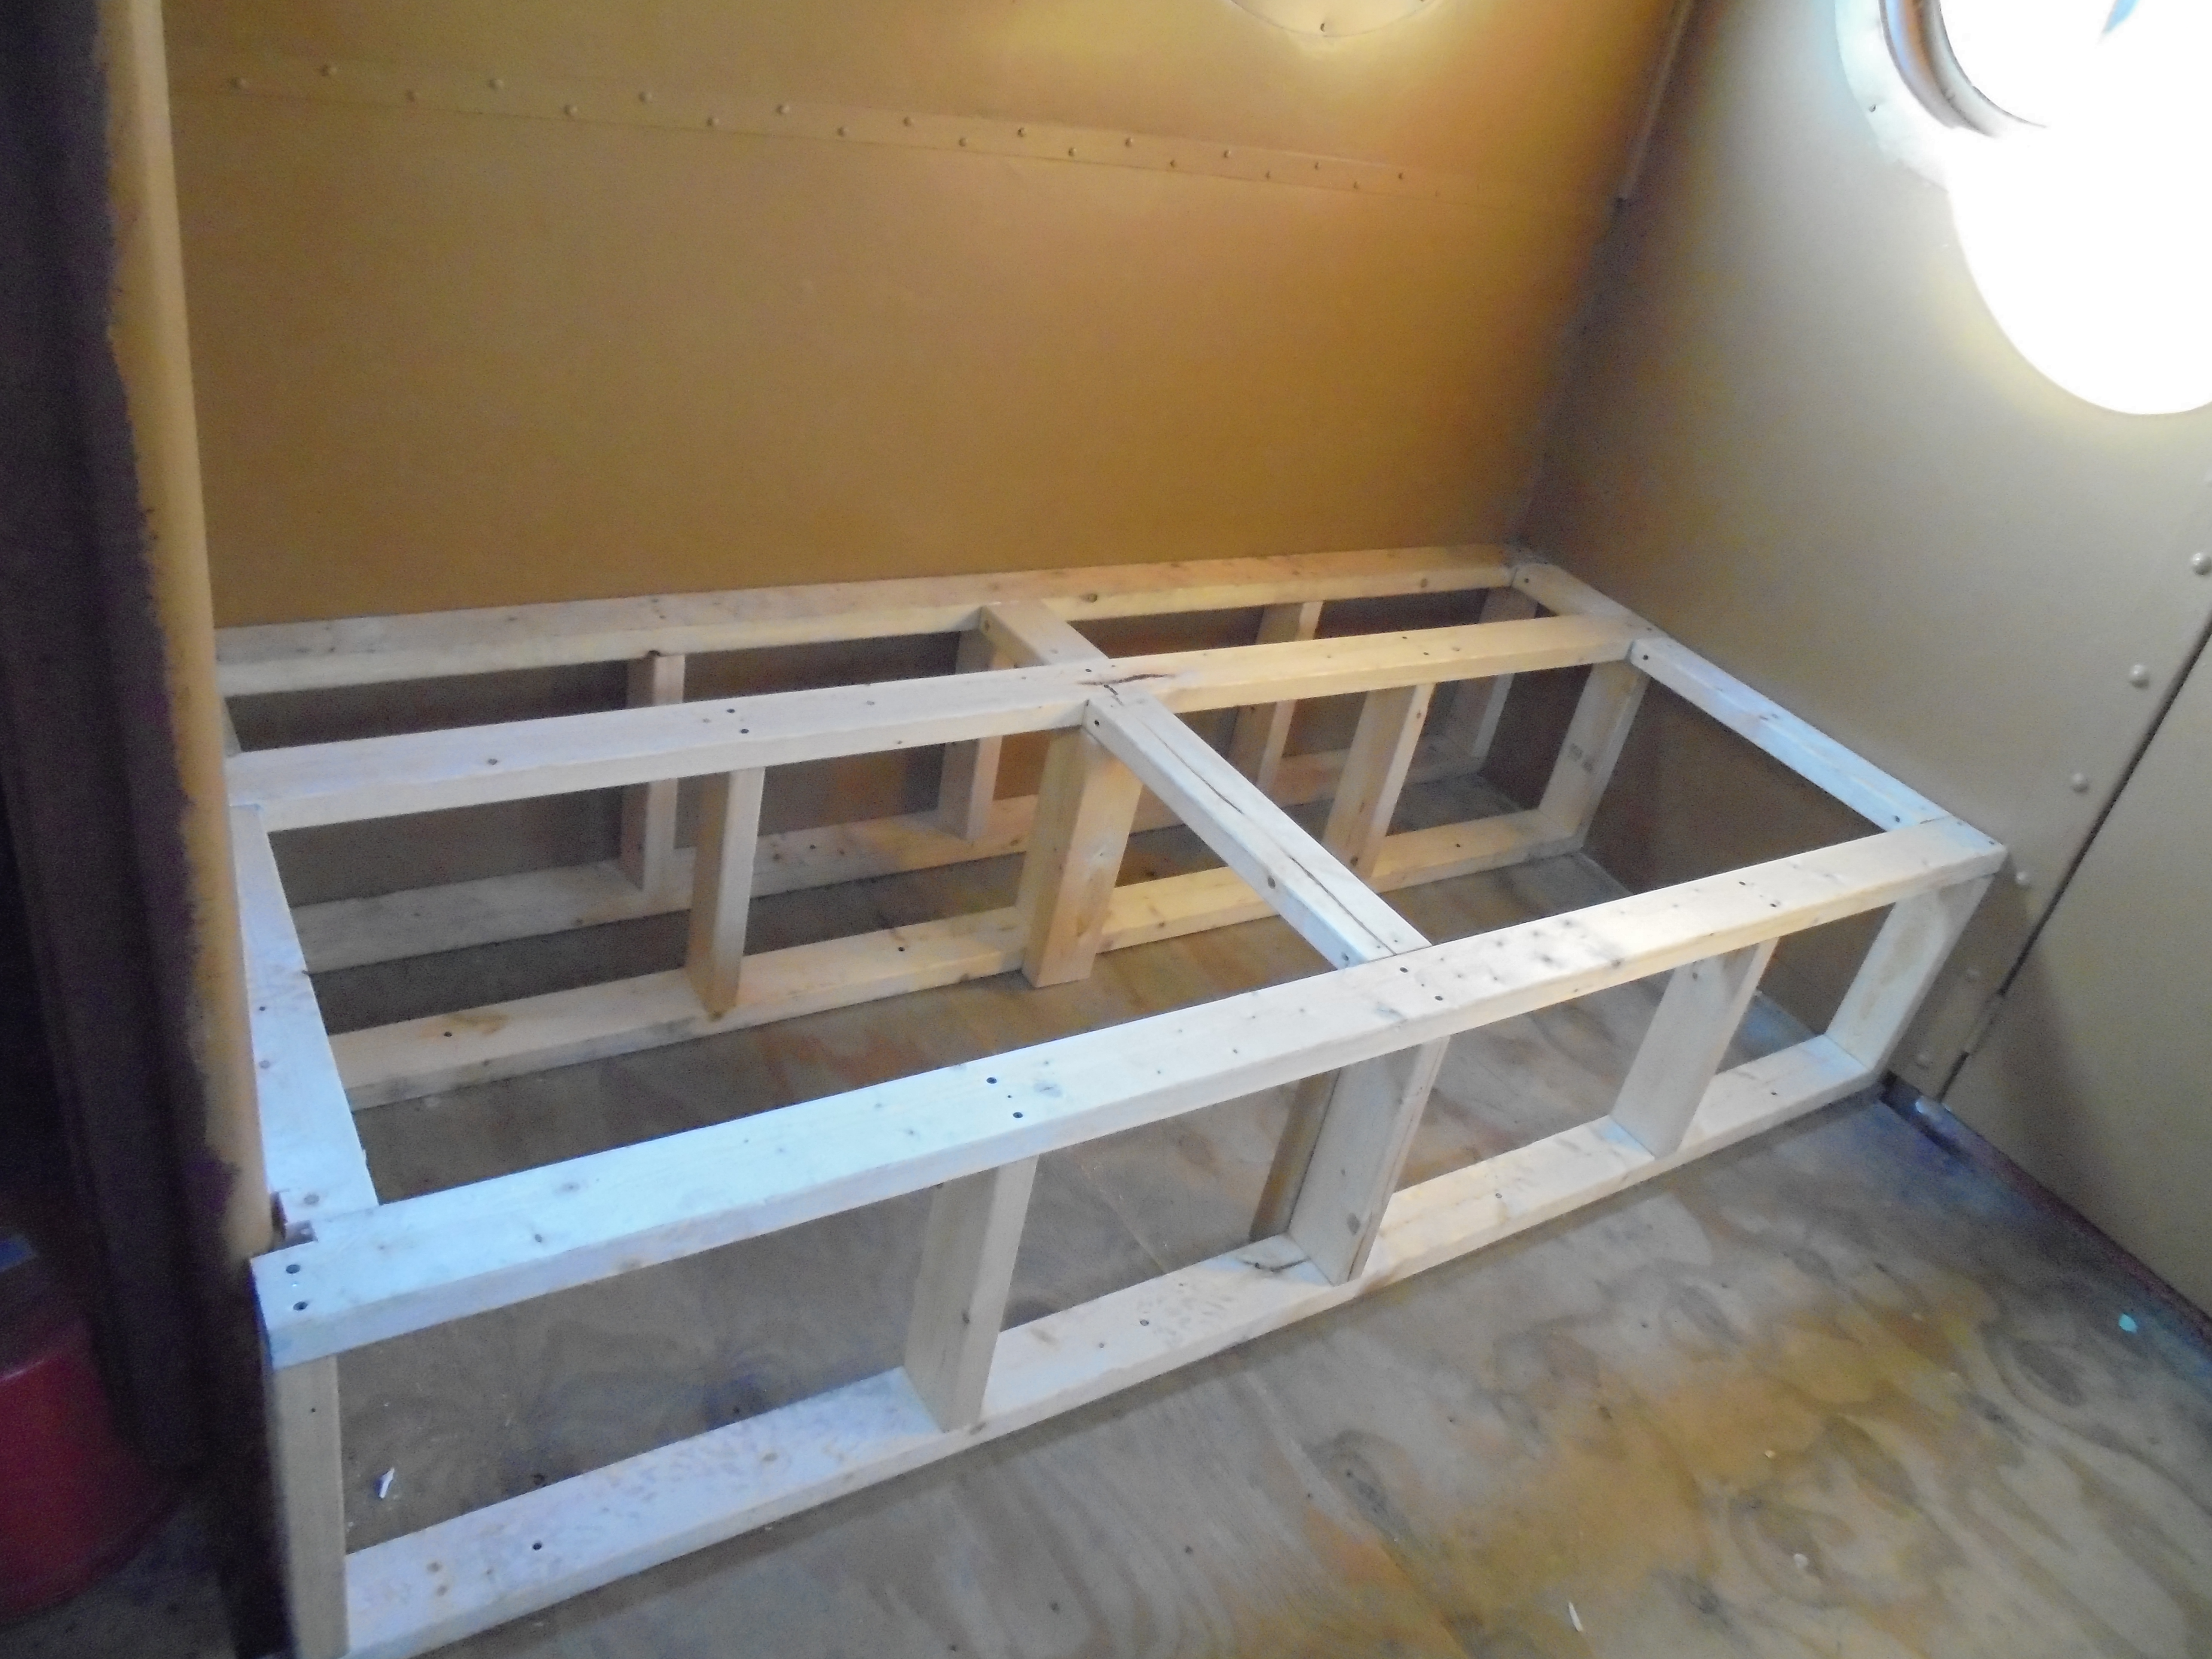
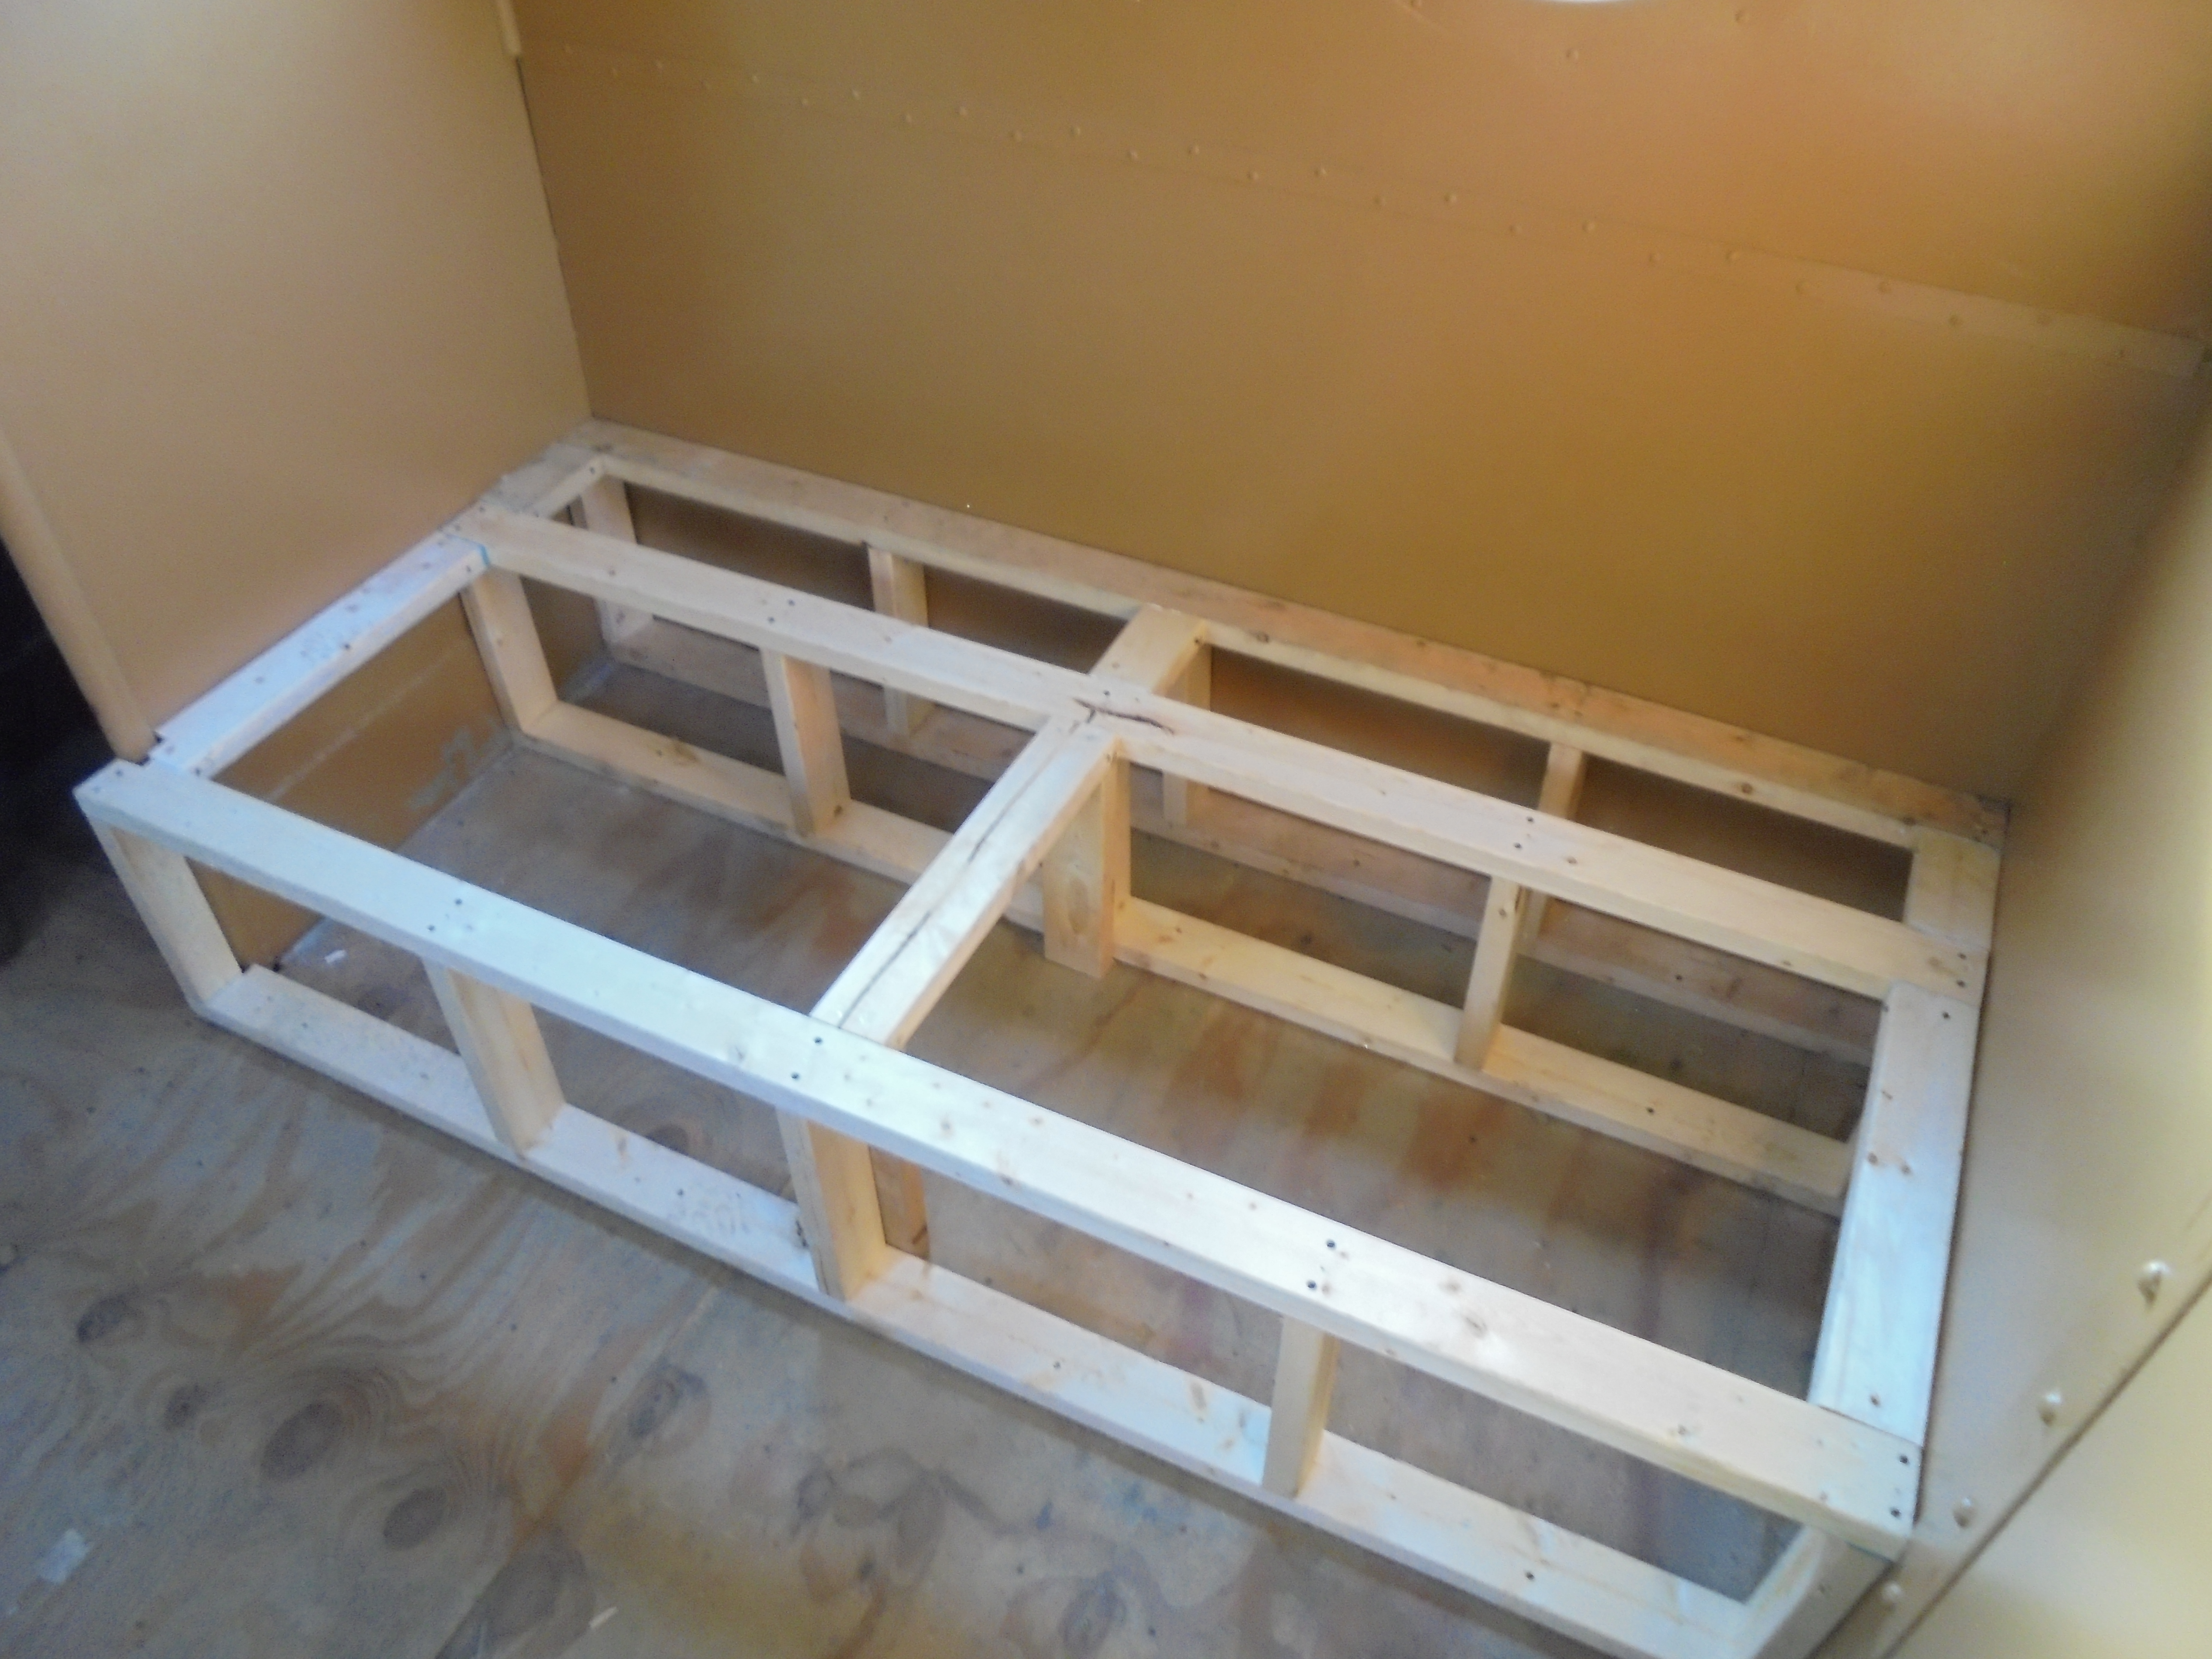
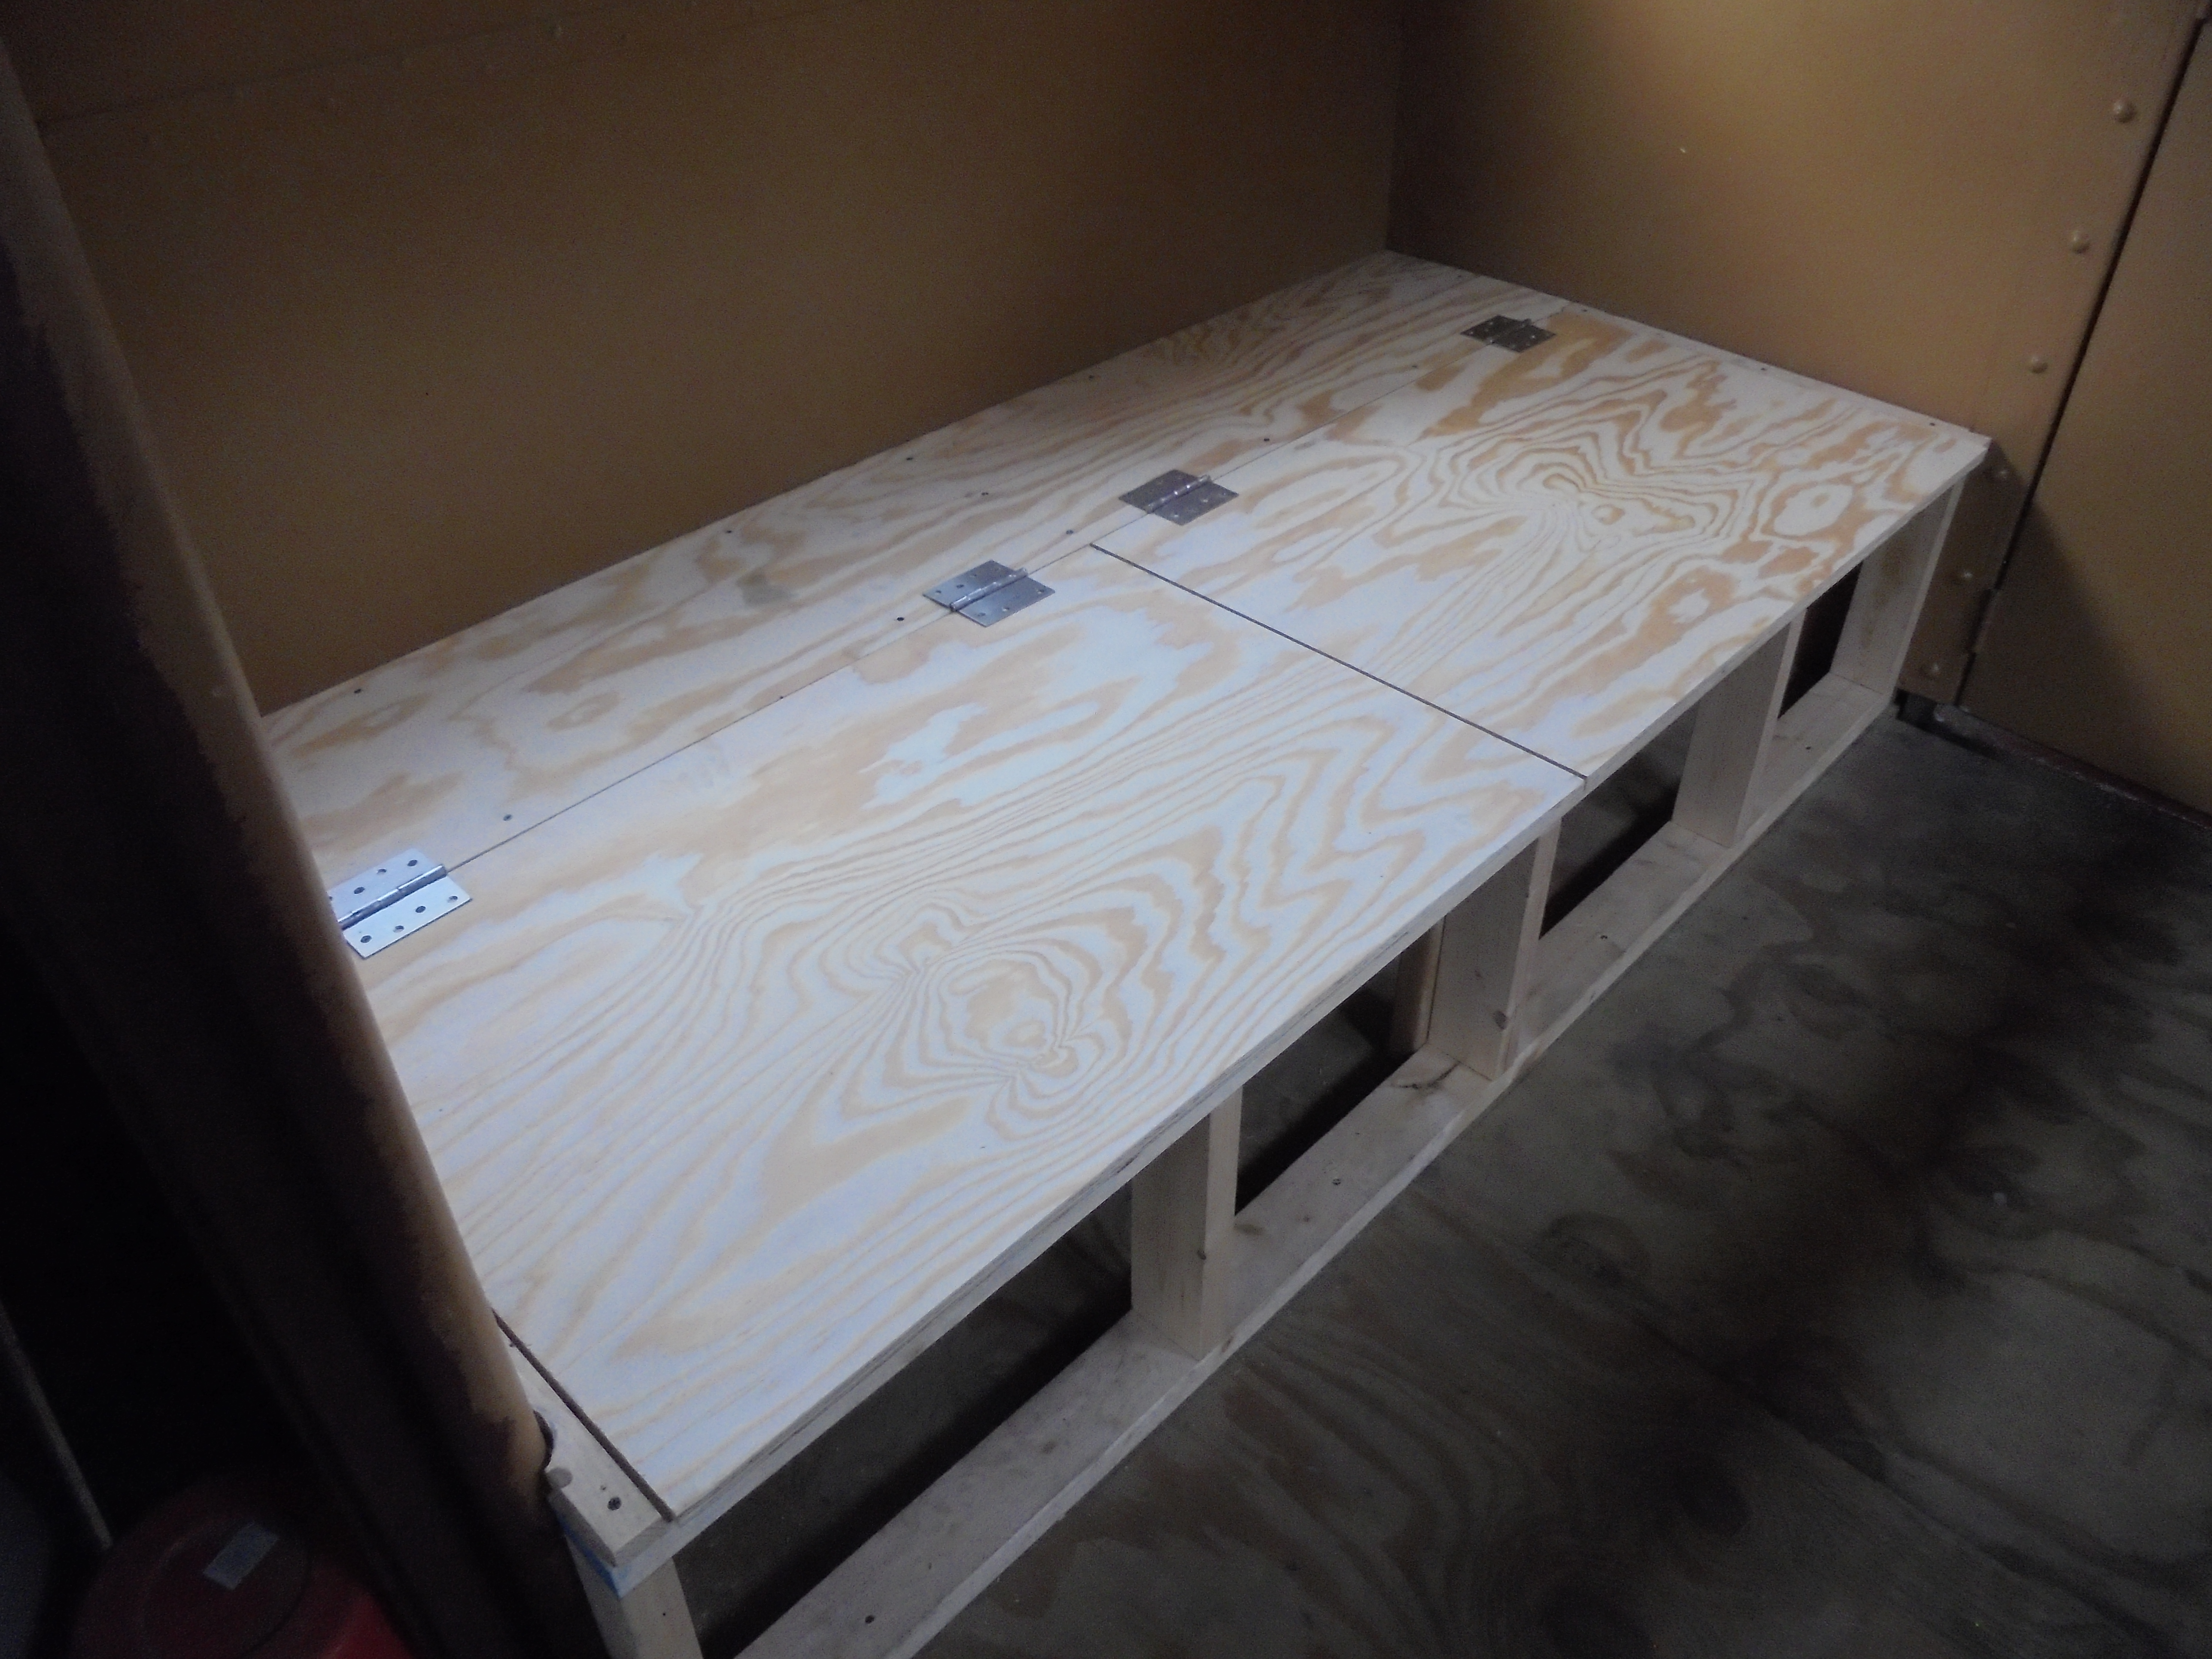
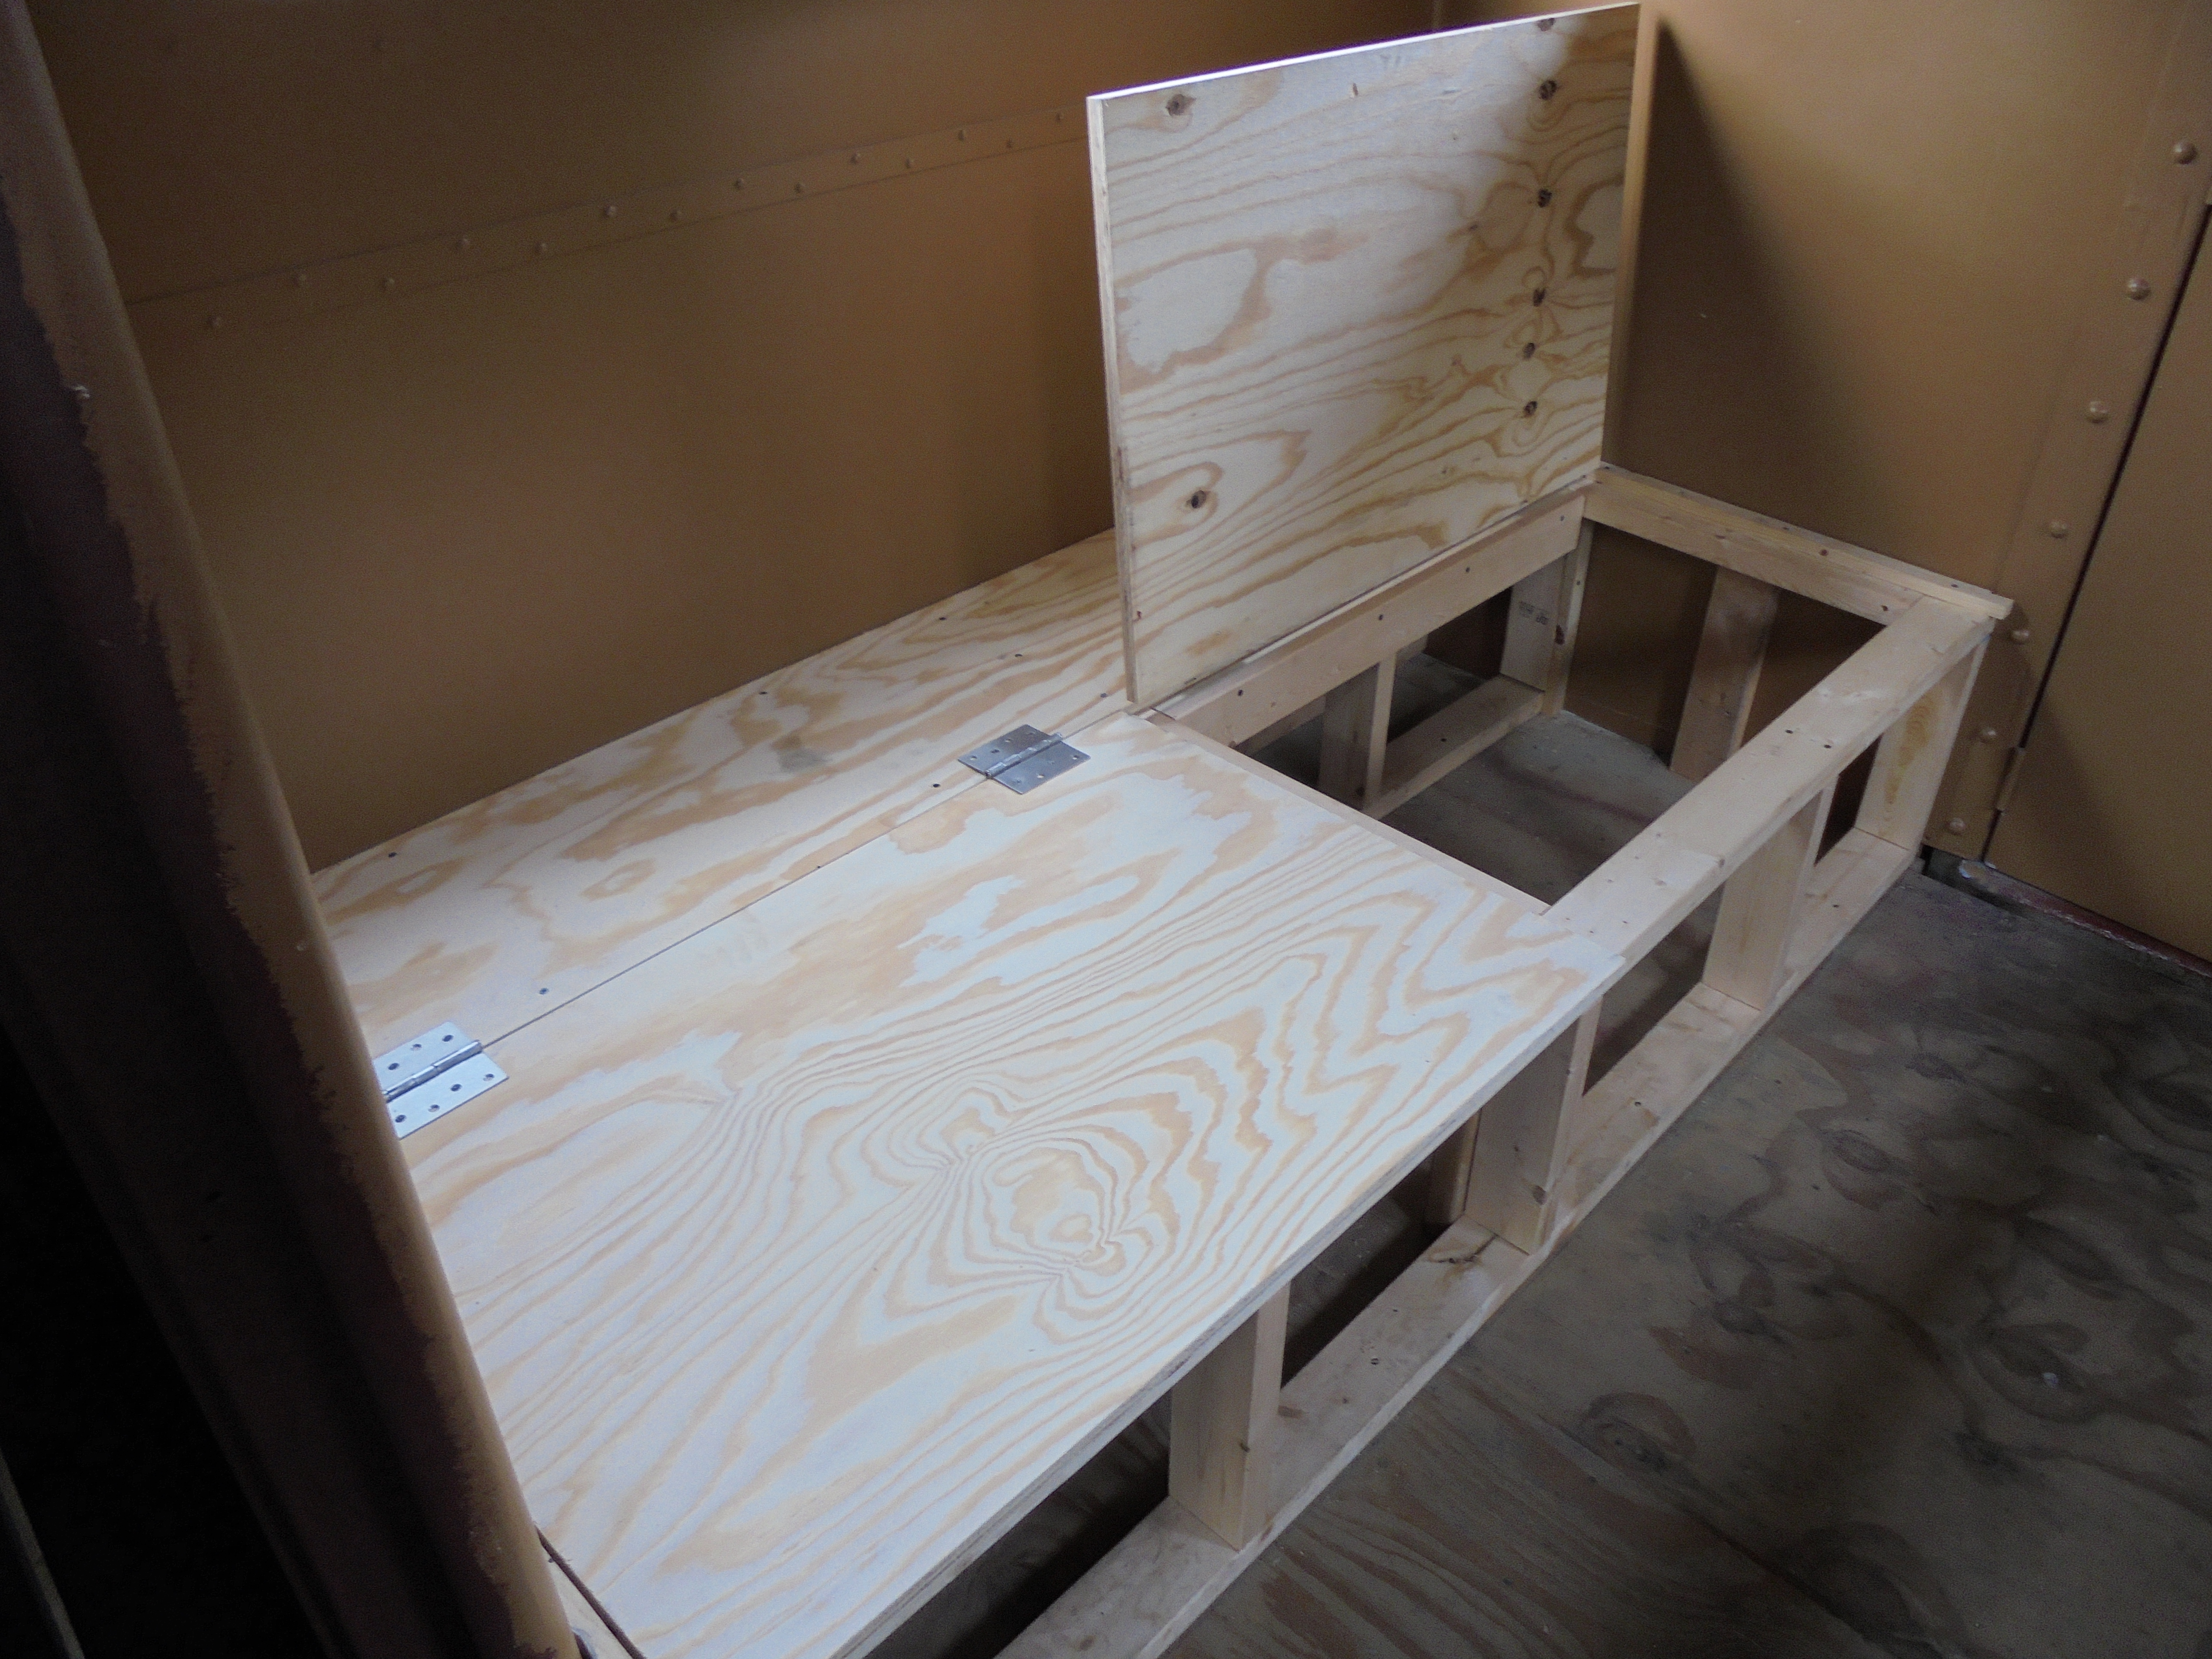
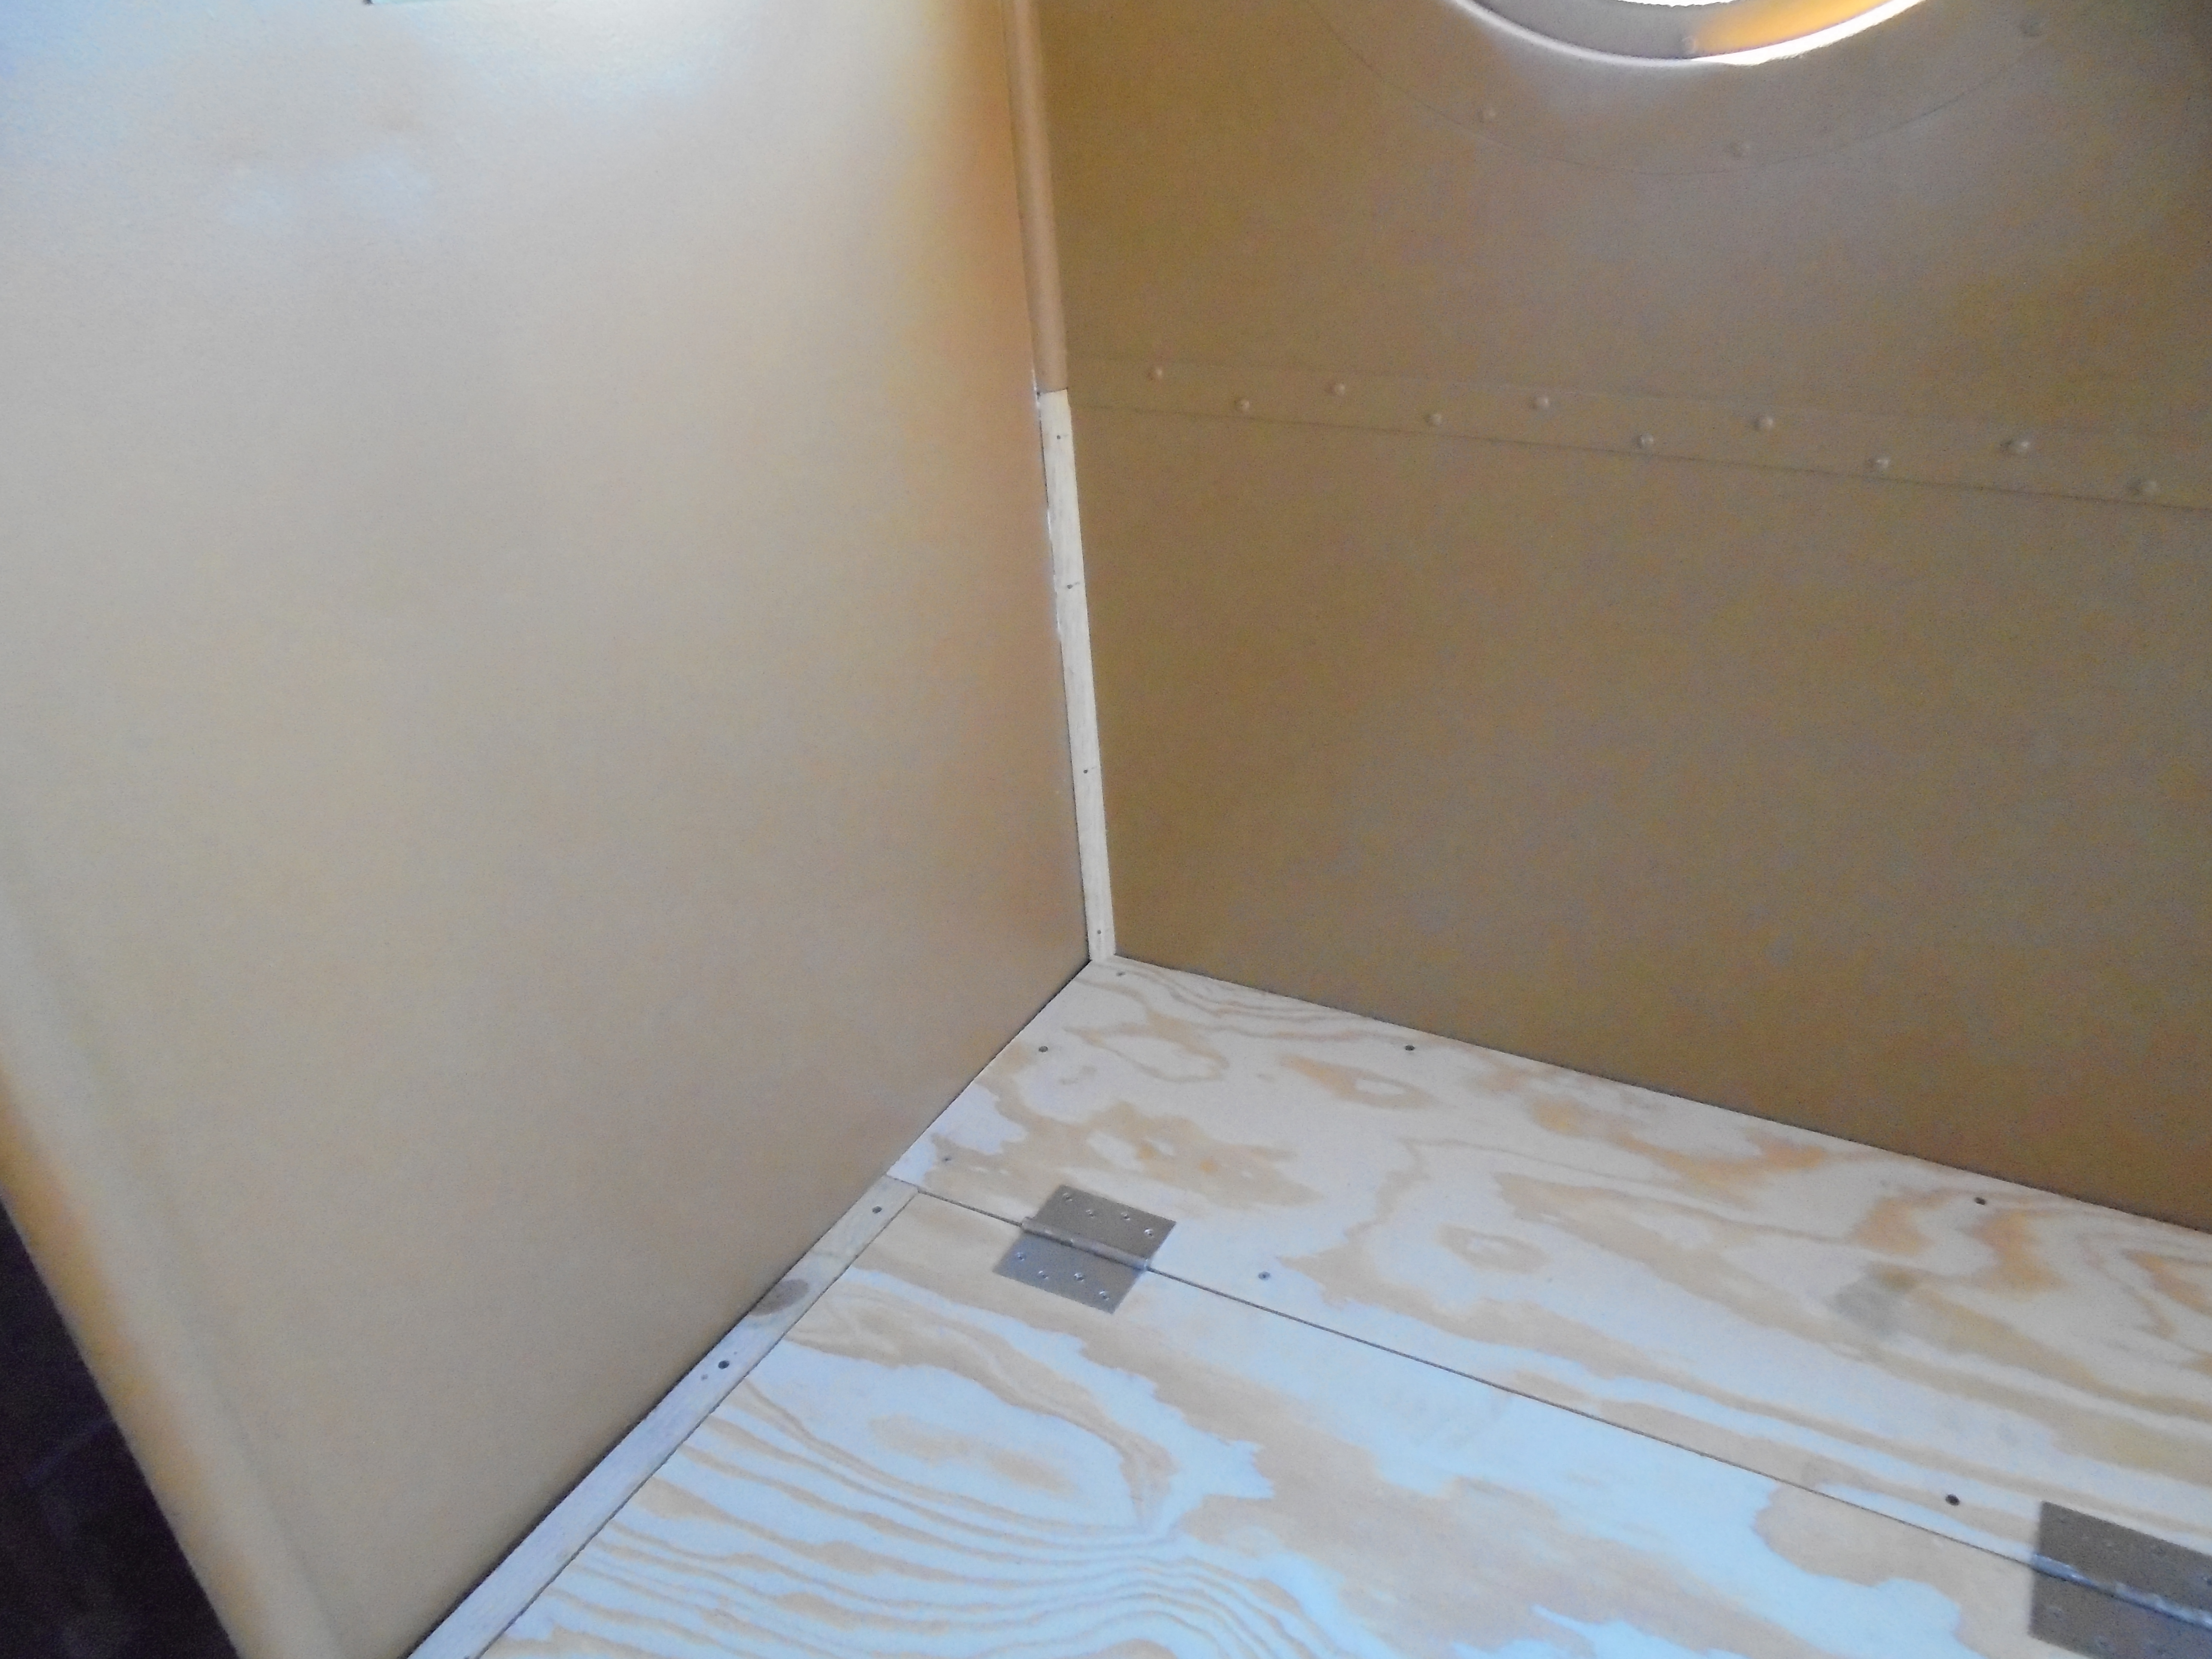
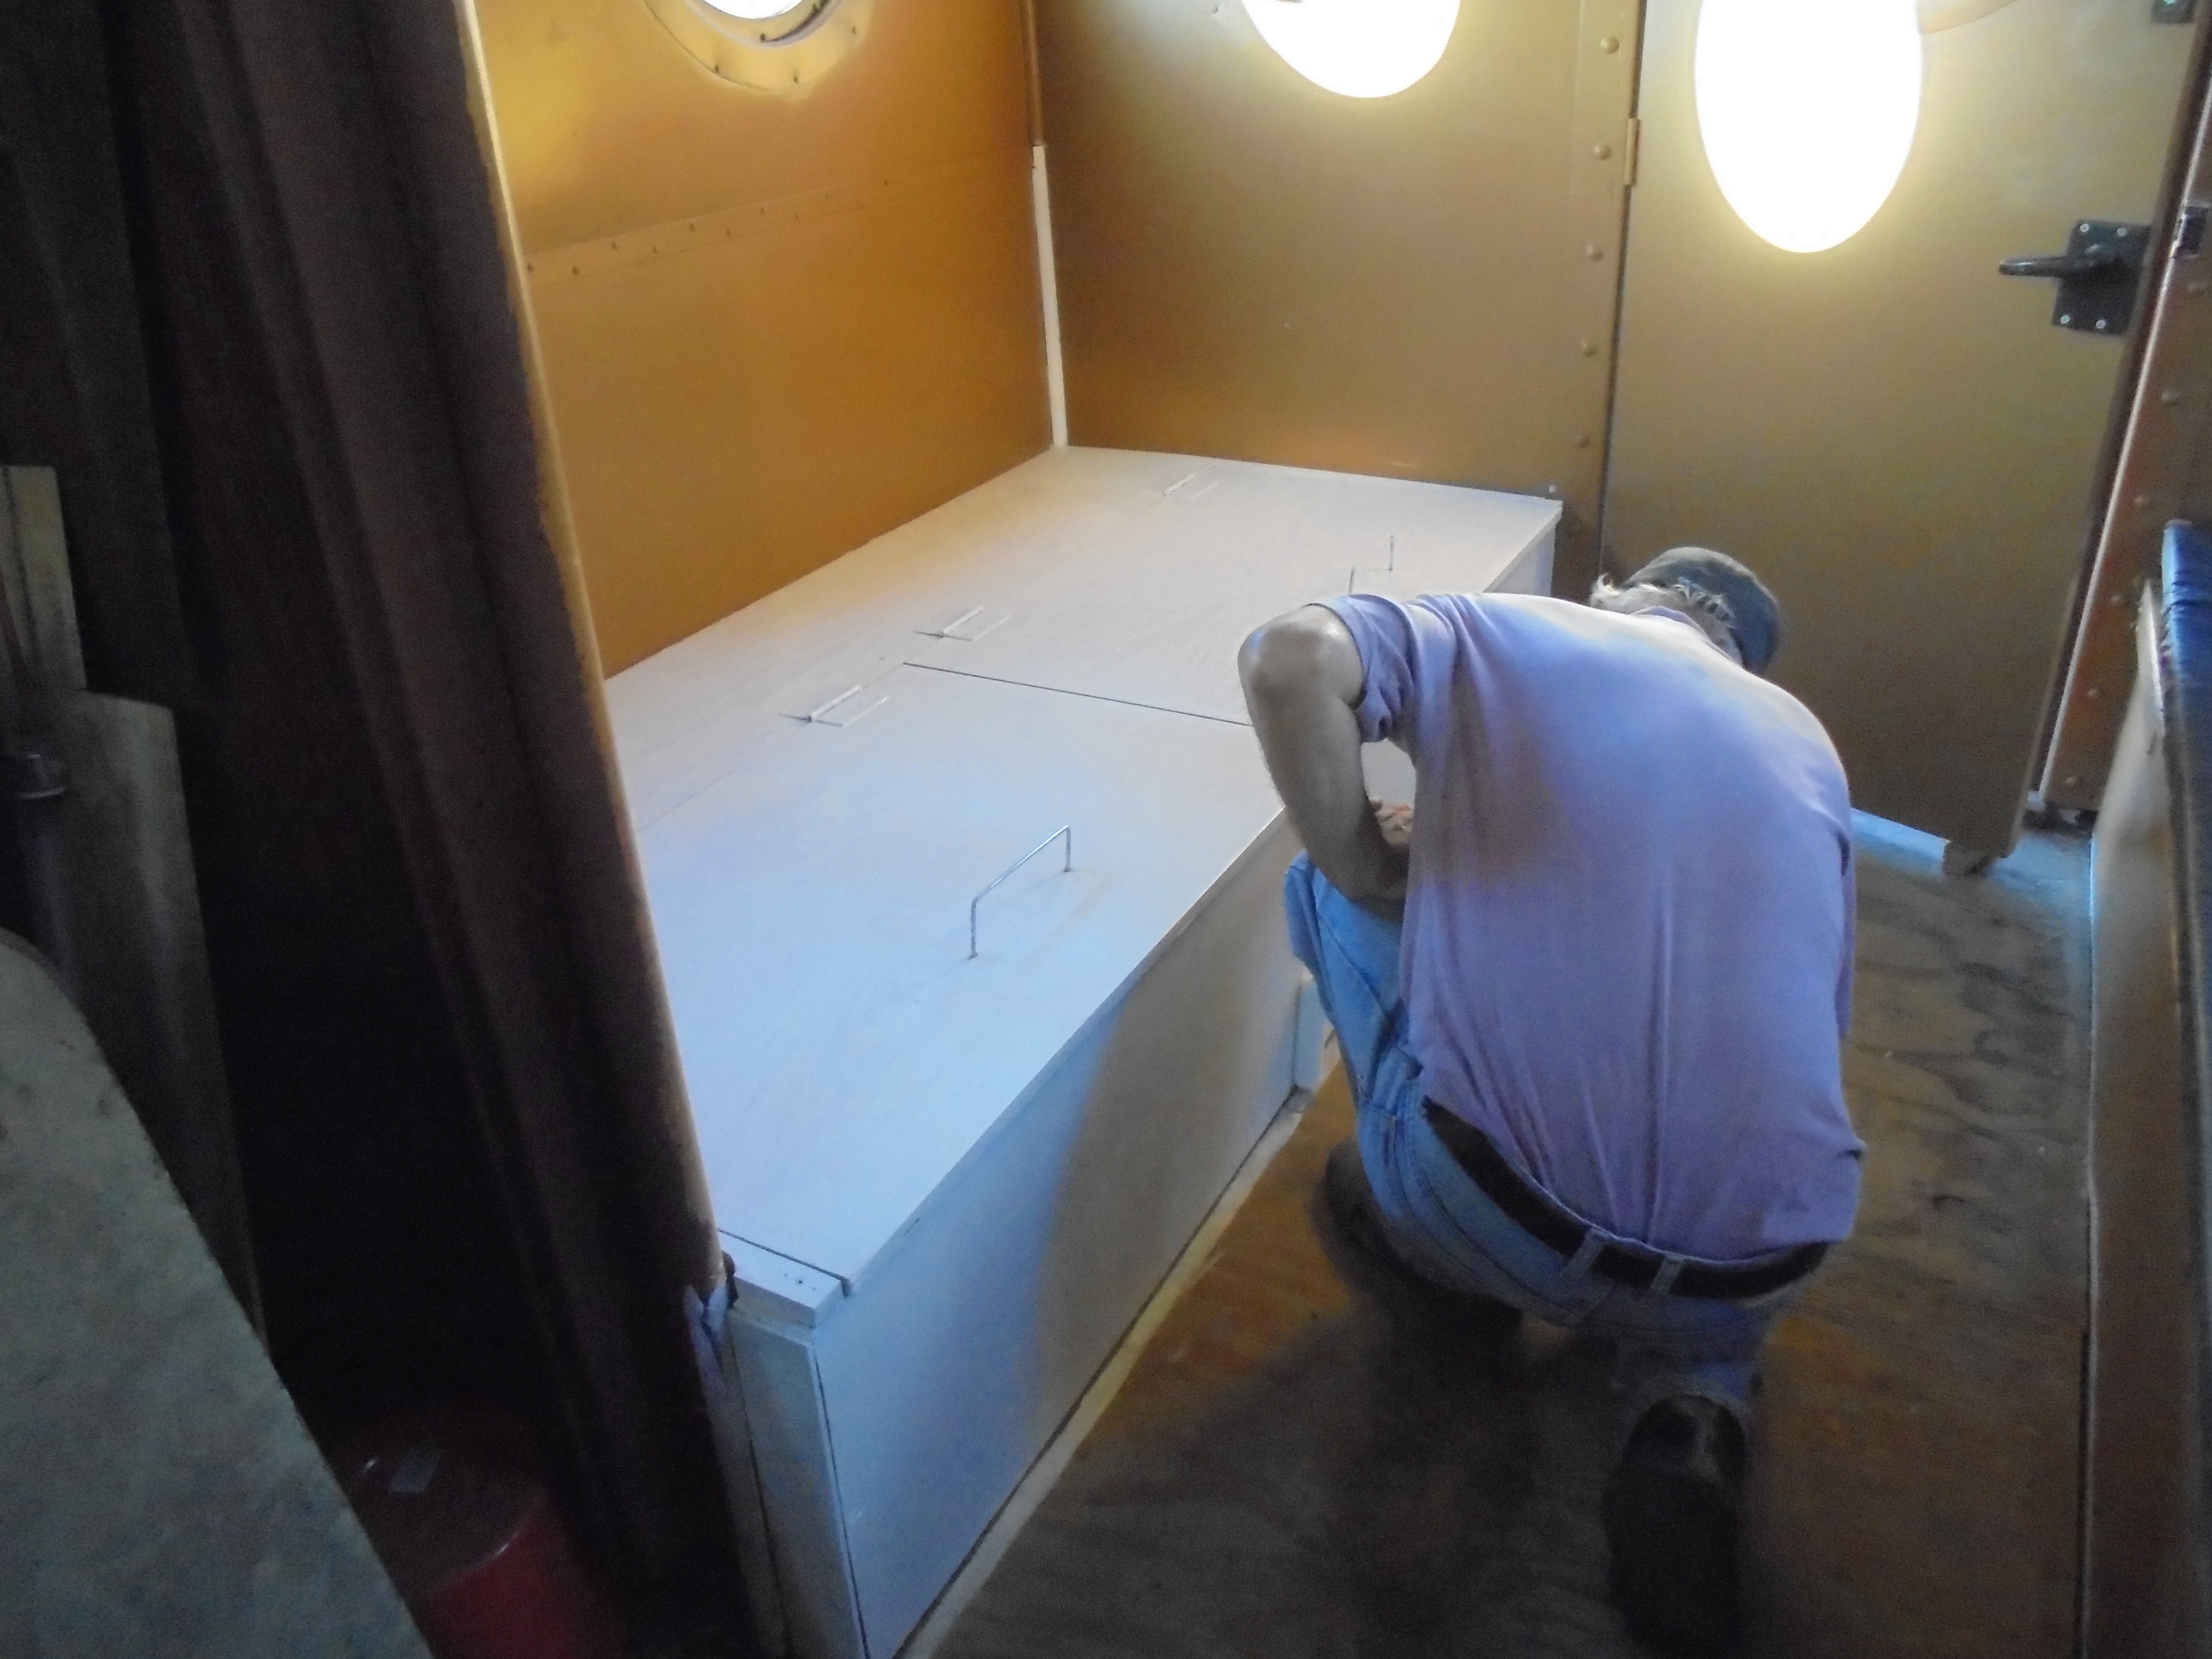
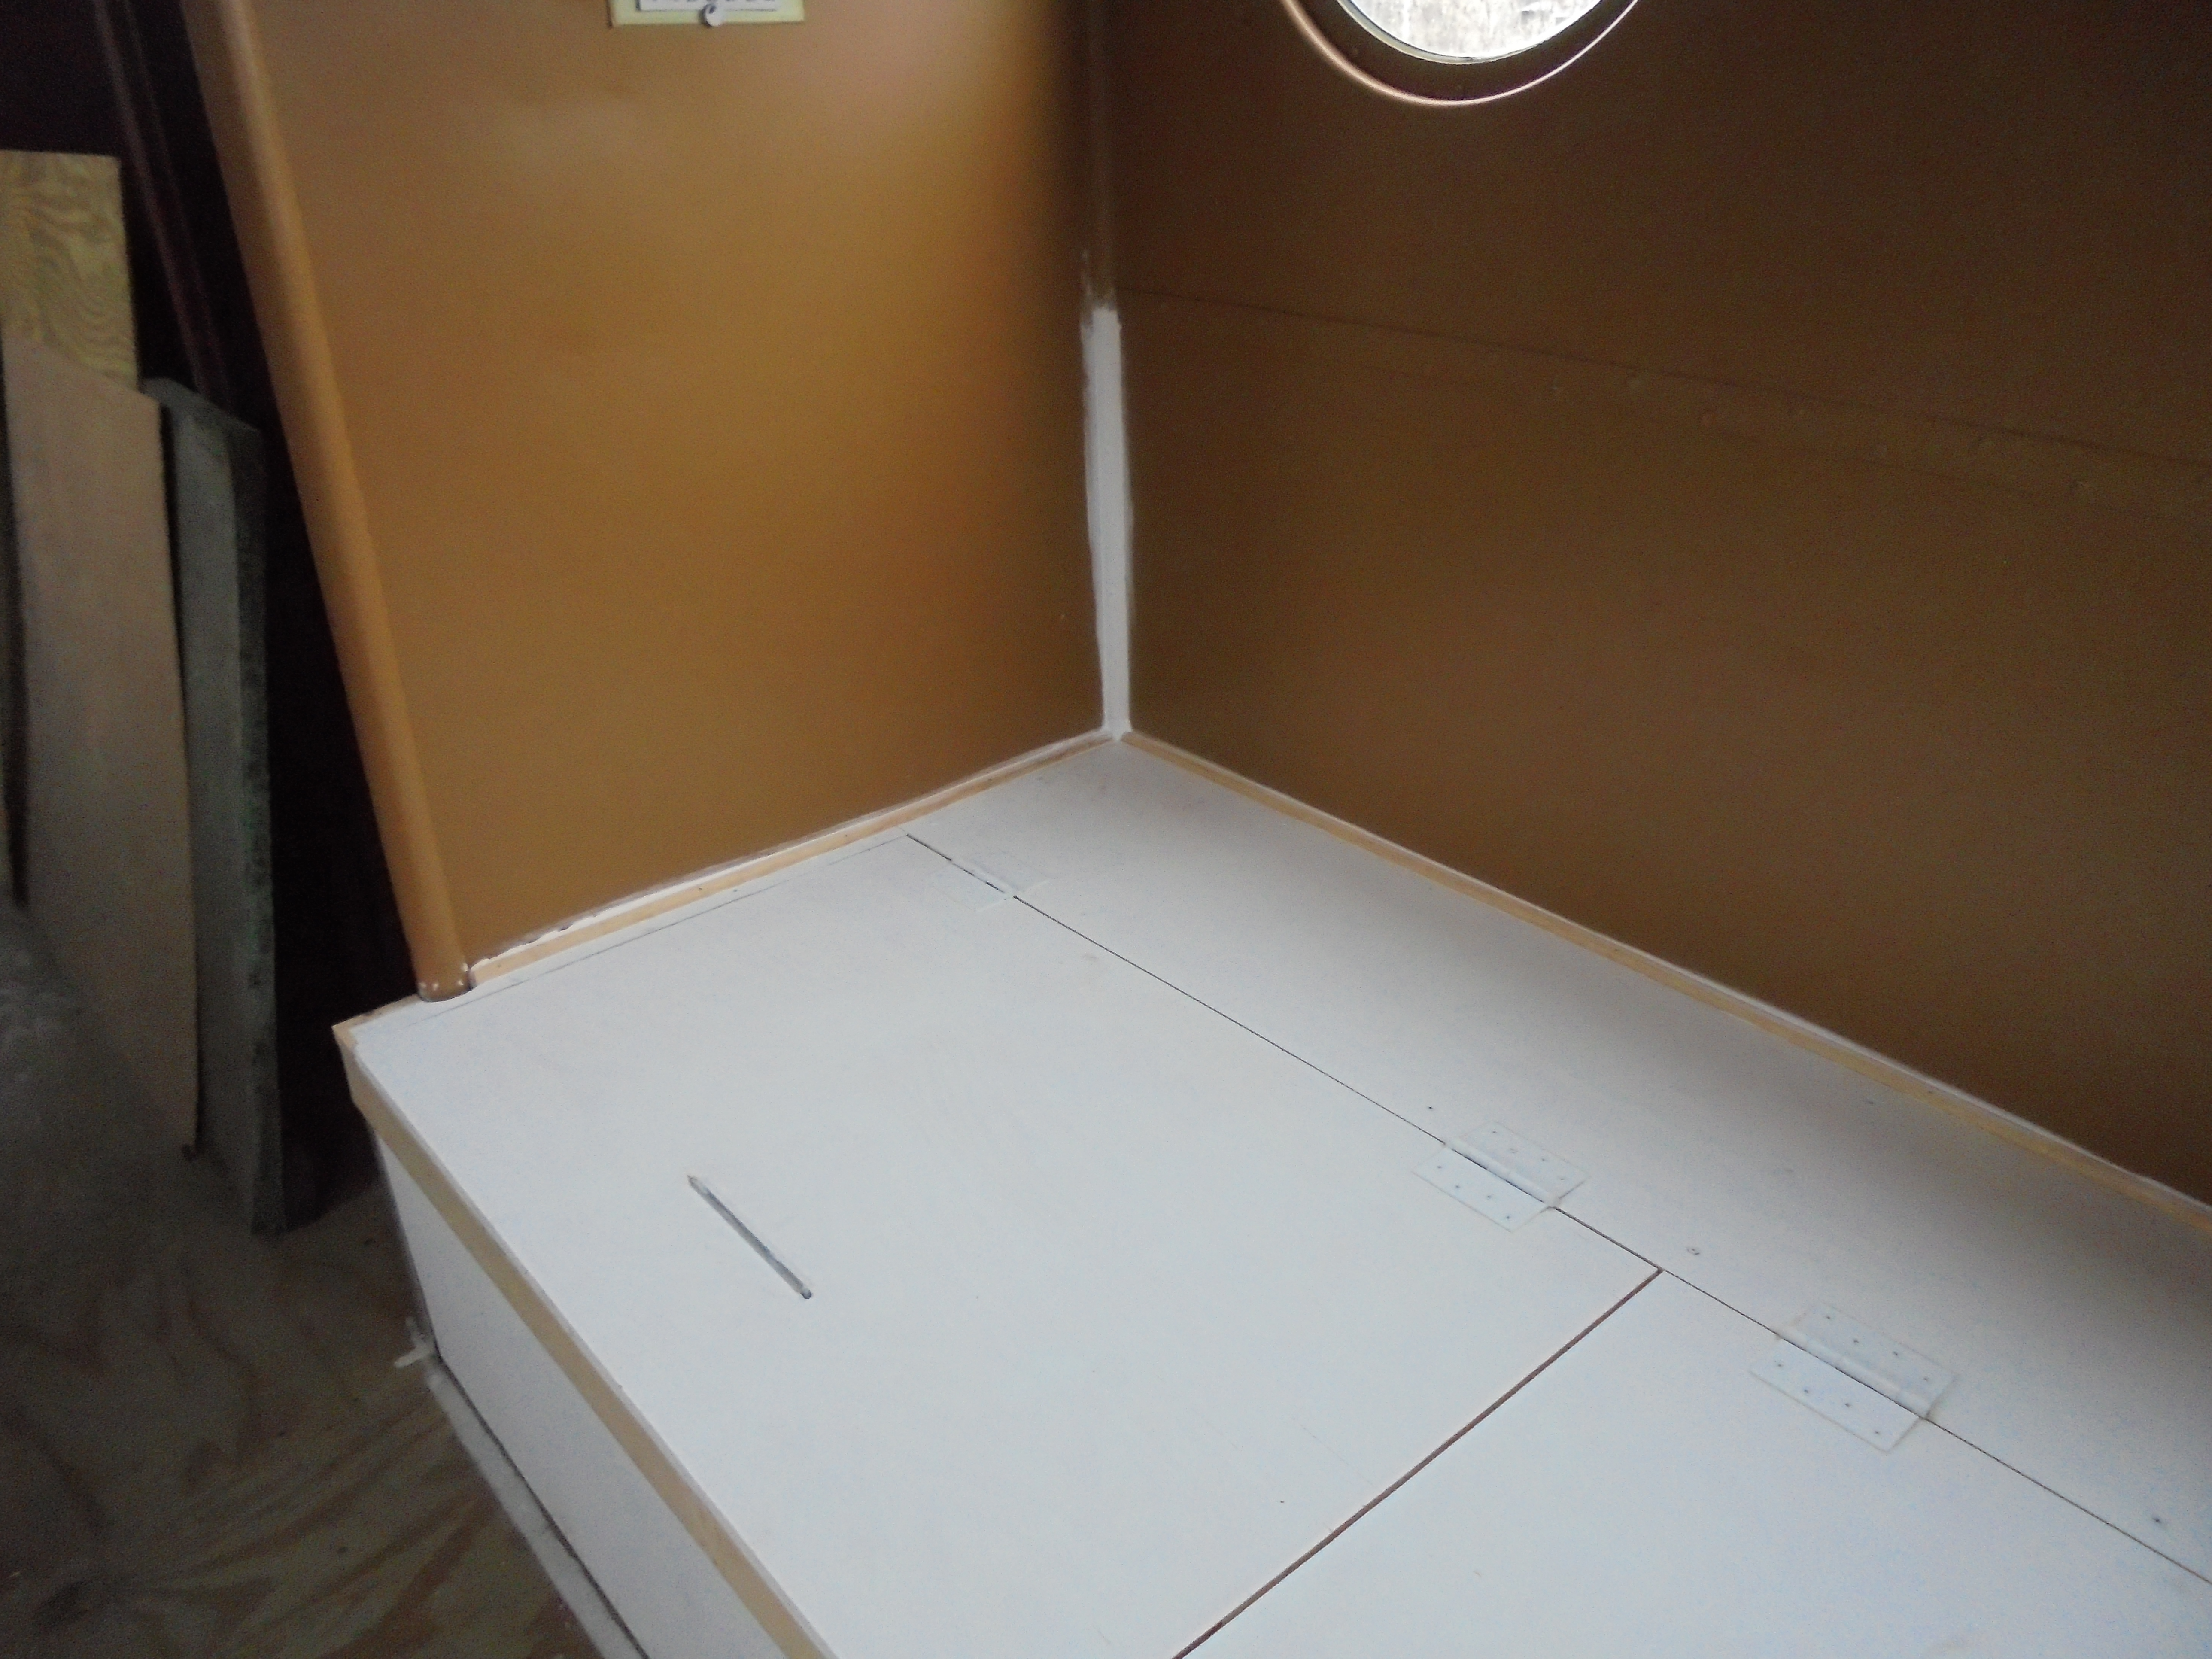
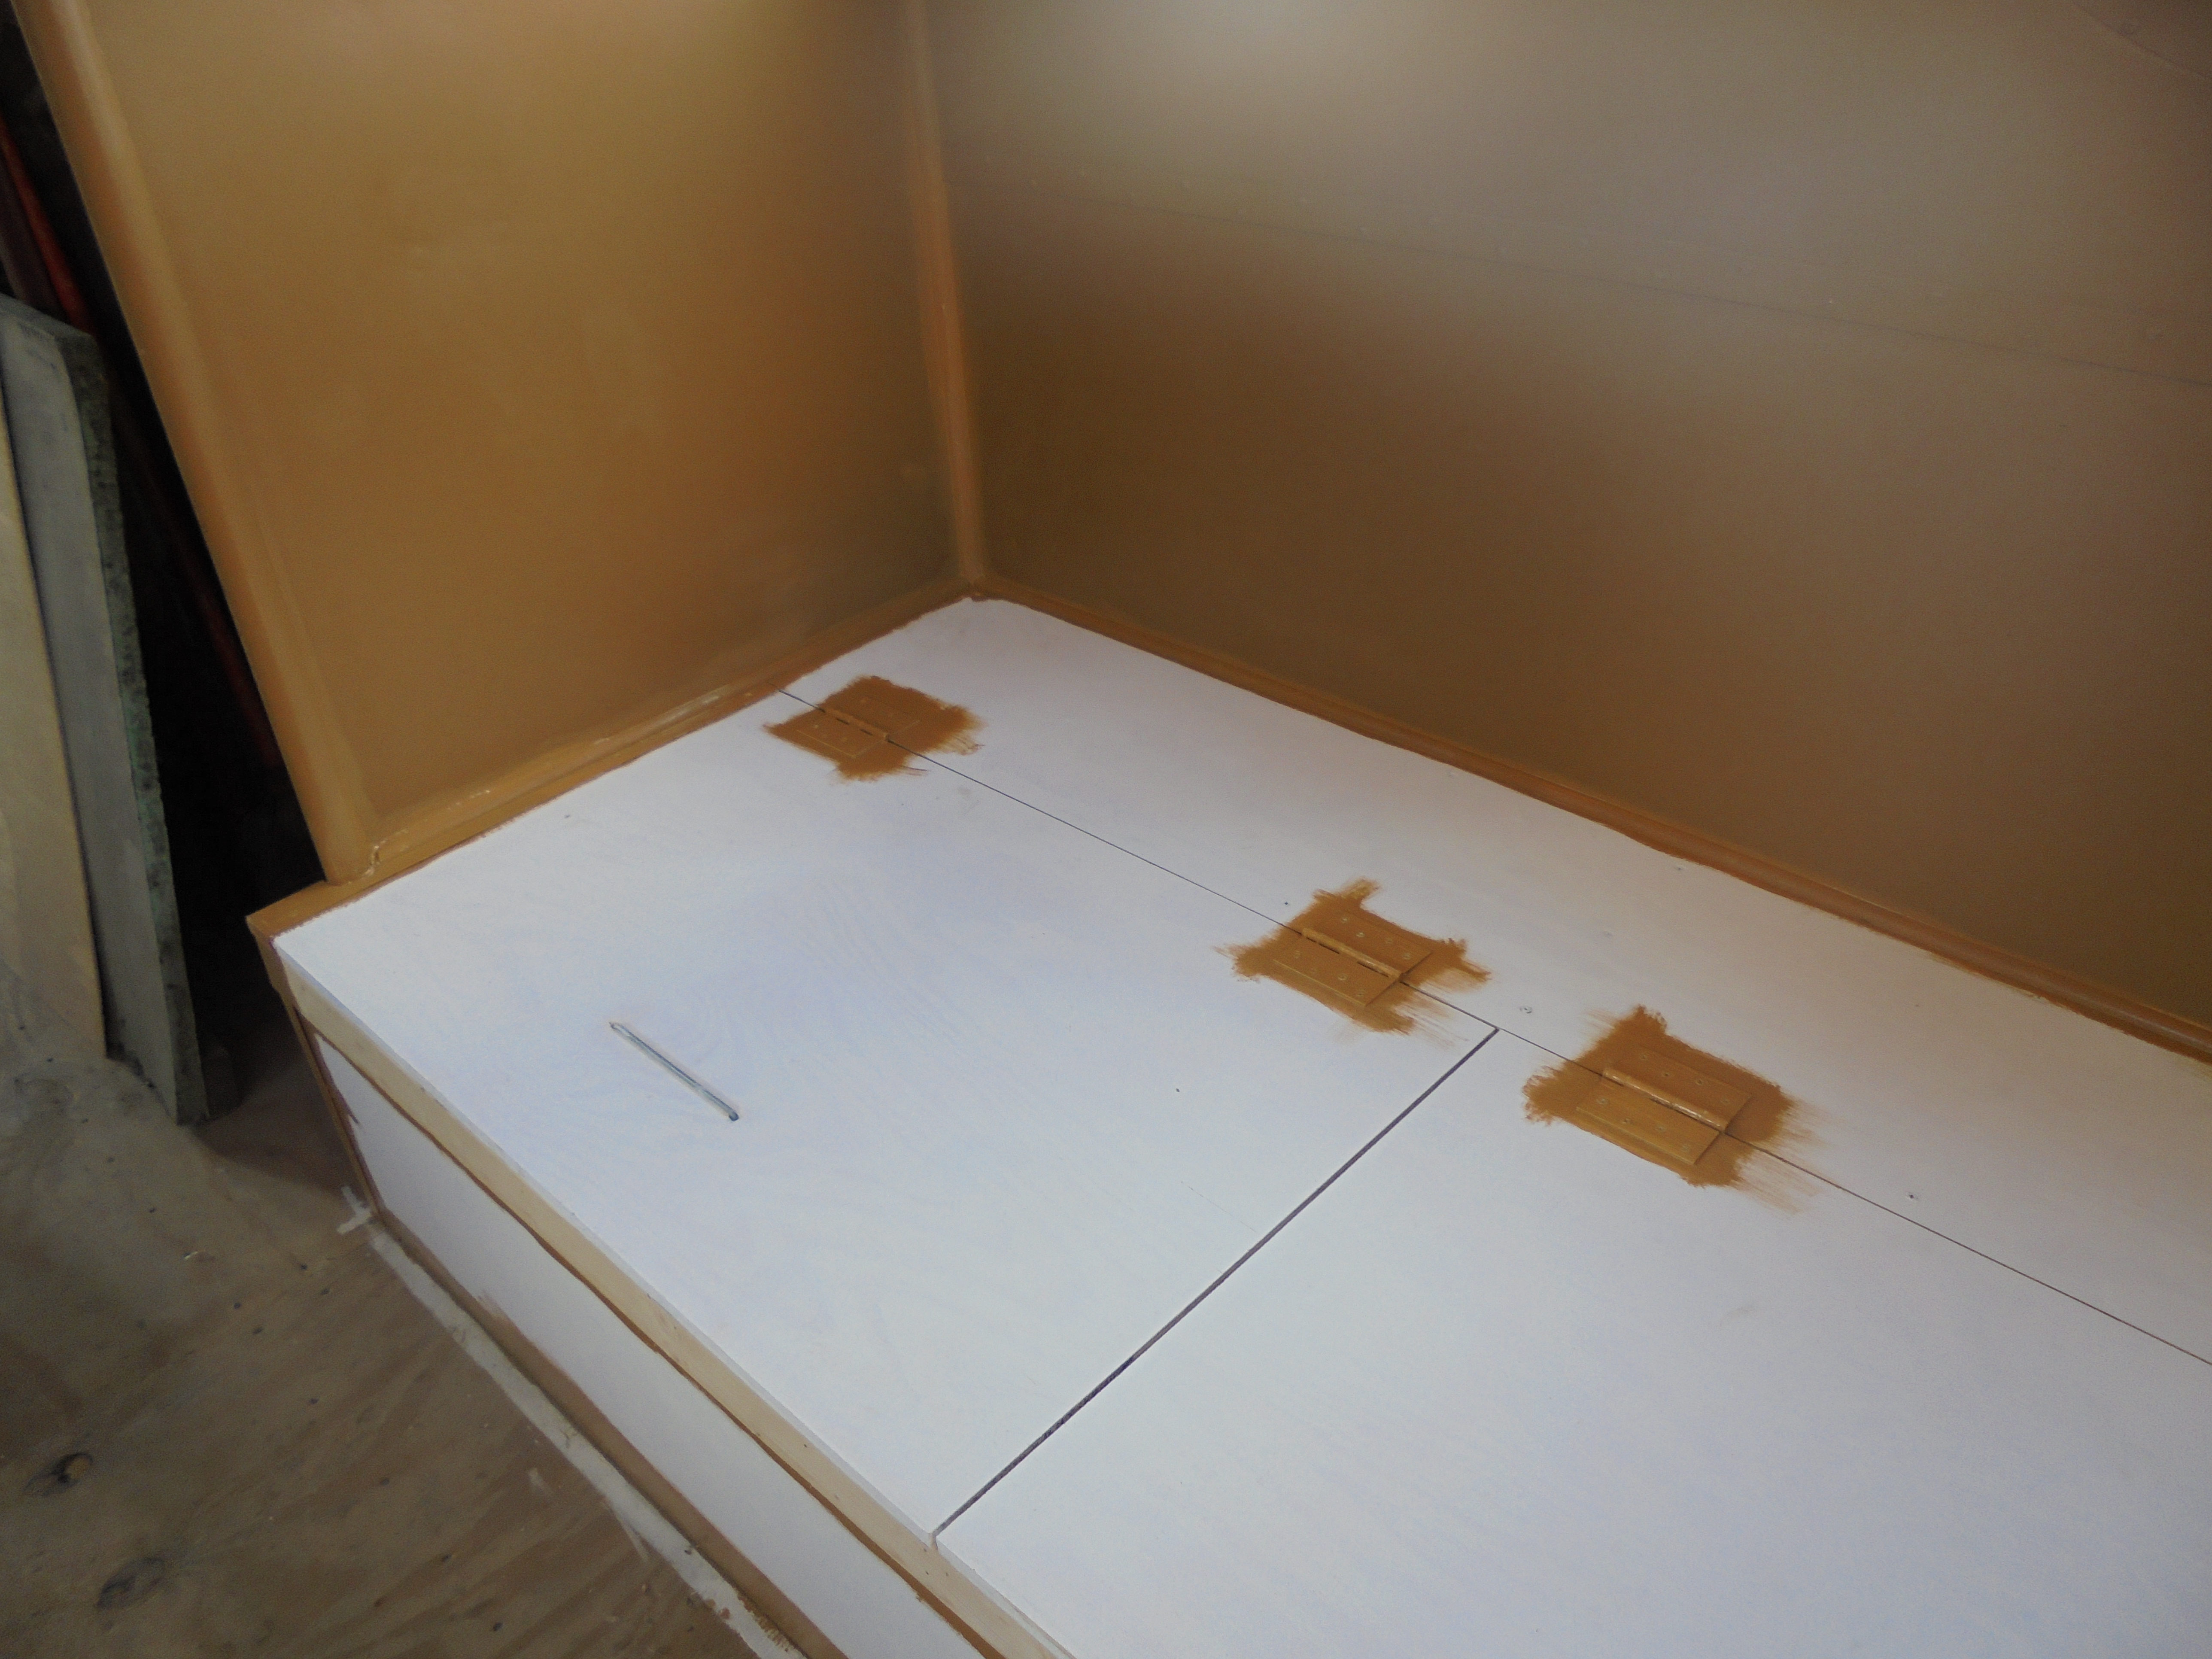
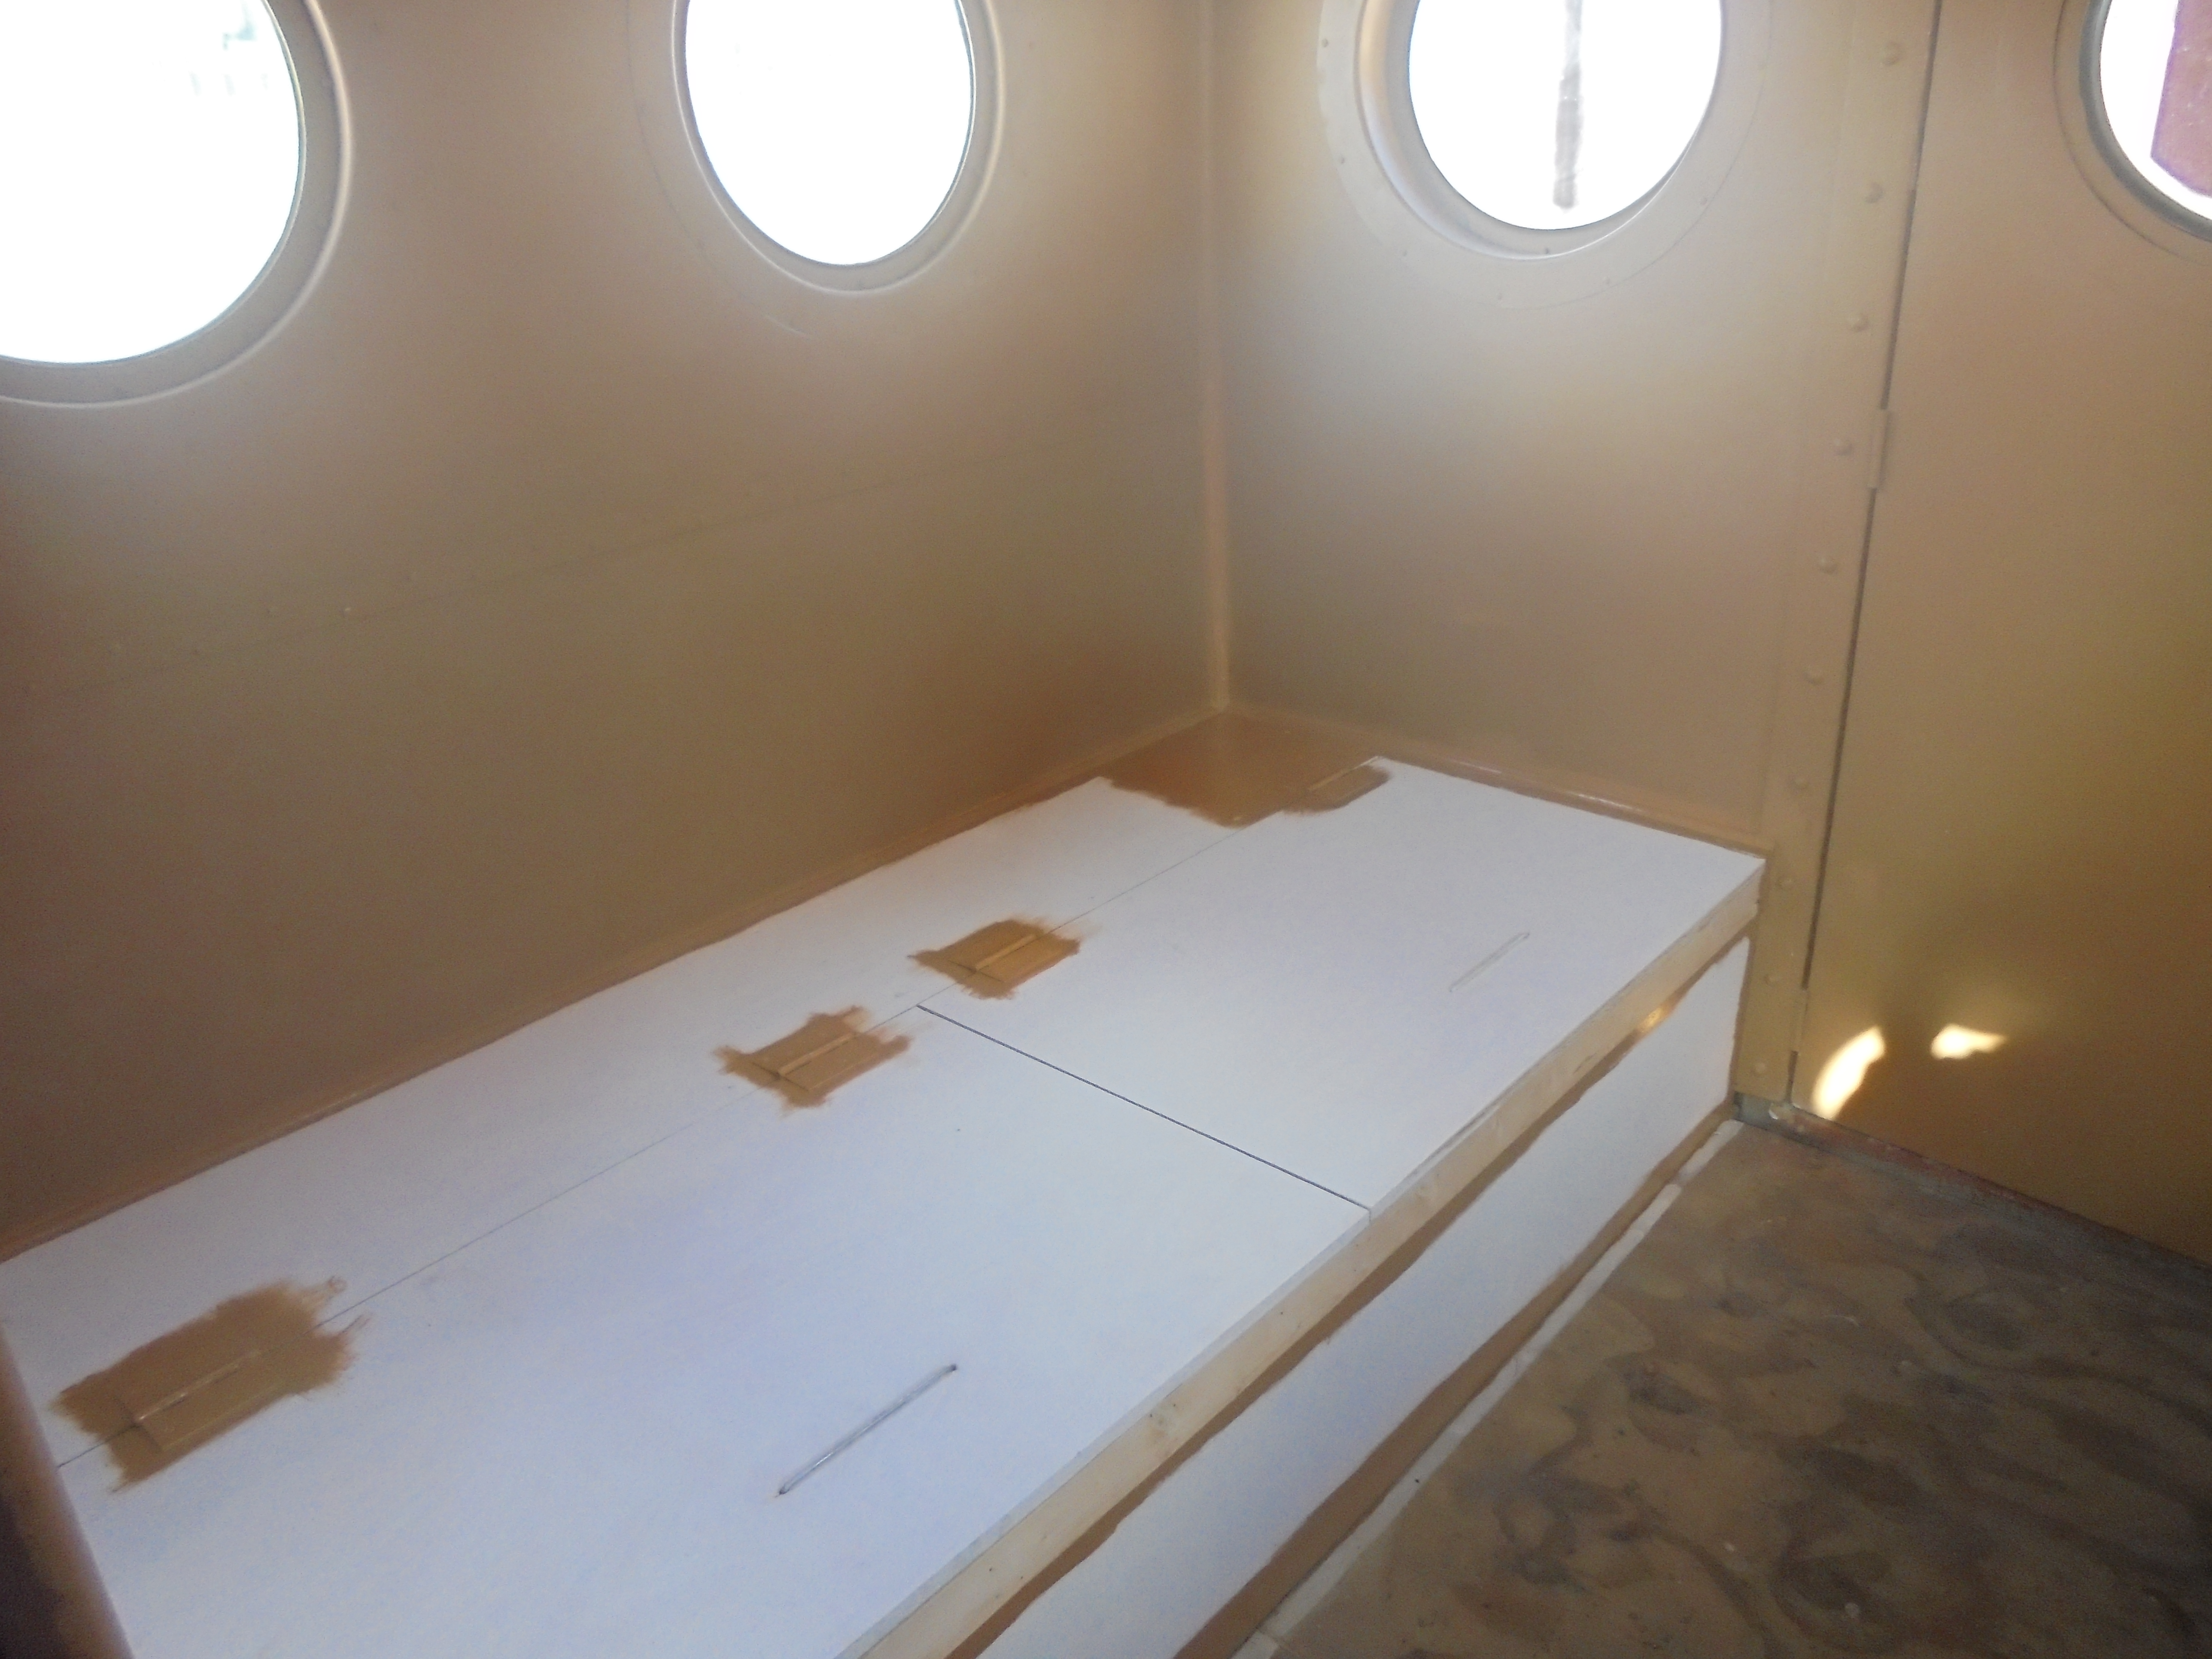
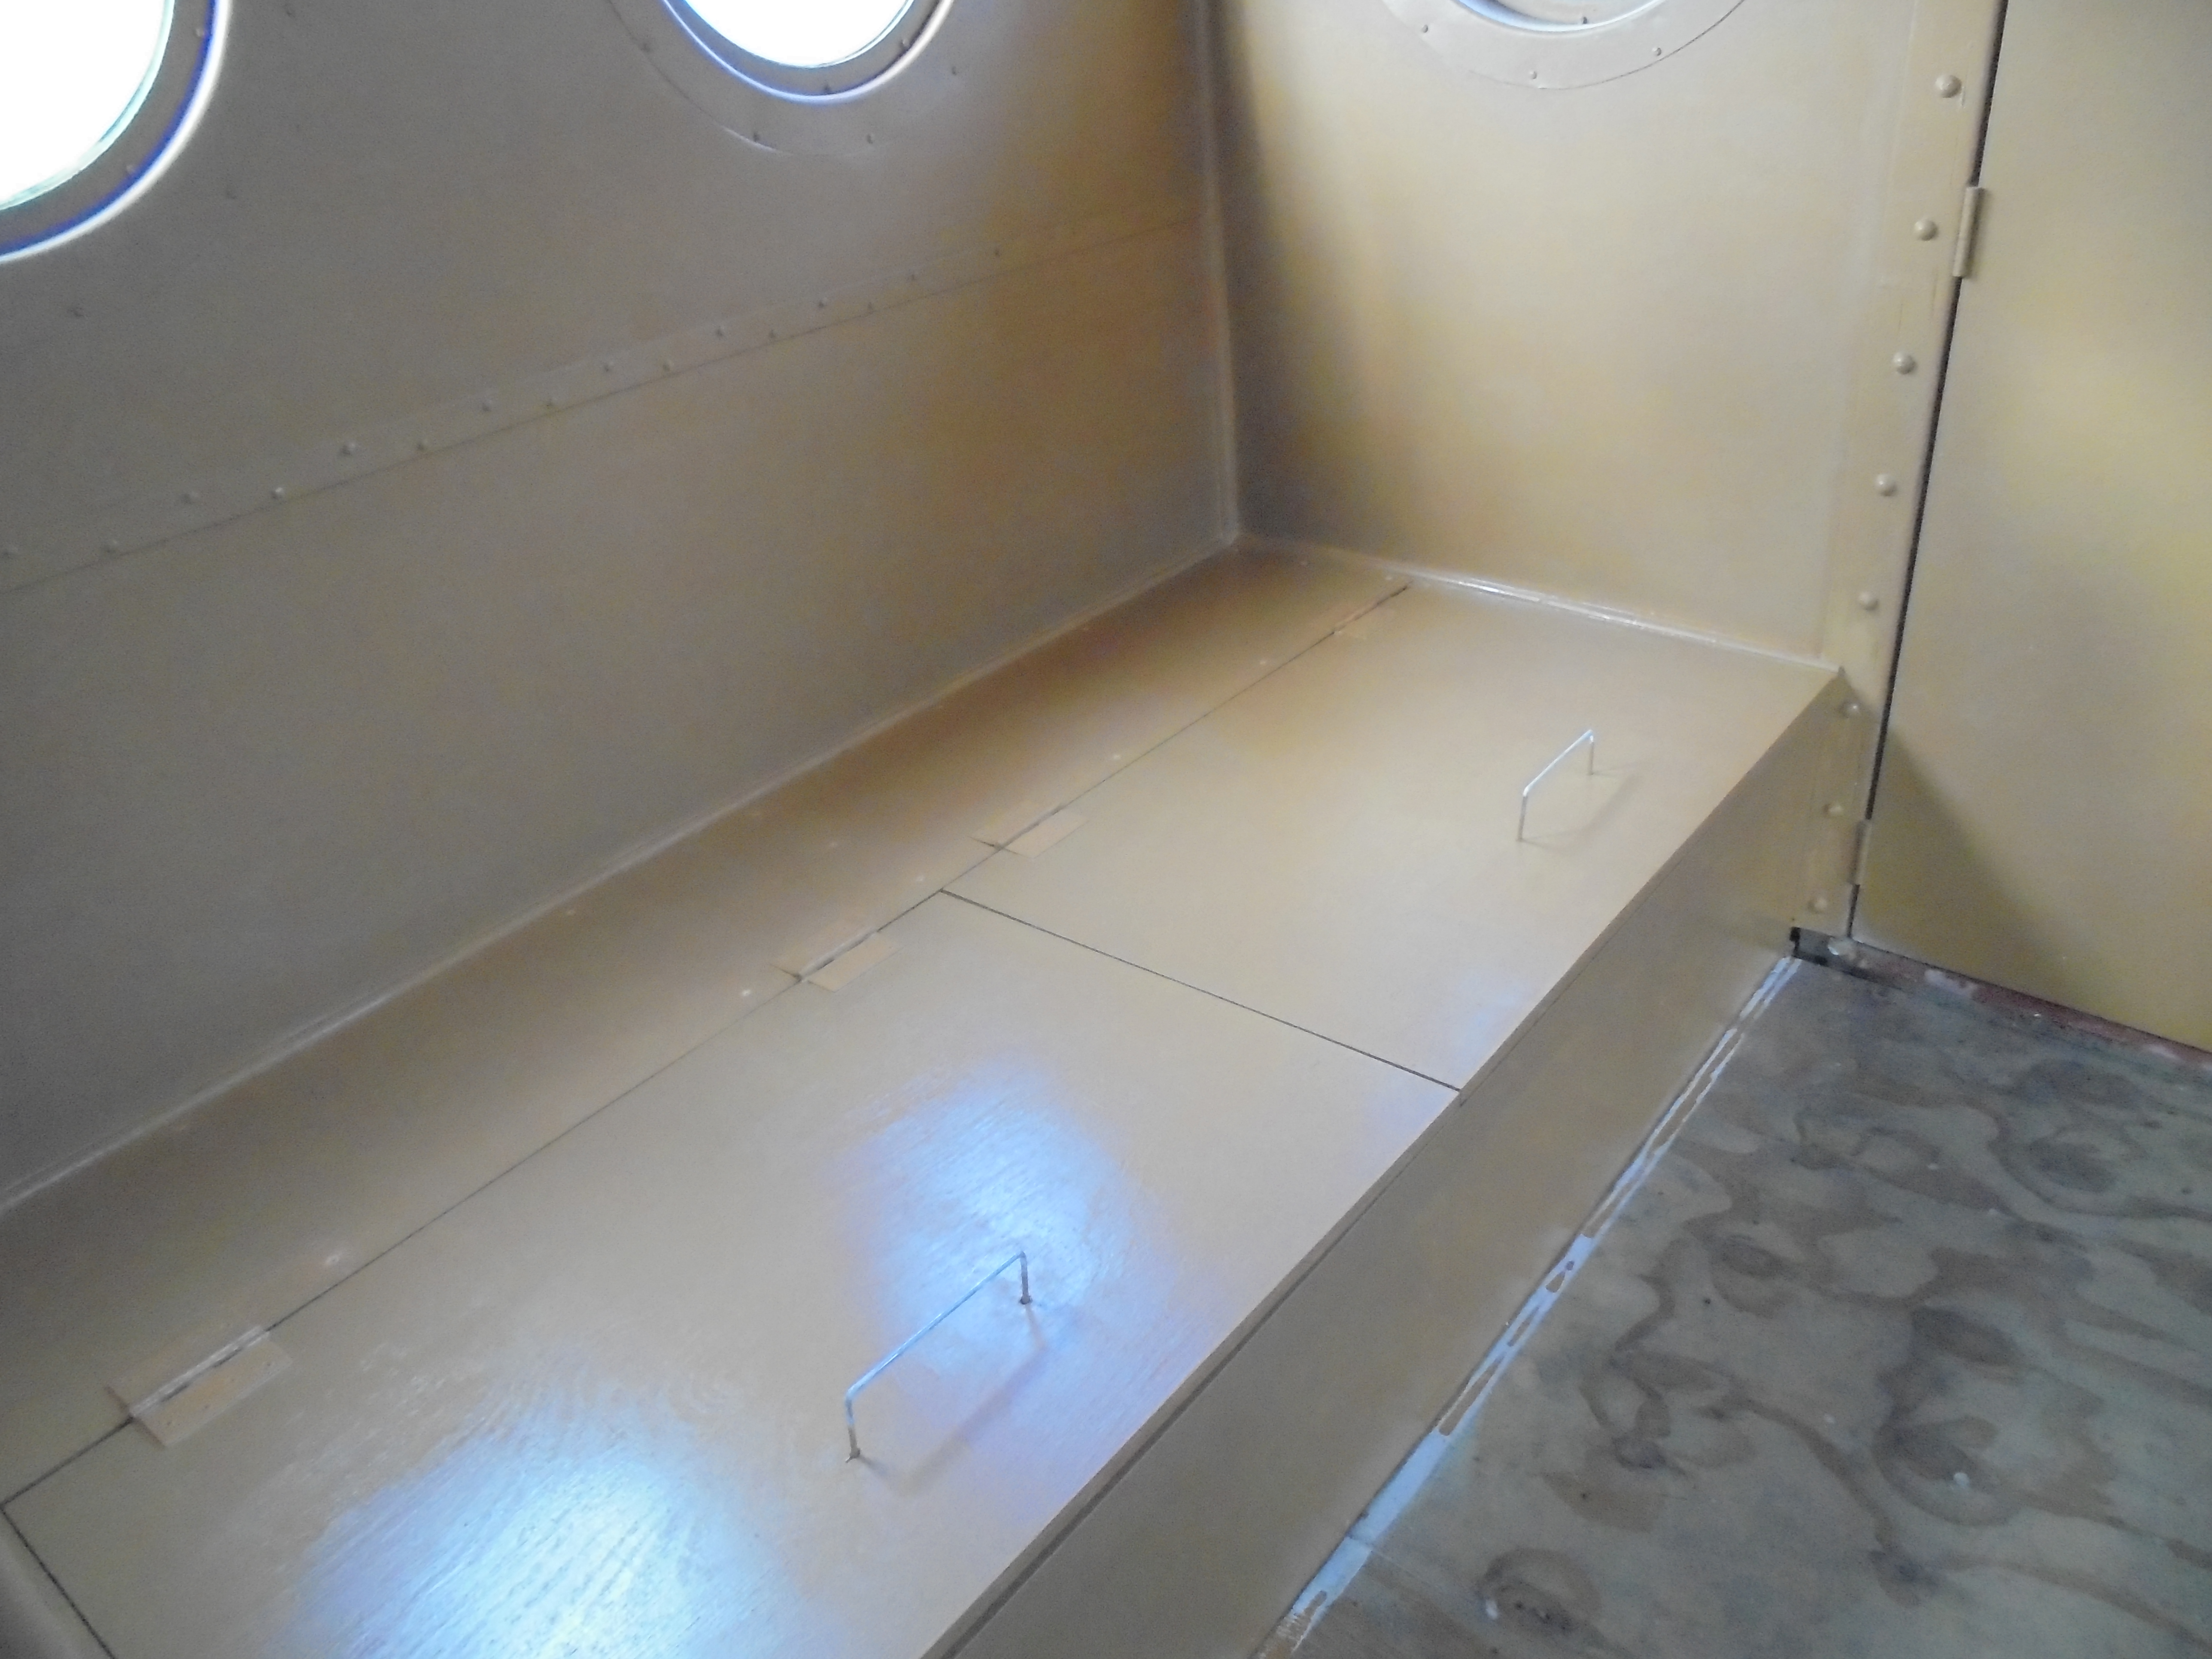
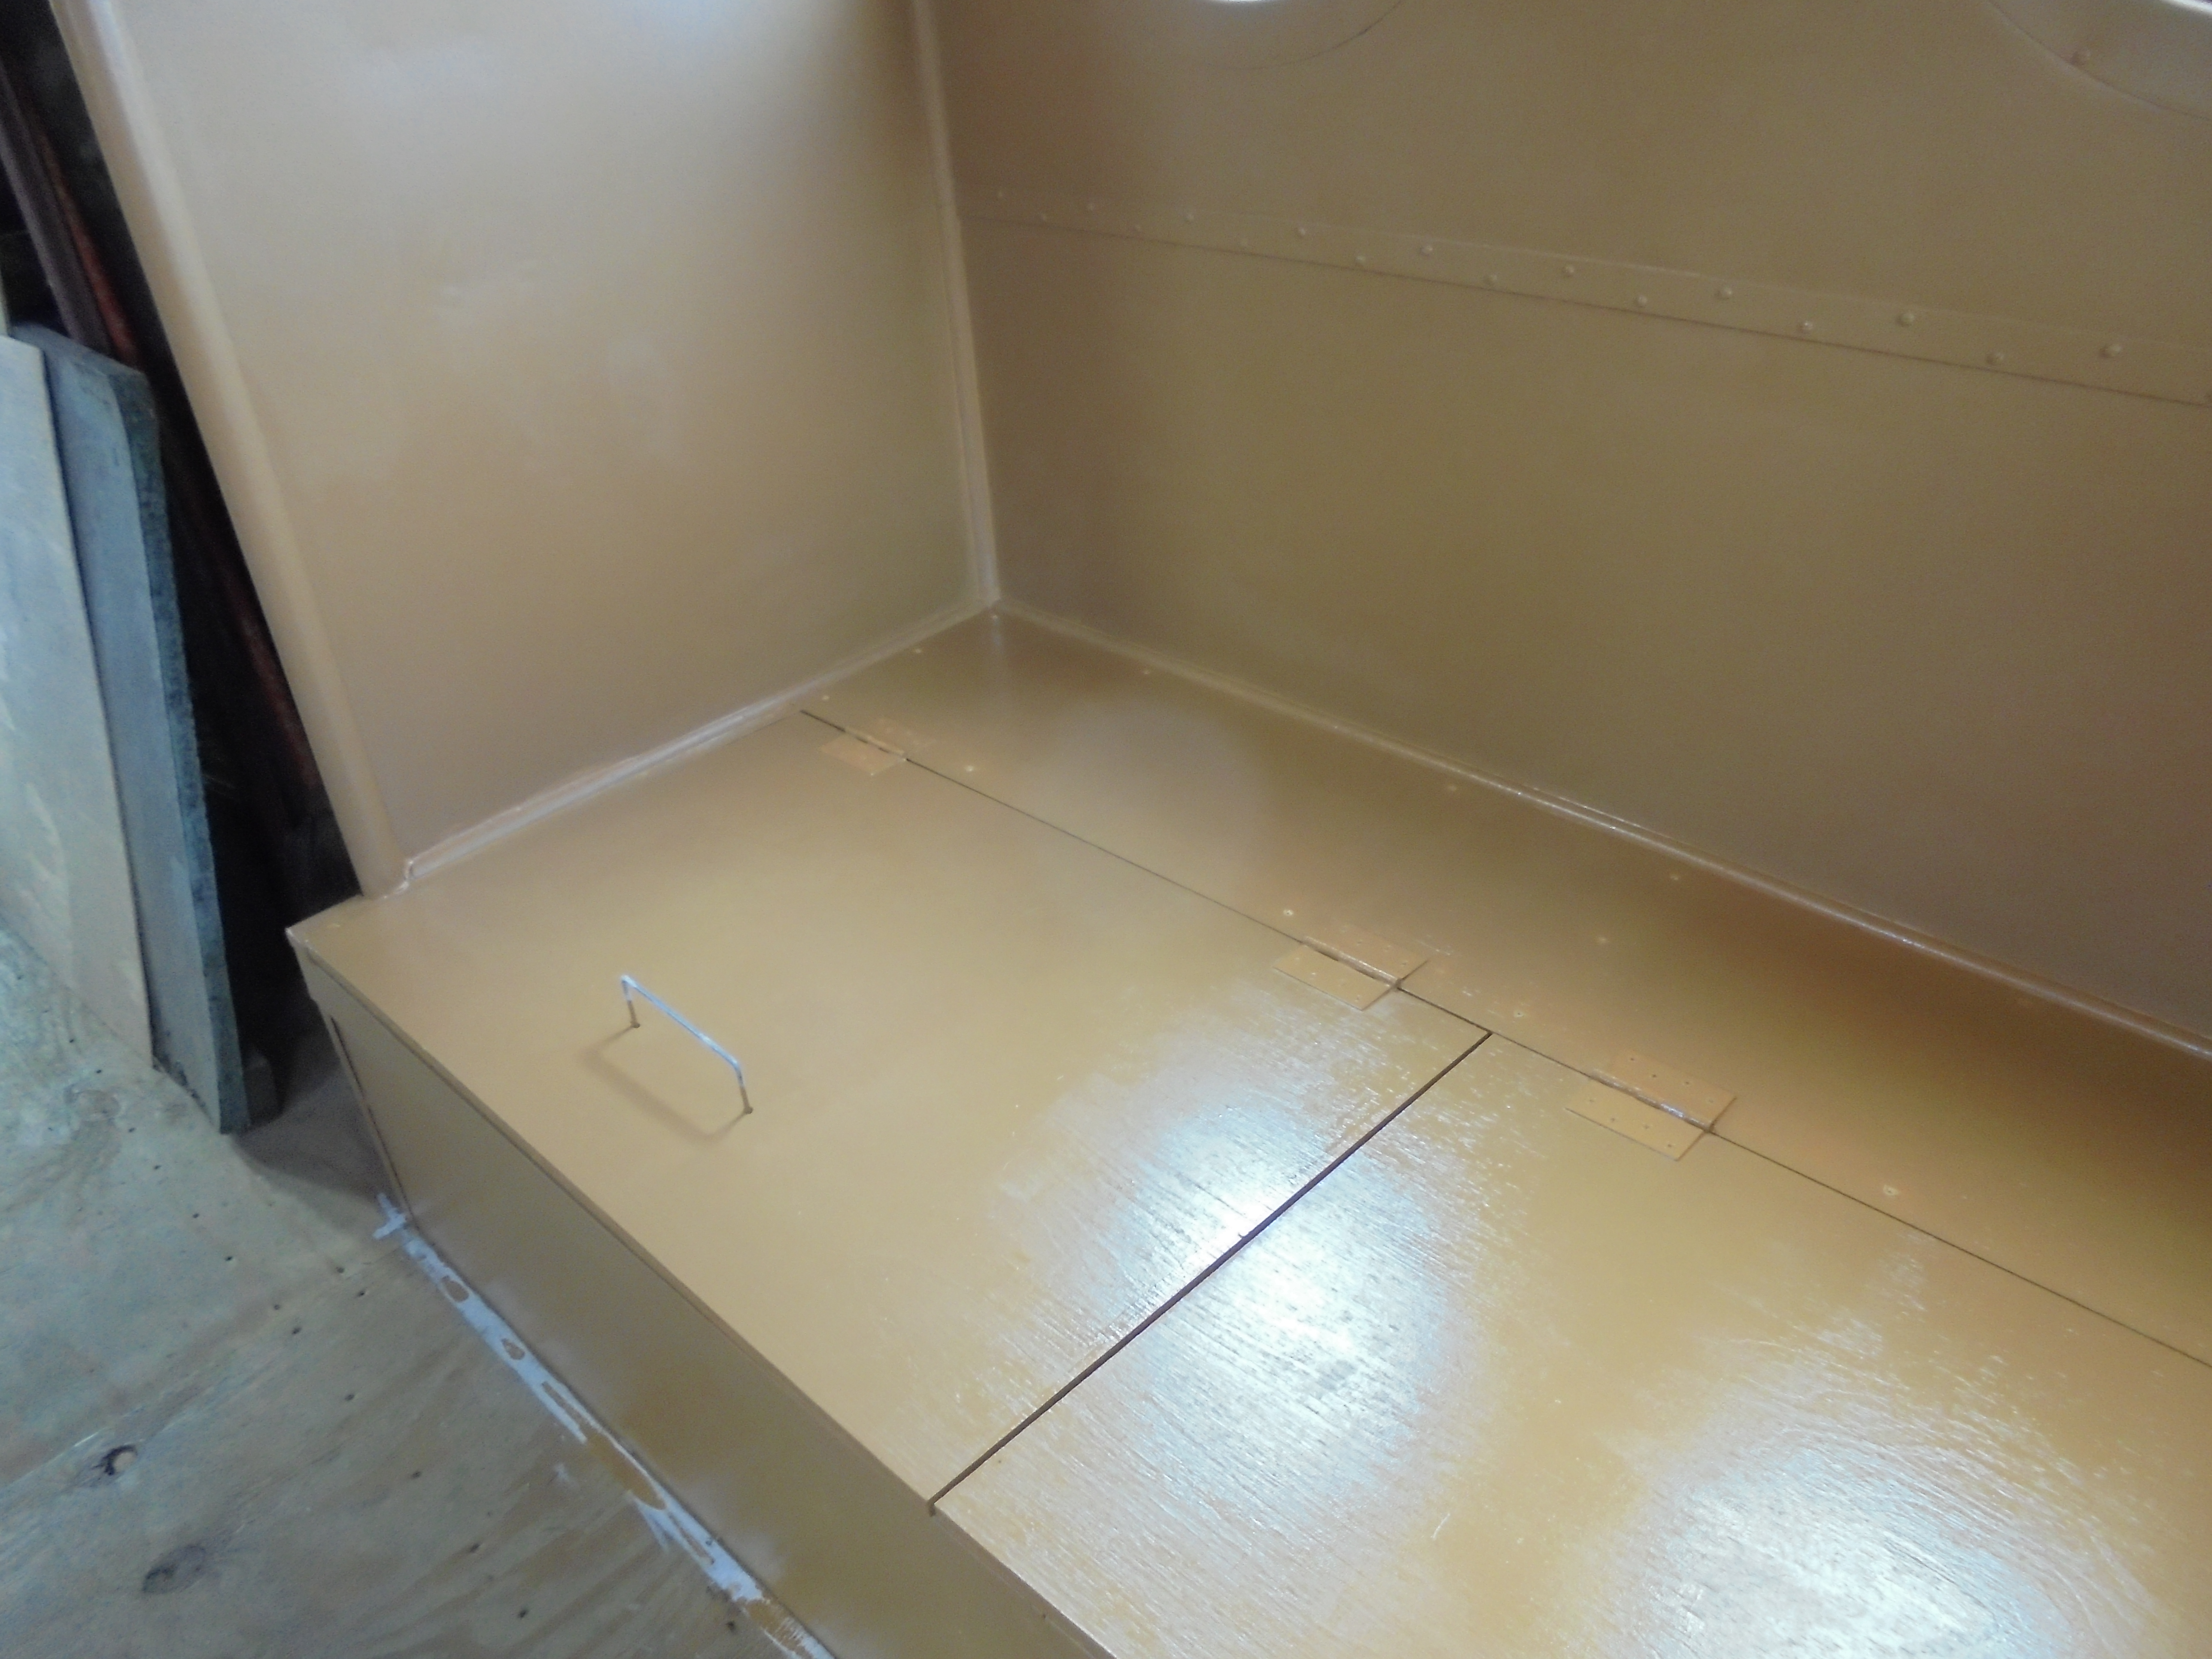
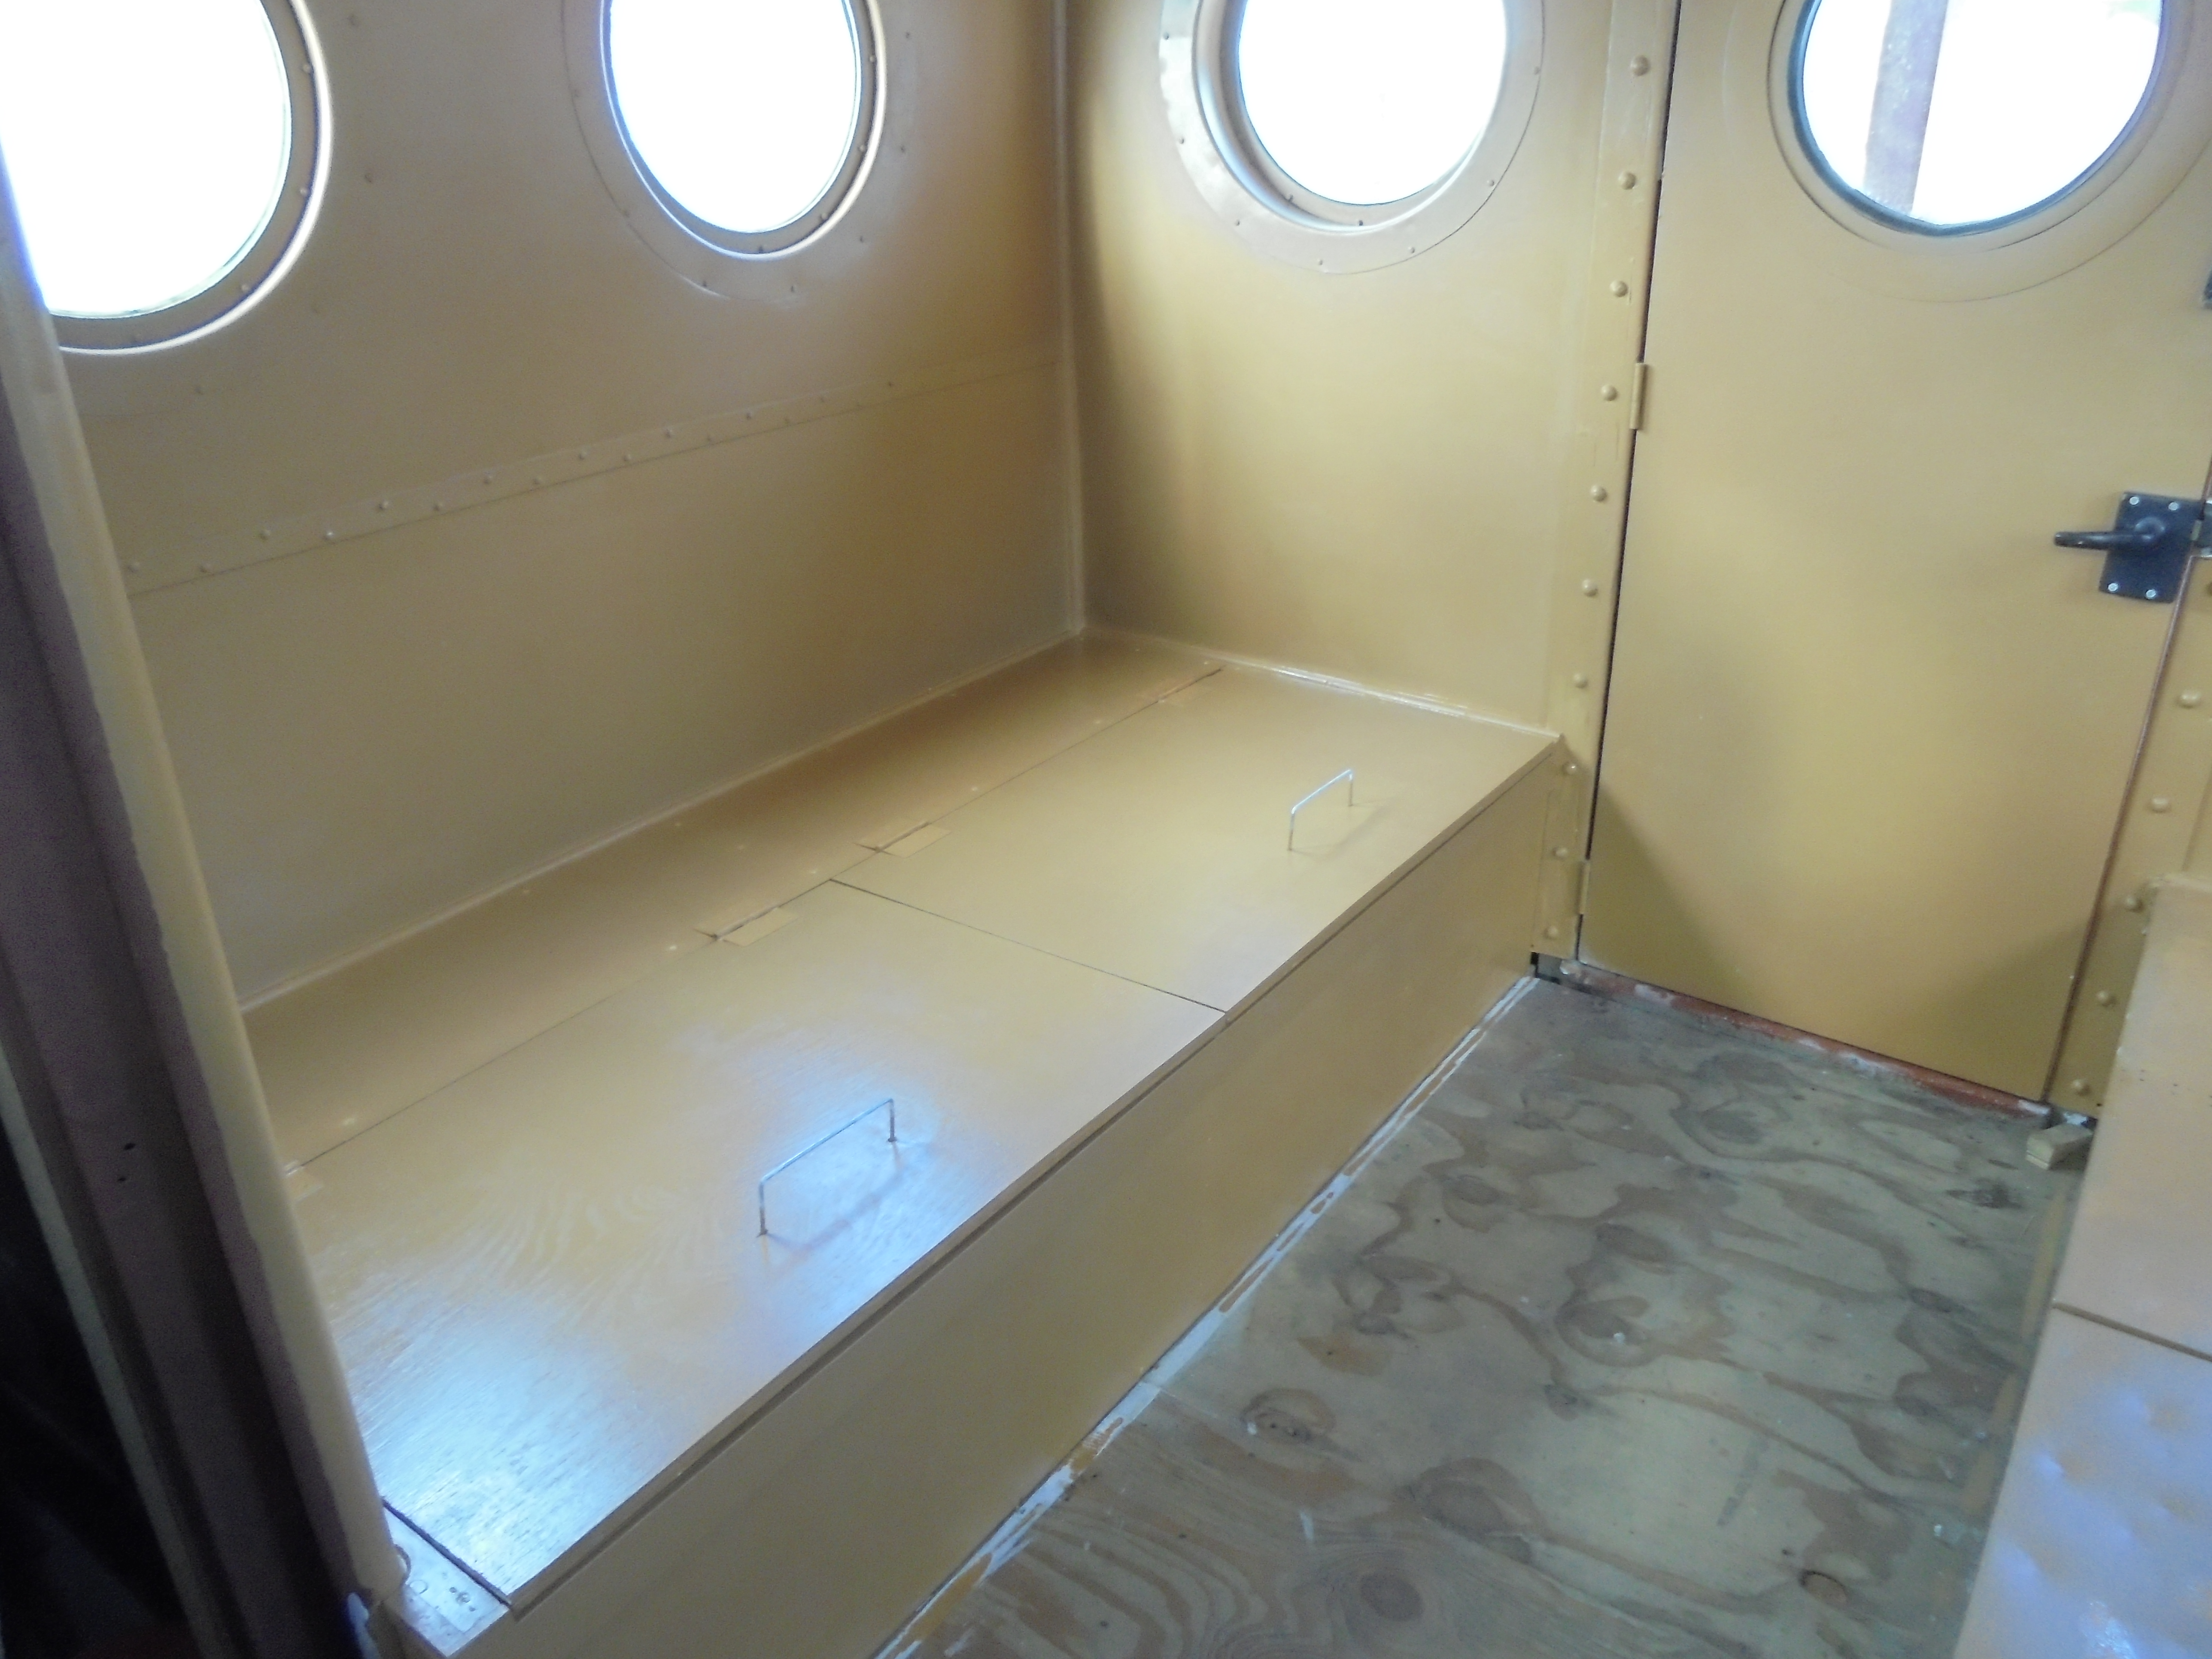
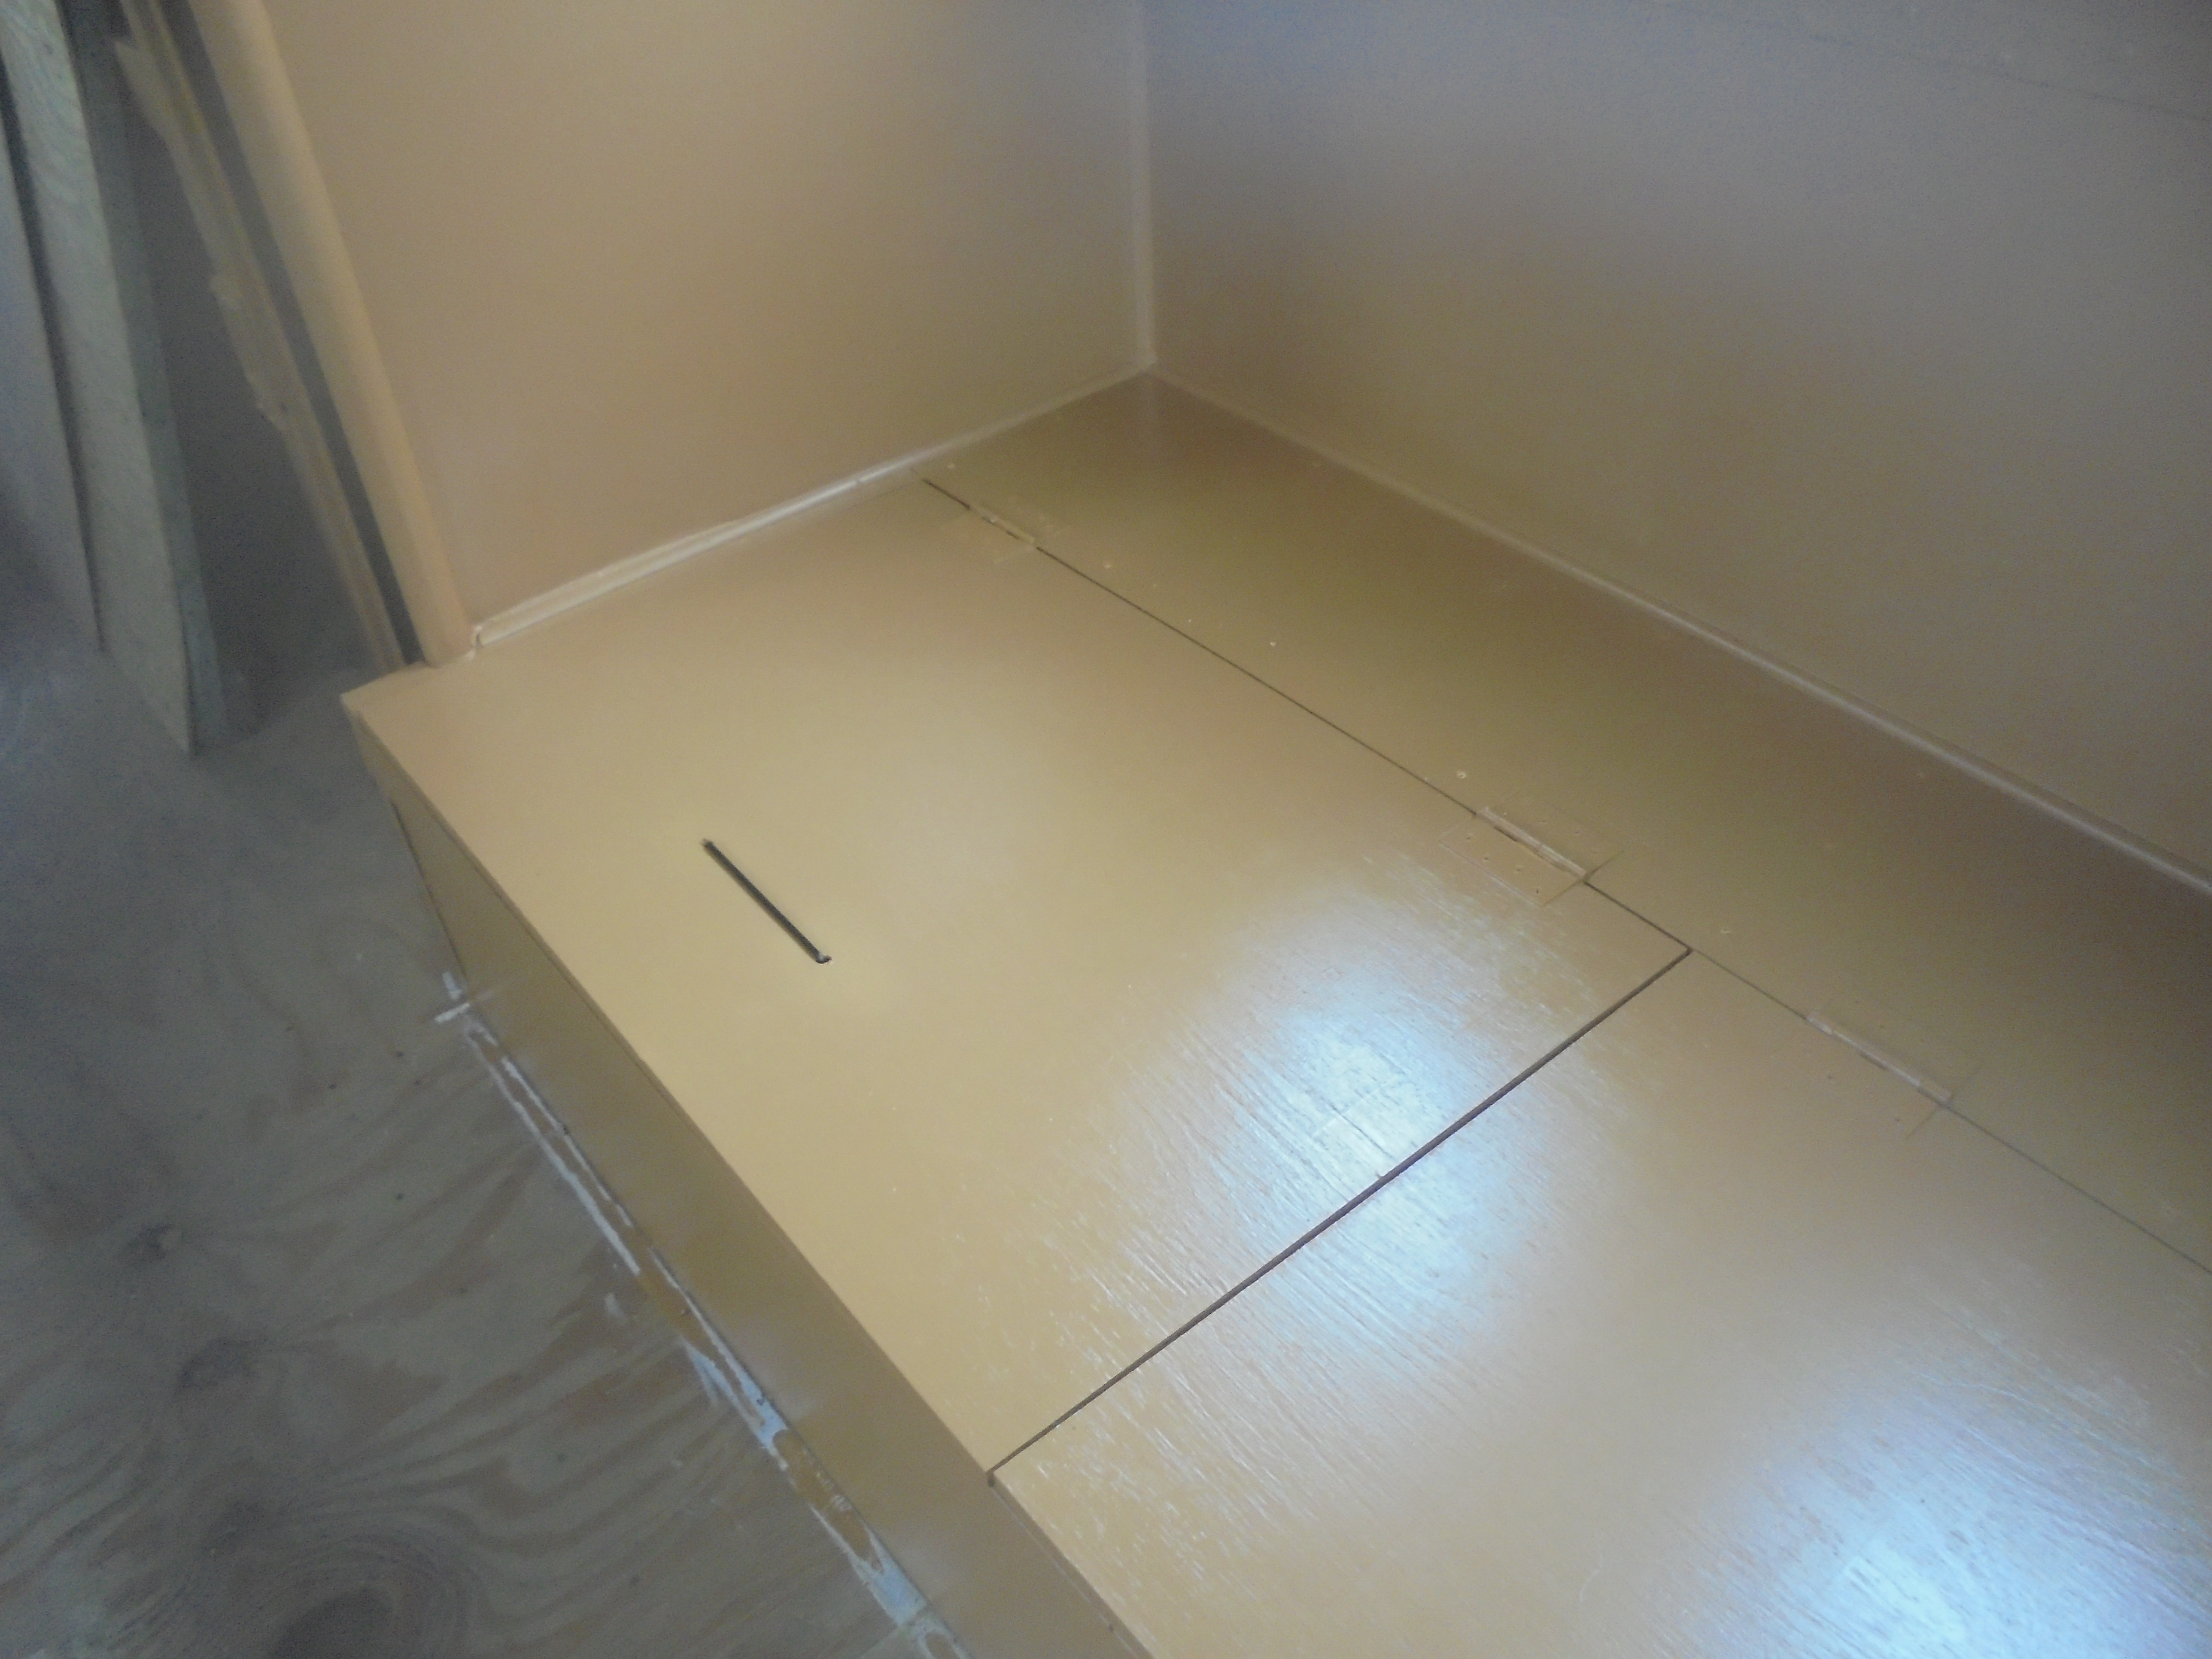
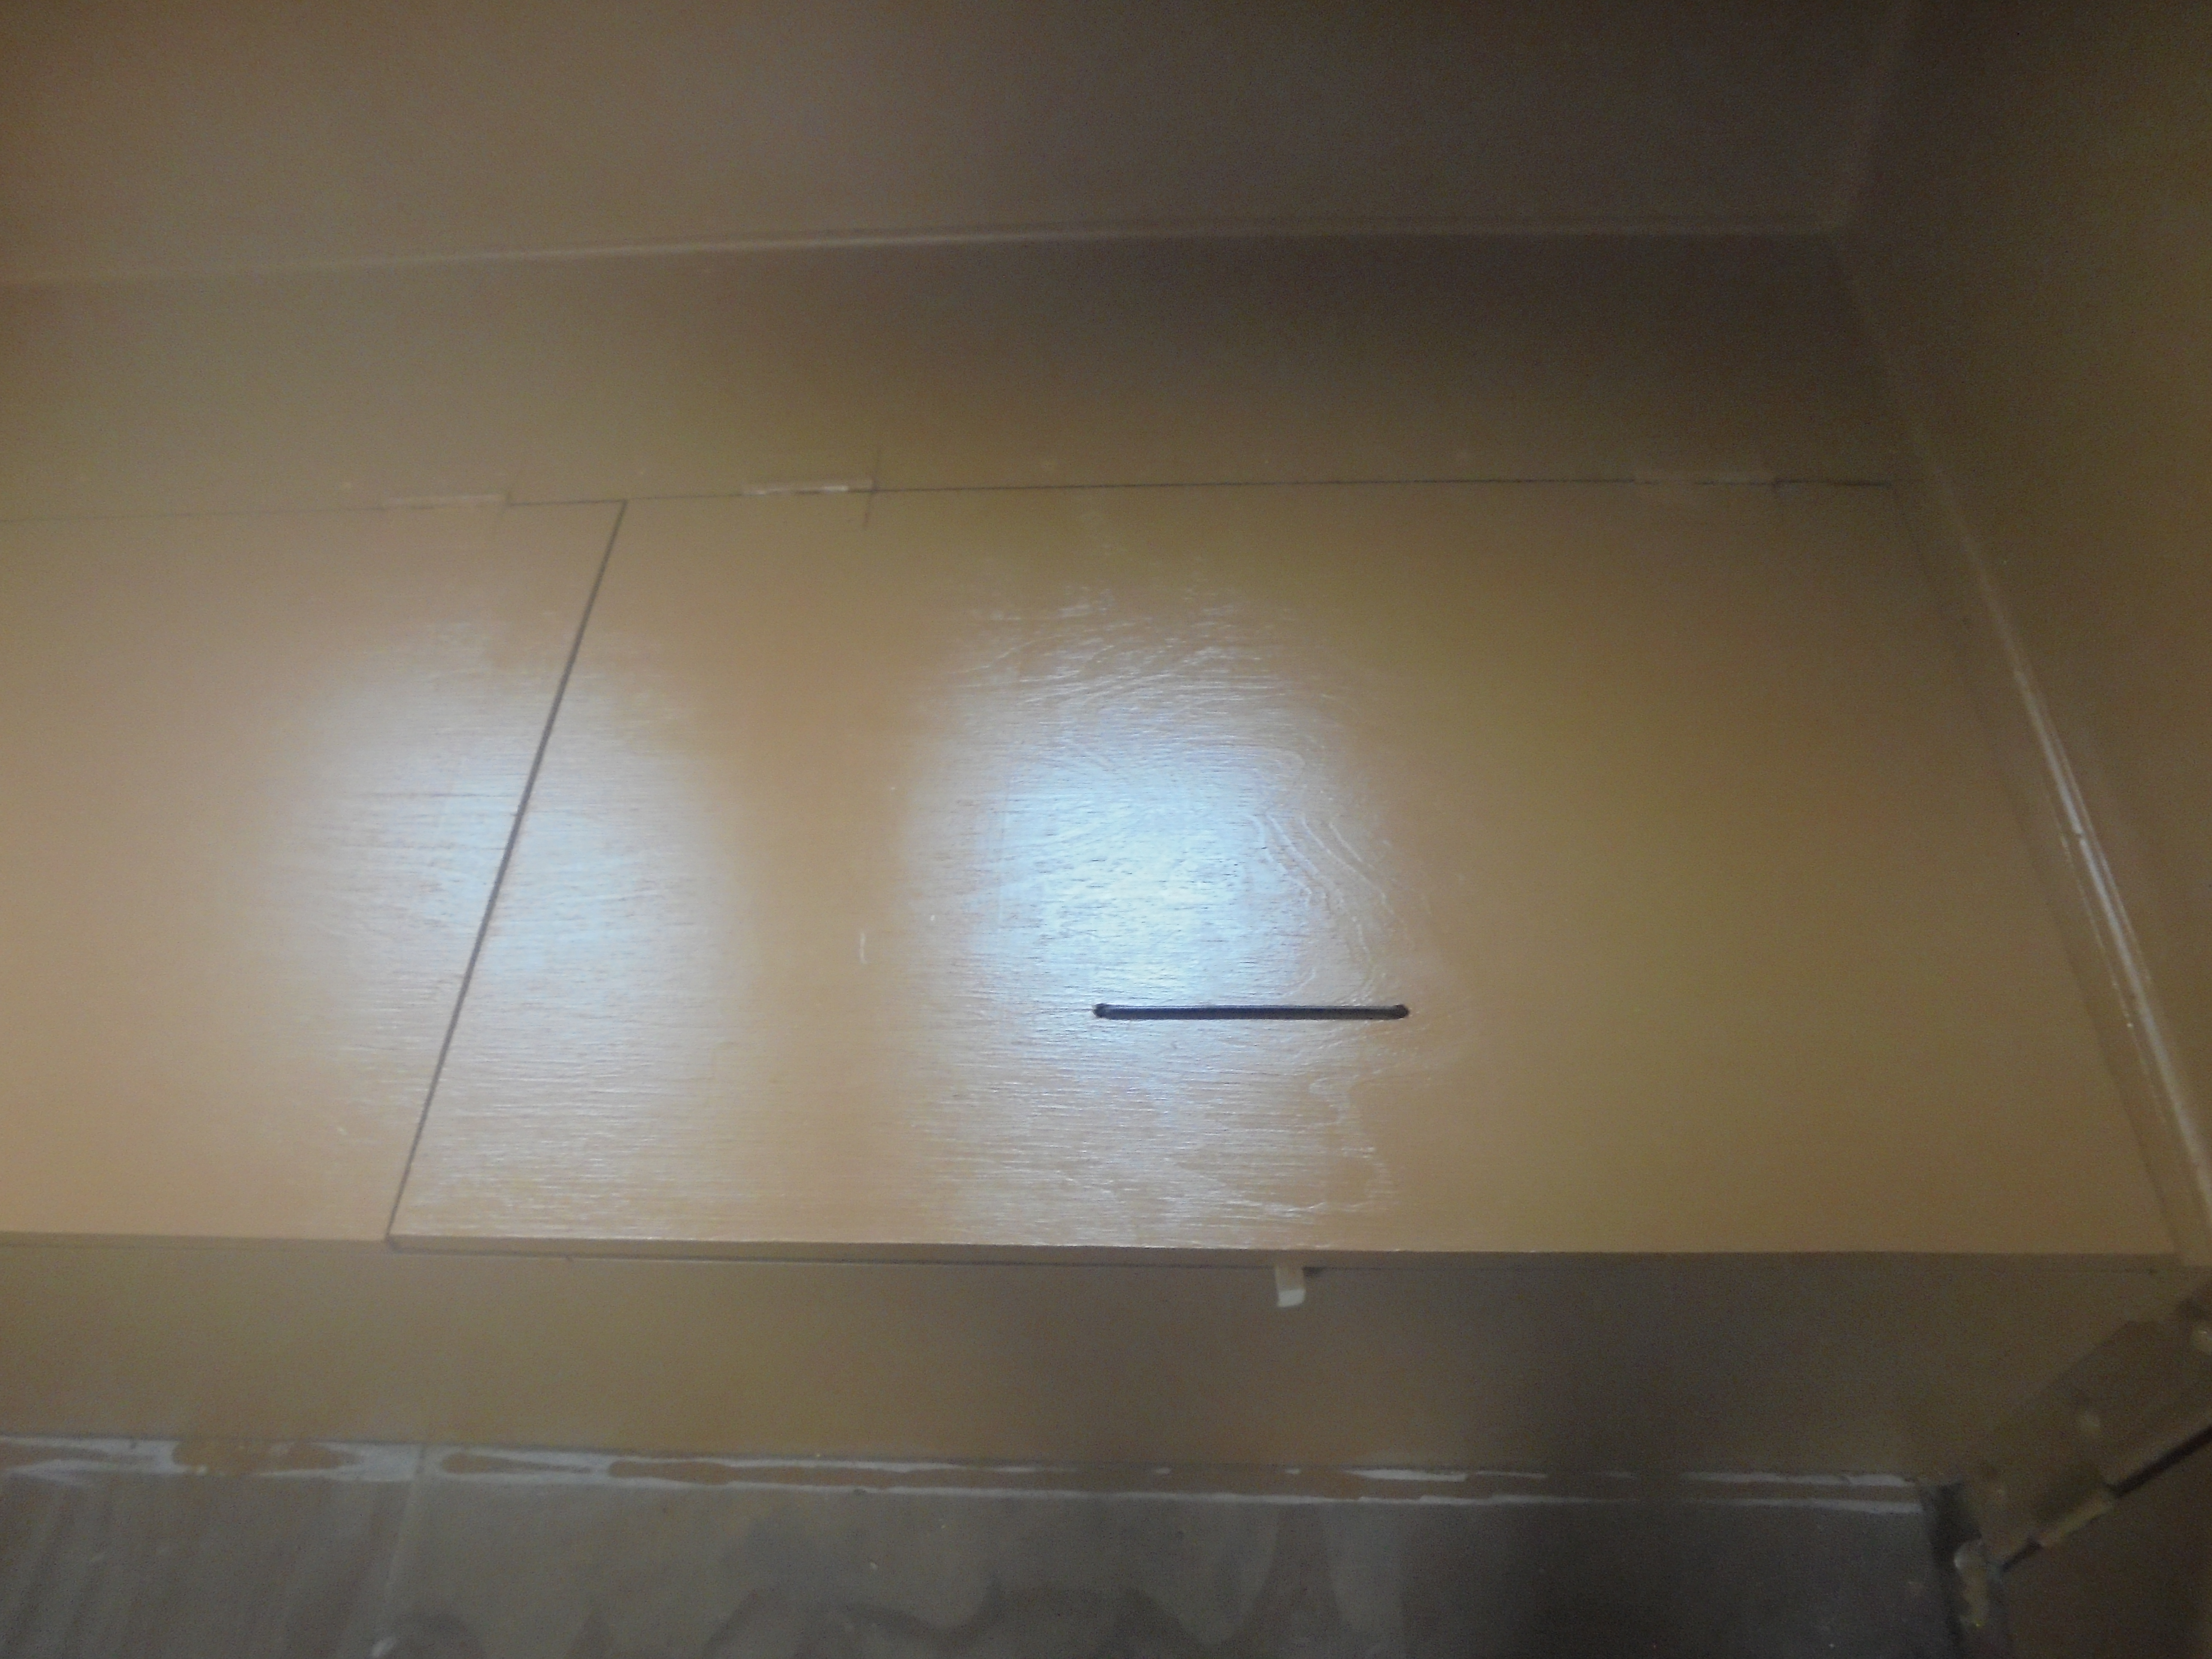
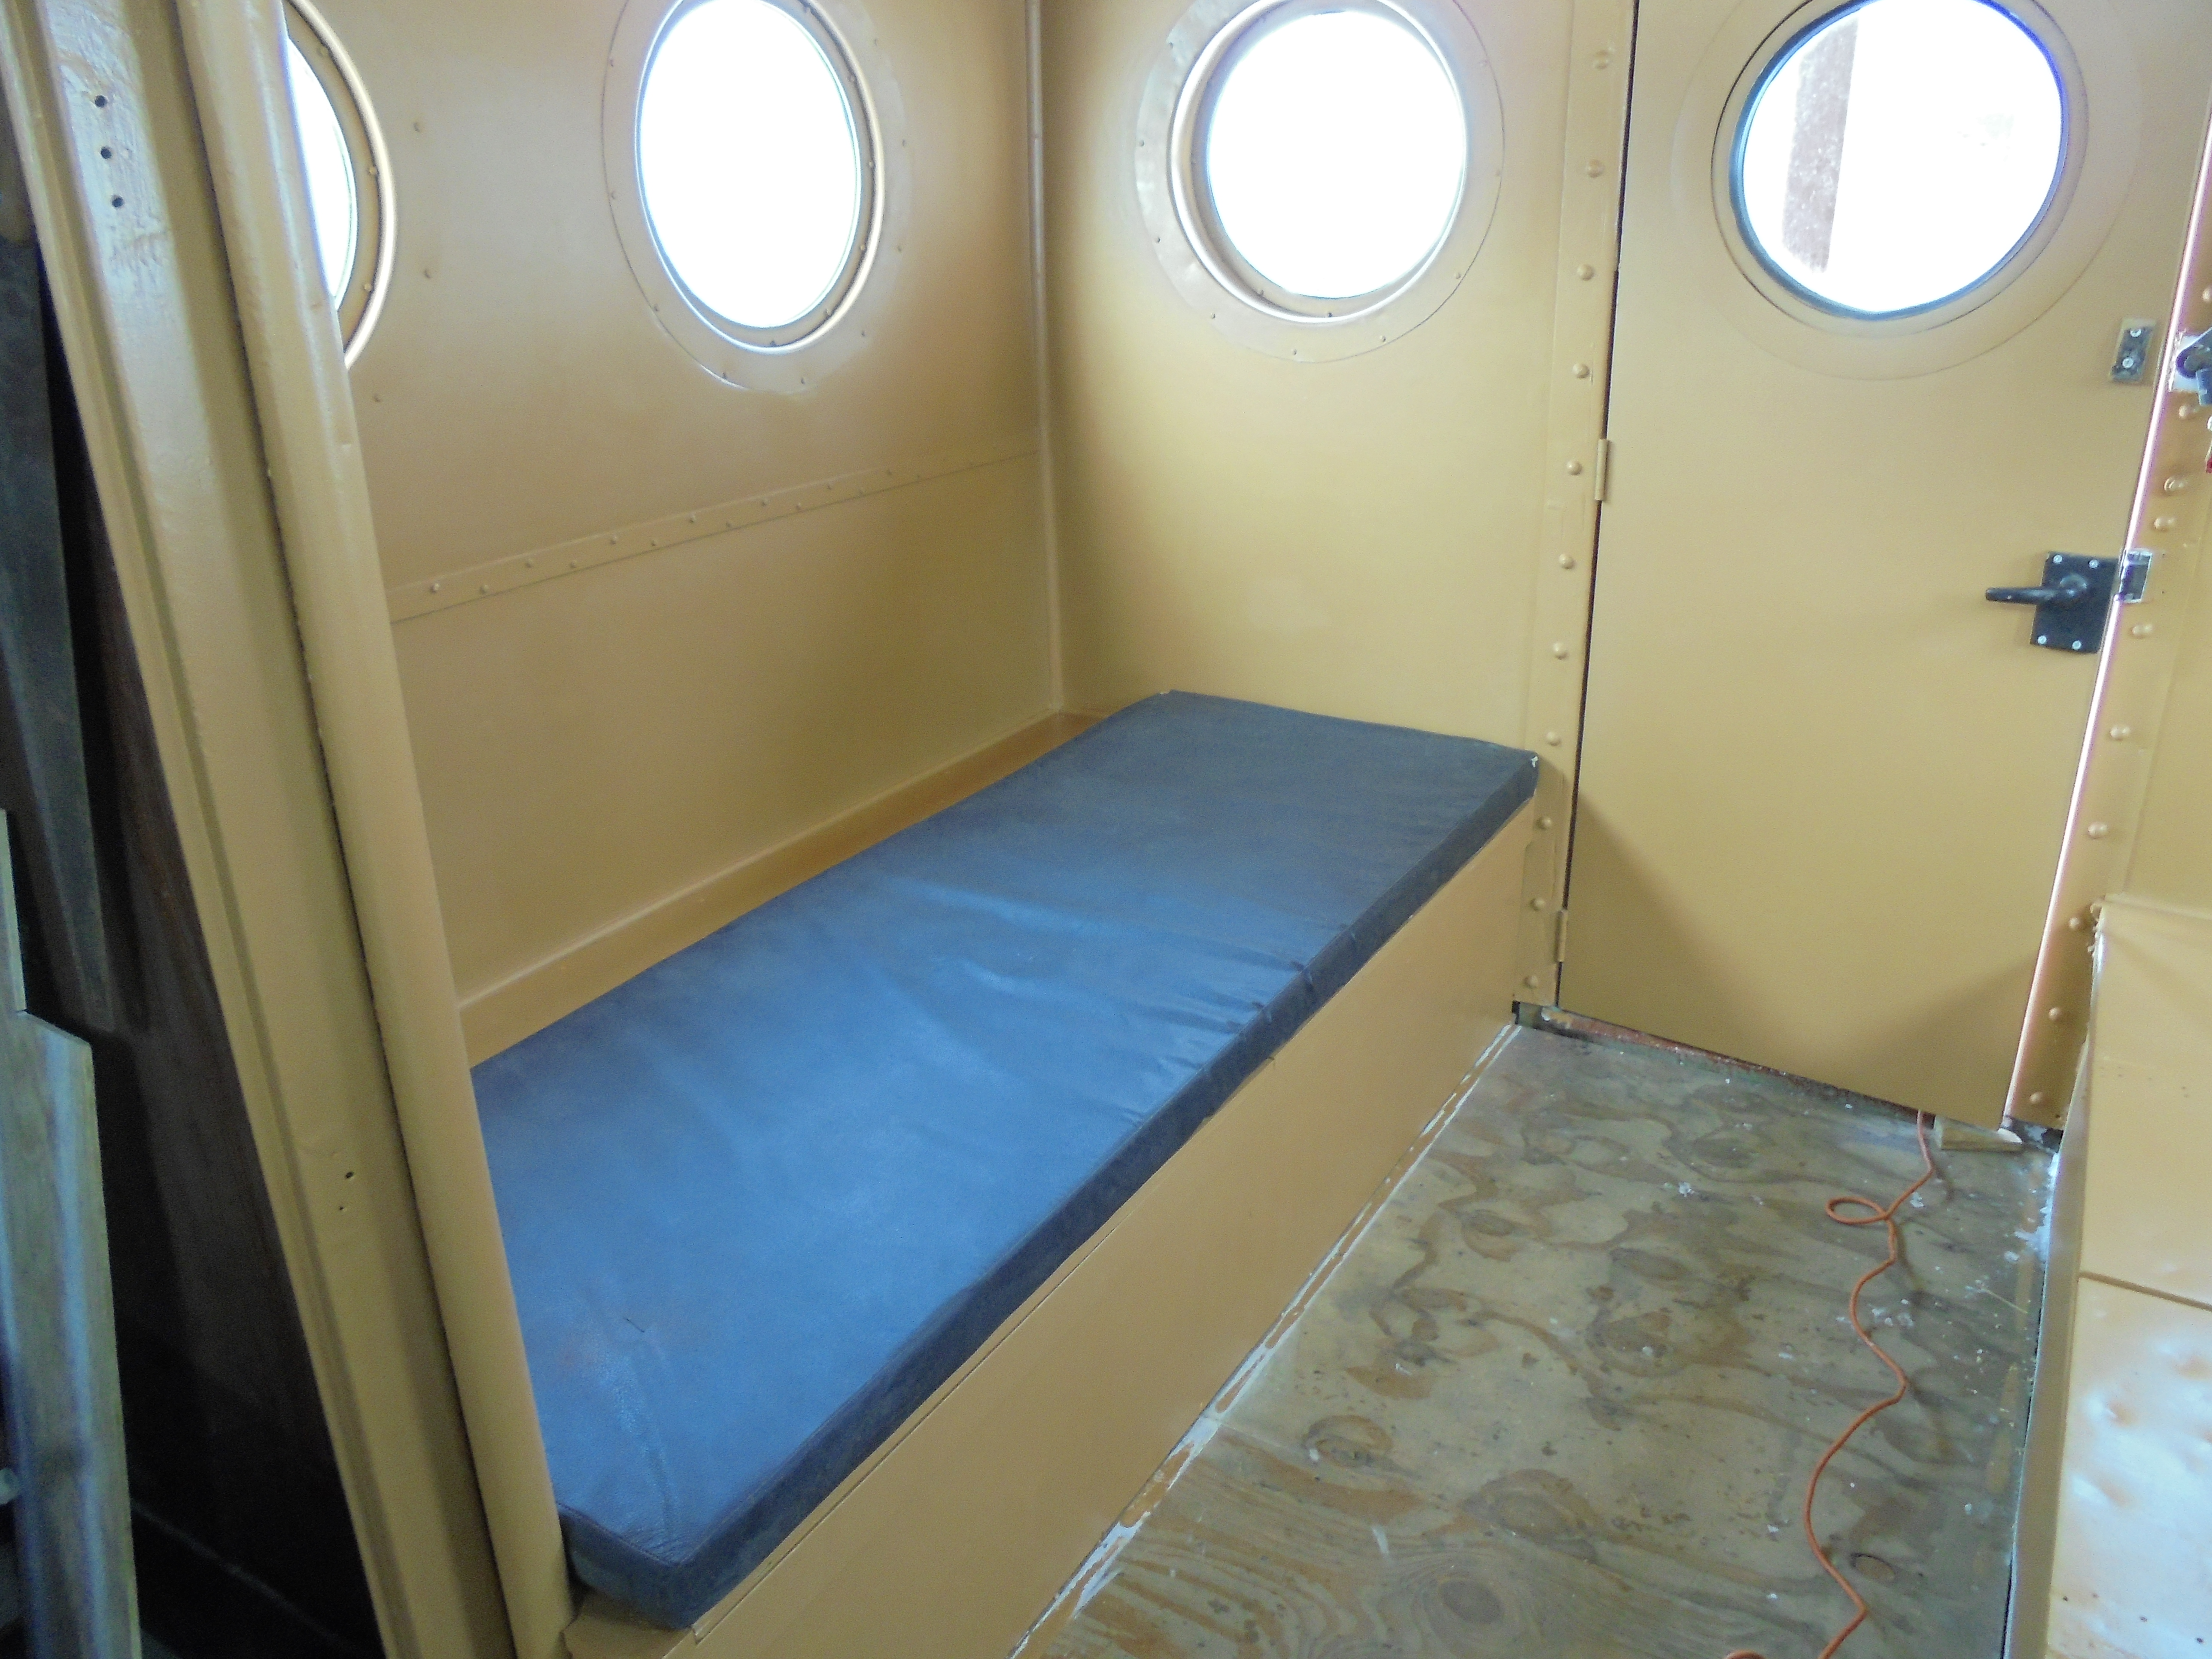
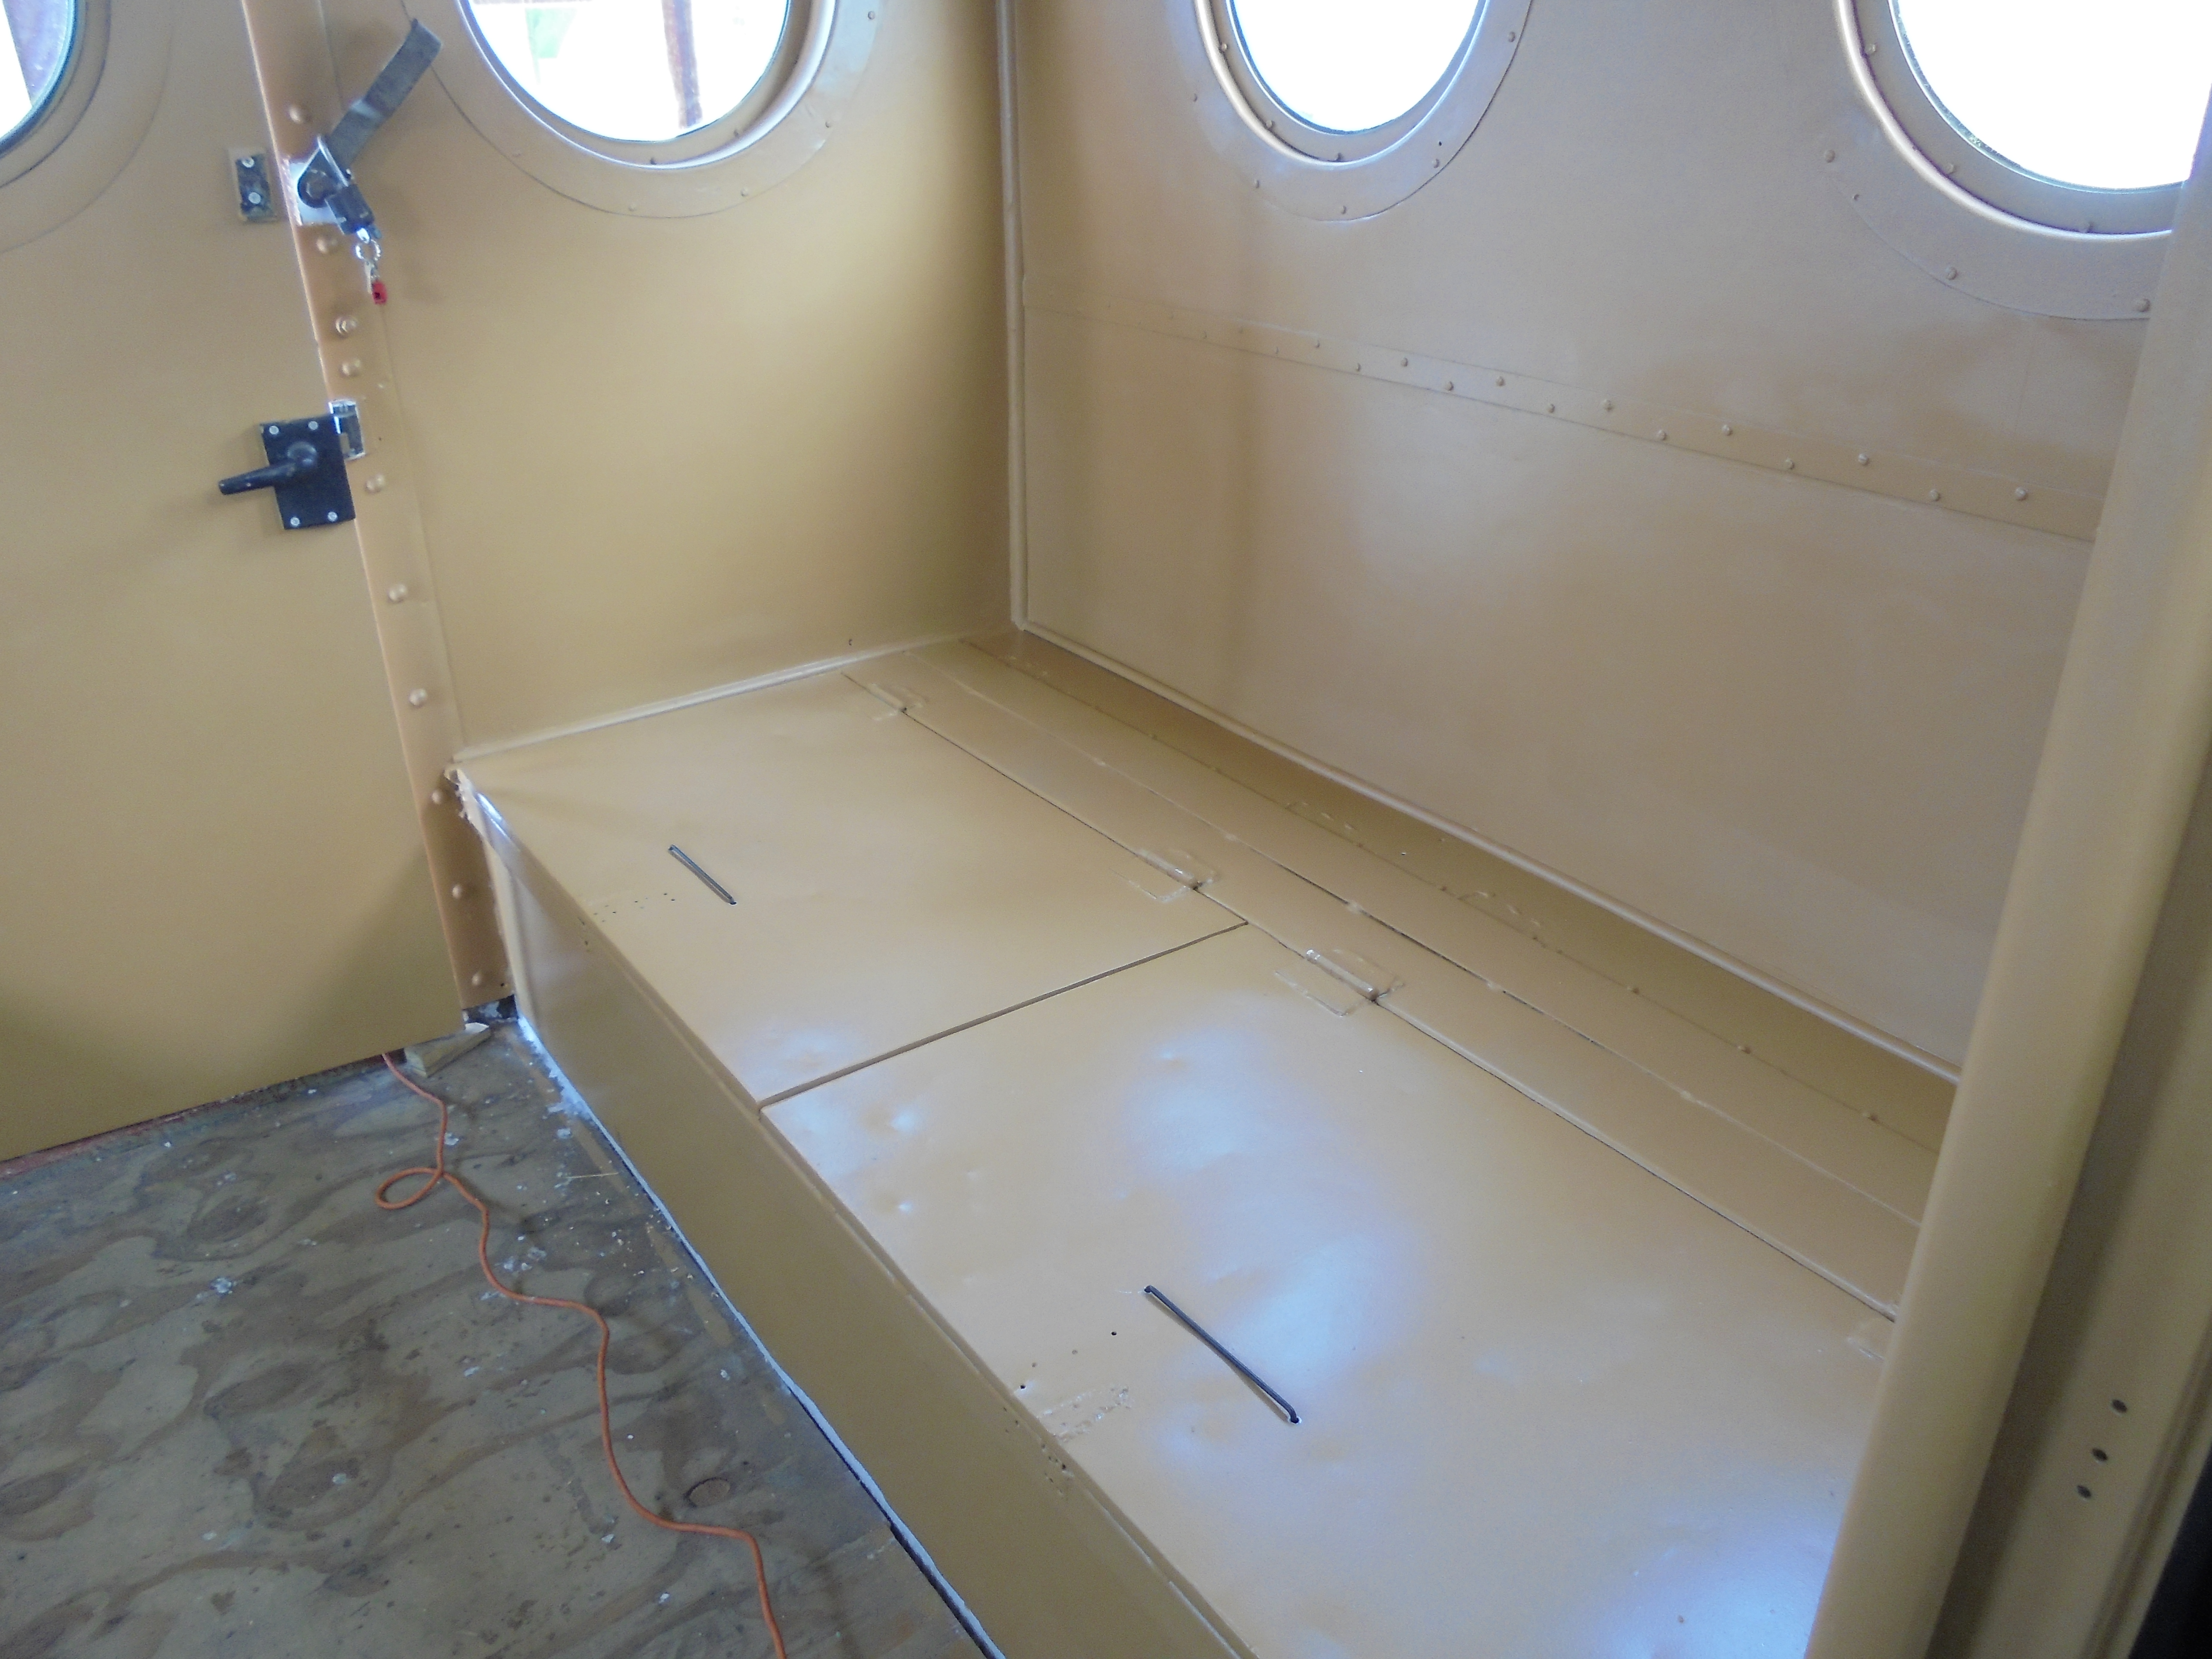
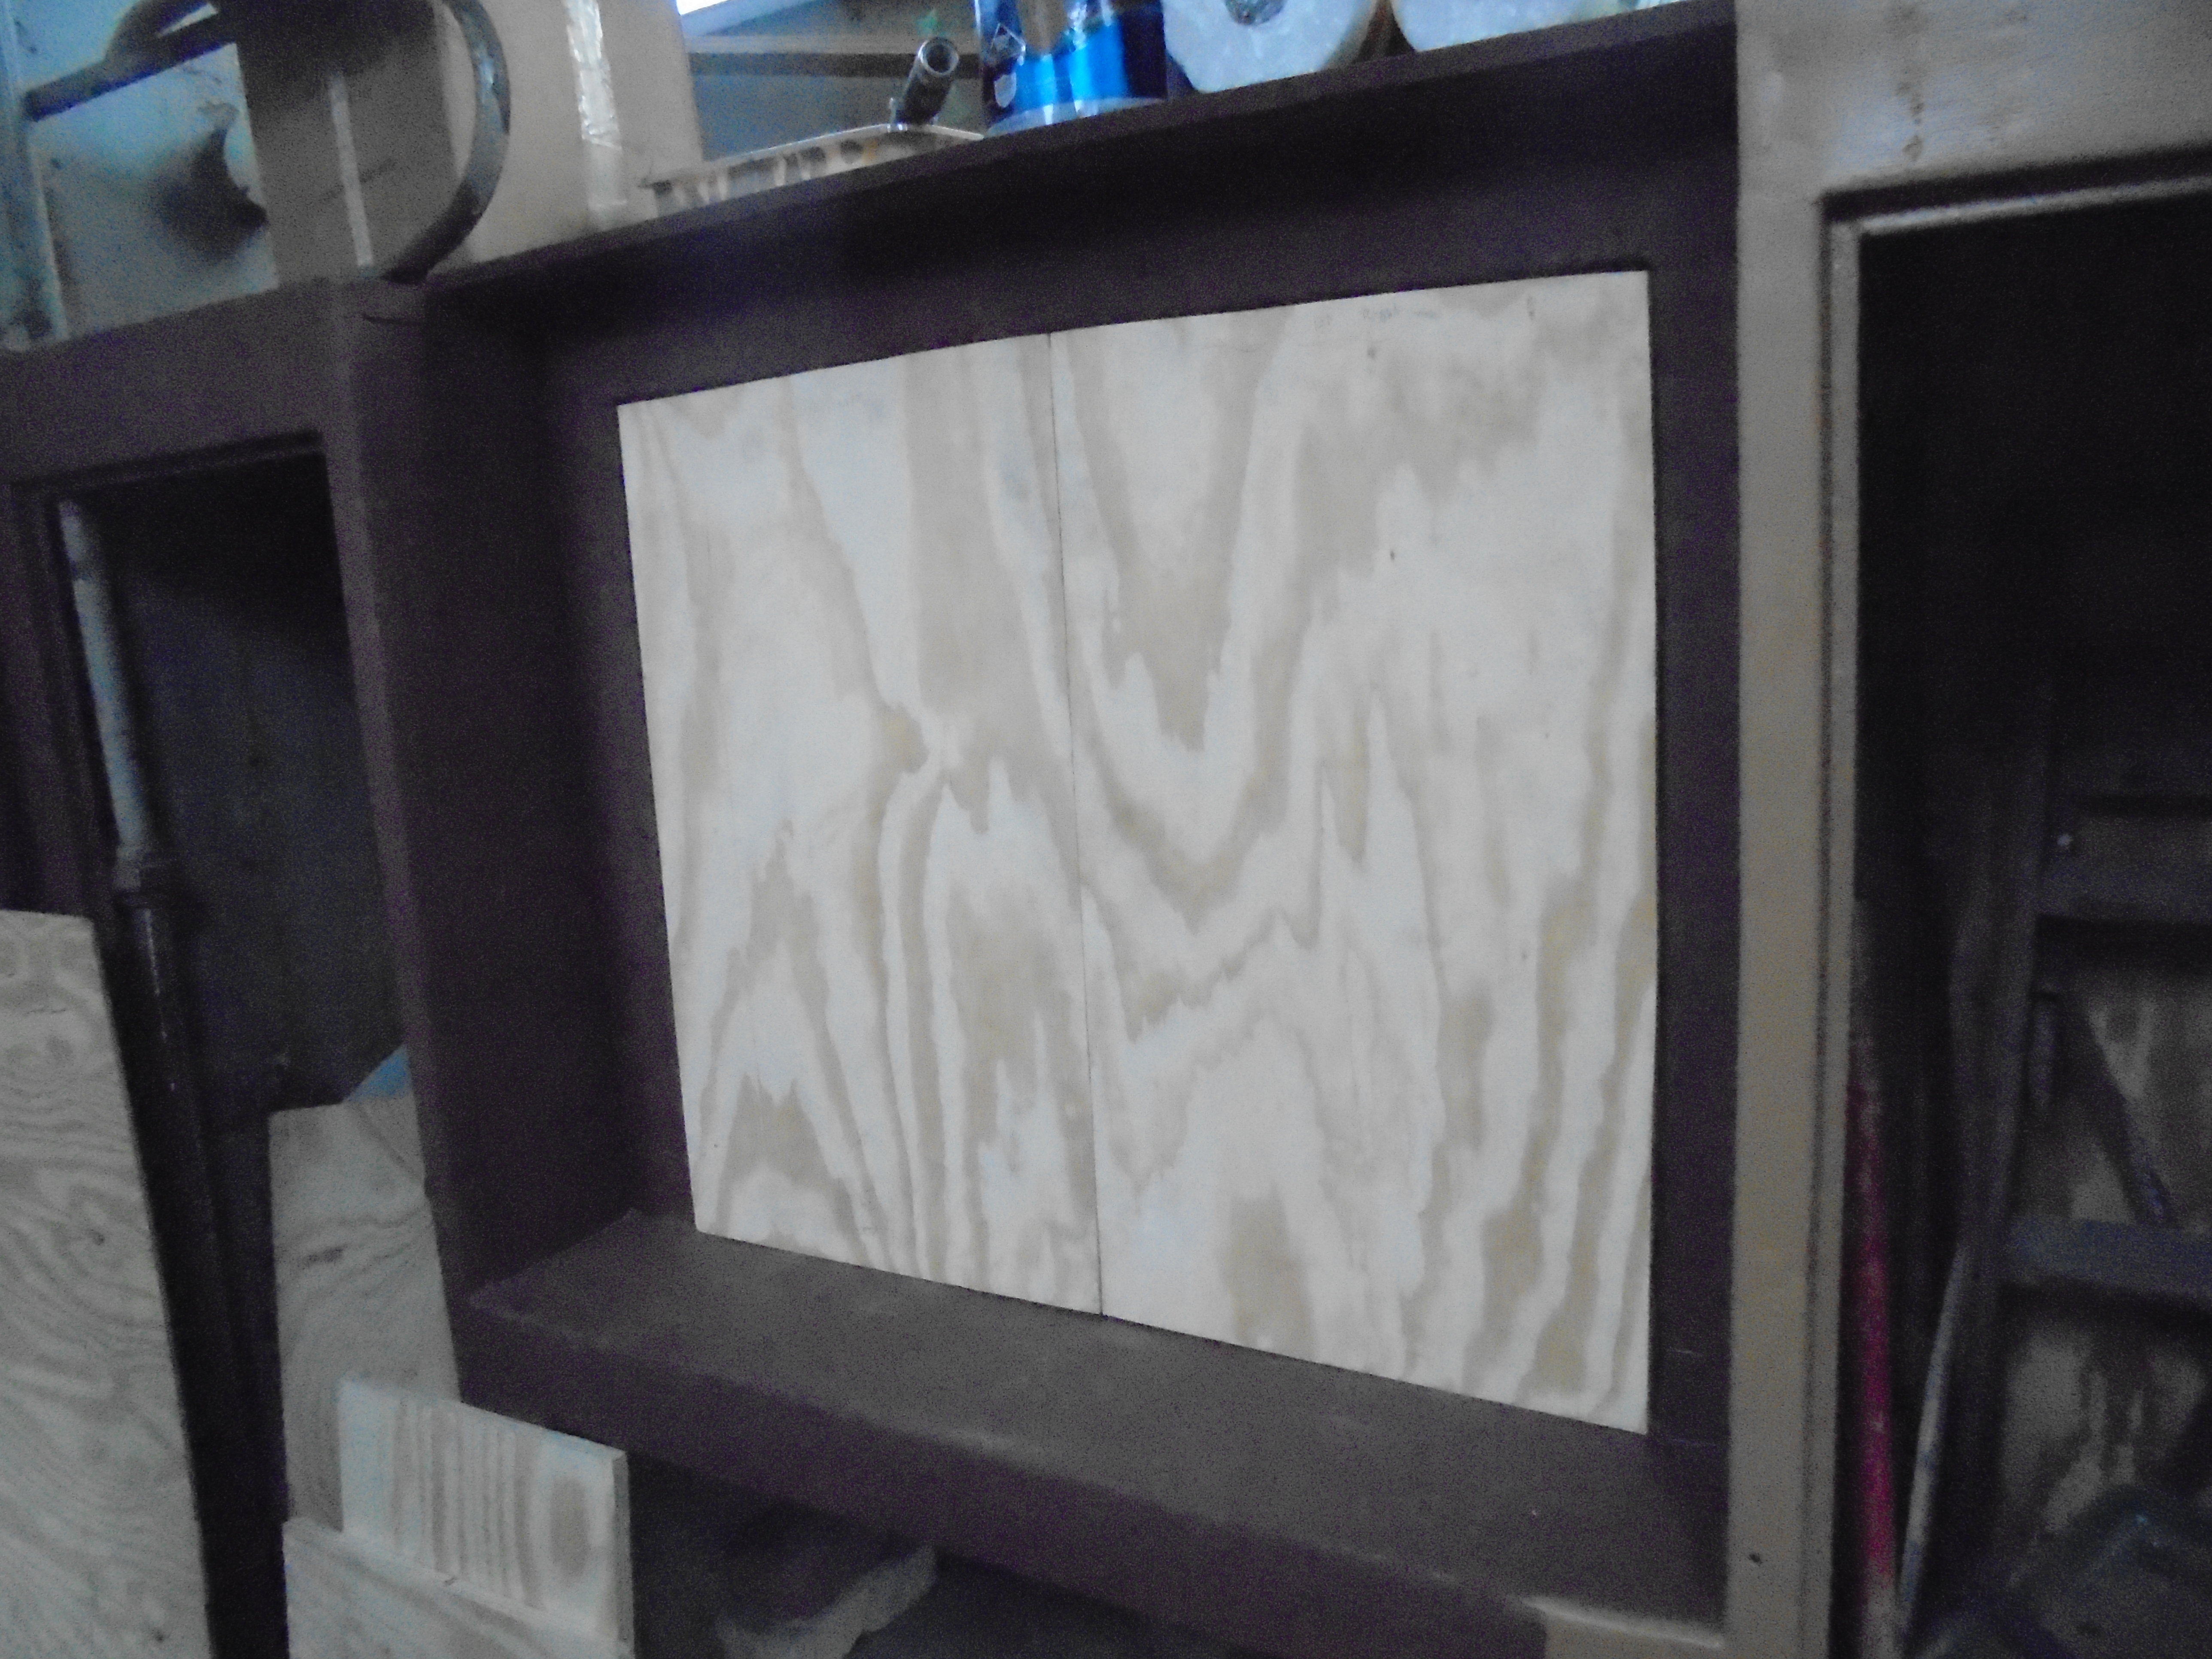
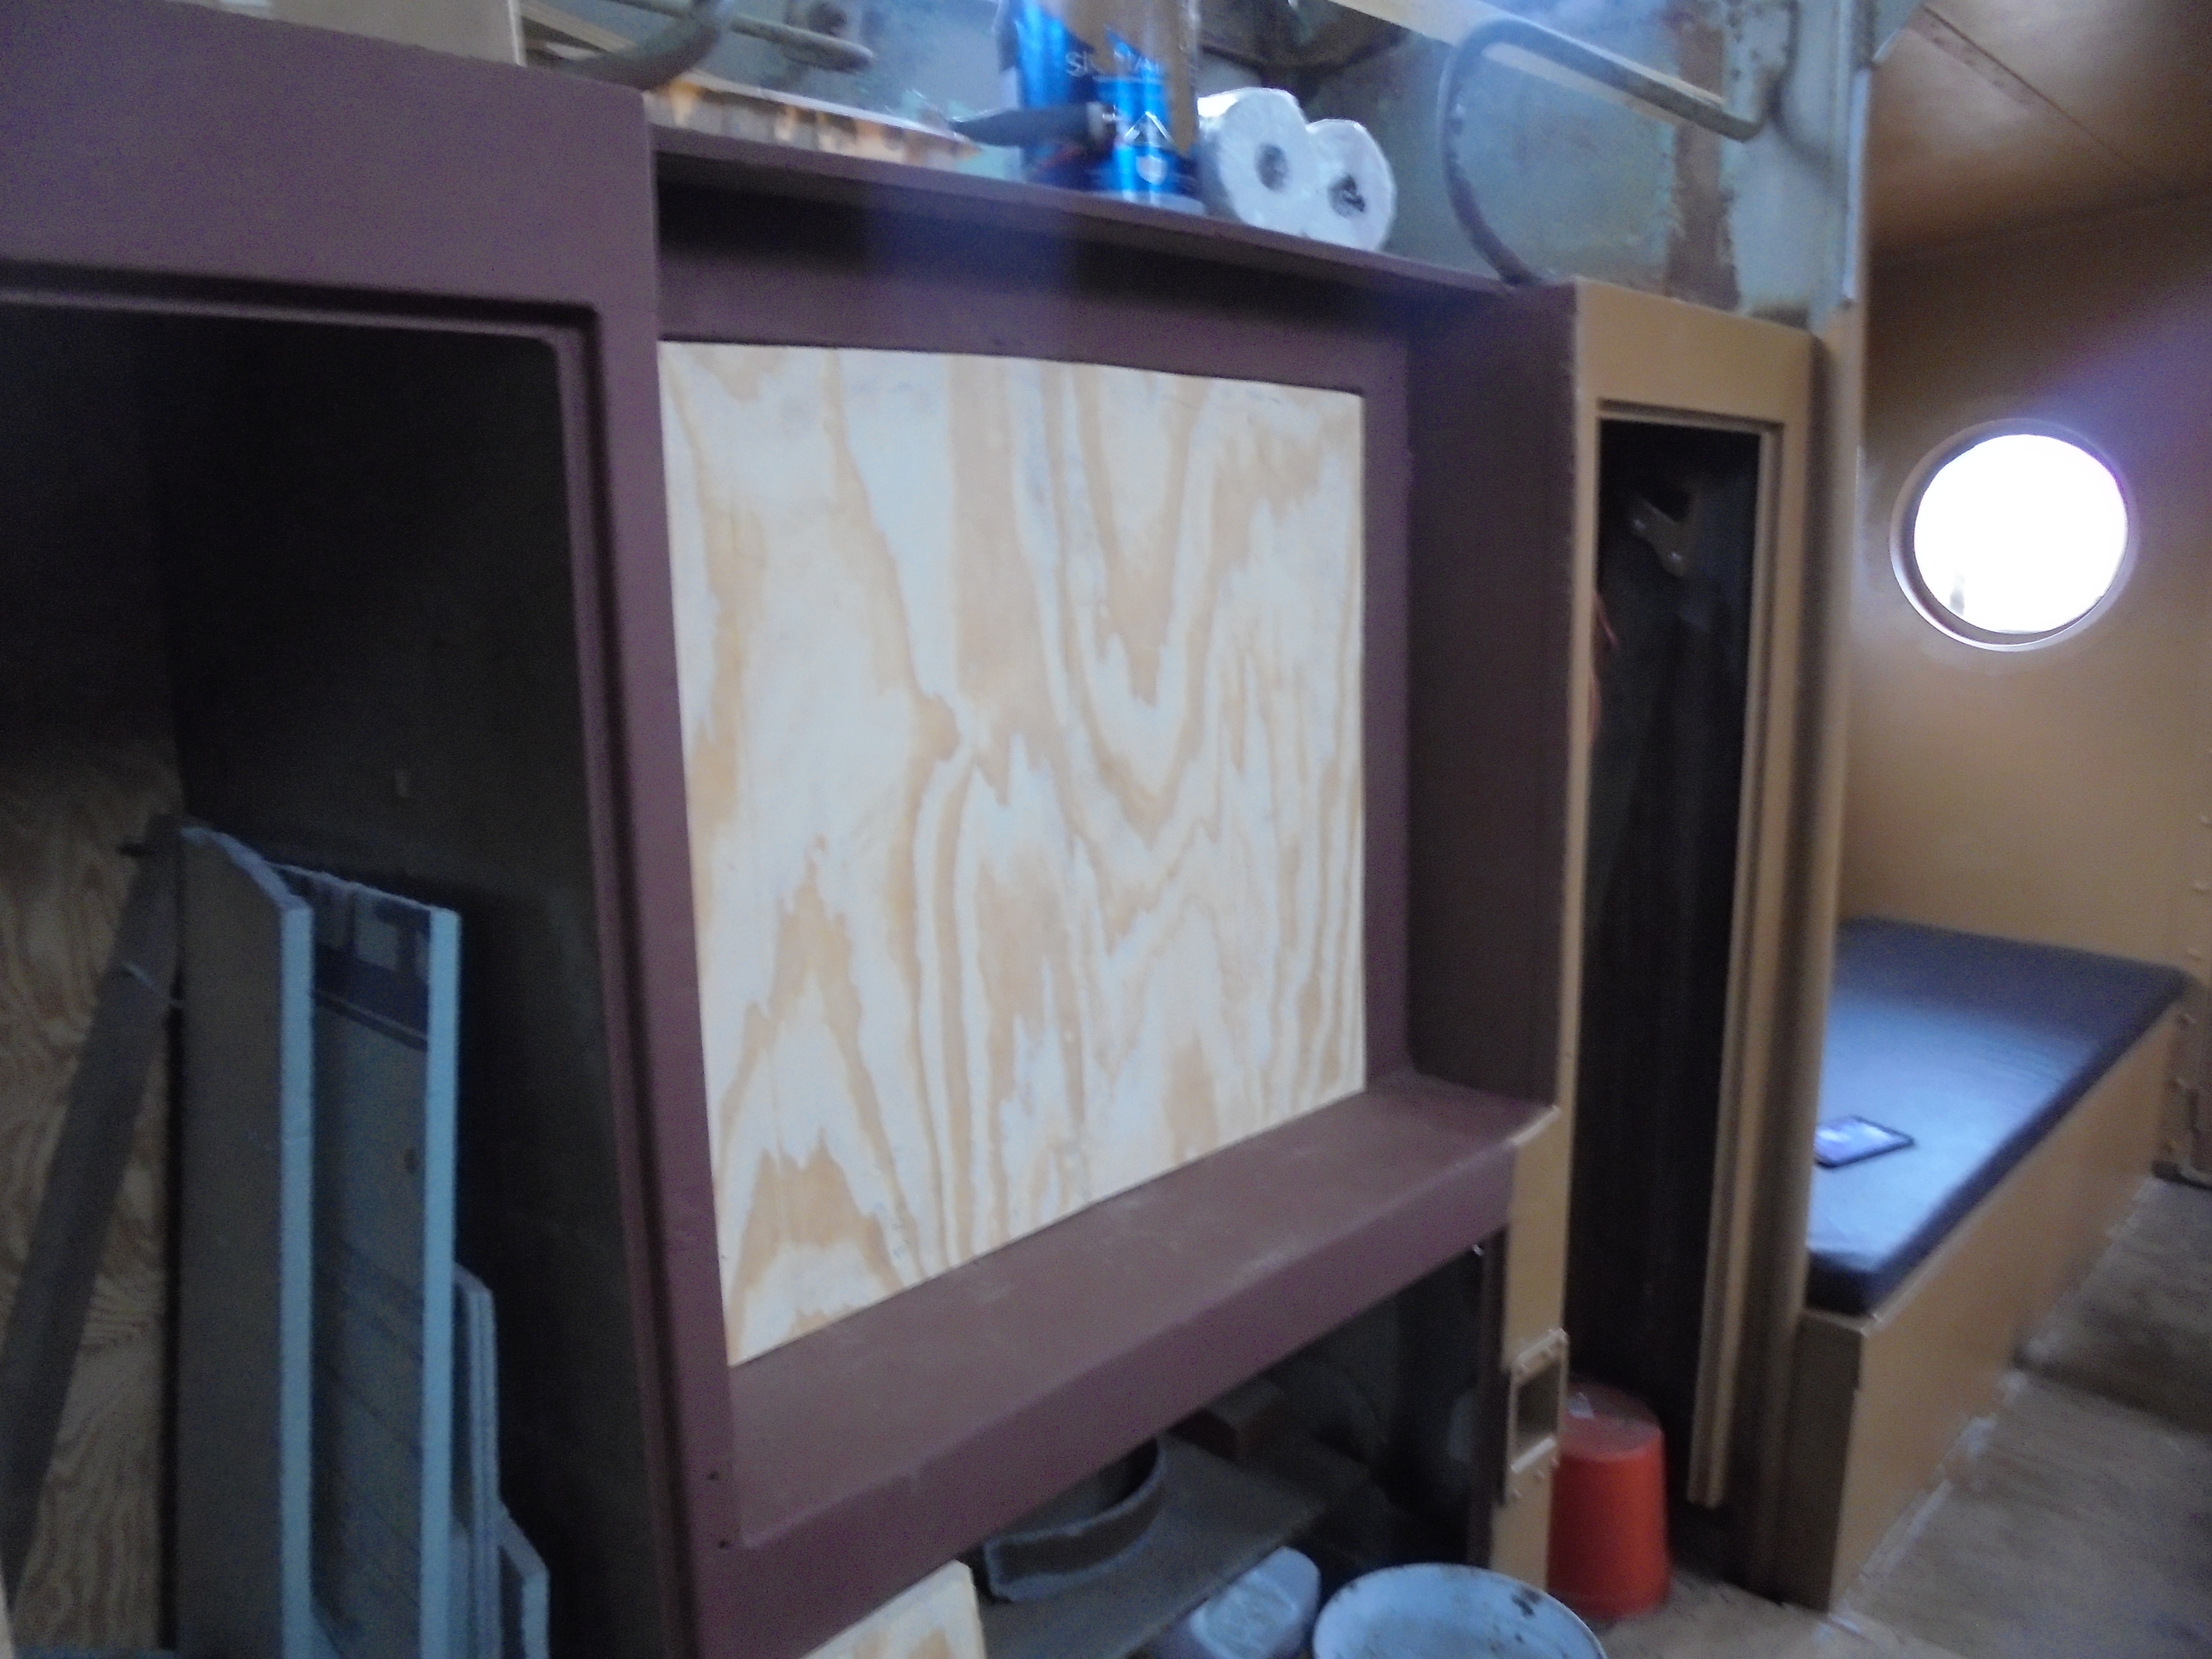
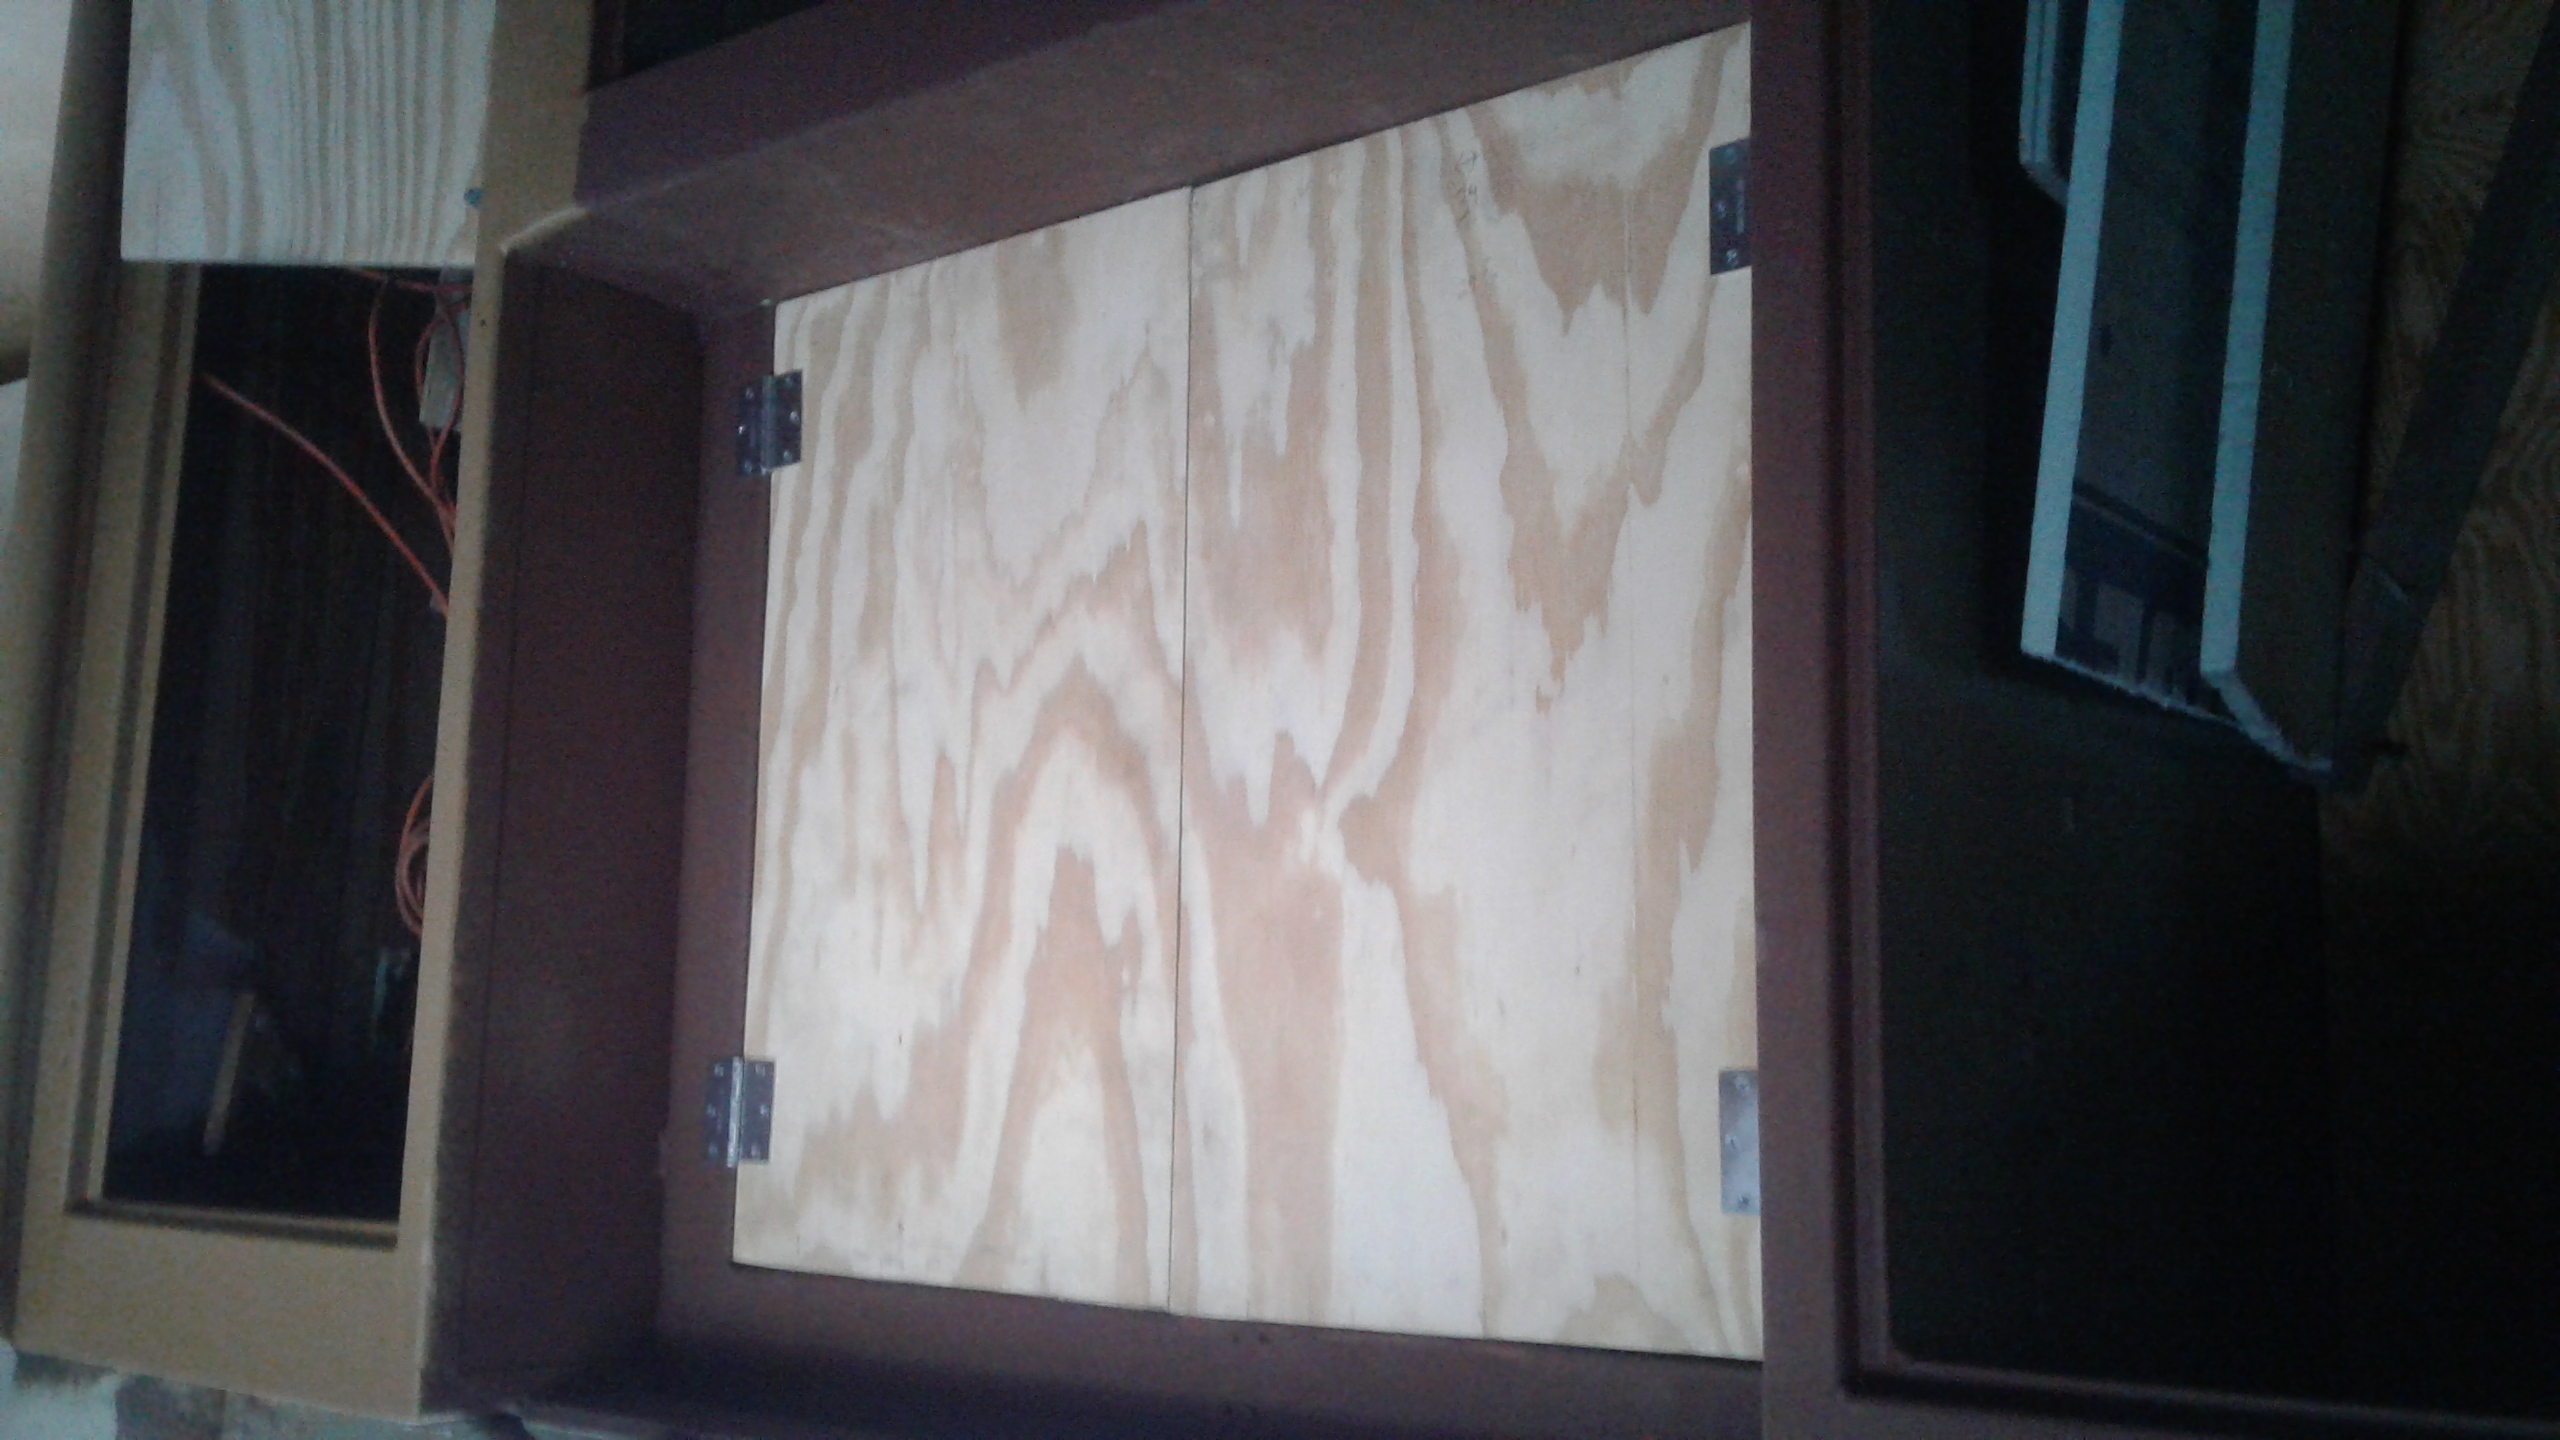
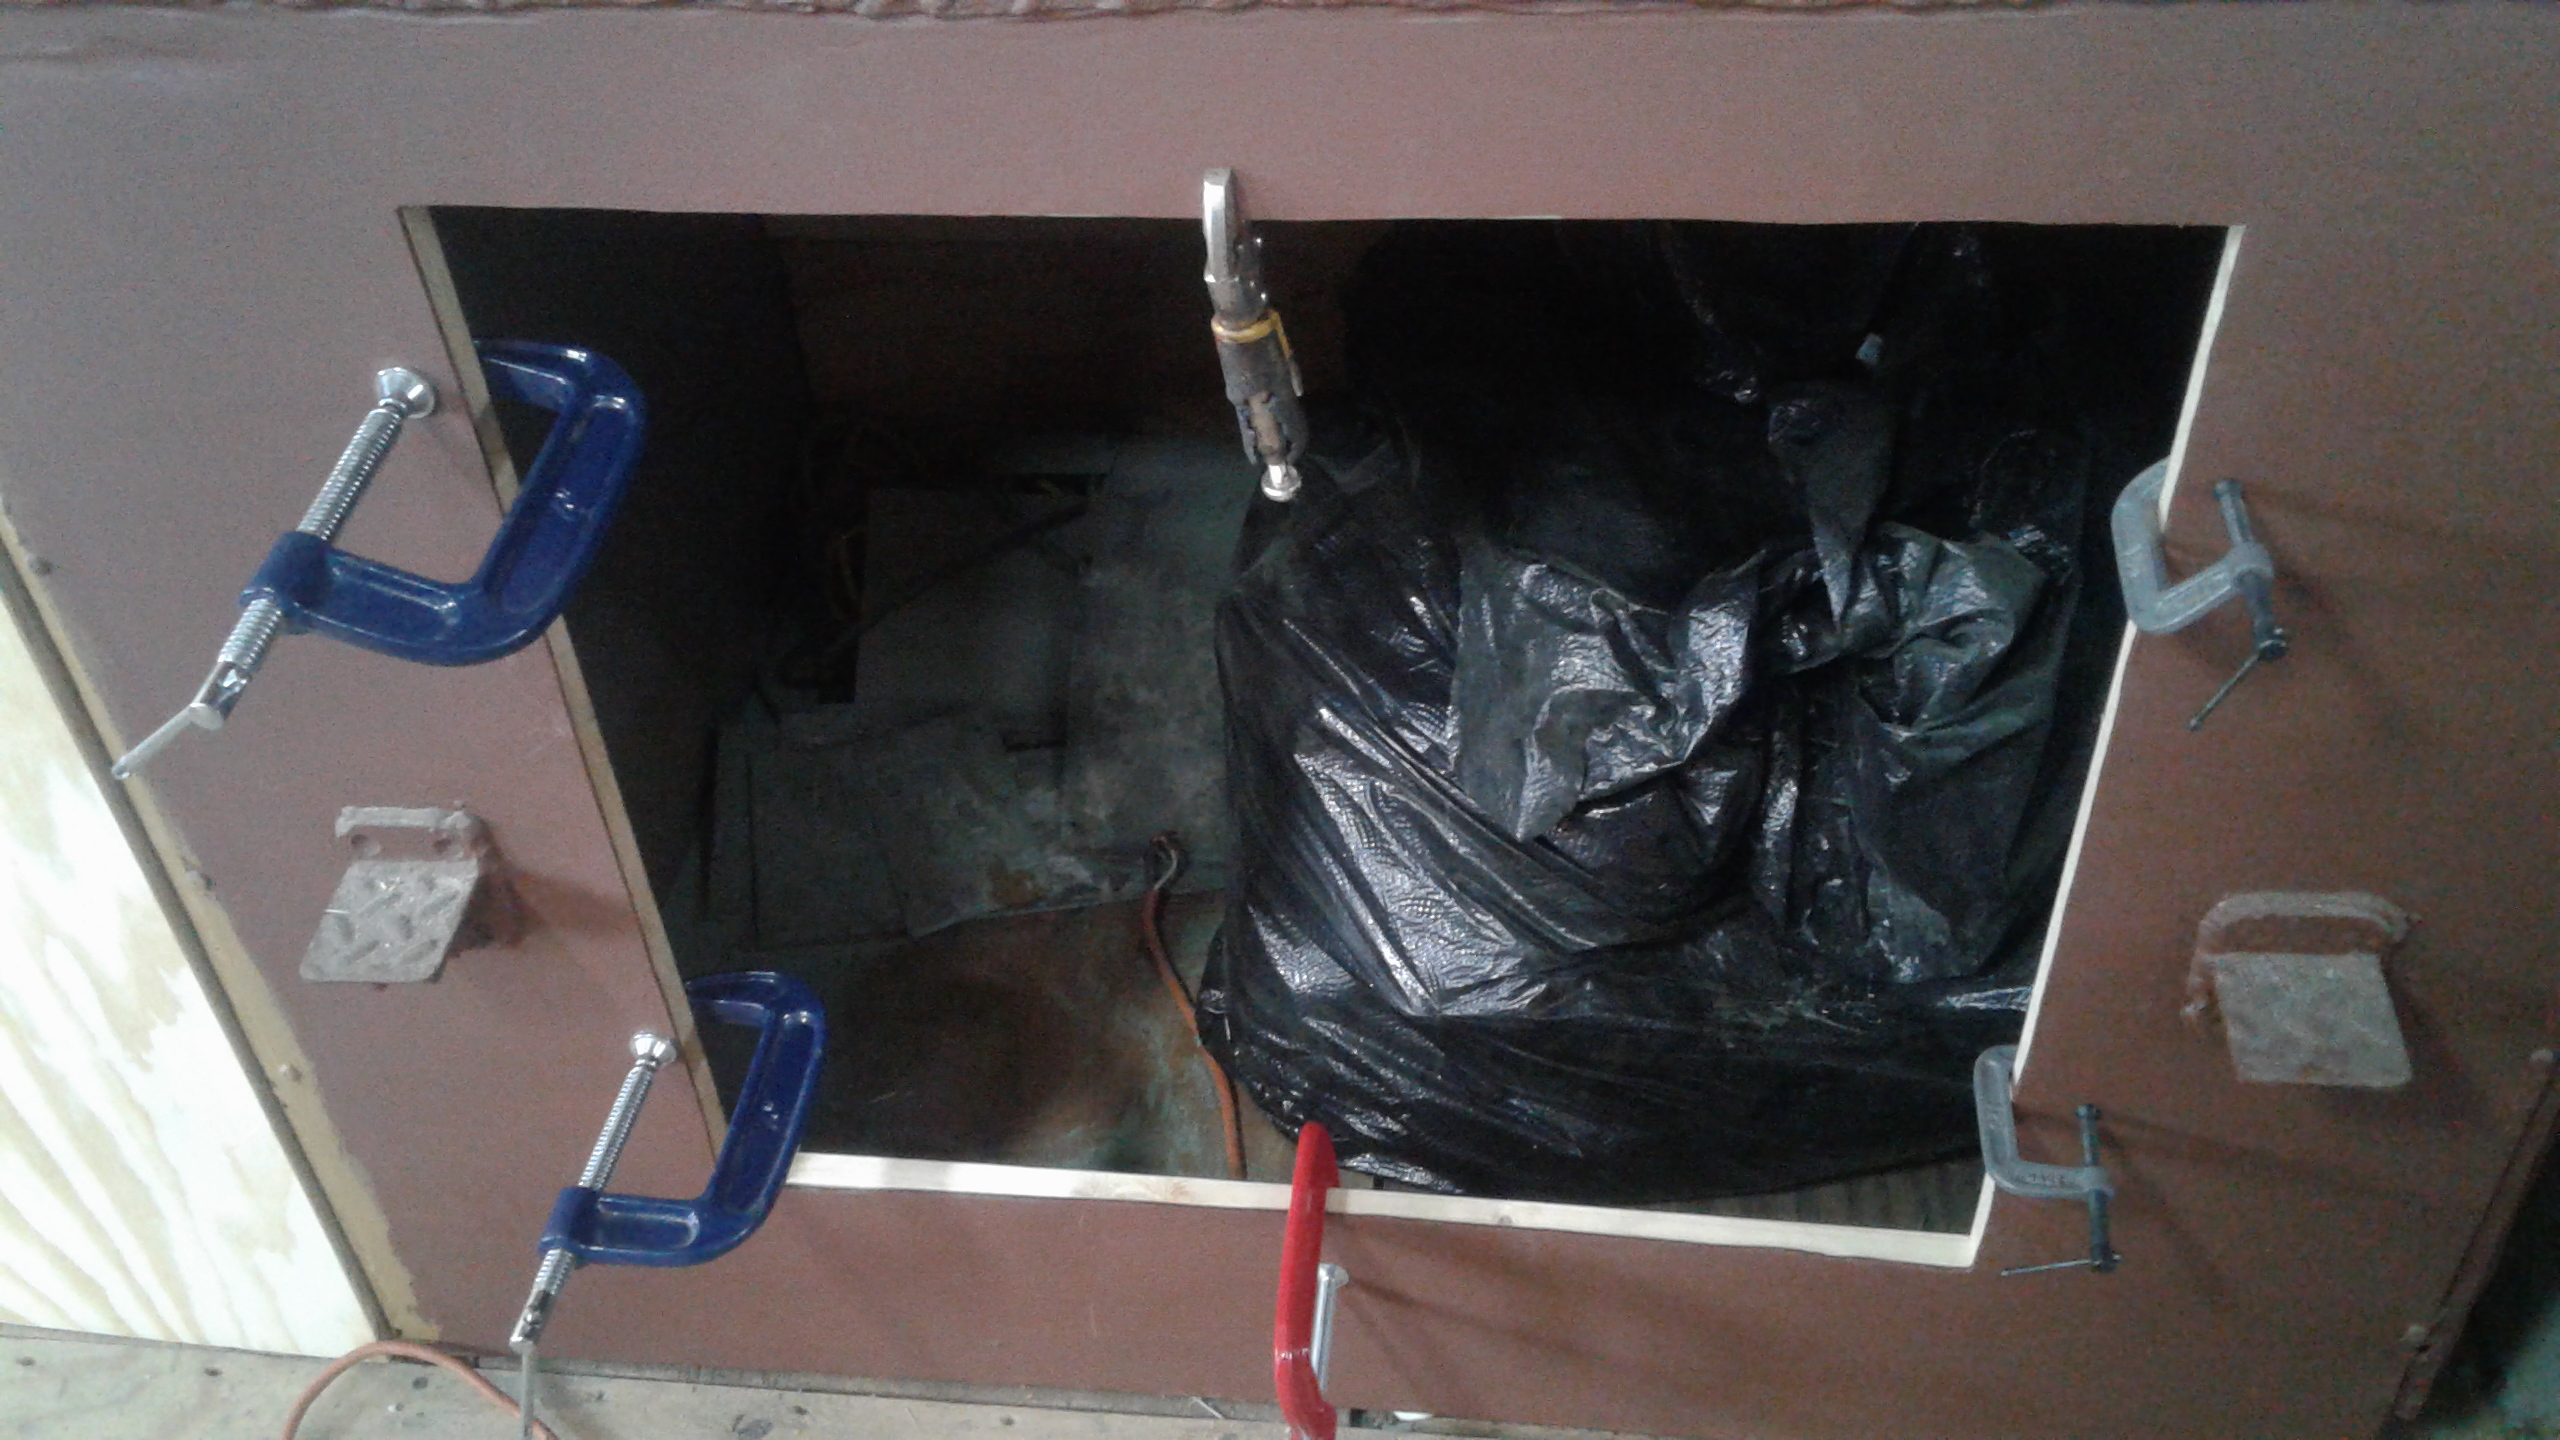
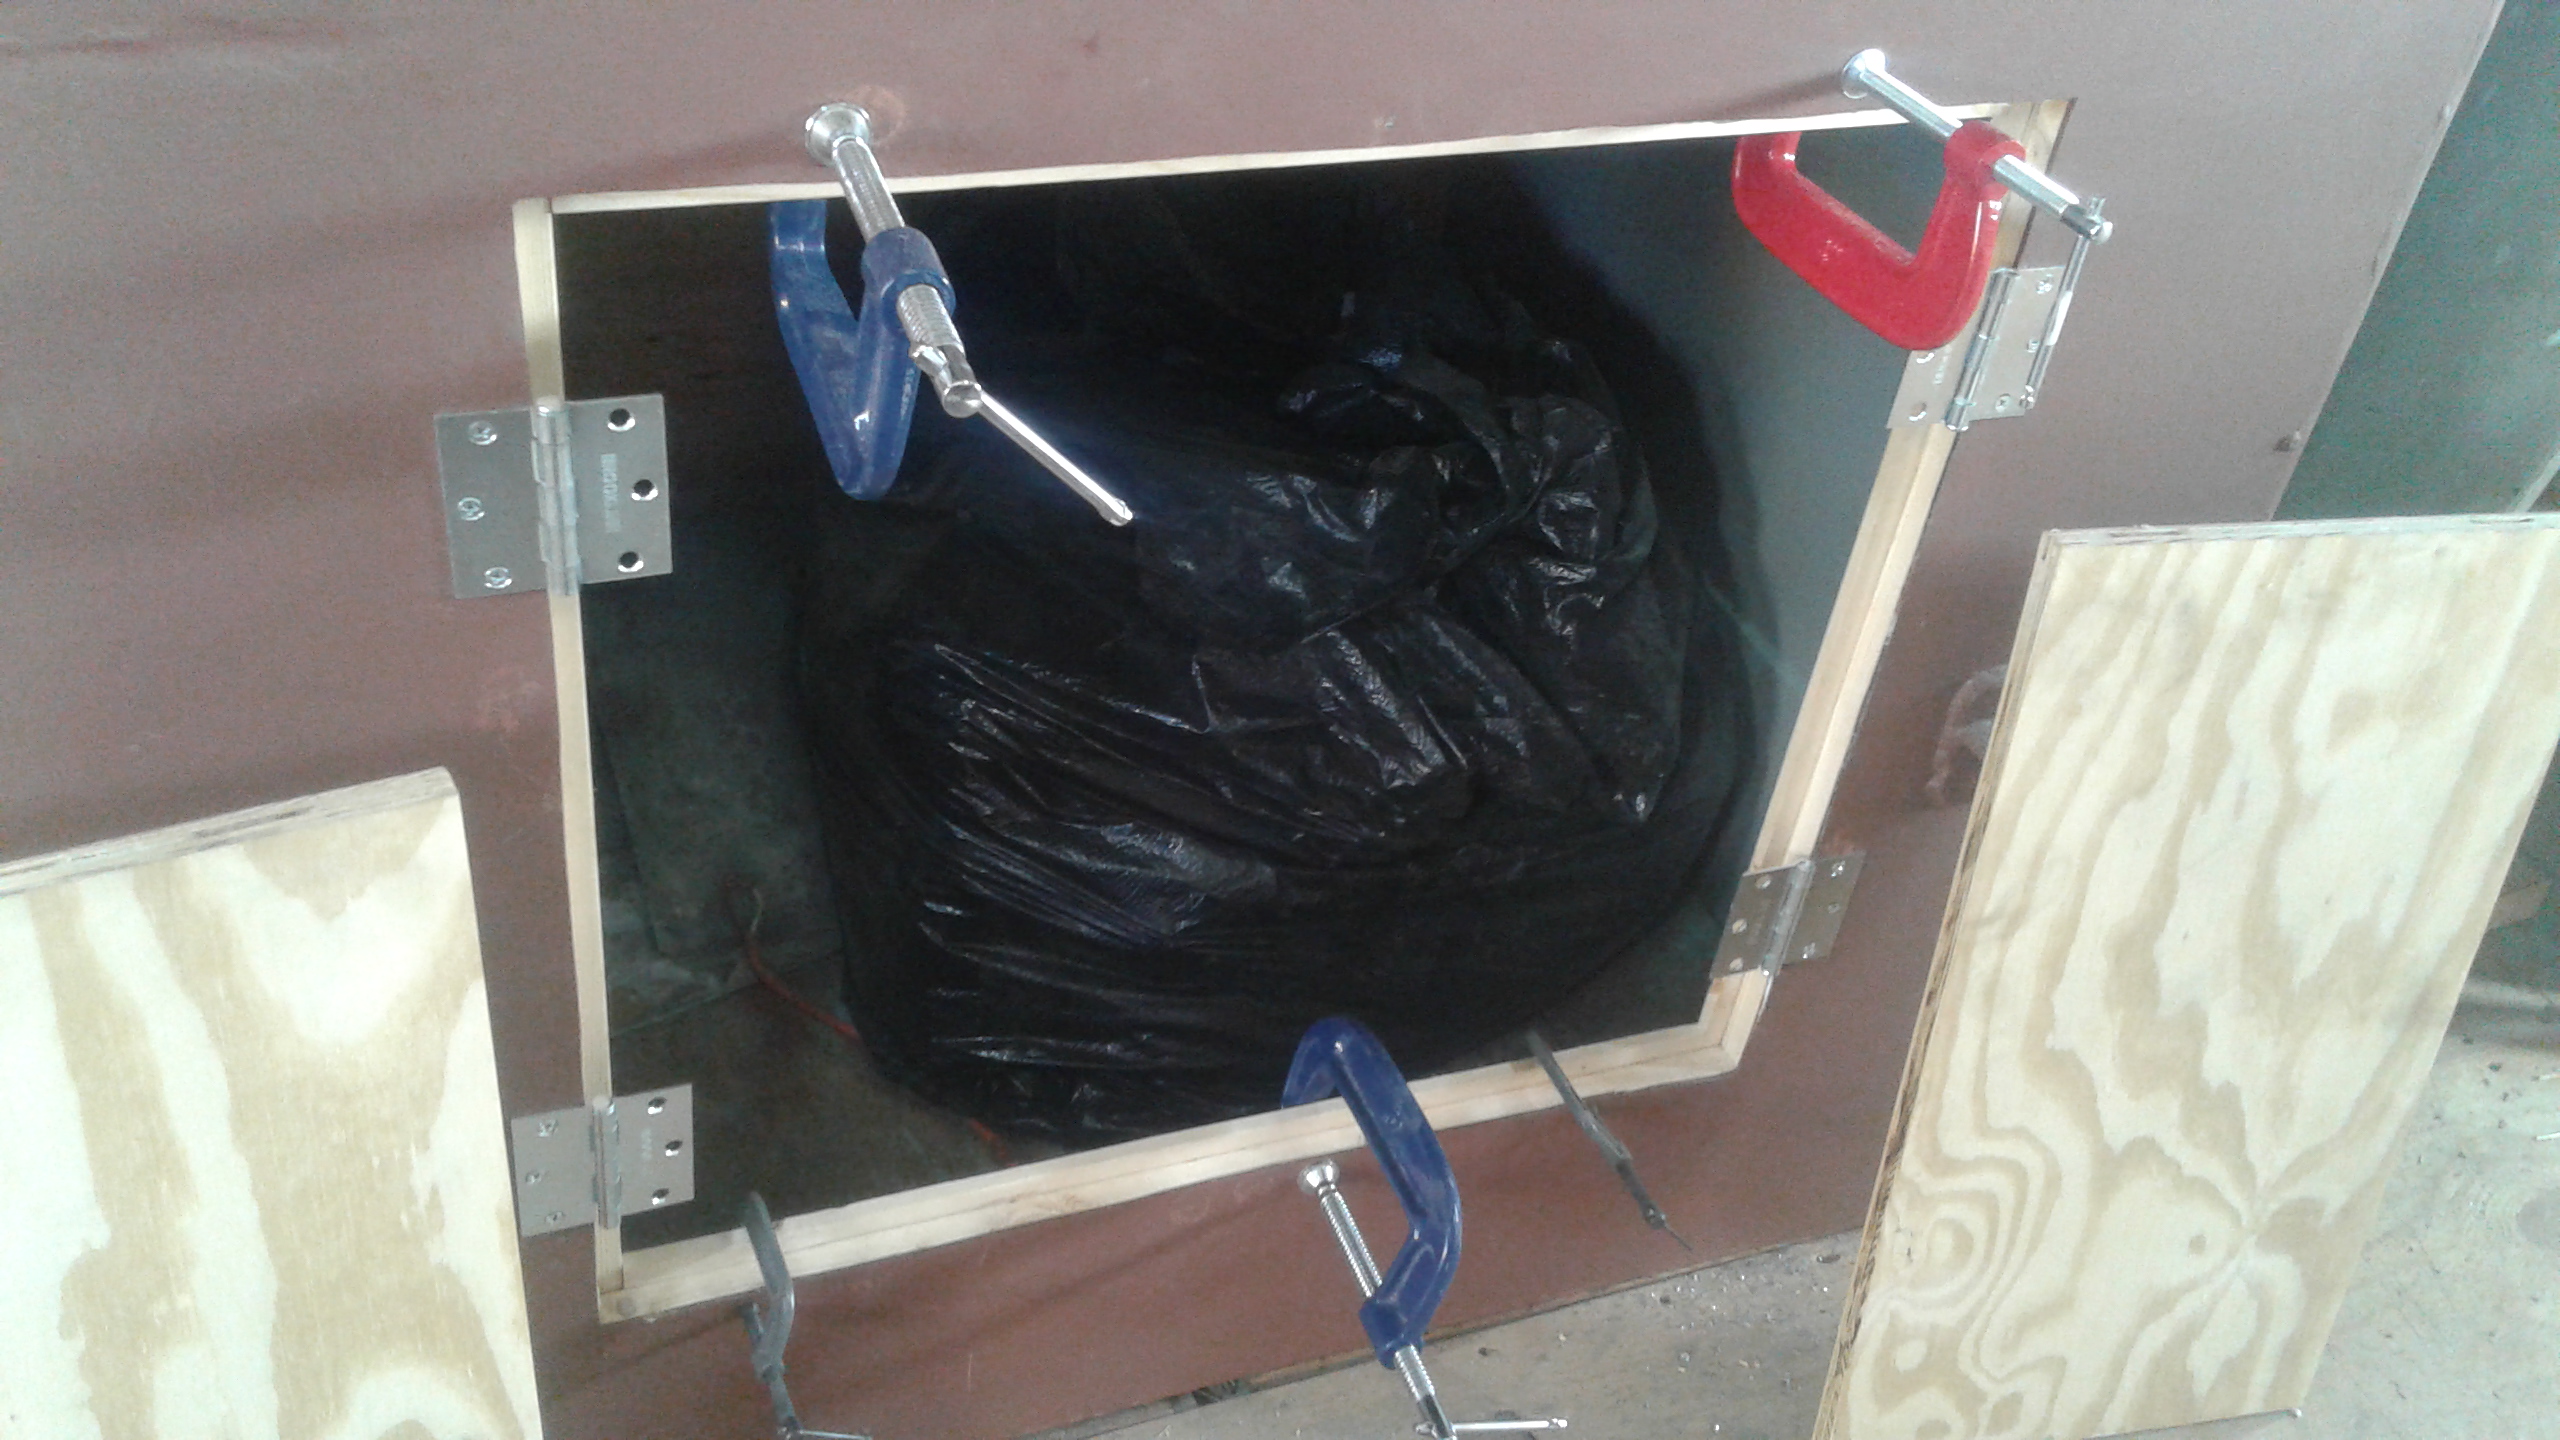
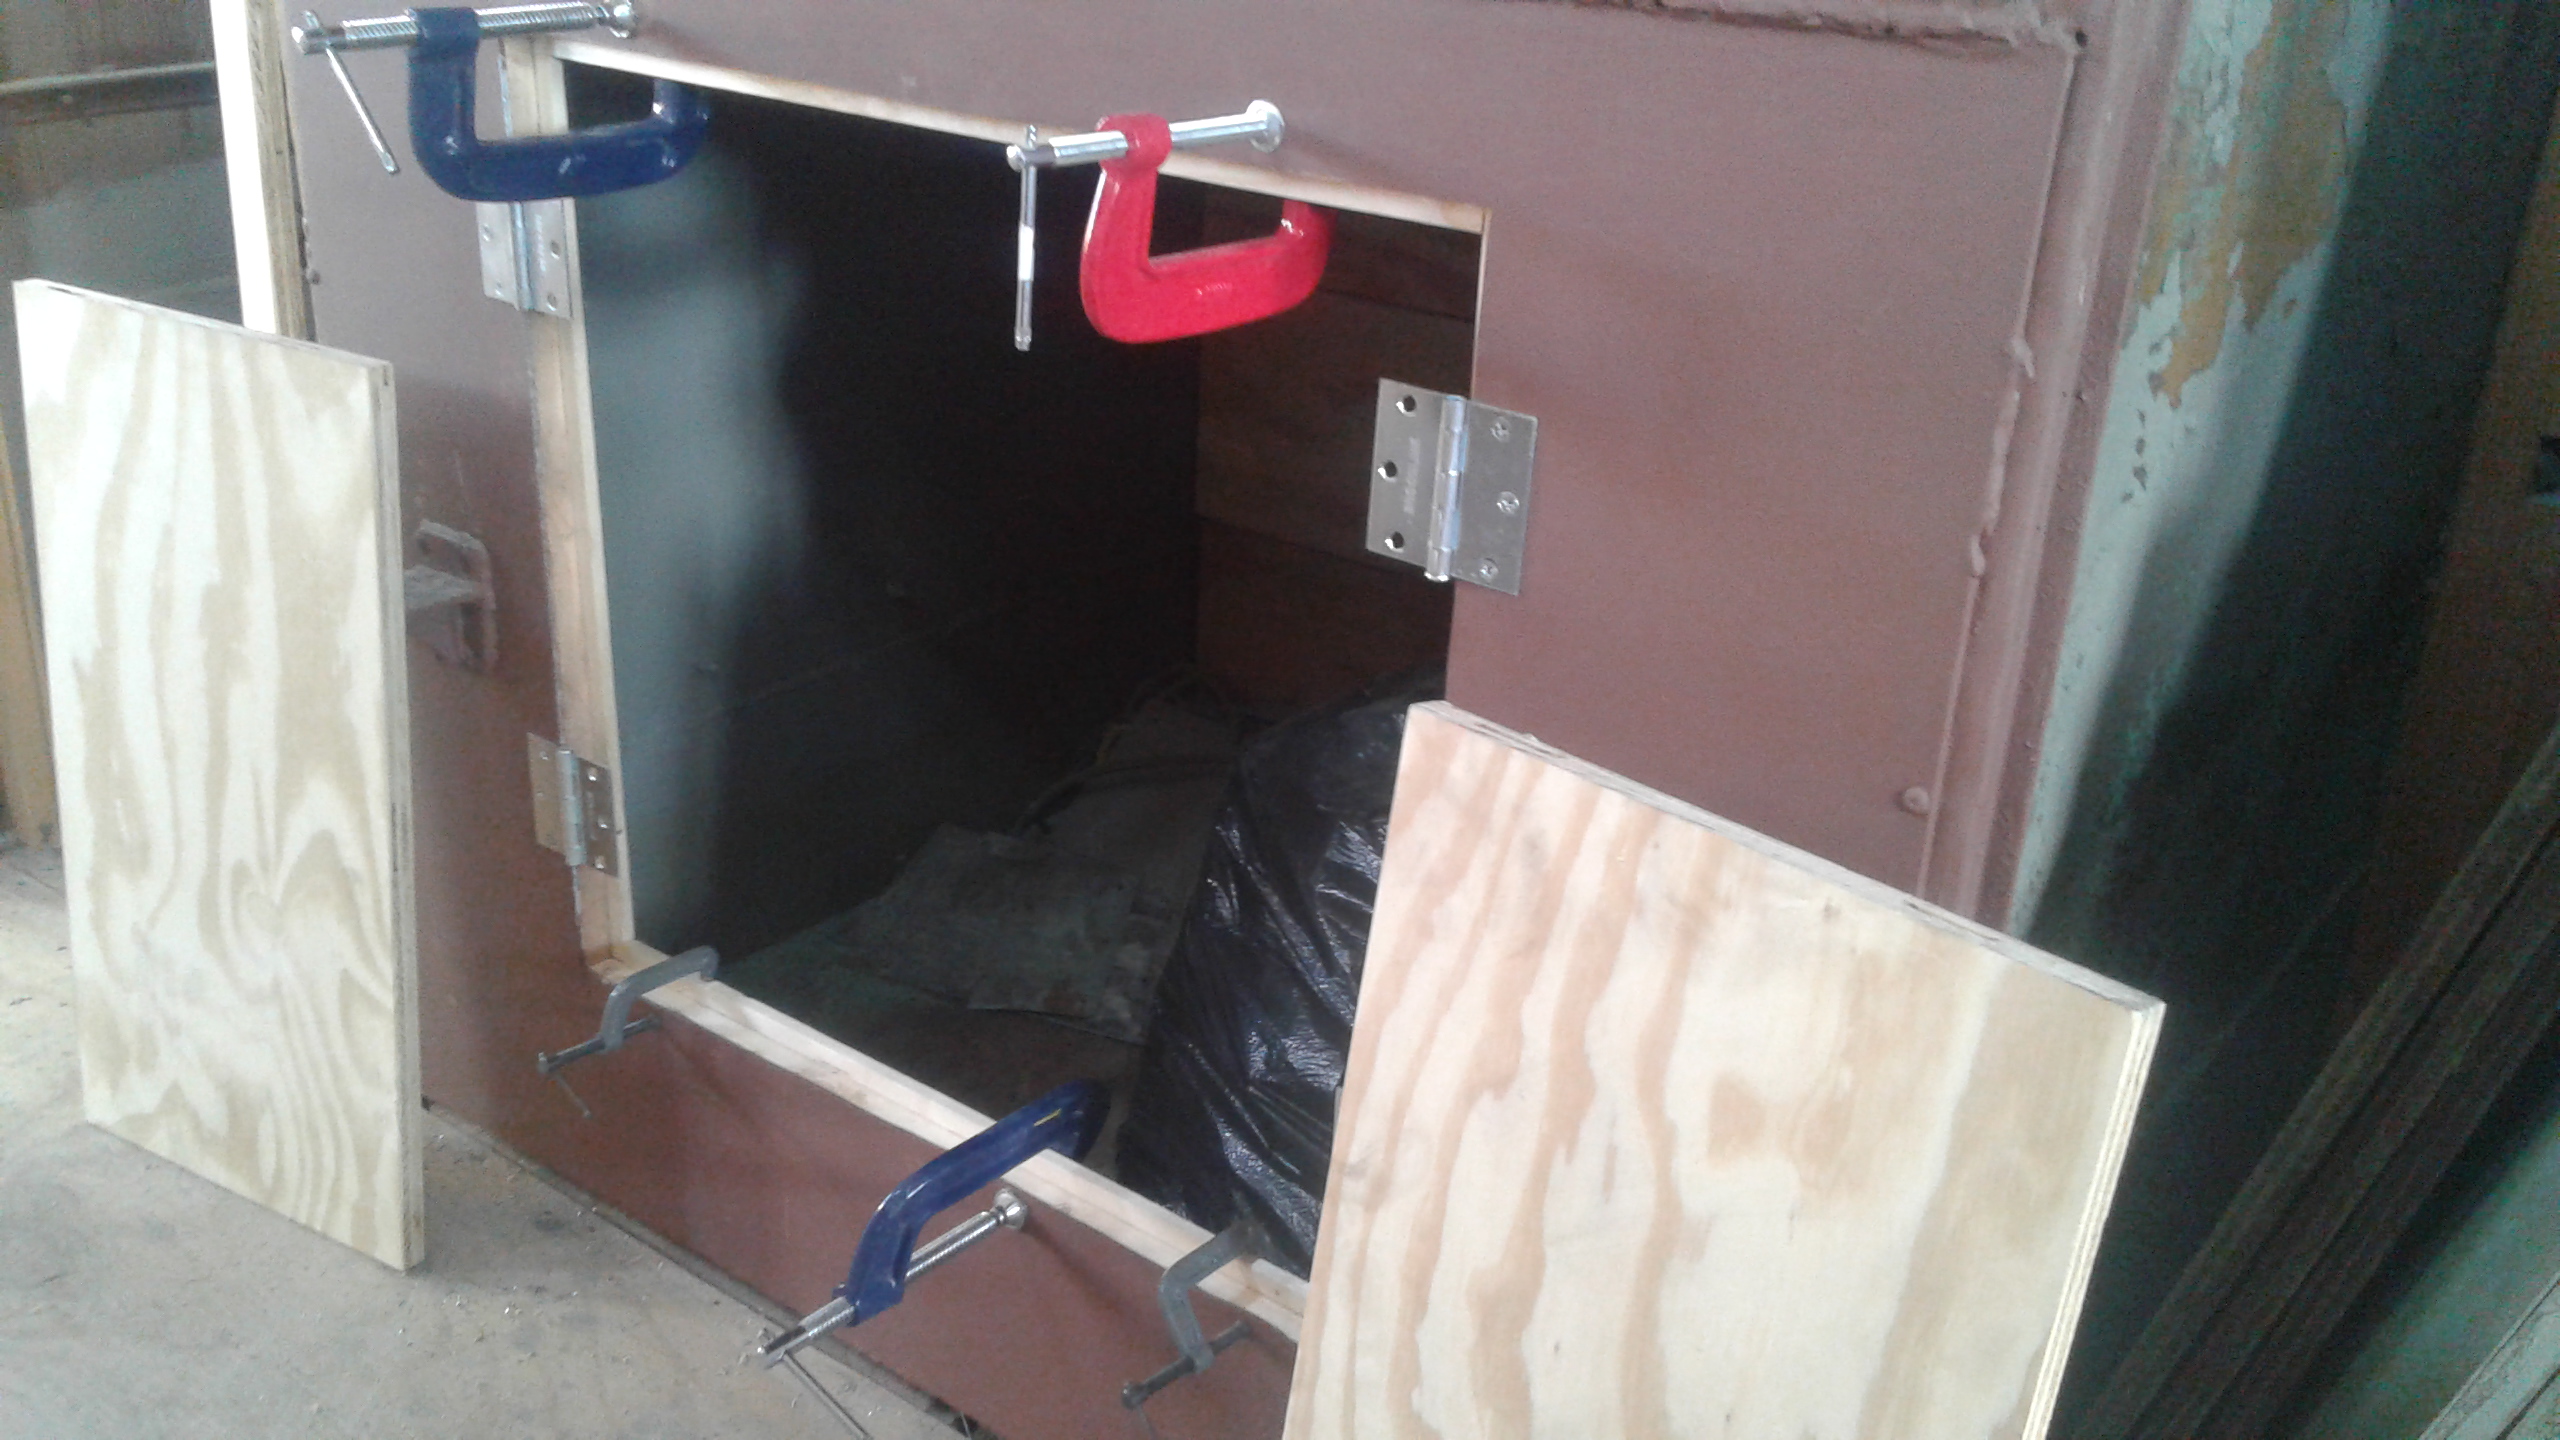
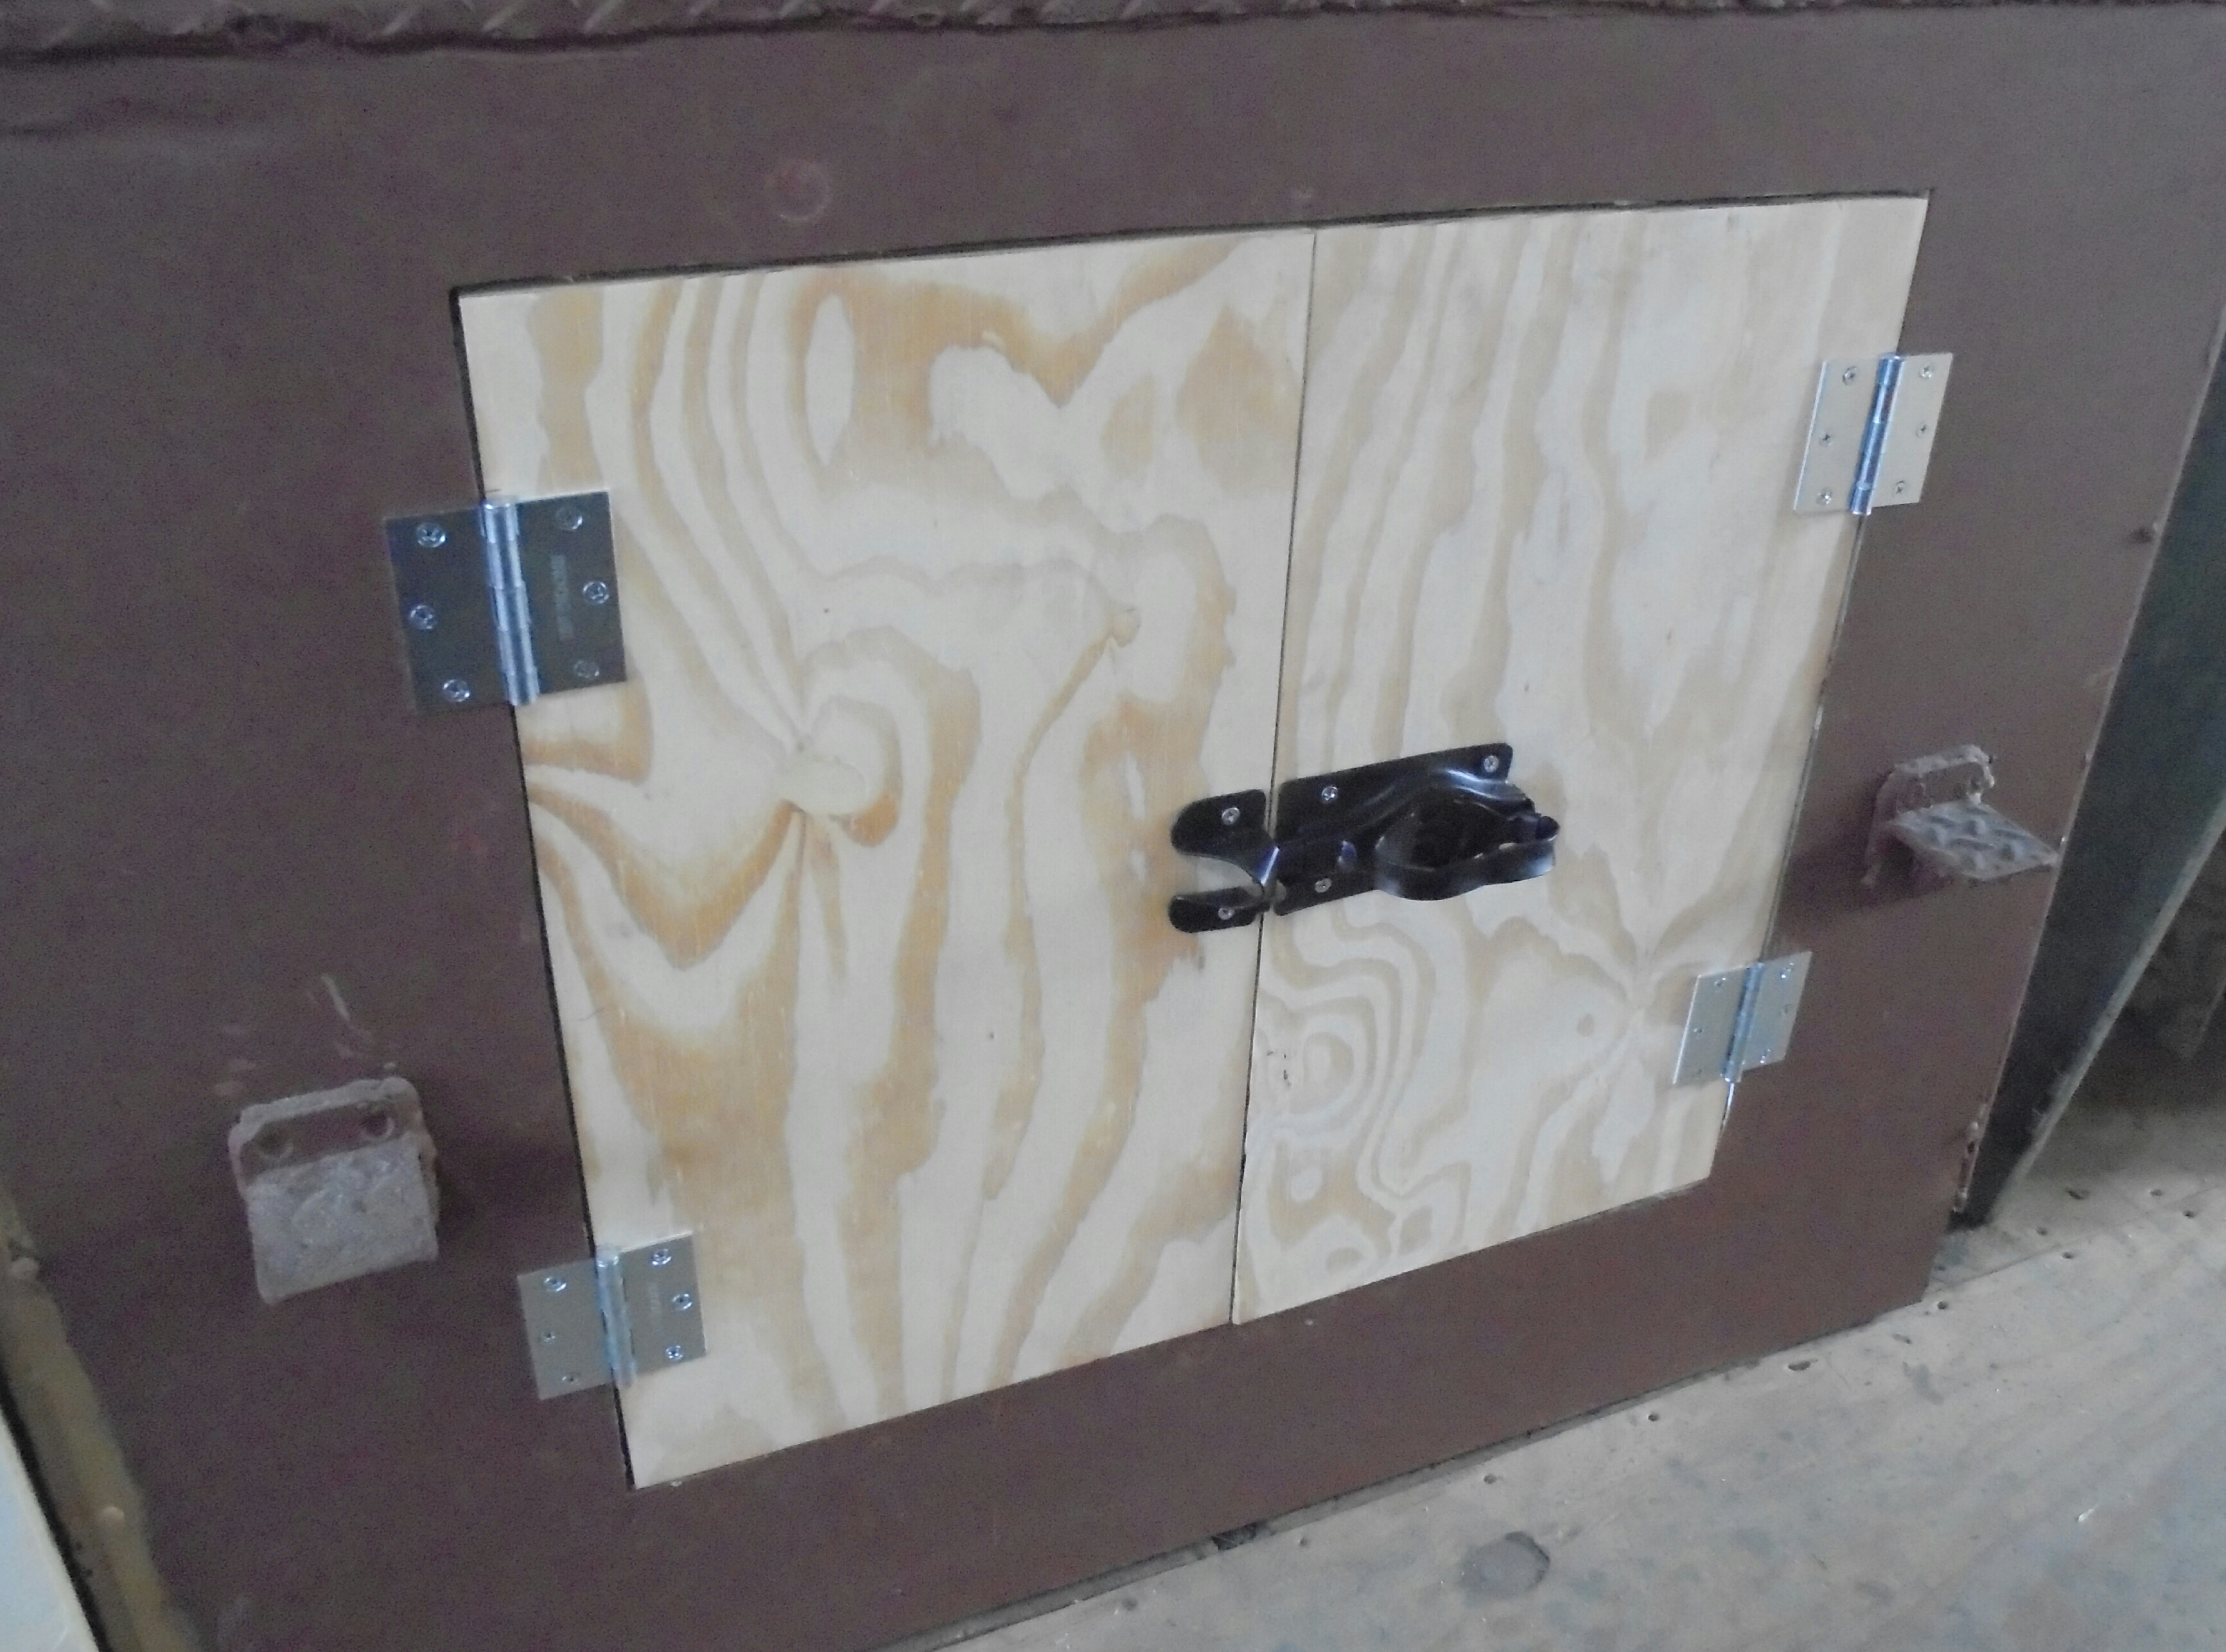
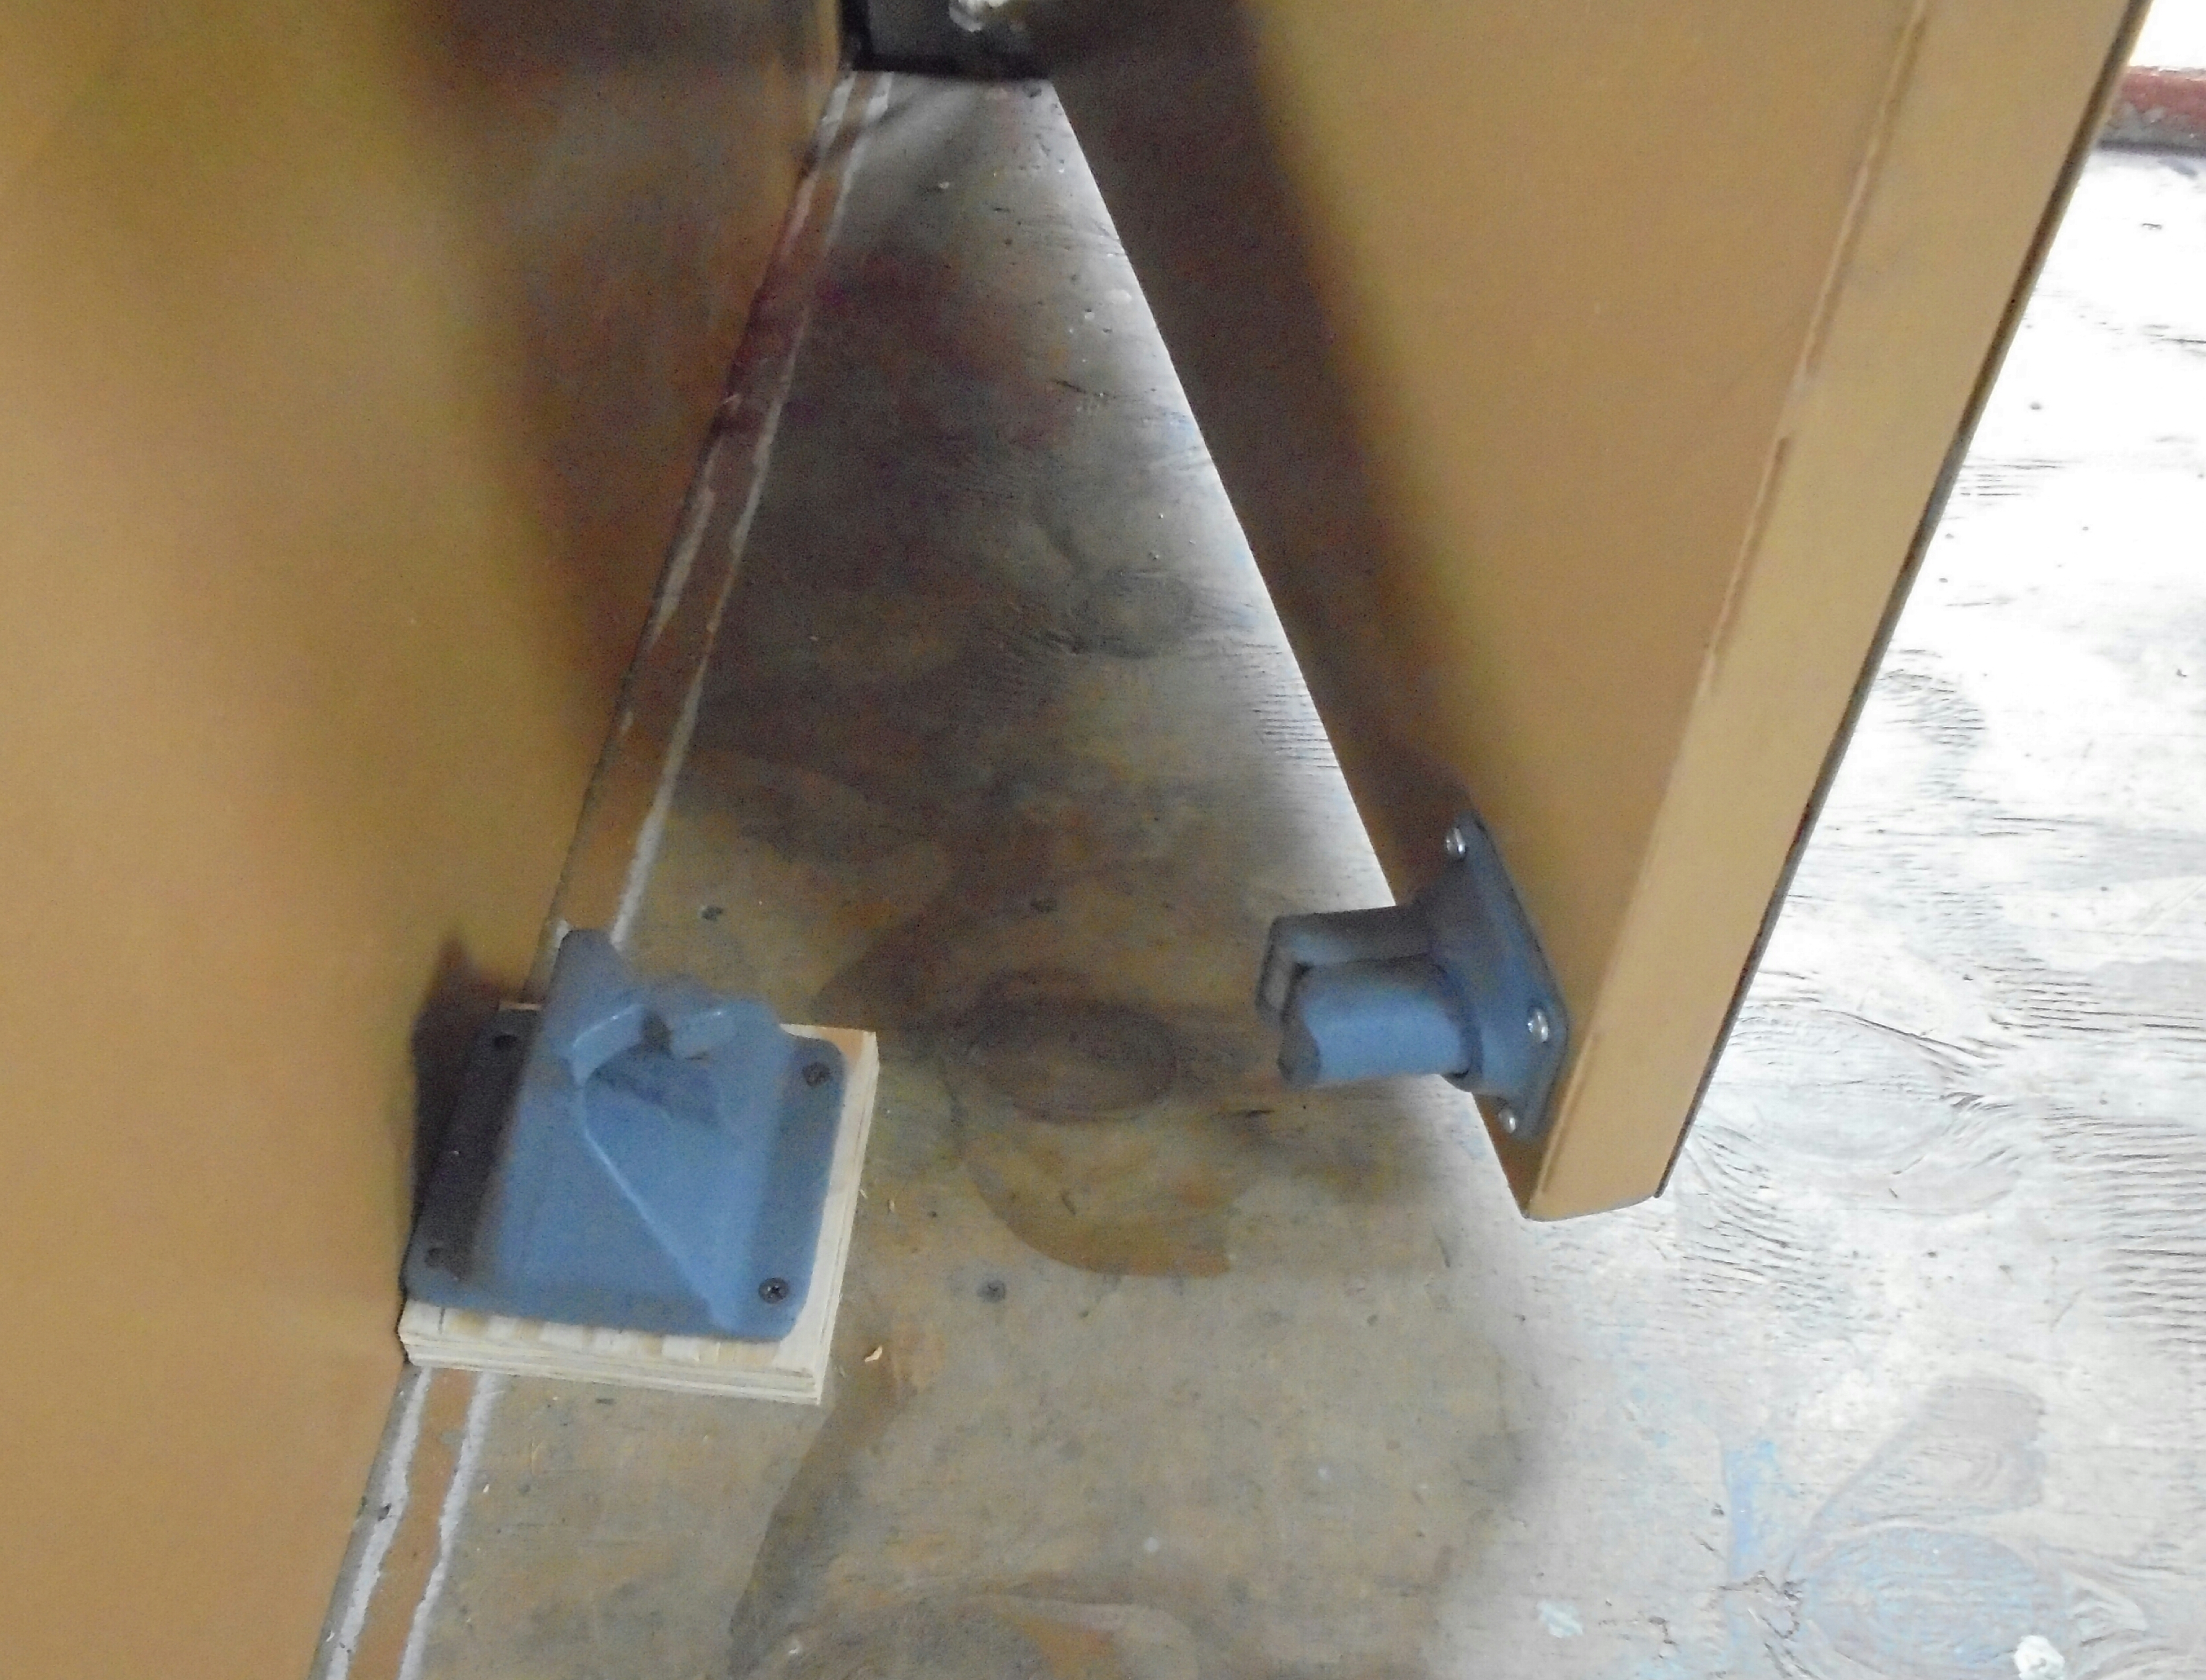
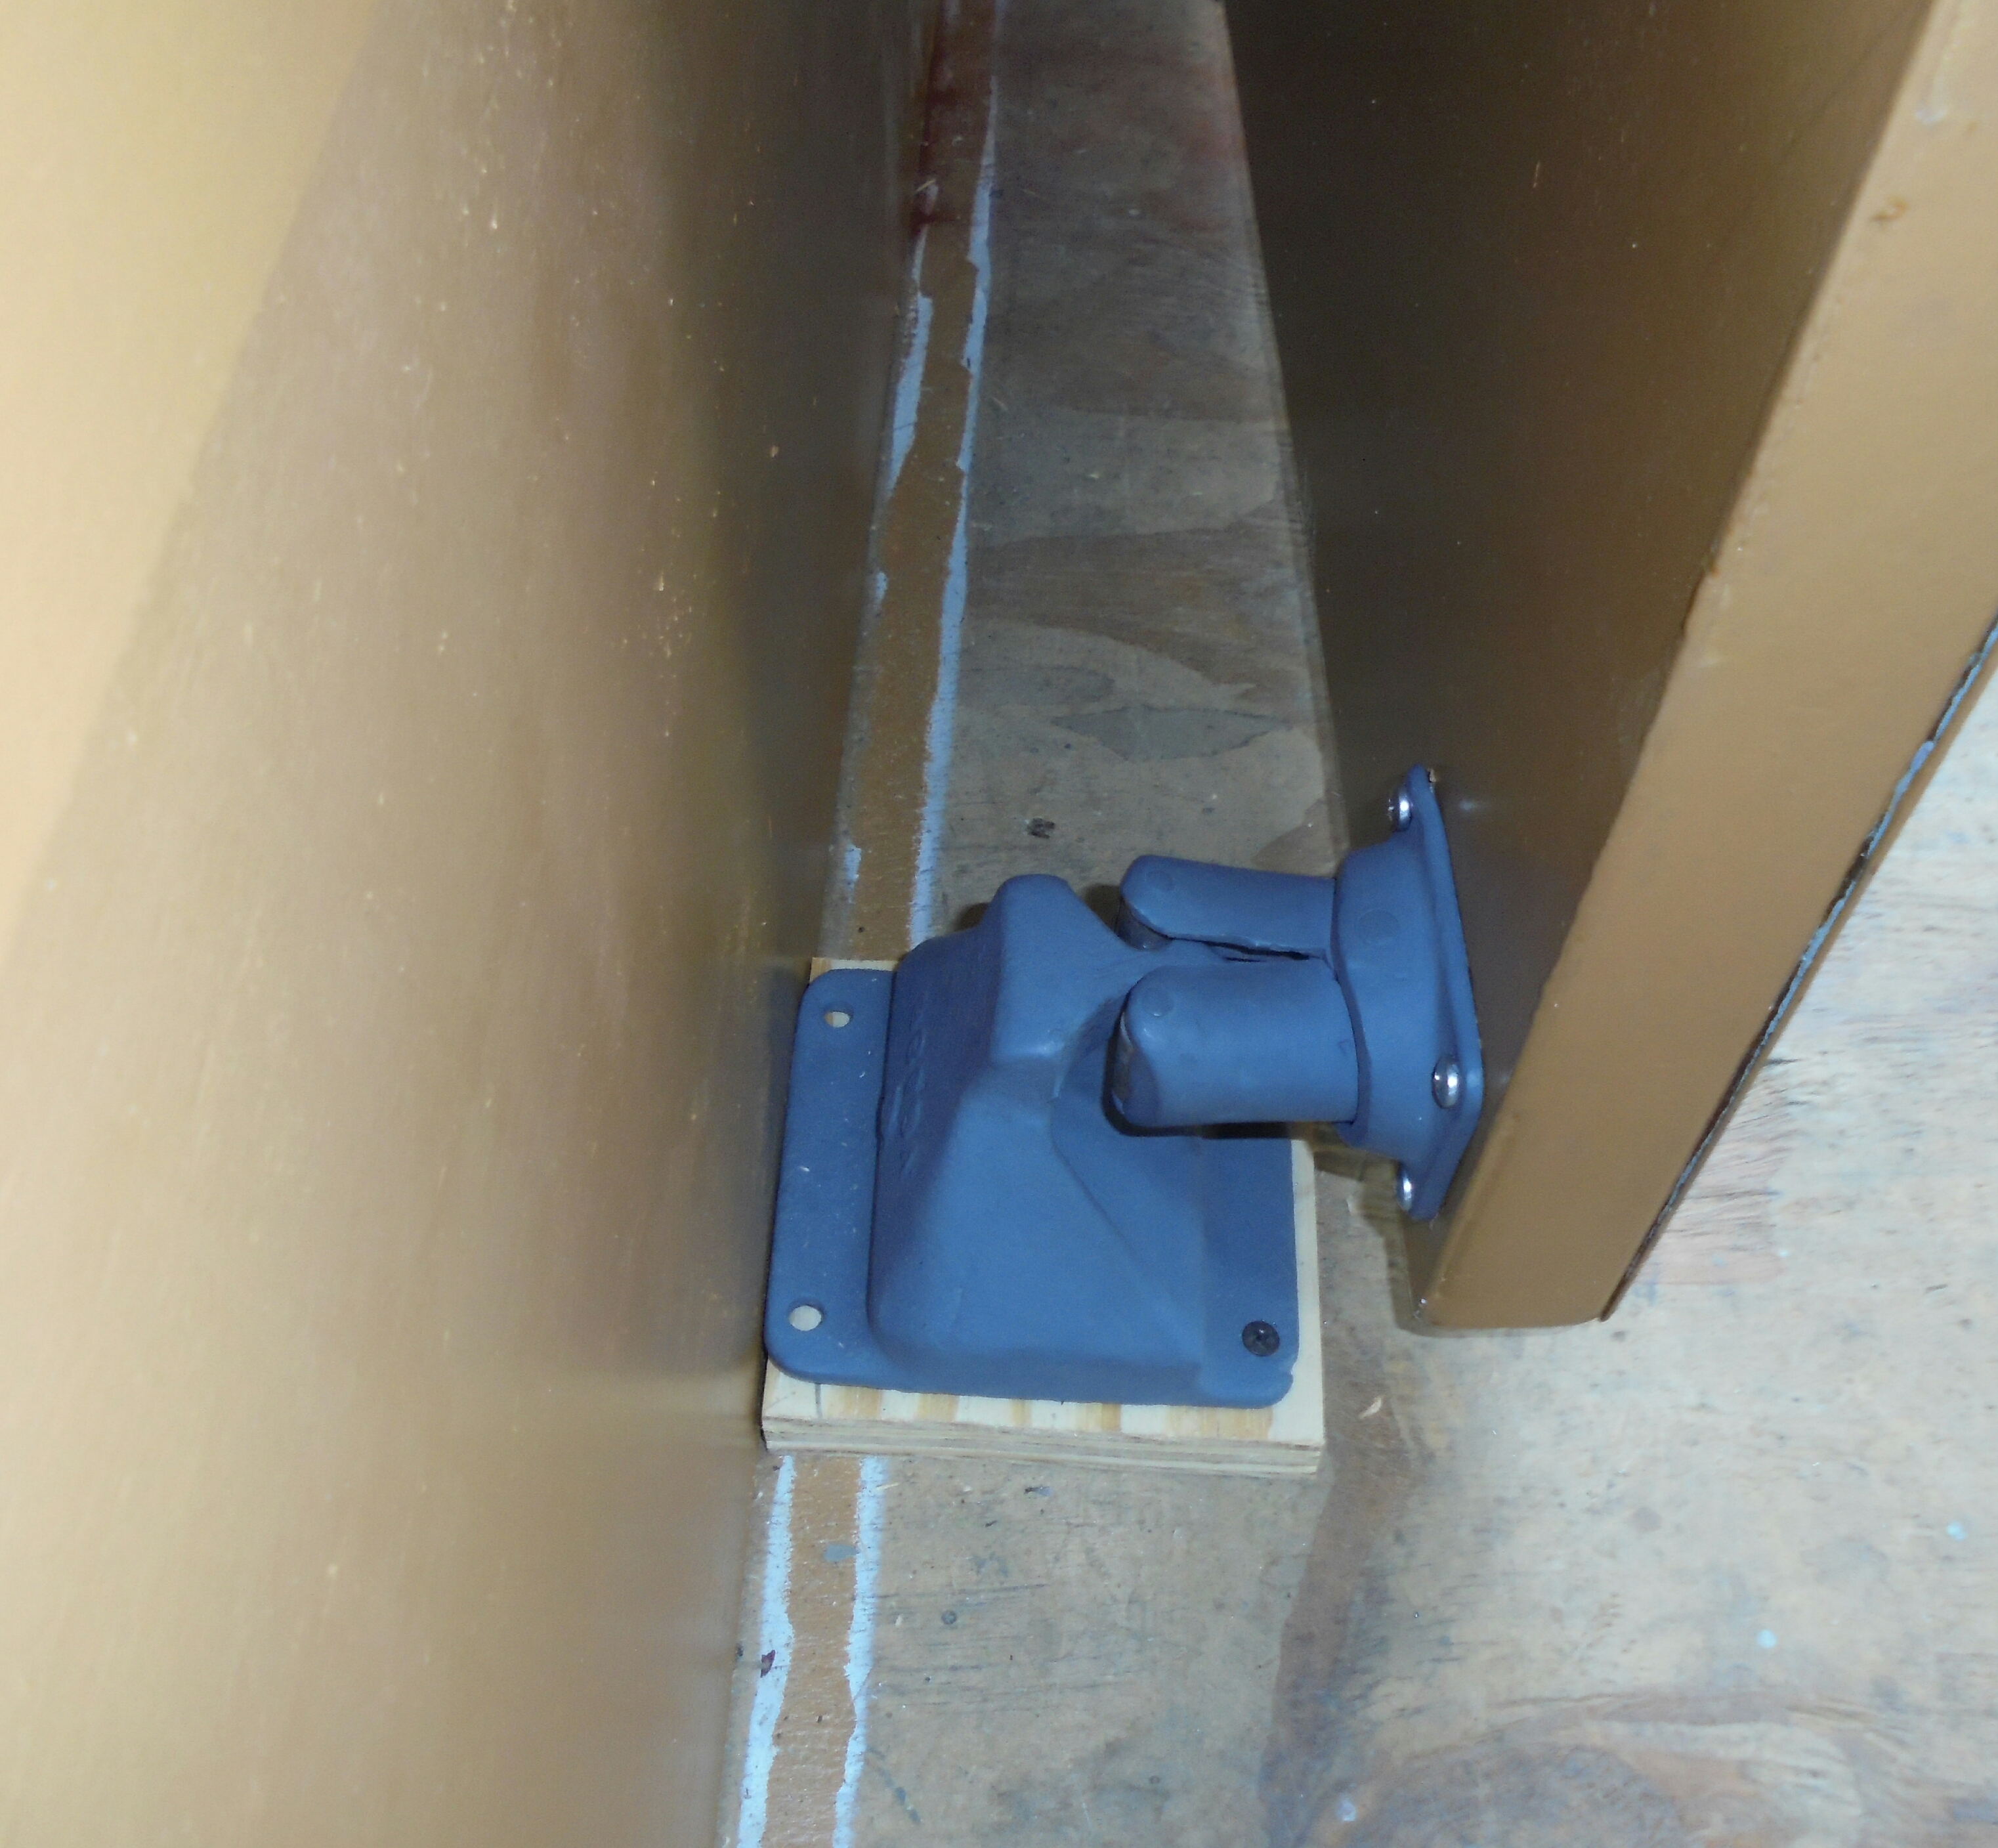
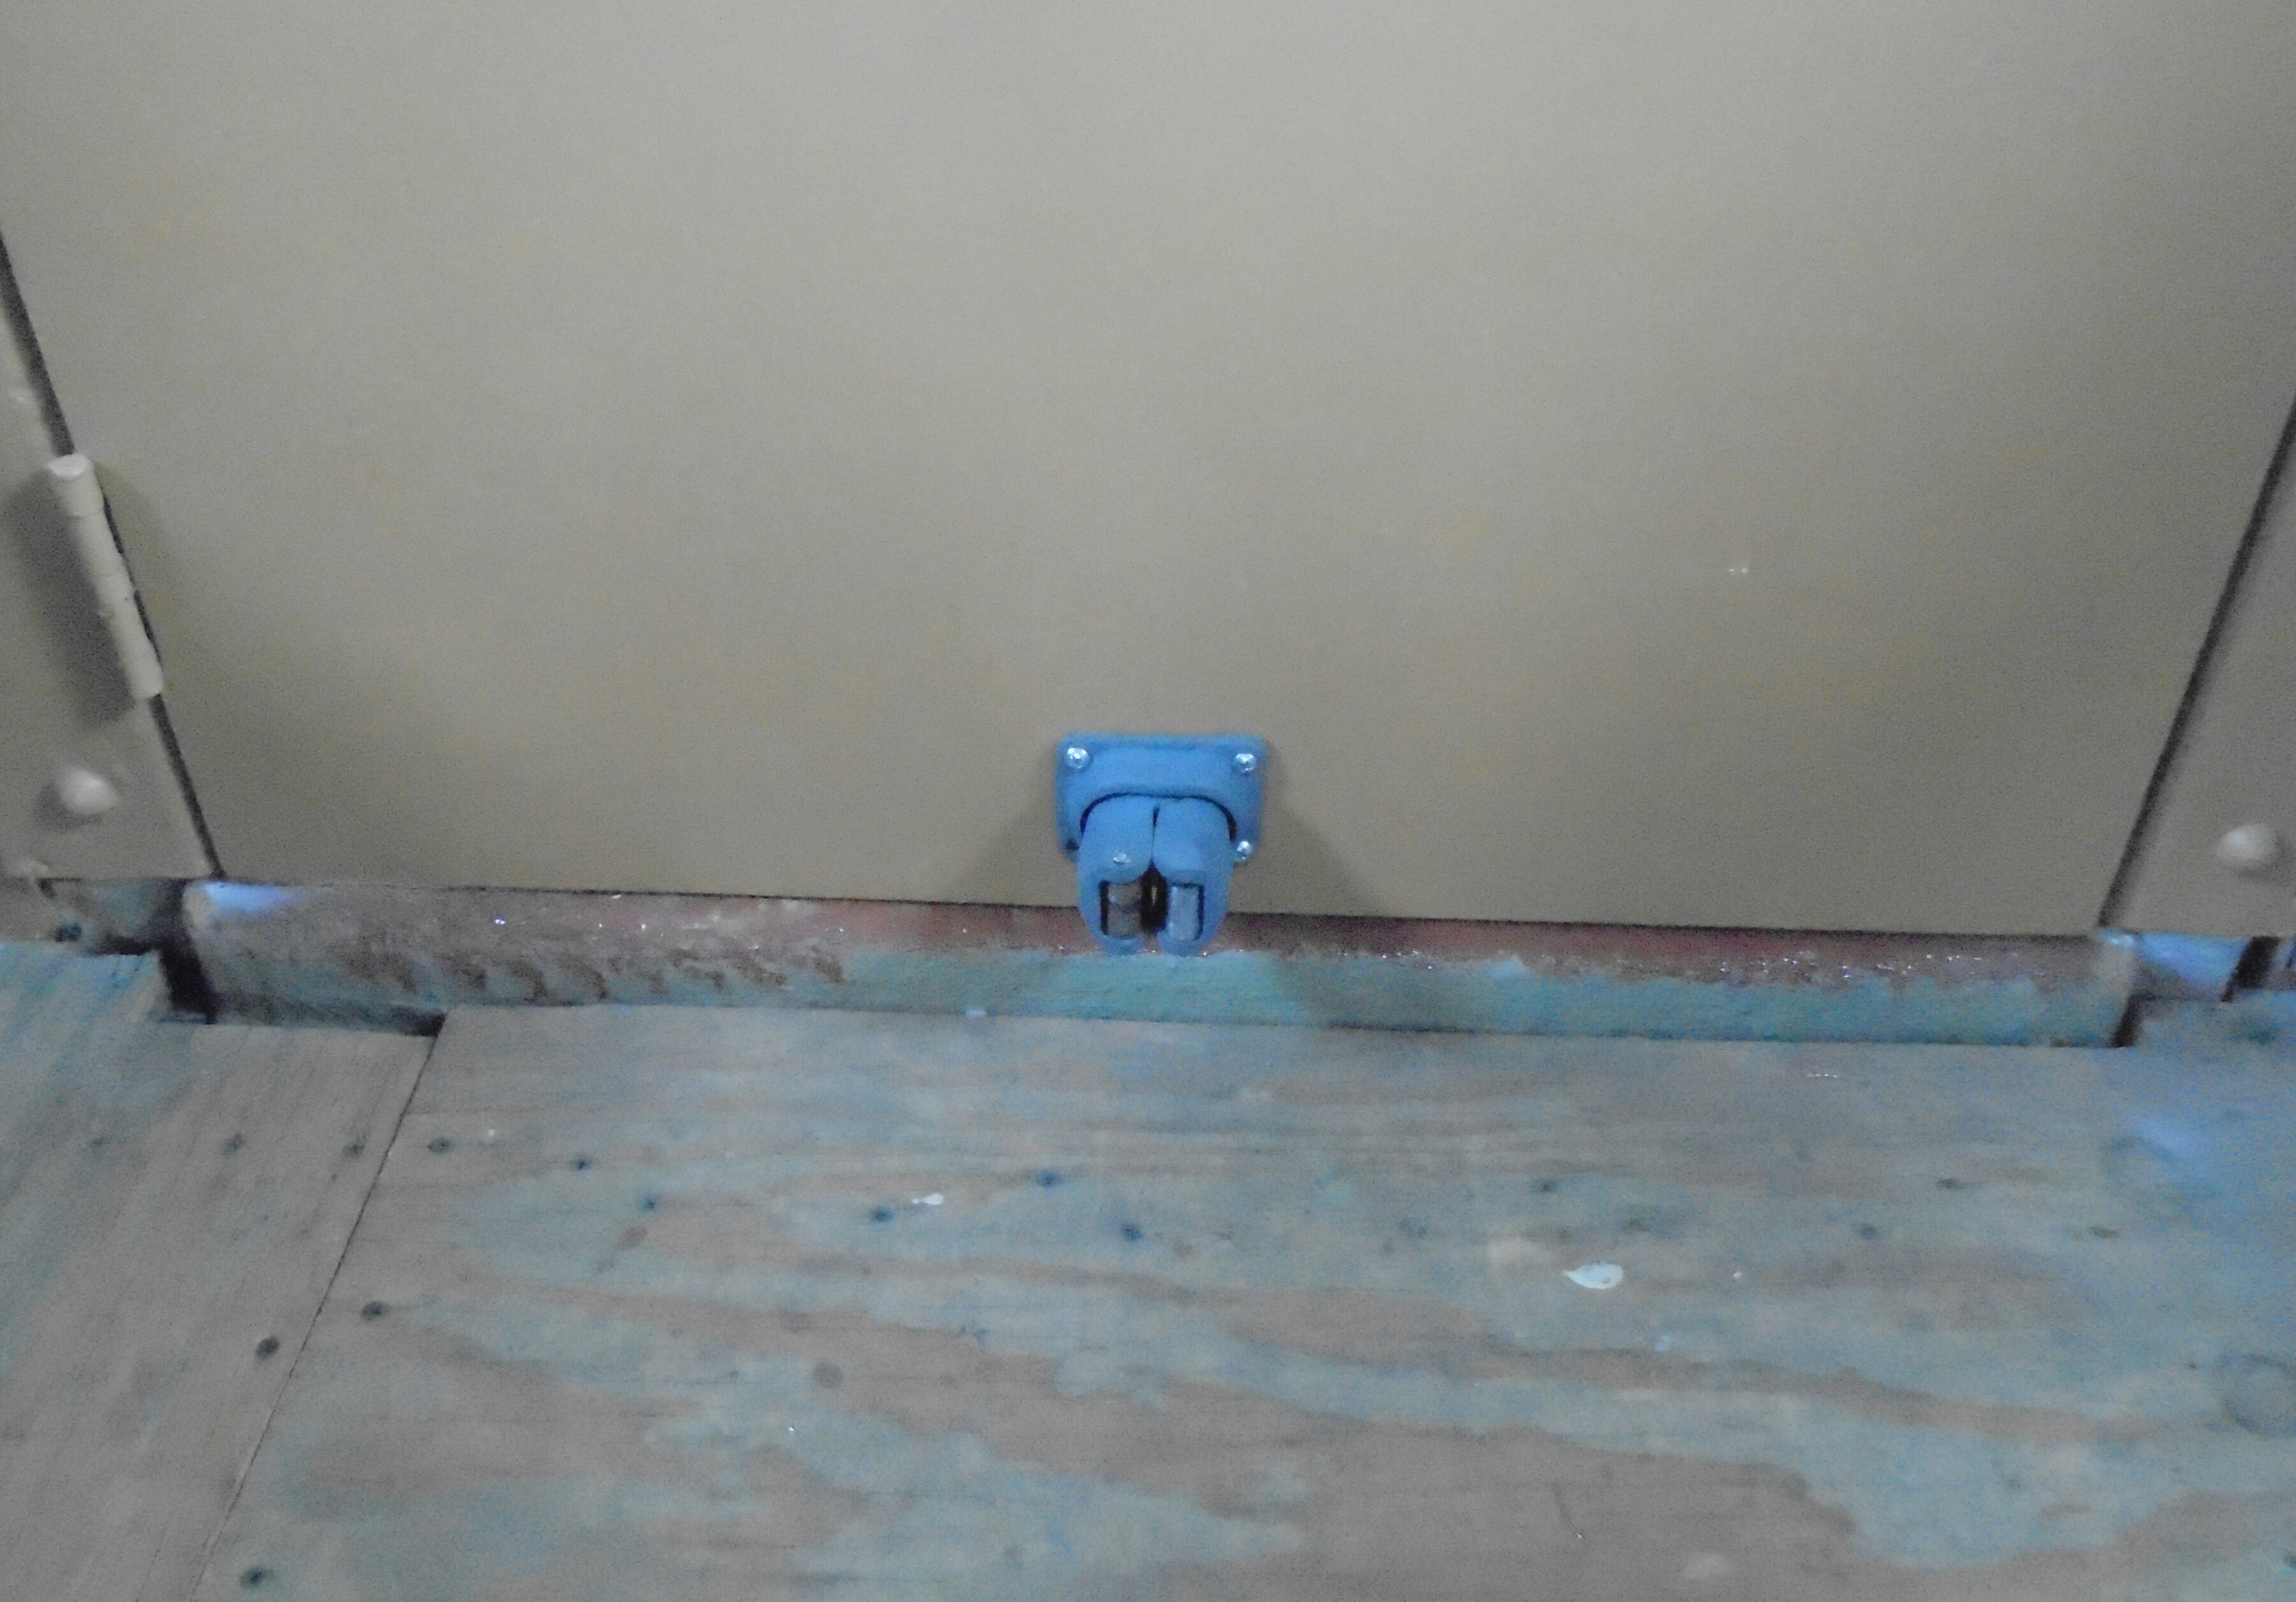
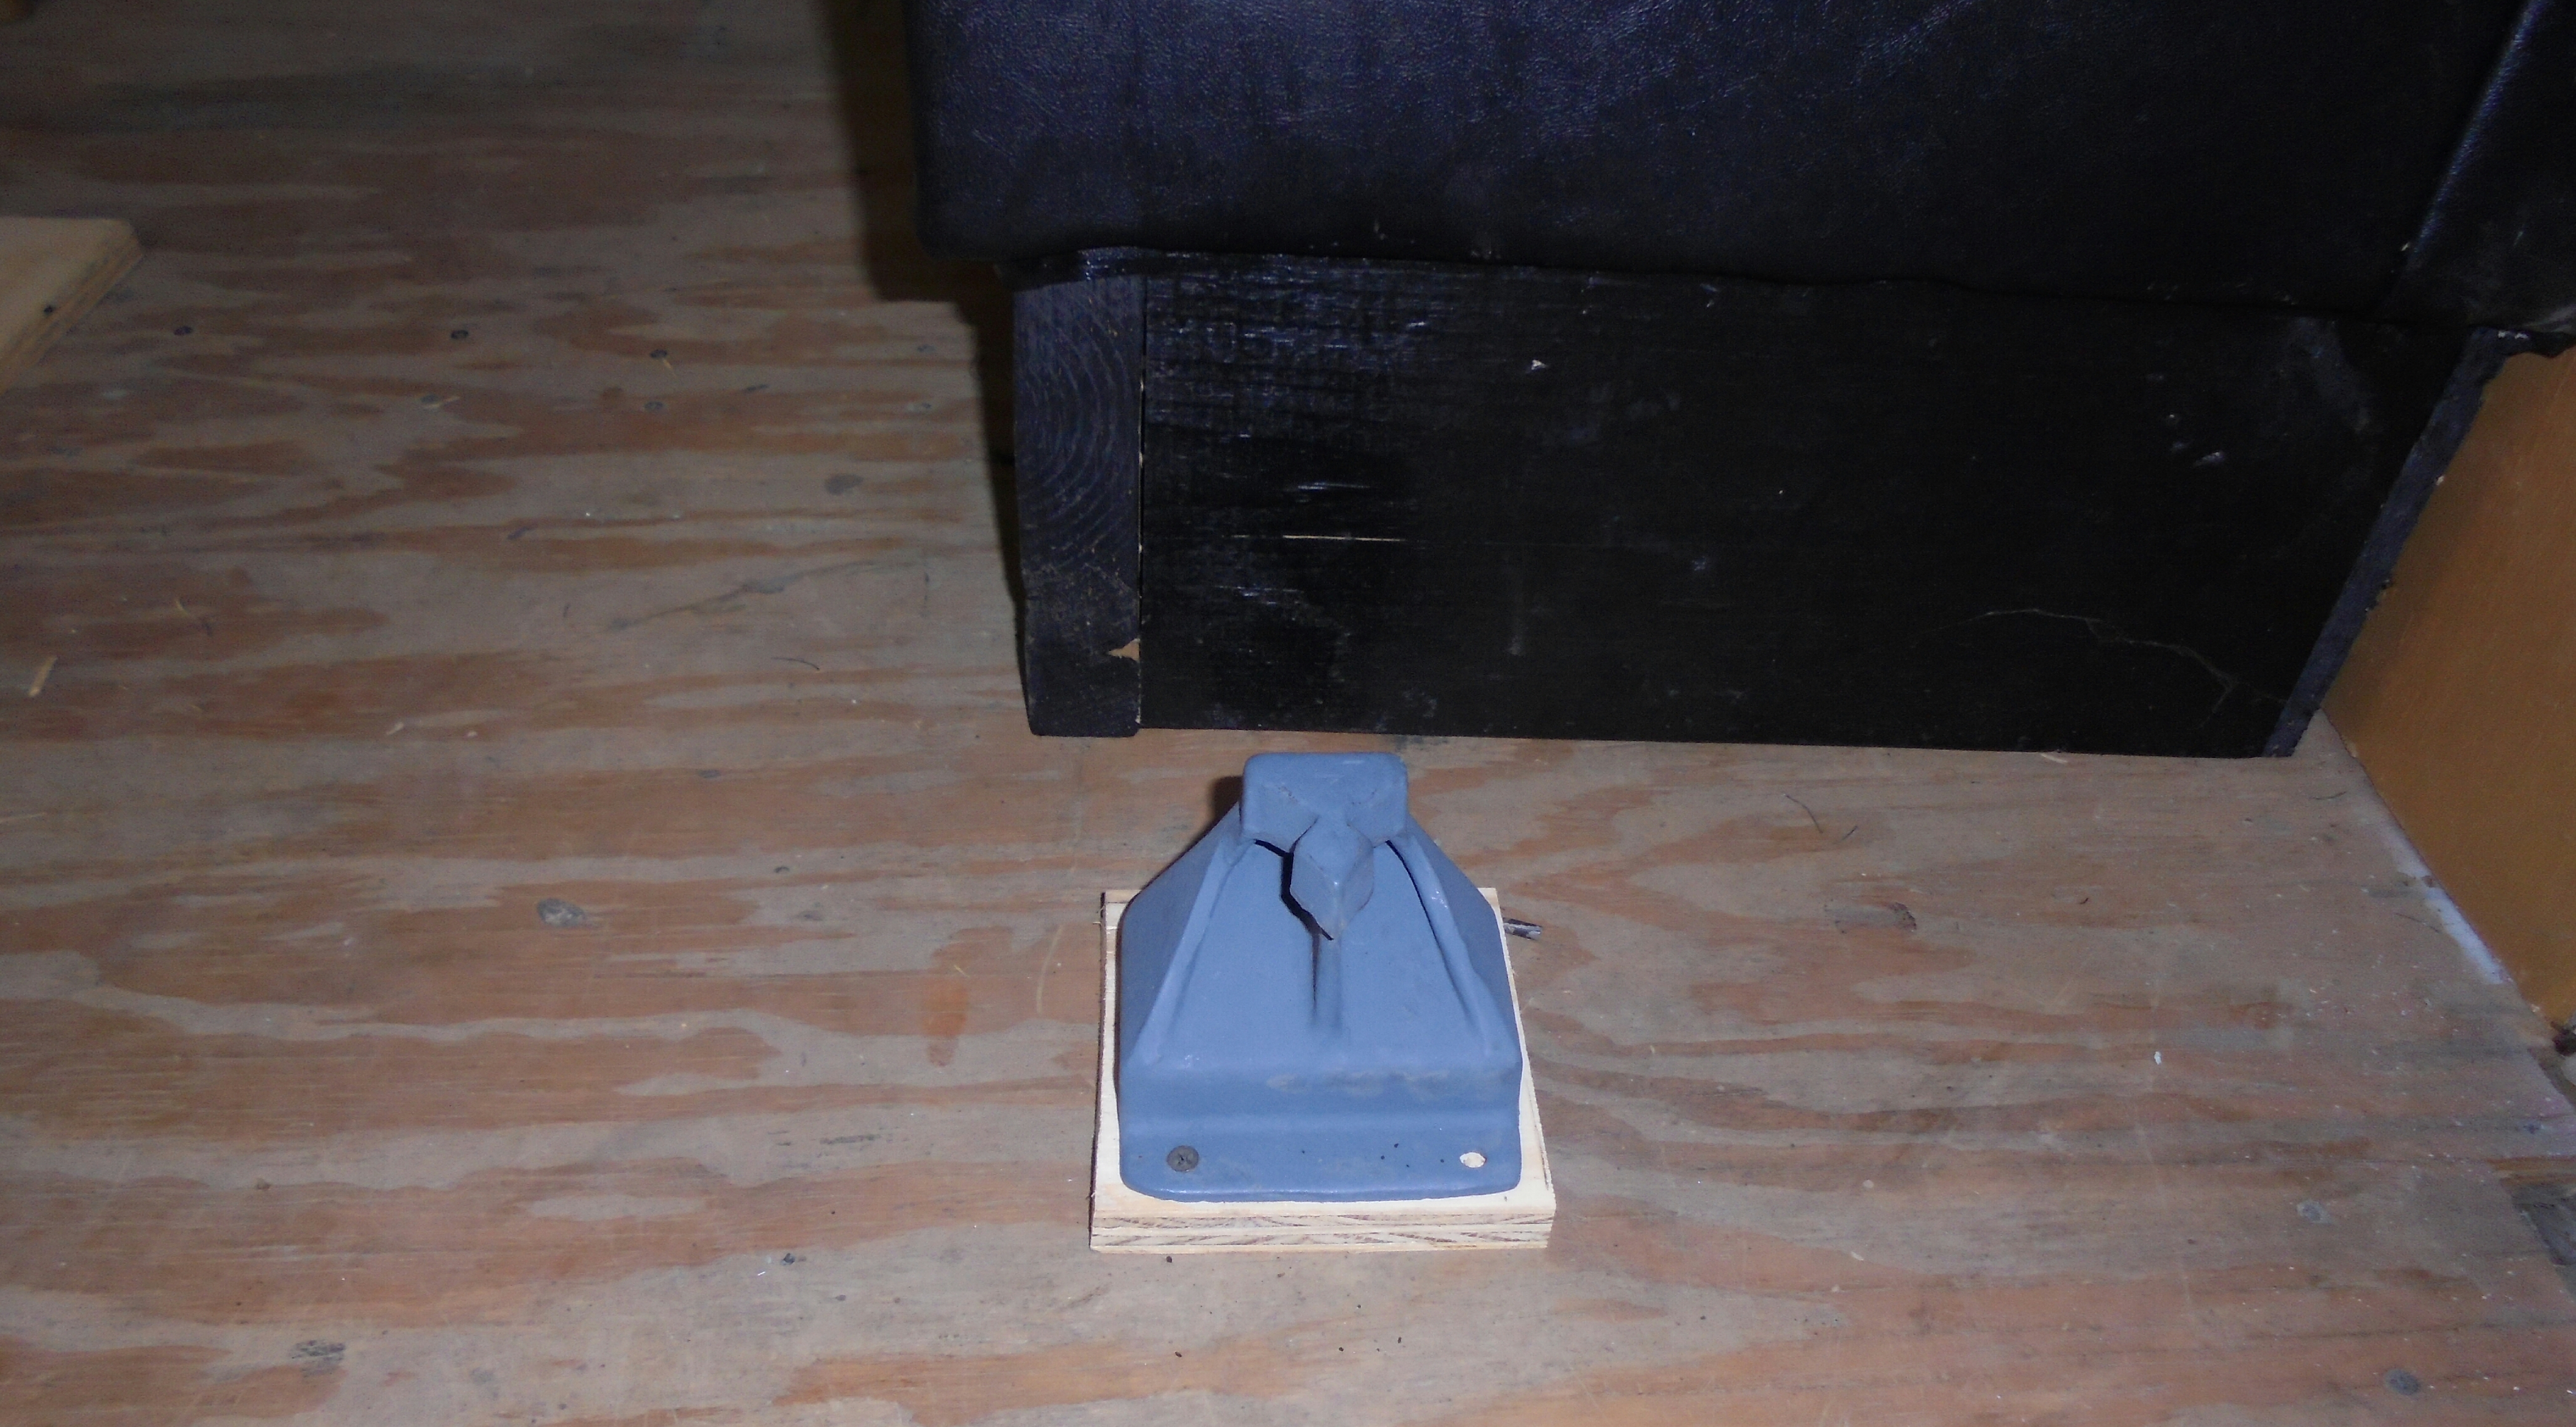
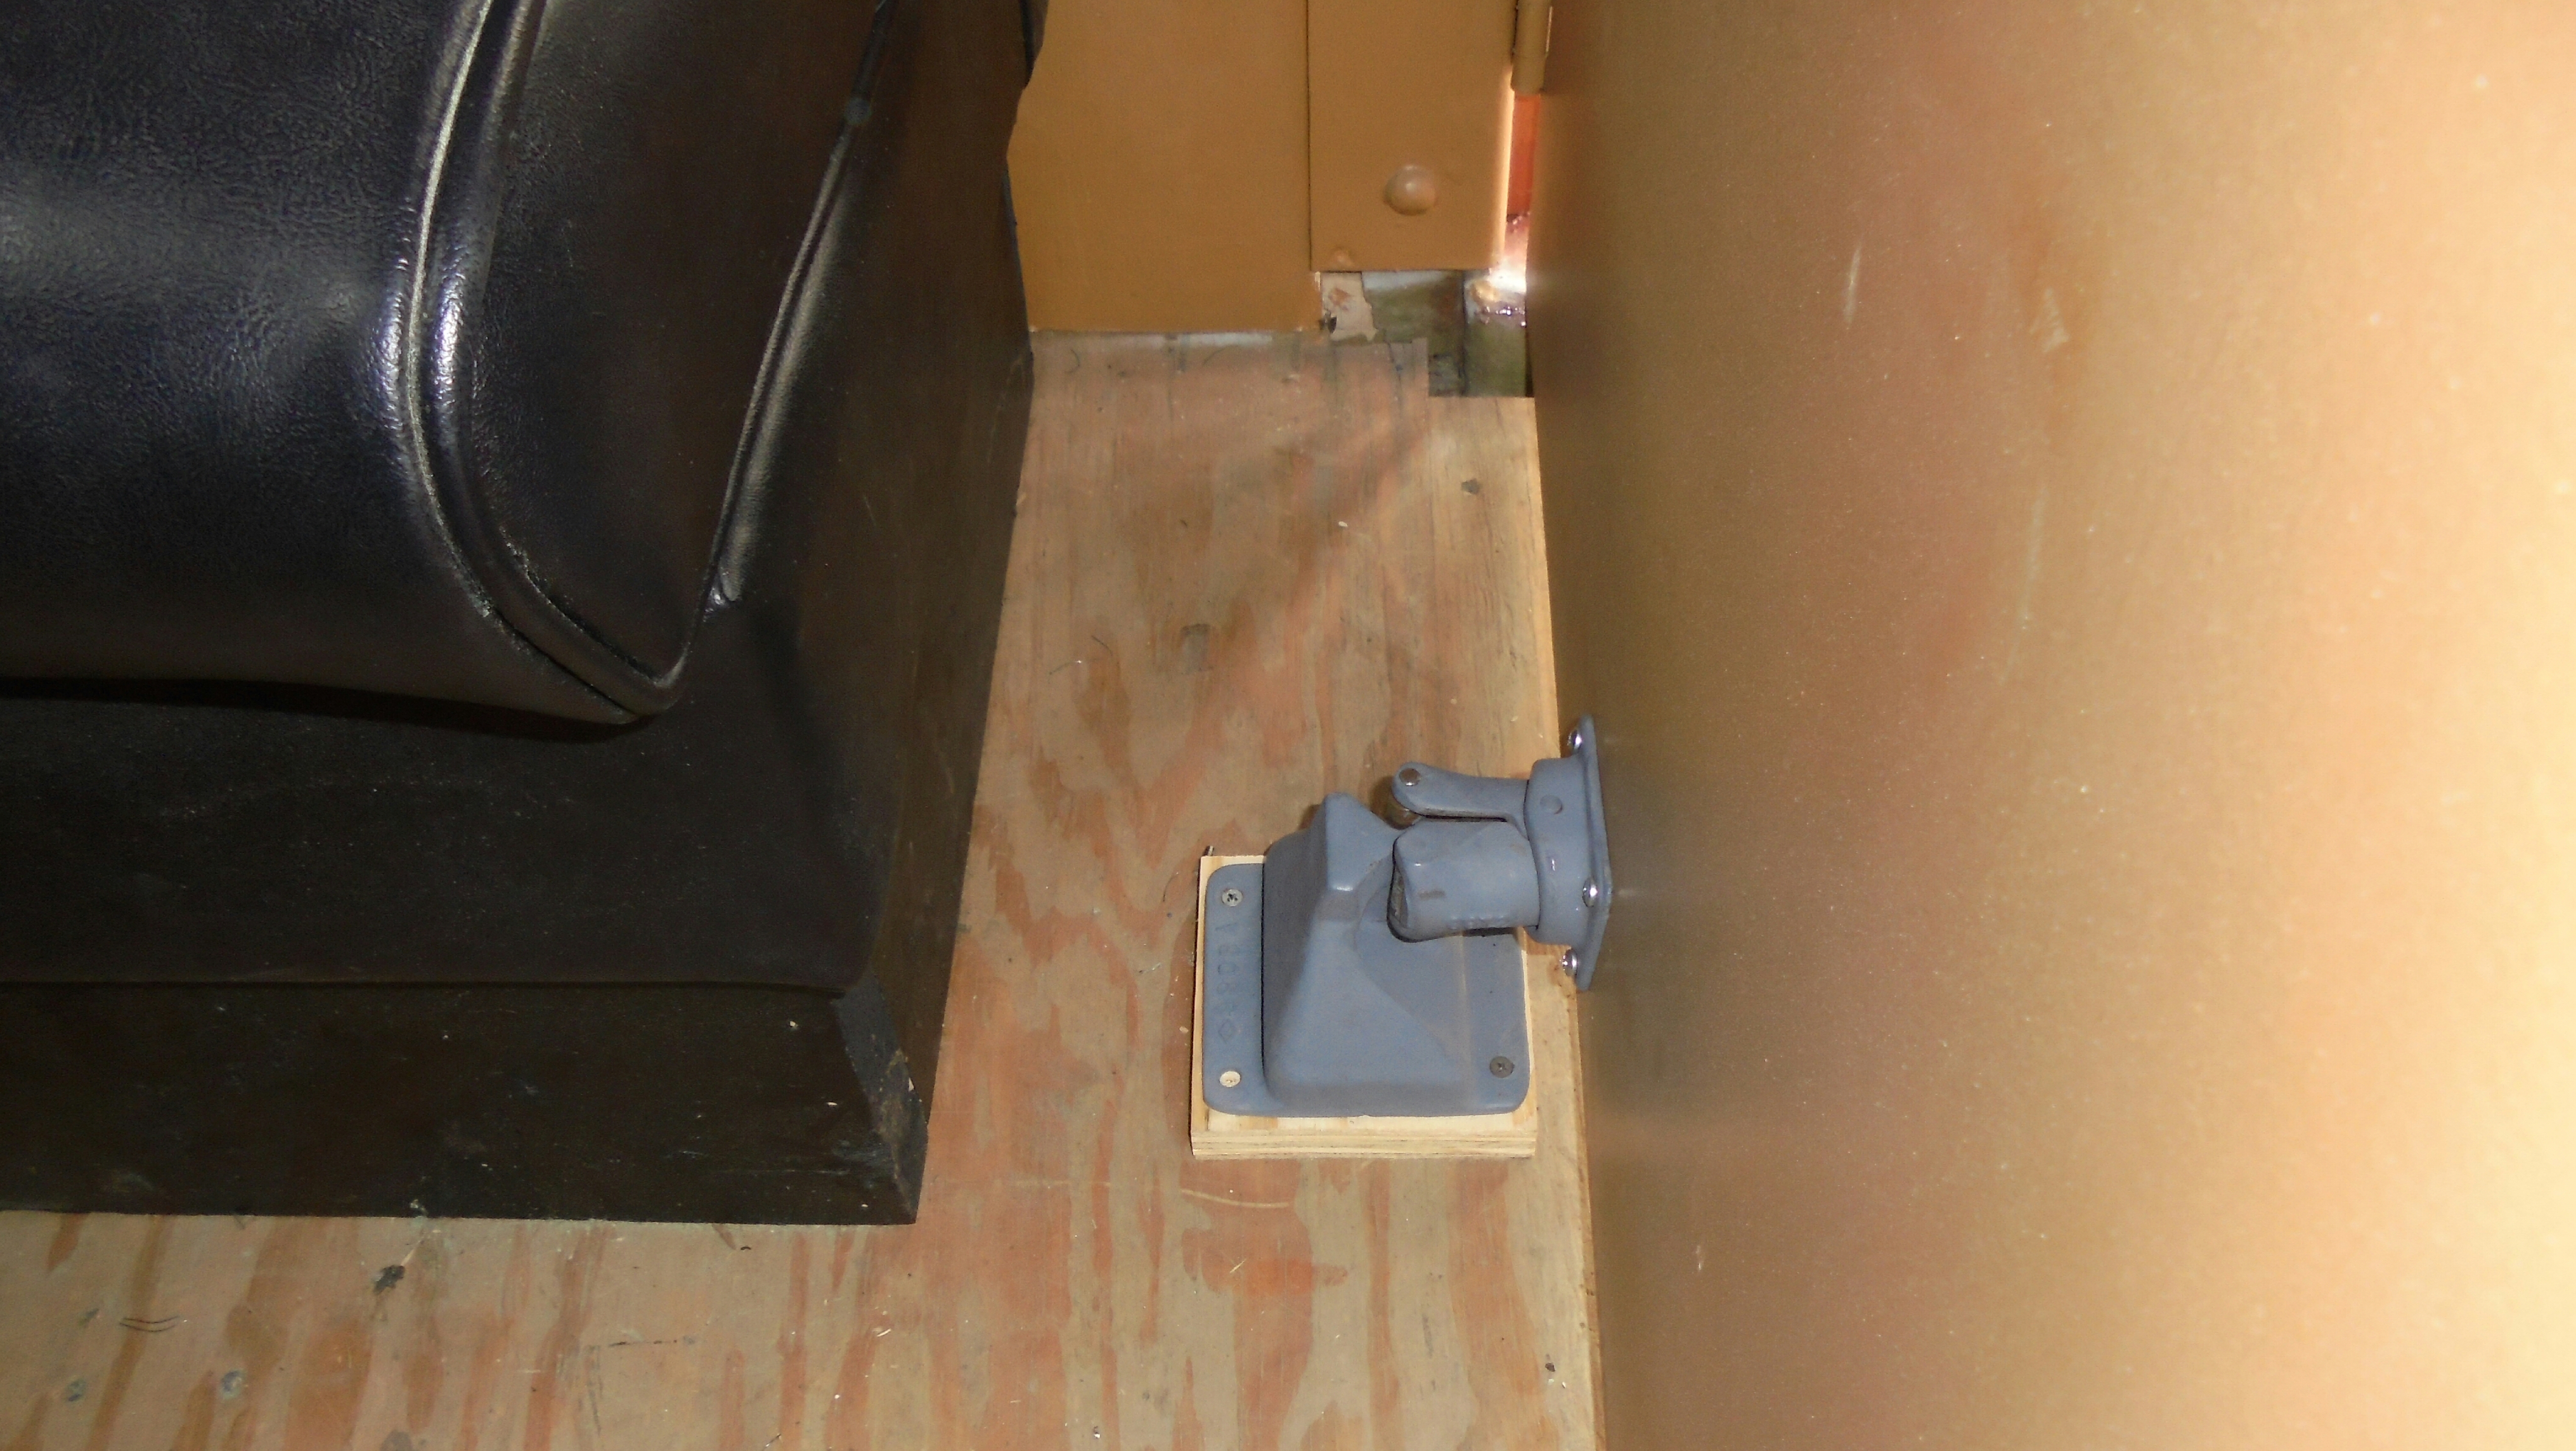
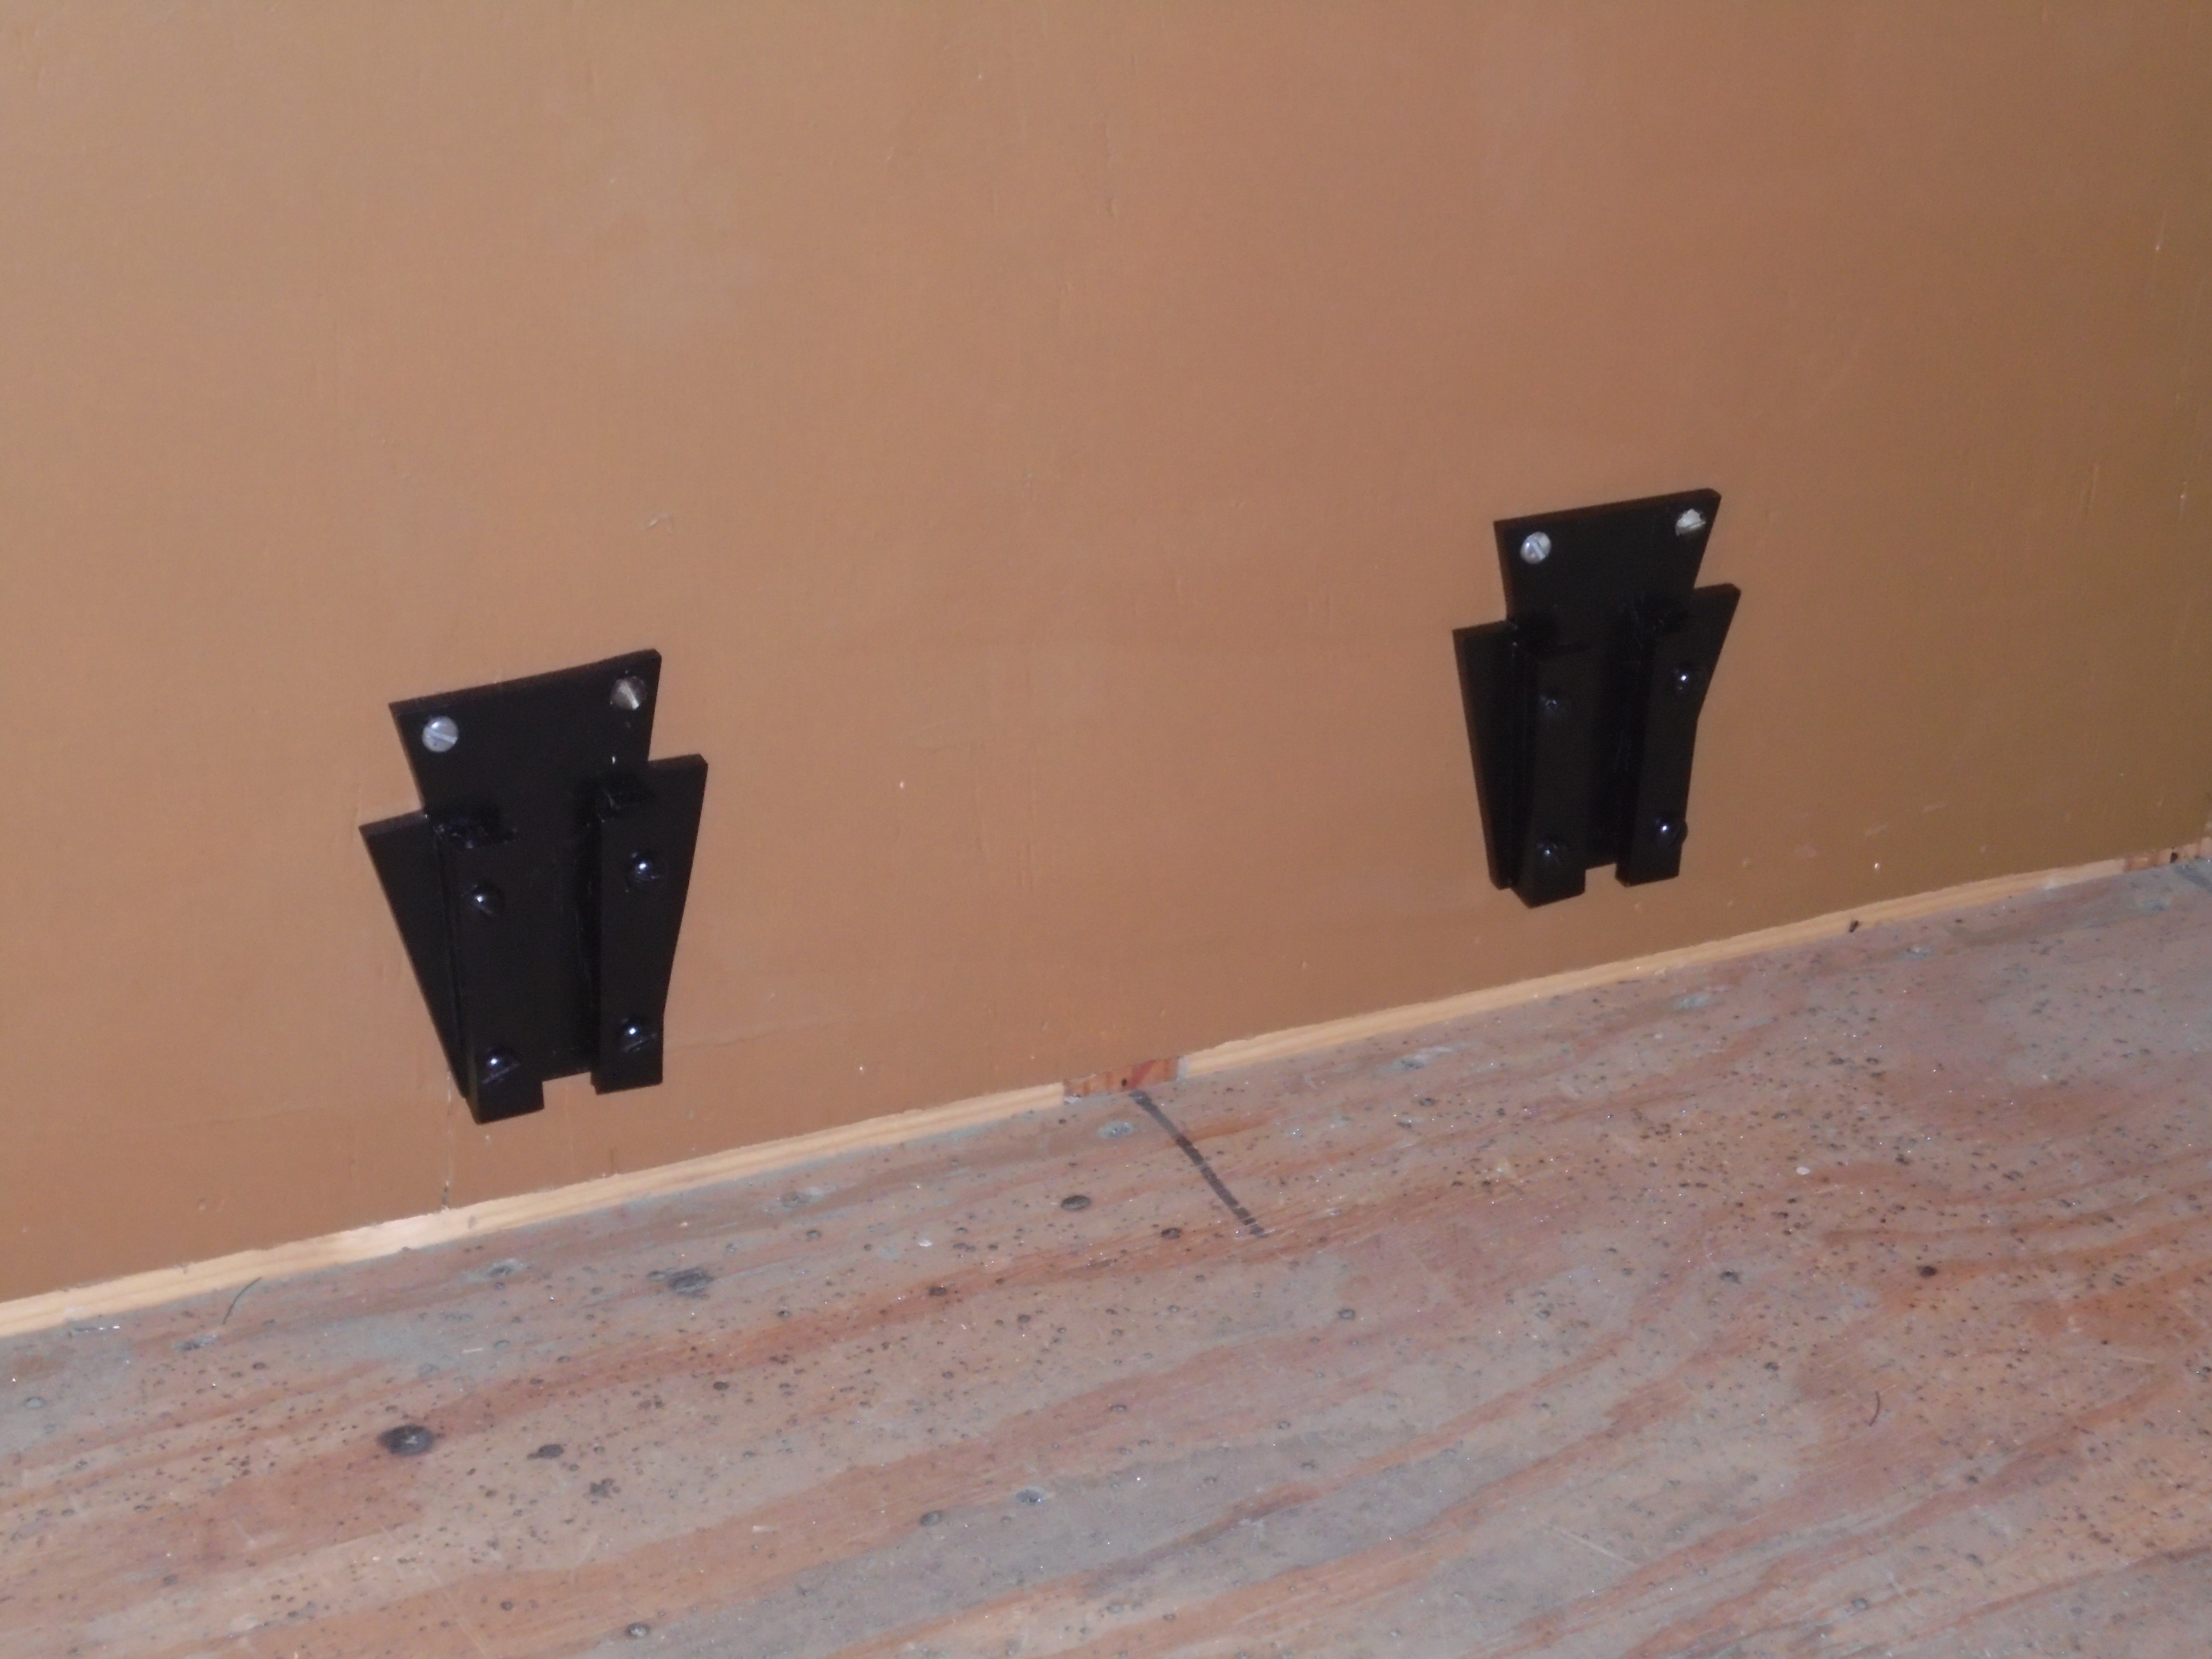
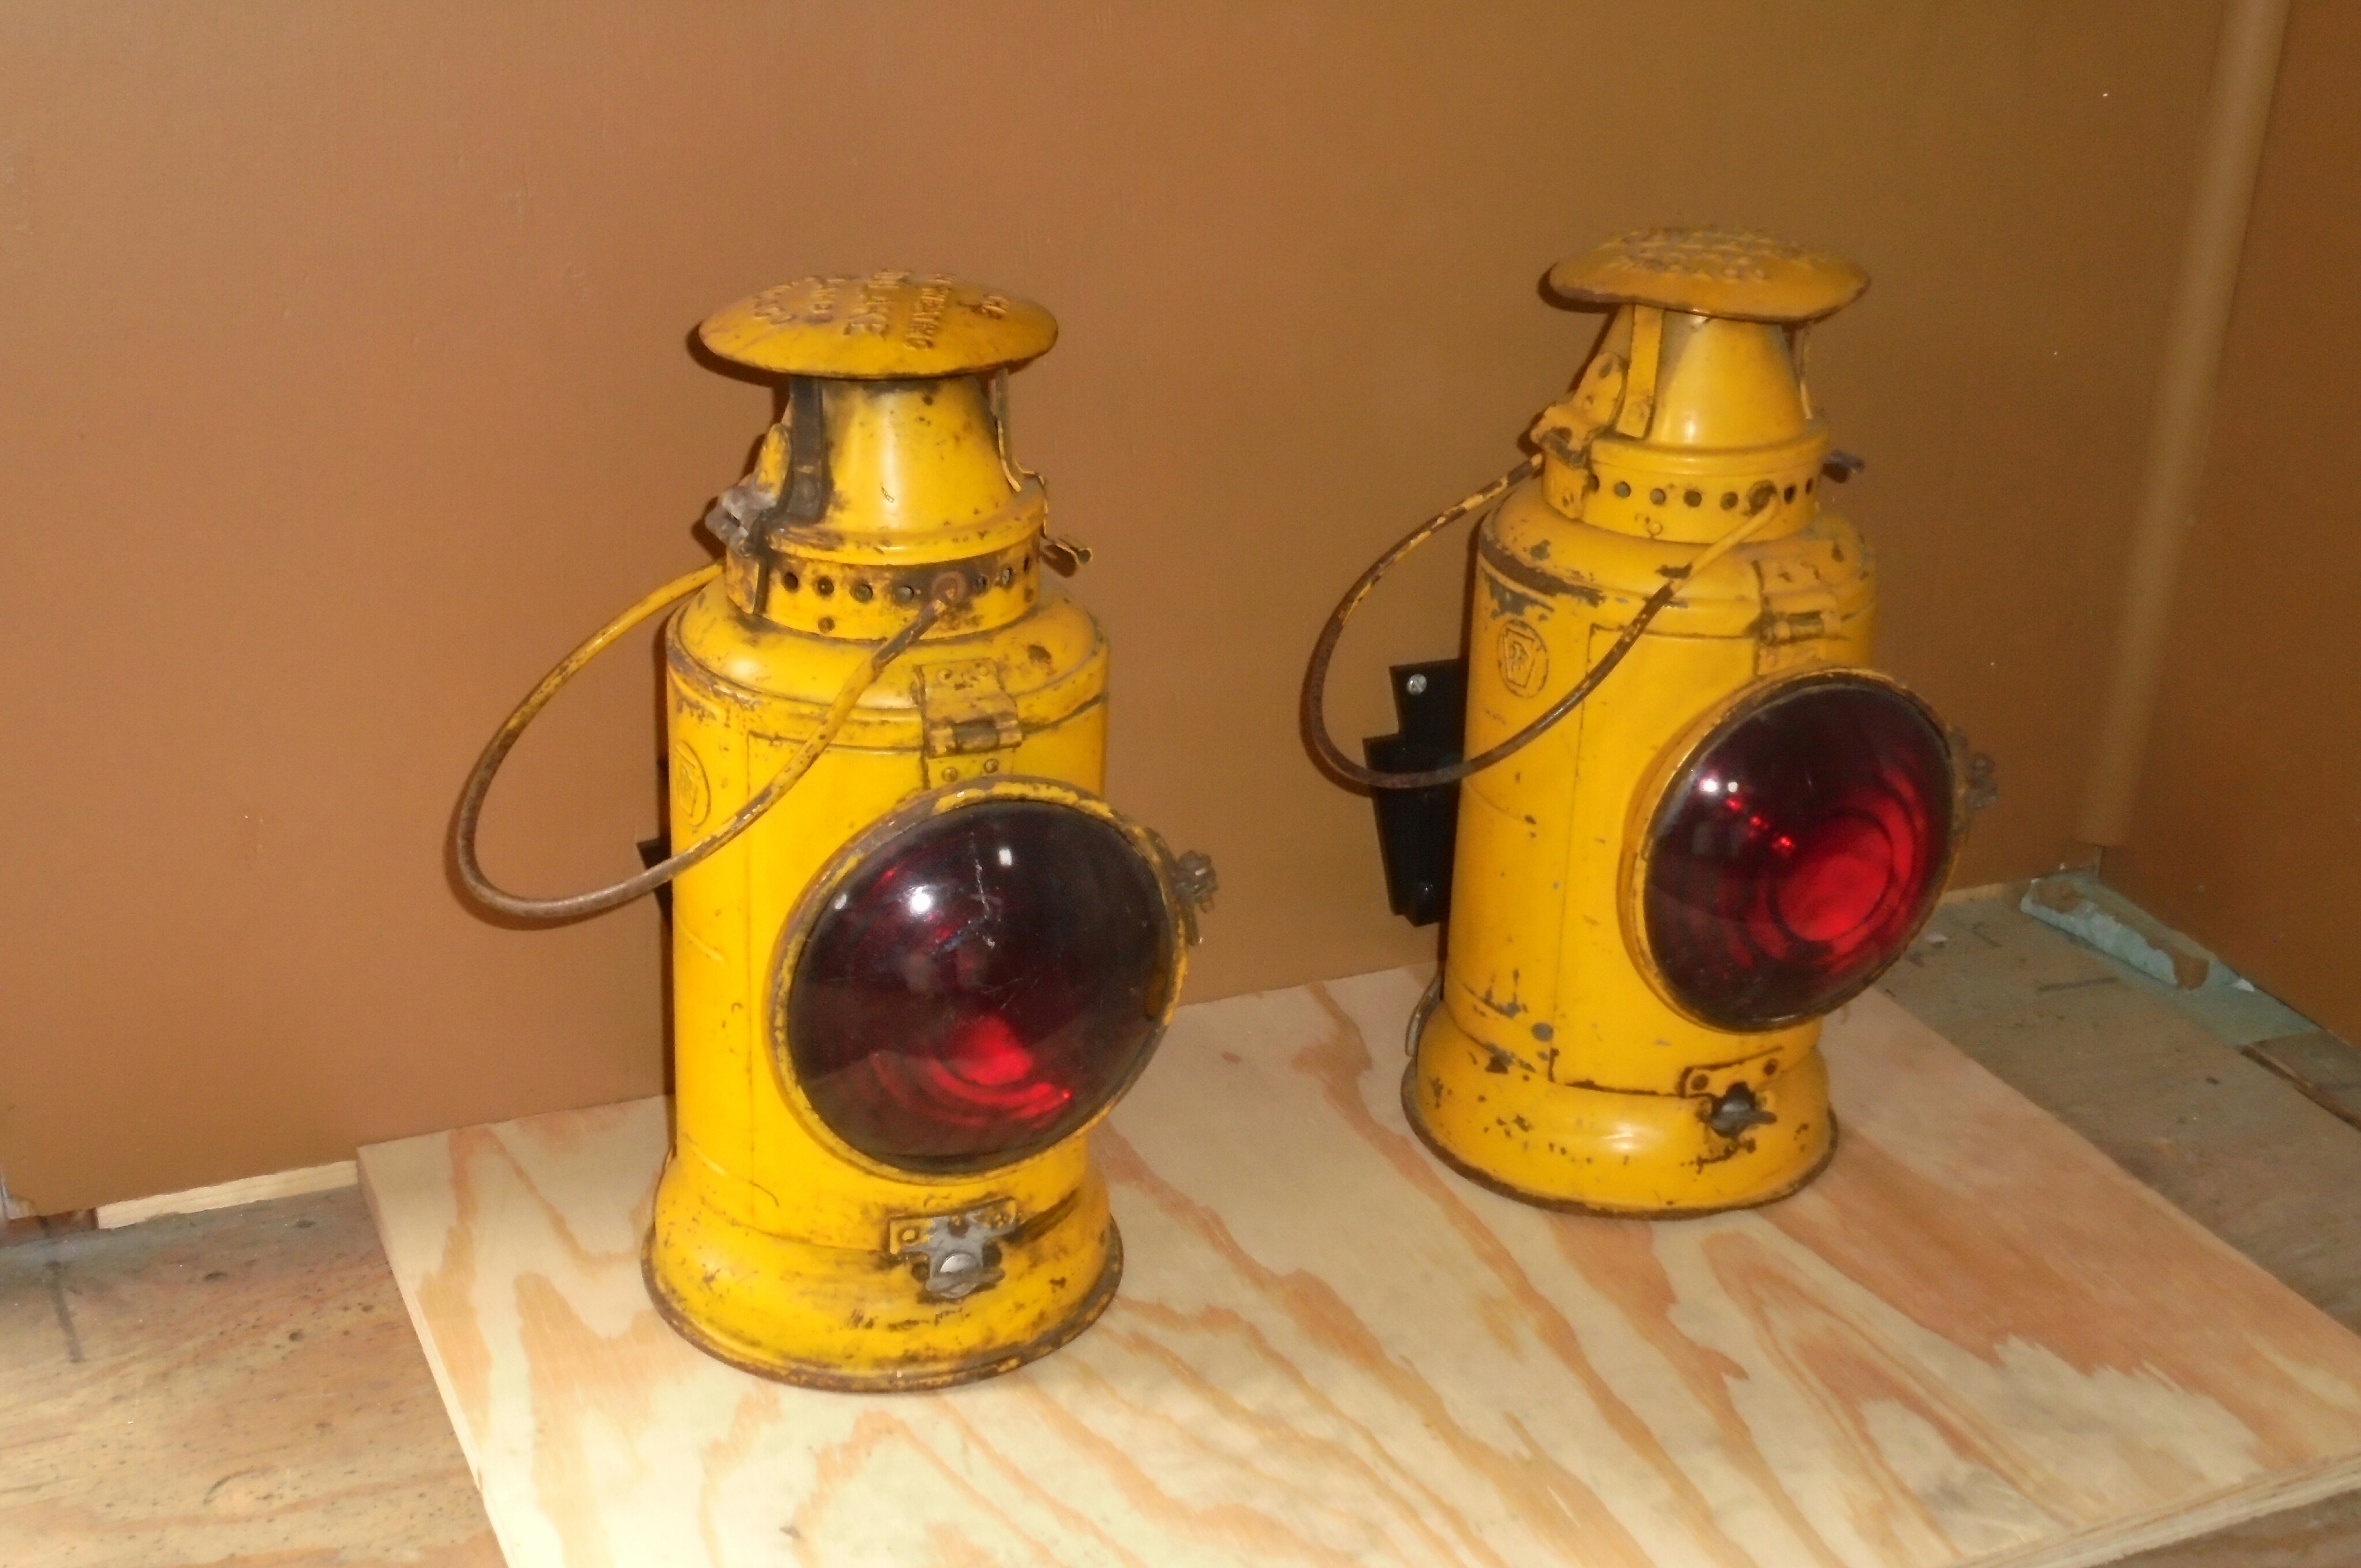
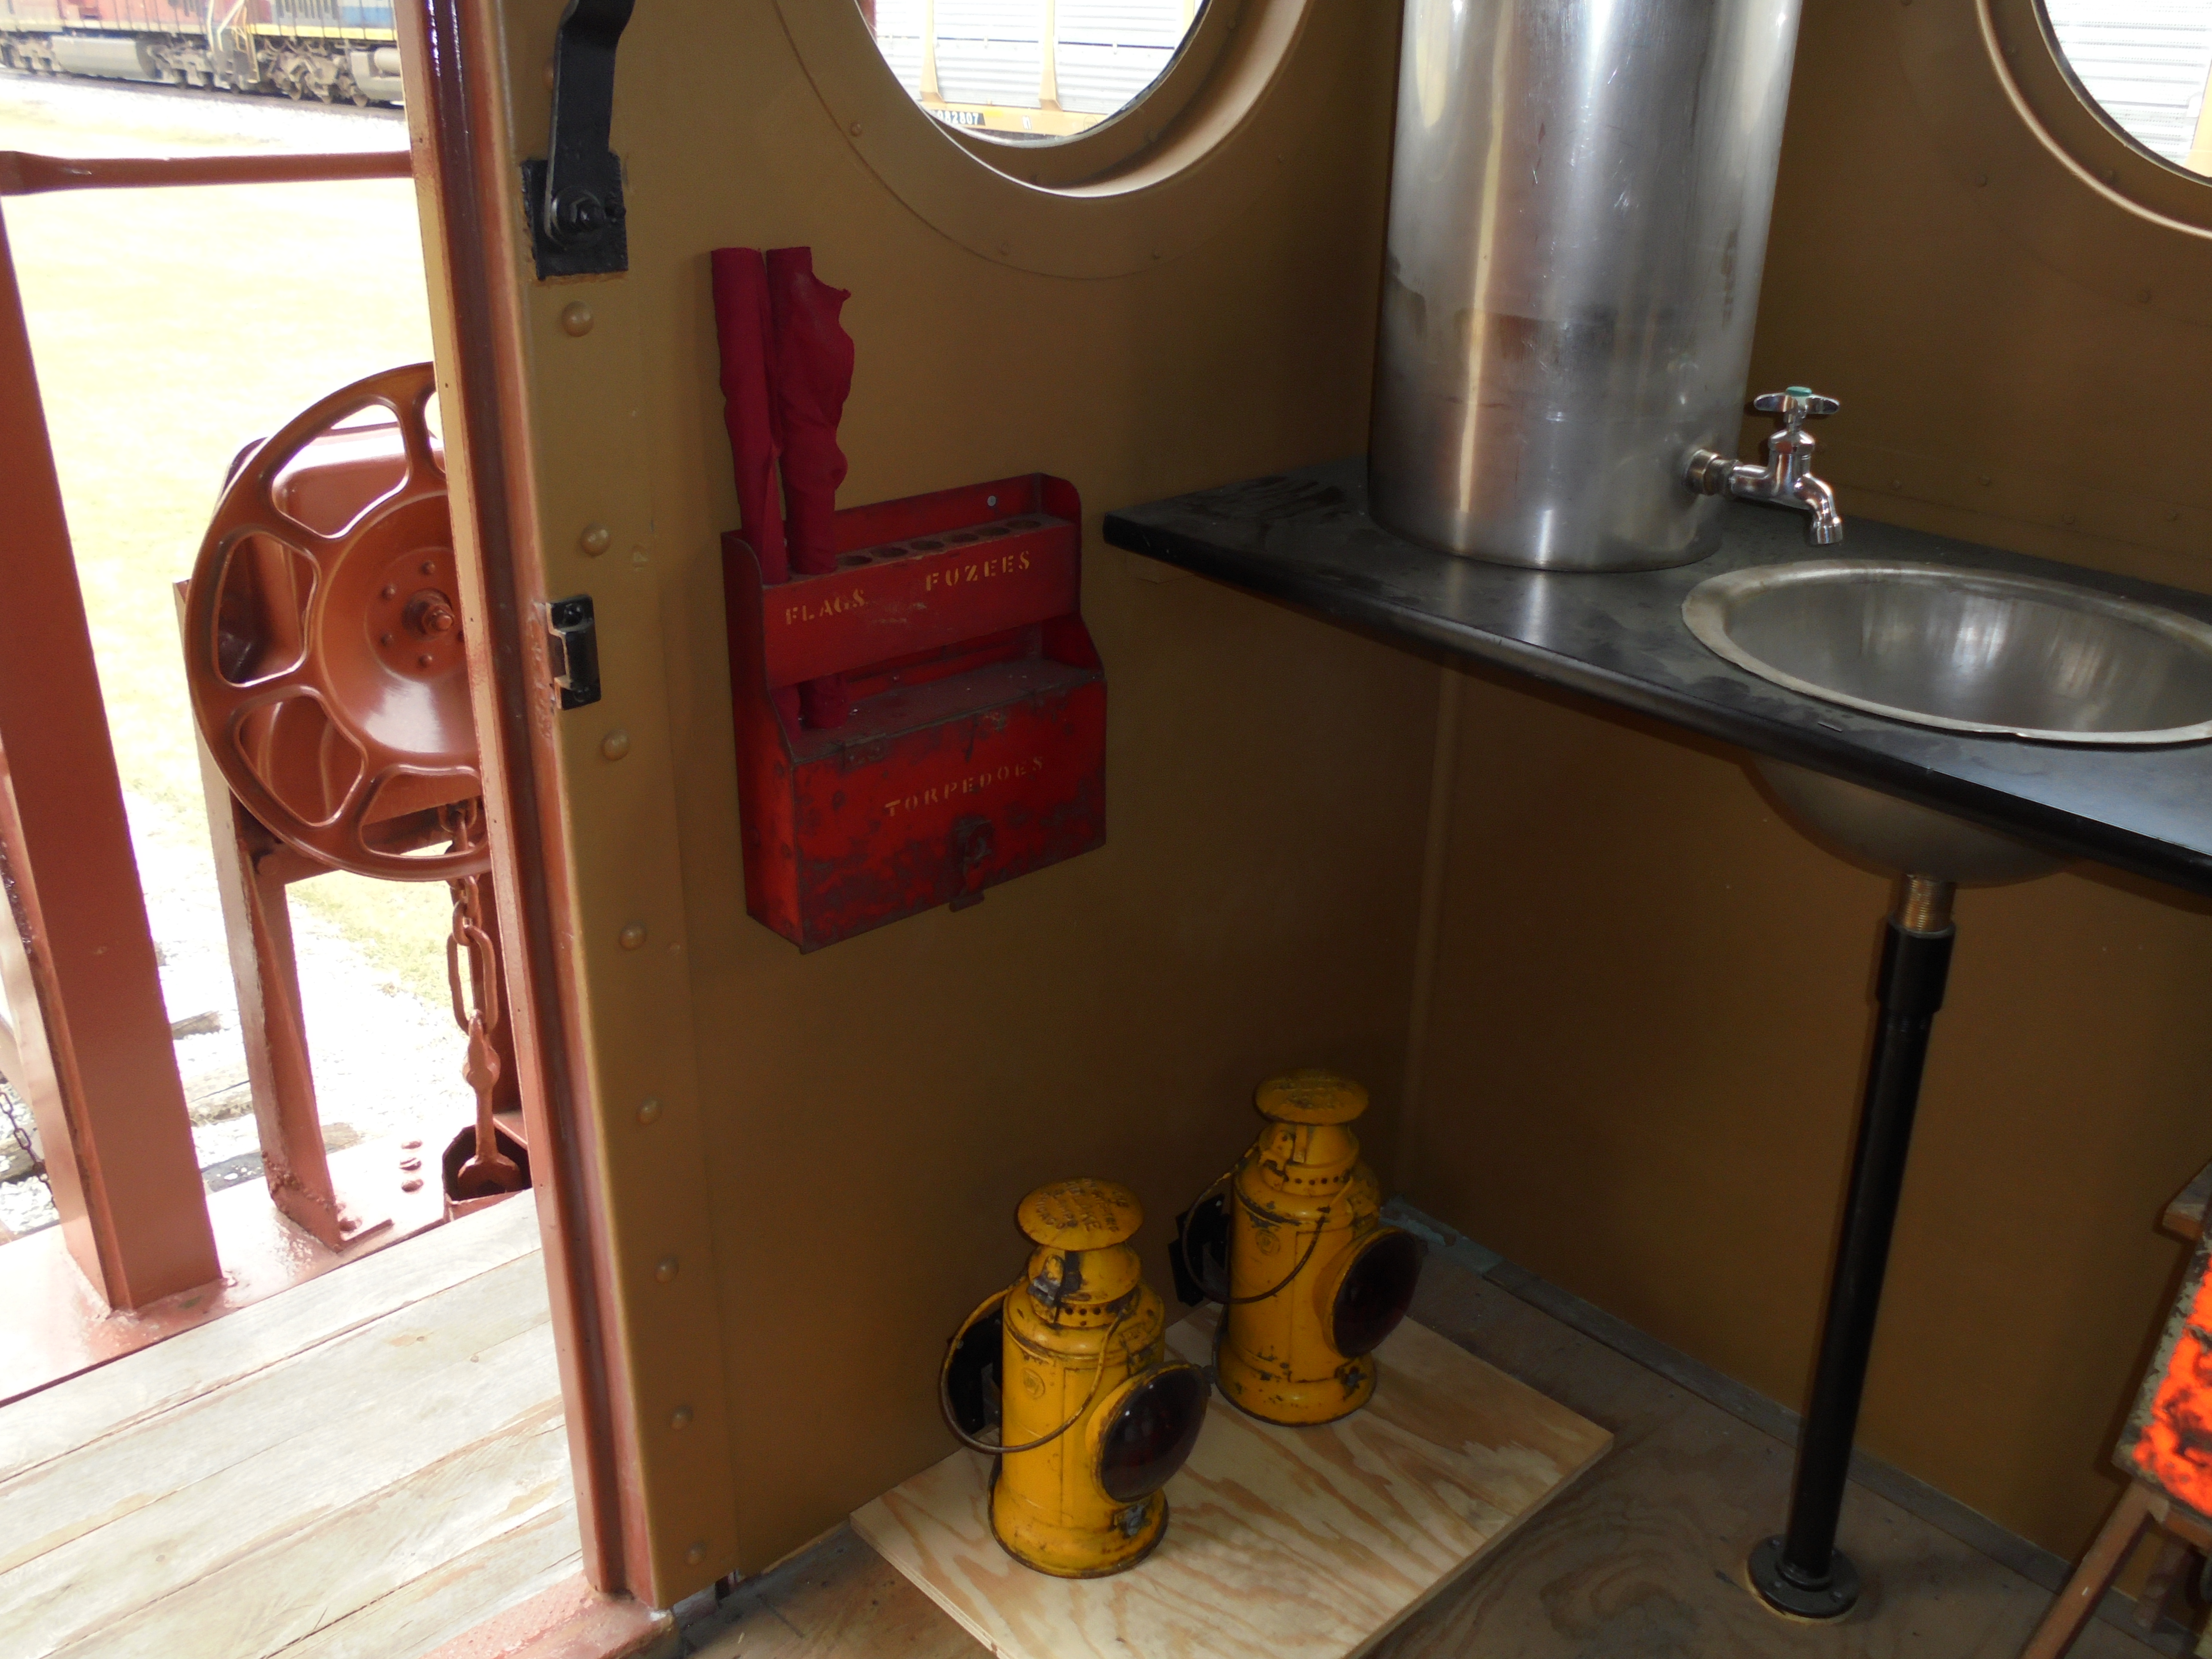
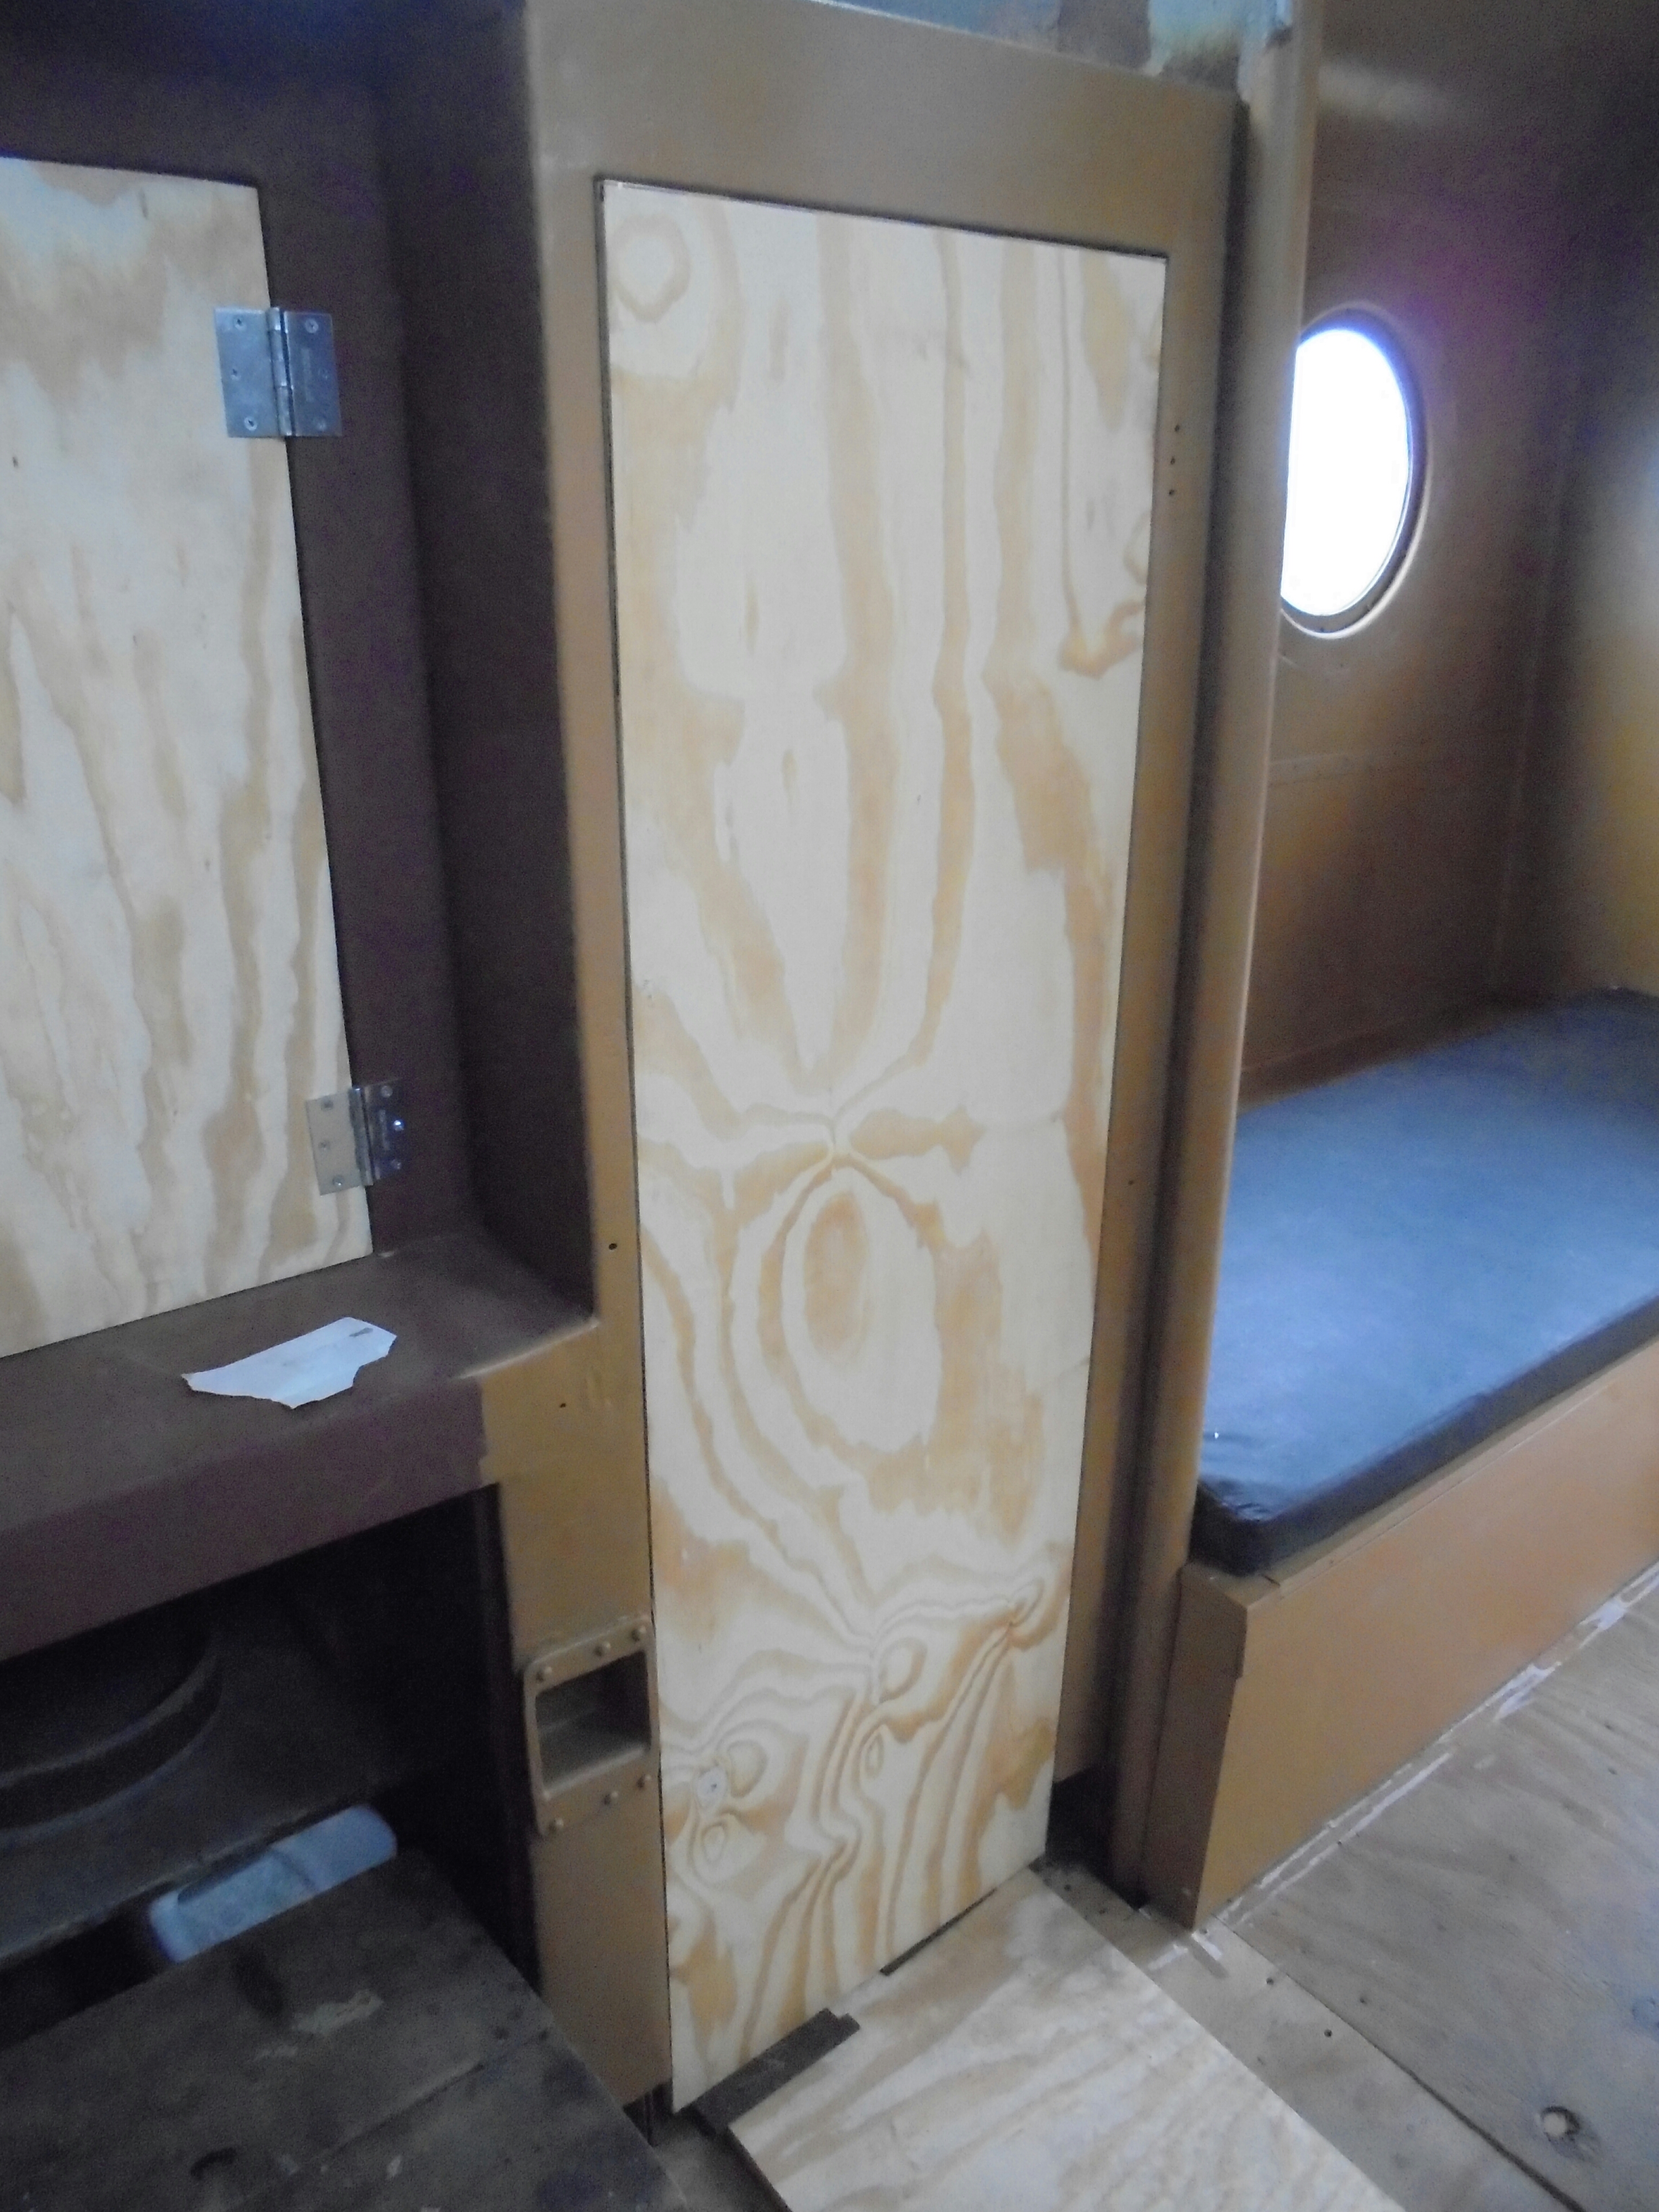
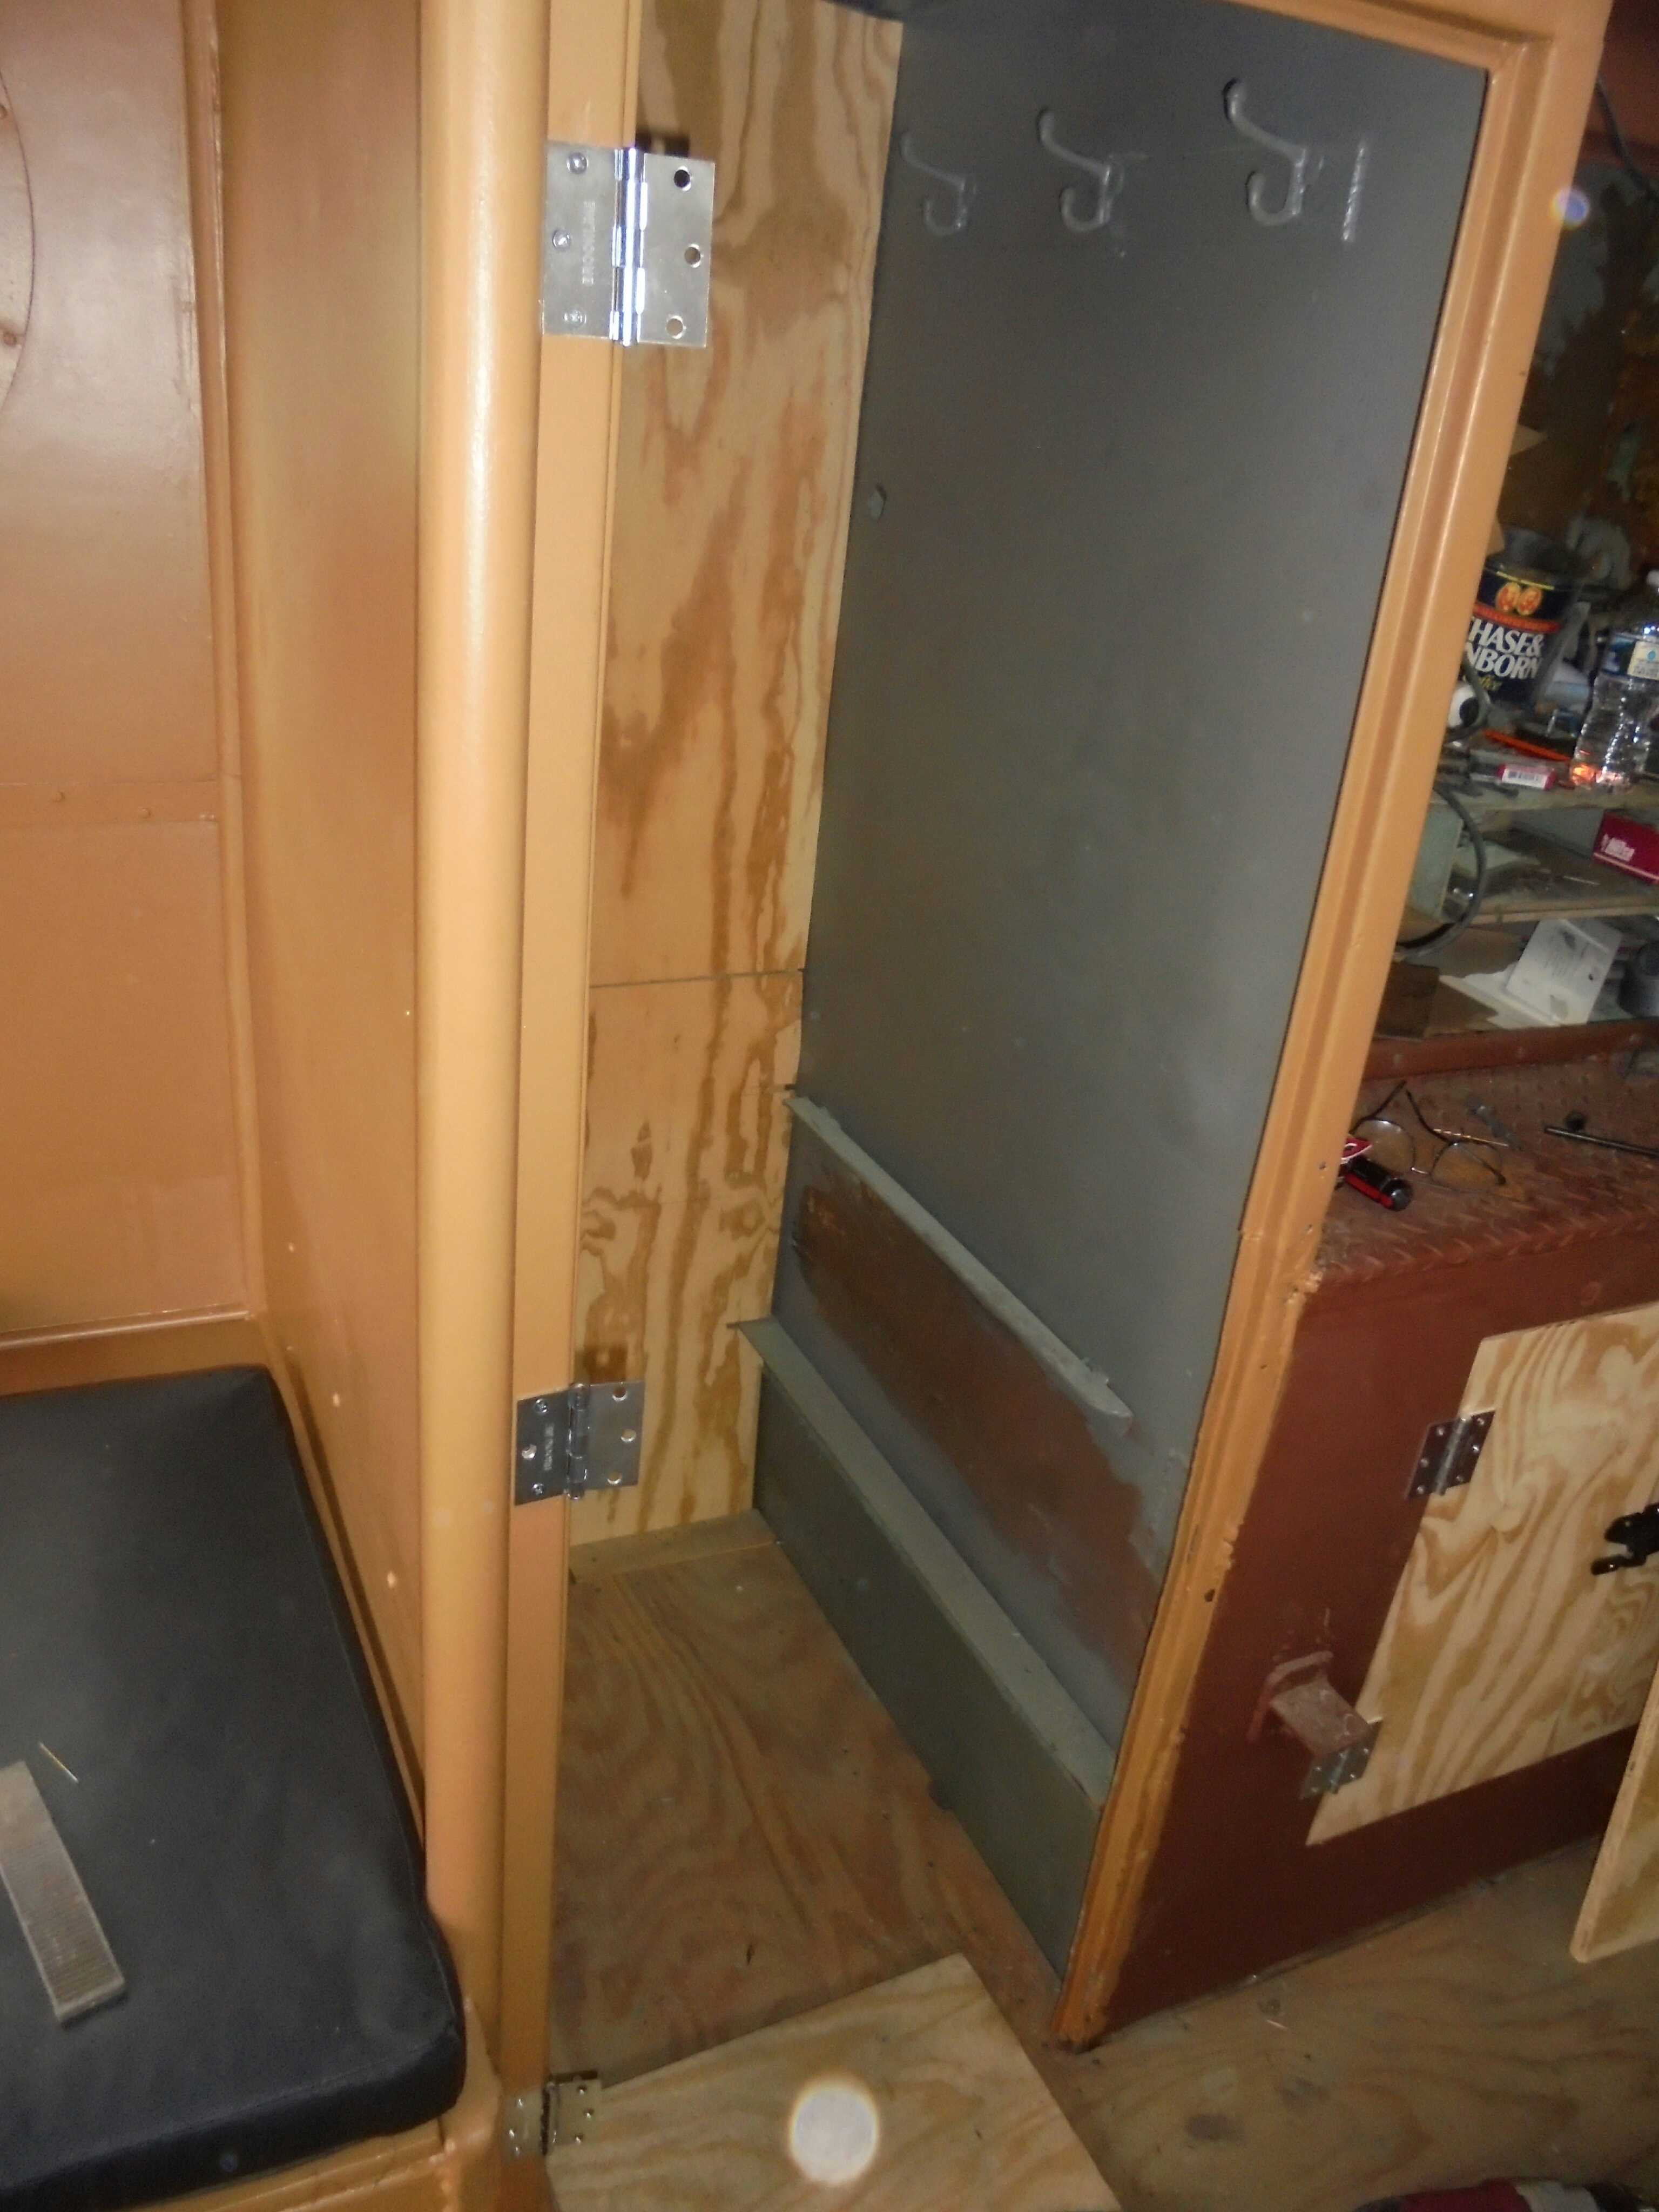
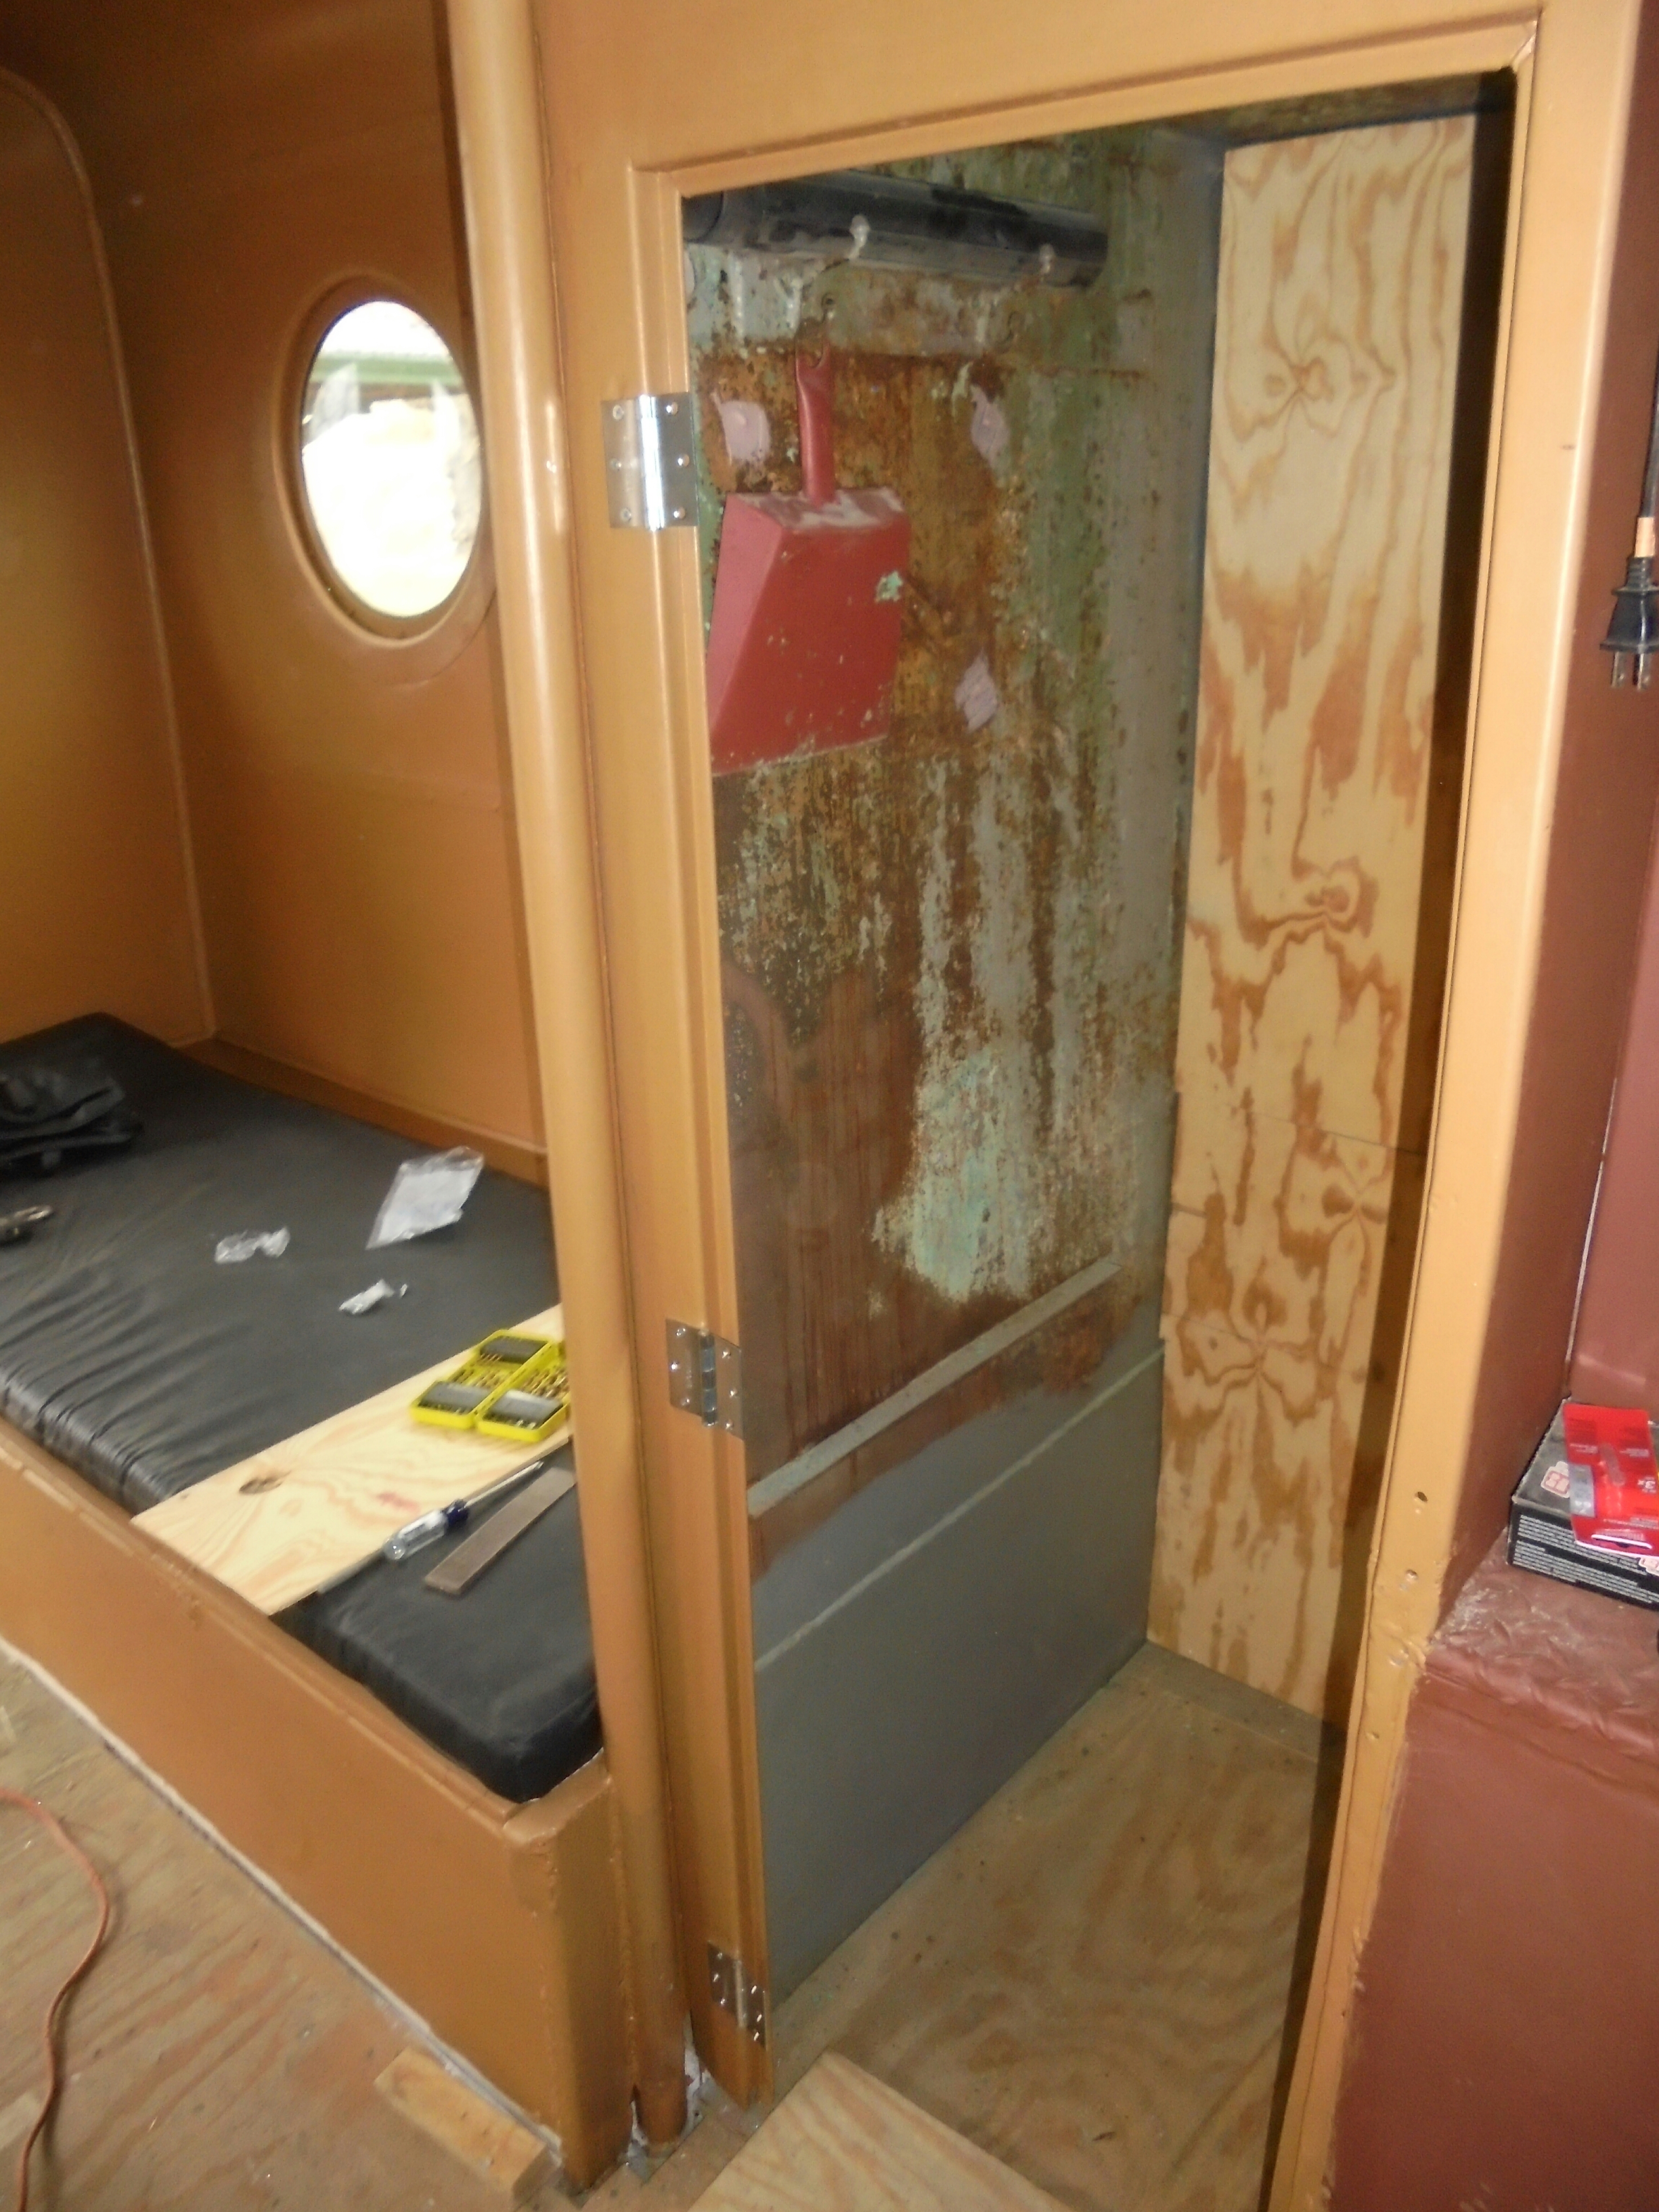
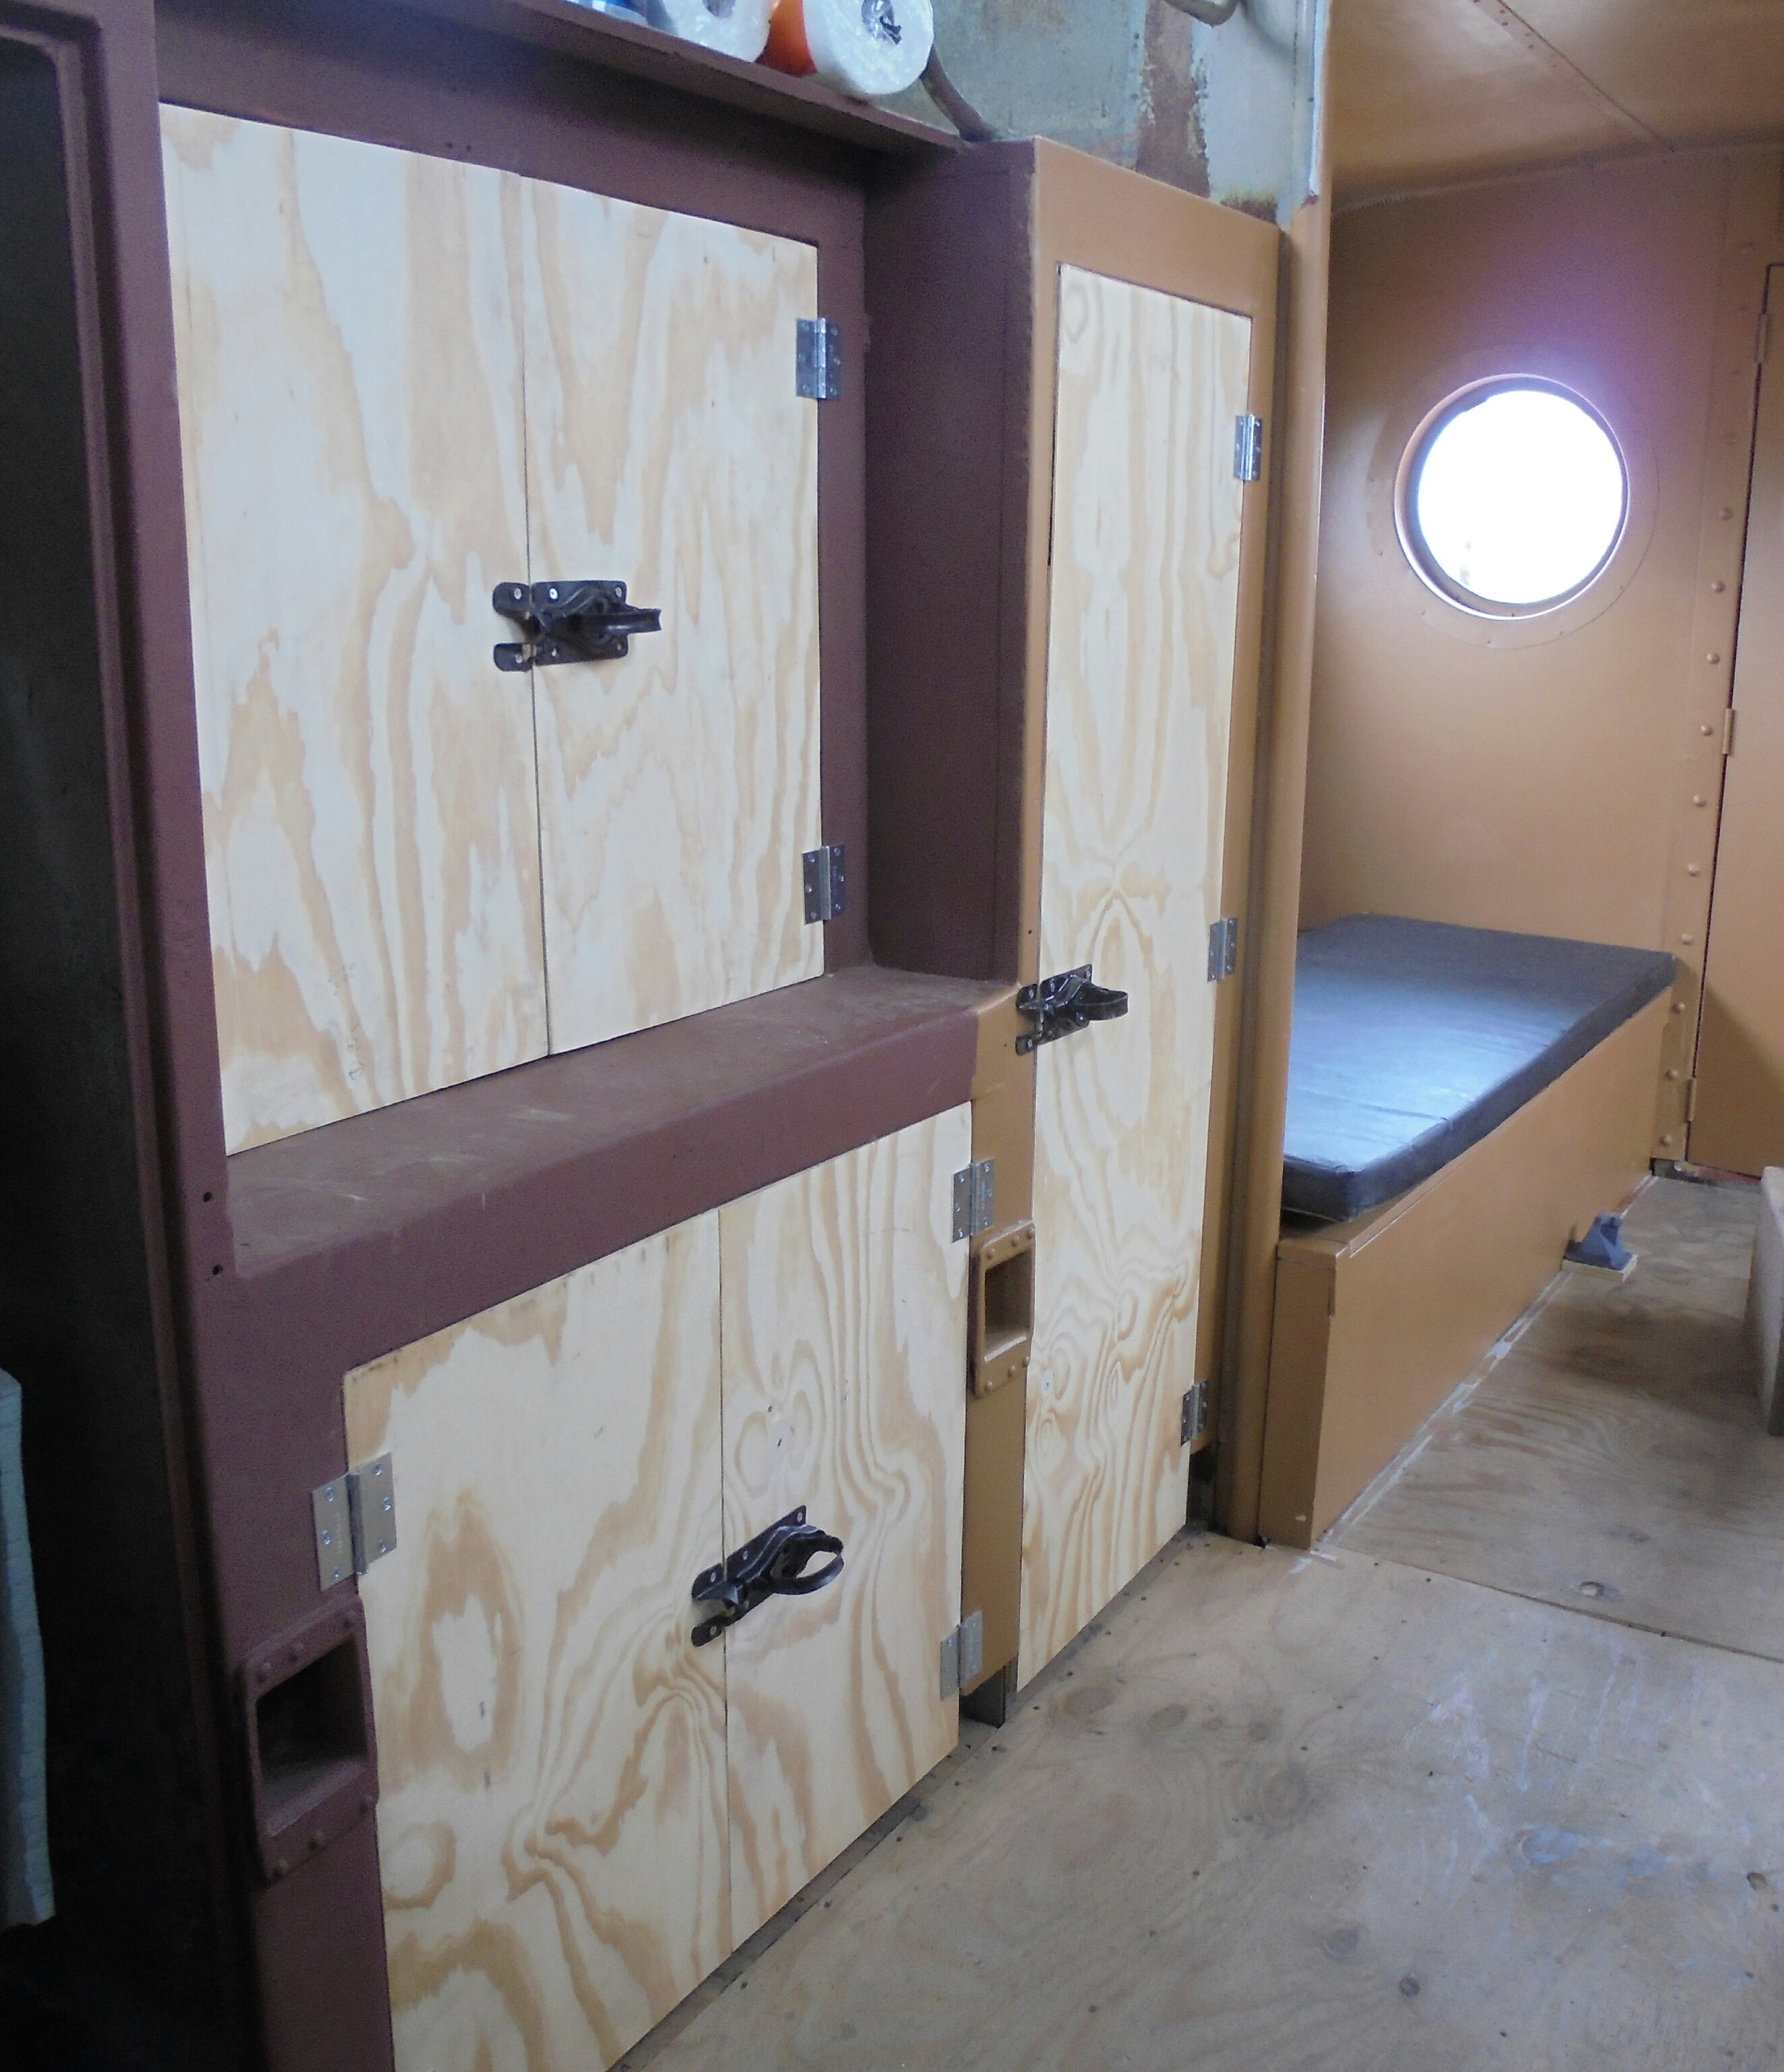
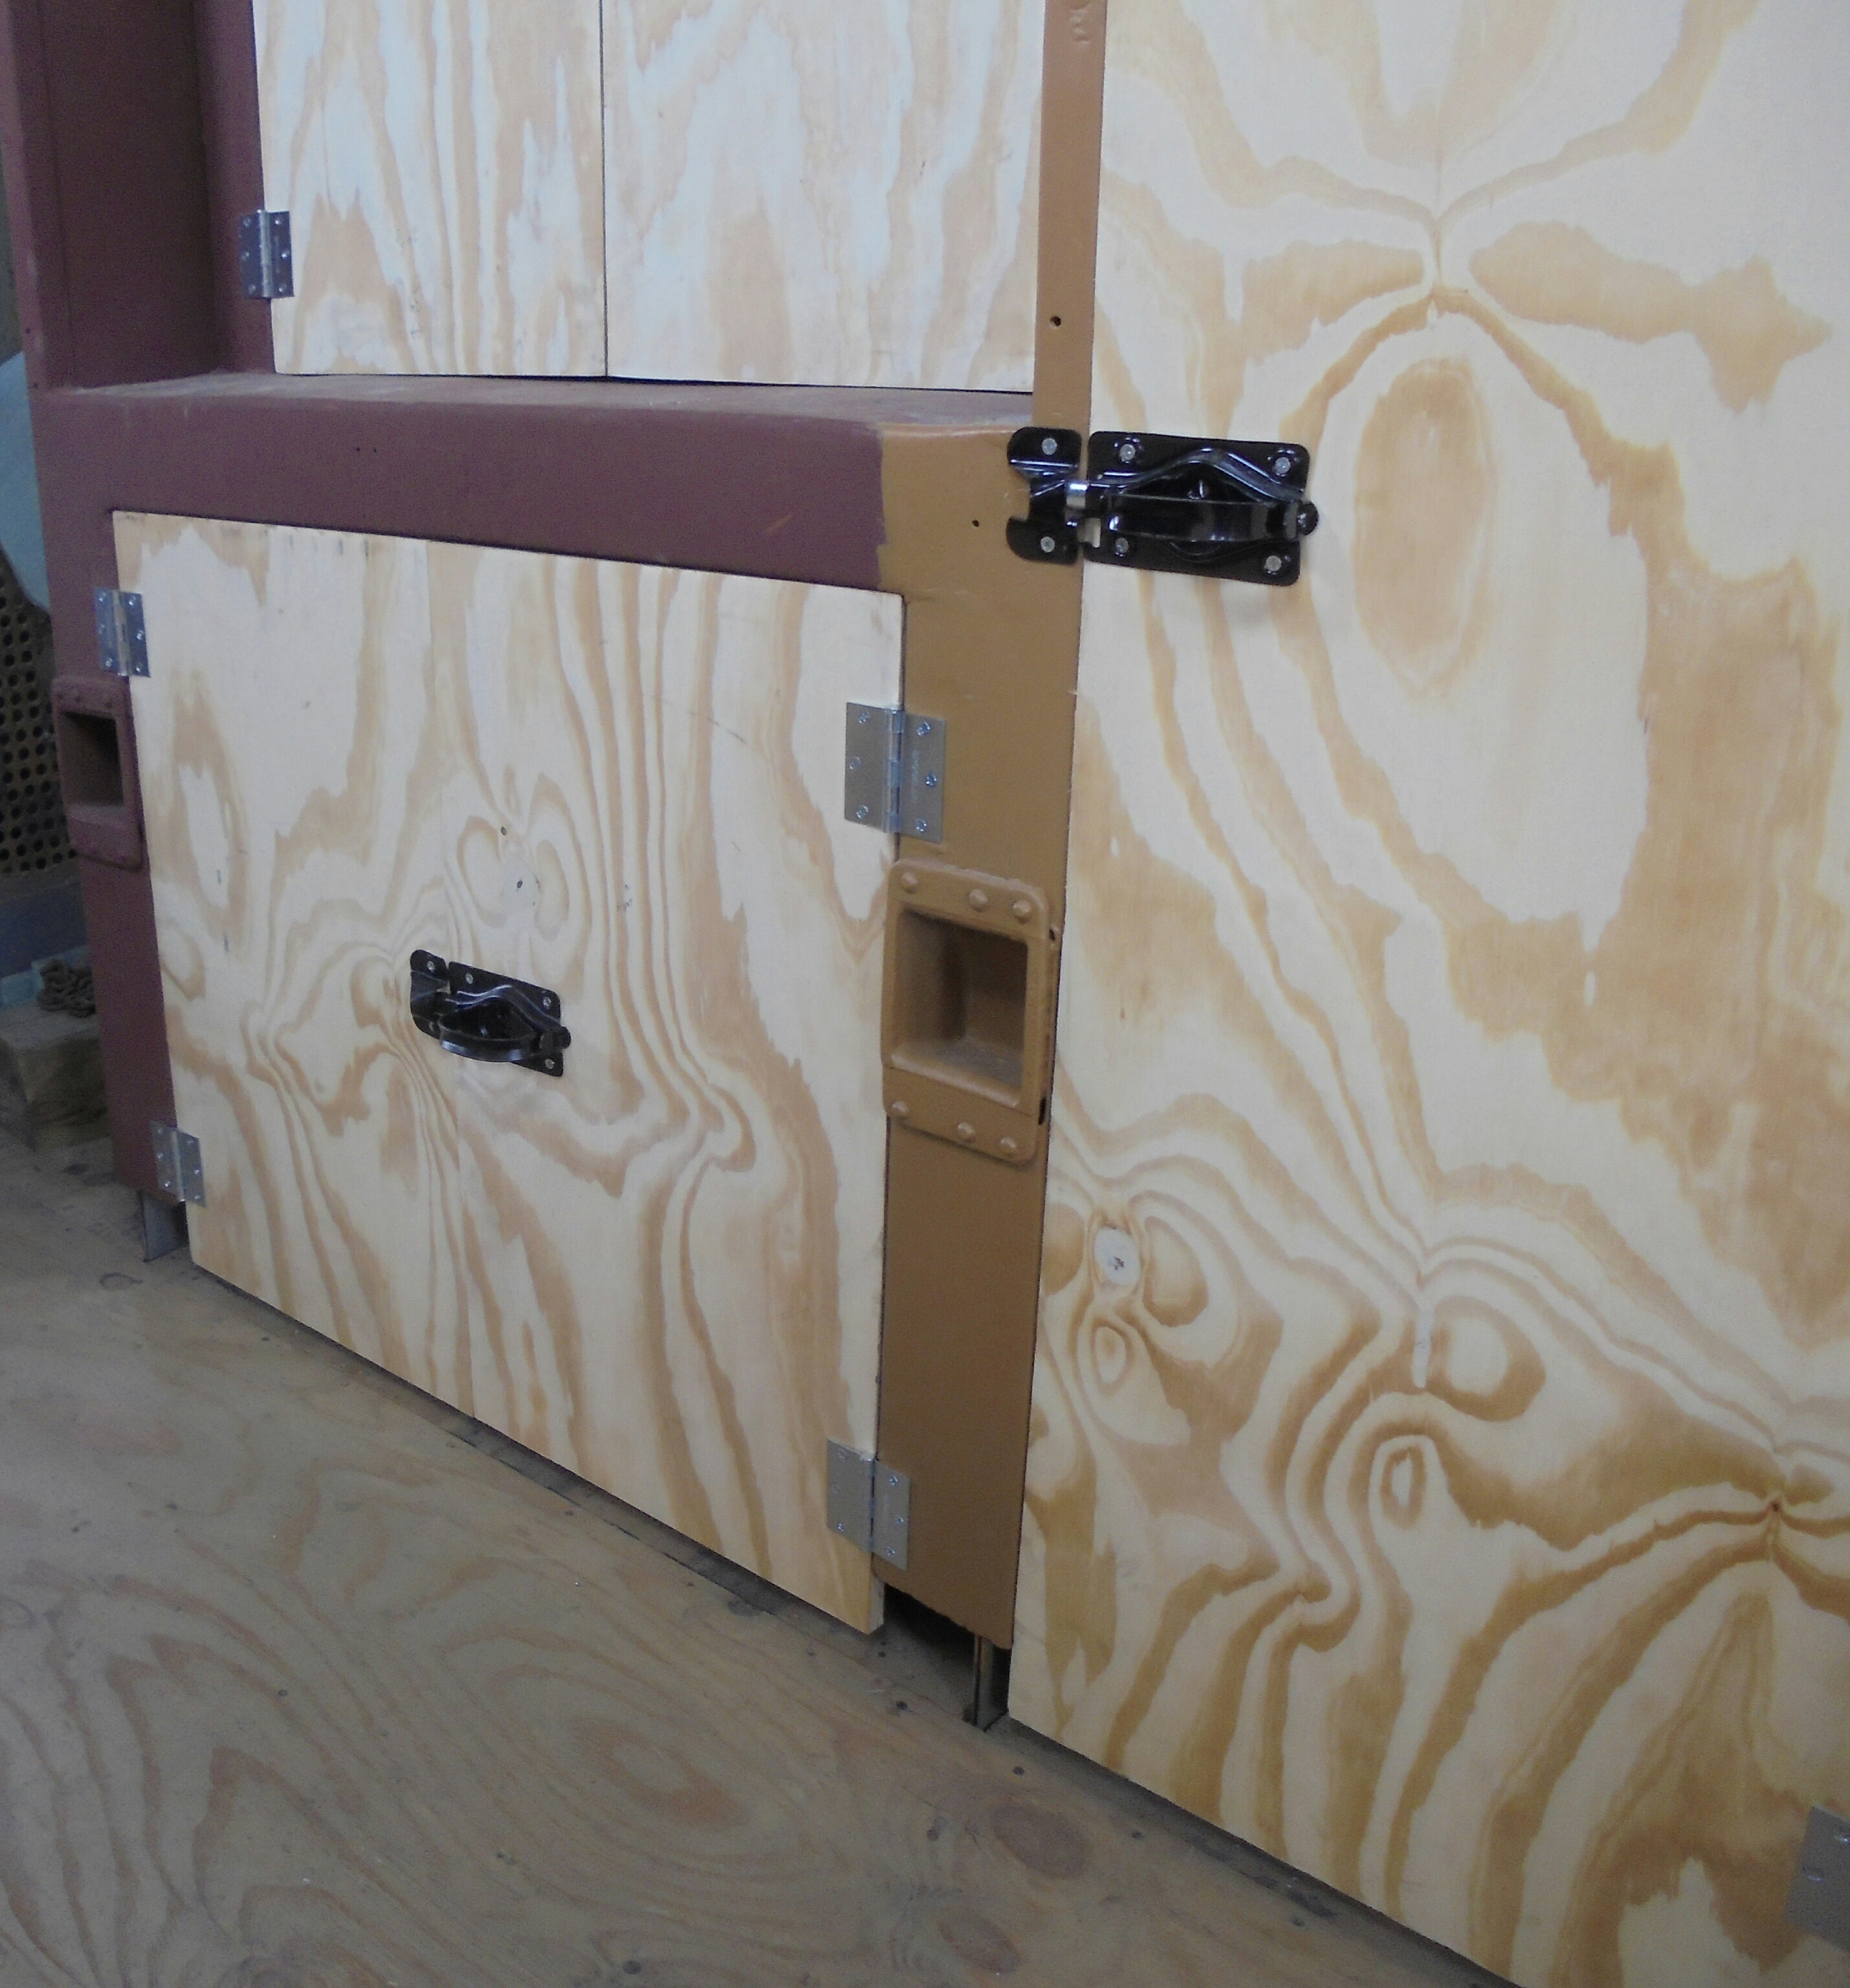
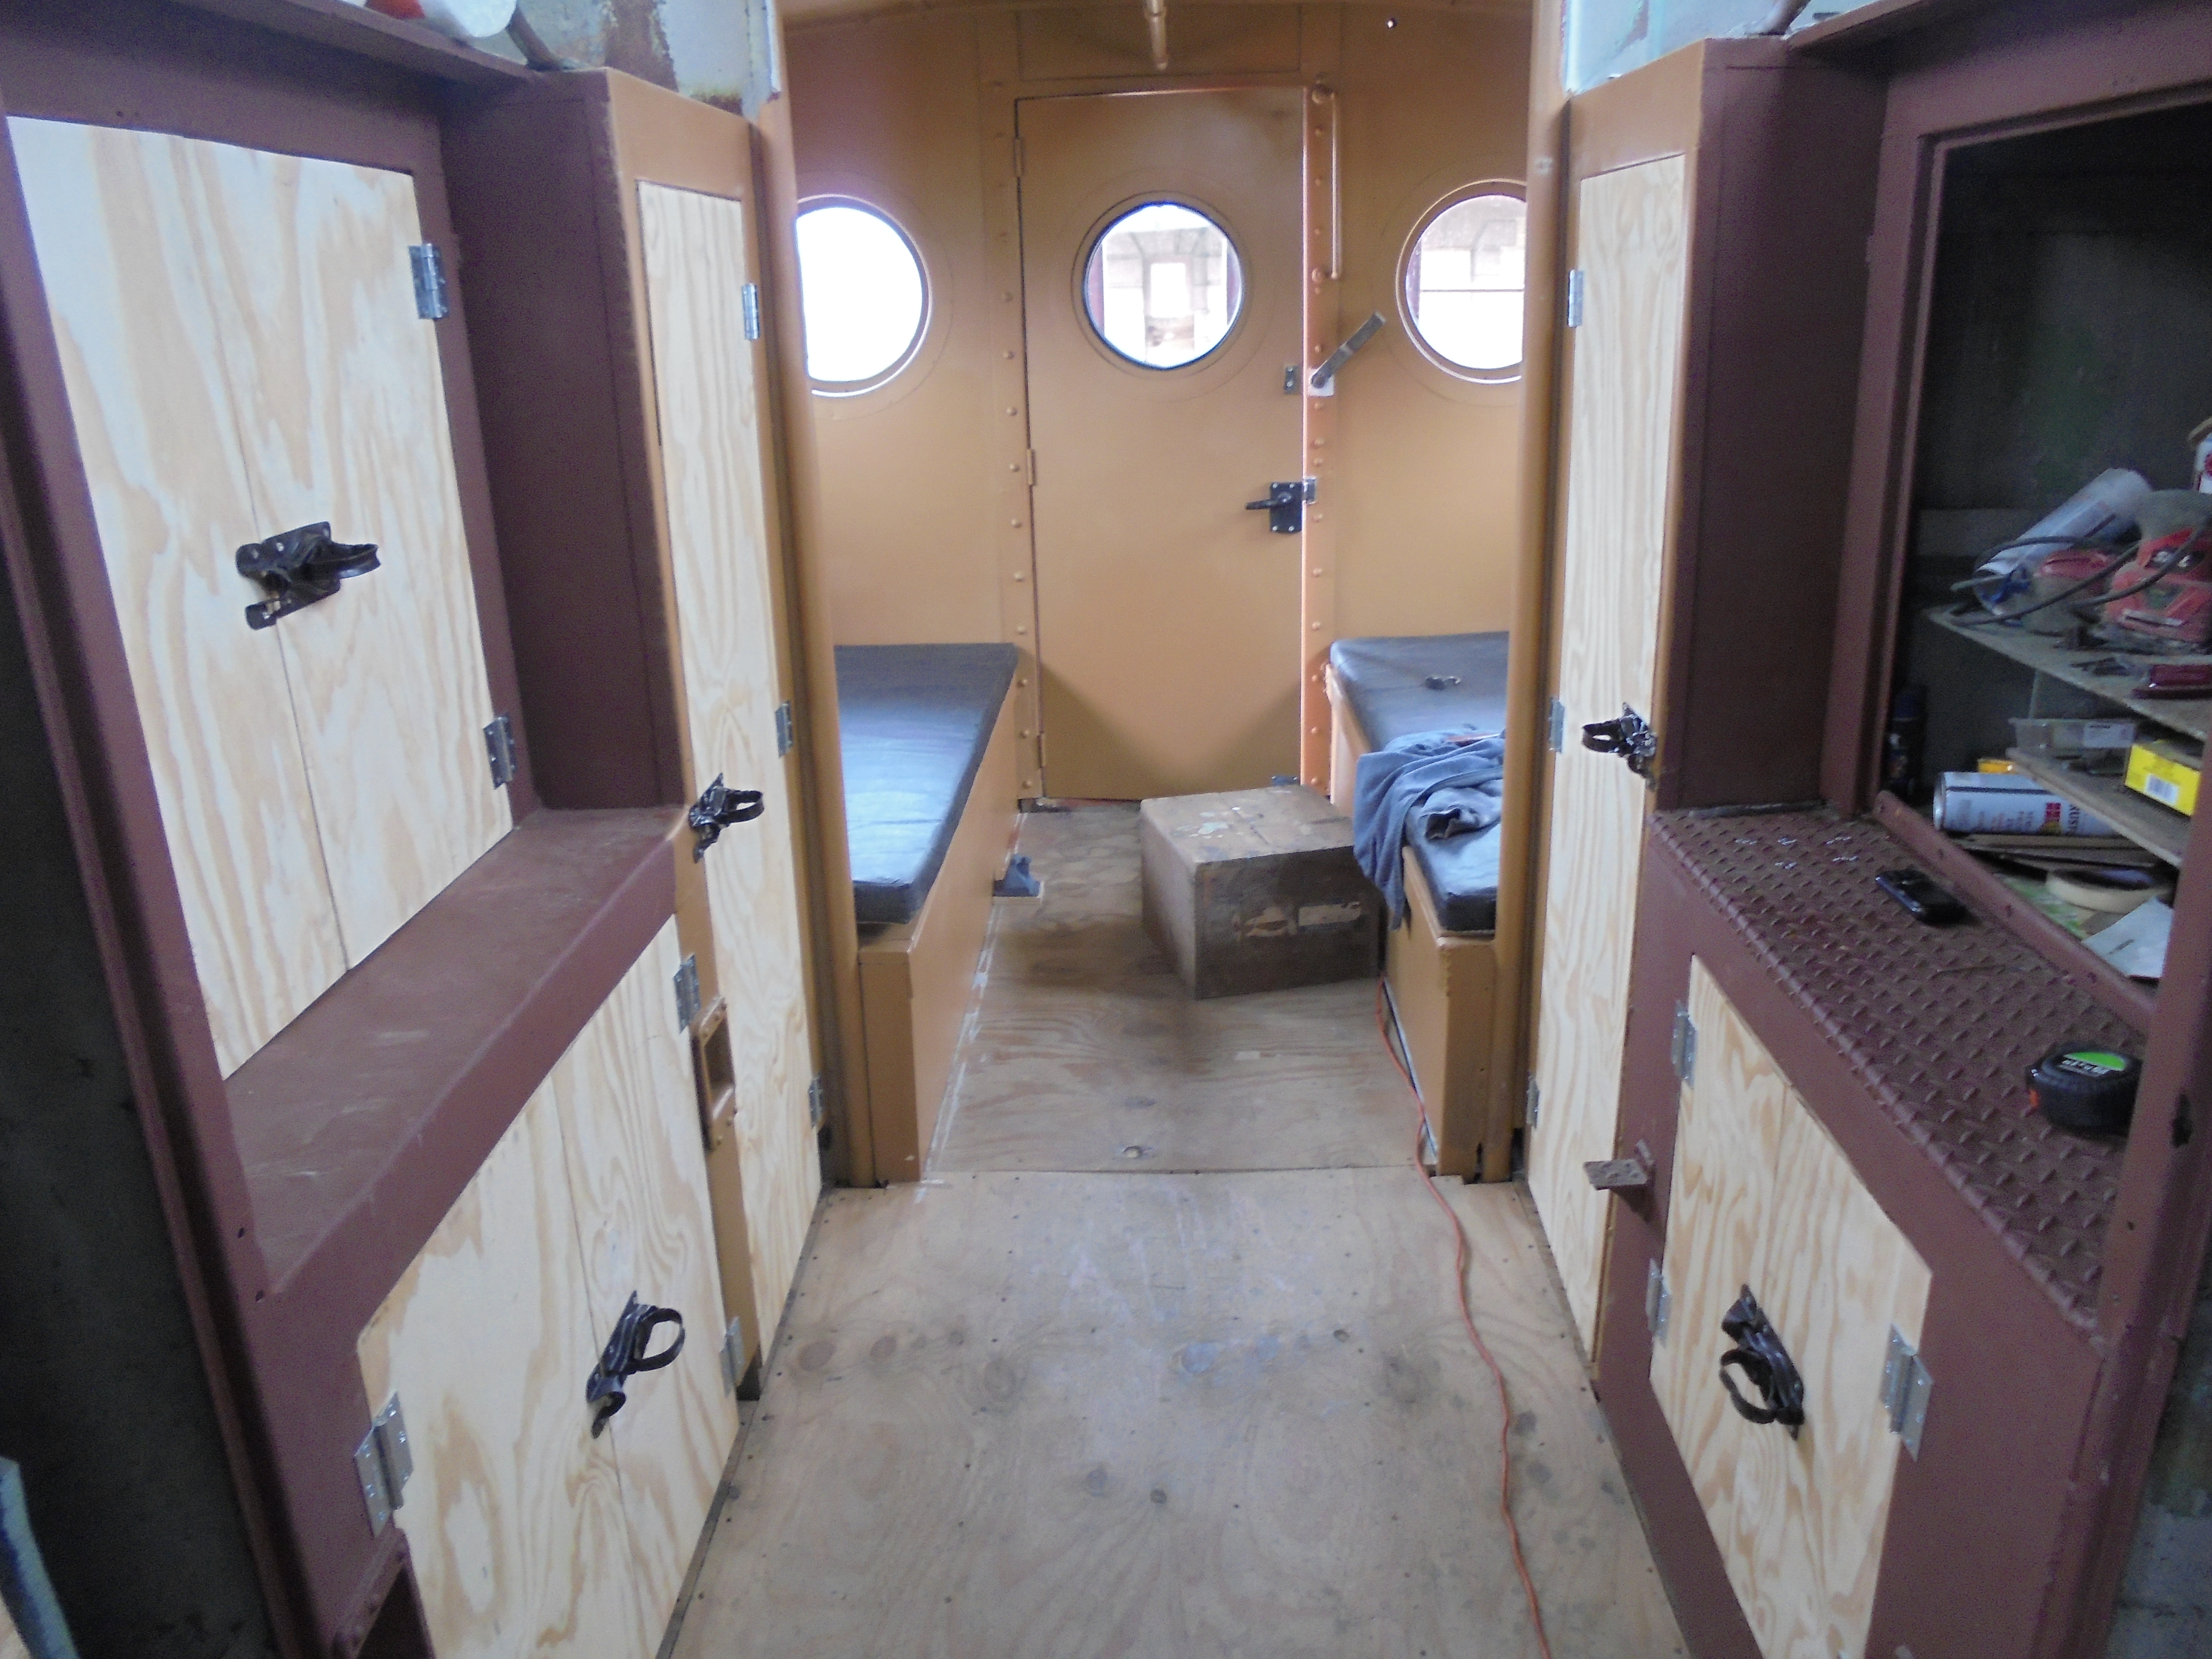
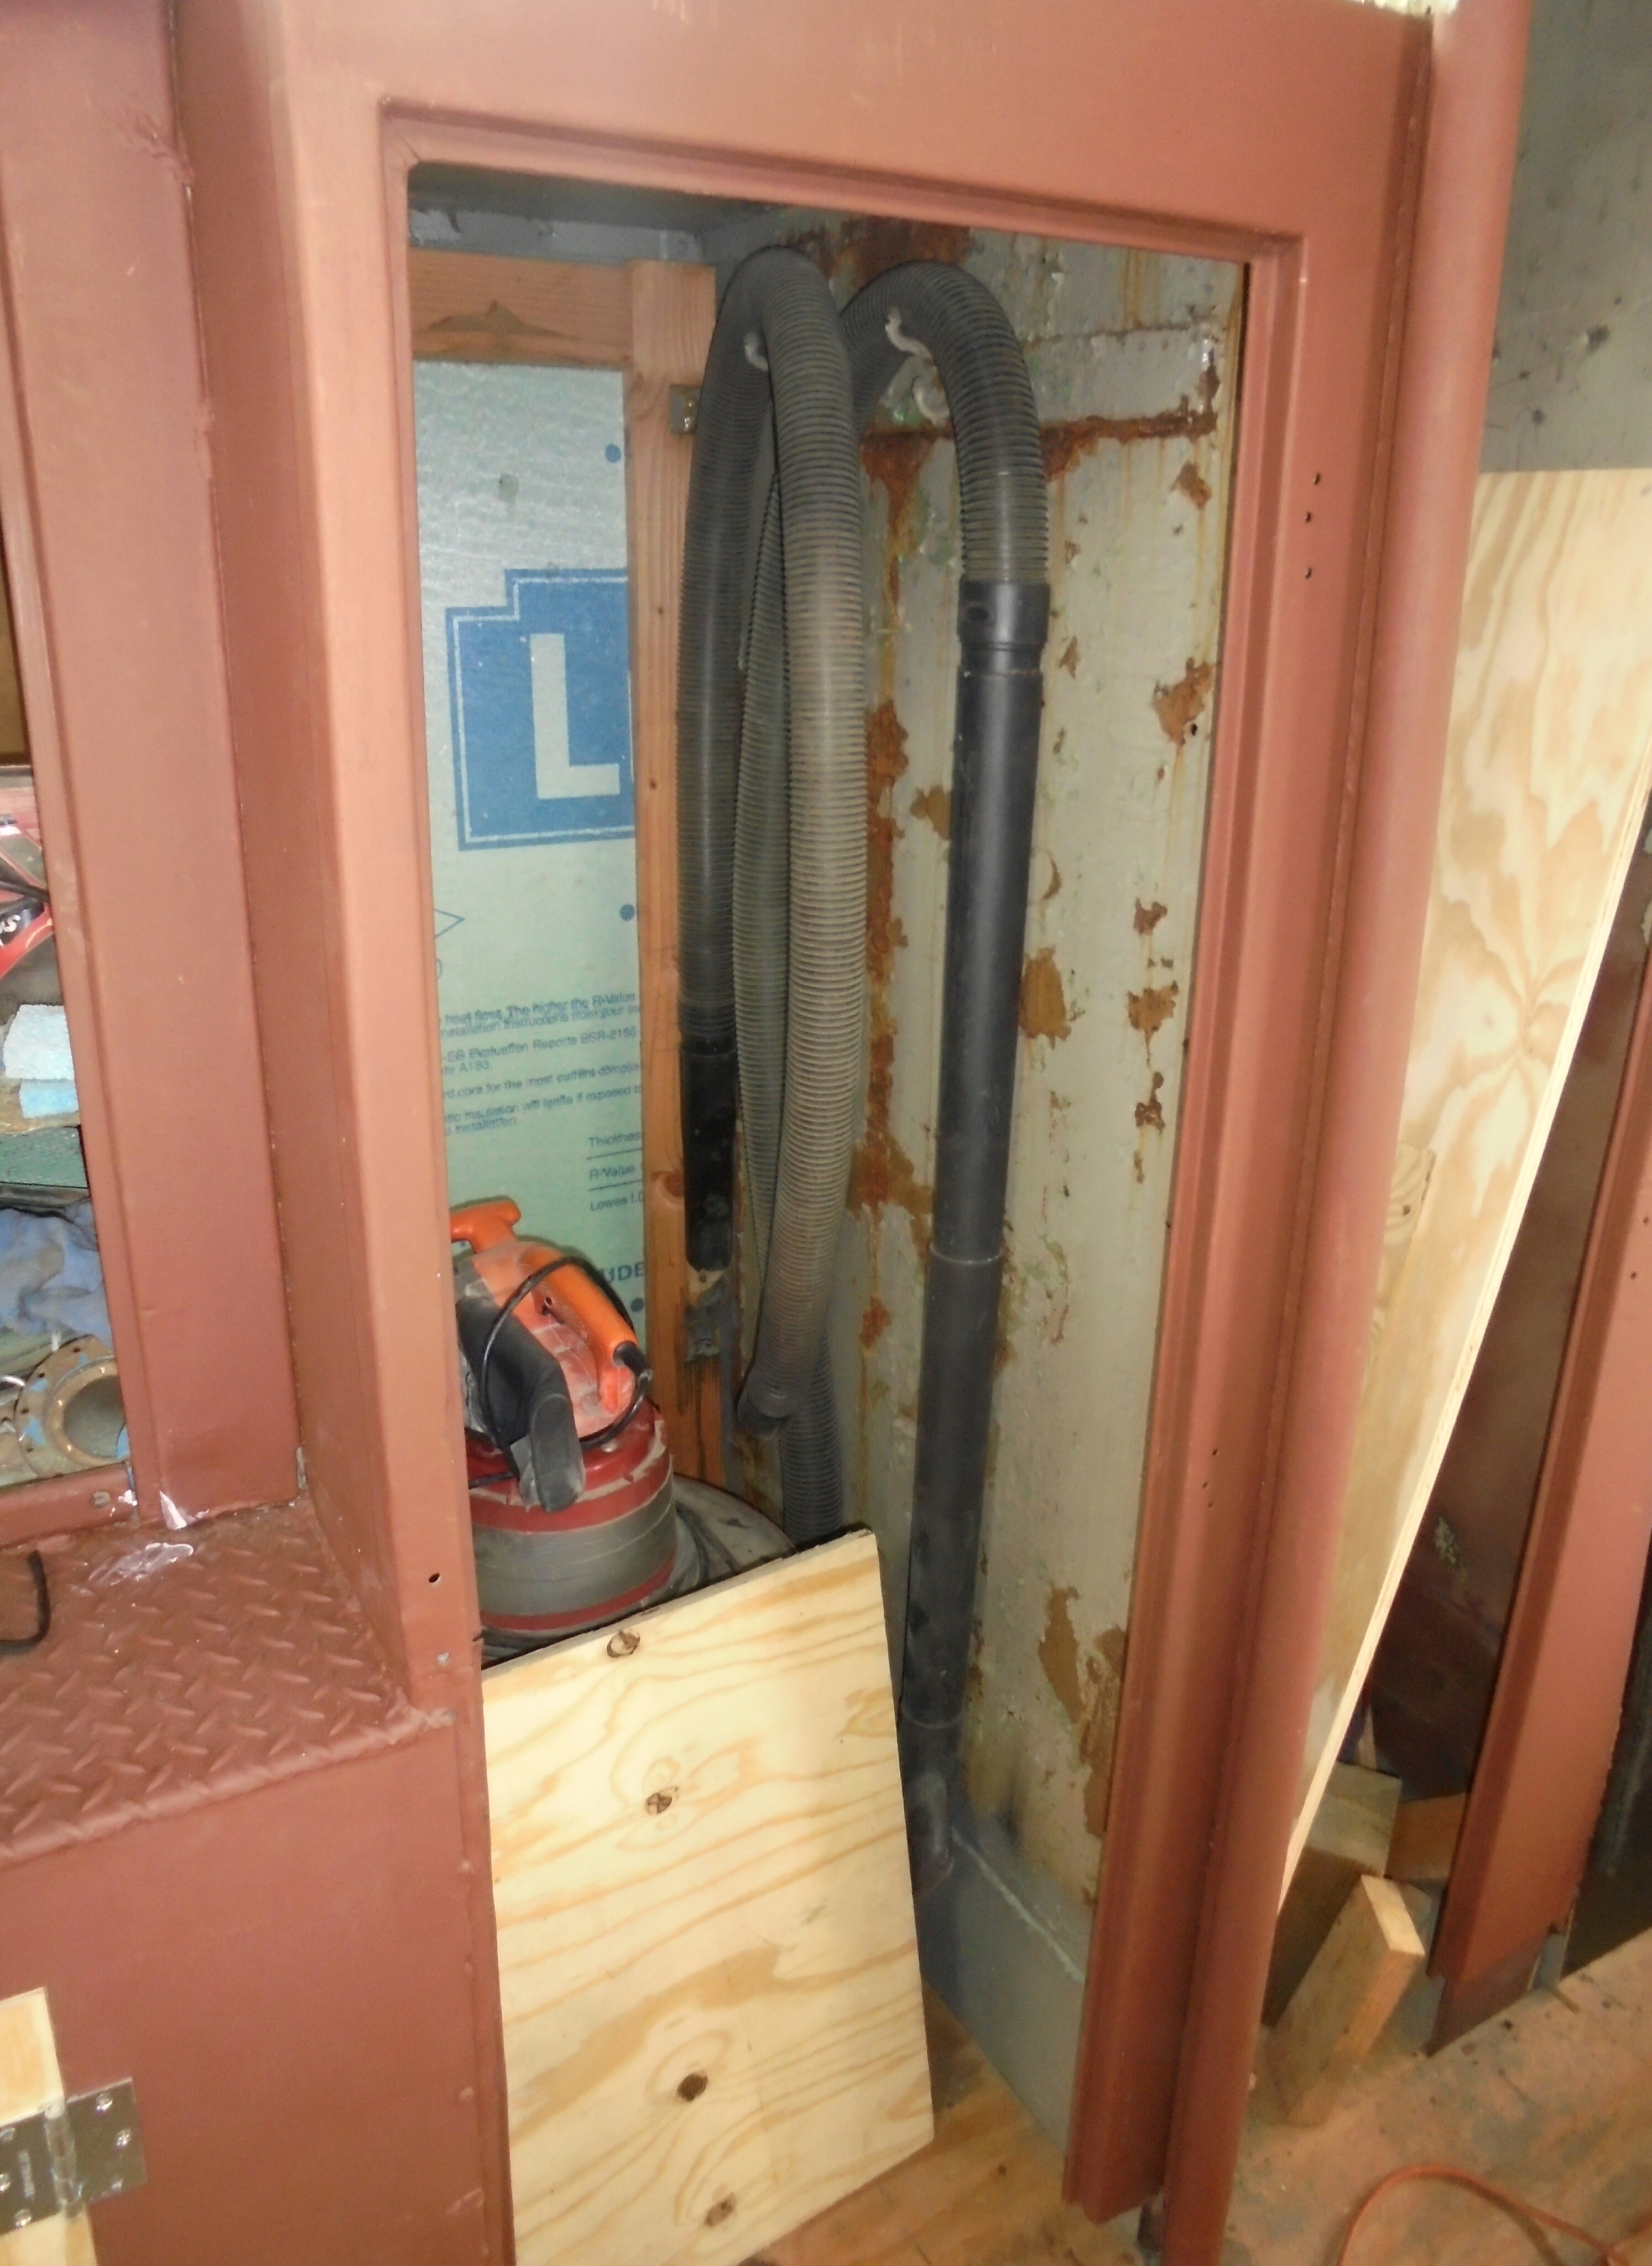
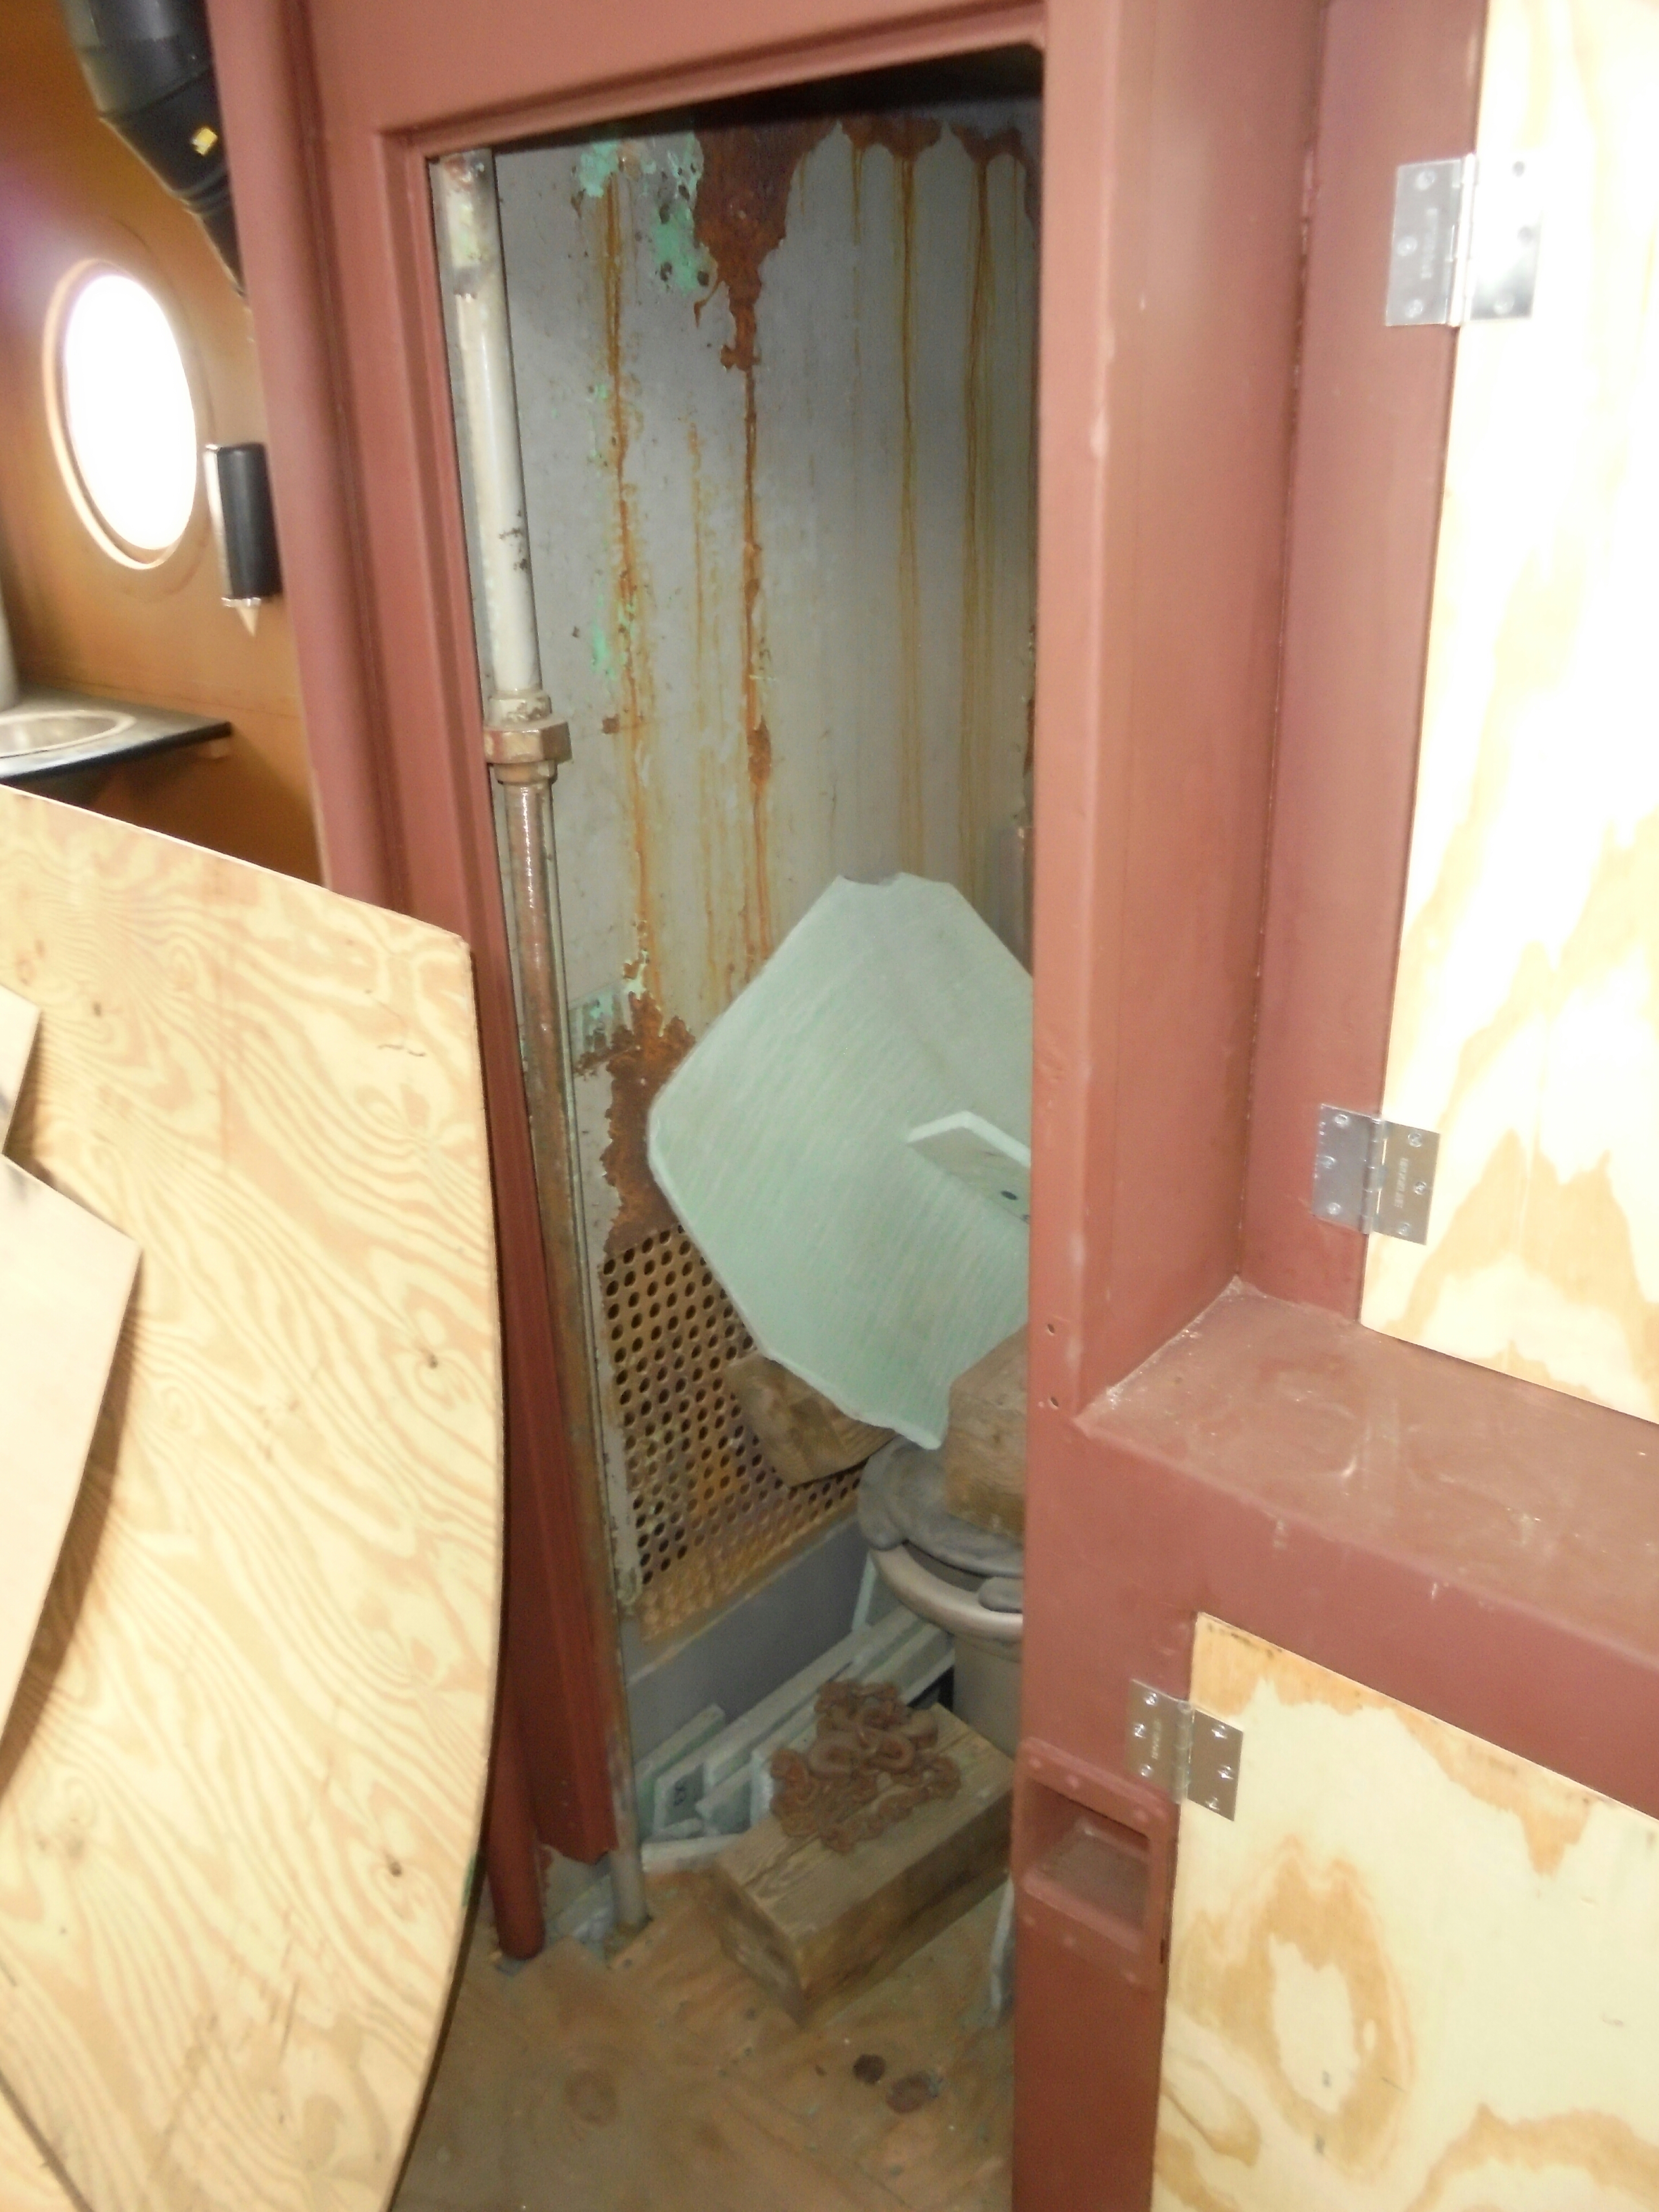
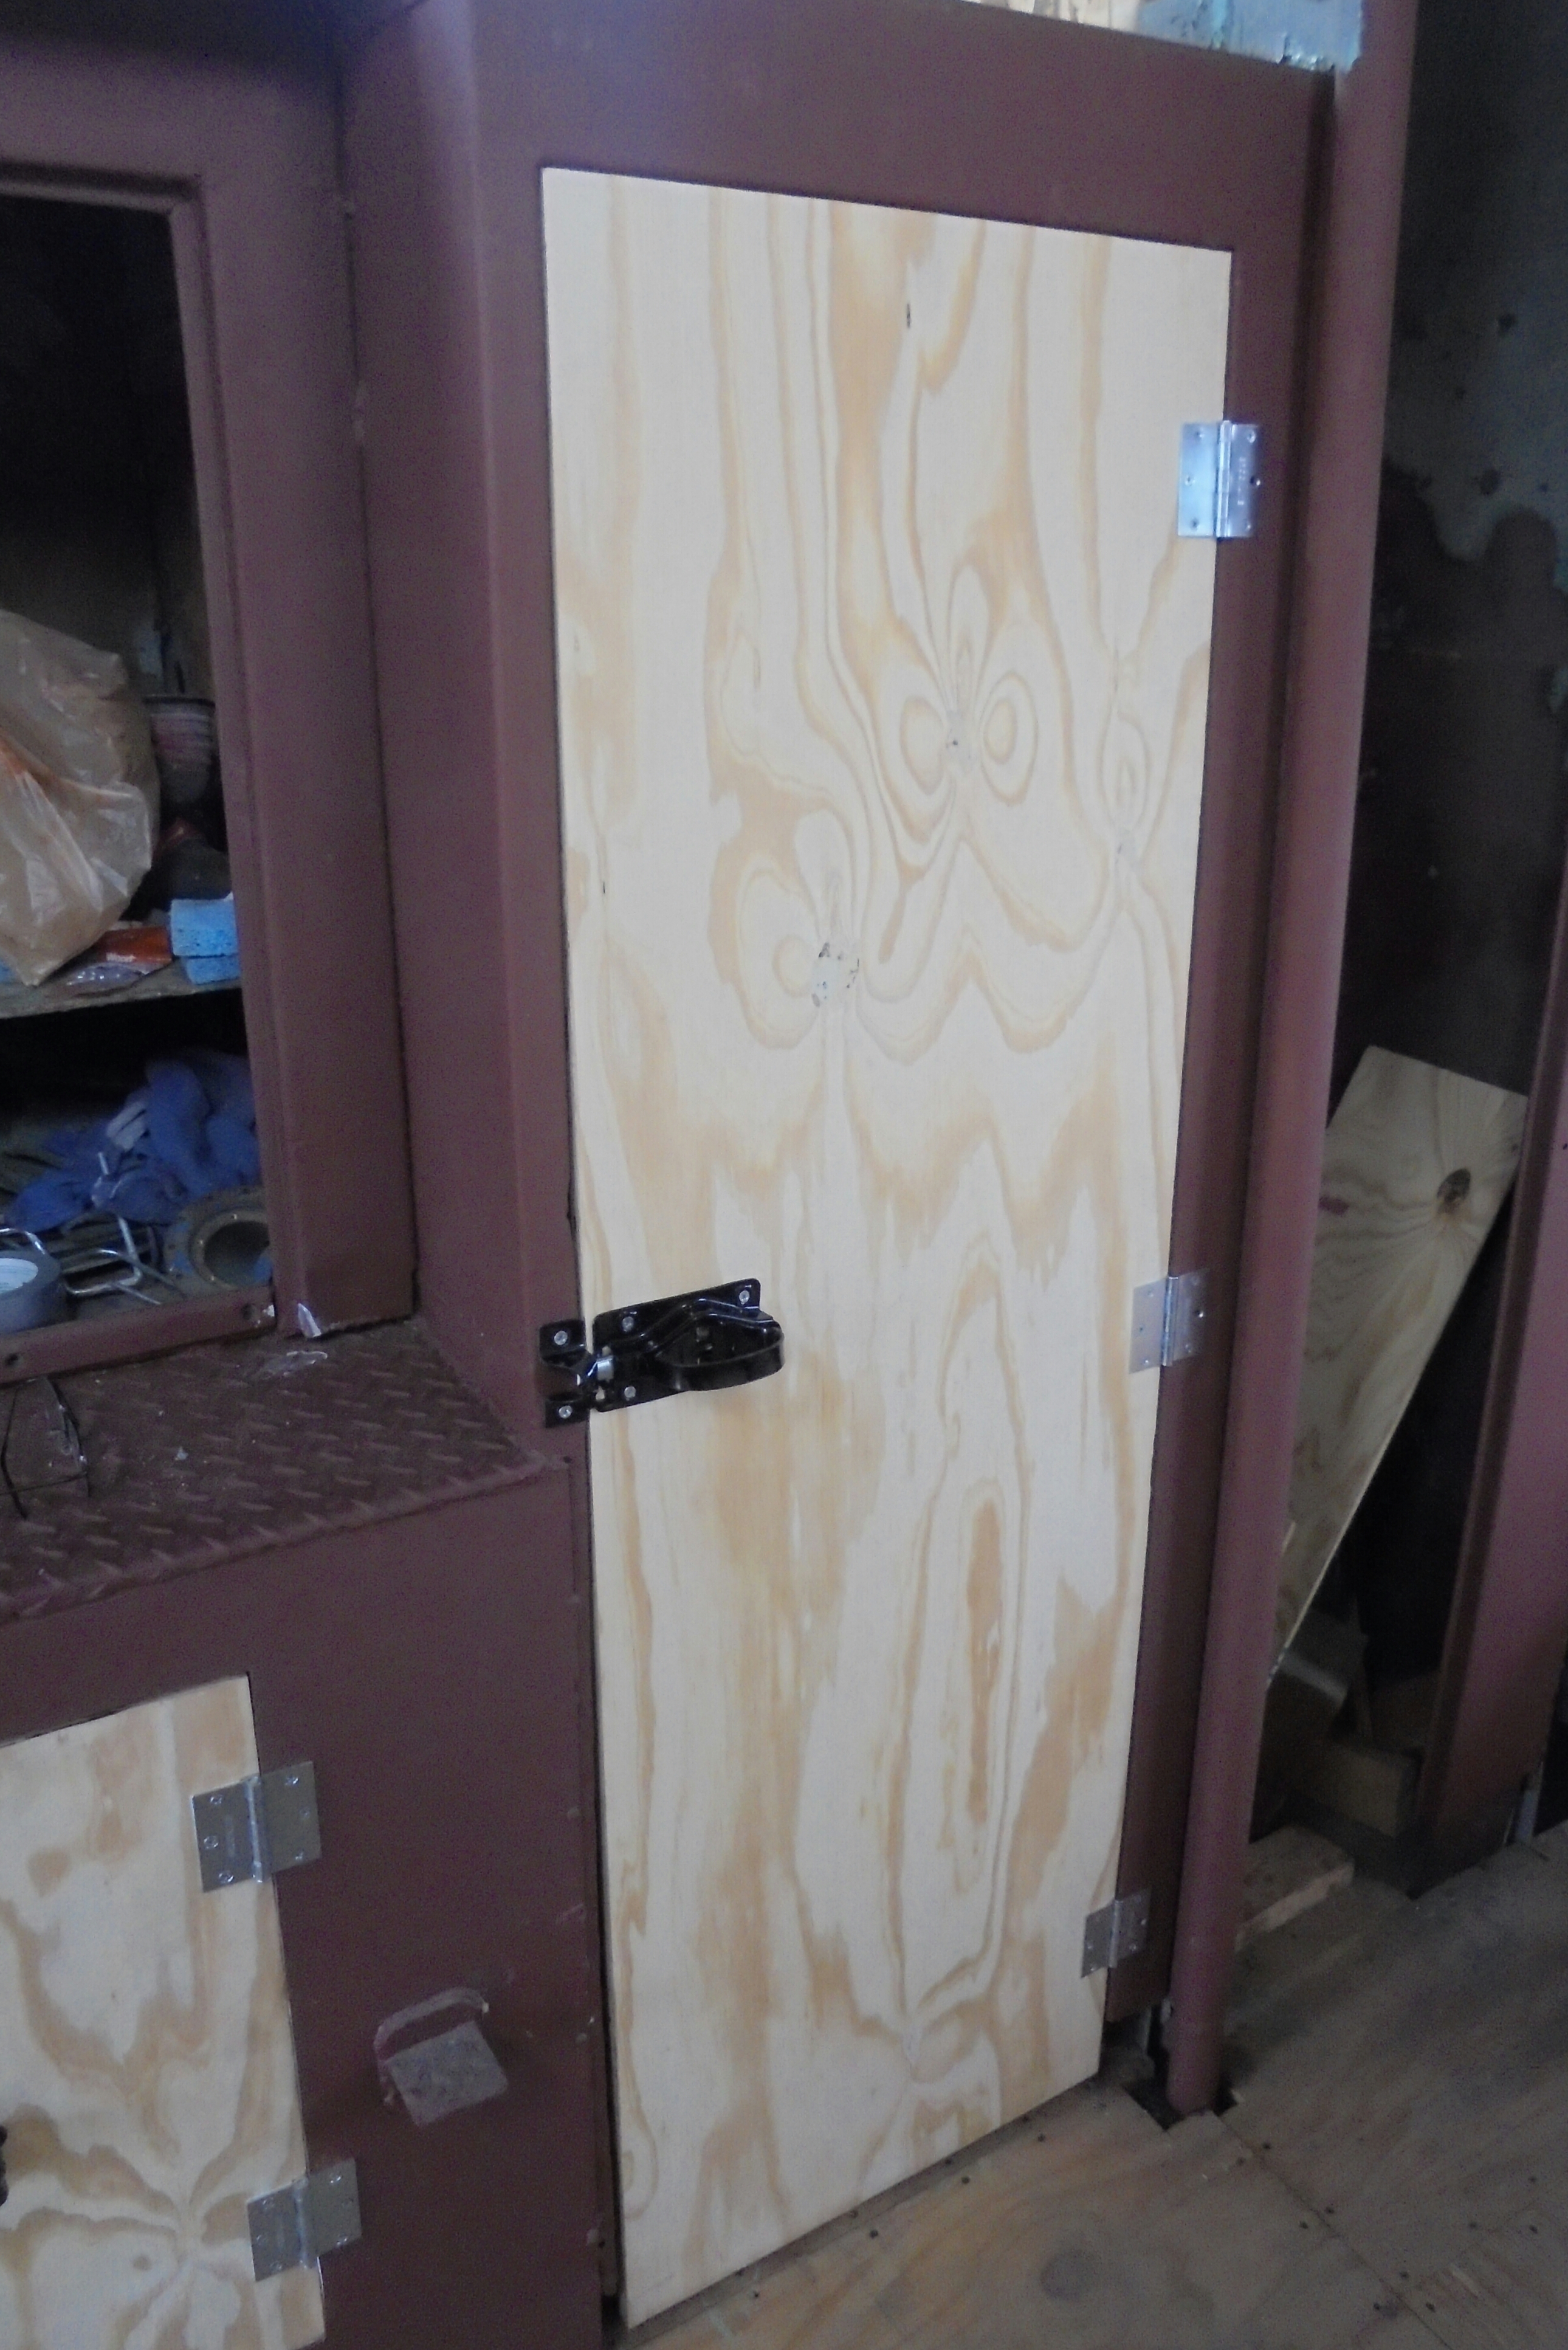
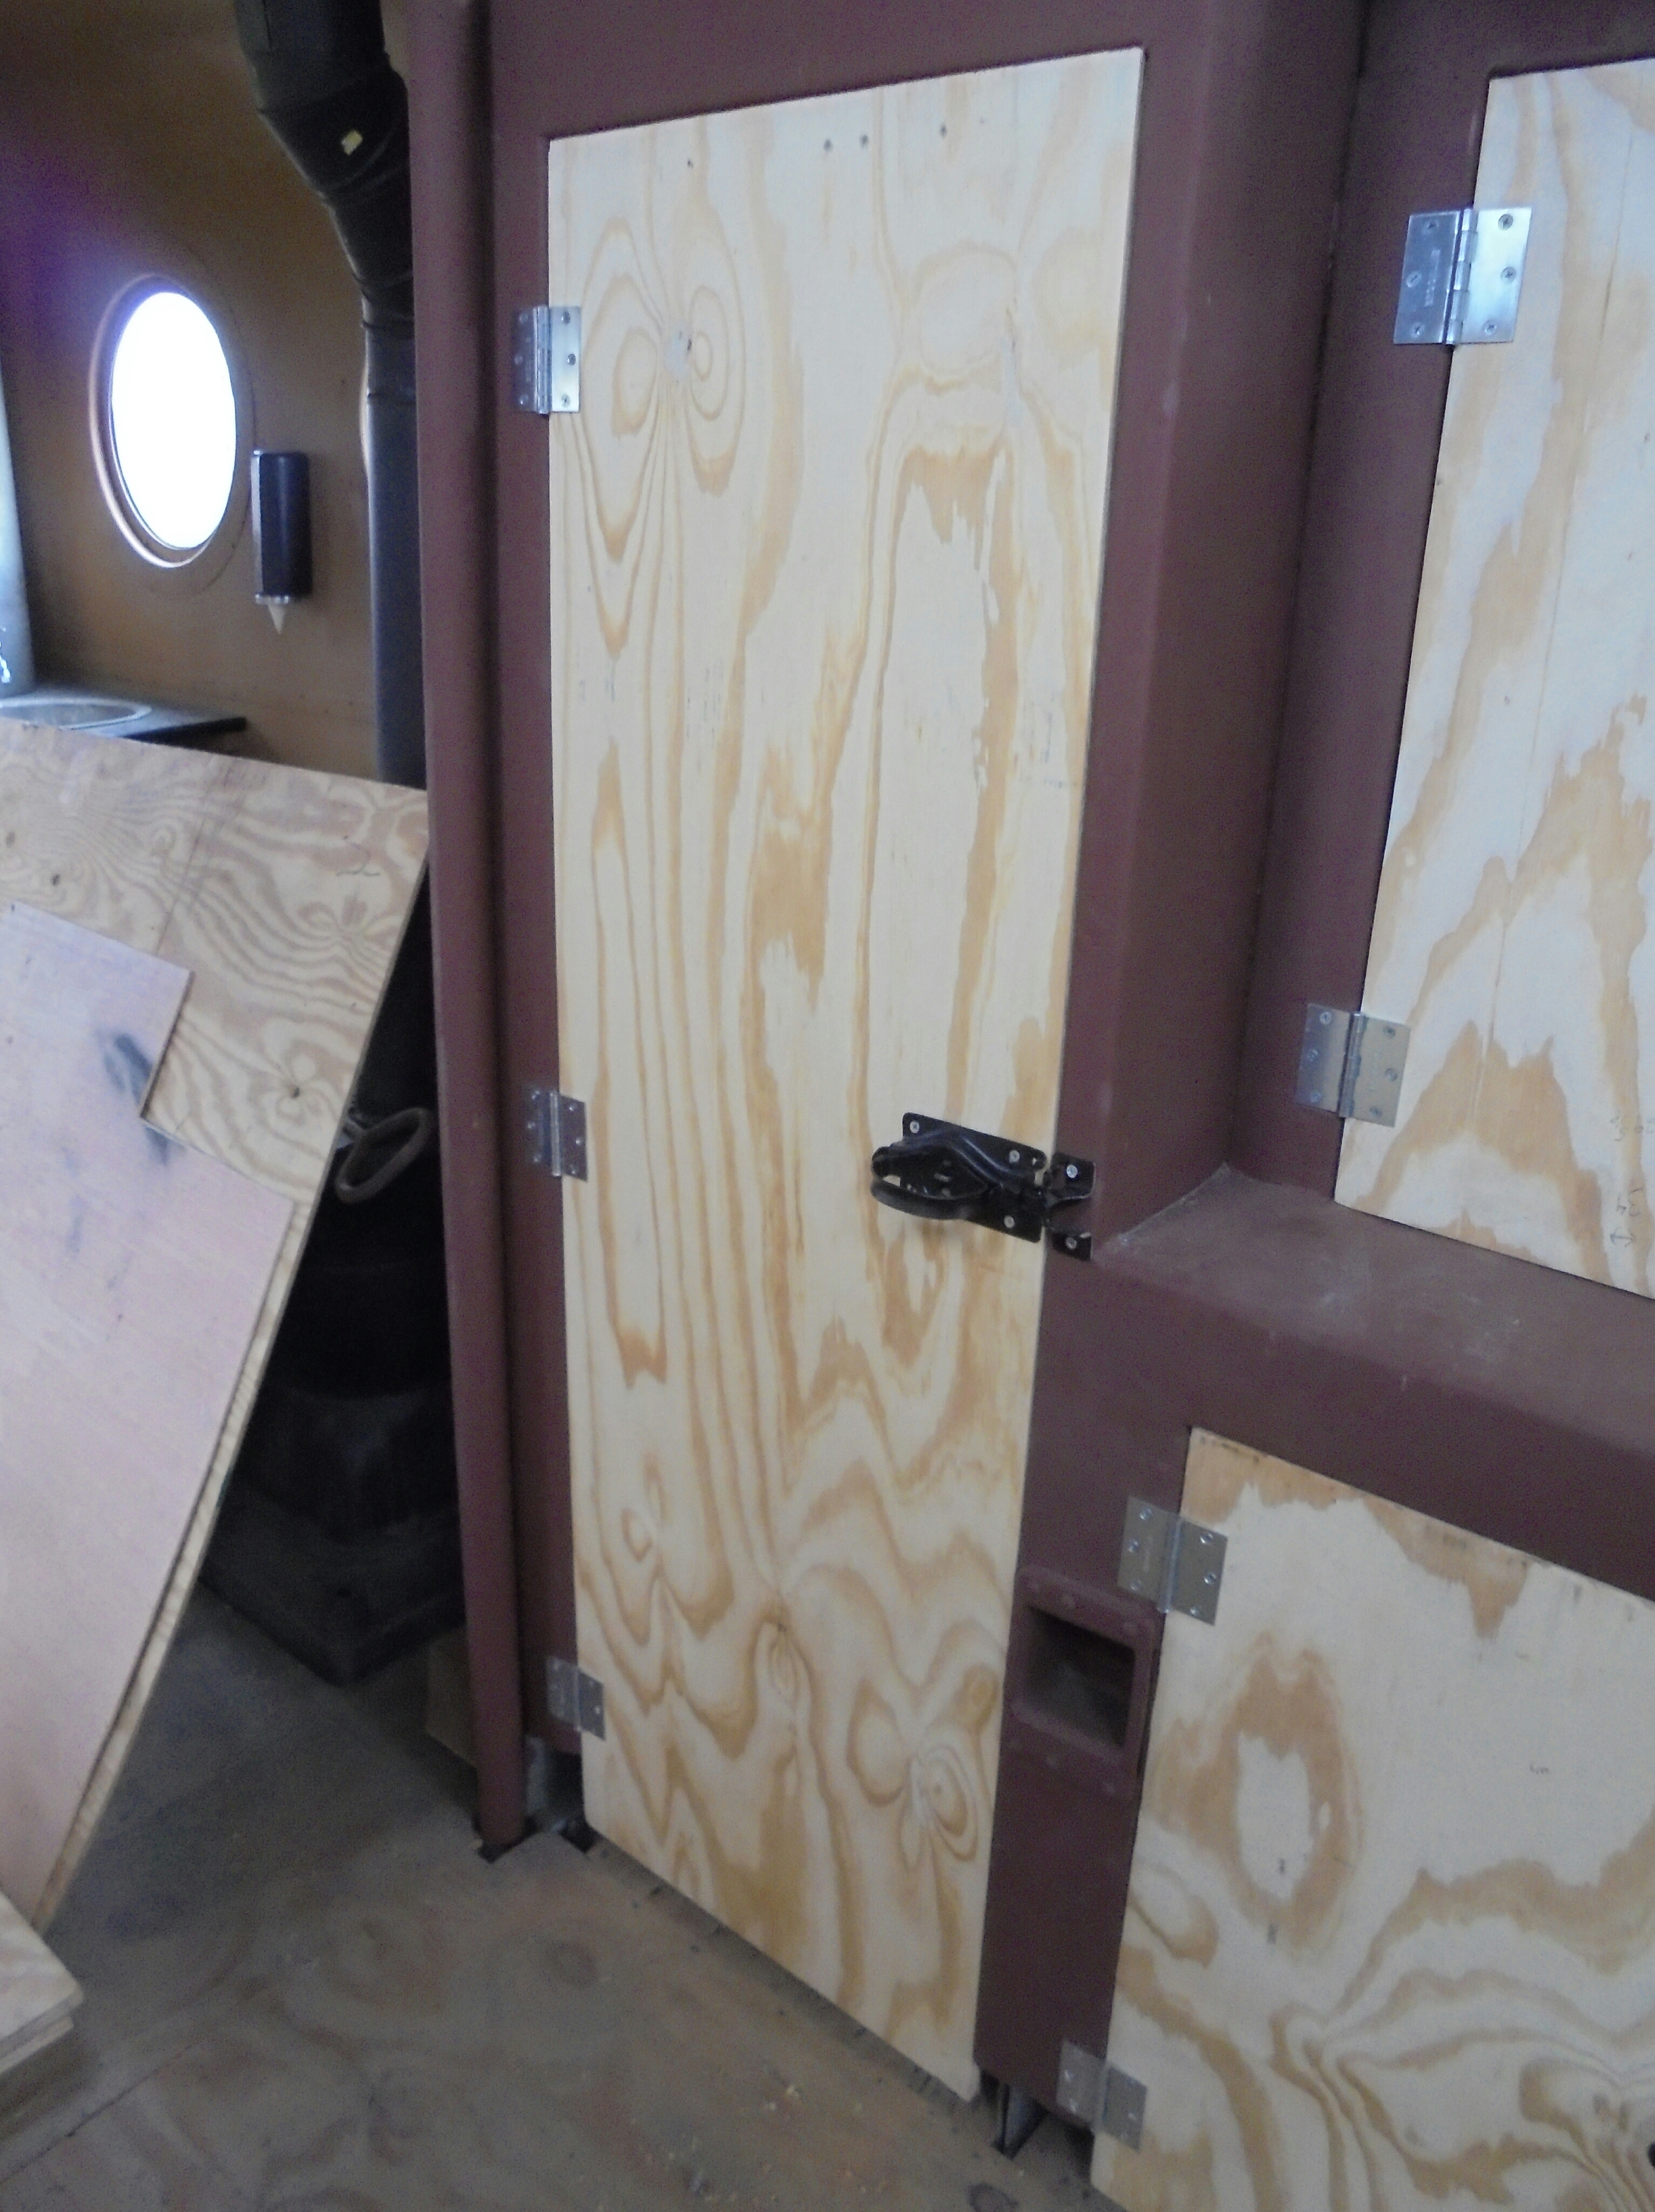
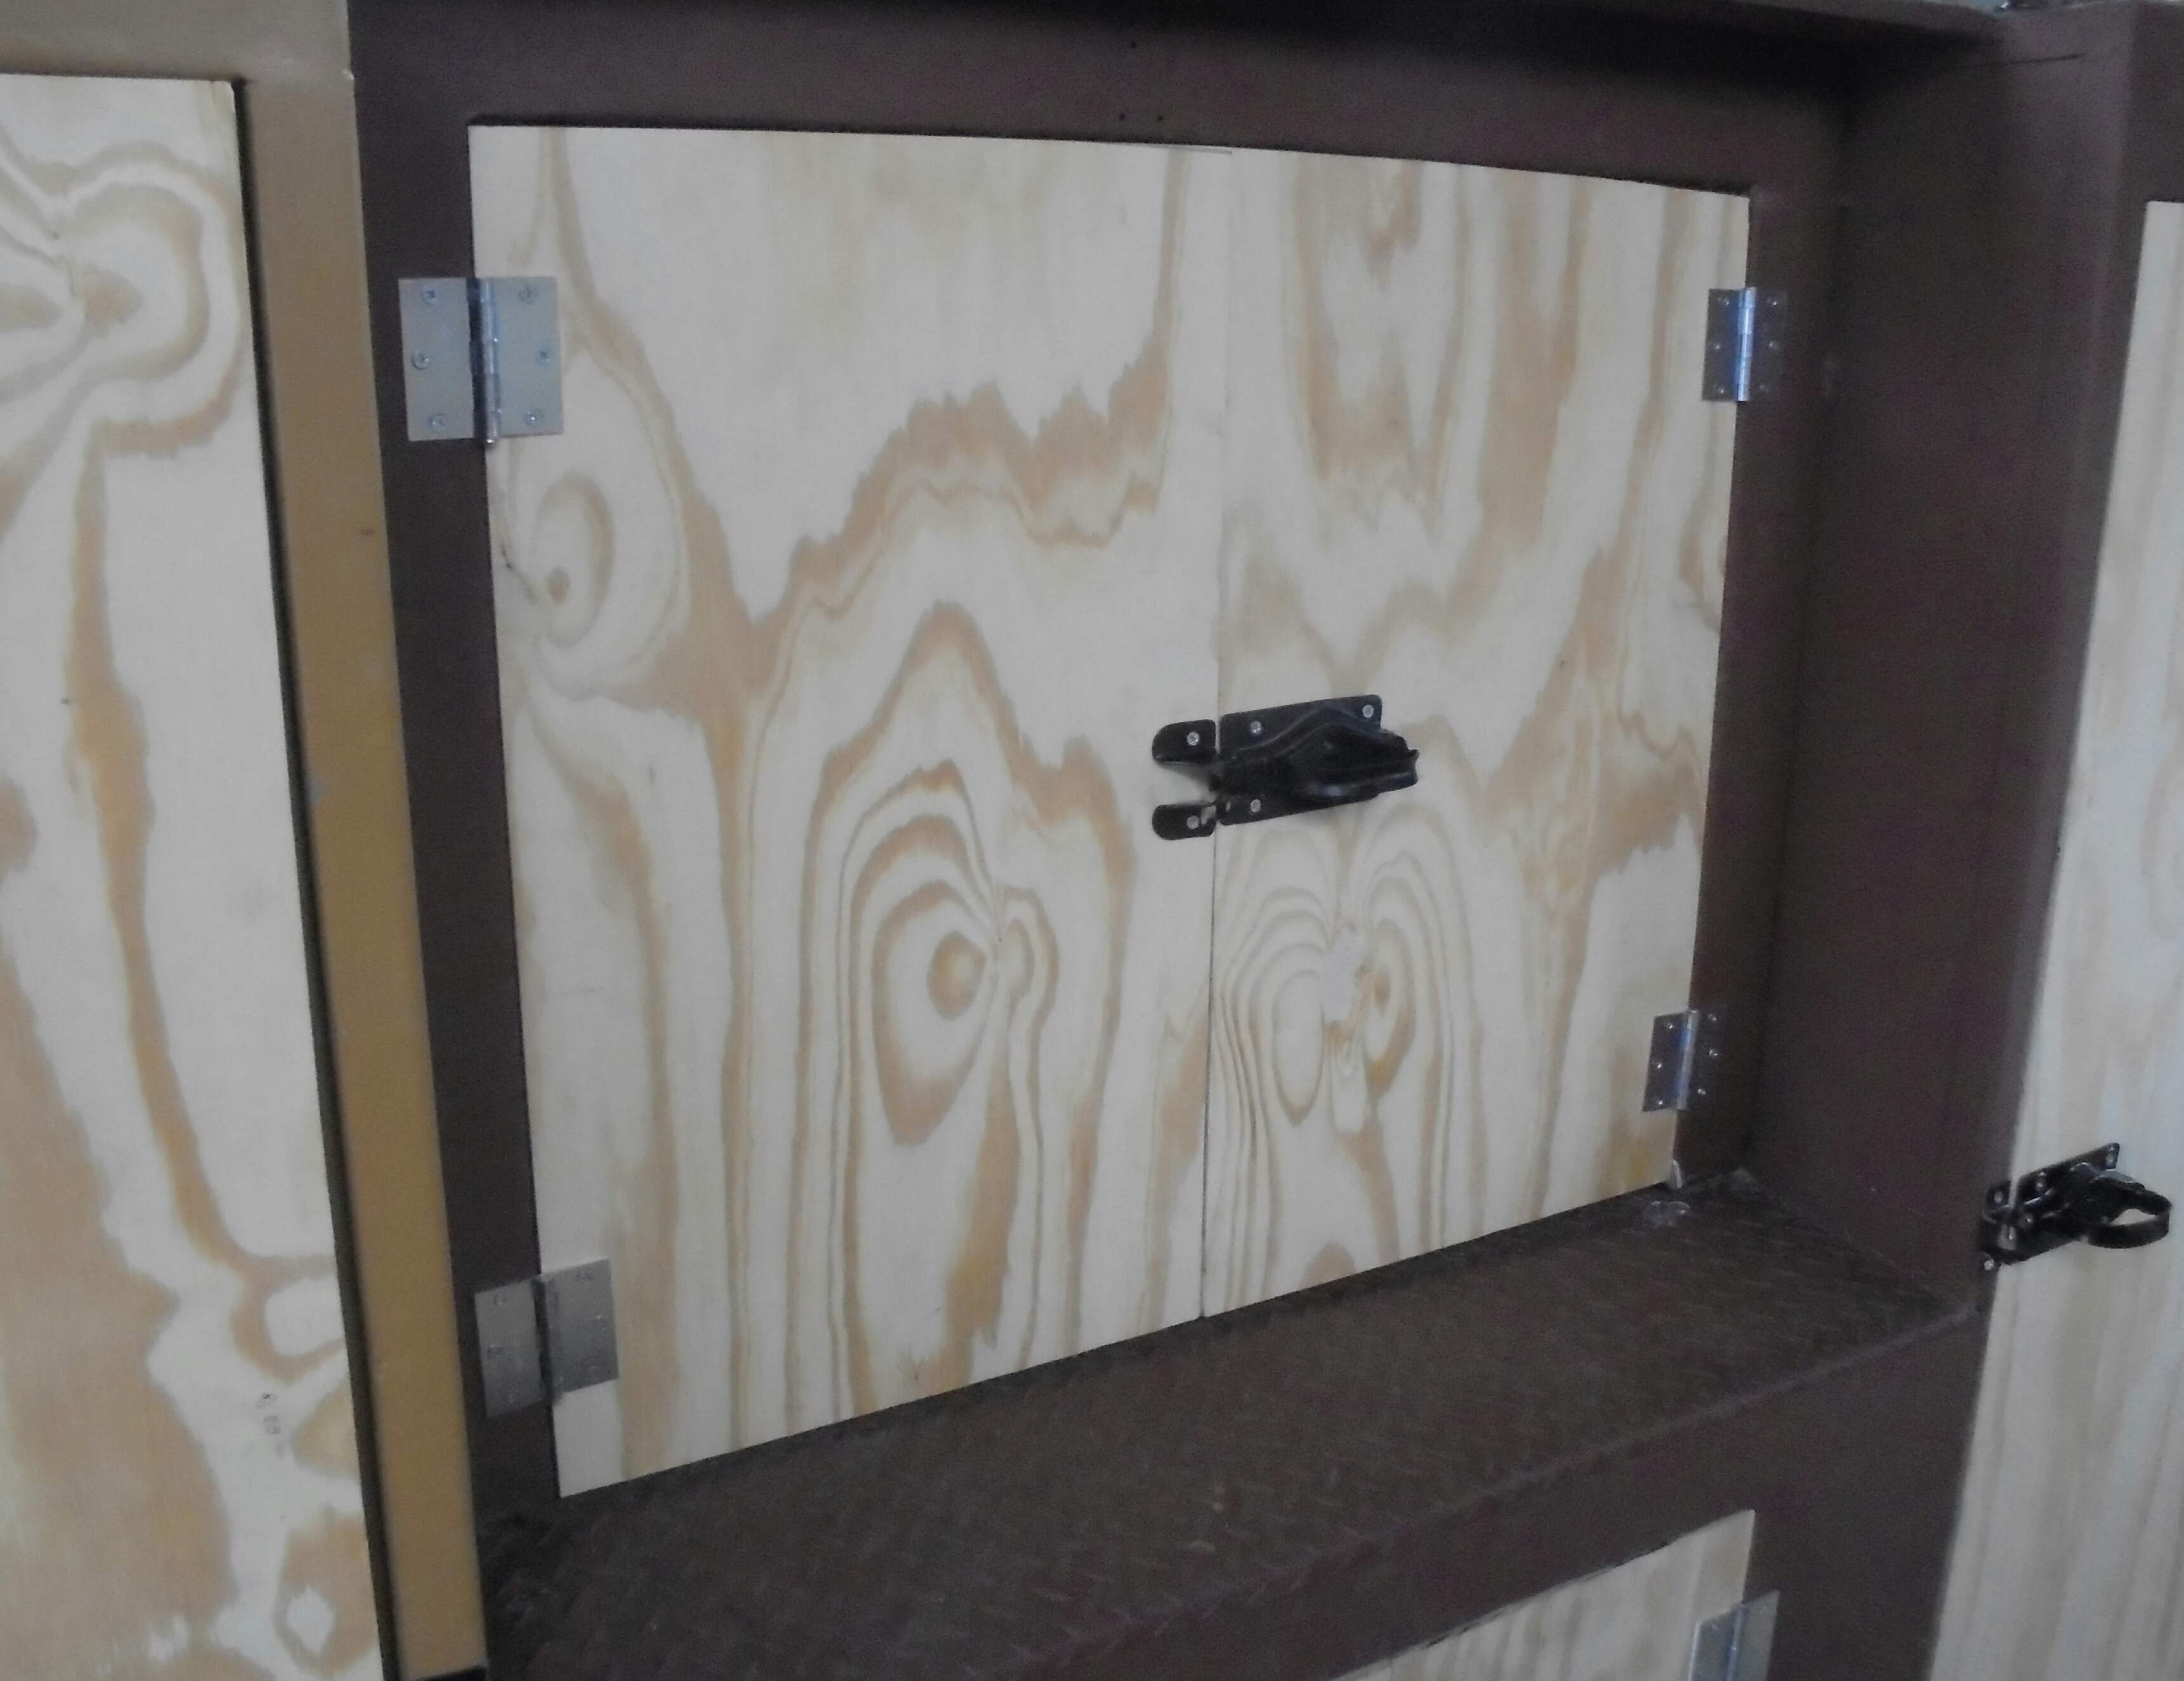
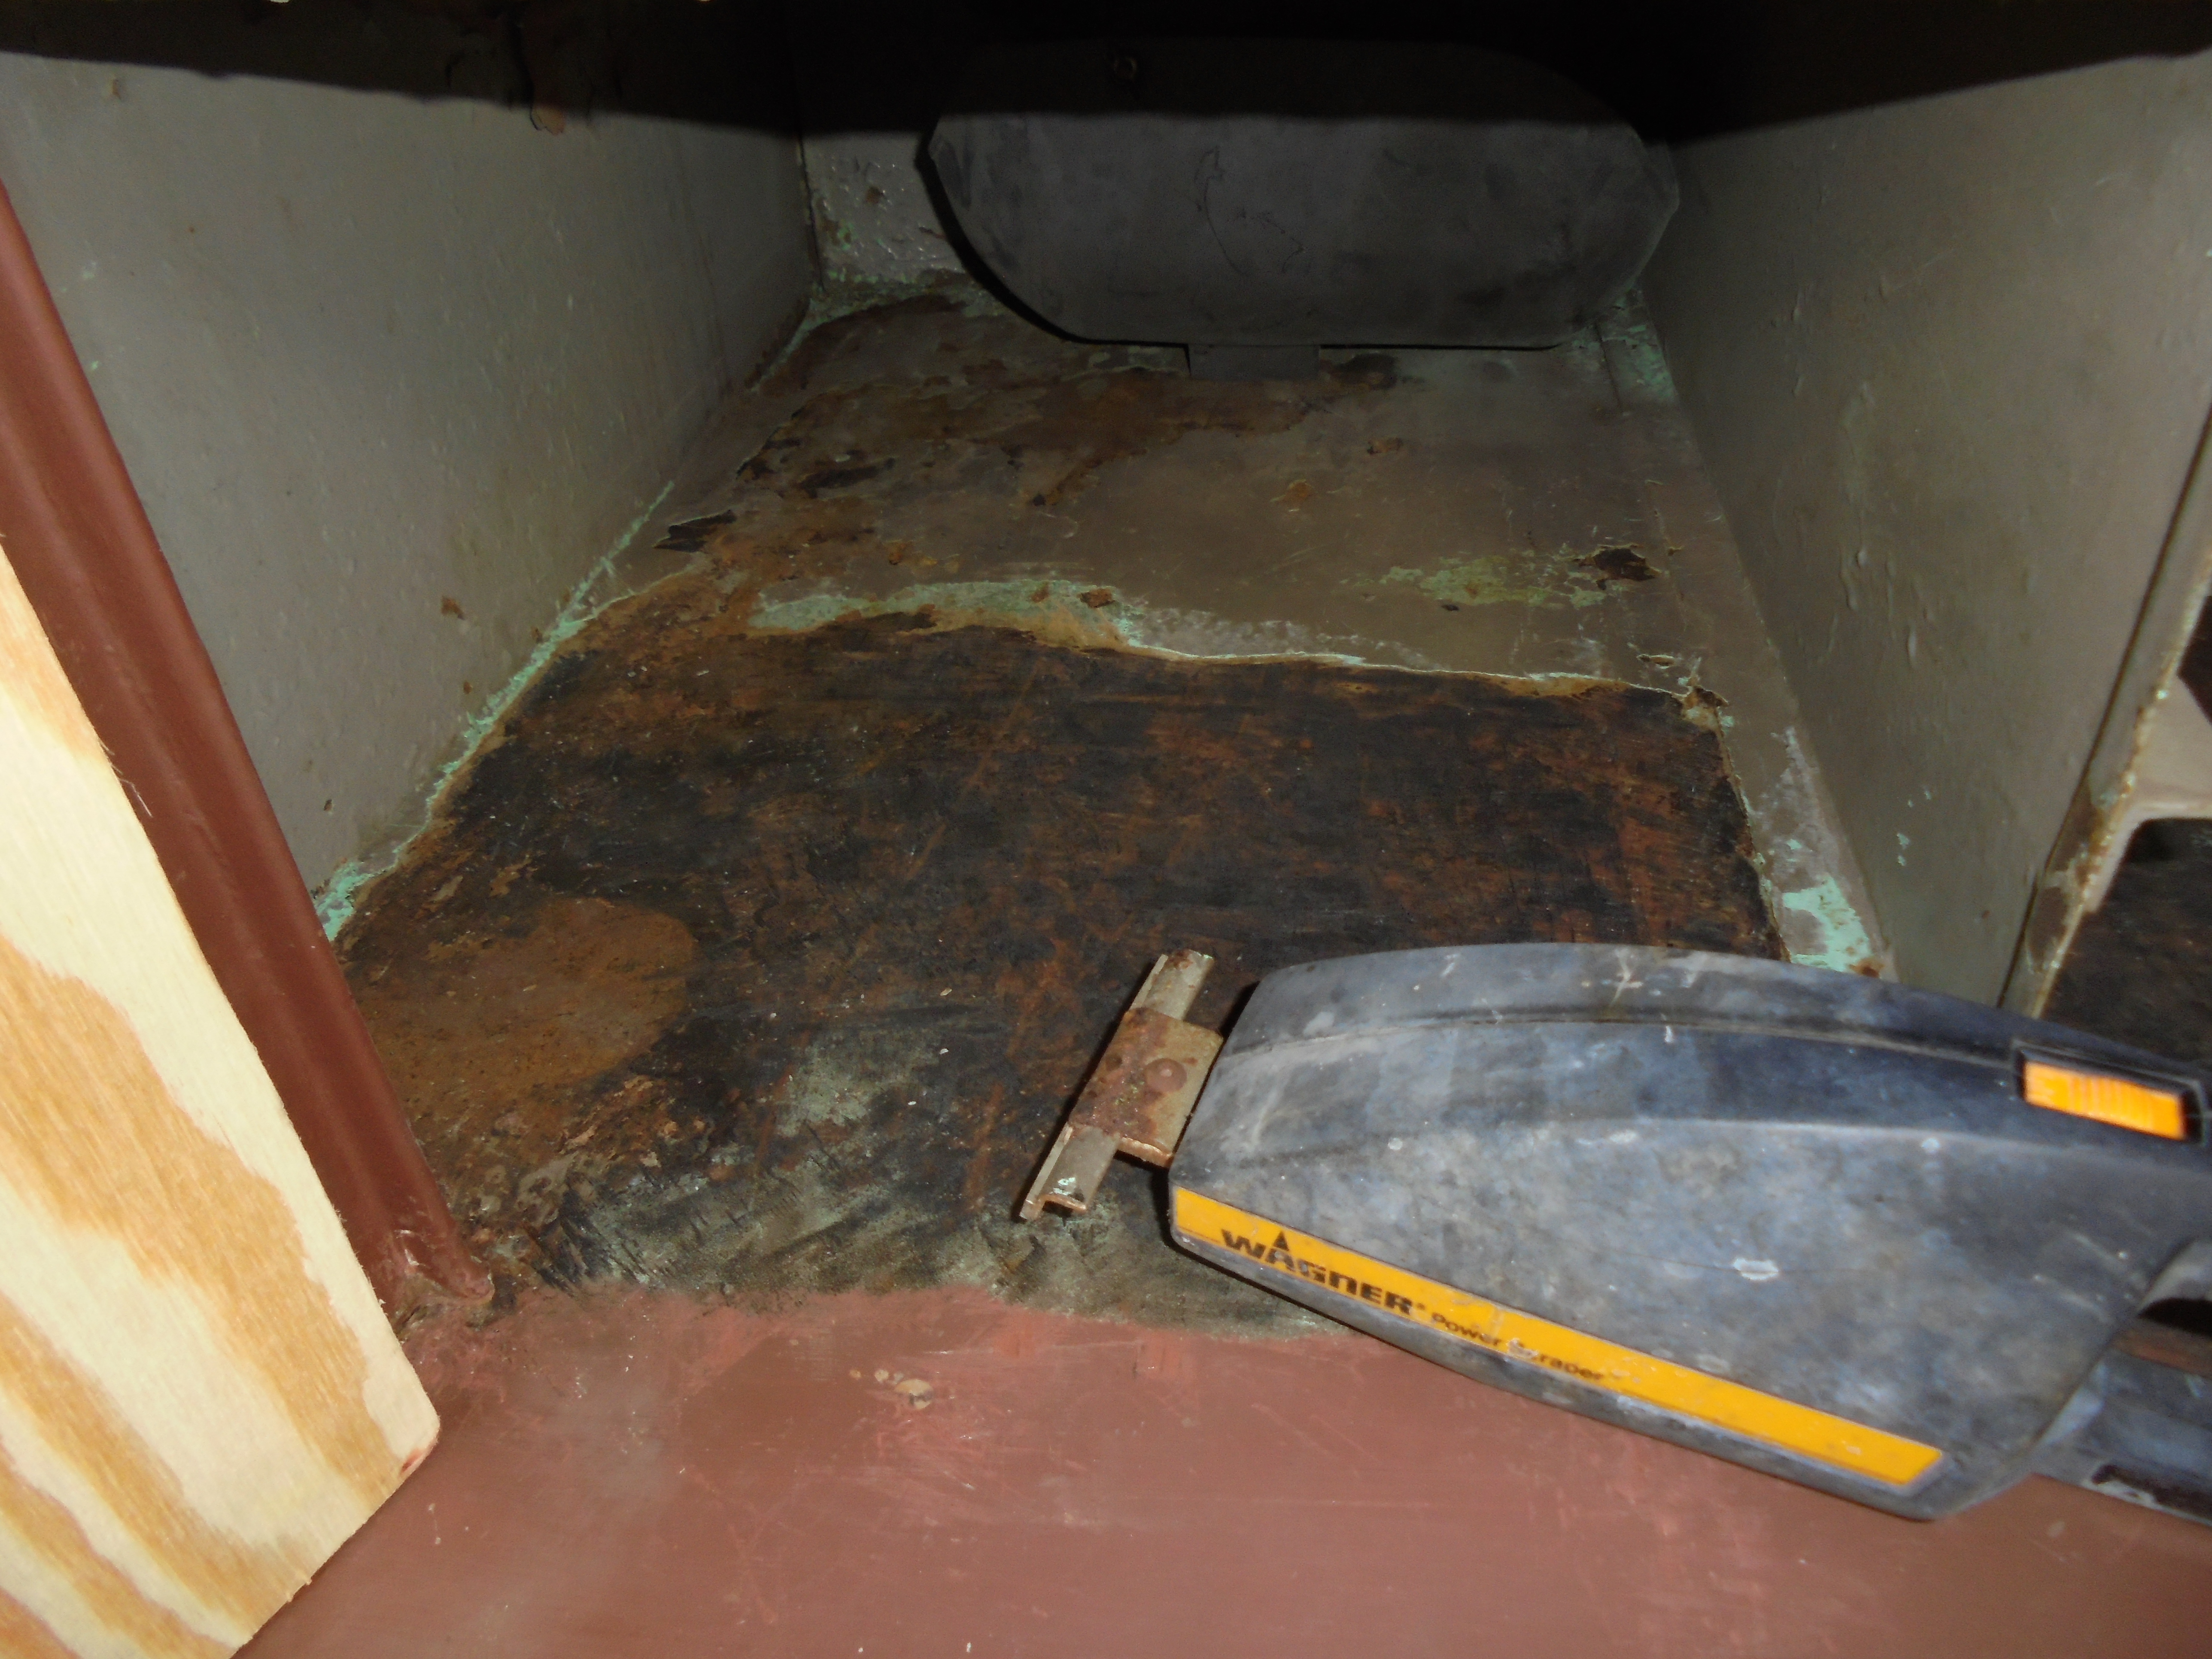
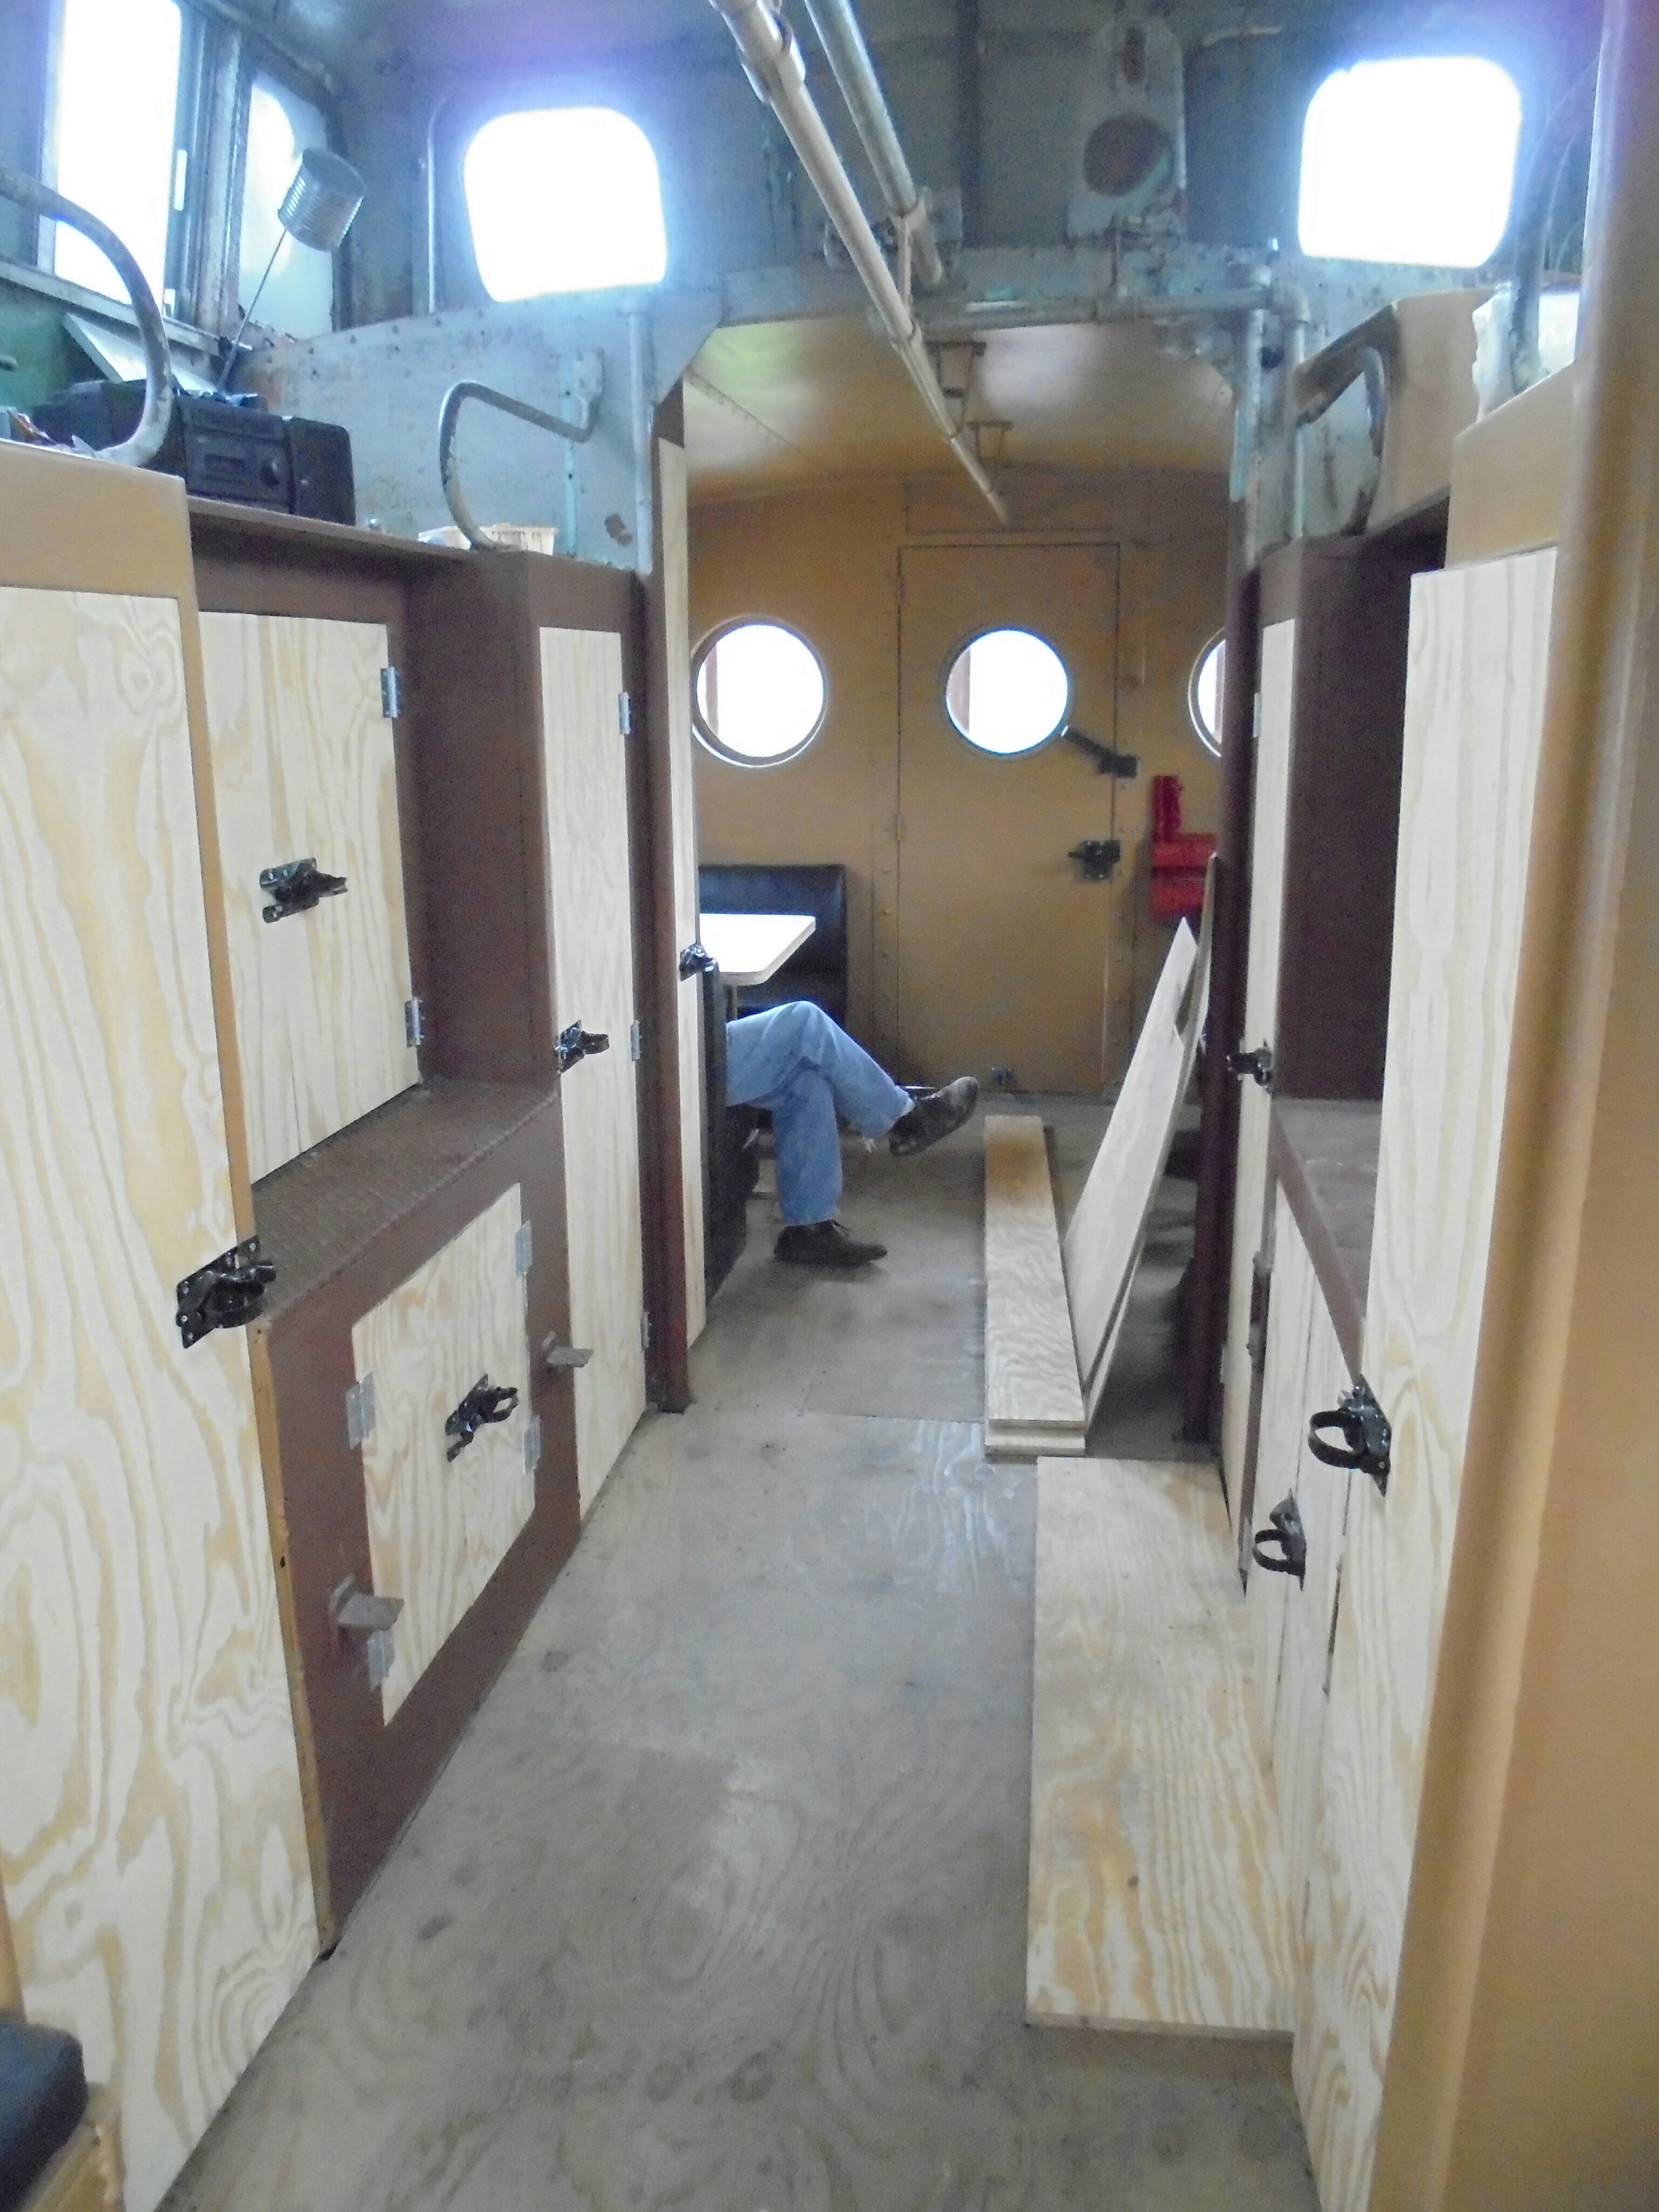
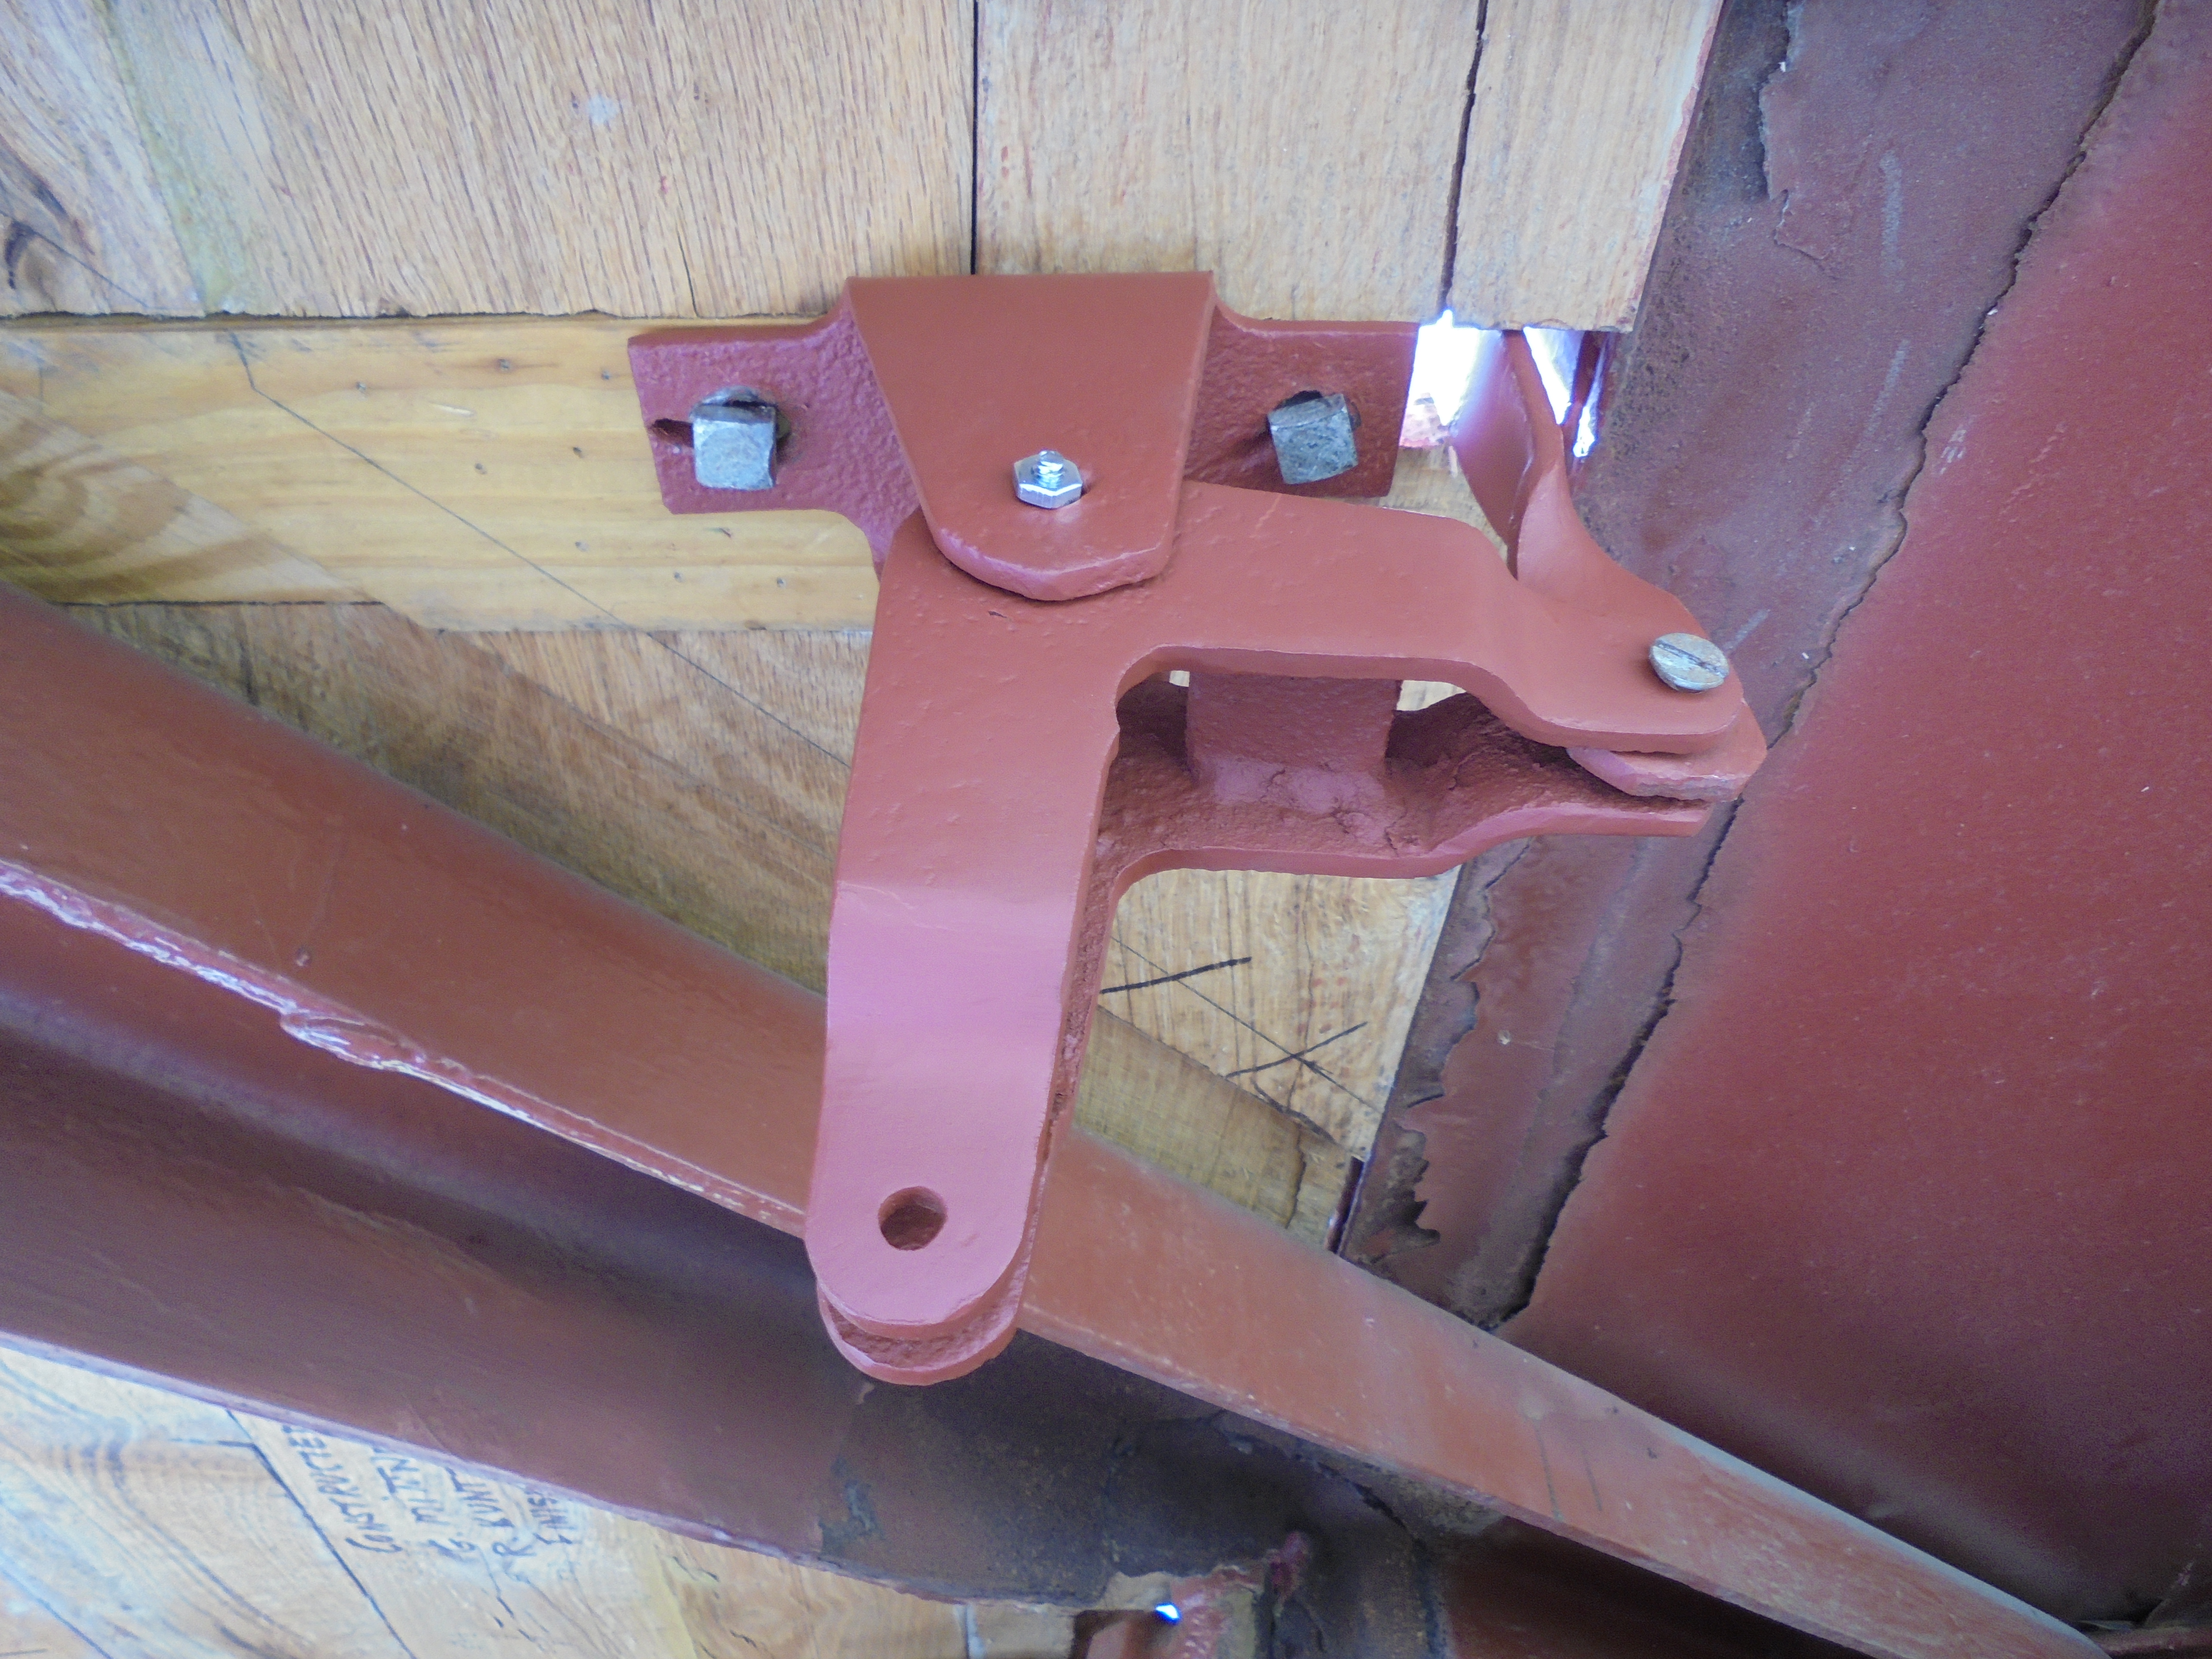
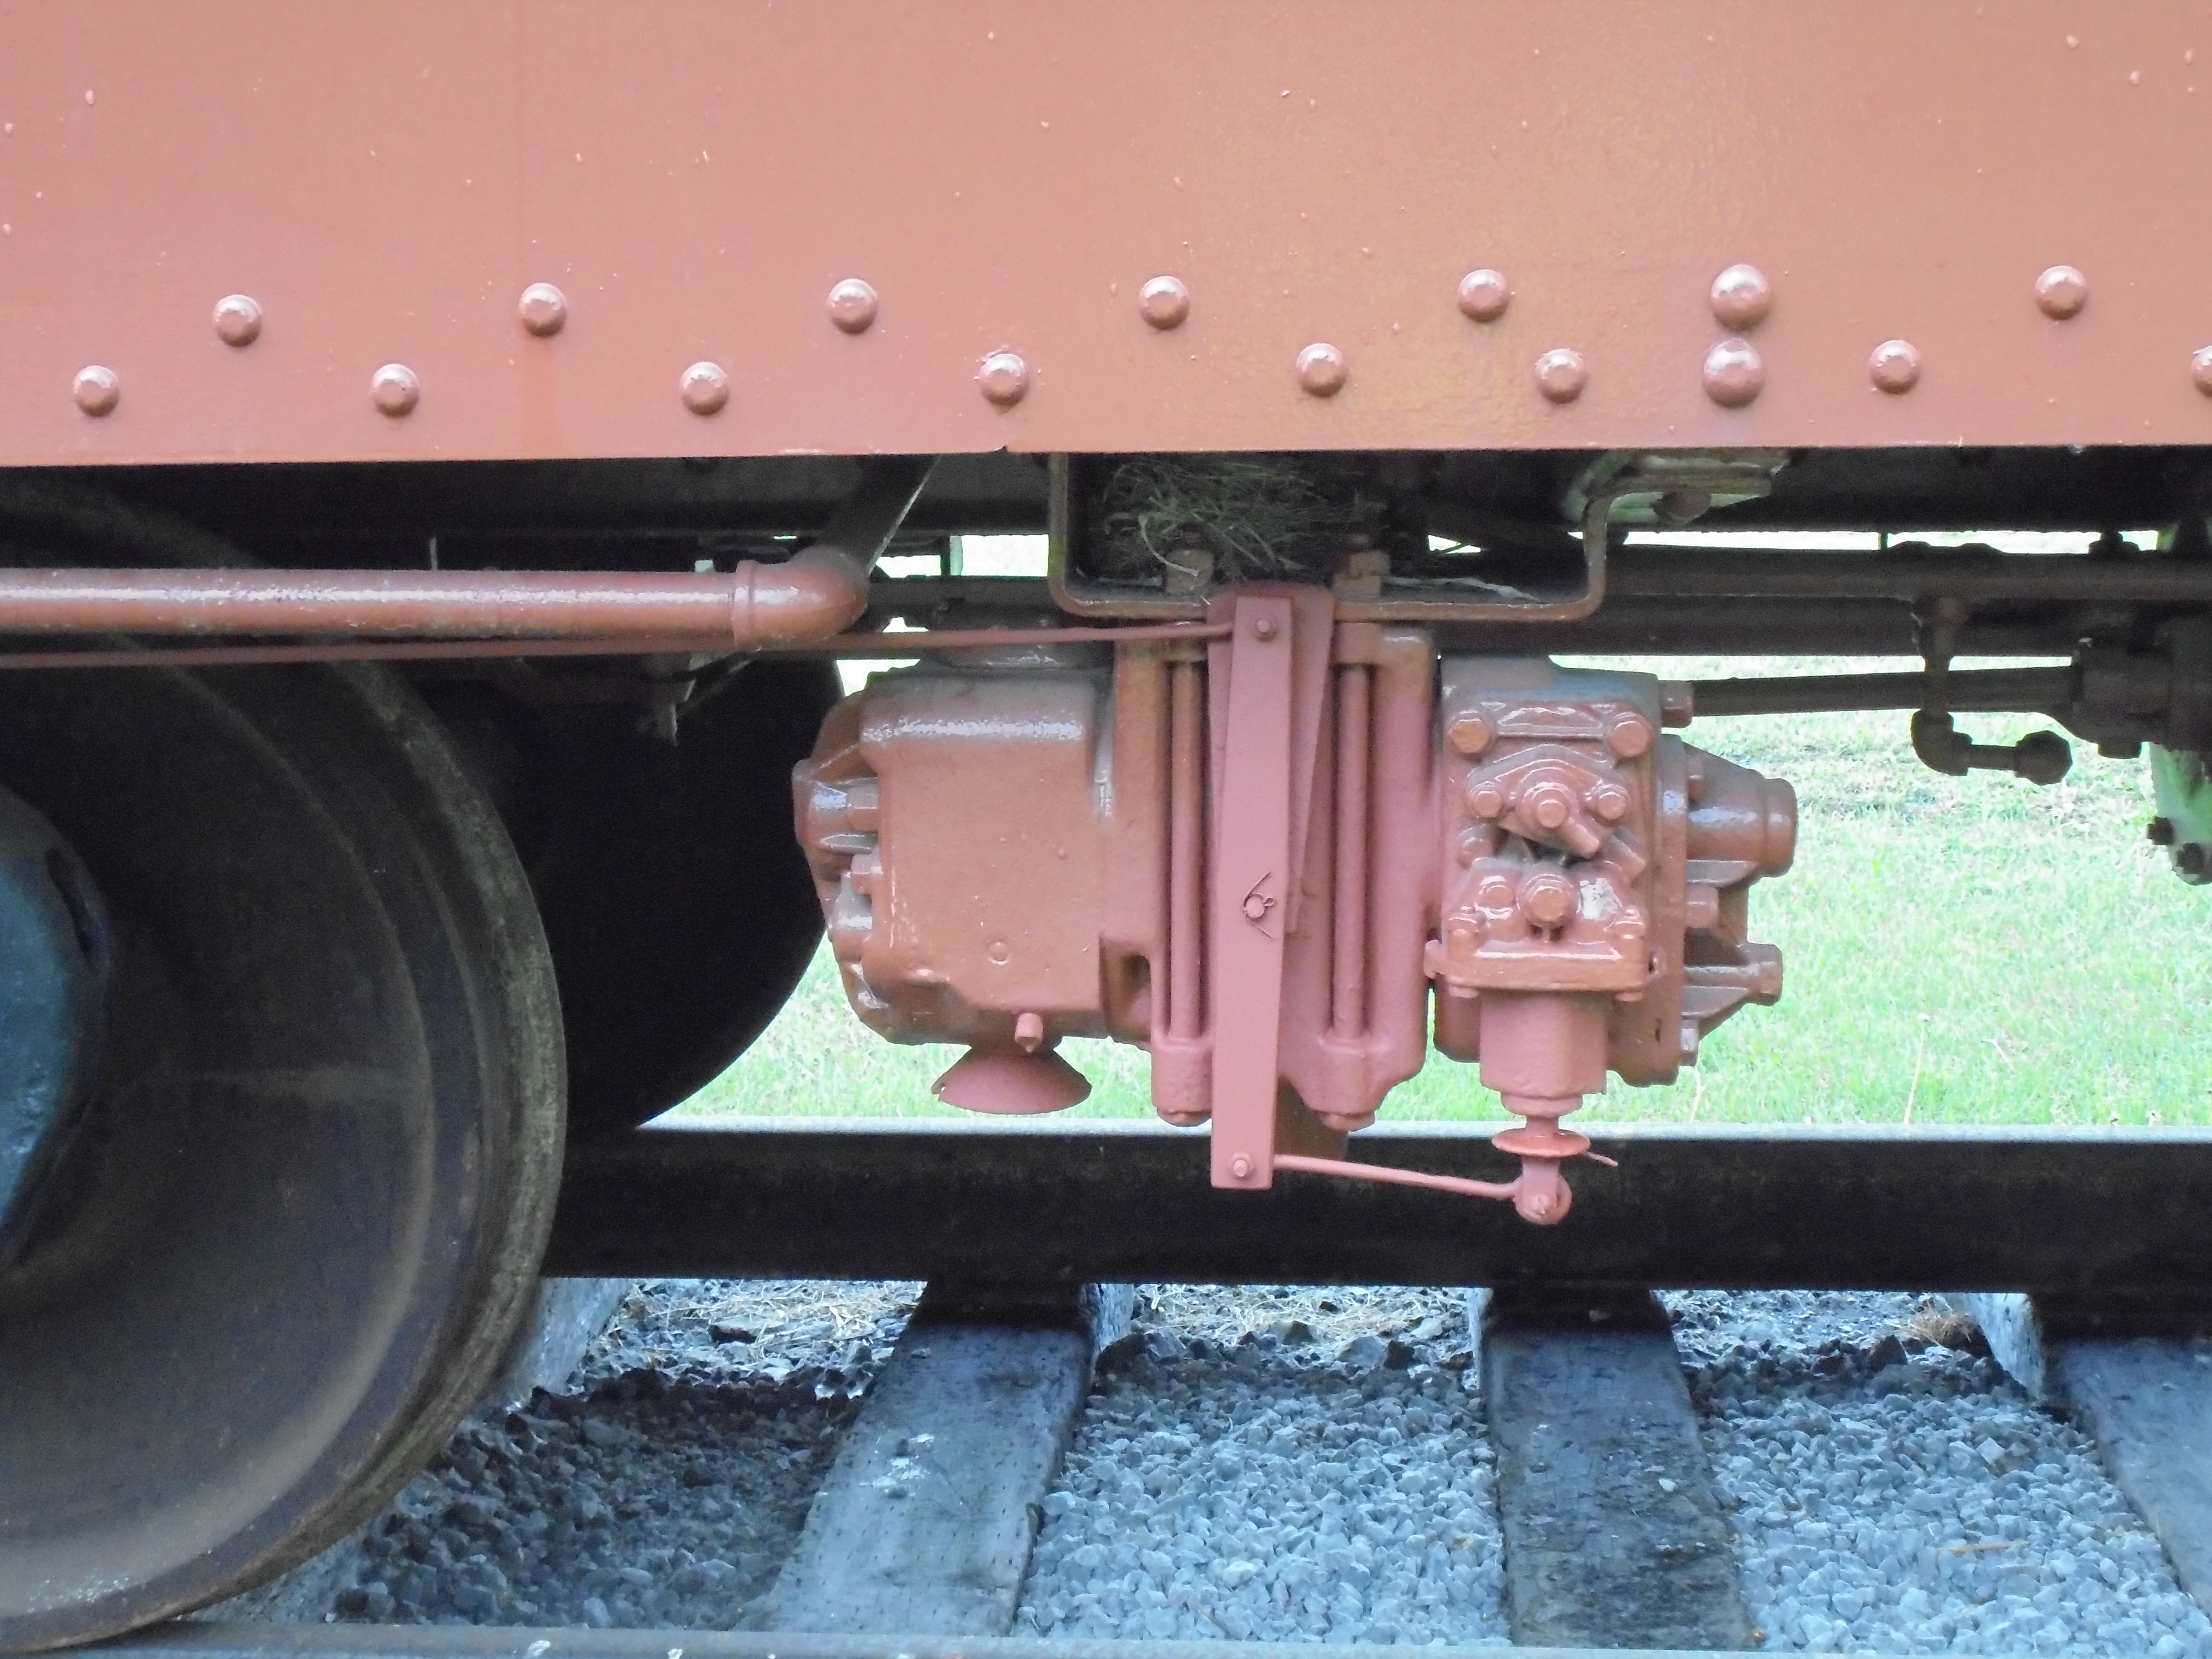
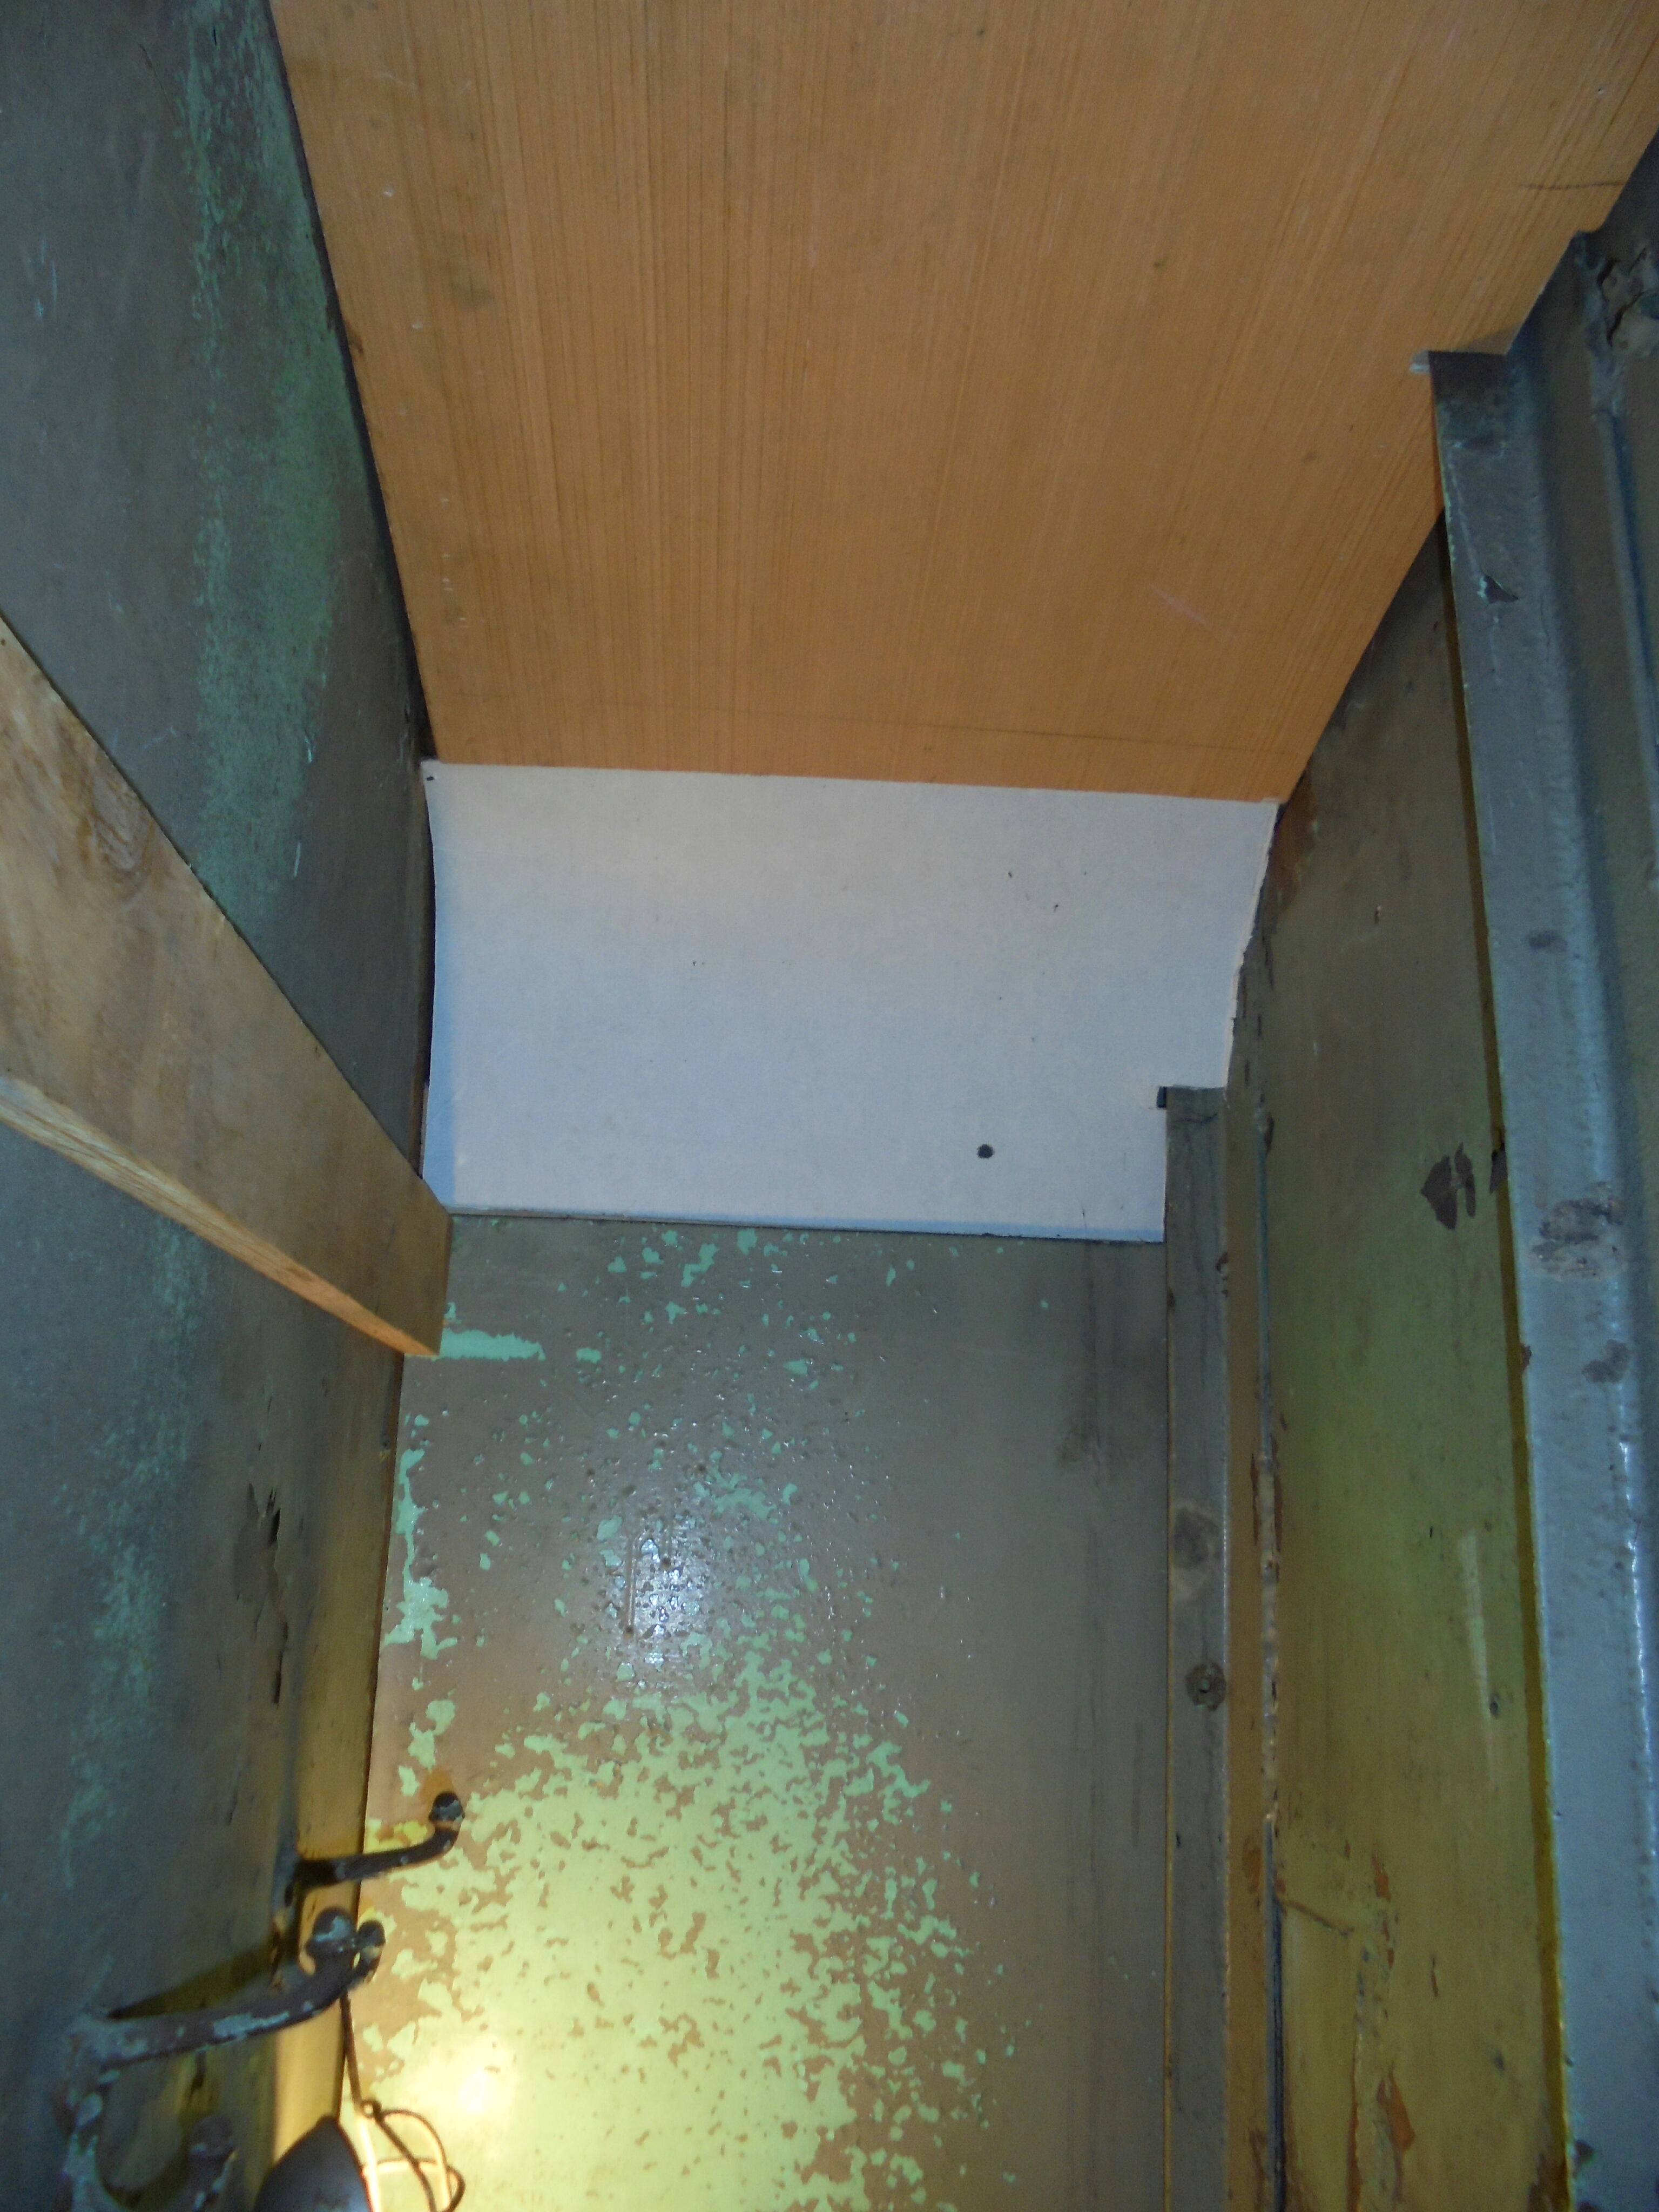
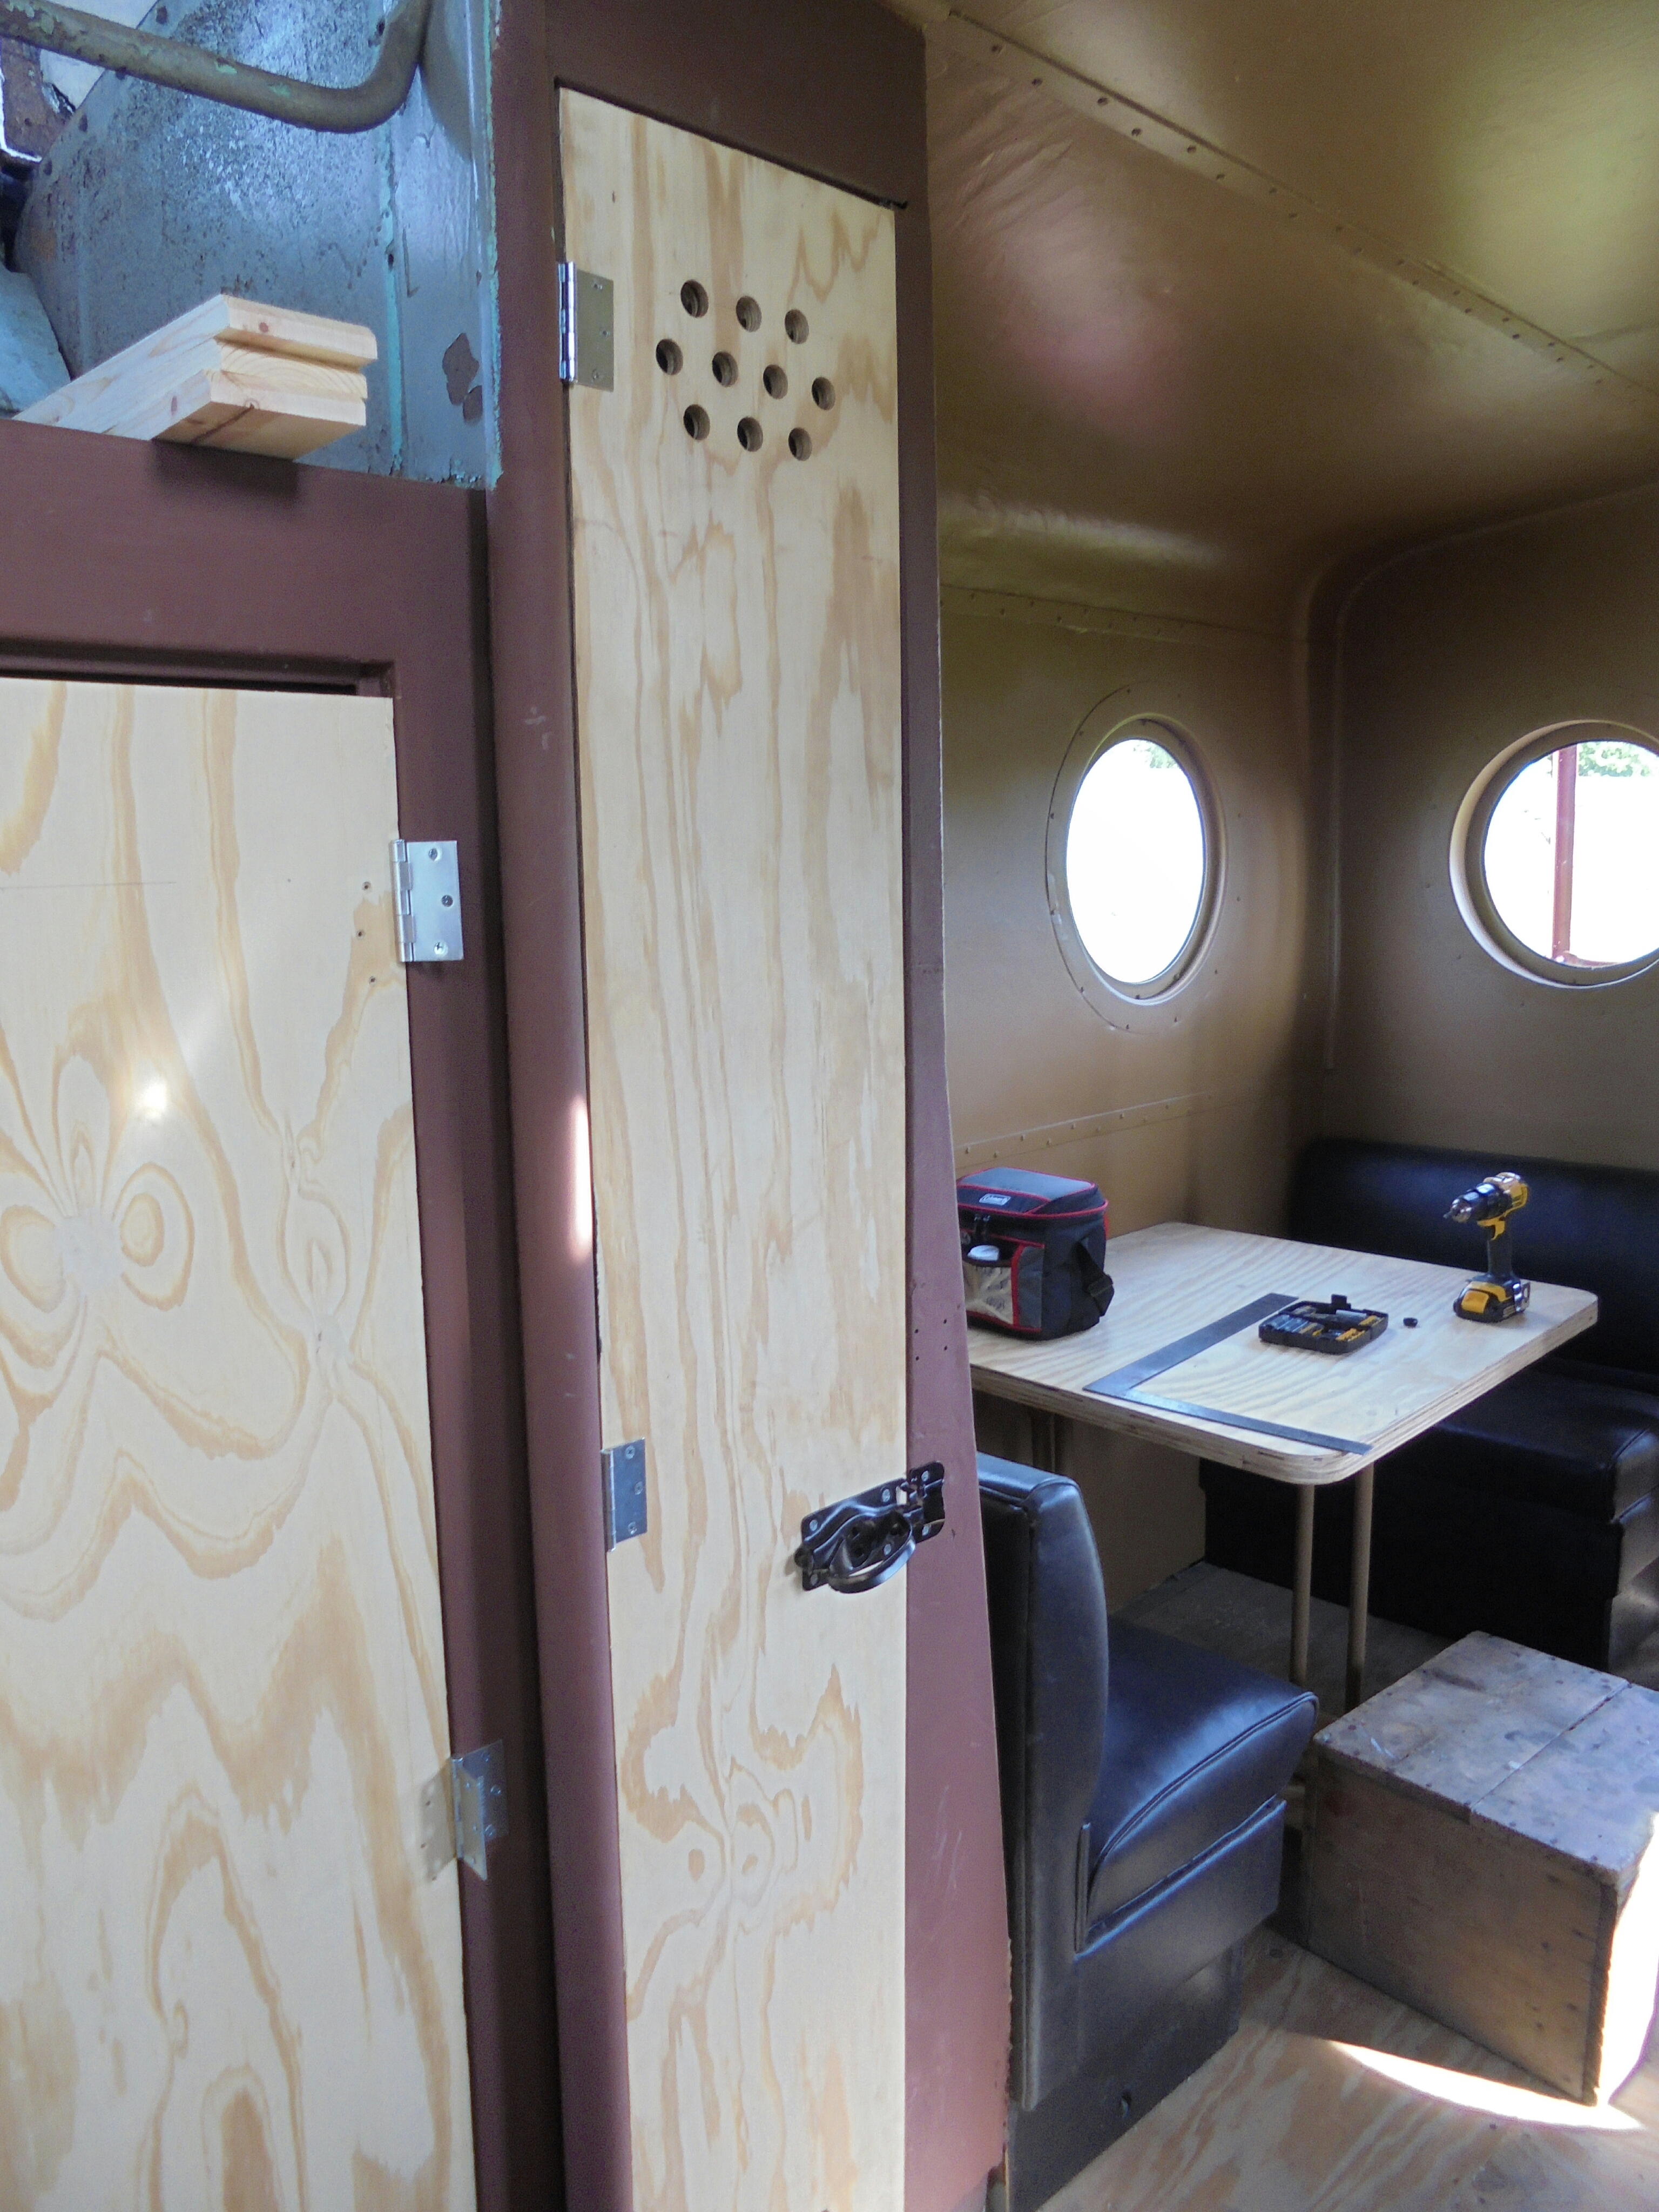
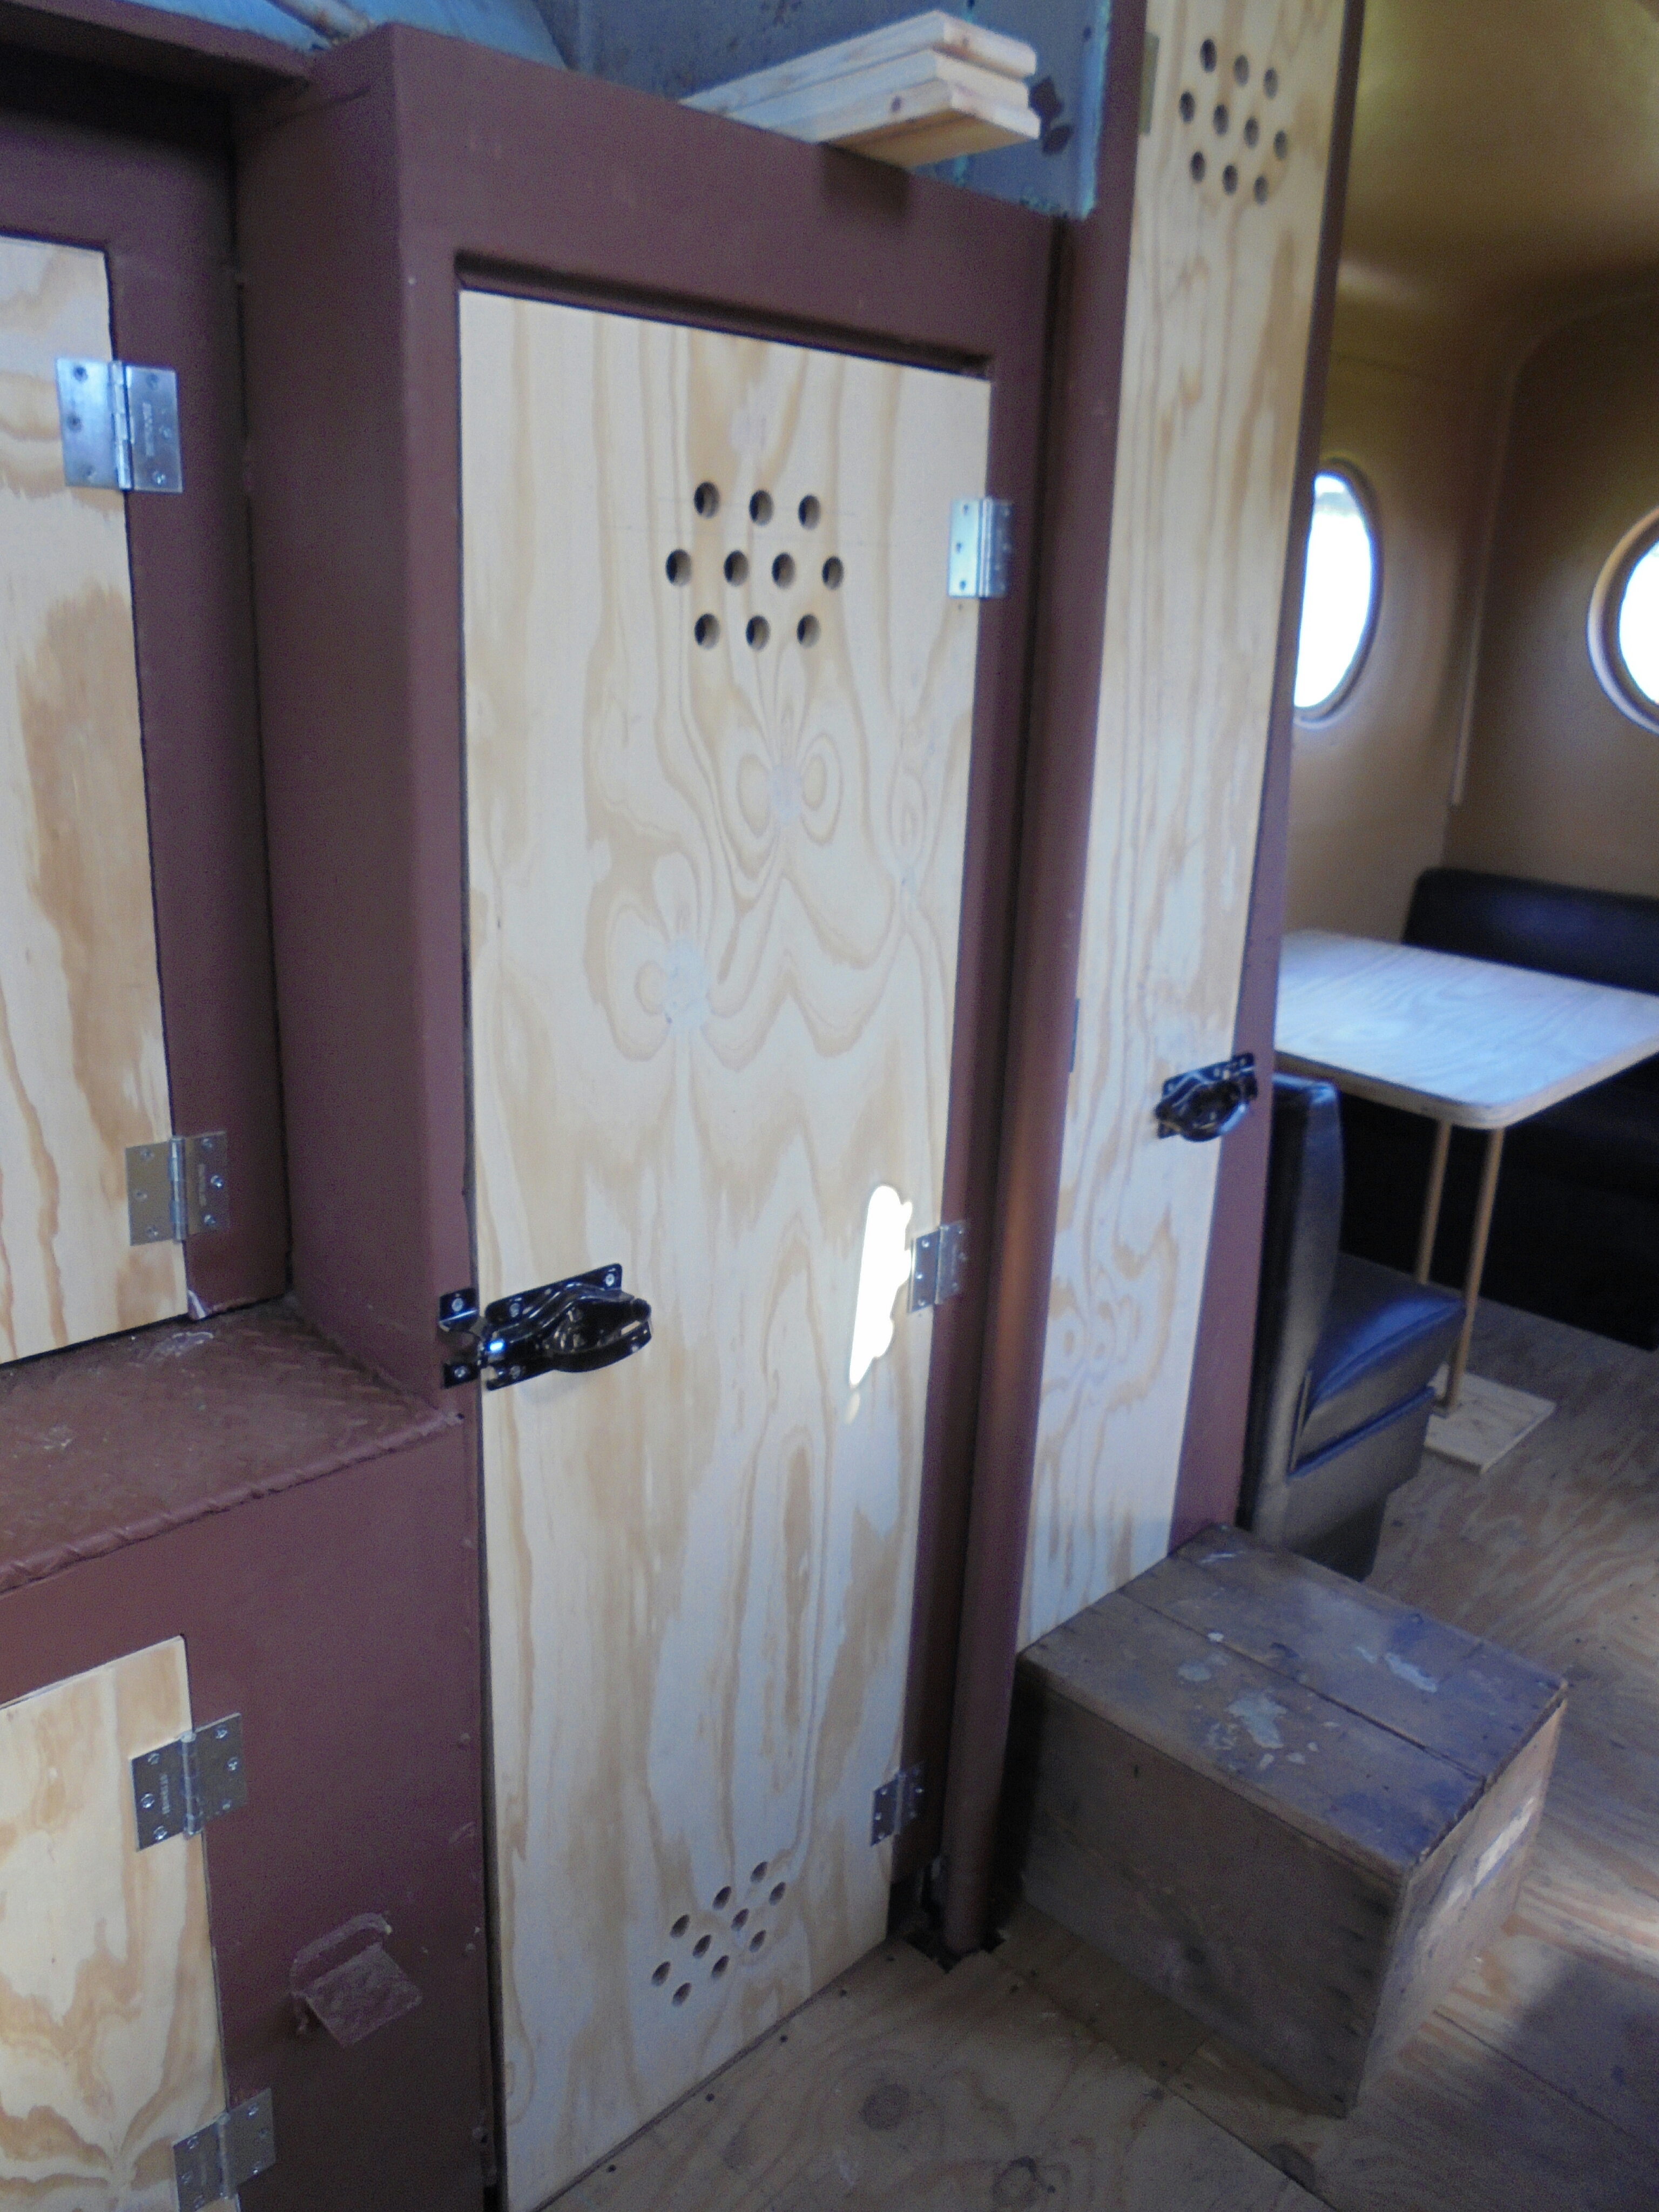
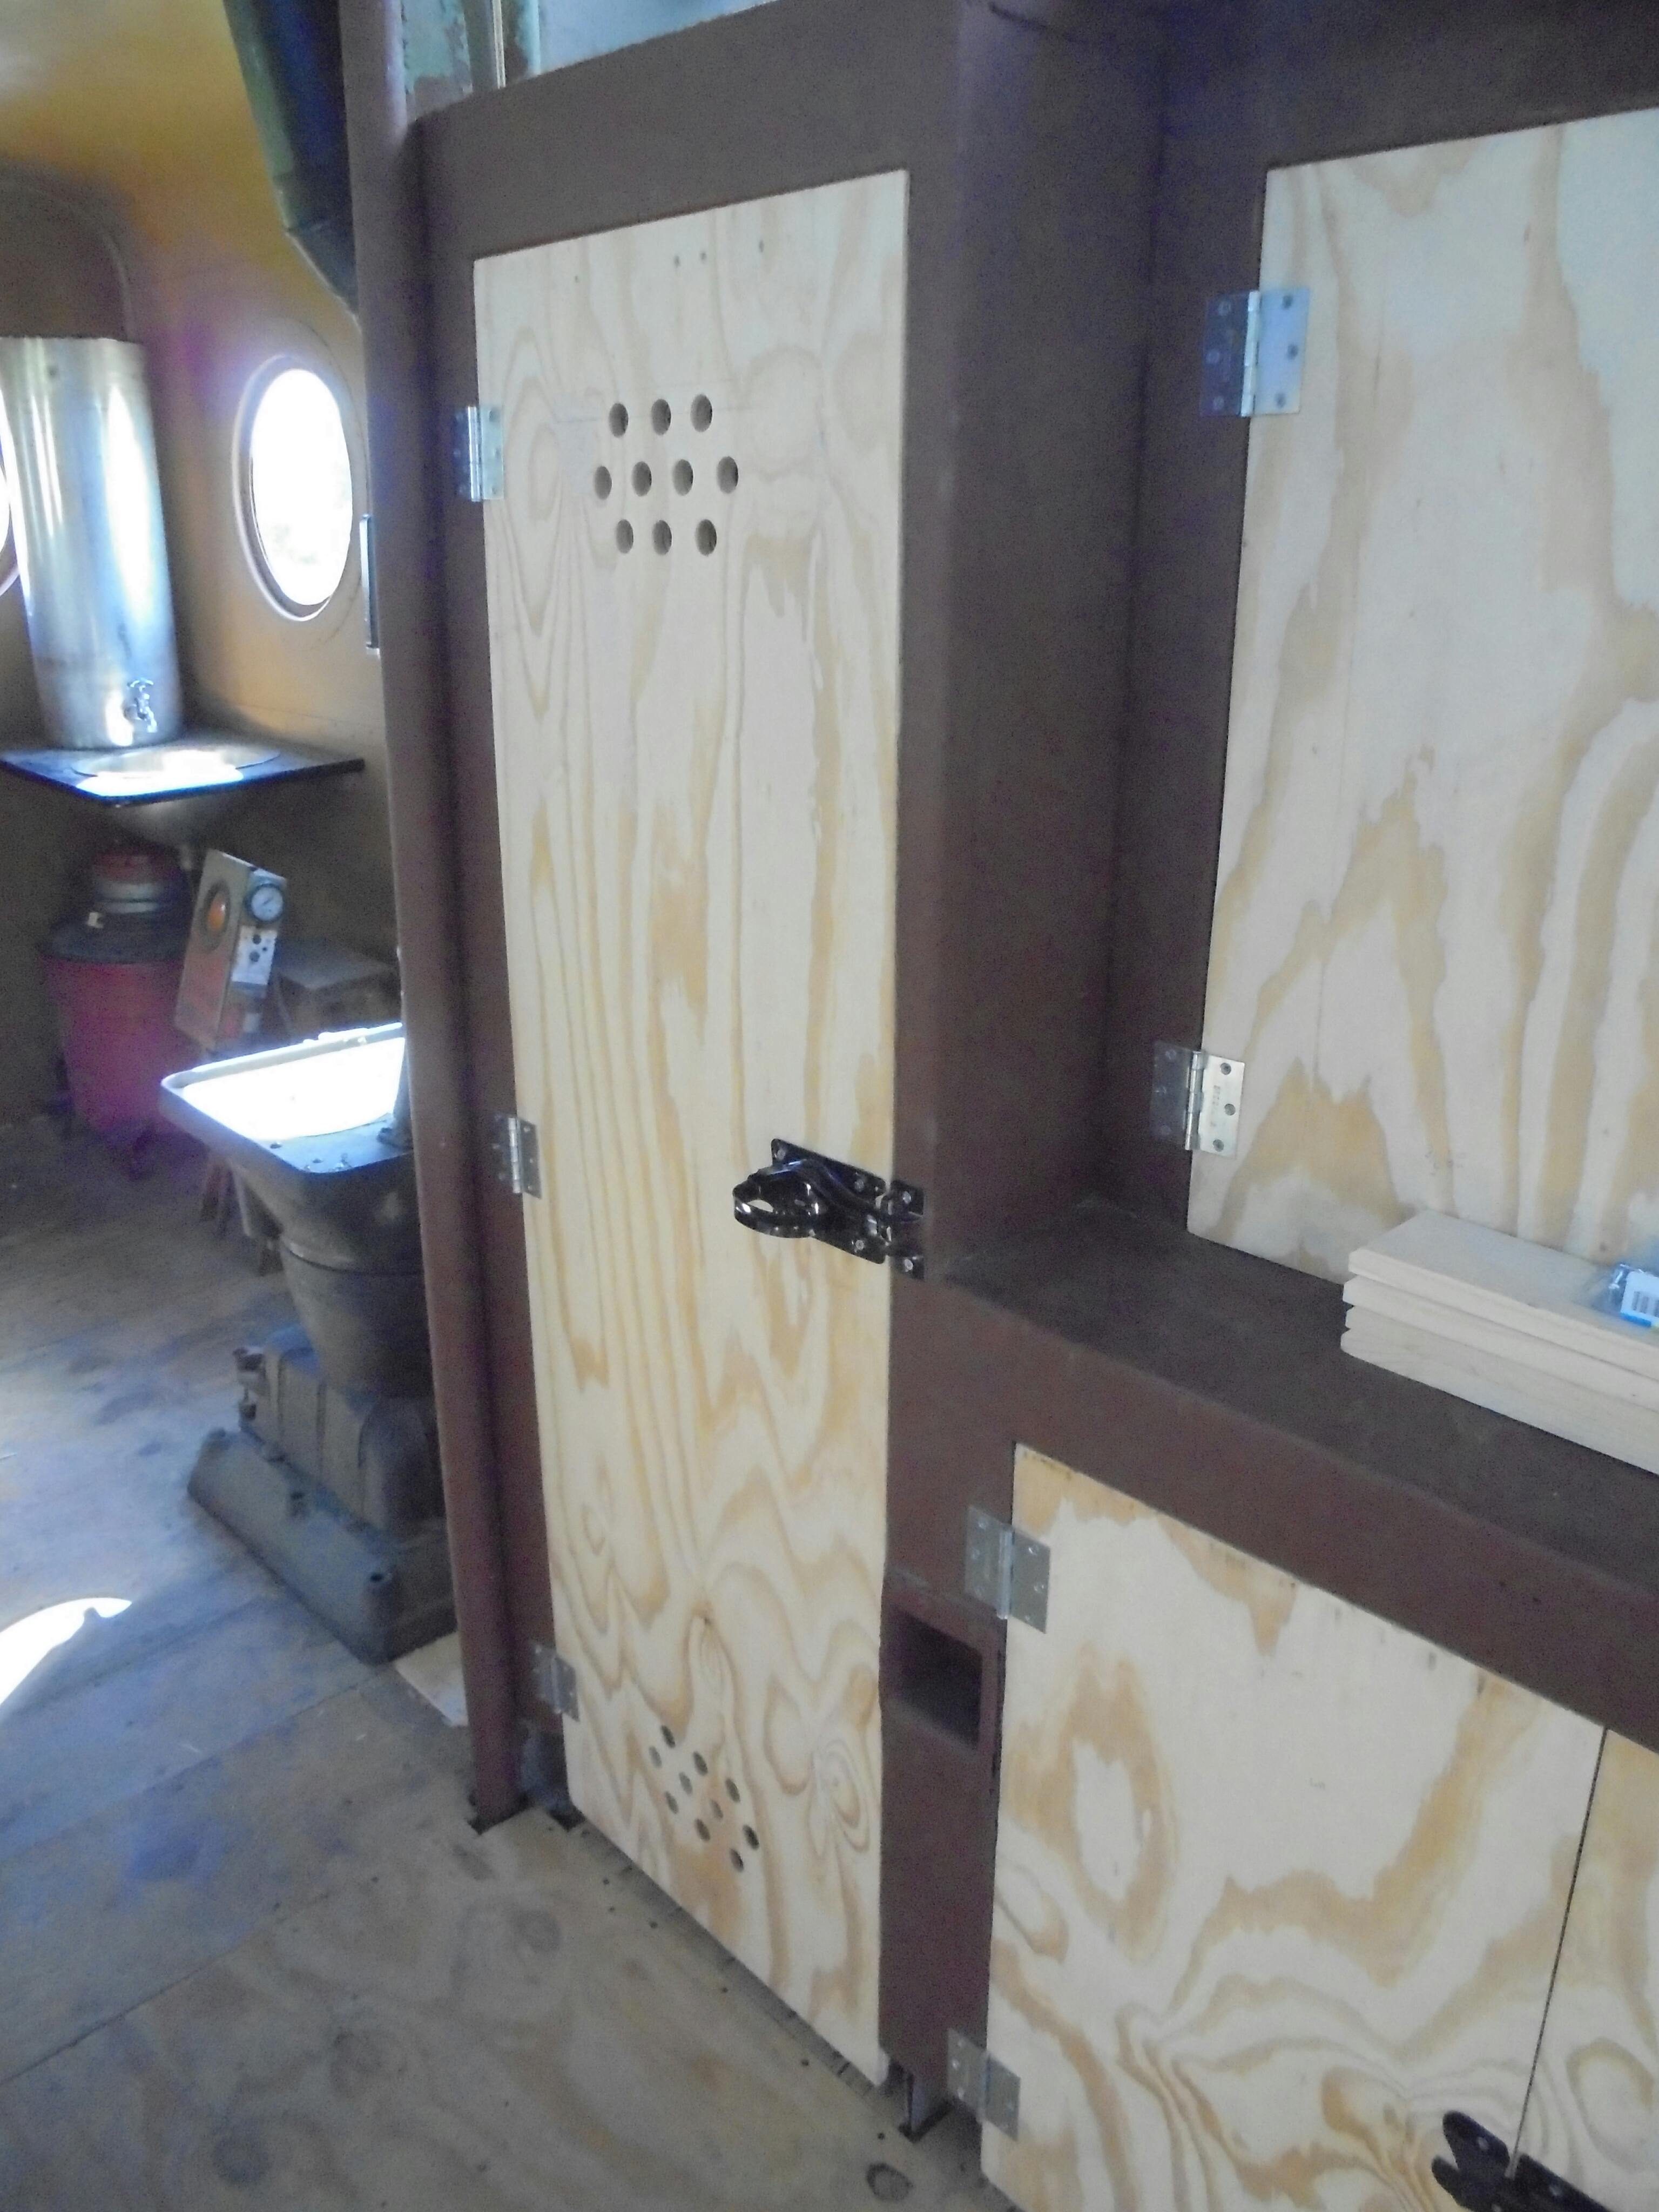
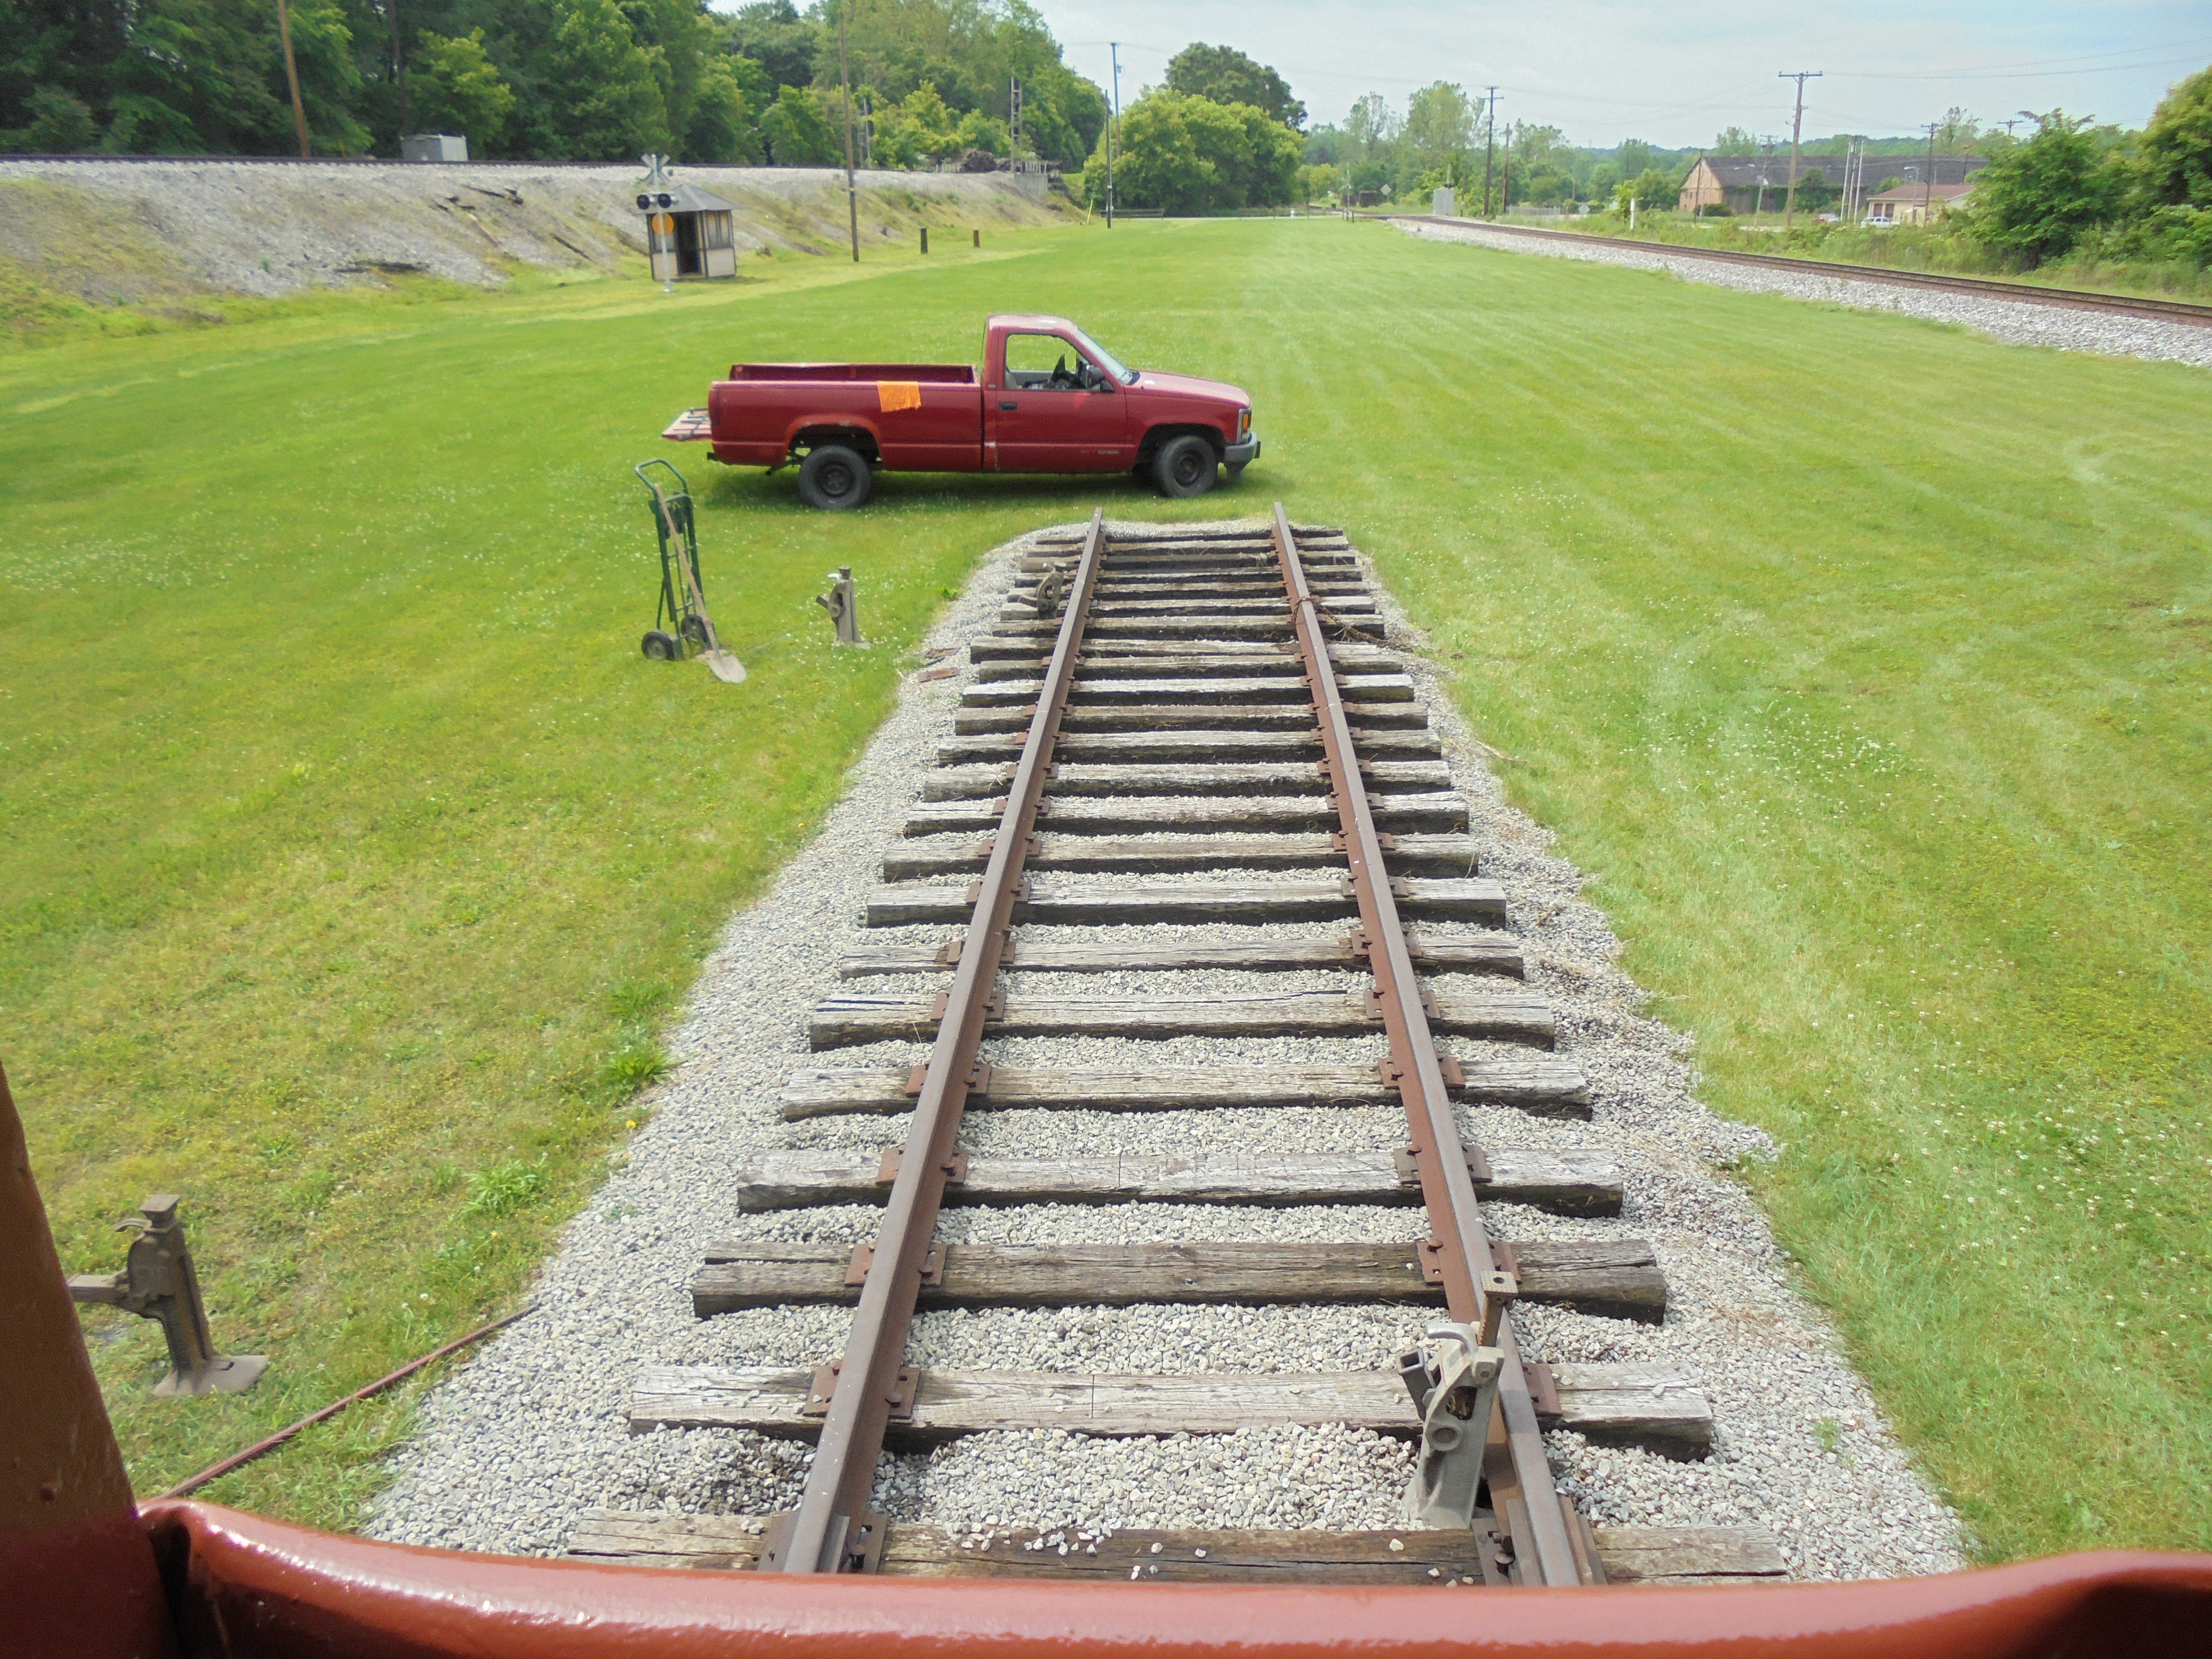
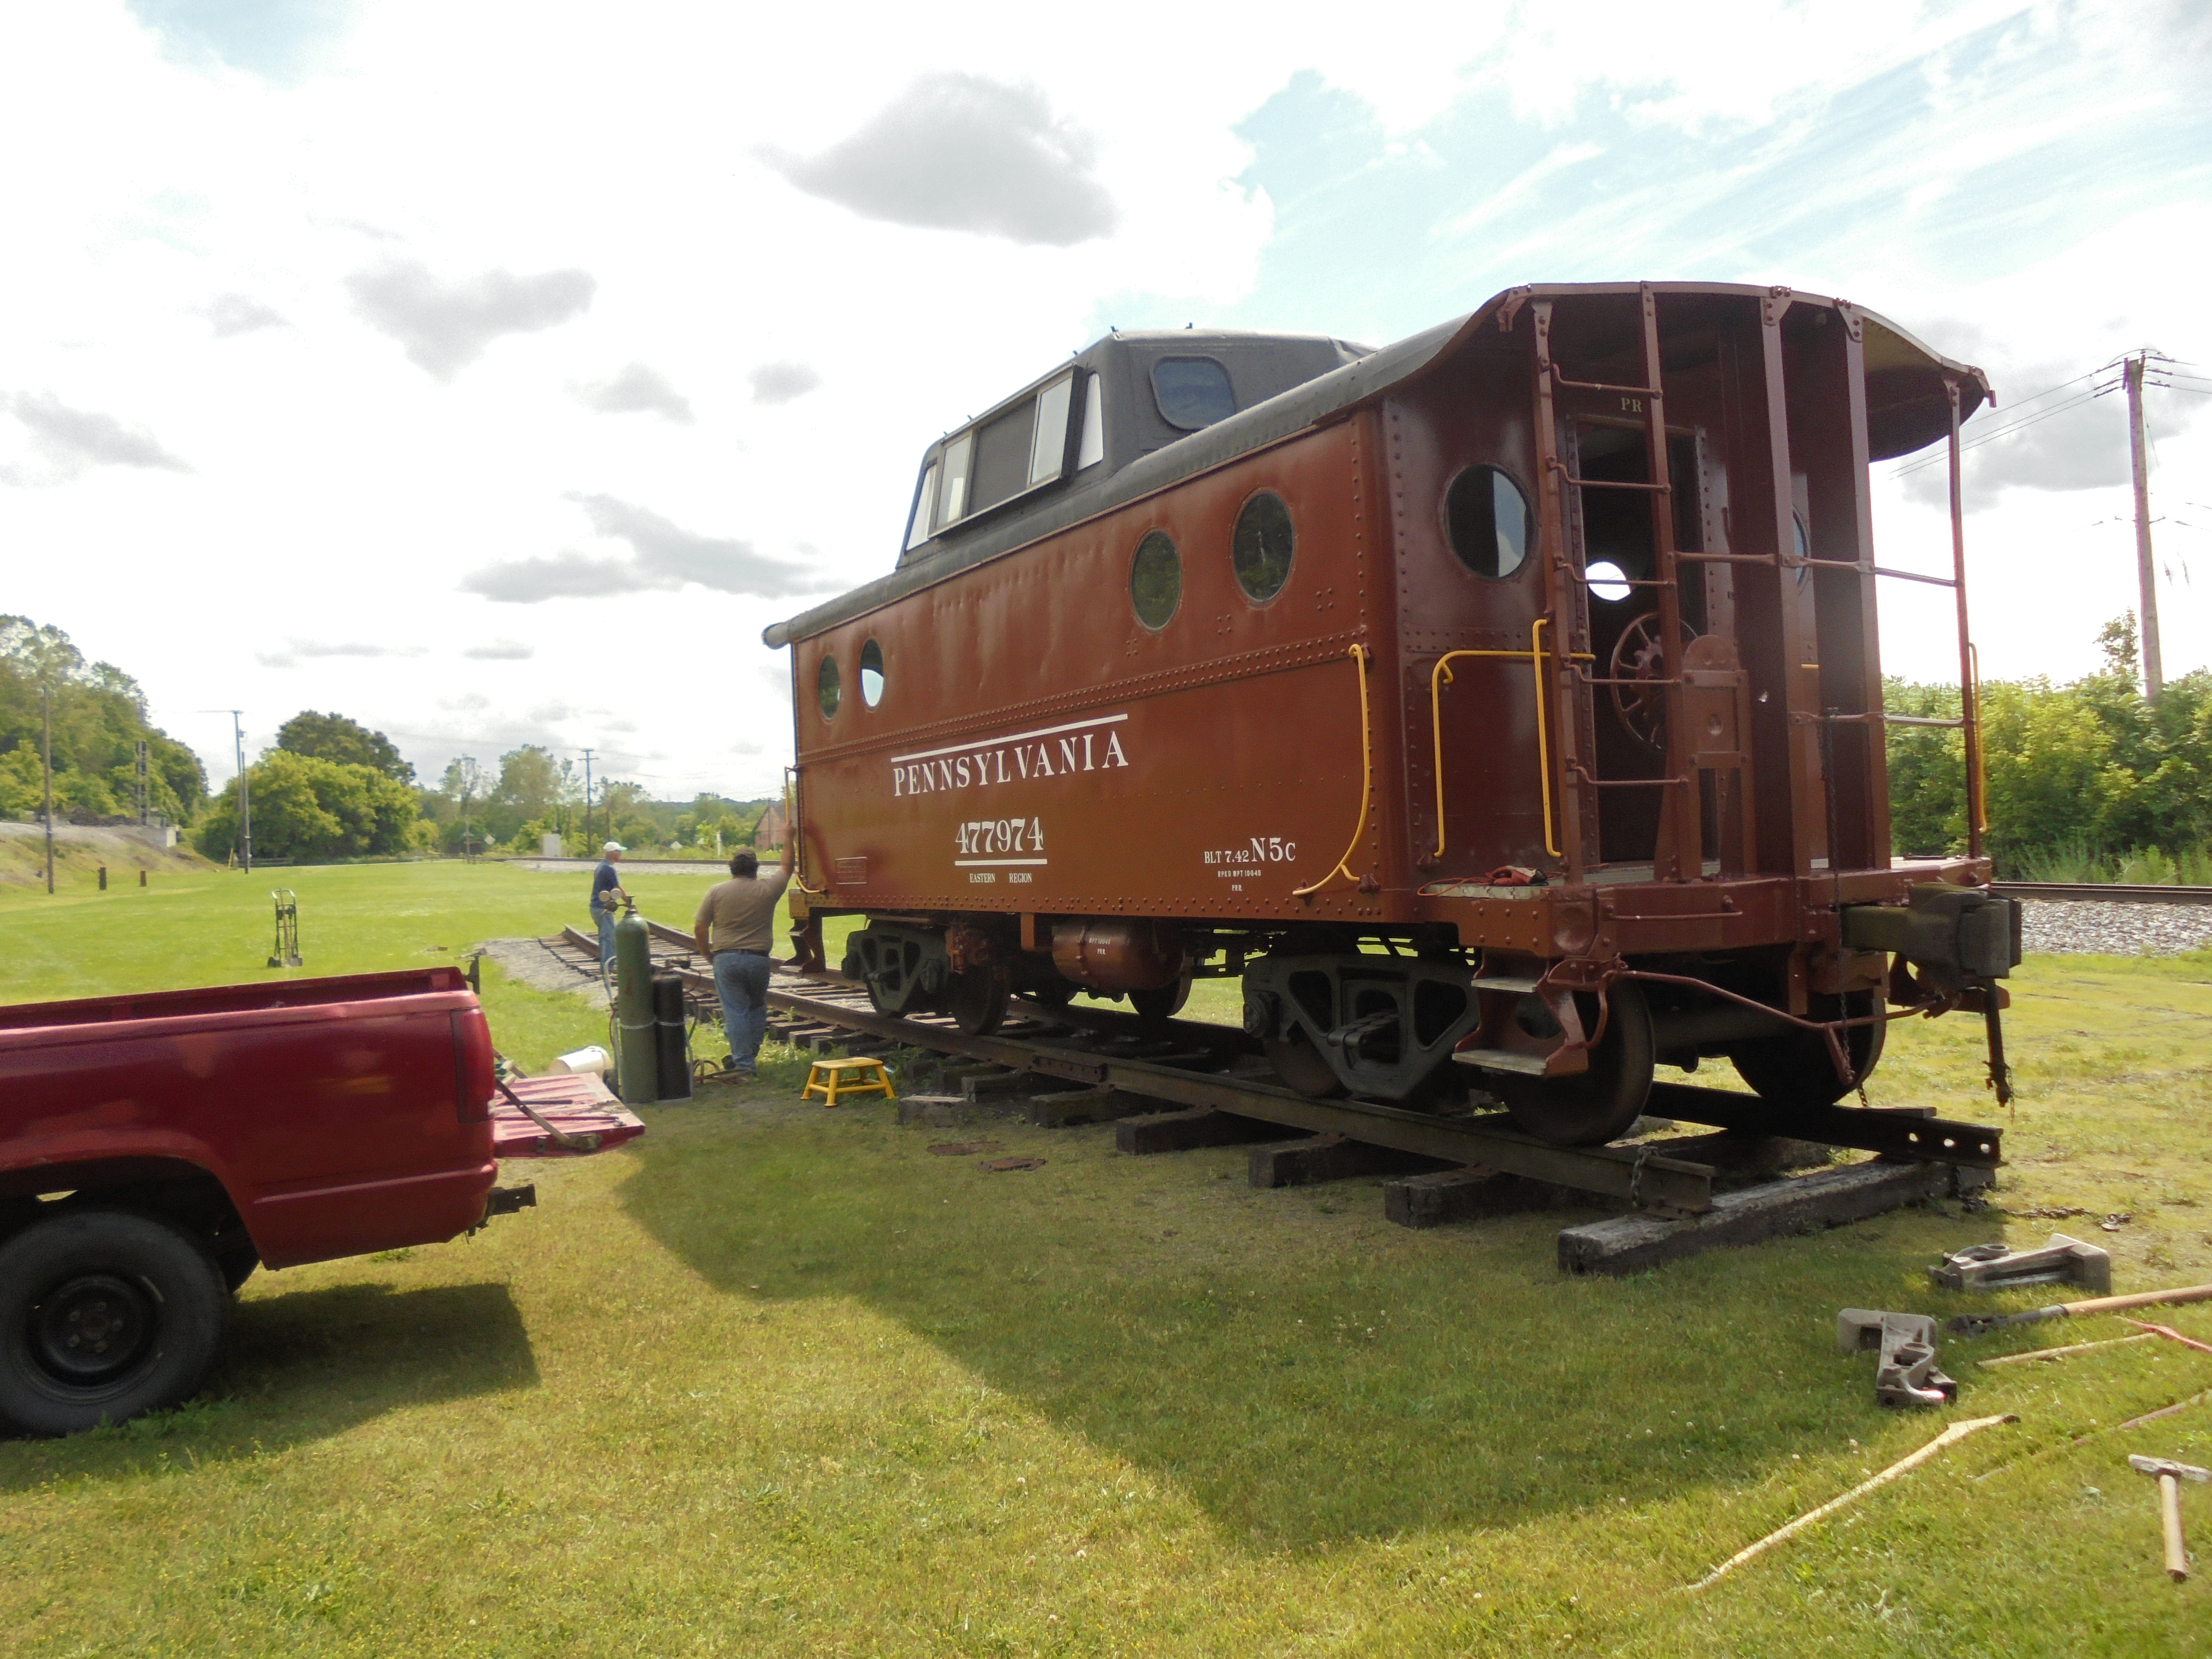
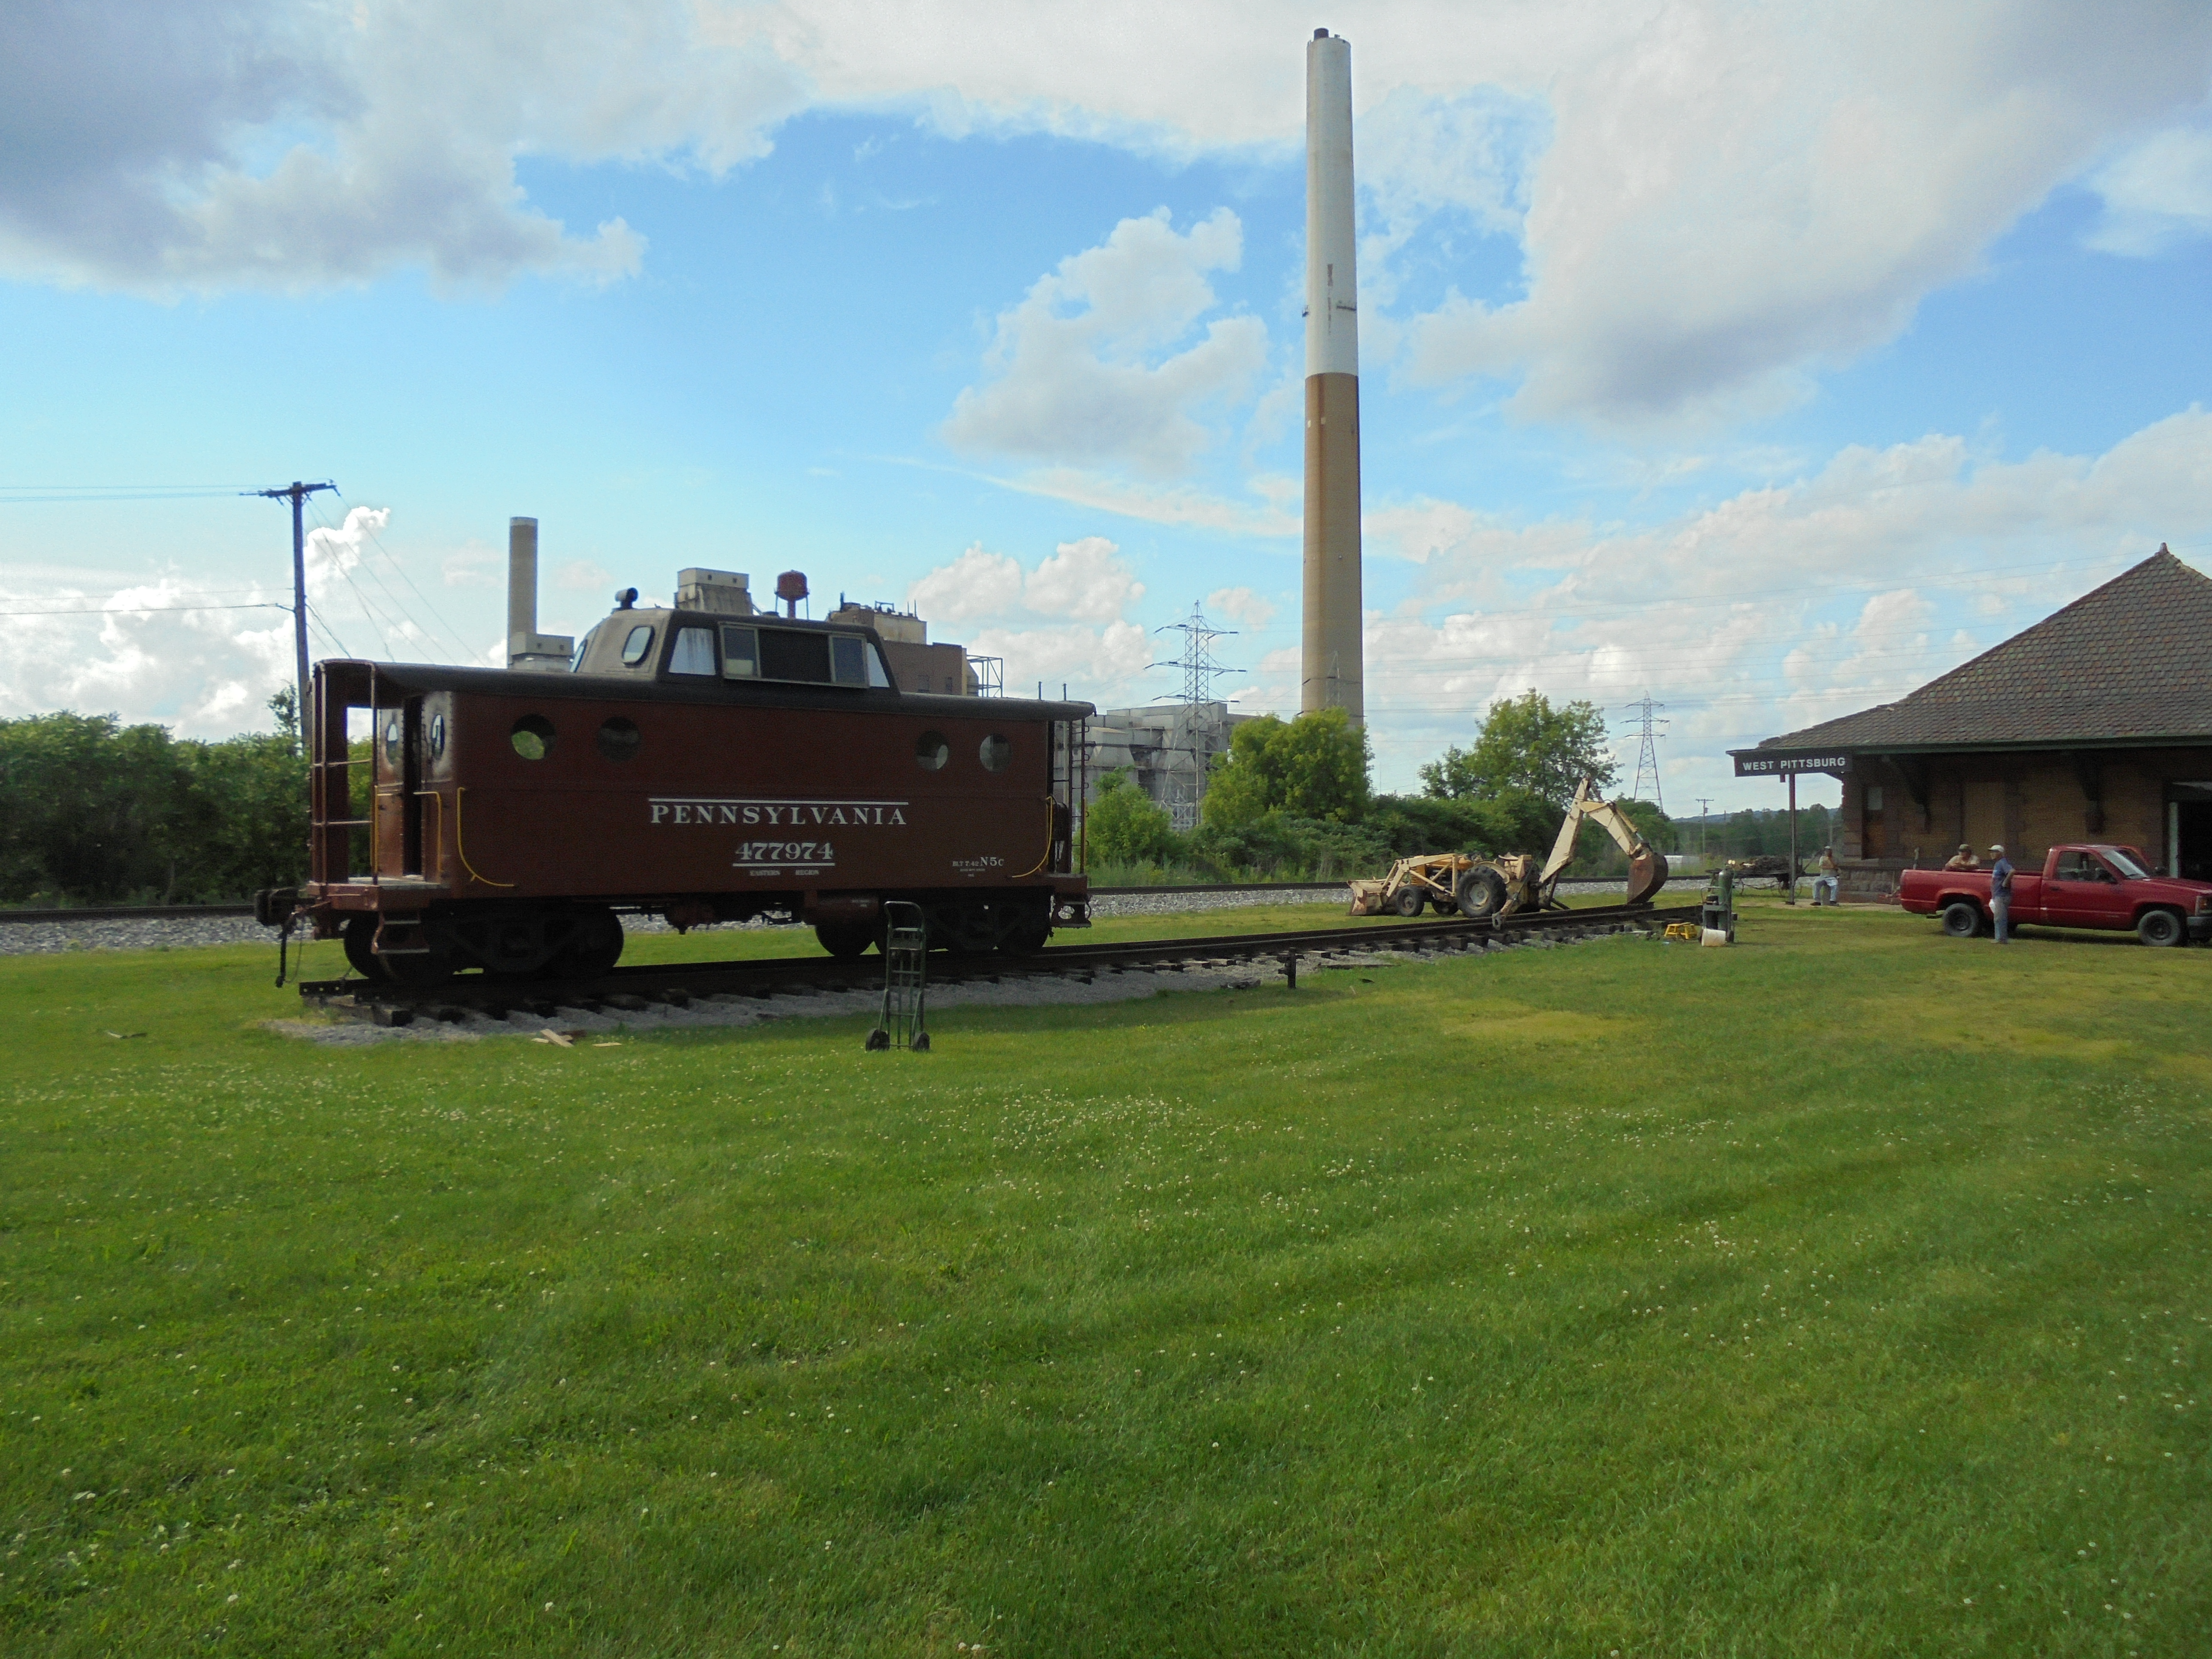
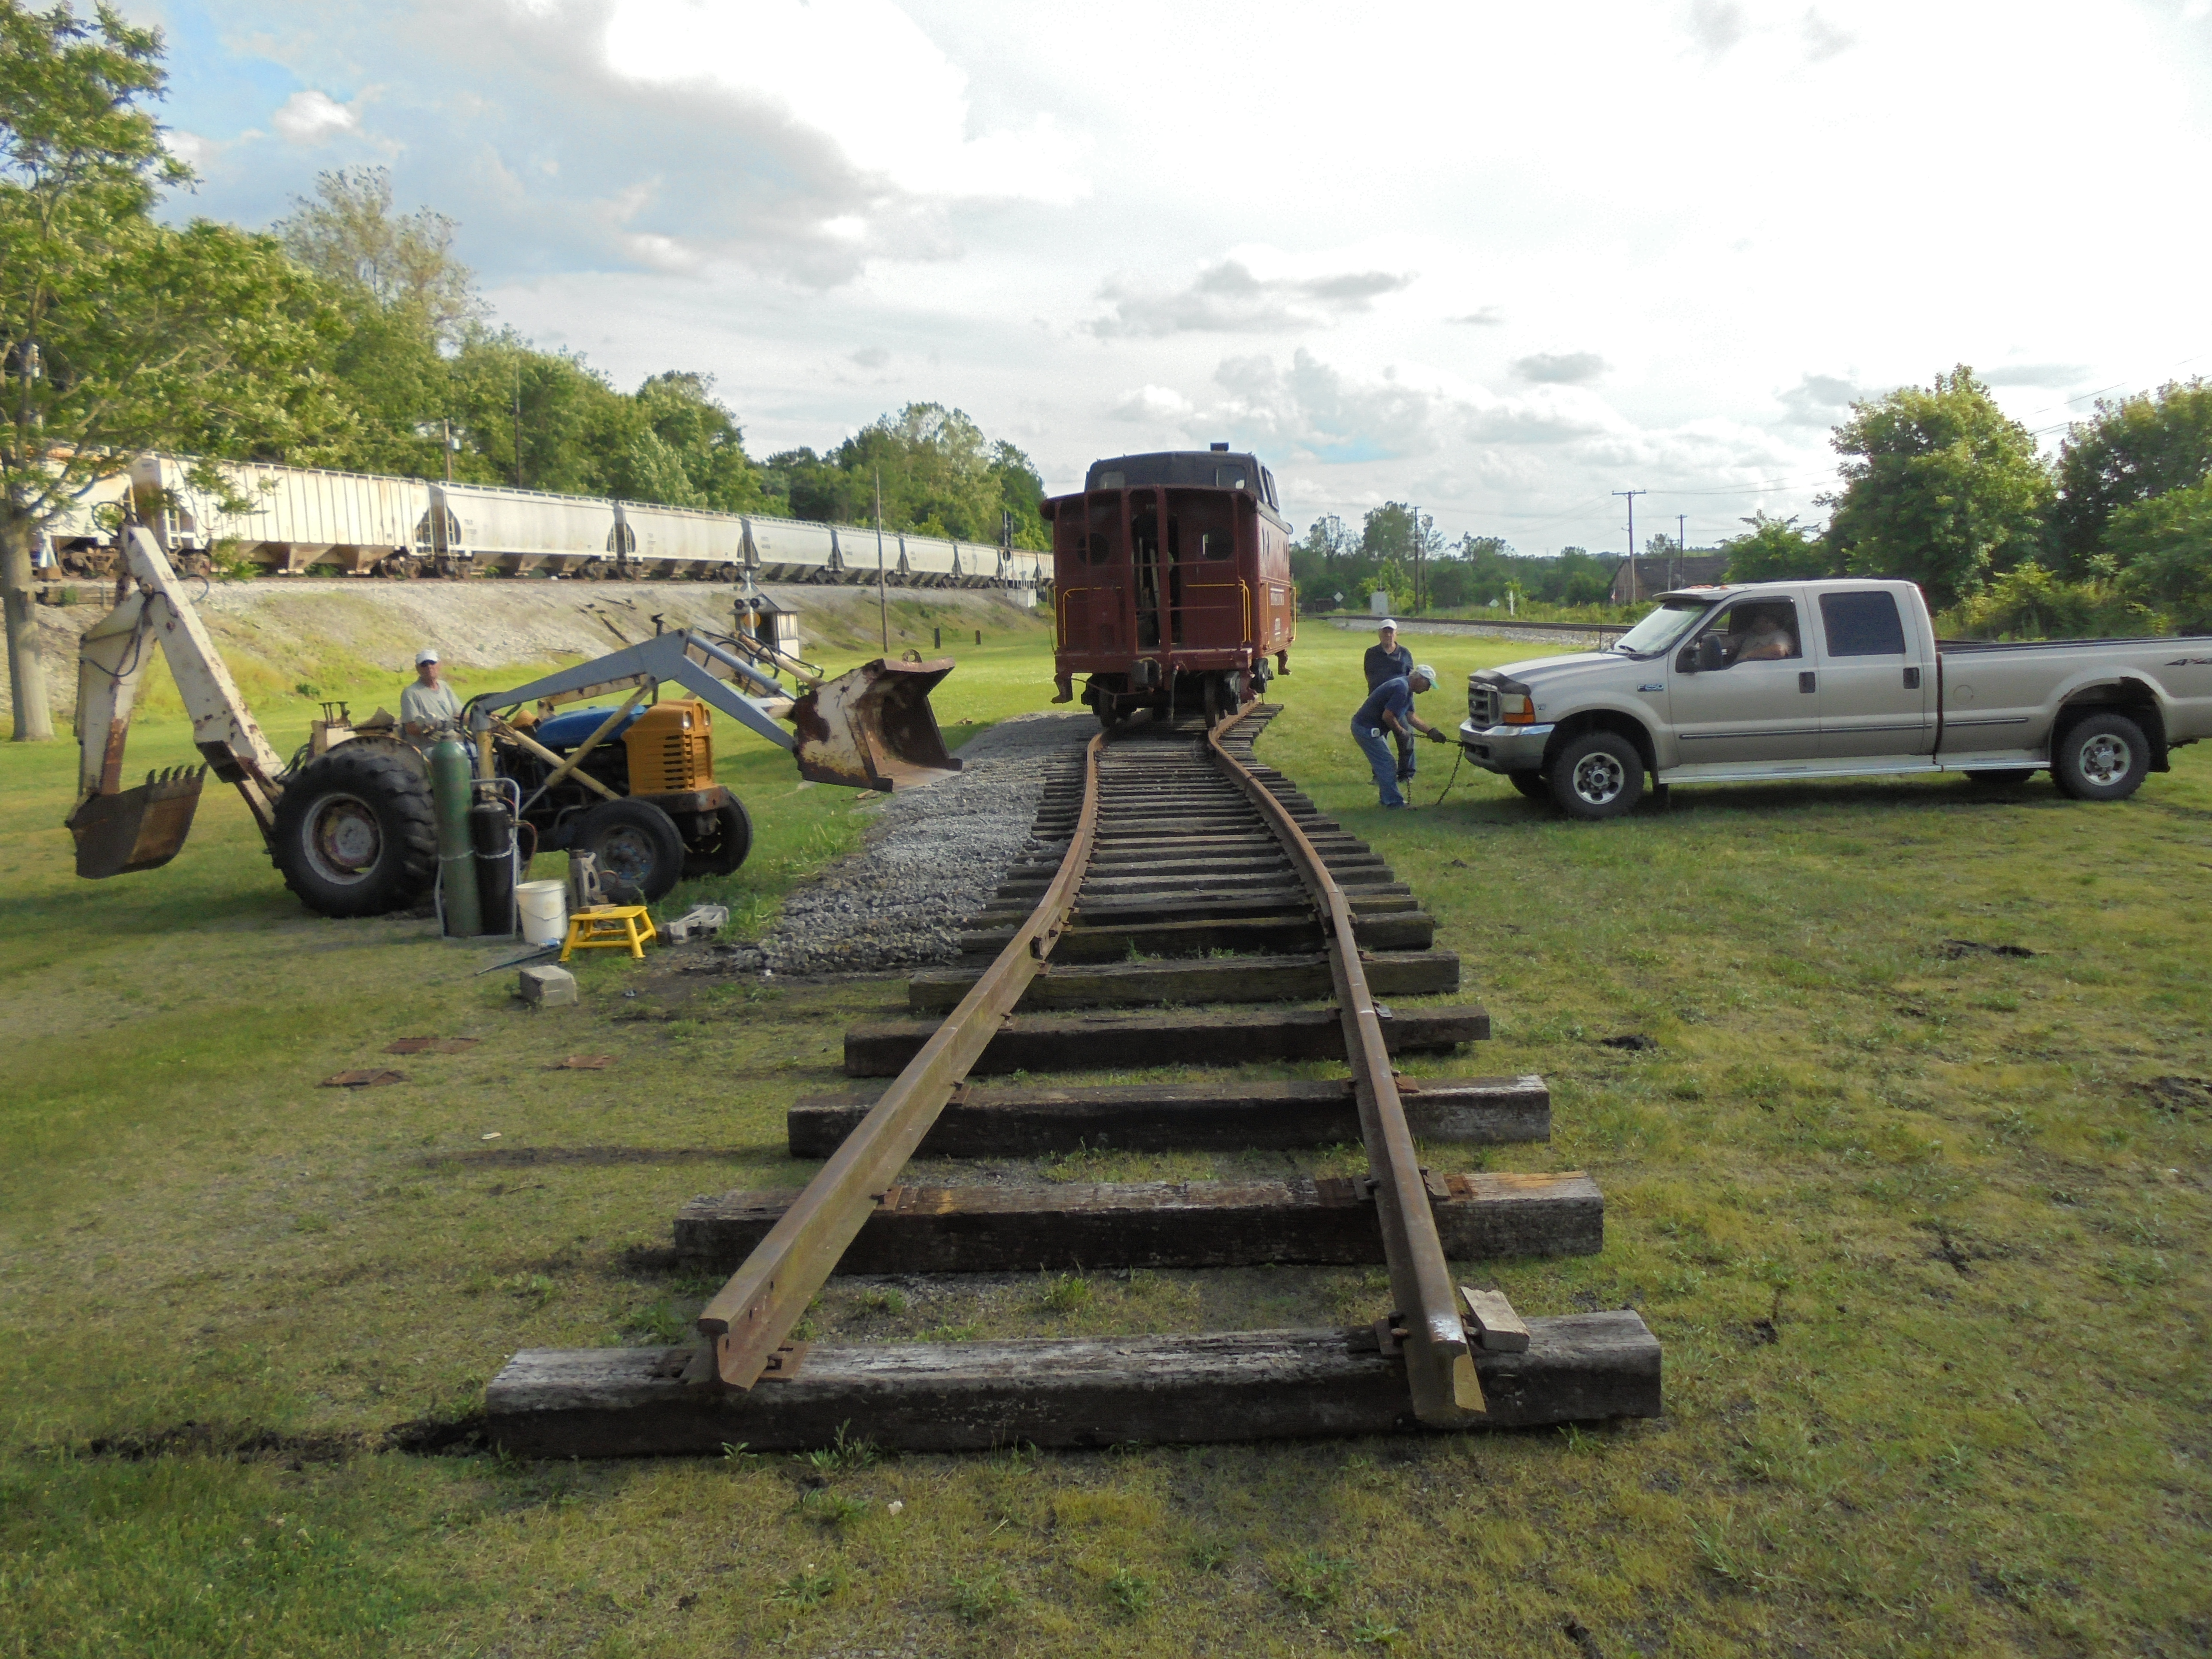
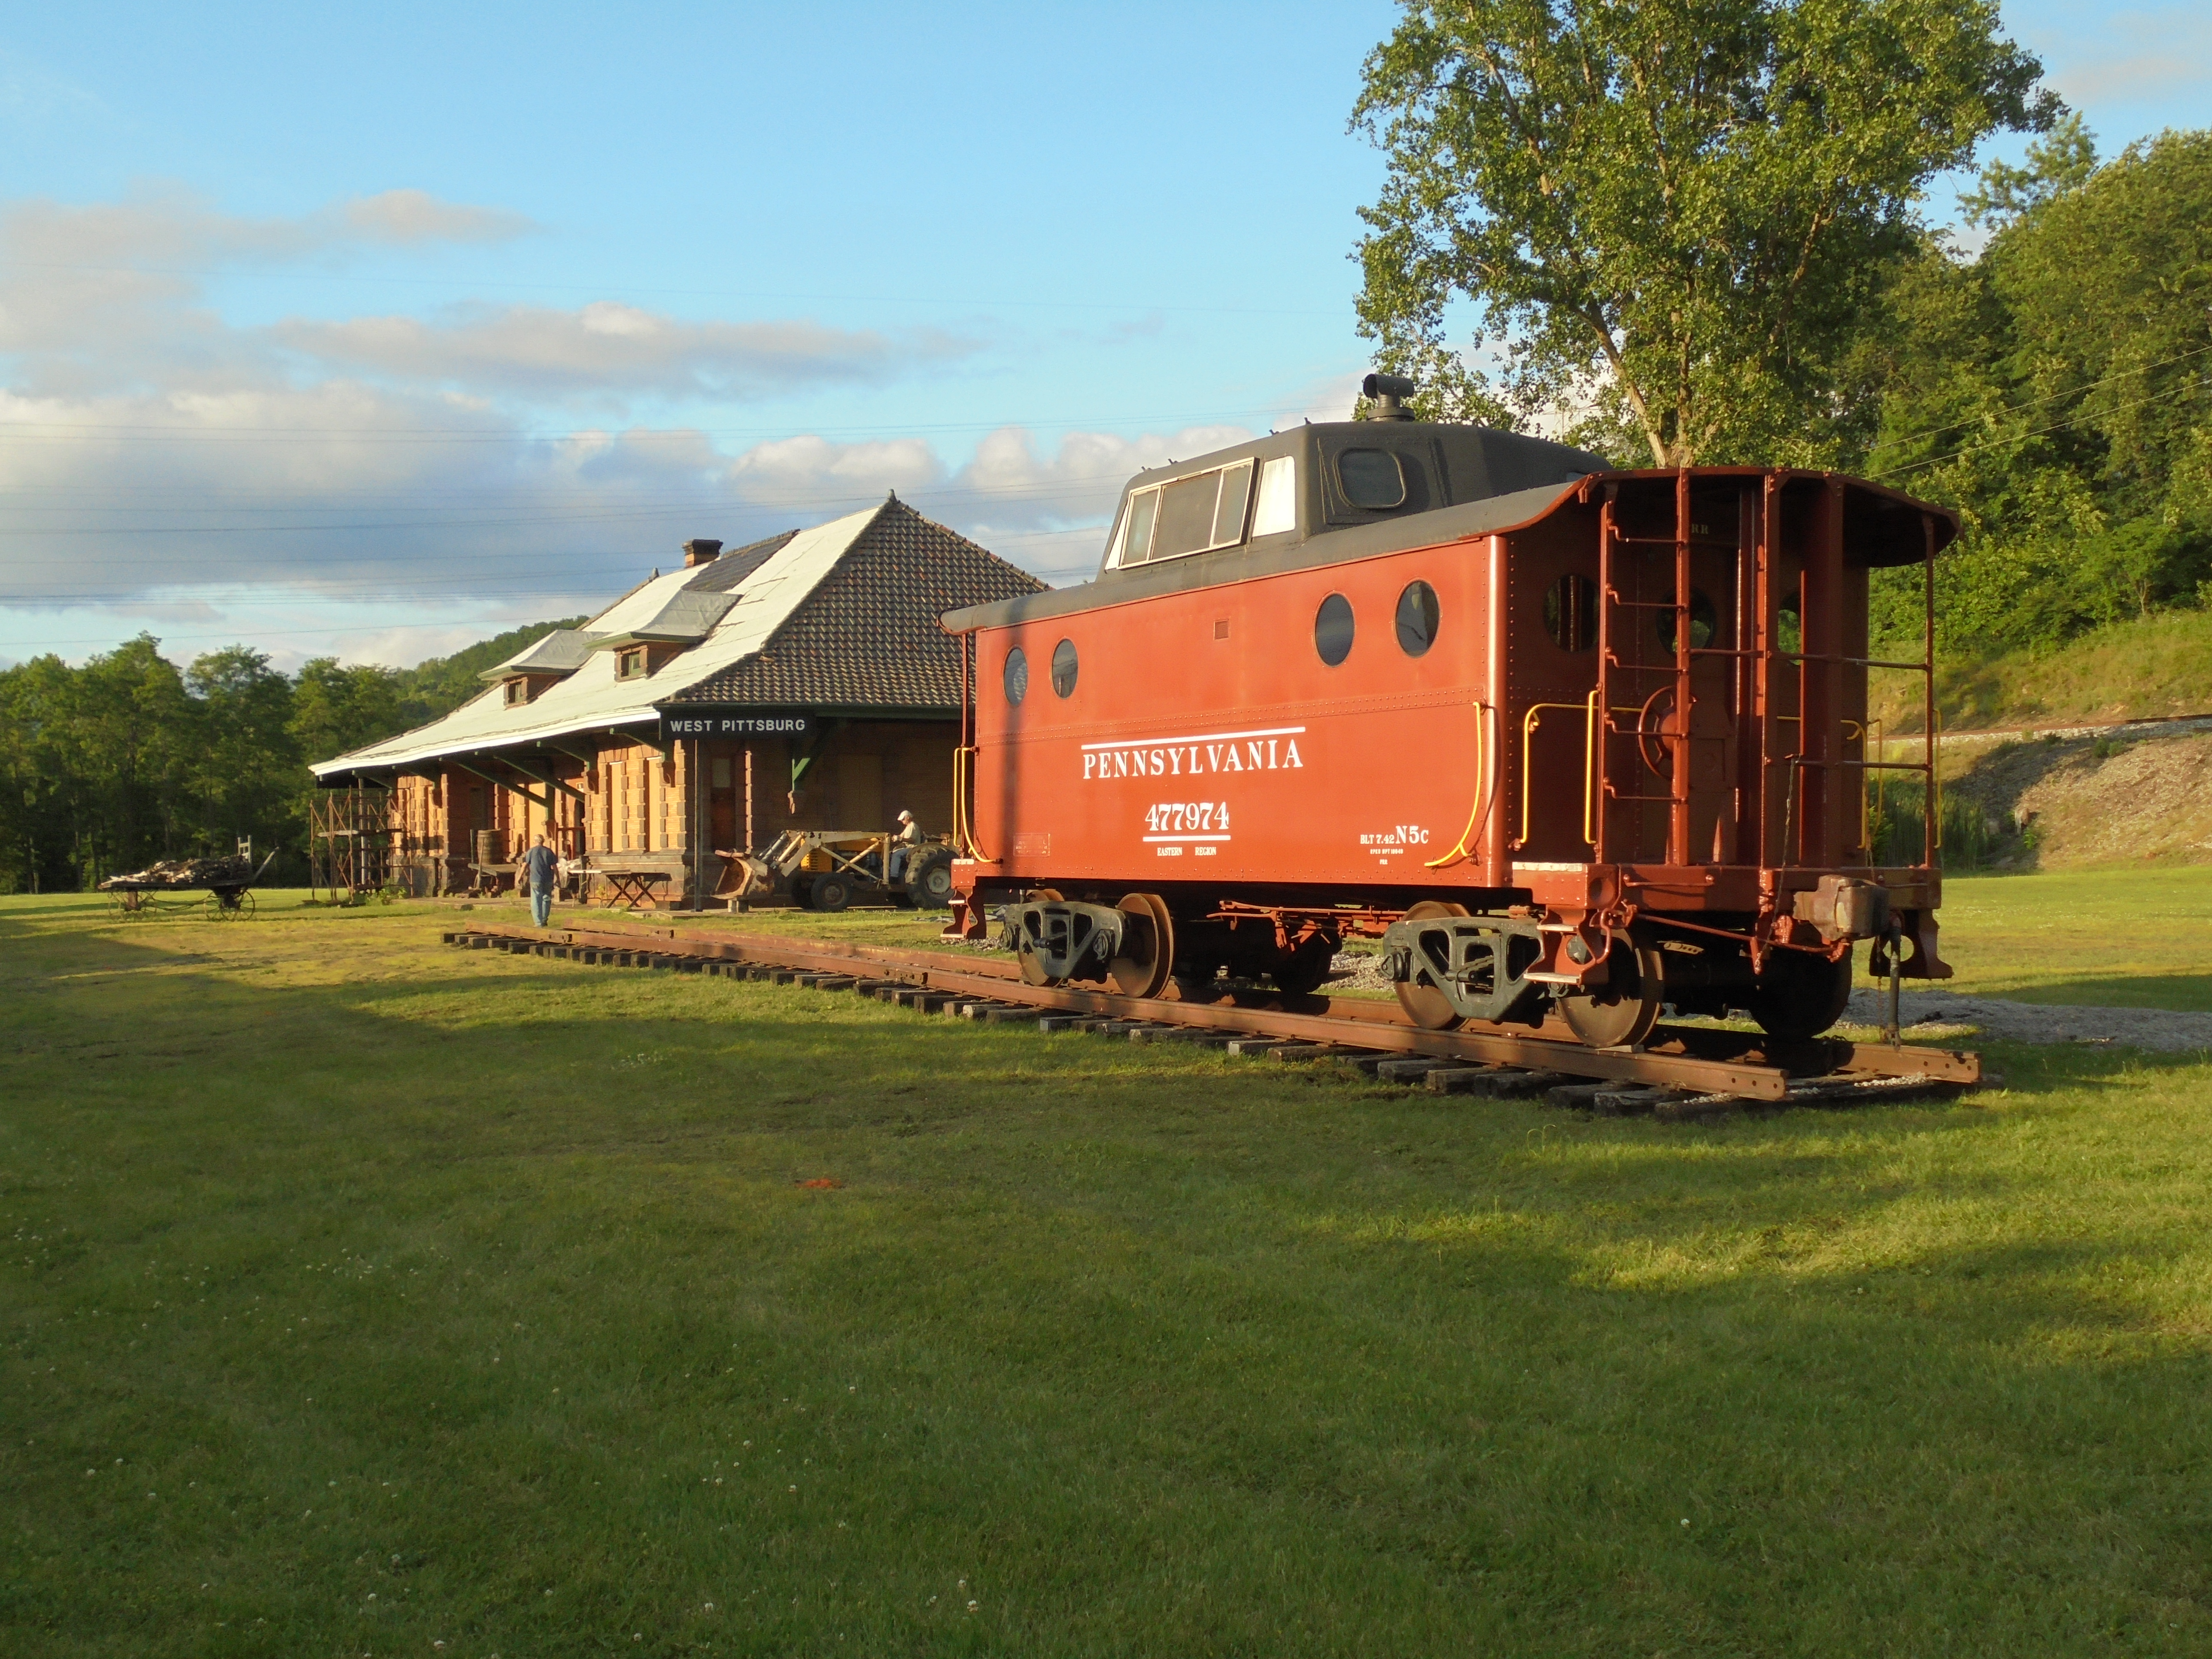
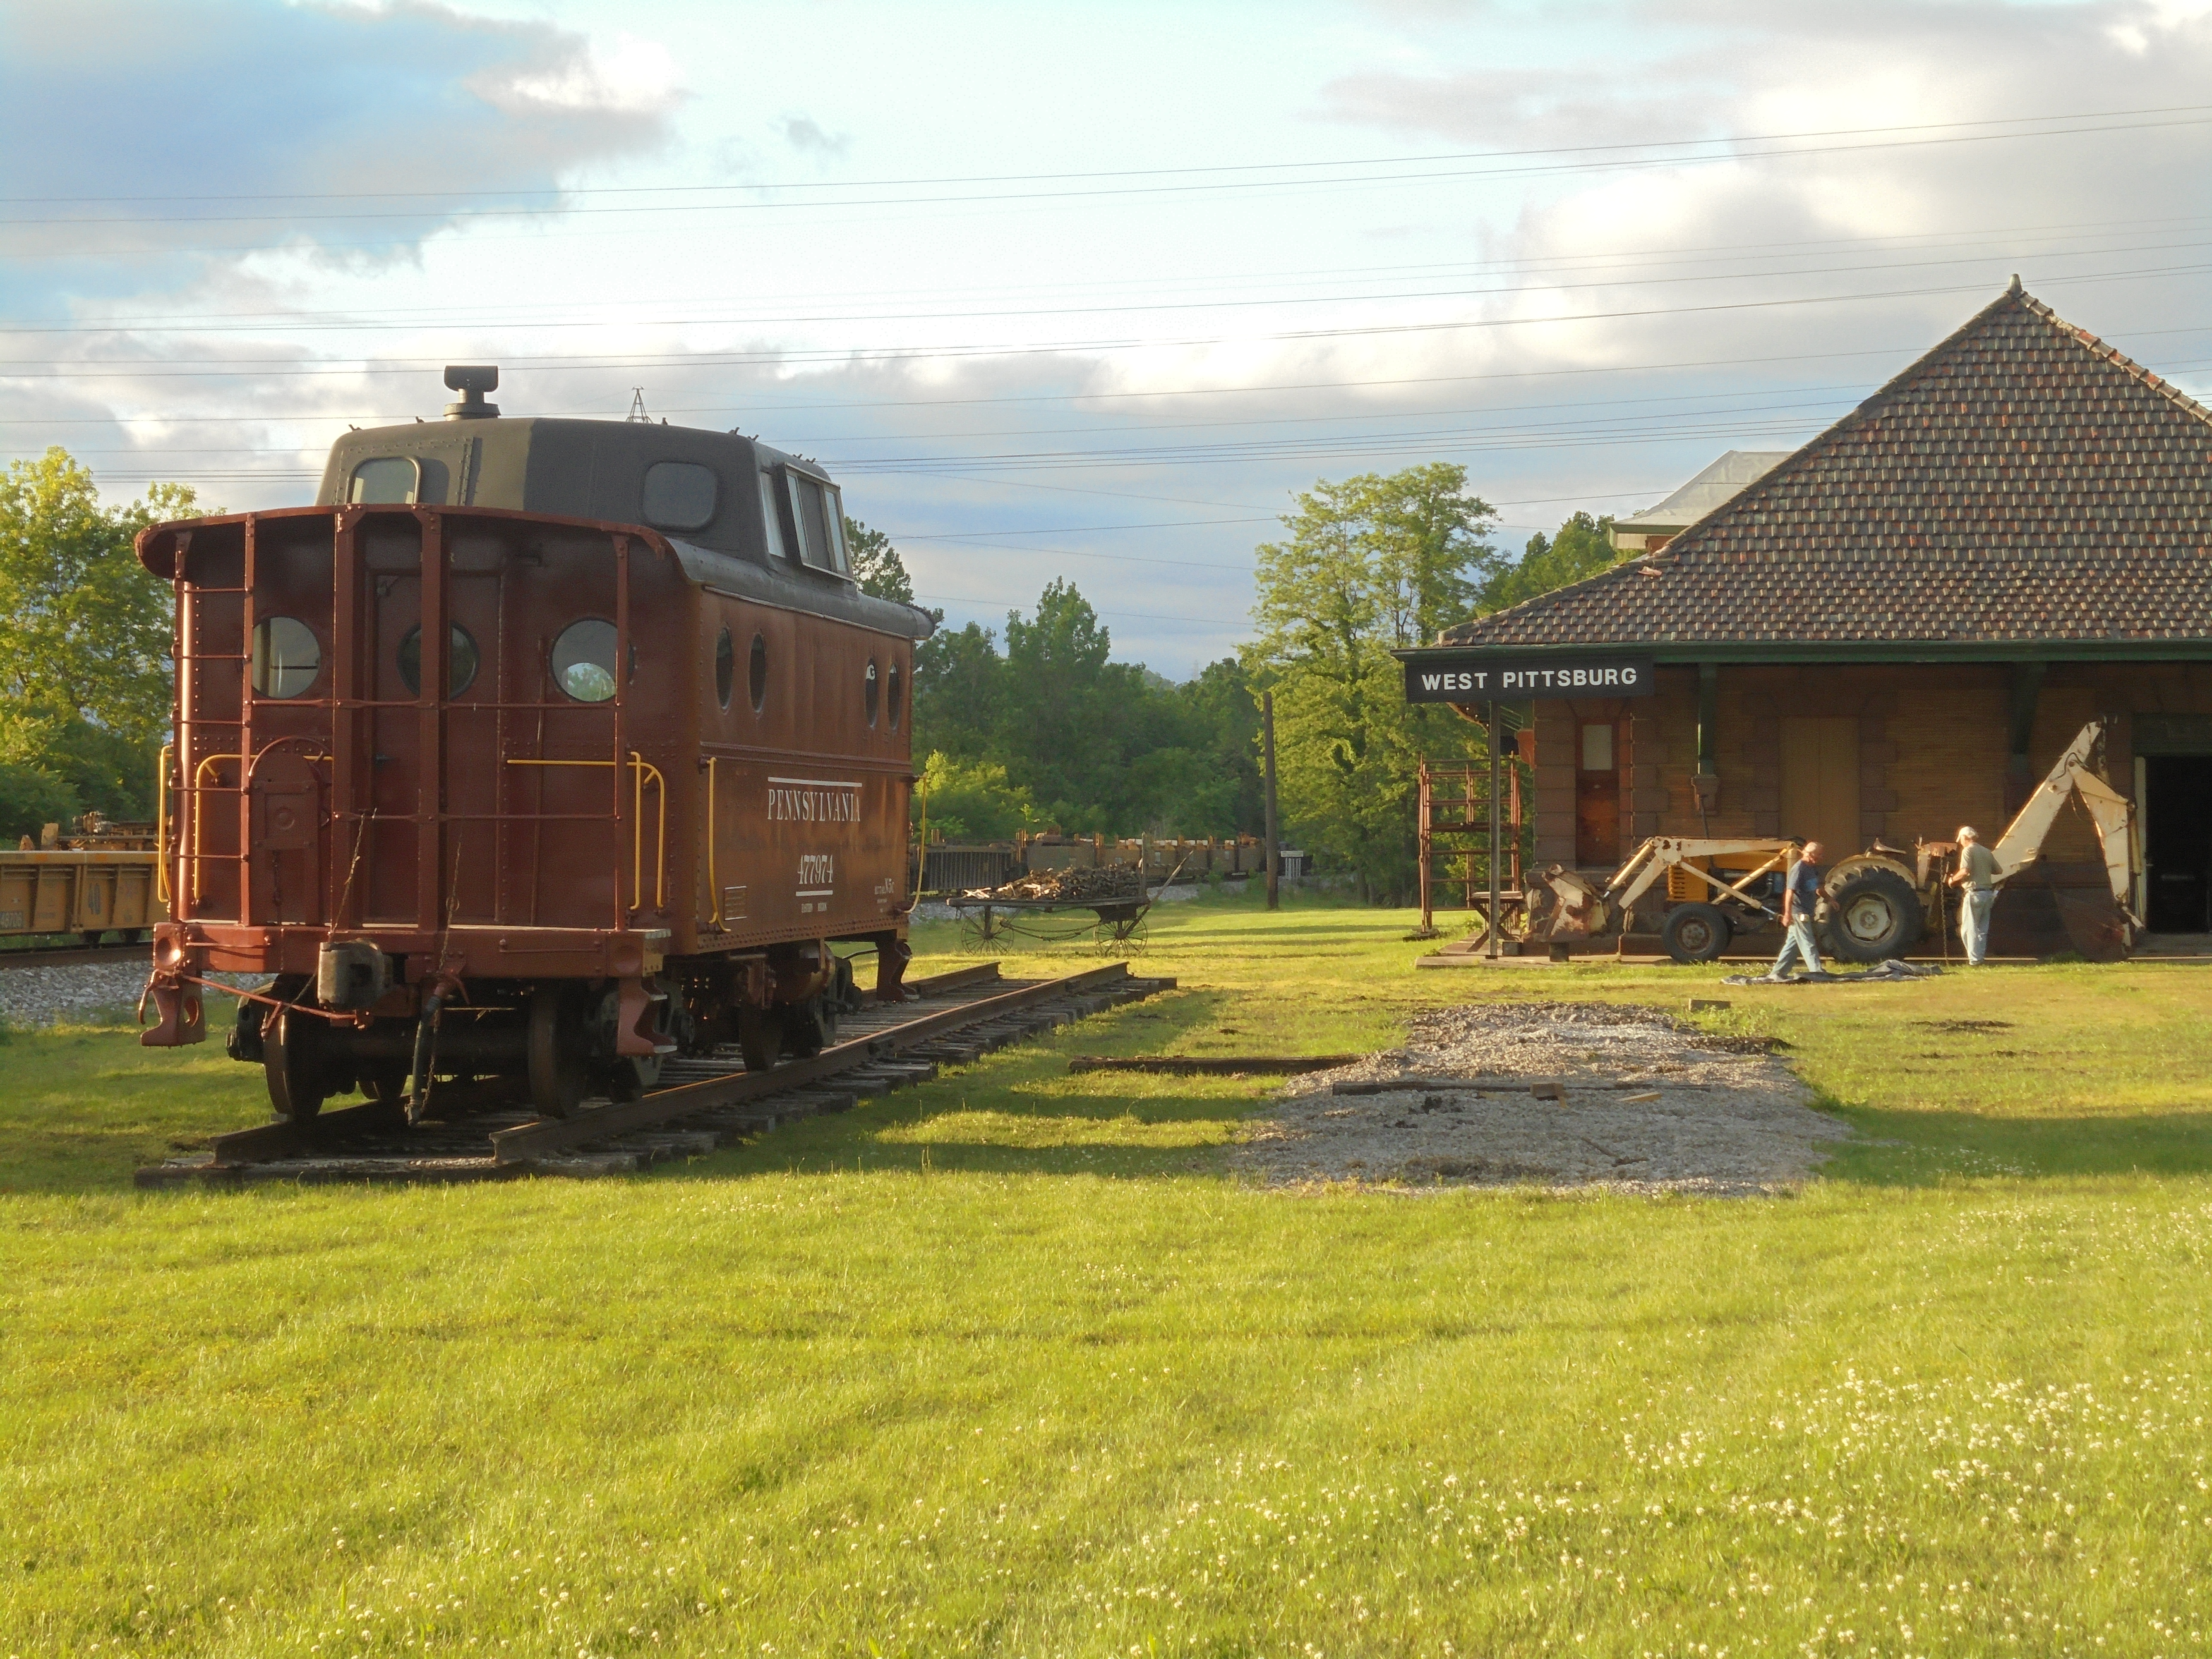