
Skis part 1: Creating
the skis
Page 1 2
This tutorial presents a technique I learned in school, thanks to Marco Beauchemin, my Softimage|3D teacher. The skis is a technique that allows the animator to animate the feet of a character in a very convenient way and solves problems related to feet. Basically it consist of few bones that are added to the feet and and take control of them. This is ideal to create walk cycles.
This tutorial, as well as the other skis tutorials, is meant for Softimge|3D 3.8 and later, but can easily be used for other packages.
Here is a database where
you will find the the basic rig (the character setup) and a complete rig (with
skis).
Click here to download
PAGE ONE - Initial setup - Building the bones - Adding the other control objects
The first is to create your rig. In the various tutorials about the skis techniques it doesn't matter much how your rig is setted up, what matters are the feet.
You must have an effector at the ankle for the leg, and a 2 bones feet. The feet's root must be child of the leg effector, and place exactly on top of this effector. Use the rig_basic scene included in the database.
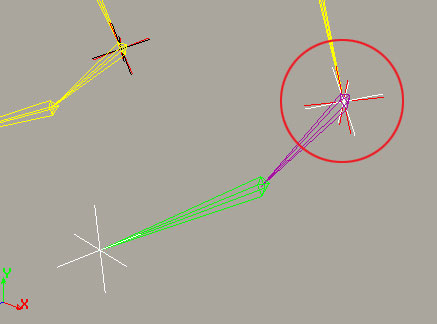

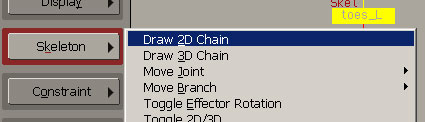
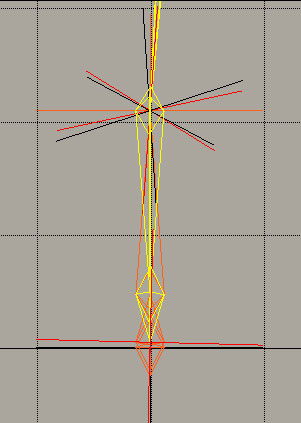
The next step is to build the skis. To so, start by maximizing the right viewport. Do Actor > Draw > 2D Chain.
Place your the skeleton root behind the foot, at the ground level.
Now click as precisely as possible on the foot's effector to create the first bone.
Click on toe_L center to create the second bone.
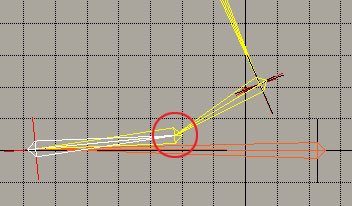
Click on the leg's effetor or foot_L_rt to create the third bone.
Then click with RMB to exit the skeleton creation. You can notice that on the picture the bones are orange. You can put them to this color to facilitate your workflow.
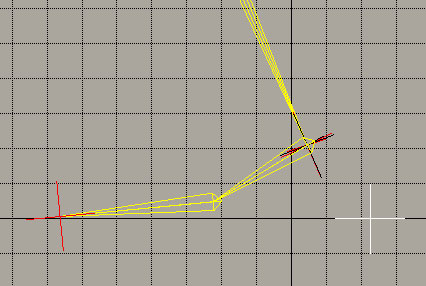
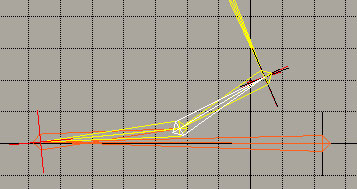
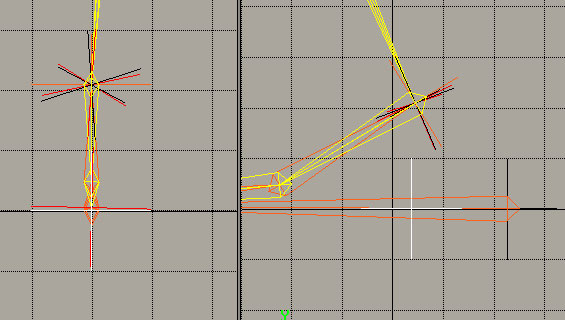
Next, you have to align as close as possible the parts of the ski to the corresponding points, using Z rotations and the Pick Joint By Mouse command (found under Actor > Skeleton > Move Joint > Pick Joint By Mouse.
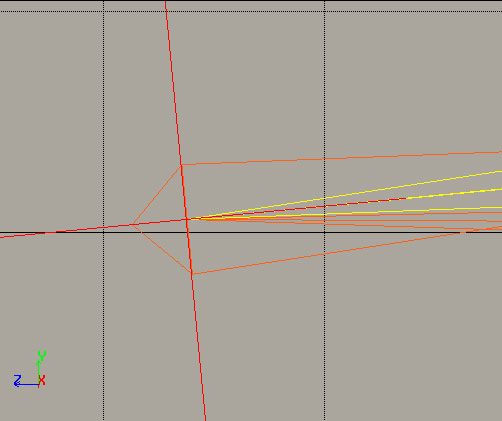

Finally, align the ski in the front viewport.
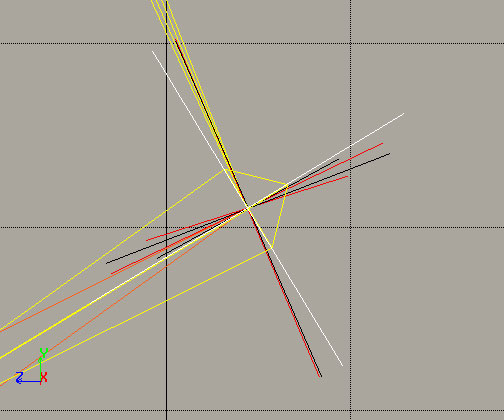
3- Adding the other control objects
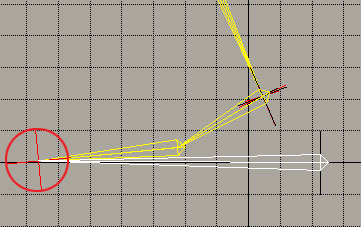
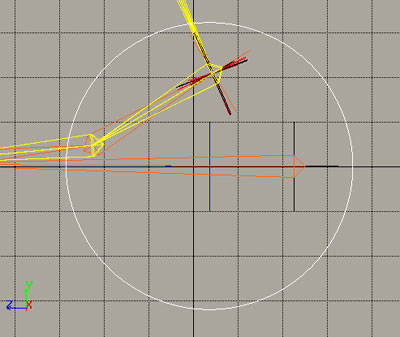
Create a null (Get > Primitive > Null), name it nul_ski_L, and place it exactly under the leg effector, at the ground level.
Next, create a circle (Get > Primitive > Circle), and name it heel_L. Place the center of this circle precisely on nul_ski_L, the null we just created. The best way to position the circle is to use a contraint. Select the circle, do Motion > Constraint > Position, and pick nul_ski_L with the LMB.

Then release the constraint by doing Motion > Constraint > Relax.

Repeat steps 2 and 3 for the other foot.
After that, create a null and name it ski_topnul. Place this hull between the 2 legs, at approximately at the height of the ankles.

