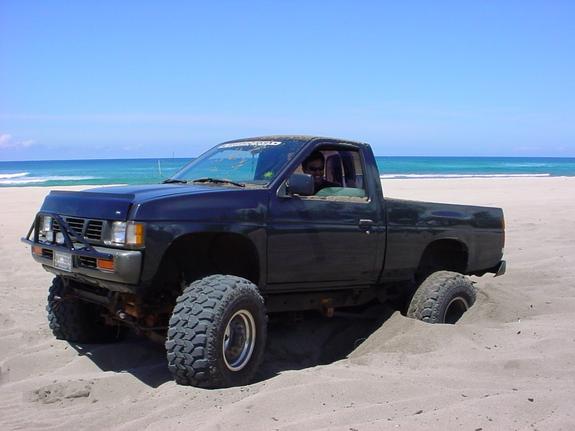
Detroit Locker in the Nissan H233B
Thinking about adding a locker to your H233B (31 spline)? The Detroit locker along with the Lock-Right, are probably the easiest lockers to install yourself if you have a non-LSD type rear end.
I had no experience with differential work before the installation, but I admit the installation went pretty easy.
On to the good stuff...
Chock the front wheels to prevent the vehicle from rolling.
Place the rear axle on jack stands and remove the rear wheels.
Drain the rear differential fluid.
Disconnect the hydraulic brake lines and parking brake cable from the brake drum.
Mark the driveshaft in relation to the pinion flange and transfercase to reinstall the same way it came off.
Remove the driveshaft and set aside.
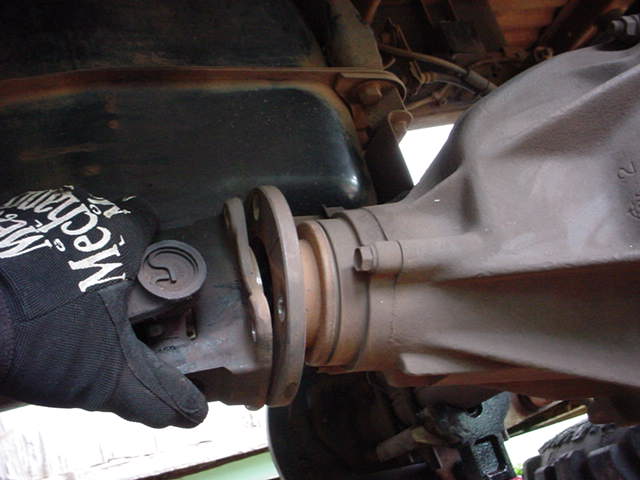
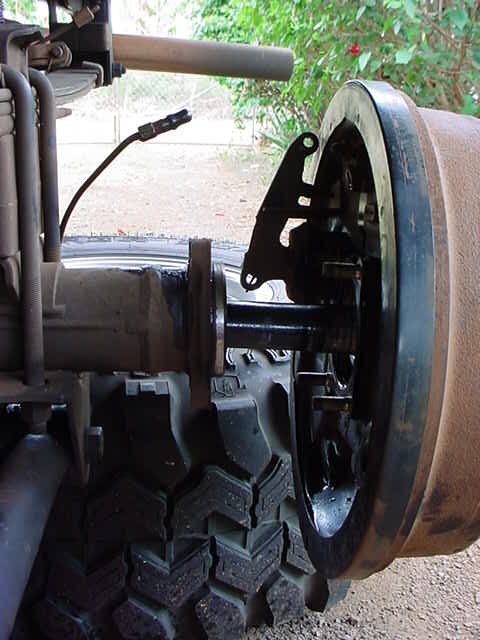
On both sides, remove the 4 bolts that hold the brake drum to the axle housing and carefully withdraw both axles. Prevent damage to the oil seals by withdrawing axles completely.
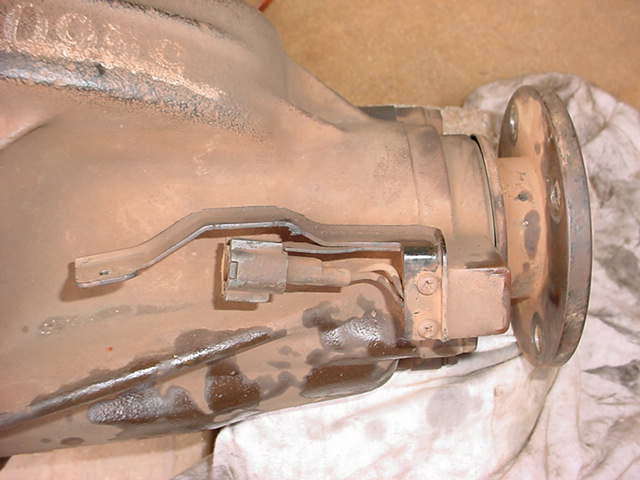
Remove the ABS sensor harness from the third member.
Loosen and remove all 11 nuts from the third member.
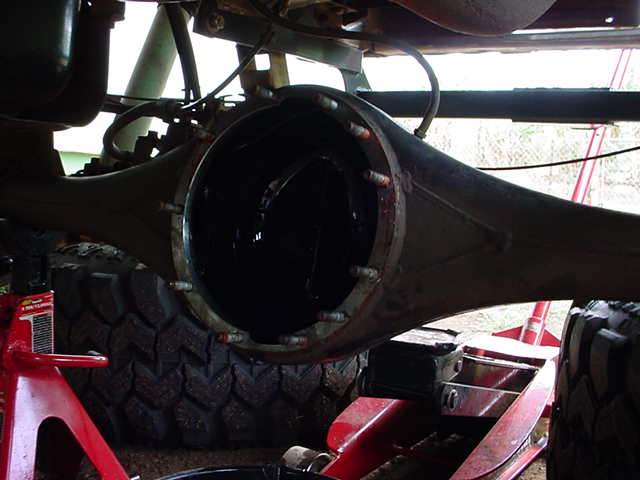
Carefully withdraw the H233B from the axle housing.
Mark both caps in relation to what side they belong to.
Unbolt the caps and set aside leaving the bearing-lock-washer intact.

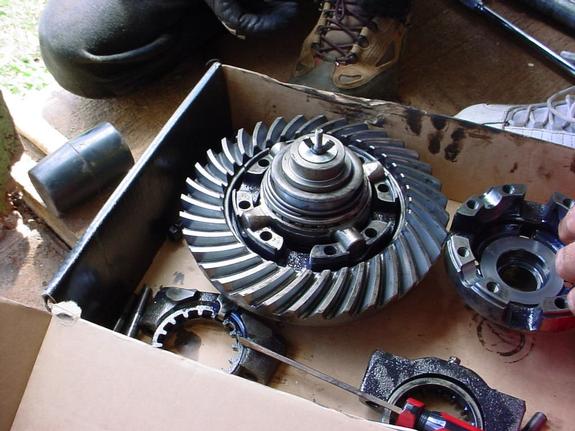
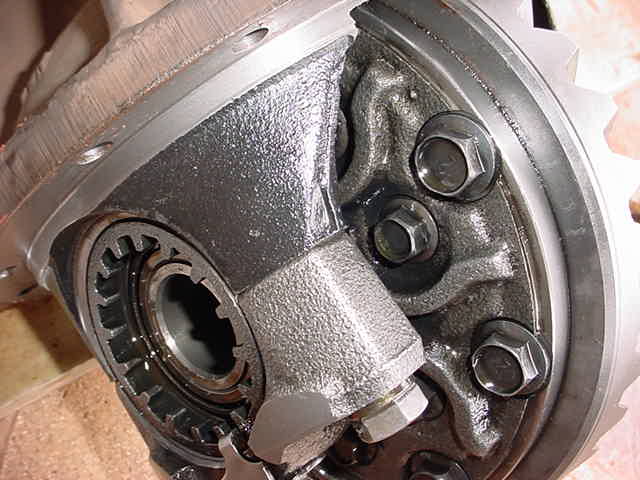
Unbolt the case to access the spider gears.
Carefully remove the spirder gears using a small pry bar or screwdriver.

Place the new locker very gently into the case.
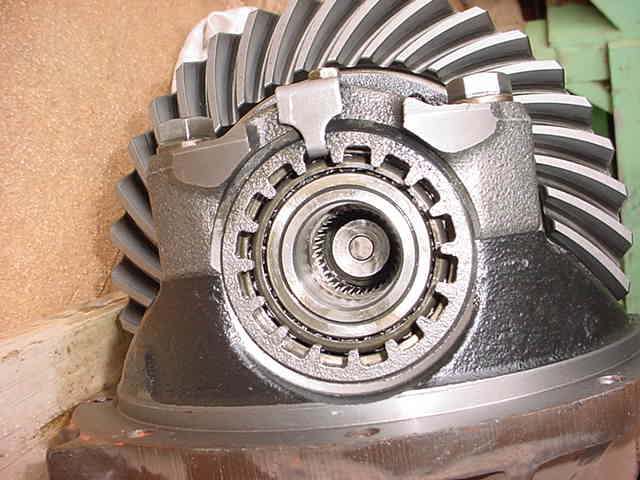
Reassemble the case using lots of thread-lock on the bolts. Torque to 47-54 ft-lb in a criss-cross pattern.
Carefully place the case assembly back into the third member making sure the side-bearing-adjusters go in the same way they came out.
Reinstall the caps using lots of thread-lock and torque to 69-76 ft-lb.

Detroit Locker installed!!
Thoroughly clean and place a bead of gasket sealant on the lip of the carrier.
Carefully place the H233B into the axle housing and bolt all 11 nuts to 40-47 ft-lb using a cross-cross pattern.
Reinstall the driveshaft using the markings made earlier.
Slide the axles in back place and torque the 4 bolts on each side to 39-46 ft-lb. You may have to wiggle the axles to slide in all the way.
Reconnect the parking brake cable and hydraulic brake lines and bleed.
Add 75W-90 gear oil to the differential until it seeps out of the fill-hole.
Mount wheels and test drive!!
To test for proper operation, visit Tractech Tech Tips

BIG MAHALOS to Gabe, Pete and Isaac for all their help. And another BIG MAHALO to Mike and Jane over at Automotive Customizers for all their help and support.


Links
Automotive Customizers
Tractech Inc.

Email: hawaiianhardbody@hawaii.rr.com

