Top

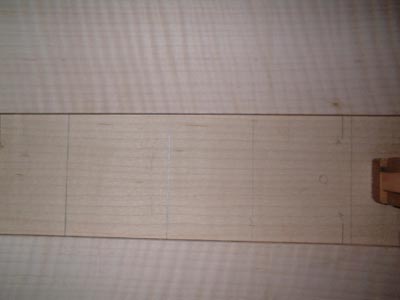
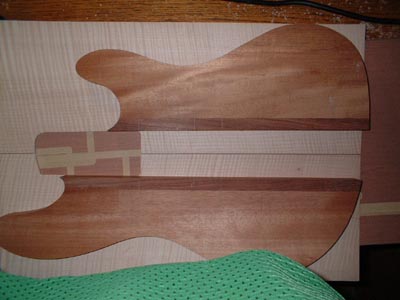
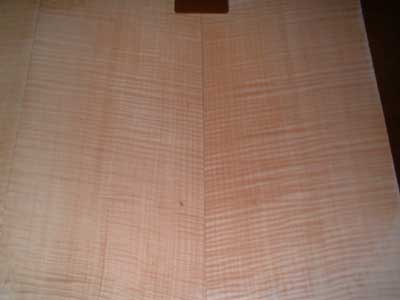
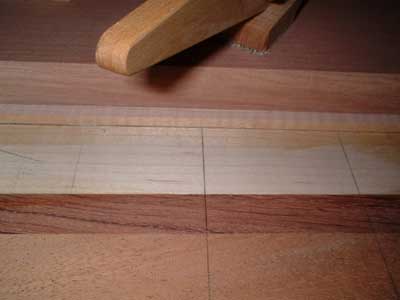
This bookmatched flamed maple set was jointed, sanded, and is ready to use. The pieces are lined up with the neck so that
the bookmatched grain is lined up, and penciled lines mark the edge of the fingerboard. This is preparation for routing out
a cavity in the top to accept the fingerboard.
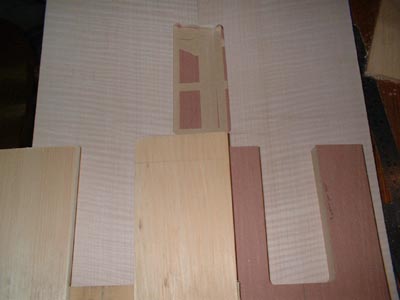
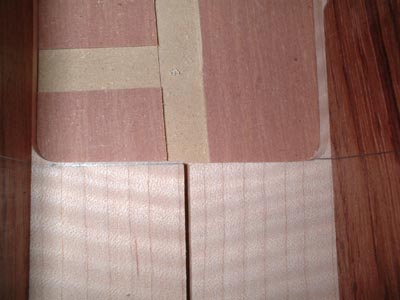
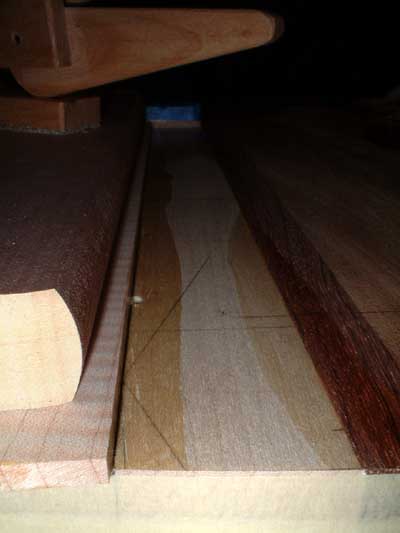
The picture on the left shows a pine and MDF fretboard template. The pine template was made by laying a piece of pine against
the edge of the fingerboard, and placing two more pine pieces on either side of this, edged up to the fingerboard sides. These
pieces were glued. The MDF template was made by routing with the pine template. In the picture on the right, the board
on the bottom of the photo is what they look like before sanding, and the one above it is sanded and ready to use. The bottom
one is yellow and white in a striping pattern due to grain variation. This also means that the board has many grooves and peaks.
I used a random orbit sander to level the board. I sanded in a pattern that ensured that each section of the board received
equal time under the sander, and that each board was sanded to the same thickness. I actually counted the number of passes made,
and the amount of time spent on each pass.
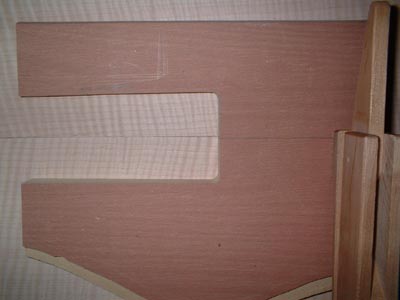
The template is in place for routing.
Top routing done.


The maple top pieces are exactly the right size for the body wings. Roger Sadowsky originally planned to use these tops for guitars, and advertised them as such; they are undersized for bass tops. There's no room to spare, so lining up the top and body wings
for gluing, and making sure there is no slipping, is imperative. The body wings can overlap the top only very very slightly.
When the edge of the bass is routed with a round-over bit, it will cut some into the mahogany, thereby fixing any slight overlap.
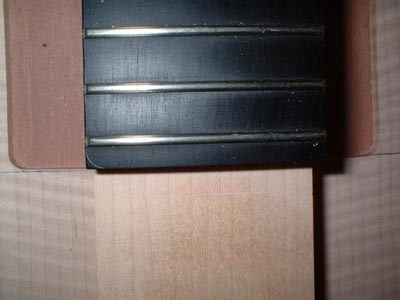

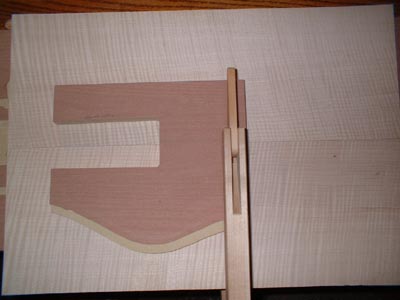
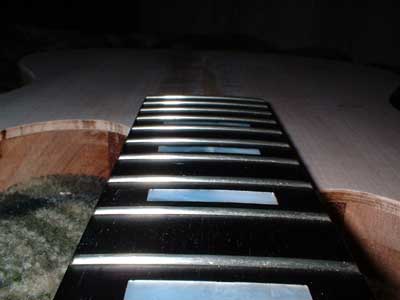
The left picture shows that the fingerboard edge is square, yet the routed top has curved corners. The MDF fingerboard template
was used to draw the correct curve on the edges of the fingerboard. The picture on the right shows how I fitted the top to the
neck and fingerboard. A paw paw pen blank was used as a sanding block. The contrast of ebony and maple sanding
dust on the sandpaper looks pretty cool.

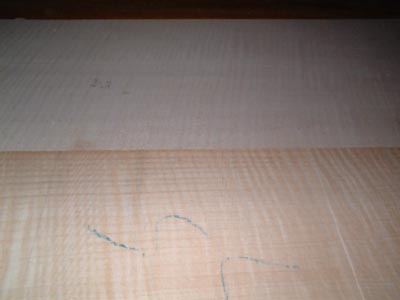
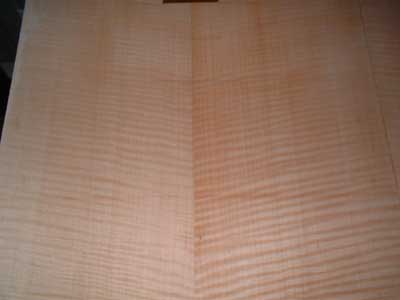
Since I have five sets of bookmatched maple tops, I cut out the two best sets to have a choice. They were wetted with Naptha
to see the grain, and as a simulation of how the wood will appear when finished. The top I chose (the one in the right photo) has a tighter curl than the other,
and looks more aggressive, it also matches the headstock veneer better.

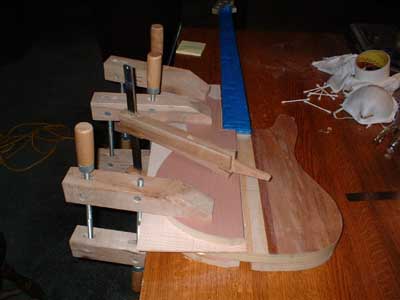

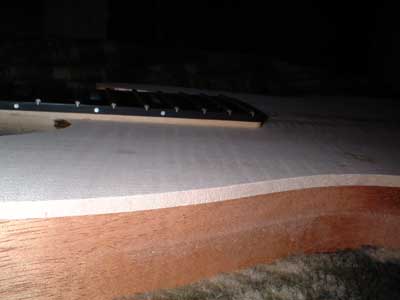
The top was glued one piece at a time.


The right photo shows how well everything was lined up. You can barely see a centerline on the neck, right at the edge
of the glued top.


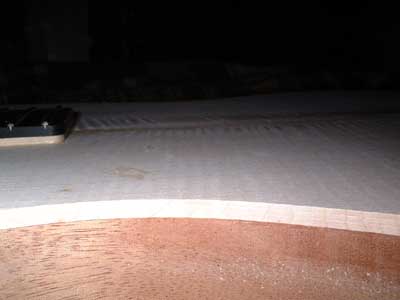
Finally, the top is on. Another moment of satisfaction.

One reason why I love woodworking is that things usually turn out better than you envisioned if you take your time and do things
right. Making basses is even better because you don't just get a piece of furniture, but something that can be heard and played as well. Something with its own voice that you can use to create music and express yourself. Other makers say that it feels like they are bringing something dead back to life. I planned the cosmetics of the bass, and visualized how they might look, but seeing the realized form is always better,
and usually exceeds expectations.
__Back__
Index

