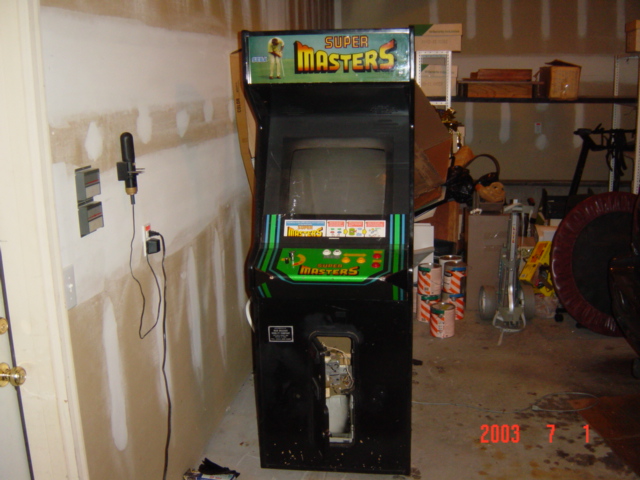
 Here is what I started with...cost me $200 from a guy at this Amusement/Arcade/Fun Park place. You know, the places with go-karts, and bumper boats, batting cages, etc. I thought it was a little pricey, and it didn't work, but all I was interested in was the shell.
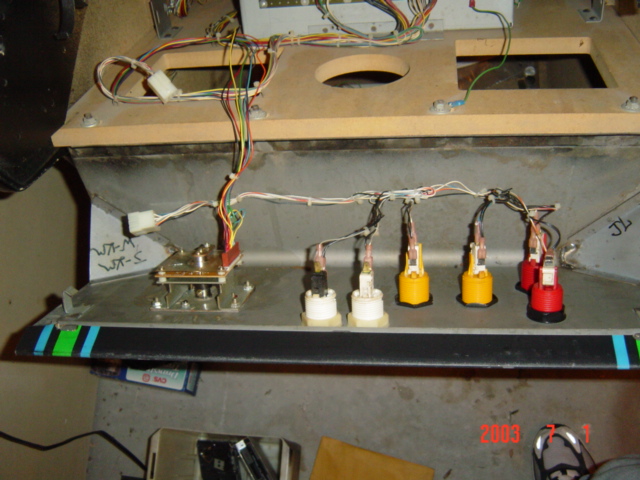
 This is just a closeup of the controls. It was some kind of golf game. Whatever.
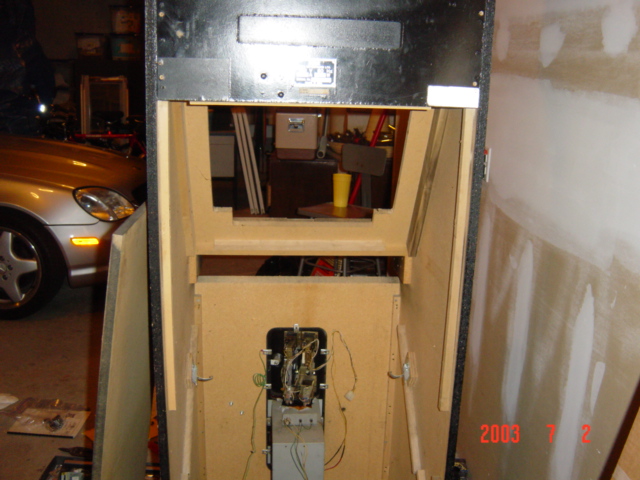
 Here I just unscrewed the top part and it folded down. I wanted to take the whole thing off, cuz I was going to buy the whole new control panel already pre-made...but then I changed my mind, and built it myself ;)
 This is a closeup of the monitor on the inside. I read on the internet from various accounts that touching these things in the wrong places could mean serious injury or even death! No kidding. So I was really careful, and then just tossed the whole thing in the garbage! Yeah I probably could have sold it, cuz it still worked, but the screen had some burned in words on it, and I didn't want to fool with selling it on Ebay and all that.
 I gutted the whole thing and took out all the insides including wires and a bunch of spider webs and nasty stuff. Took me a while and I bet I washed my hands like 20 times during the whole process.
 Then after cleaning it all out, I found a bunch of quarters in the bottom! Jackpot!

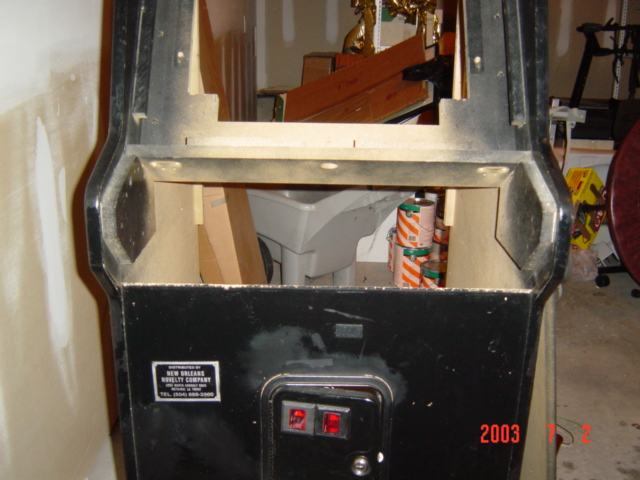
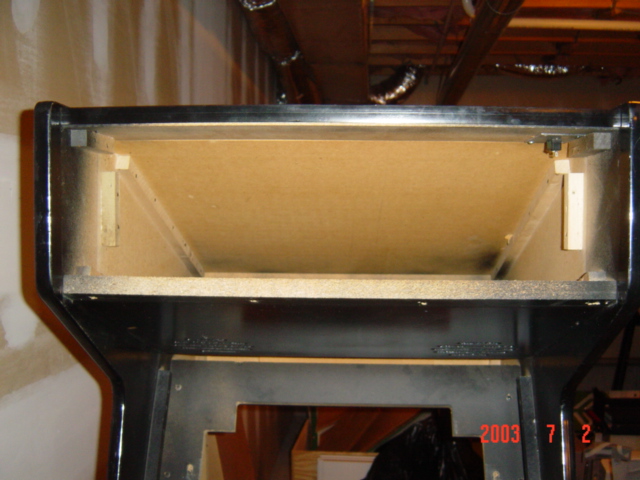 Here is just some pictures of the front part all gutted. Nice.
 Alright, this picture is a big leap in time, but oh well. I started out without the slightest idea of how to wire, crimp, and do all that mess. But look at it now! Took me about a week to learn it all, but I finally got up enough nerve to buy the parts necessary to undertake this. I am so glad I didn't buy a pre-made model, because they are very expensive and it's a lot of fun to make it yourself!
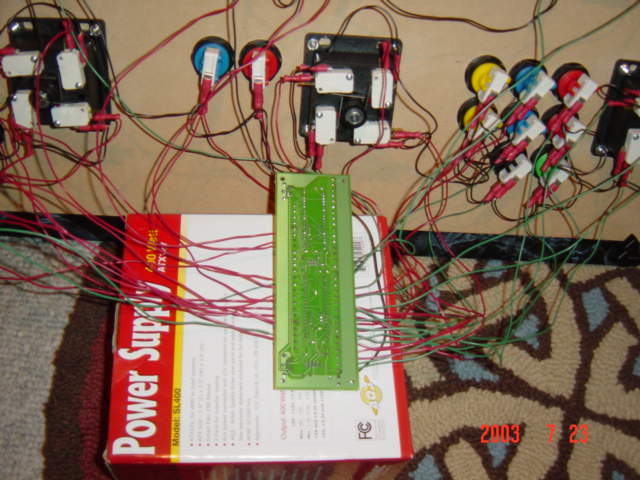 That circuit board thing is called an I-Pac. It allows you to wire your controls to the circuit board and then has a spot for your keyboard to be plugged into. So the I-Pac essentially, assigns keys to the buttons on my control panel and then when I press one, it tells the computer I just pressed "z" or attack if I was playing Ninja Turtles :).
 This is a picture of the top of the control panel which is covered in black marble contact paper to make it look fancy. Then I bought this stuff called Lexan, which is like Plexiglass only stronger and wont crack as easy when you cut it. I put that over the top to make it look all cool, plus it protects it.
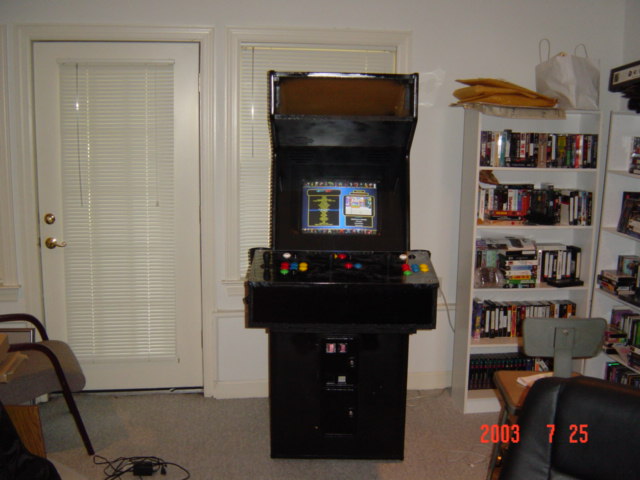 And for some reason I didn't take pictures of painting the cabinet, and all the stuff I had to cut and make and all that, so here is the finished product! It's not the fanciest thing in the world, but it's MINE and that makes me cool...in a dorky kind of way. Anyway, it took me forever to build, but its really sweet. I installed some speakers in in that big gap you see above the screen (that will be covered later by a marquee with a light behind it).
 I also installed some cup holders cuz I get thirsty when I'm playing about 8 different versions of Street Figther :).
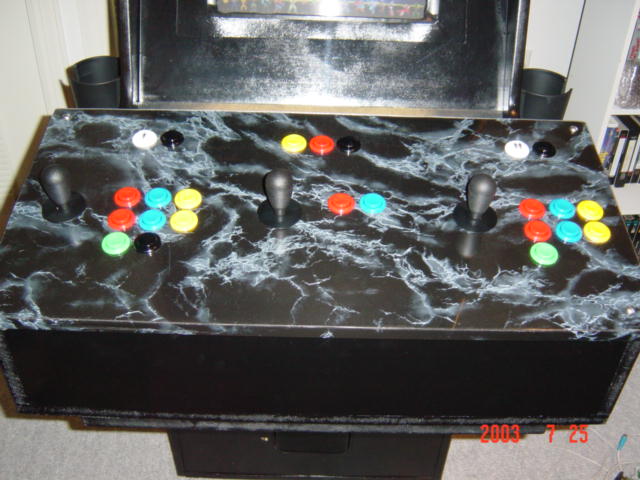 Here is a closeup of the control panel, that gap above it is where the keyboard and mouse sit in case I have to do maintenence or whatever. But that is now covered up by a piece of foamboard covered in some black marble contact paper, so it blends in.
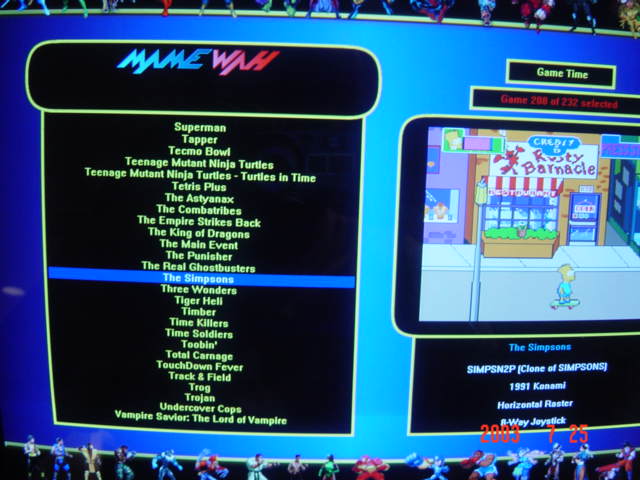 And finally, here is a screenshot of the Front End I use. It's called Mamewah, and it allows me to select and run games without having to click on them with a mouse. I just select the game with the joystick, and then hit the Player 1 start button and the game runs!
I guess that's about it. It took about a month or so to do, but it was fun! The only thing left to do is to get some cool bar stools, and to get a marquee for the top, but other than that, I'm done!
And finally, here is a screenshot of the Front End I use. It's called Mamewah, and it allows me to select and run games without having to click on them with a mouse. I just select the game with the joystick, and then hit the Player 1 start button and the game runs!
I guess that's about it. It took about a month or so to do, but it was fun! The only thing left to do is to get some cool bar stools, and to get a marquee for the top, but other than that, I'm done!

